


**Post updated with new embroidery machine tutorial 9/2026**
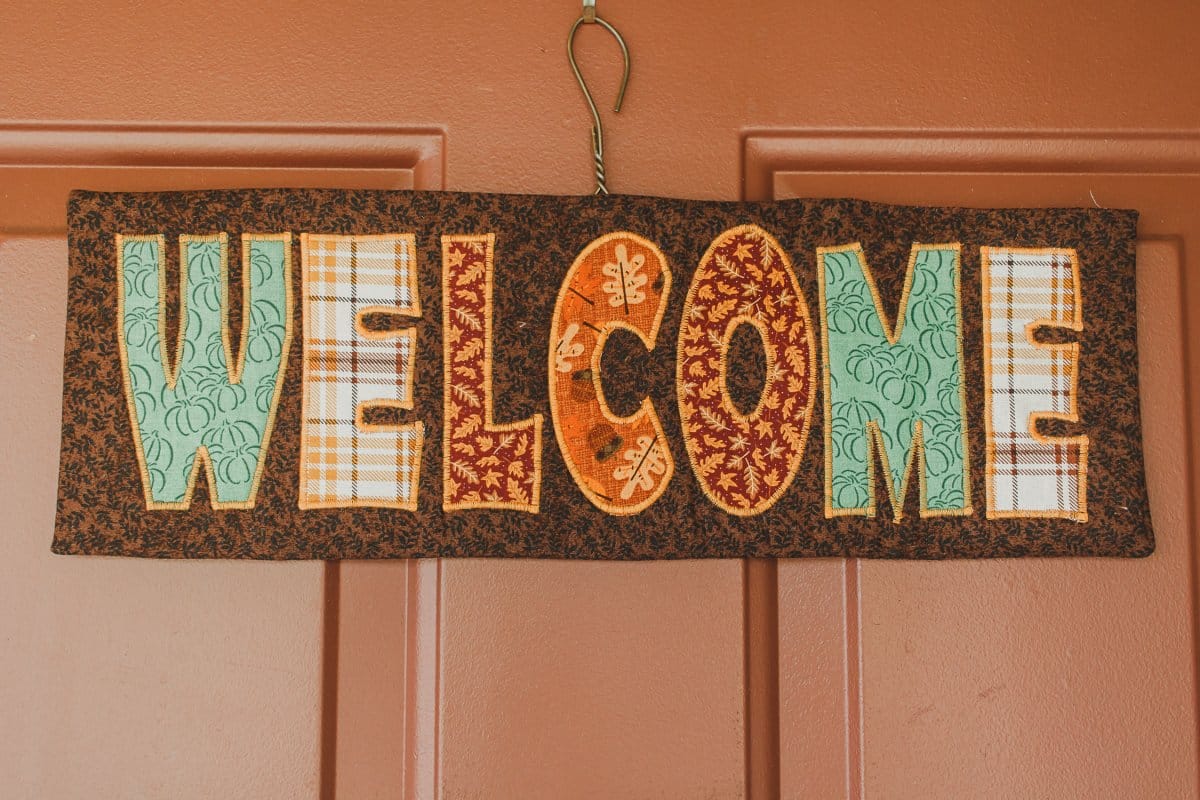
It may not feel like fall, but I just love the colors and flavors of fall. Also, it’s September, so I don’t care what the temperature is, I’m going full fall mode. Today I’m sharing another version of this fall welcome sign. The first version has letters cut on the ScanNCut and then sewn around. The second is using an applique font and my embroidery machine. More options for you depending on what machine you have. This is a pretty basic sewing and applique tutorial for you to create a beautiful door welcome sign.
fall welcome door sign –
ok! let’s take a look at the two versions of my fall welcome sign. Both tutorials are below and the supply list is very similar for both, so I’ll just include supplies for all on the list.

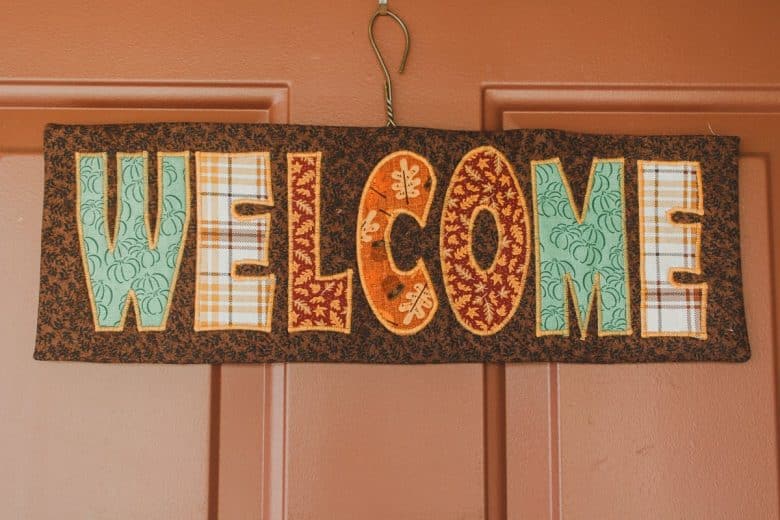
This fall door sign is really easy to put together and today I’m going to show you how. I used my ScanNCut for create perfect letters and my sewing machine to sew it all together. You can create this same look with or without a electronic cutting machine.
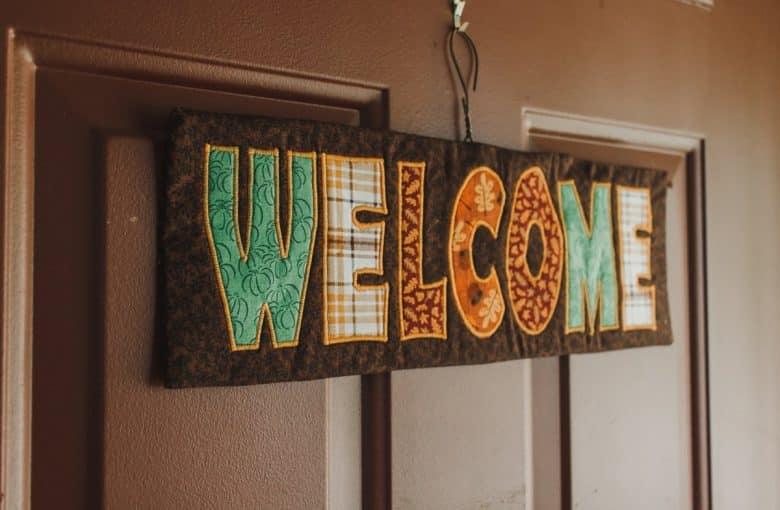
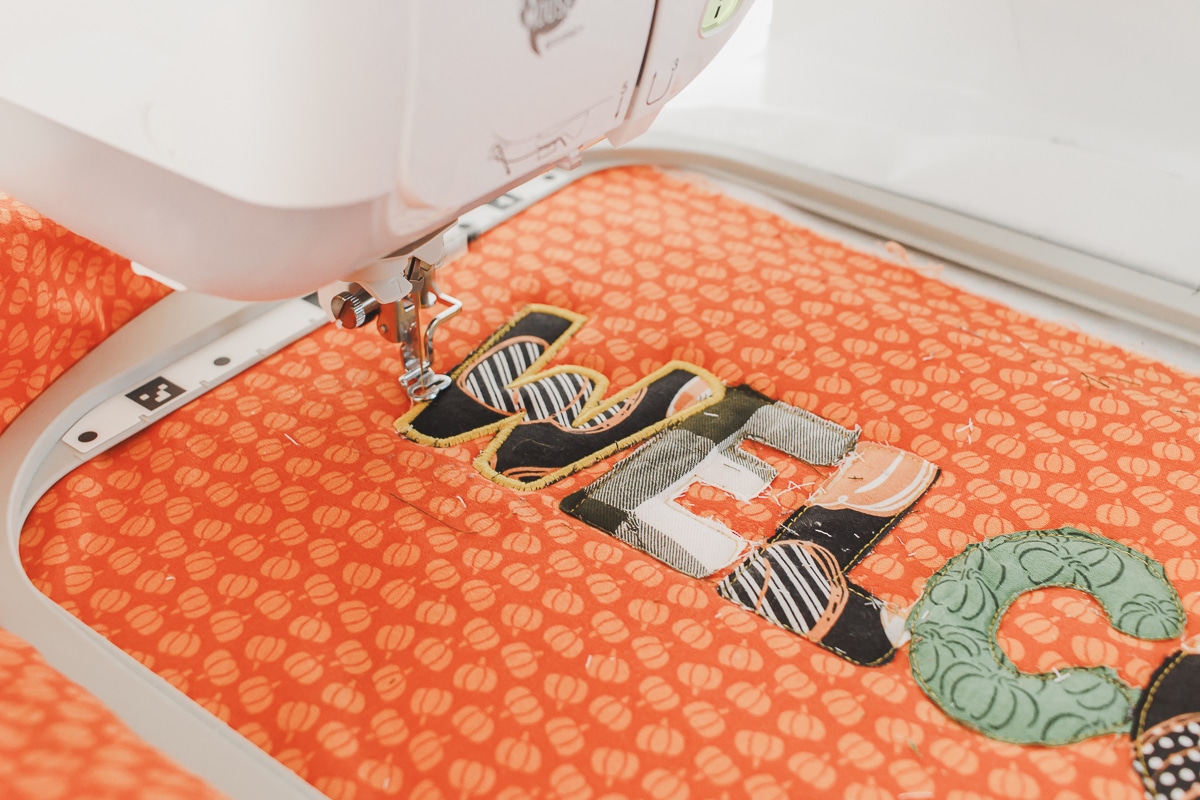
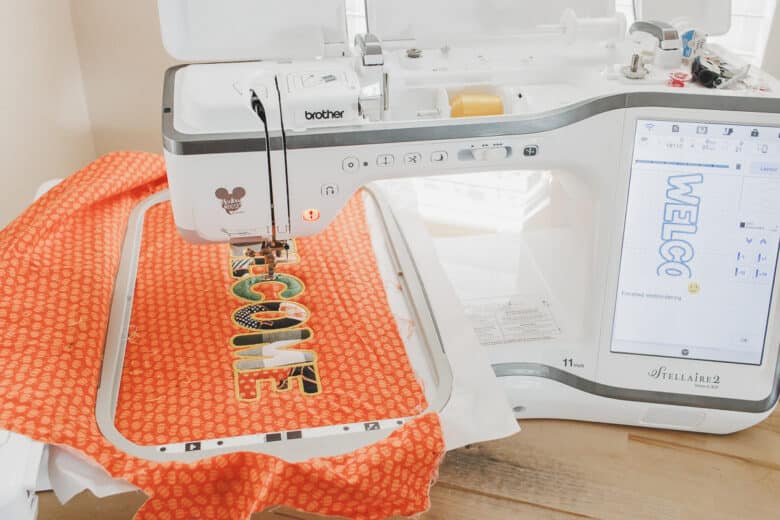
And if you don’t have a cutting machine OR just want to use an embroidery machine, you can create this look using an embroidery font and machine. If you have a large hoop machine, you can create this all in one hoop like I did here. If you have a smaller hoop size, you can still make it, just move the hoop after one or two letters to complete.
More fall projects to sew
Fall welcome sign with applique
Supply list and overview in the card below.
Fall Welcome Sign with Applique
Create this beautiful fall welcome sign with applique. Your favorite fall fabrics create a festival fall sign.
Materials
Instructions
- Create text for welcome sign
- Send text to cutting machine
- Press iron on backing on fabric back
- Use one fabric or multi for each letter
- Cut each letter from fabric
- Place letters on sign fabric.
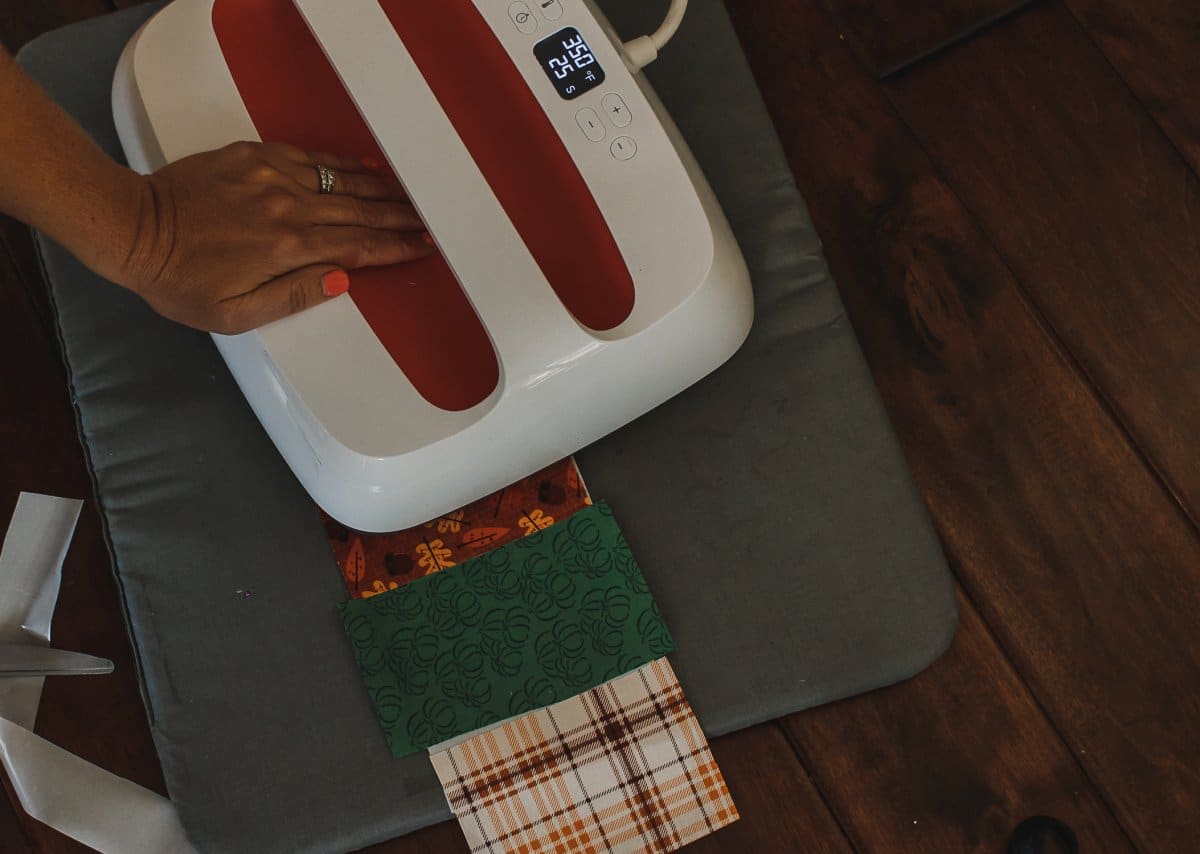
- Use iron to press letters to sign fabric
- Iron fusible fleece to back of sign fabric
- Stitch around each letter to applique to fabric
- With right sides together sew around sign fabric
- Turn right sides out and press. Close turning holes
- Add hanger on the back and enjoy!
How to applique a welcome sign
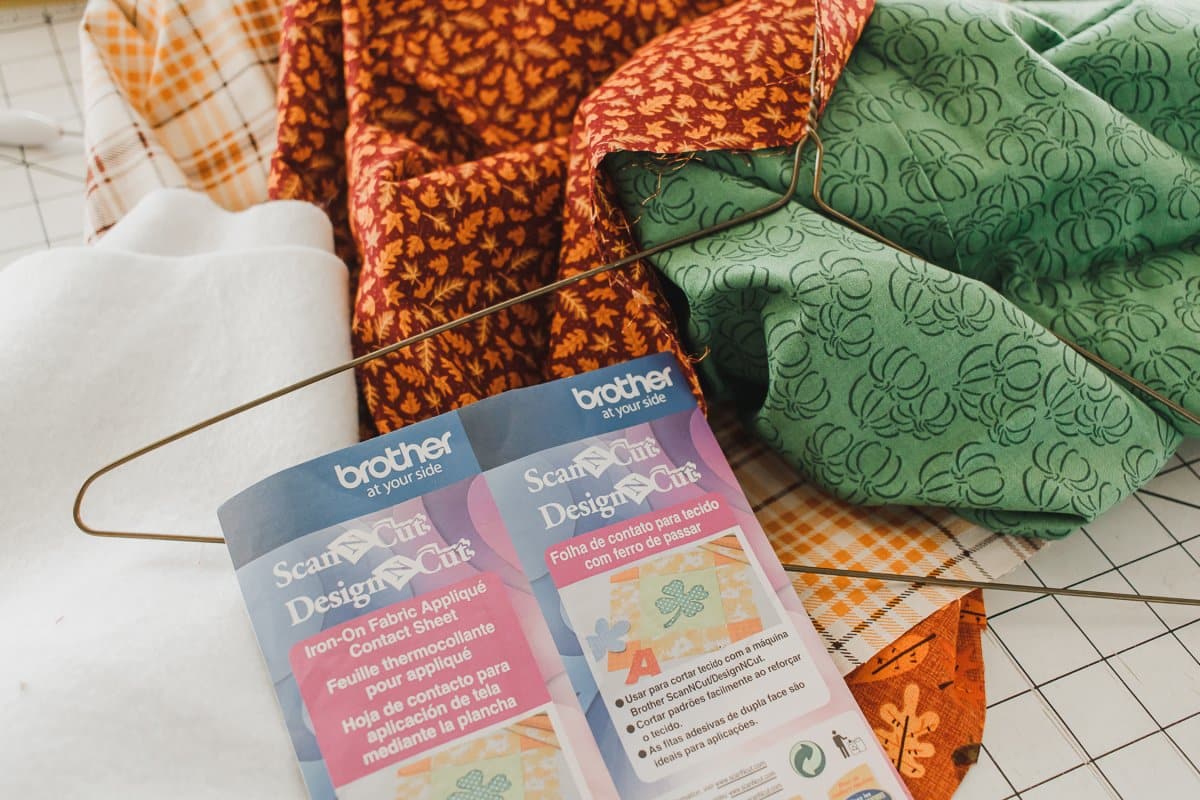
let’s jump in! The supplies you need for this project are listed in the card above. Here is the full photo tutorial to get you started with this cute sewing and applique project. You can use scraps of fabric for the letters, but you will need a full piece for the back and front of the sign. More of the details of the sizing are below. Read through for all my sizing, but you can make this project in whatever sizes you want.
Some of the steps are the same, and I’ll give directions for both versions where needed.
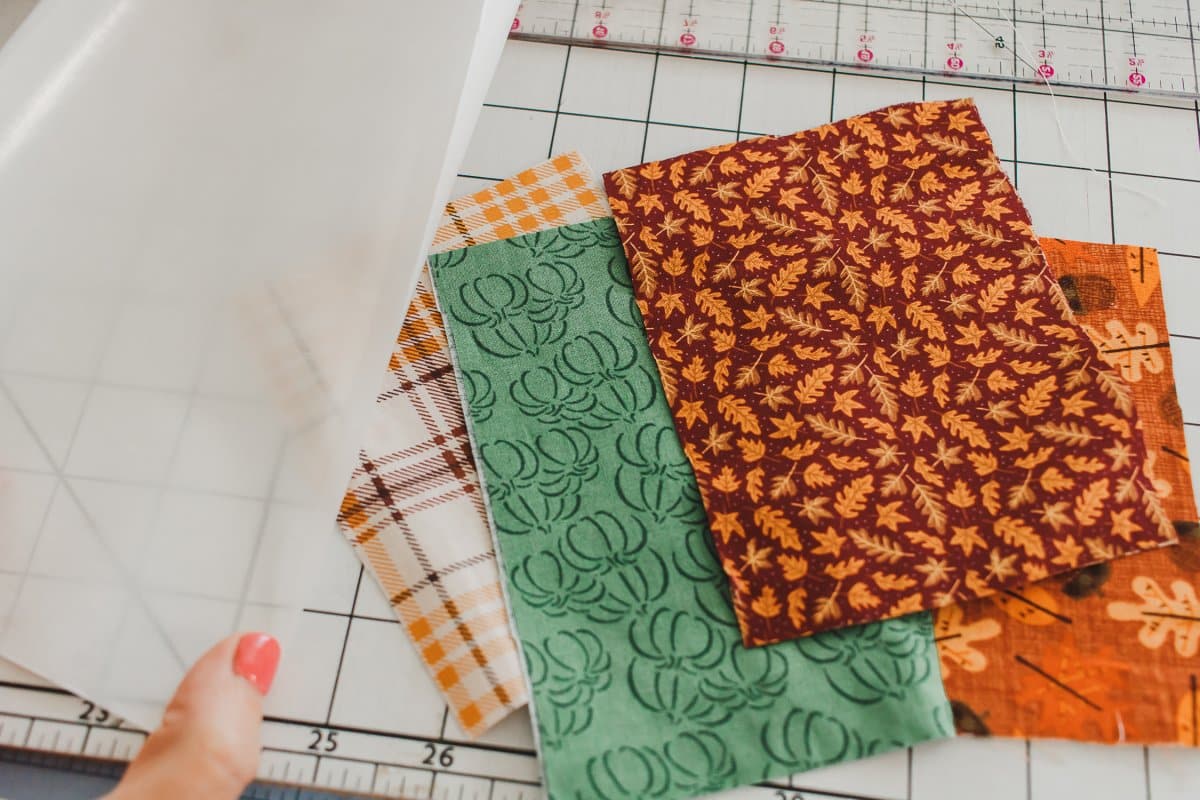
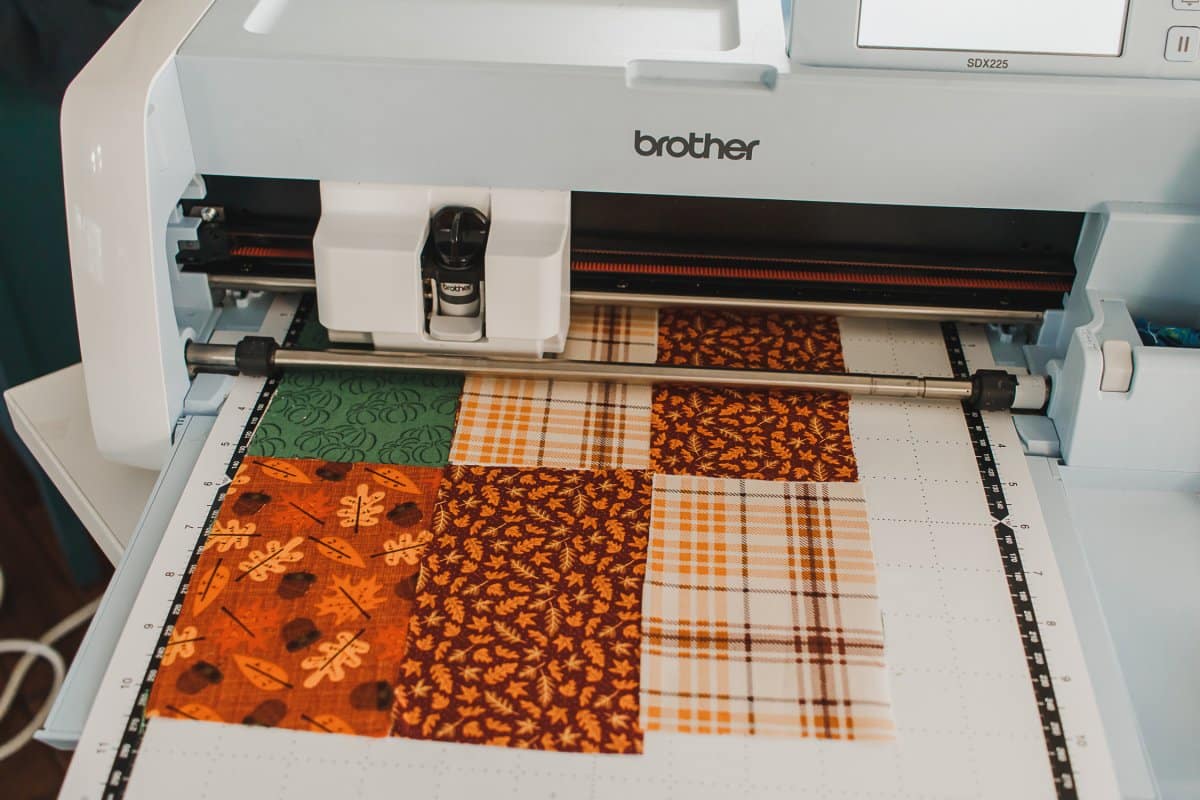
I laid each of the letter rectangles together and pressed the iron on backing to each of them. You can do the iron on backing all in one piece or in small individual ones.
If using an applique font and embroidery machine you can still add the backing, but it’s not necessary like it is if you are using the cutting machine for your fabric.
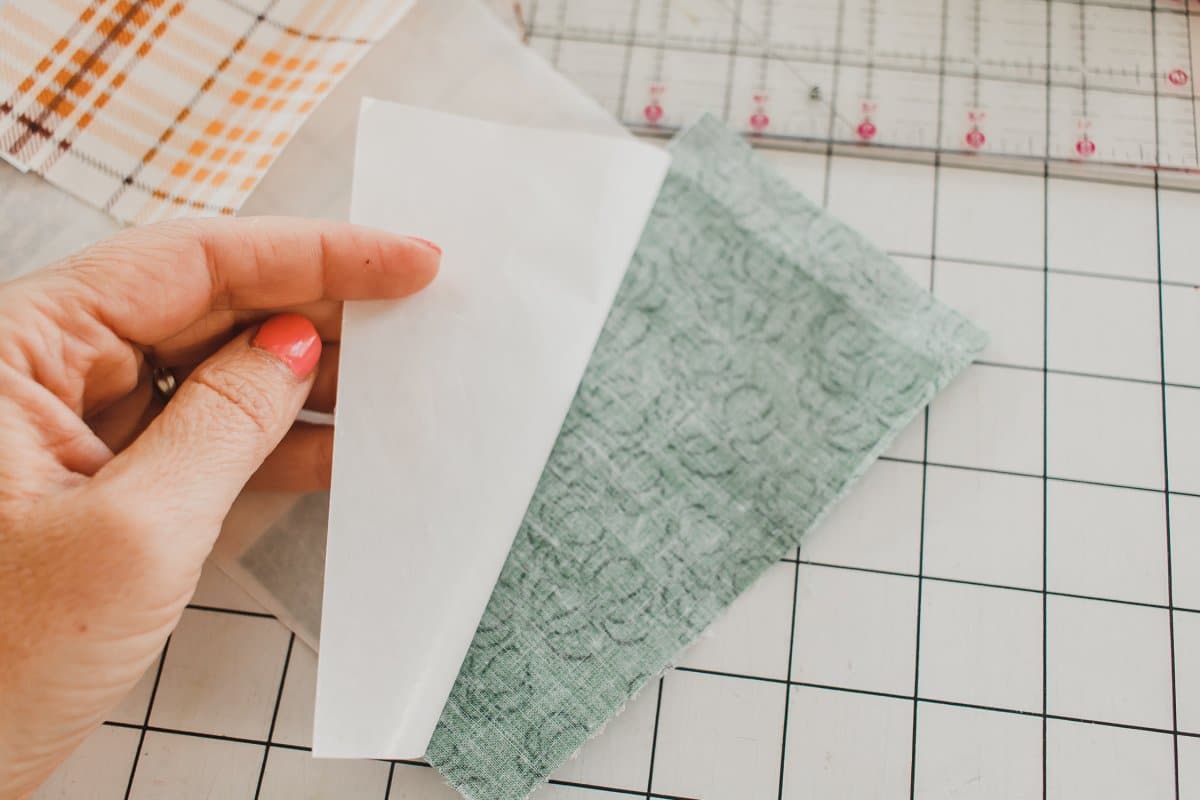
Press fabric right side up on cutting mat. You can see my layout below. I then scanned in the mat so I could see the fabric placement in relation to the letters. I really love the color scanner and the ability to see everything right on the screen before cutting. My letters are all around 3 x 5″.
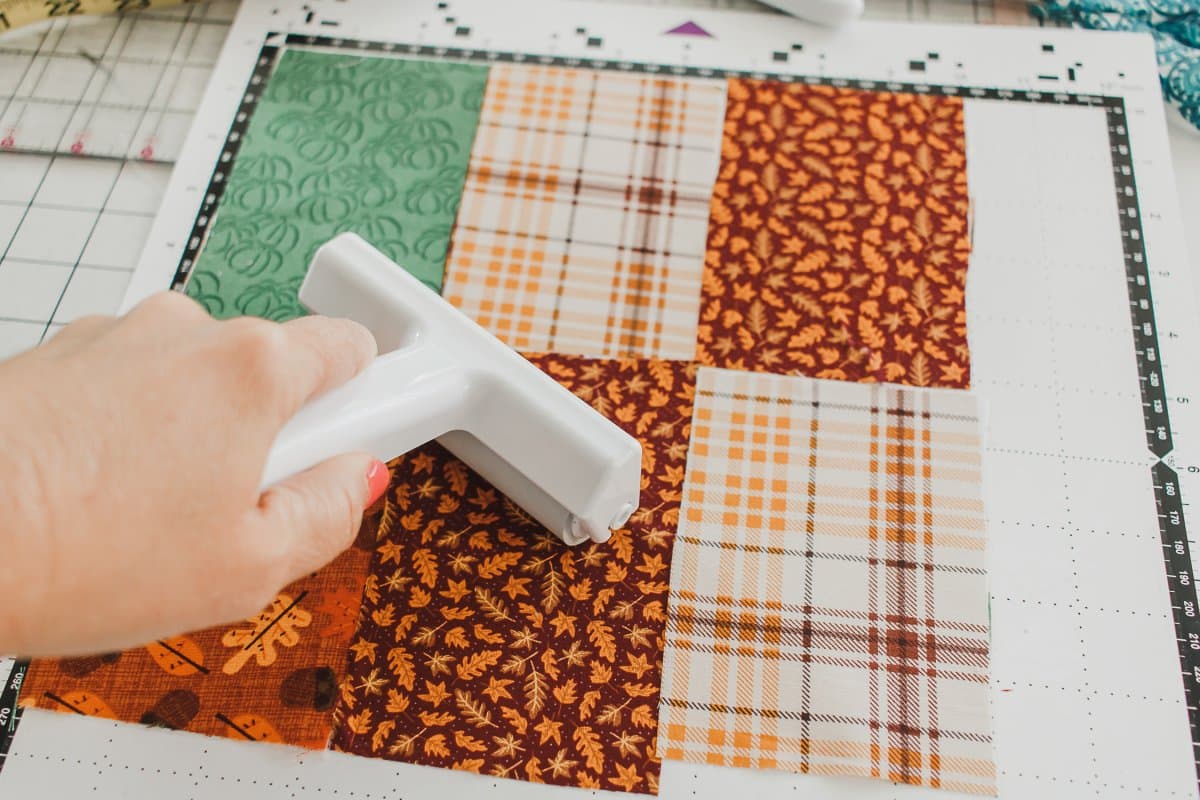
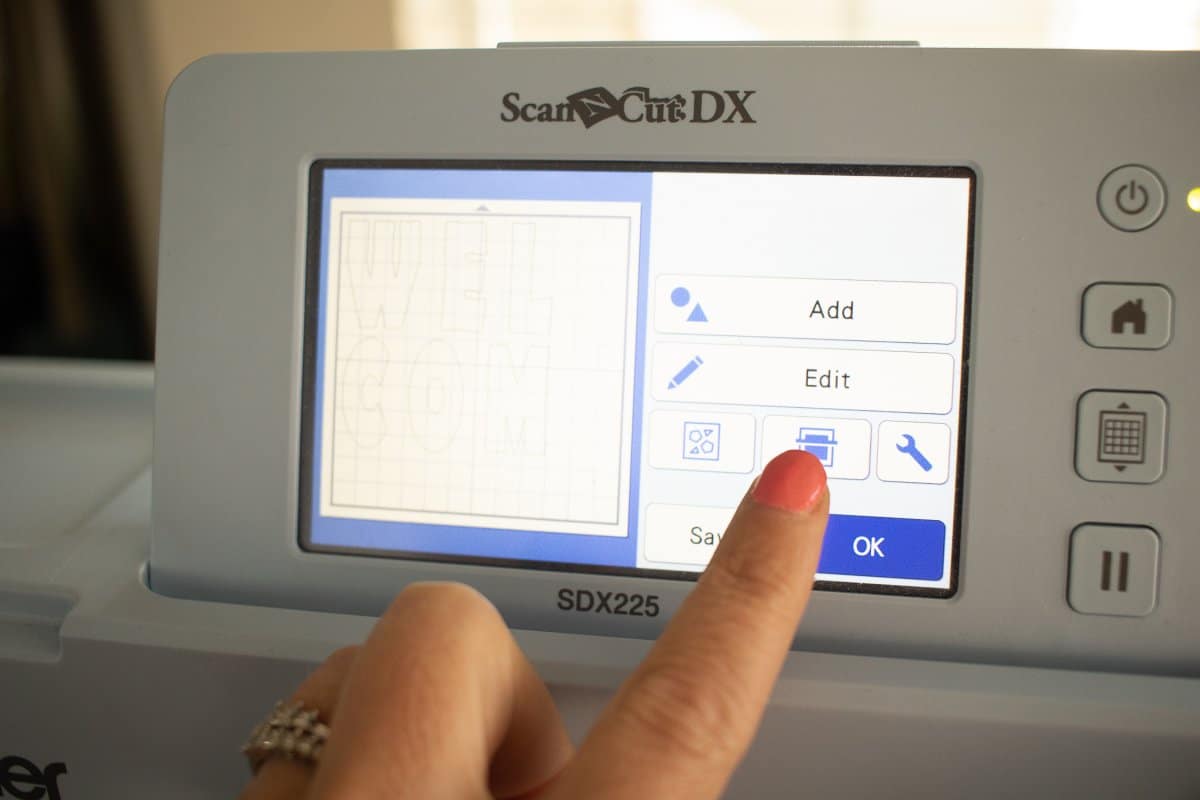
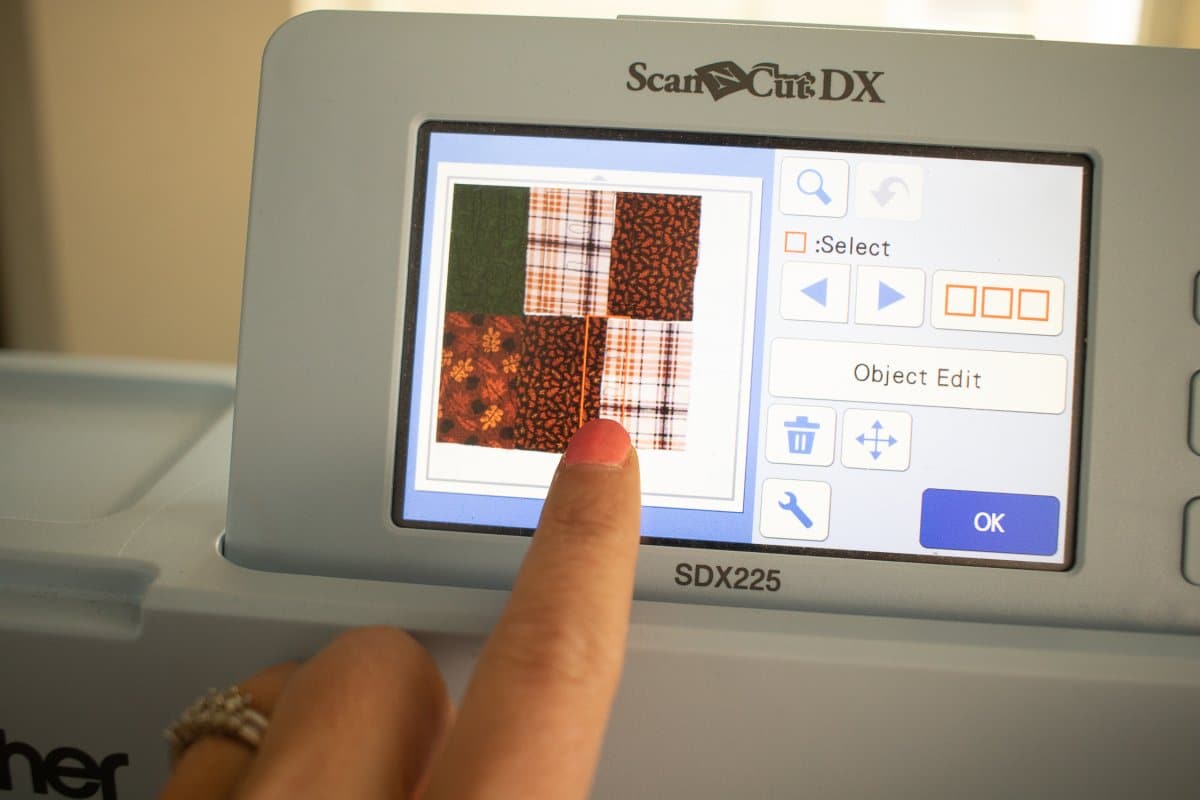
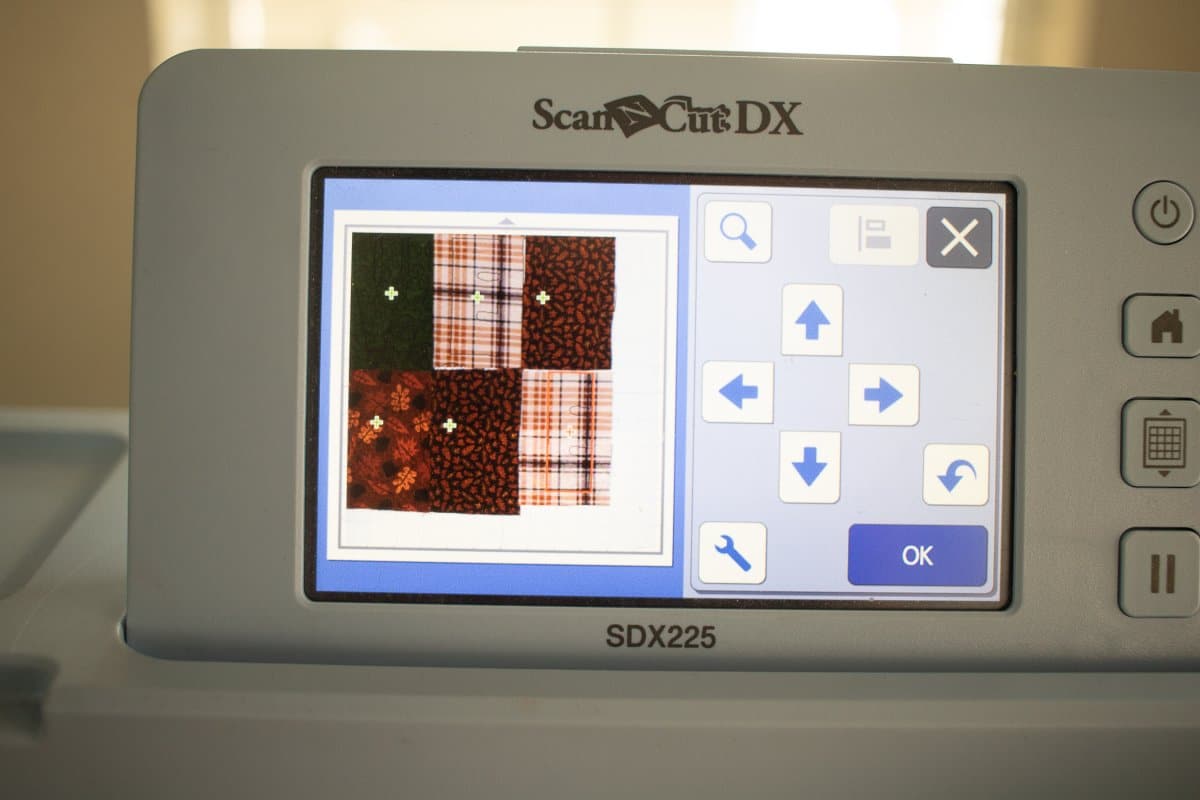
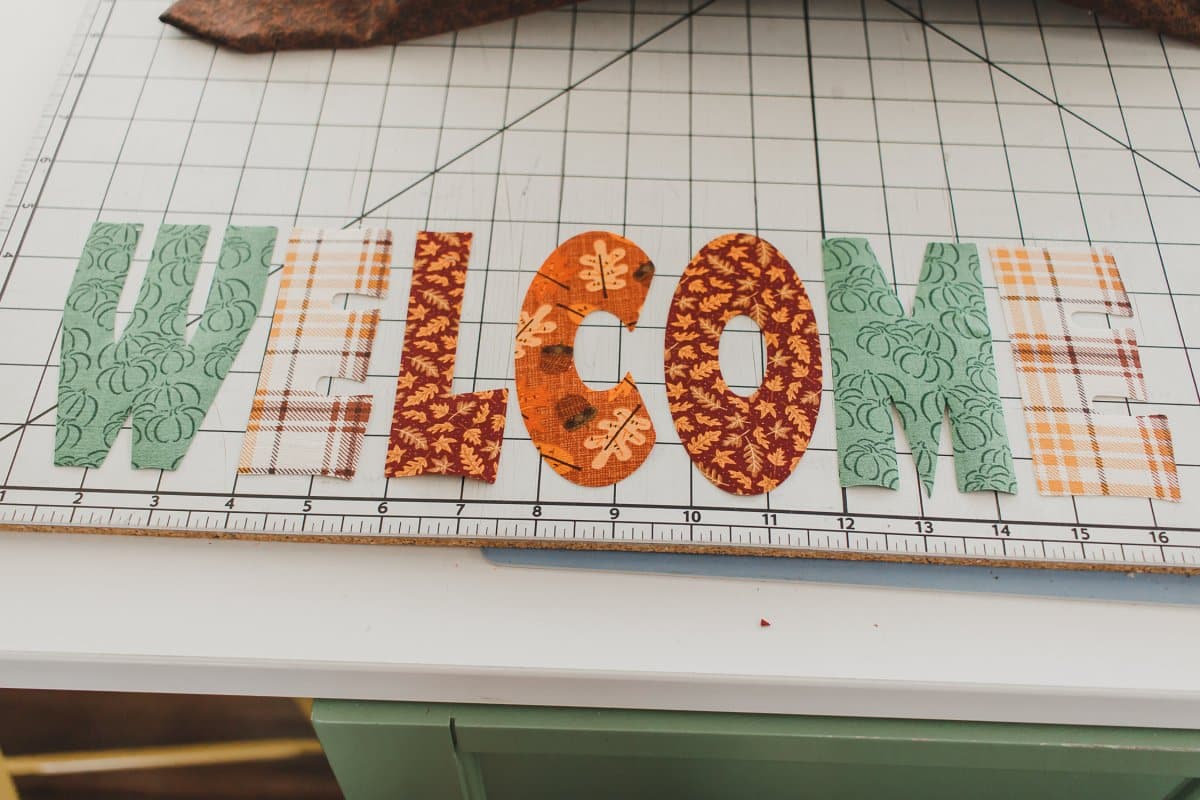
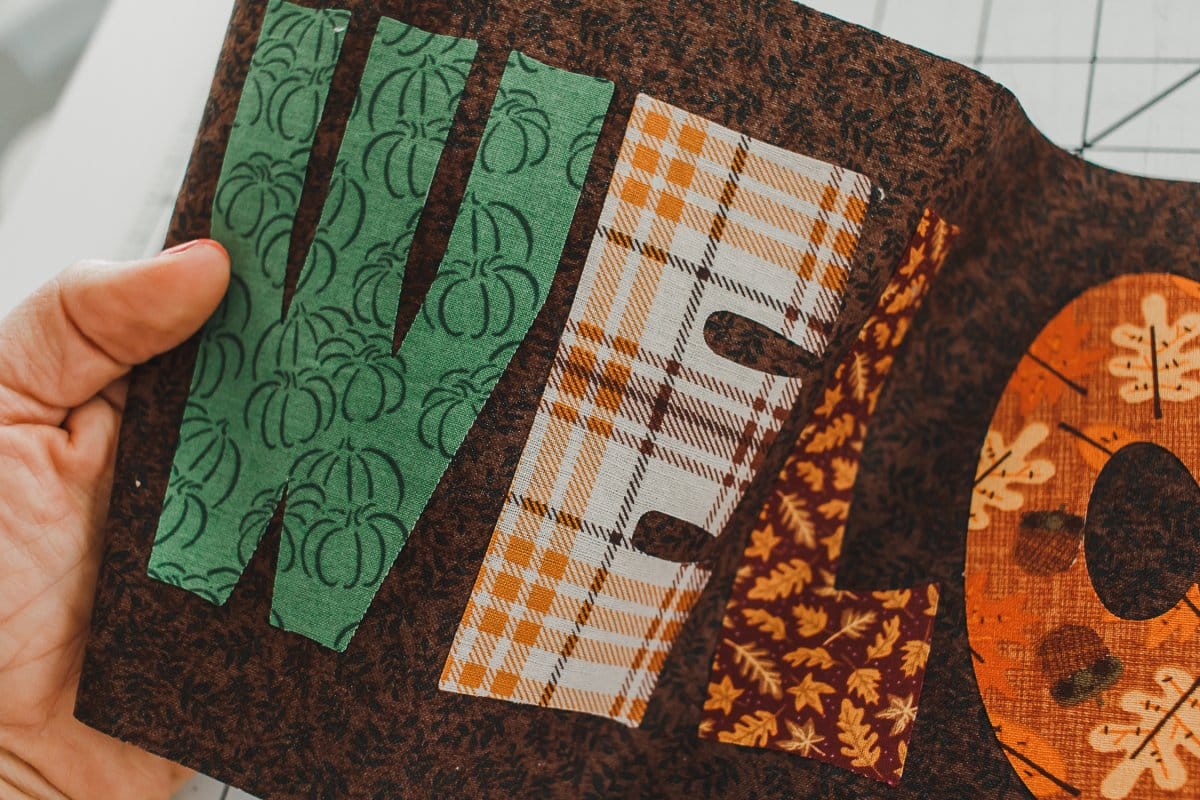
Once the layout is in place, cut the letters. Peel off the extra fabric around the letters. Carefully lift each letter and place on a cutting mat to arrange layout.
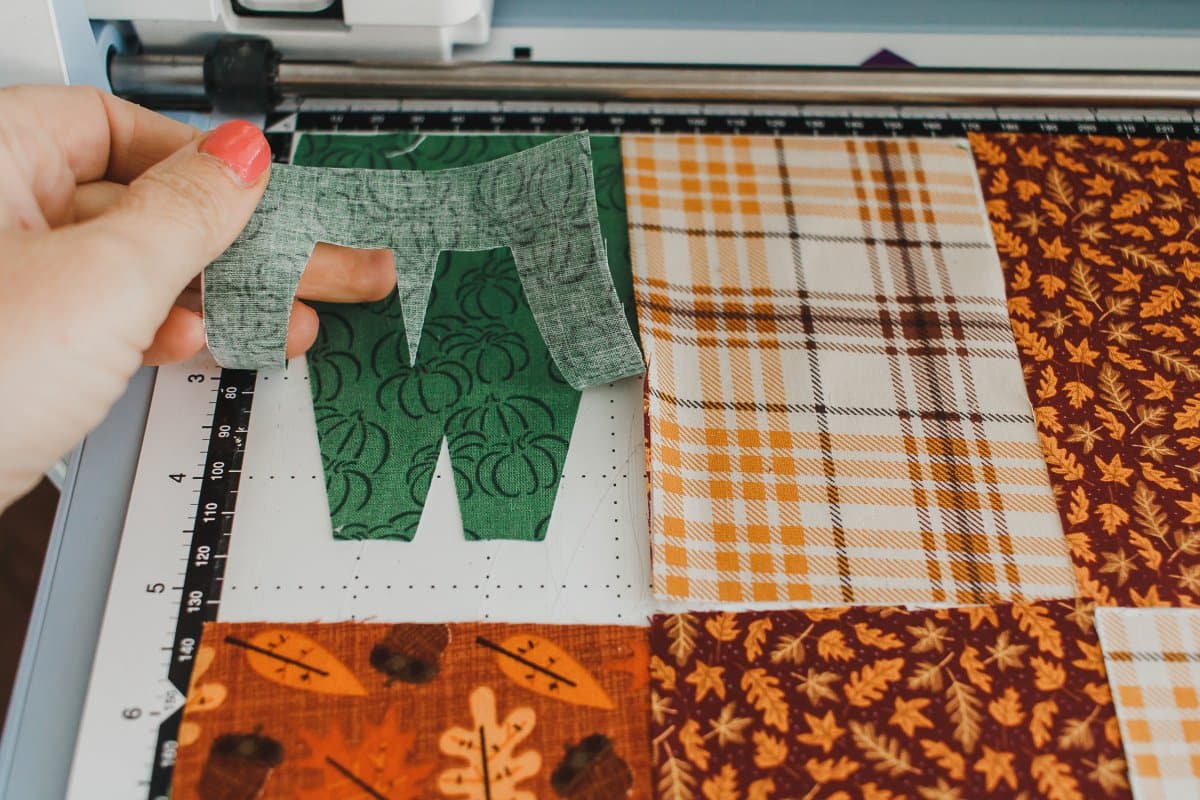
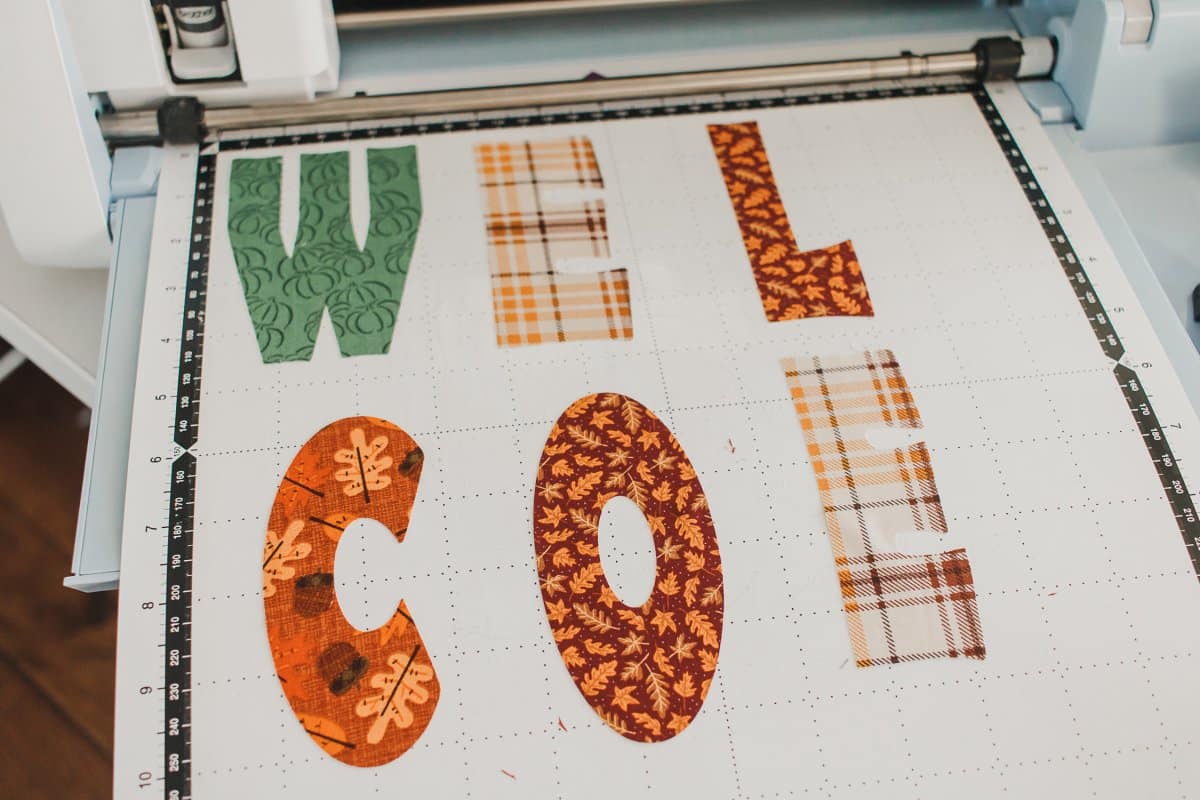
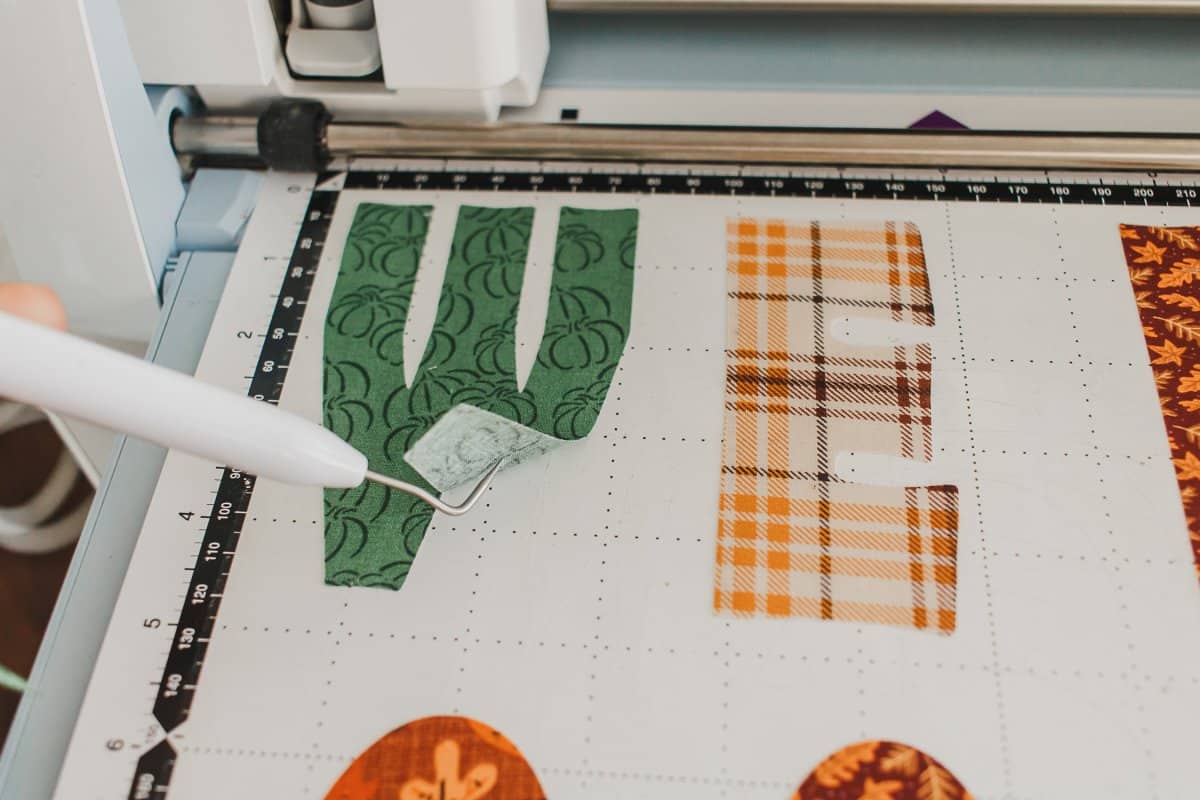
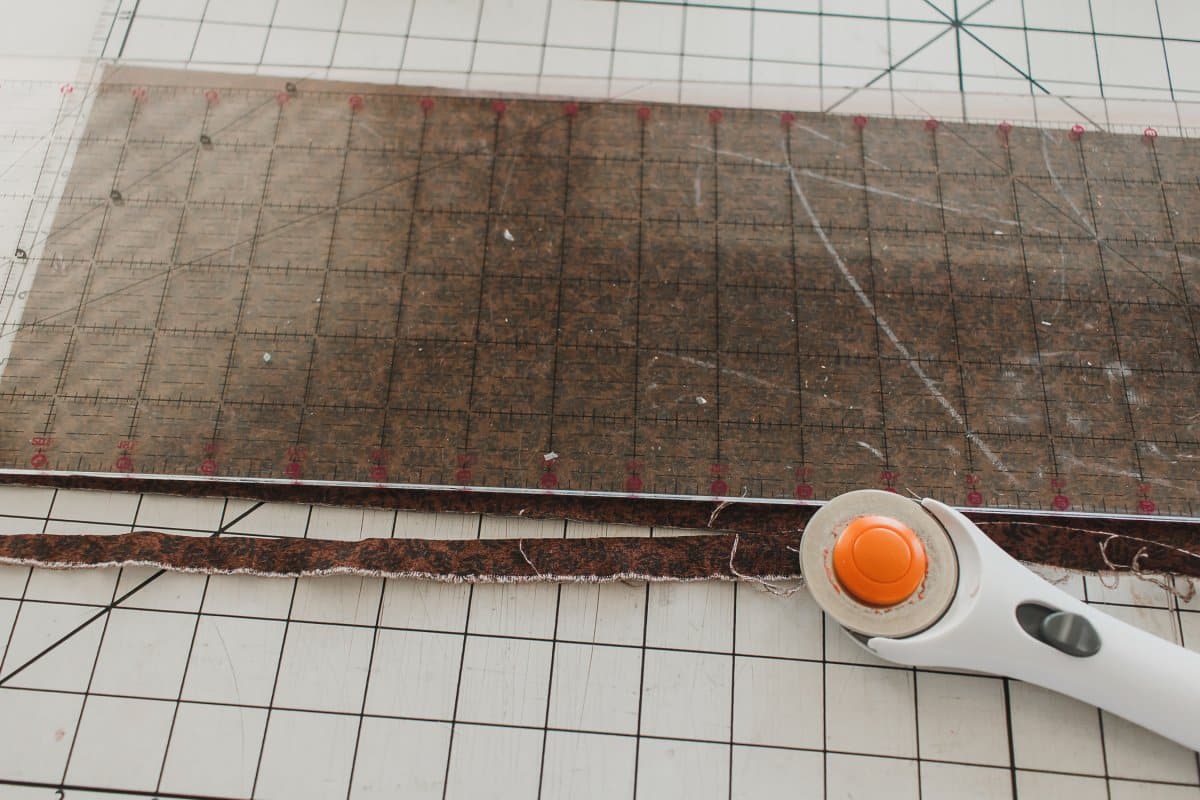
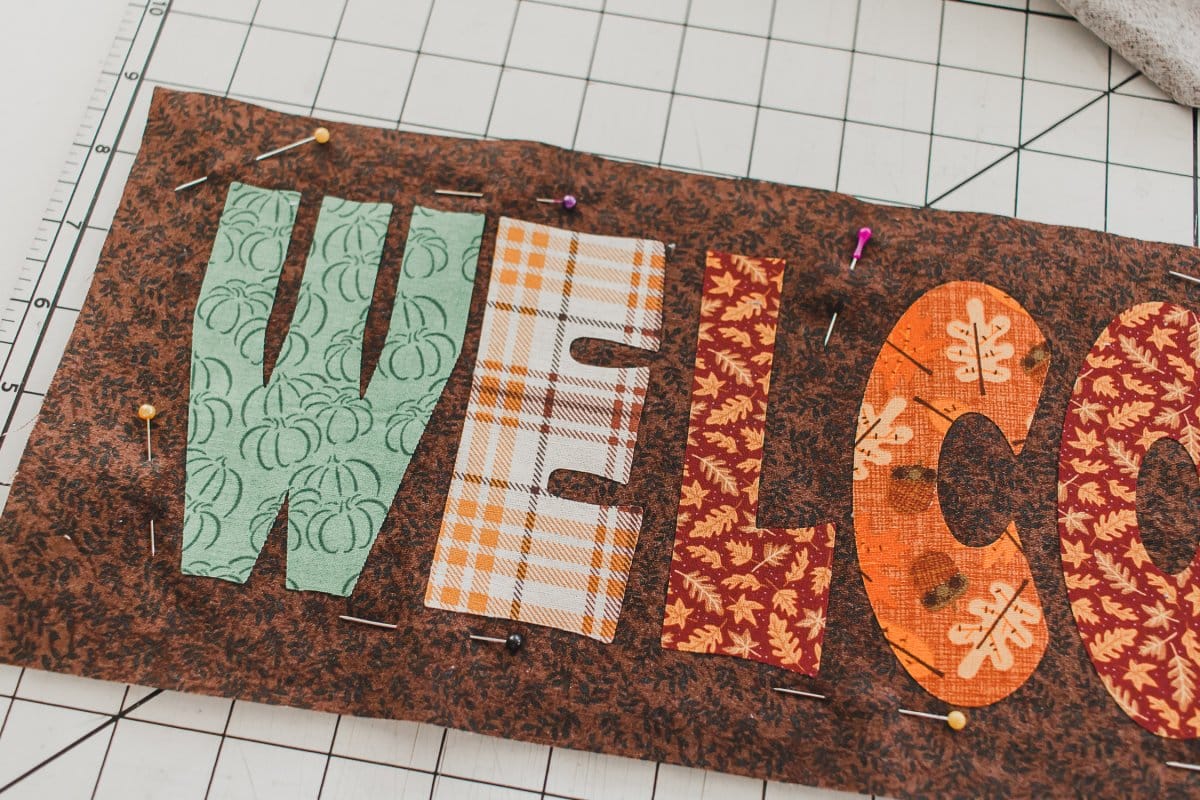
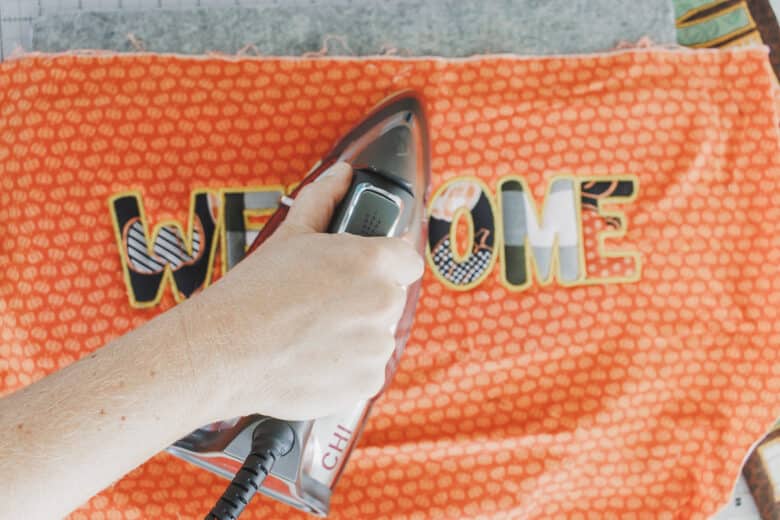
I used my cutting mat to layout the letters and decide how big my backing needed to be. I wanted a nice border around the letters. Cut a front and back of the sign material. These pieces should be the same size. Mine are 6.5″ x 18″. Arrange the letters on the front piece of fabric. Fuse the letters to the fabric with an iron. The iron on backing that is linked in the card above is actually double fusible.
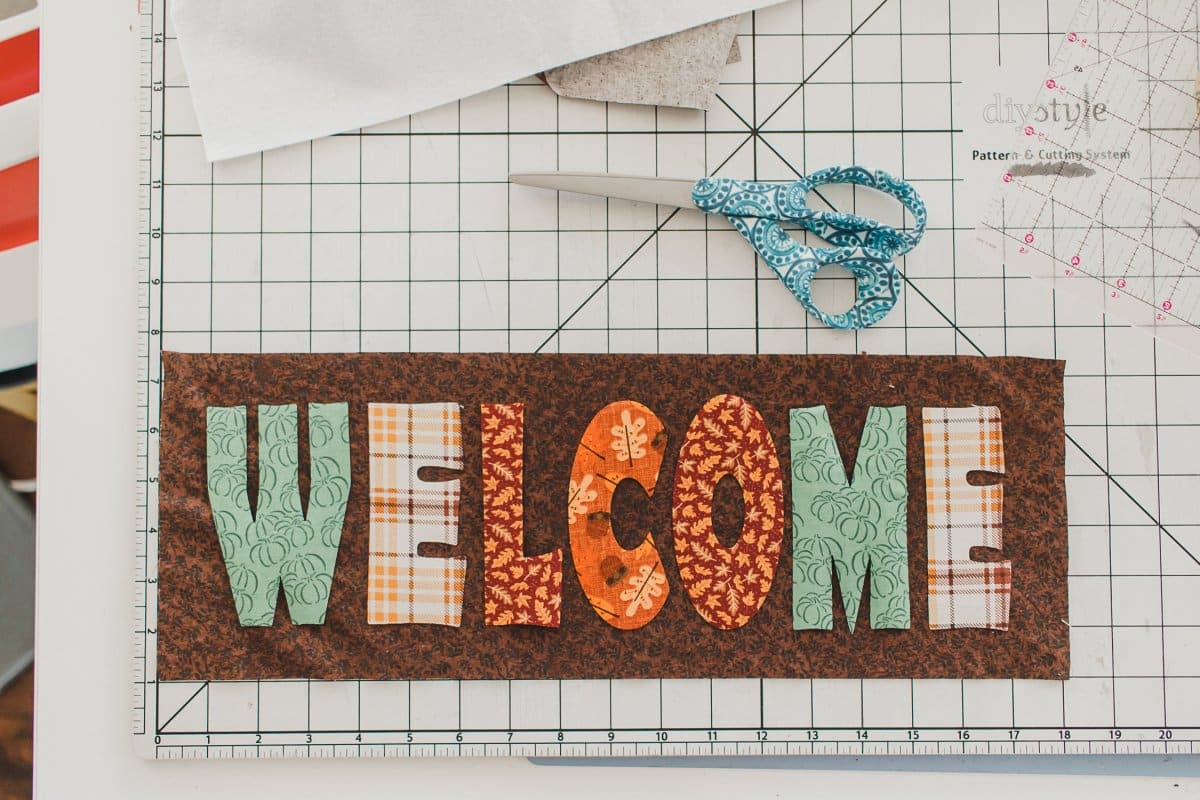
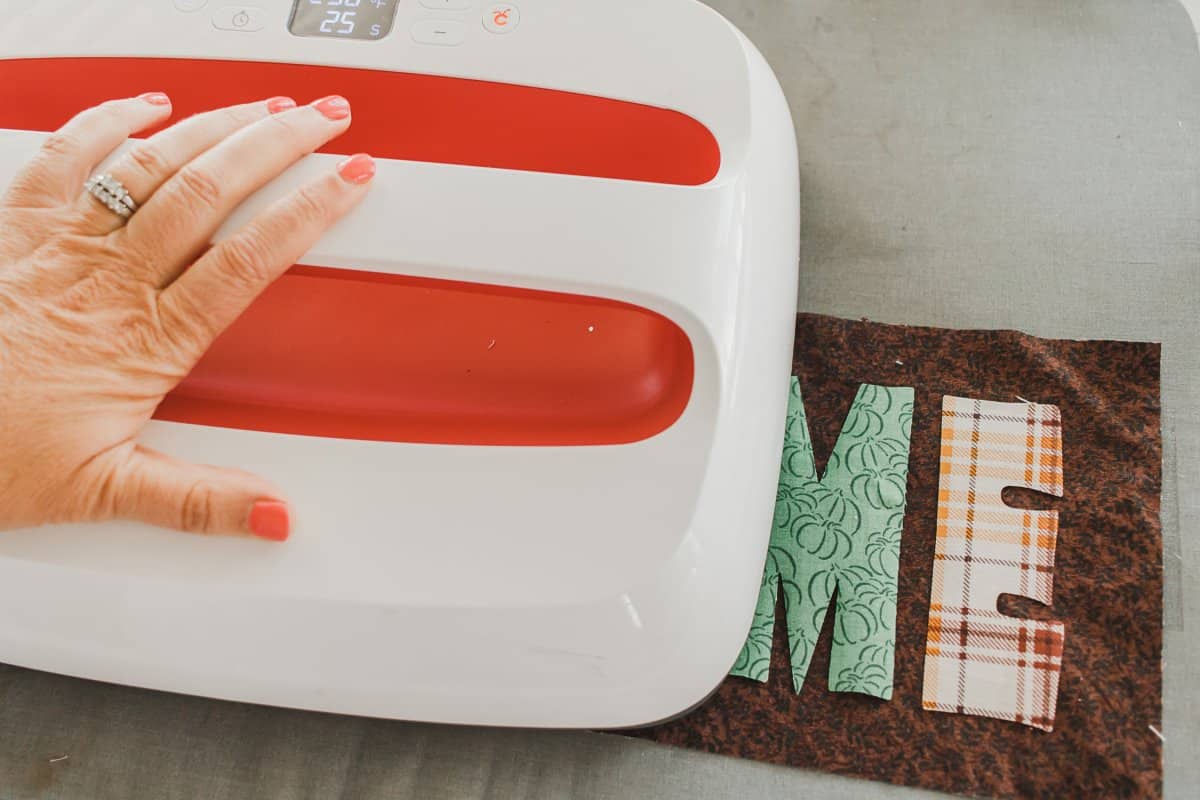
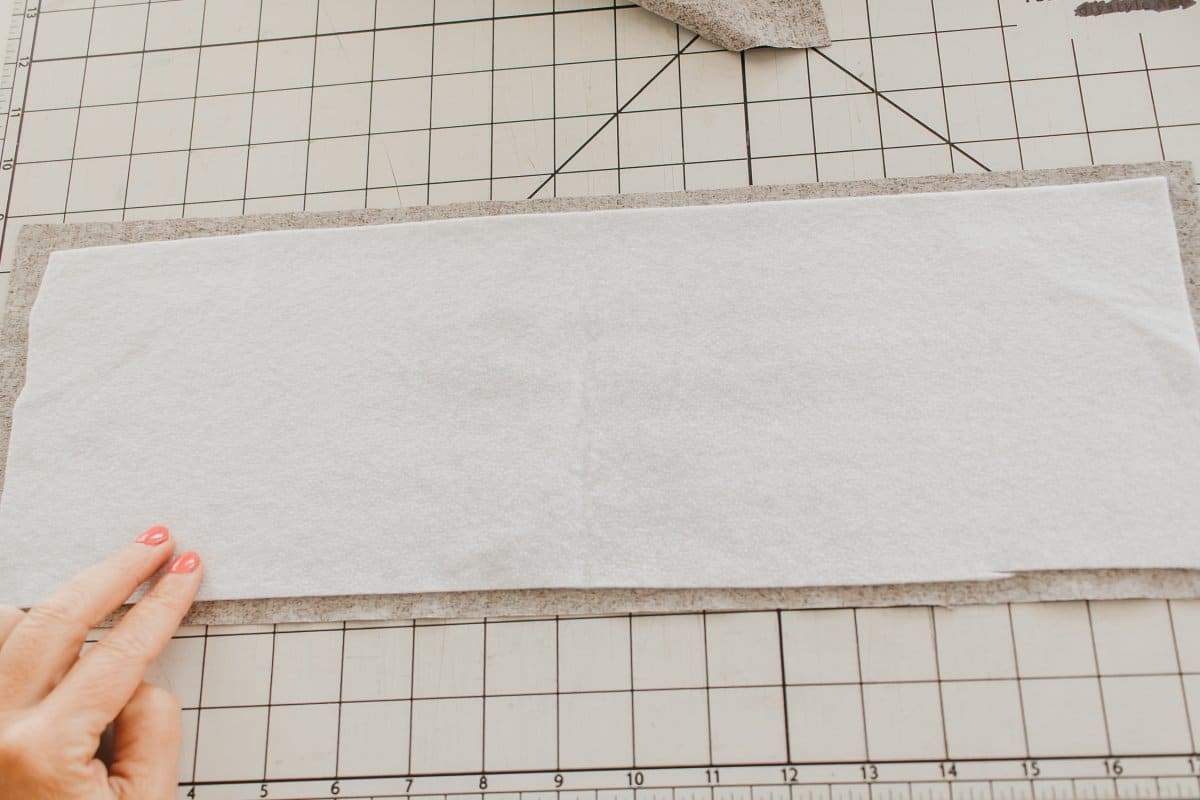
Now each of the letters should be fused to the fabric and easy to work with and sew. Place the fusible fleece on the back of the fabric with words. The fleece should be double fusible OR place the fusible side up, so it will fuse to the back later. Flip the fabric over and pin in several places place to hold it in place.
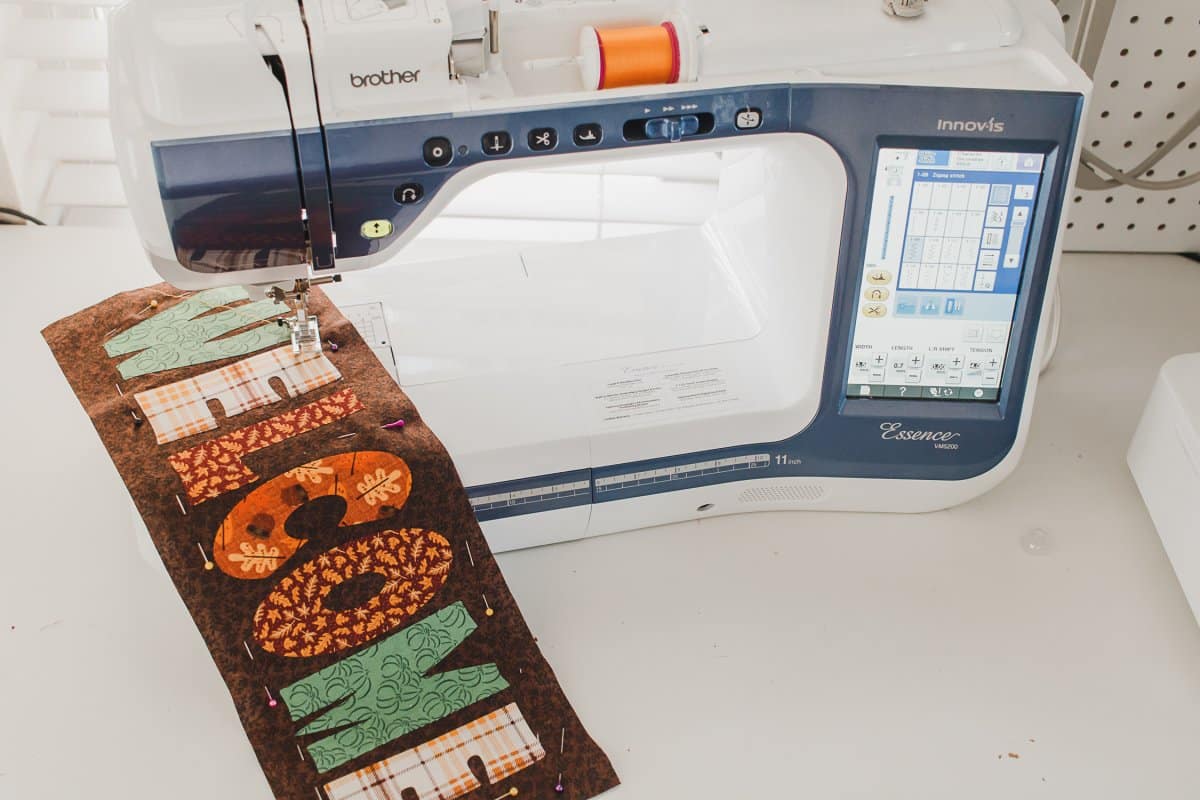
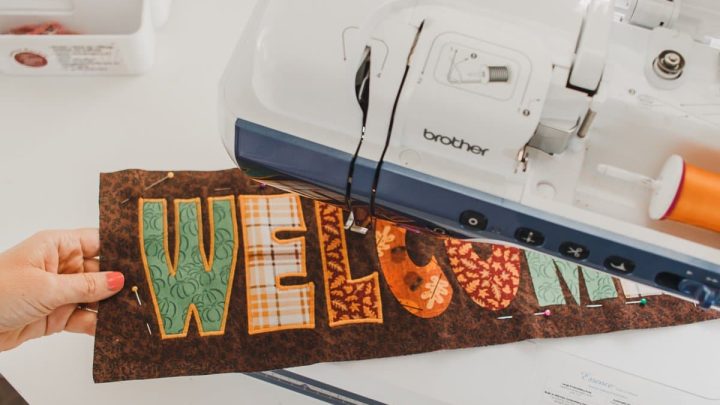
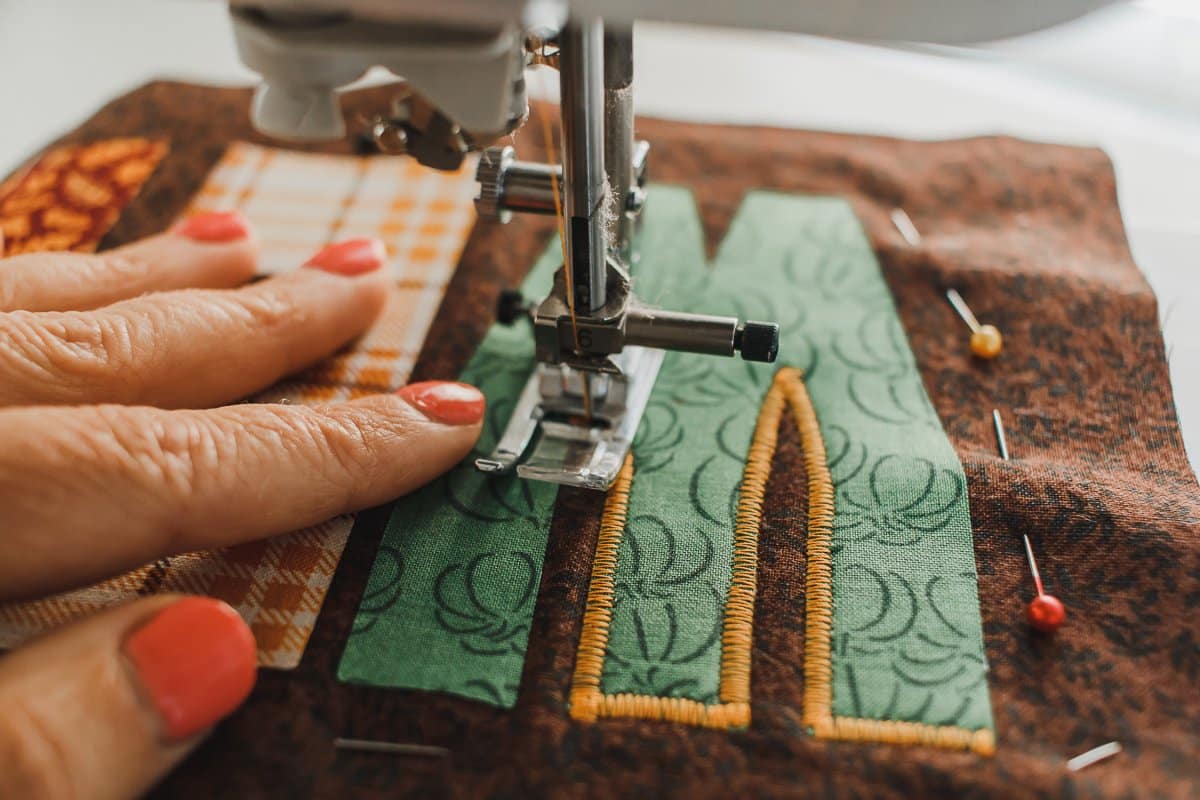
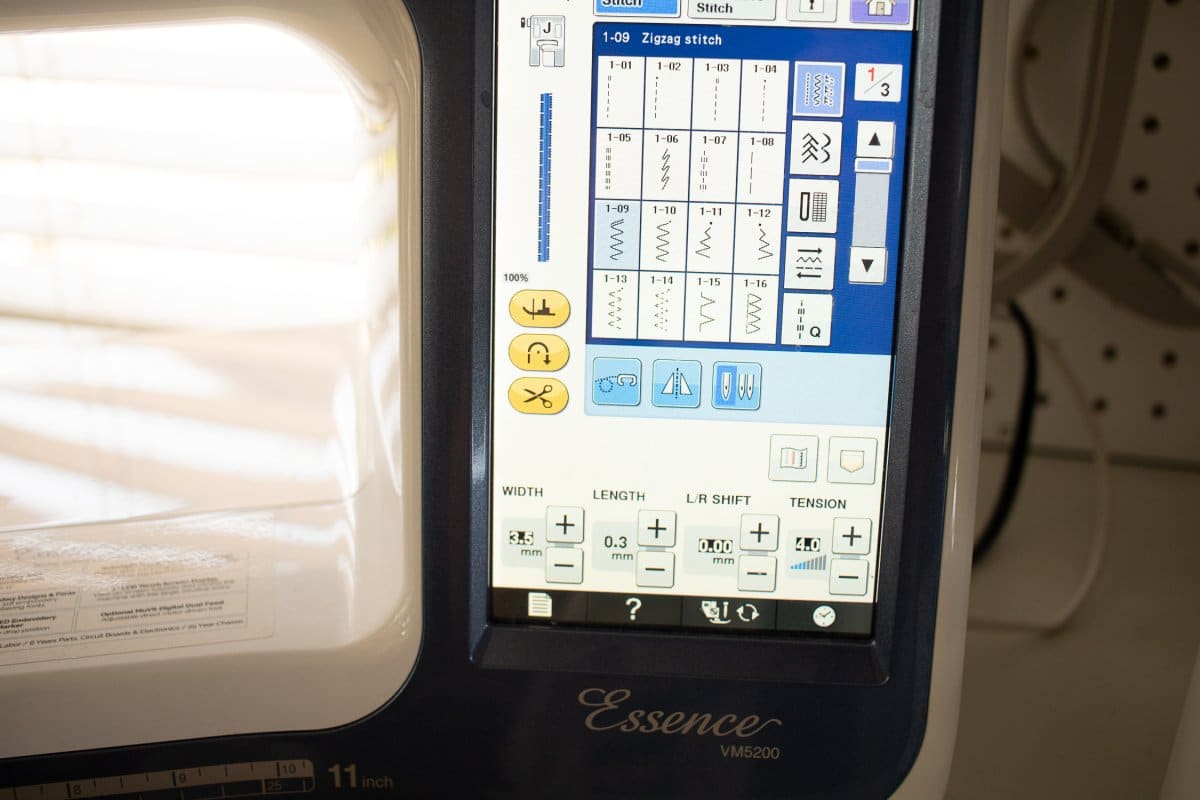
With the fleece pinned to the backing stitch around each of the letters. My settings are seen in the photo here. The zig-zag stitch with is 3.5 and the length is .3. This creates a nice tight stitch around each letter.
If you are doing the applique version you will stitch the placement for each letter, then add the fabric and tack down each letter. If there is overlap, trim before adding the next letter. Do not add the final satin stitch. Remove the hoop and trim each letter closely.
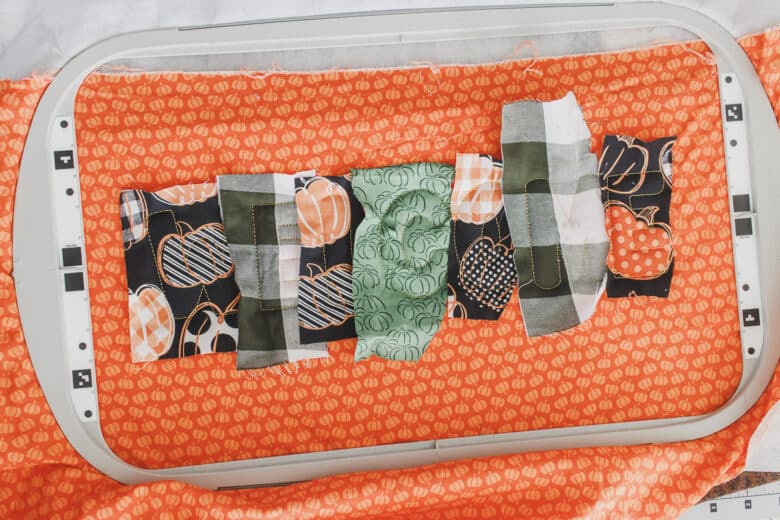
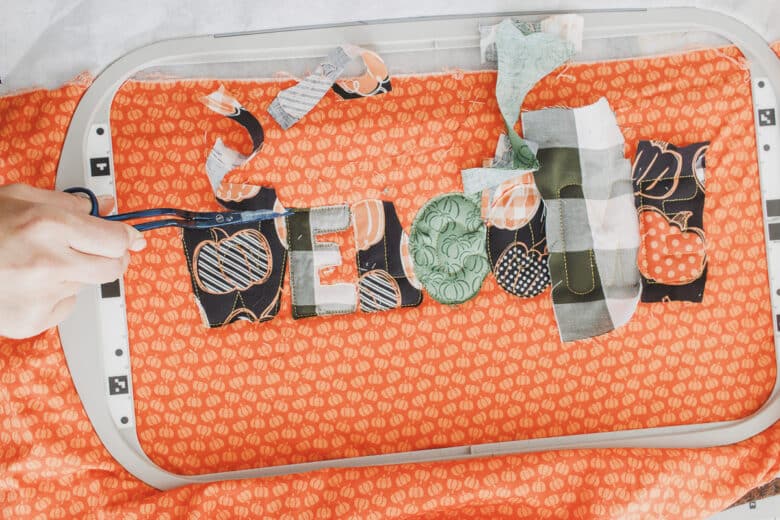
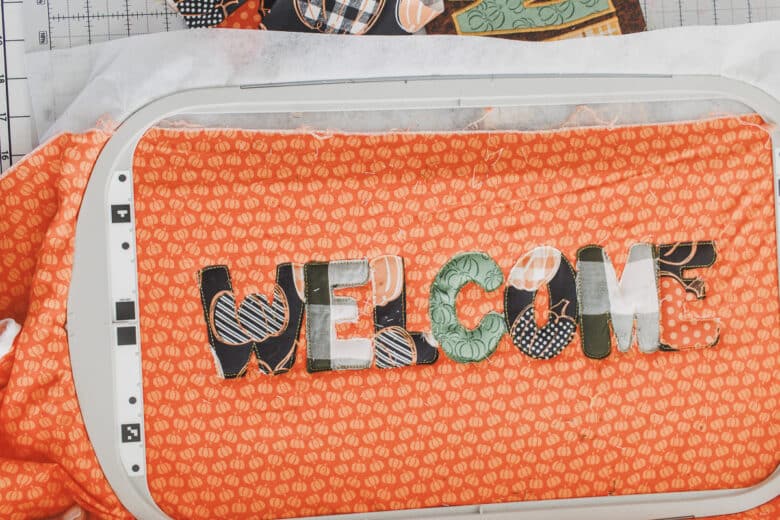
Now go back and add the satin stitch. If your machine has embroidery sort, you can set it to do the steps in this order. If you can’t sort the steps, you can use the up/down thread arrows to navigate through the stitch order to make sure you are stitching all the letters before adding the final outline.
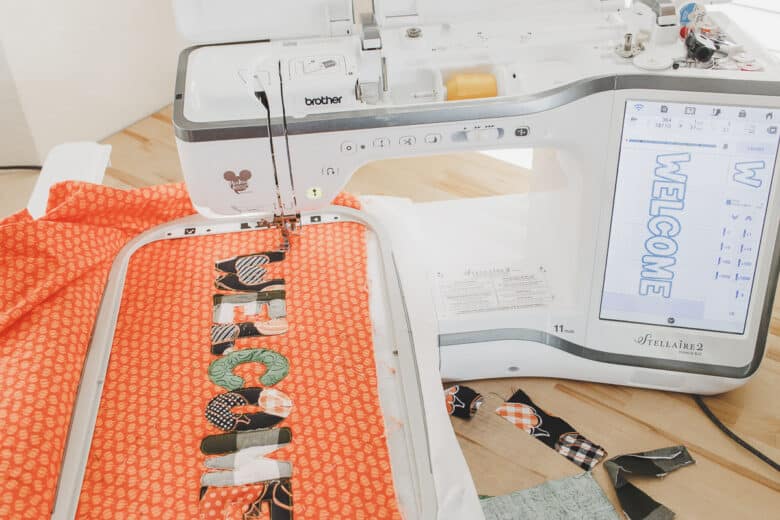
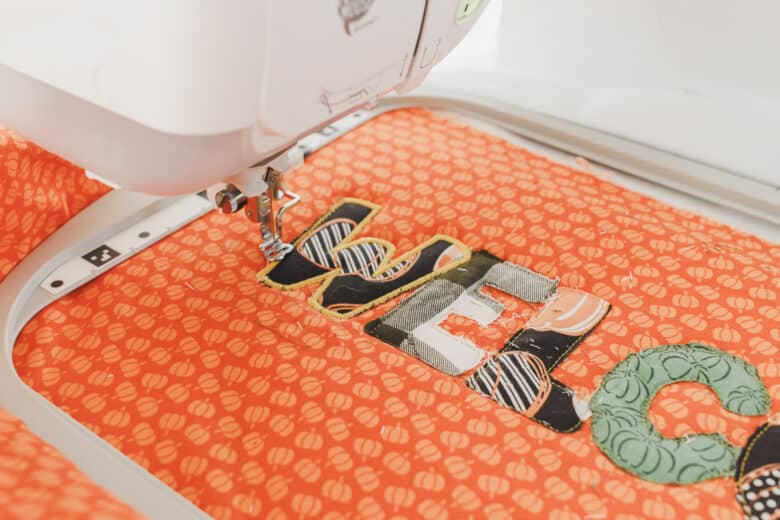
You can see the arrows here to see what you are sewing and what you need to embroider next.
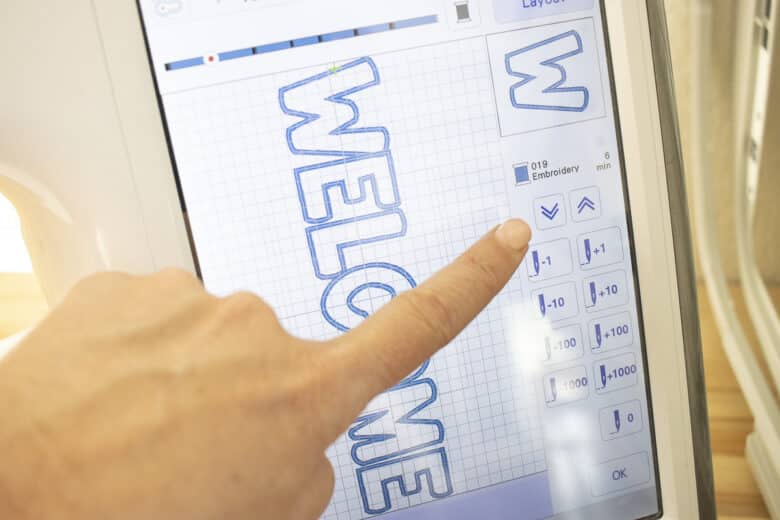
Remove the fabric from the hoop when finished. {You can see I had to change the bobbin thread a few times} Press the top with an iron to smooth the stitches and fuse to the foam.
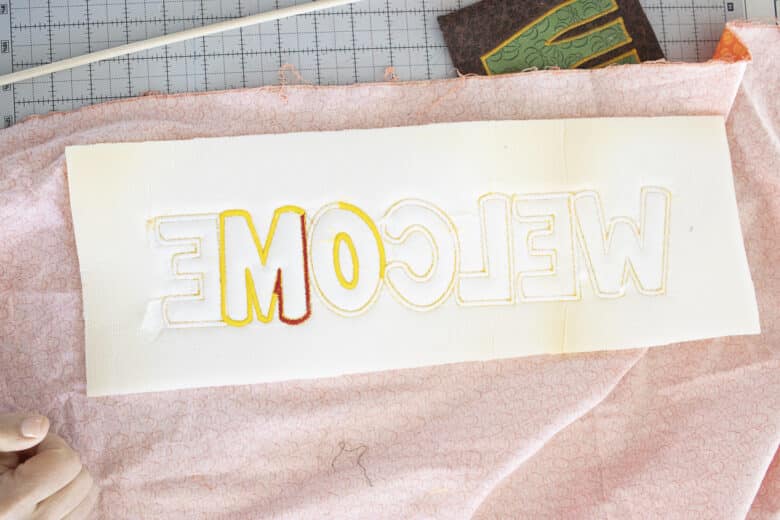
Trim the foam even on all sides of the lettering. Trim the fabric to 1/2″ seam allowance. Cut a piece for the backing the same size as your front piece.
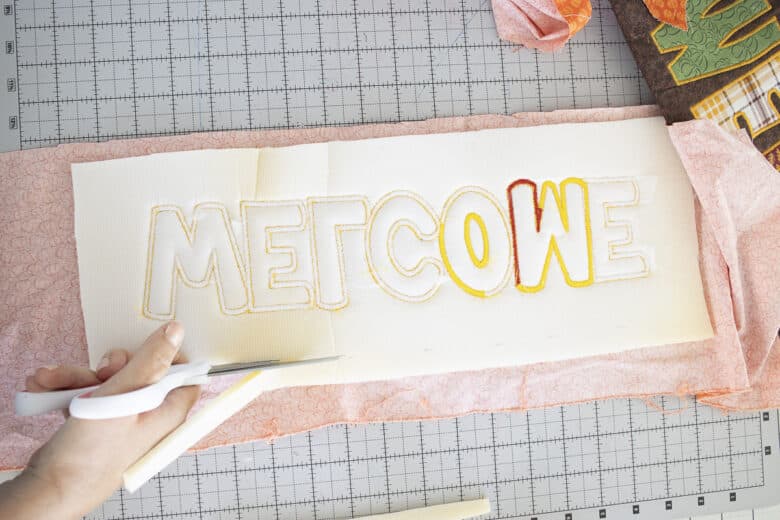
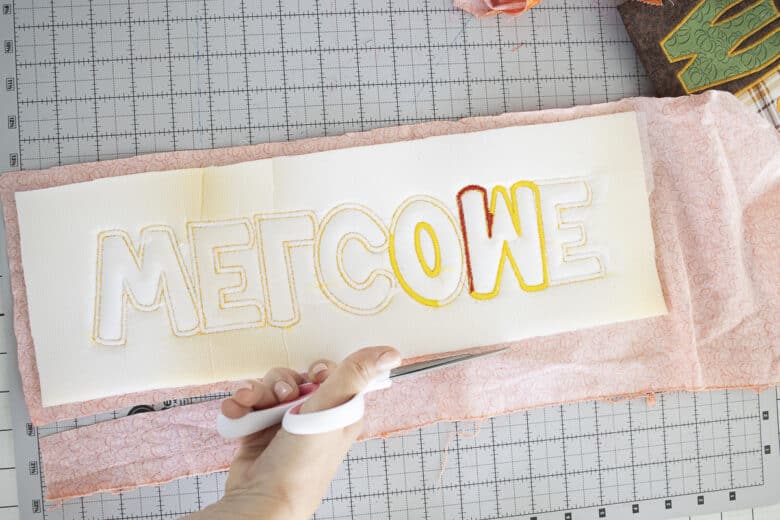
For the sewing version, trim the fabric even on all sides of the lettering. Cut a backing the same size as your front piece. With right sides together, place the front and back of the sign fabric together. Leave a 3″ hole for turning the fabric. Clip the corners before turning.
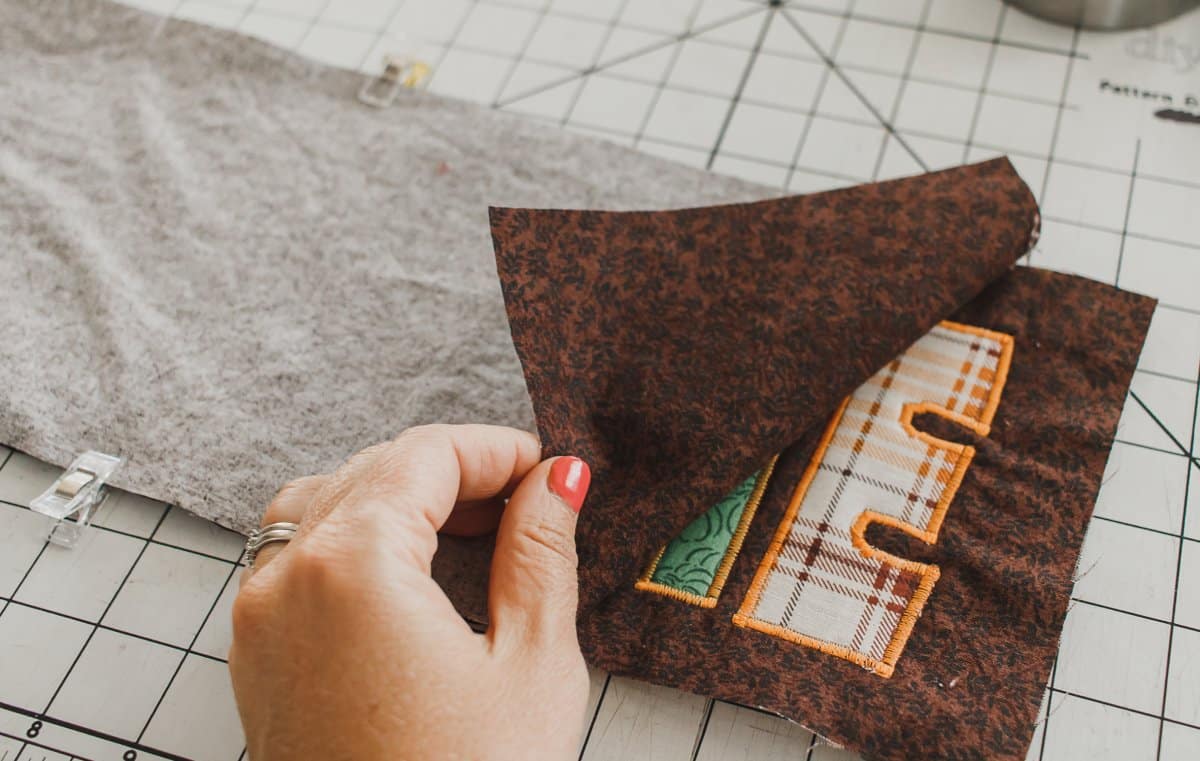
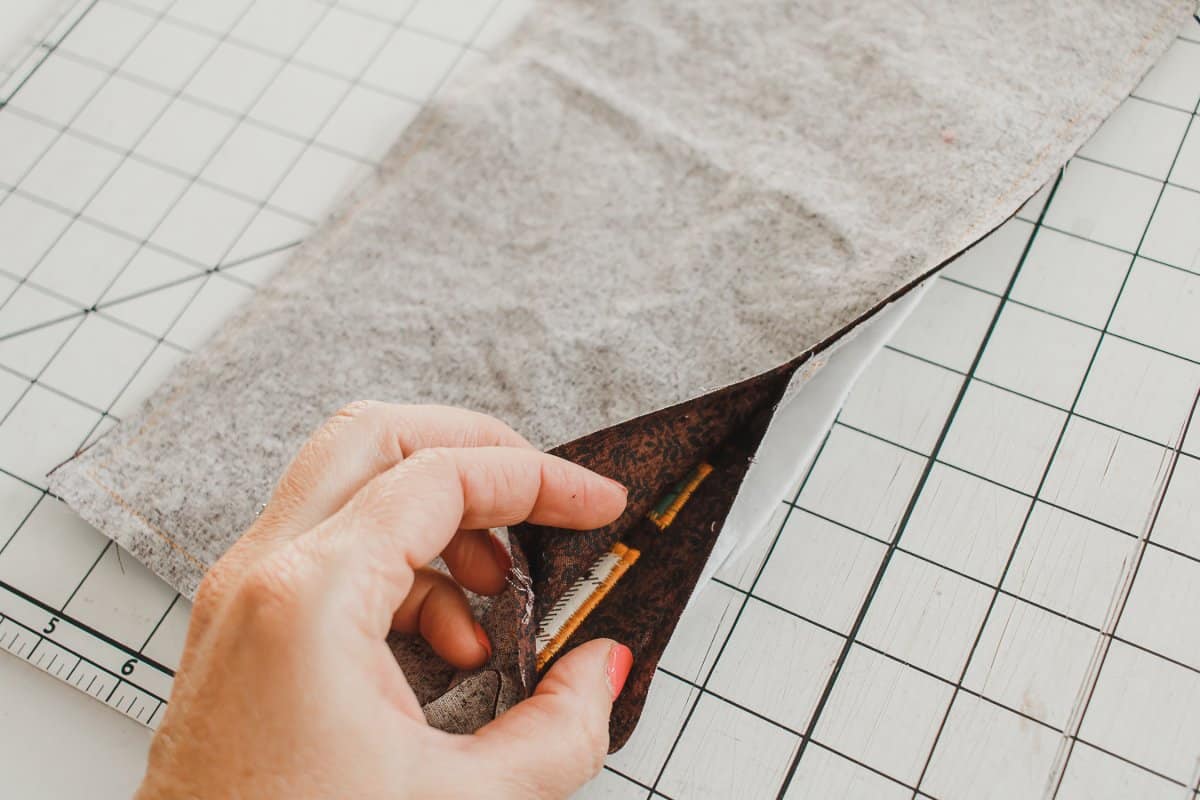
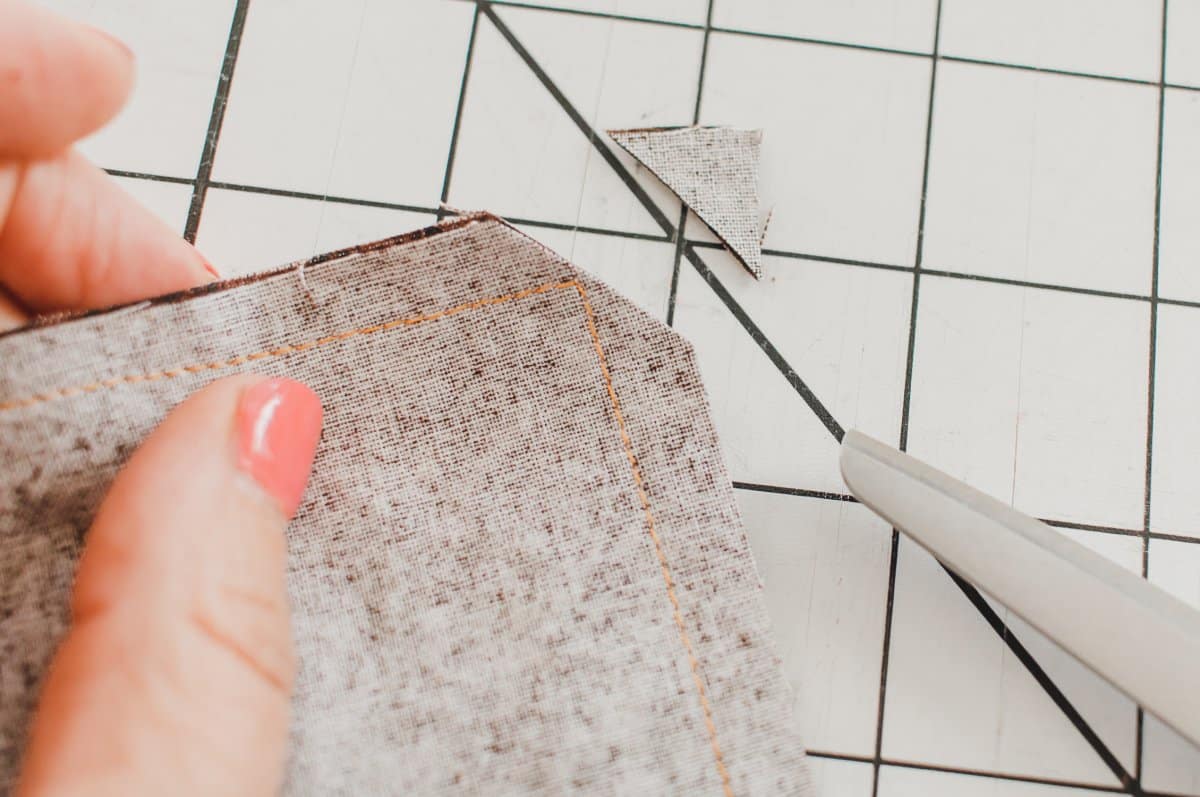
For the foam version you will sew the two layers together in the same way. I left on of the small ends open for turning. Add ribbon for hanging along top edge if desired. Clip the corners.
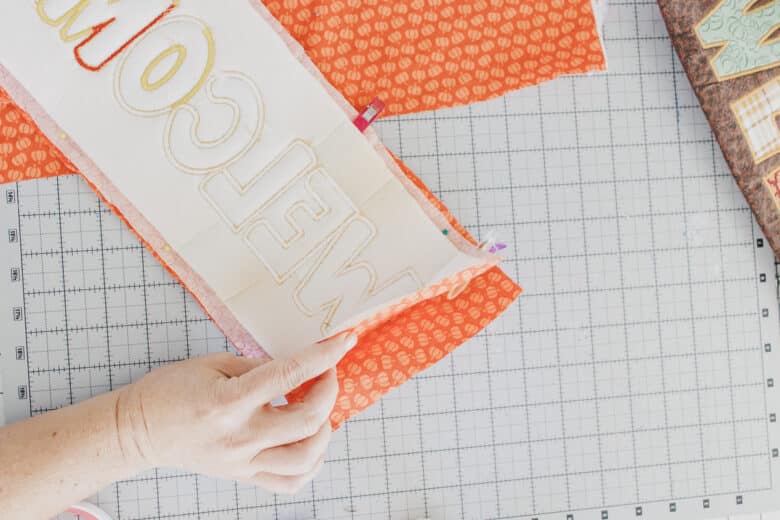
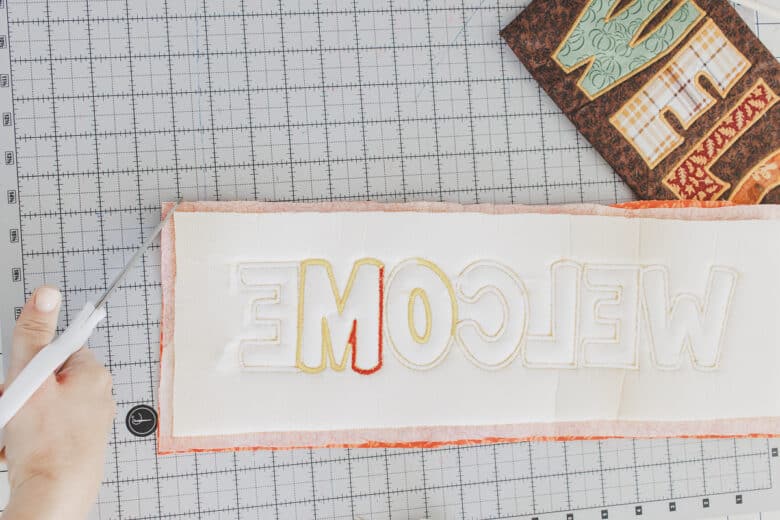
Turn right sides out and turn in the hole seam allowance. Press to secure seam allowance AND to fuse the fleece to the backing. I hand sewed the opening closed. You can close the turning hole however you want.
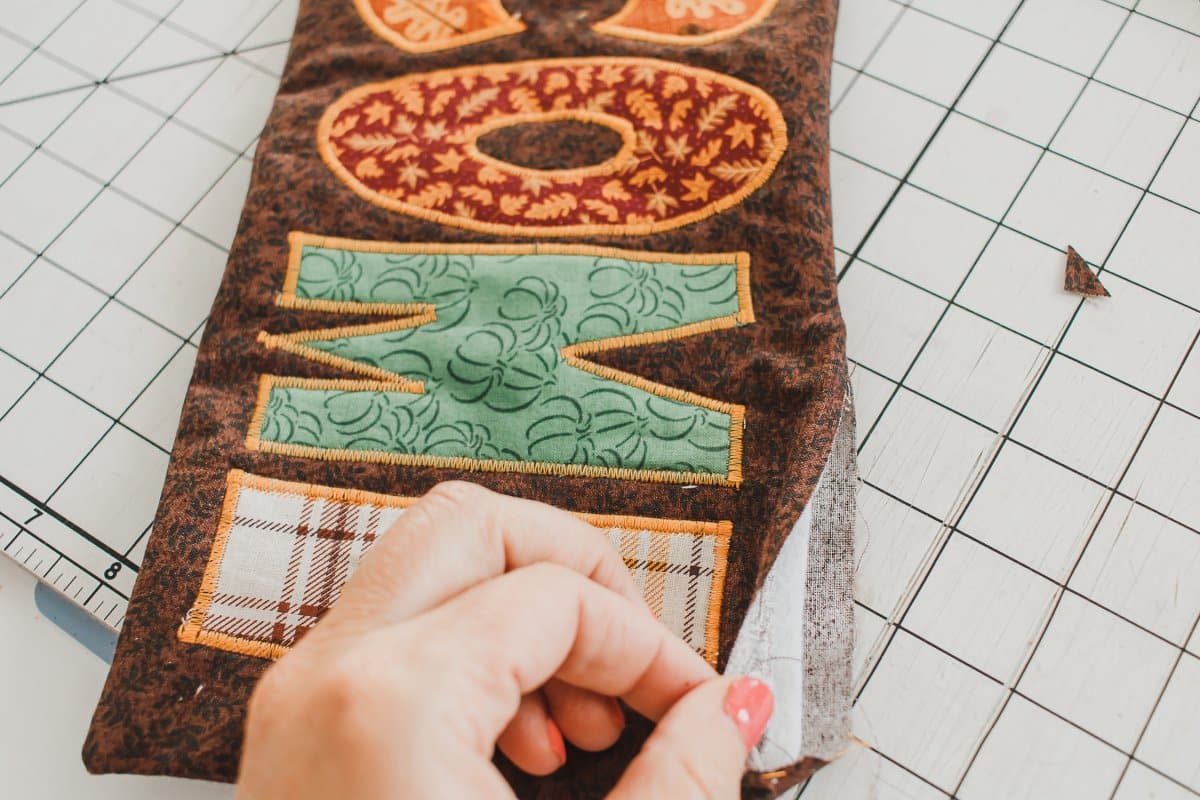
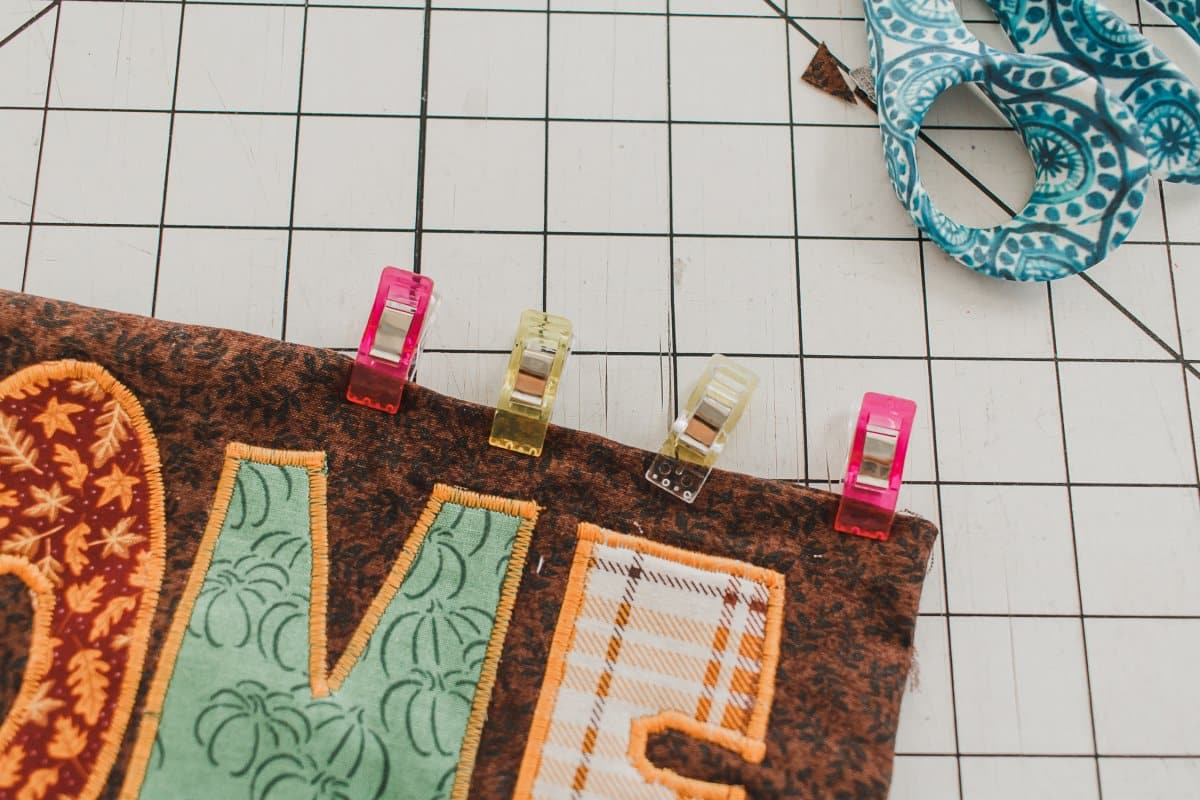
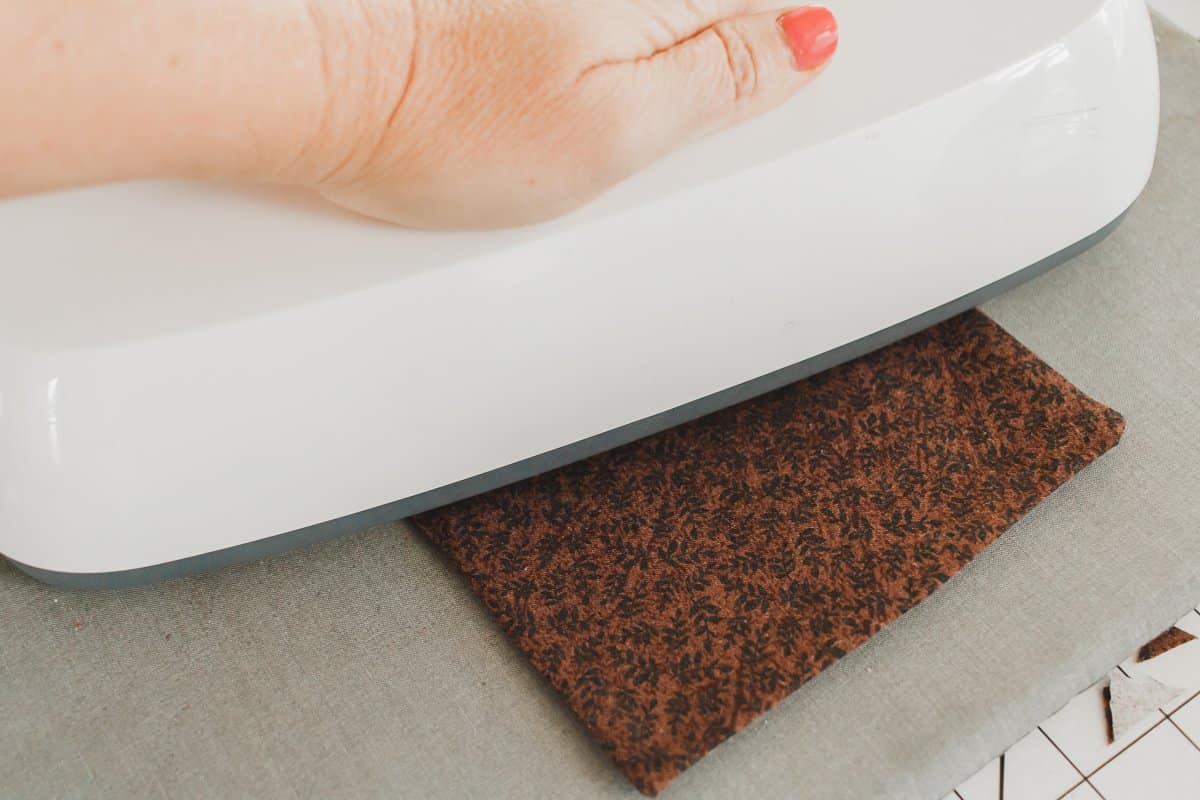
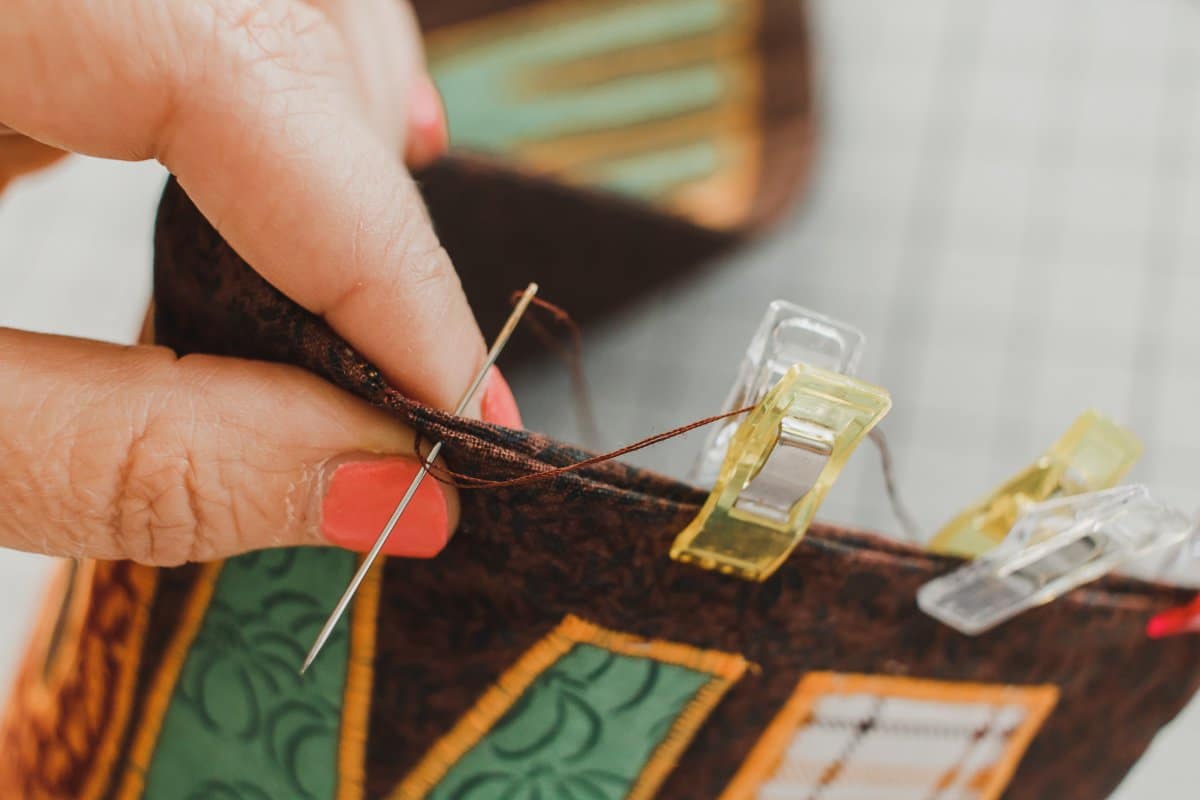
Turn right side out and press to fuse back side of foam. Fold in and press turning hole seam allowance. Hand stitch to close the hole.
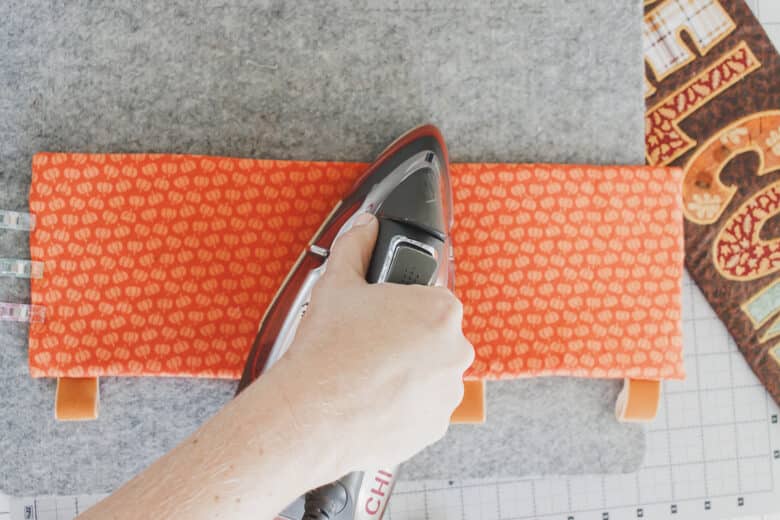
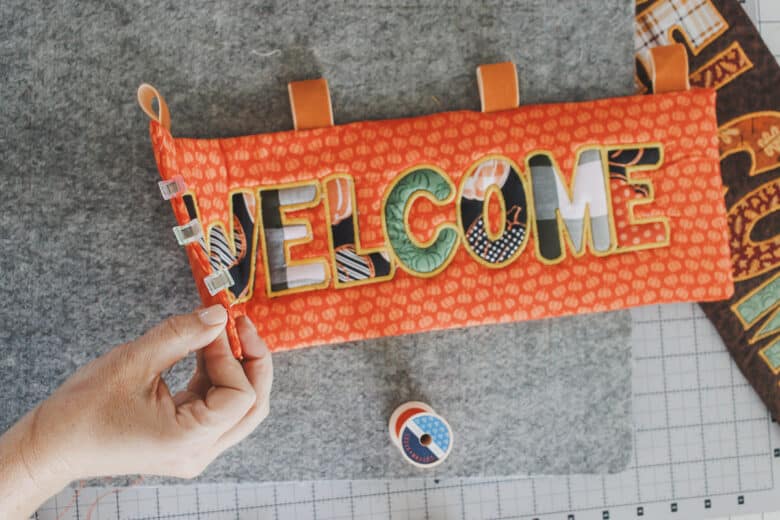
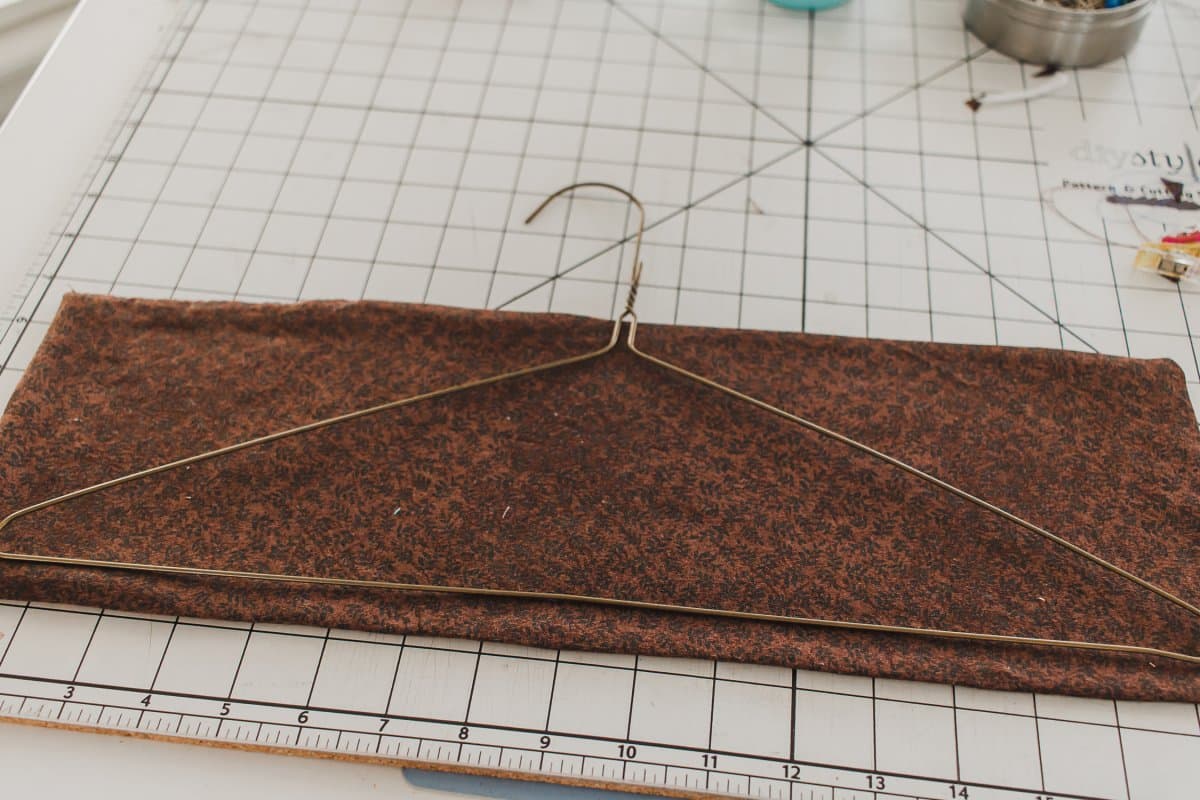
I glued a hanger to the back to easily hang on the door. You can use any hanger or other way to hang that you like. This is just what I had on hand in the moment and this was a quick solution. I love it!!
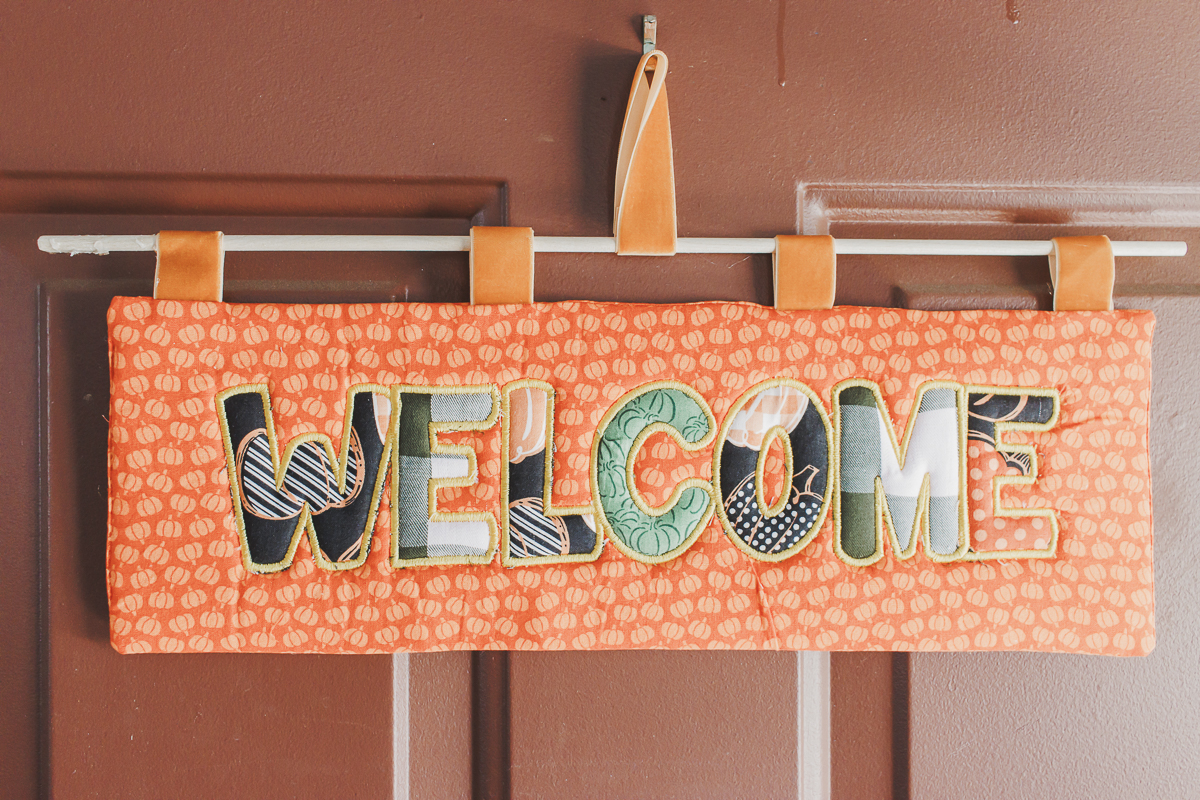
For the orange sign with ribbon, I used a dowel to hang through the ribbon to hang the sign. The hanger is super easy as well. I used hot glue to attach, simple and useful!




Mel@Mellywood's Mansion says
It’s beautiful, lovely work very fall 🙂
Deb @ Frugal Little Bungalow says
It’s lovely and so are the fabric colors !
Esther F. says
These colours are lovely! It is very autumnal ( is that a real word? )
It is really welcoming! You have made something wonderful!
Esther
esthersipatchandquilt at yahoo dot com
ipatchandquilt dot wordpress dot com
Joanie's Trendy Quilts says
Wonderful welcome quilt! I really like the idea that is is hanging on a branch piece! Creative!
Kayla Janachovsky says
Beautiful job! Don’t forget to link up to The DIY’ers. http://homecomingmn.blogspot.com/2013/09/the-diyers-30.html
Maria says
What a beautiful quilt sign! I love the colors, beautifully made! Happy Fall! 🙂
Maartje Quilt says
Lovely quilt with this autumn colors! Congrats!
Rhonda says
I LOVE what you have done. You should come show off your creativity starting at 8PM CST at Craft Frenzy Friday! http://obsessiveandcreative.blogspot.com/2013/09/craft-frenzy-friday-6.html It won’t be a party without you!
Danielle says
Very cute for fall! x
Andrea says
Hi I’m clicking on “download full project here” link, but it’s not leading me to any instructions on how to make this. Am I just blind? 🙂
Emily says
Hi! I actually made this from a pattern I bought.. you can find it here: http://shrsl.com/?~9kil. Let me know if you need more help. sorry for the confusion!