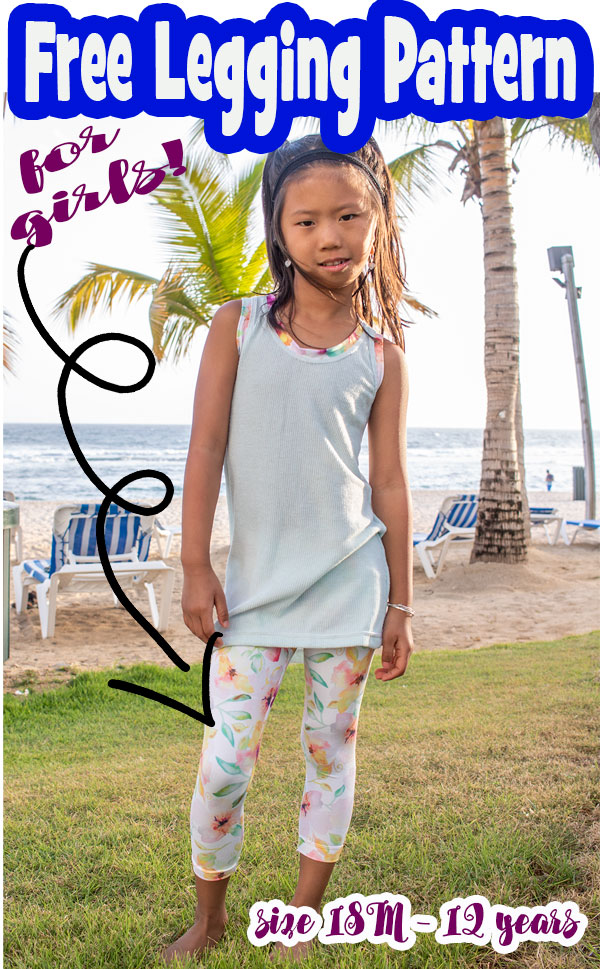
inside: free leggings for kids! Grab this free classic legging pattern and sew up some amazing leggings in sizes 18m-12Y.
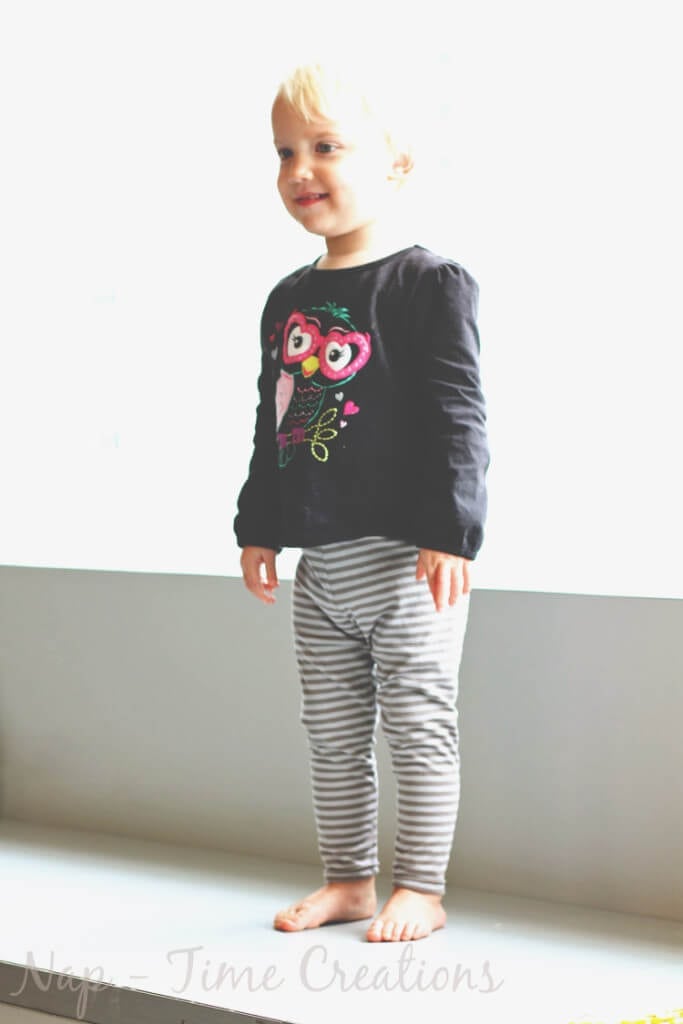
It’s FREE PATTERN TIME again!! This is the free classic legging pattern for girls goes with just about everything in every season. This Free Classic Legging Pattern for girls is sized 18 mths – 12 years. The little girl leggings pattern is close fitting from the waist to the ankles, but should not be too tight. They are perfect for wearing under skirts, dresses, or with a tunic. I will also add that this is not just for girls… I make these with athletic knit for my boys to wear under shorts while practicing sports in colder weather.
A new version has been uploaded.. changed include slimmer at the thighs/hips and wider at the ankles… Please adjust the rise height as desired.
Updated again Jan. 2018 – eliminated blank pages, updated to new blog name, and added new techniques to this tutorial.
Join the LifeSewSavory Pattern Group for support on this pattern! Make sure to check out all my Free sewing patterns here.
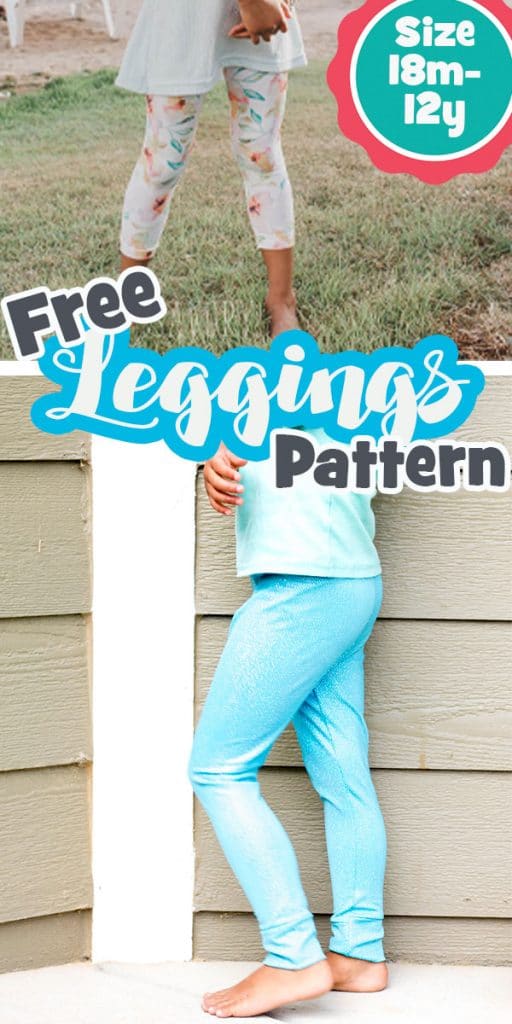
Free Classic Legging Pattern for Girls
The smallest size is fitted for over a diaper and all the other sizes are bit more slim in the hips… Use the size chart for sizing. You can also compare a pair of leggings you already have for sizing.
Legging hacks I’ve create since this tutorial was written:
You will need 1/2 yard knit fabric for the 18 mth size, and a full yard for 2-10 sizes. You will need 1 1/4 yards for the largest size 12. Of course if you shorten the length you will need less fabric. I’ve also figured out that I can make sizes 3/4T with 1/2 yard if I use the cuff method {see below for tutorial}
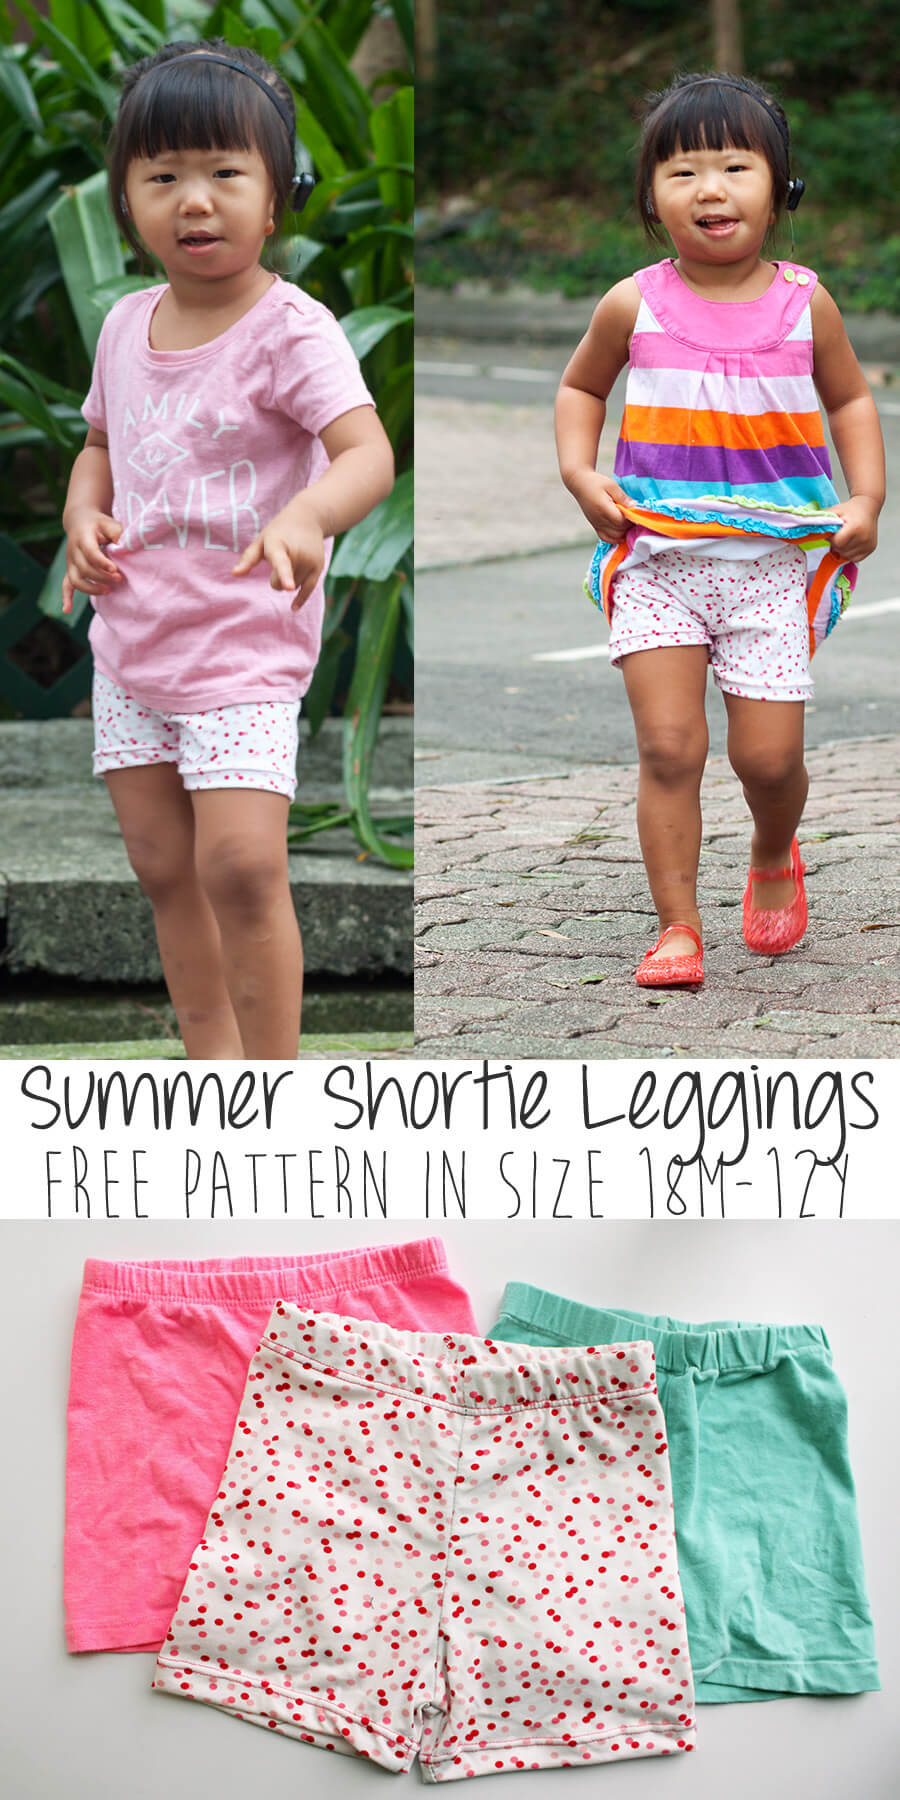
Use the hip measurements to choose your size, this will allow for the best fit through the hip and legs. Adjust the length when cutting out the pattern. Measure from waist to ankle, then add 2″, this is the length you will want to cut your pattern OR shorten for capri length, or even make into shorts. Get the free legging shortie pattern here.
This childrens leggings pattern free is not just for girls! I’ve used it for boys sports leggings and sleepwear plenty of times.
ok, let’s get to the PATTERN!!! Go print it the Free classic legging pattern HERE!
free legging pattern – tutorial
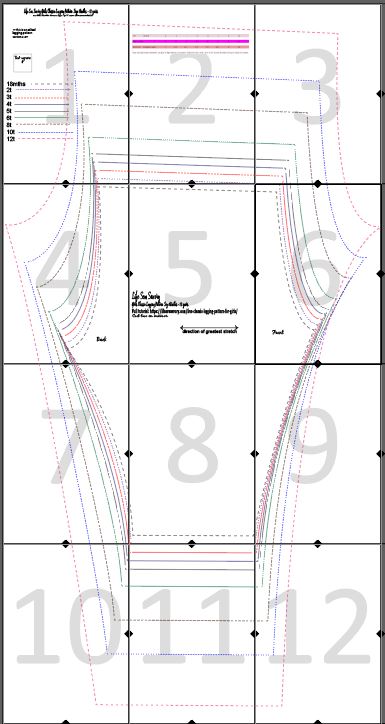
Tape it together…. it should look something like this {although this is not the newest pattern}… There are 16 pages… .for some of the smaller sizes you can print only some of the pages. Use this photo to see which pages to print. The grey numbers correspond with the pages you will print. The bottom is cut off a bit in this screen shot. Cut two pieces in mirror on your fabric.
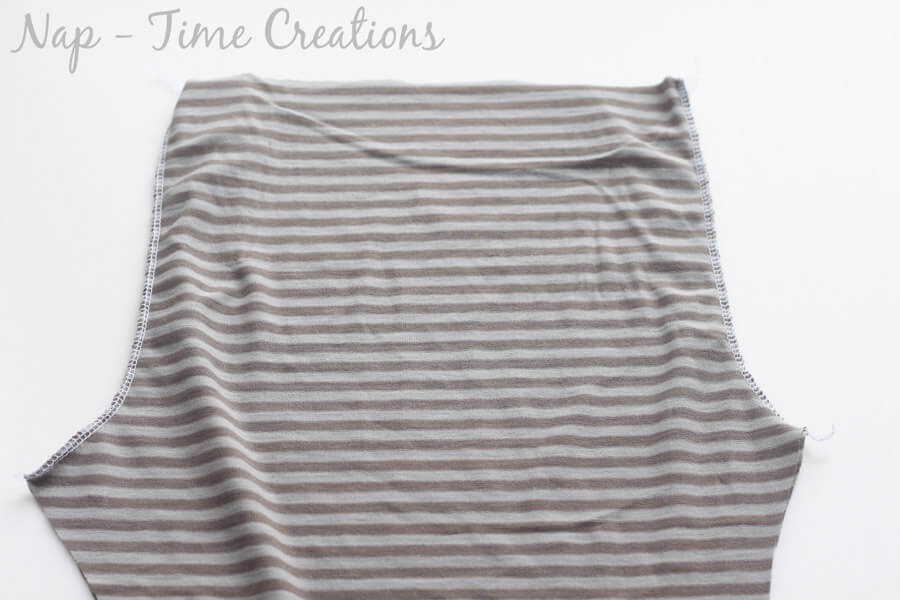
How to sew leggings –
With the fronts and backs together, sew as shown below.
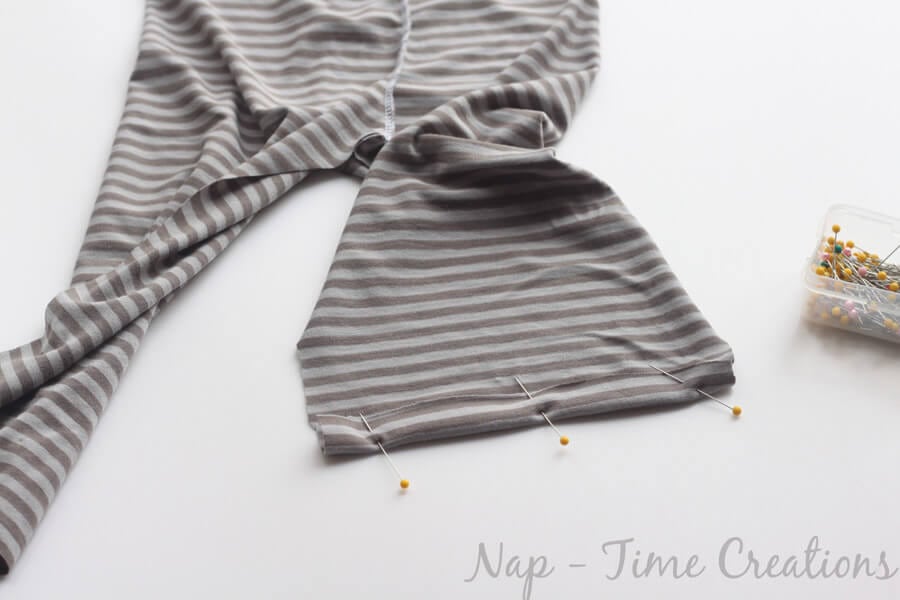
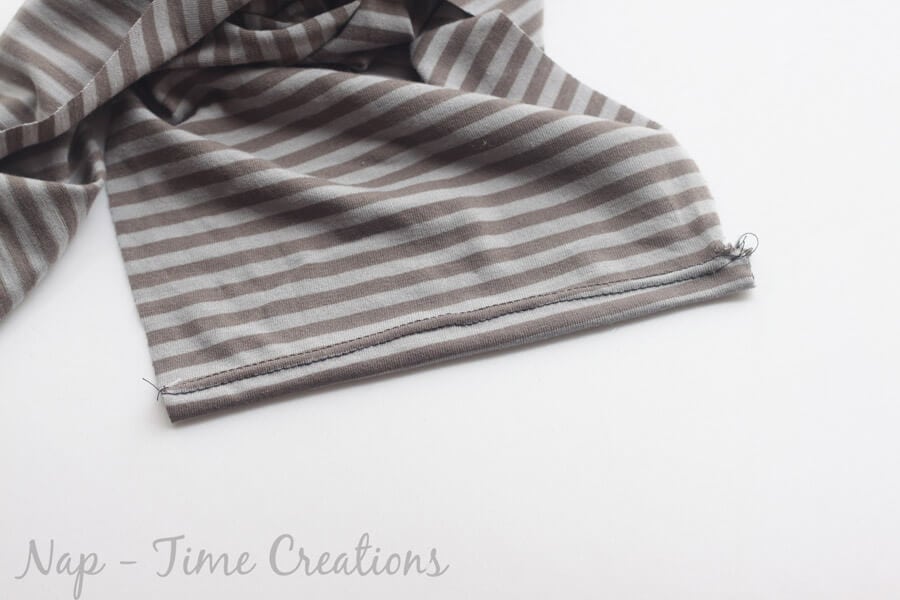
You will have two choices for the hem, the first is great if you don’t want to hem in a small space. Turn up 1/2 inch before you sew the inseam as shown below. Use a zig-zag, knit stitch, or double needle with woolly nylon in the bobbin. Sew the hem of the legs. I will also show another hem option below.
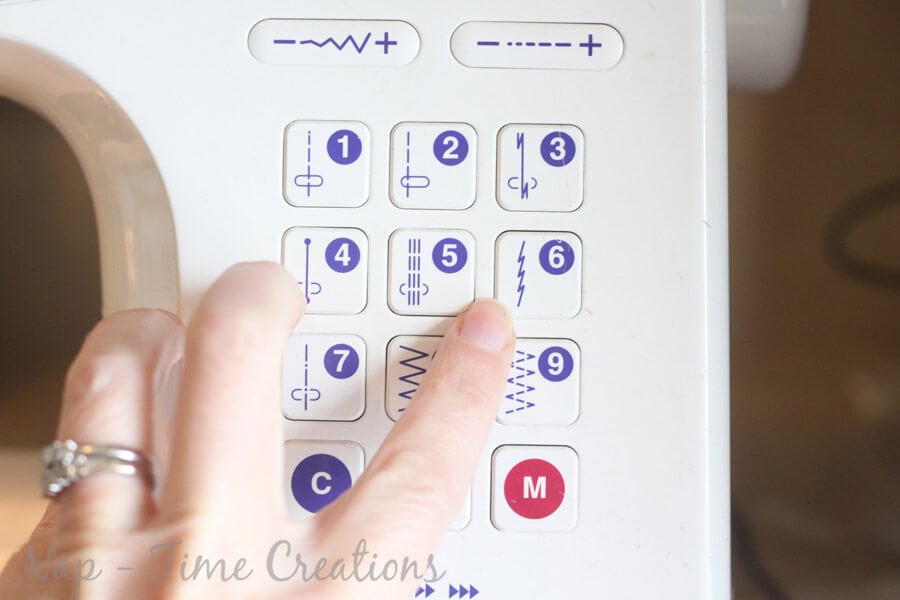
This is what the knit stitch button looks like if you aren’t familiar. Be careful not to stretch the fabric as you sew with this one.
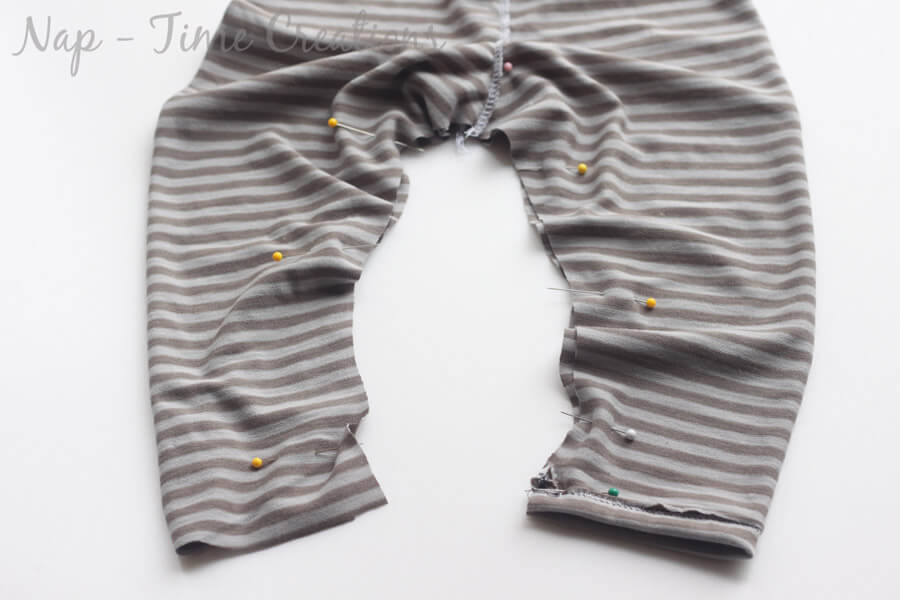
Now, sew the inseam {I’ve left one leg un-hemmed to show the other option}
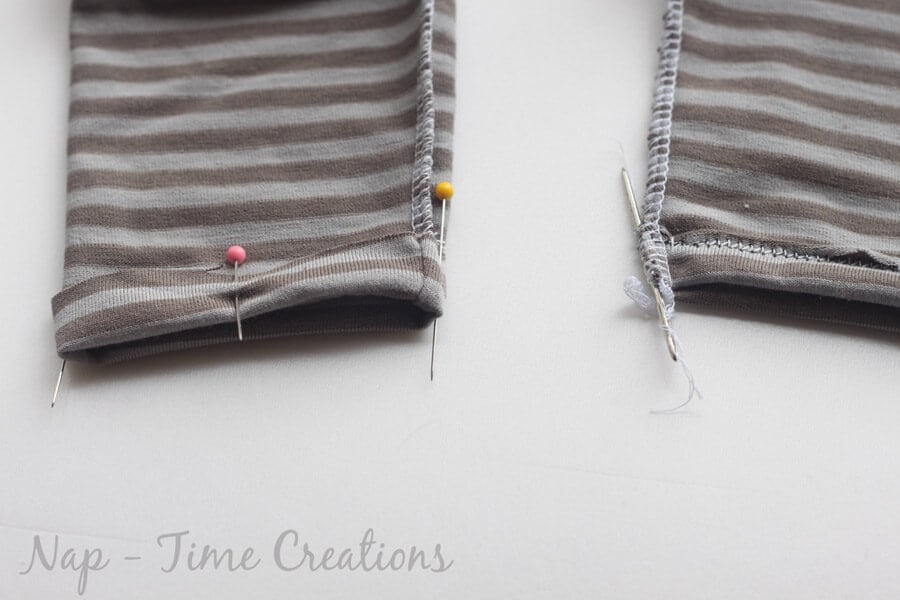
If you aren’t scared of small spaces, you can hem your leggings at this point as well. Fold up 1/2 inch and hem. If you hemmed before you did the inseam make sure to secure your threads. Back-stitch on a regular machine or pull your serger threads through with a darning needle.
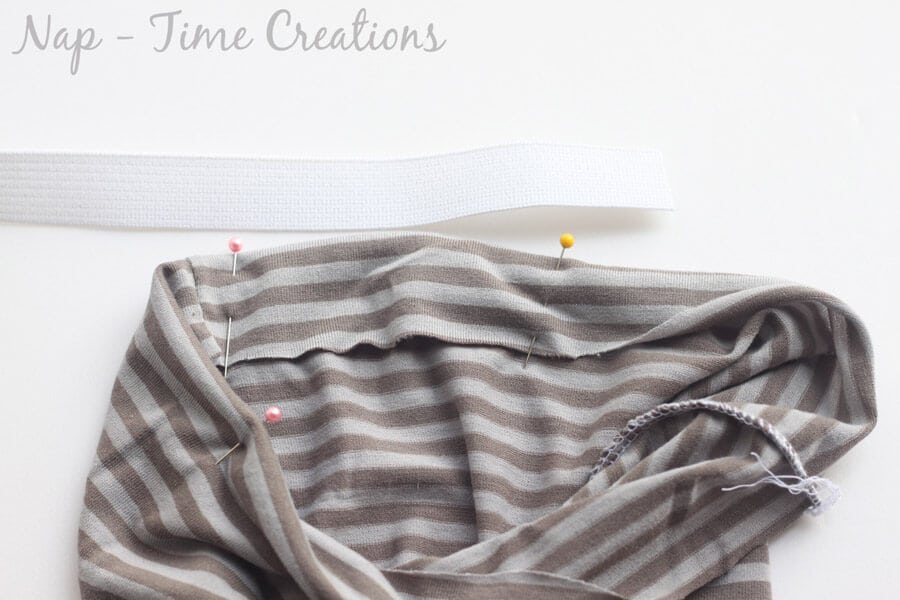
You can make this waistband two different ways. Here’s my full elastic waistband tutorial post.
With 1″ elastic, measure your little ones waist, cut the same length as the waist. Fold over the waist band 1 1/2 inches… Sew {zig-zag, knit stitch or double needle} leave an opening to thread the elastic. Thread the elastic through the opening, then sew the ends of the elastic together. Close the hole.
You can also add a contoured waistband without any elastic using this contoured waistband tutorial.
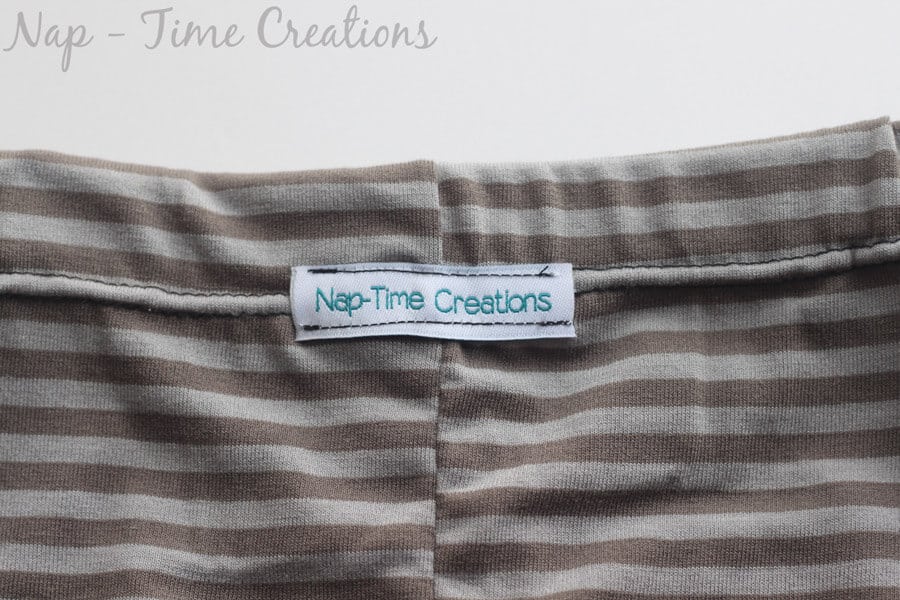
Add a label to the back if desired.
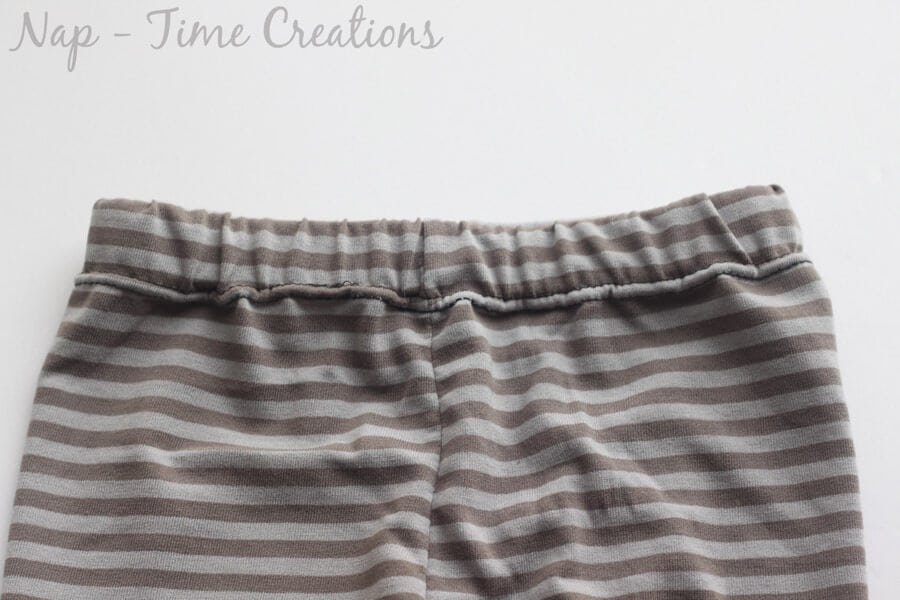
This is the front view…The top should not be too gathered.
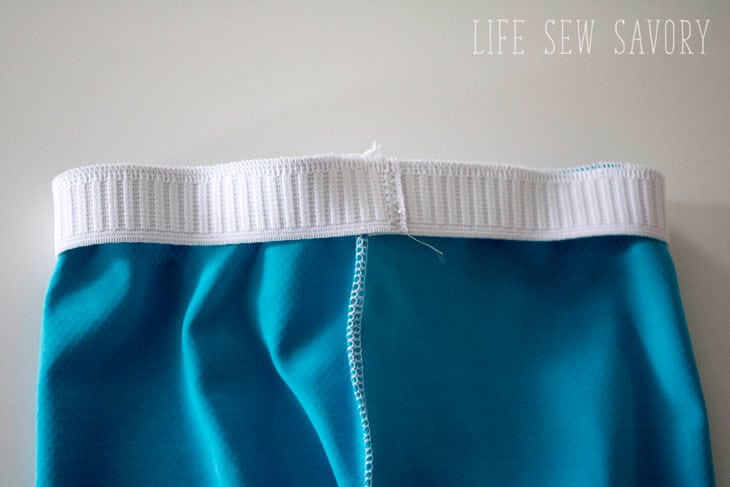
You can also just sew on the elastic and create a folded over waistband in one step. Sew the elastic circle to the top of the pants, if using a serger do not cut the elastic with the blade.
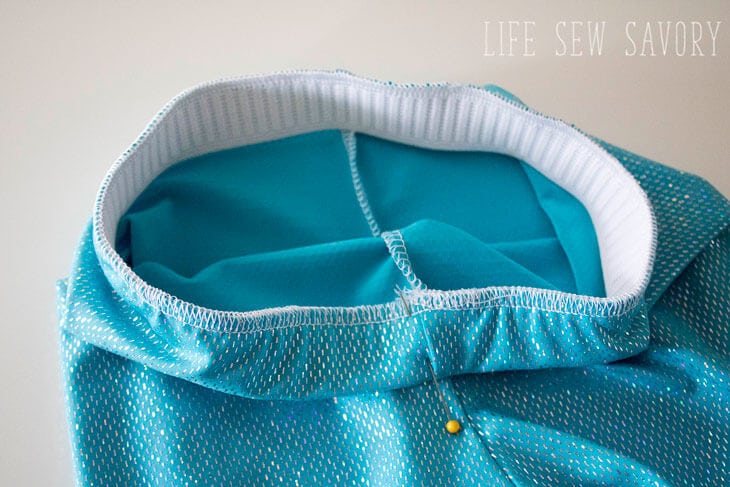
Then fold this over to enclose the elastic. Top stitch around the edge of the elastic to secure and cover the elastic.
Here are a couple of other options for sewing up this pattern… CUFFS-
I made these 4t length leggings with just a 1/2 yard of fabric. Cut as much length as you can from the 1/2 yard then make up the rest by adding a folded over cuff. Sew the cuff to the end of the pant legs before sewing up the inseam.. this also saves you from having to hem.
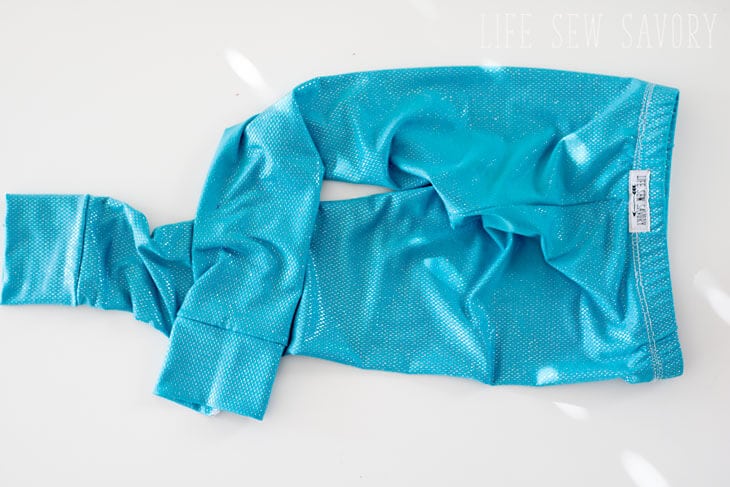
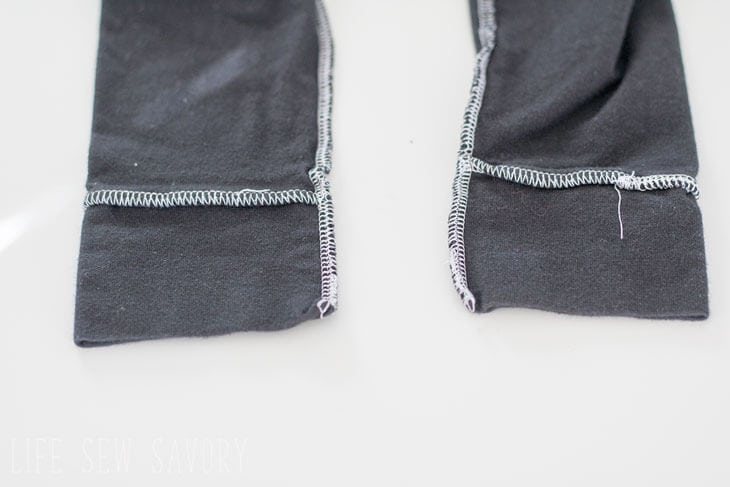
You can make your leggings with a serger or just a stretch stitch on a normal sewing machine. Here are a pair sewn only with a sewing machine.
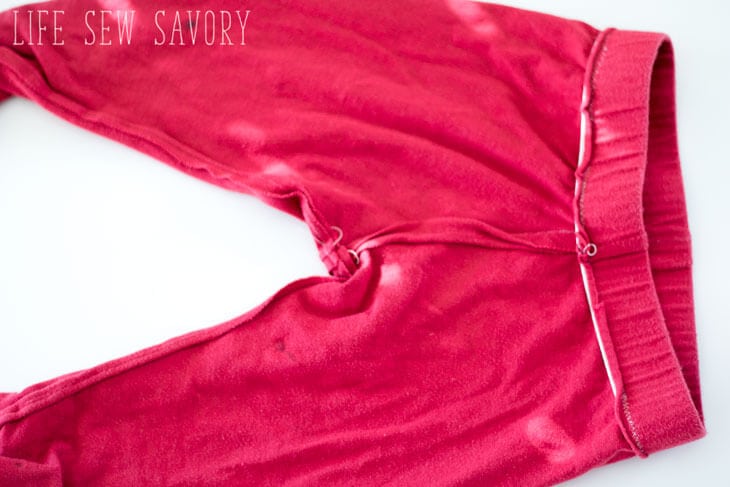
And you did it! Enjoy your free classic legging pattern and share photos of your finished products!! Please let me know if you have any questions or concerns with the patterns, I’ll do my best to help!! Be sure to check out all my other free PDF patterns in the free pattern tab on the menu bar!
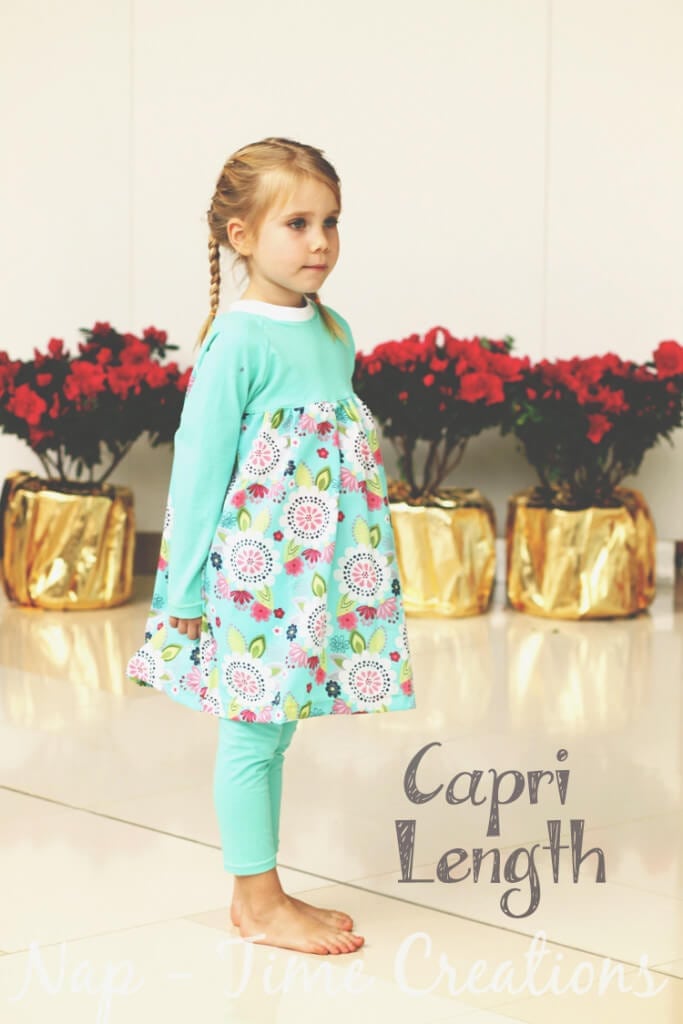
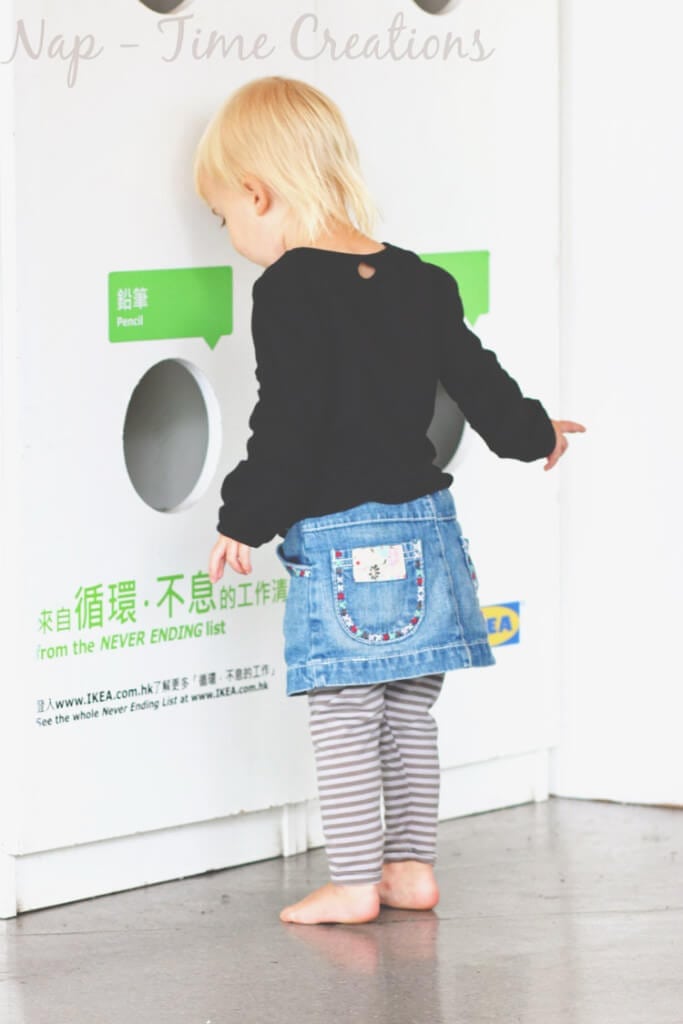
Here are some variations with the leggings…
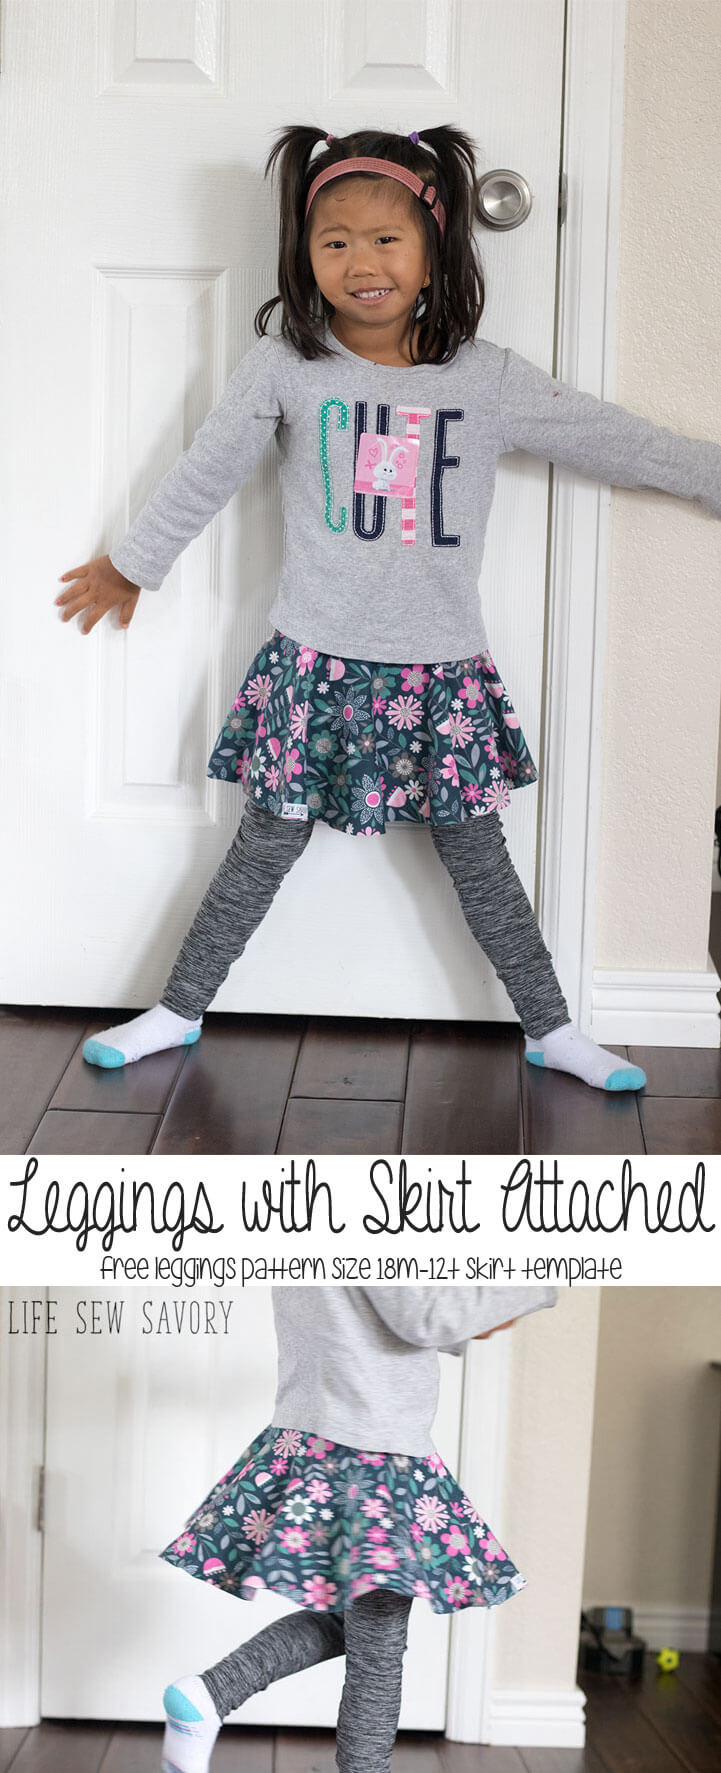
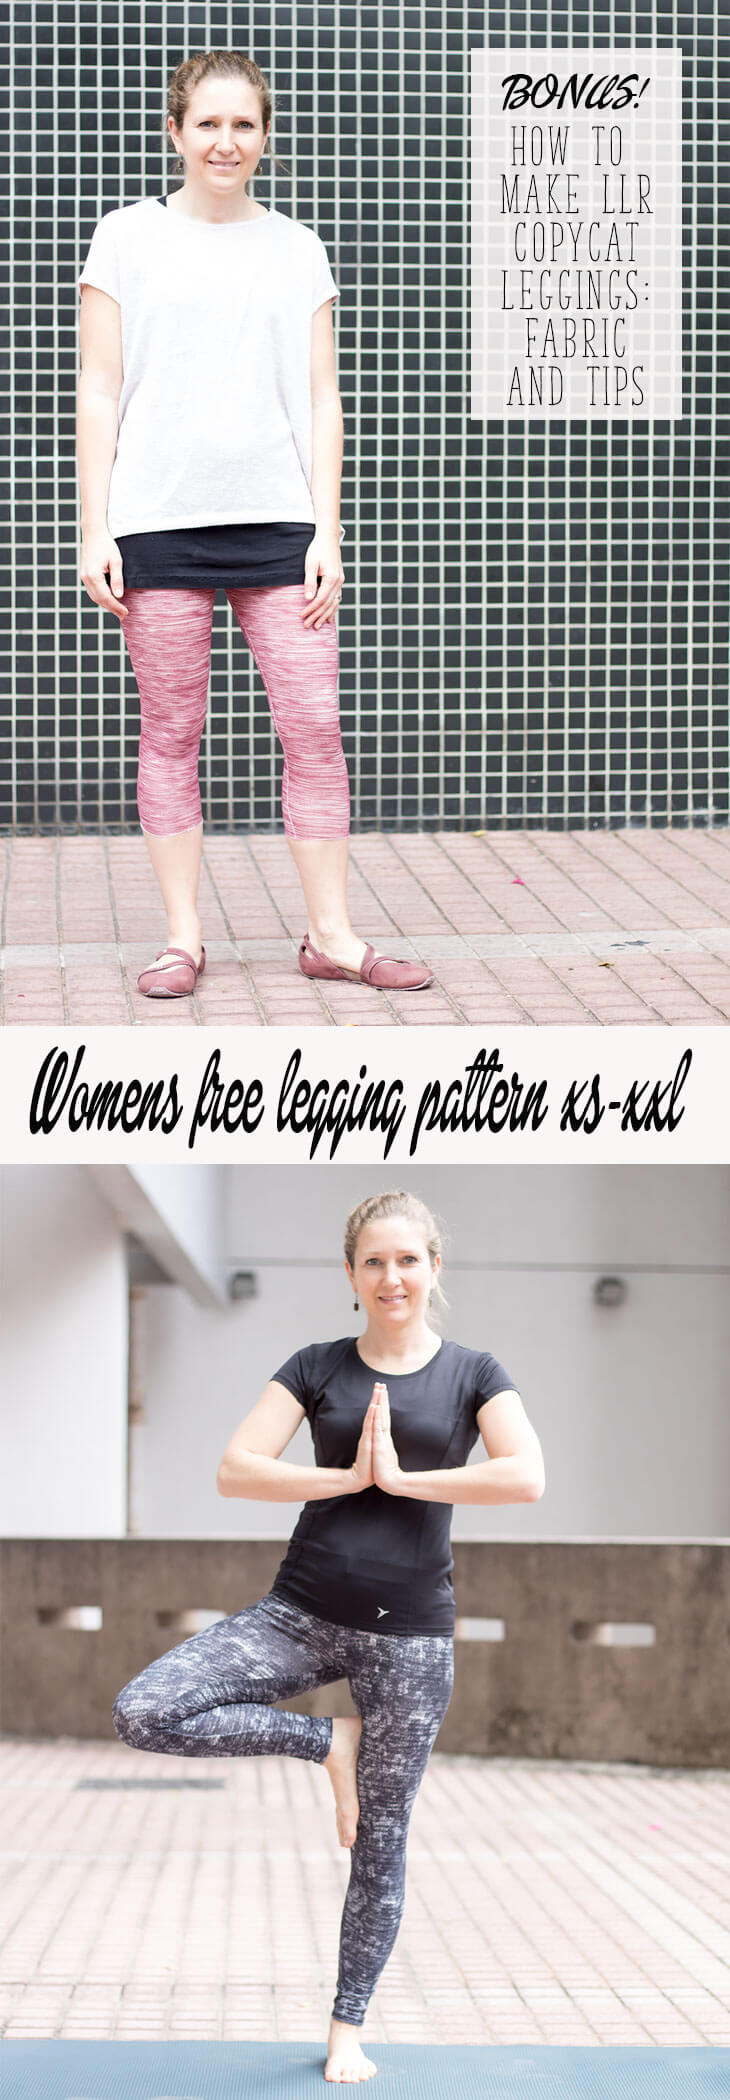
Shorts for summer or with an attached skirt {look how she has grown!!} If you want some for yourself.. try the womens leggings






Laura says
Great pattern, what is the seam allowance?
Thanks
Hannah Vincent says
Hi, I just printed out the pattern and the layout doesn’t correlate to the image of the layout above? I only have 12 pages and not 16 and my 4 is like the 5 in your image and so on. Is the PDF wrong? I don’t think I have printed it wrong. Thanks, Hannah 🙂
Emily says
I have reworked the pattern a few times, so it may look slightly different, but the general layout is the same..
Mary K Kerrigan says
I noticed the waist is slightly slanted. Is there a front & a back?
Emily says
Yes, the higher part is the back. Sometimes I make the slant even more by cutting down the front a bit. Depends on your child
Ann says
hi,
thank you so much for the legging pattern. im new to sewing and was wondering whats the seam allowance to use for this pattern?thank you..
Esc says
I’m not sure if I’m confused or not. I’ve printed and stuck the pattern.
I get the waist is higher on the back than the front as is the case on adult patterns I’ve had but I need your advice.
The leg length inseam is longer on the front than the back by 1 maybe 2 cm?
Following your instructions I can’t seem to get some part of it lining up so I’m afraid to cut my fabric til I have a better idea why my pattern doesn’t line up on the inseam legs. Please teach me!
Esc says
I’m still a bit new sorry
Wendy Sangha says
I’m having the same problem ESC.
Marion Tilton says
hi and thank you for the pattern, it was so easy and turned out really well. I will be making more of these for my granddaughter. Fantactic.
Sheila Robson says
Emily, I see on the shortie leggings the seam allowance is 3/8″. Can I assume the same is true for the full length leggings please?
Wendy Sangha says
Thank you for the very useful pattern. I have cut out the 18 months size and note like another member here that the inseams don’t line up. The front is longer than the back. I realize the rise is lower in the back to accommodate the diaper but the leg inseam i less rounded and shorter in the front.
Wendy Sangha says
Sorry, that should say the leg inseam is less rounded and longer in the front than the back.
Lois Conway says
I also don’t see seam allowance here in the tutorial or on the pattern. It would be fantastic if you’d print the seam allowance onto the master patterns too.
Emily says
I usually do add the seam allowance so I’m surprised it’s not on there. Sorry. All my patterns have a 3/8″ allowance.
Ashlee Poulin says
Most sewing patterns use 1/2″ seam allowance for clothing. Wing it and see how it goes!