Inside: Check out this free dress sewing pattern for girls. The free pattern can be made with or without sleeves and in a dress or tunic length.
**updated 4/2022 – MORE sizes and a few patterns tweaks**
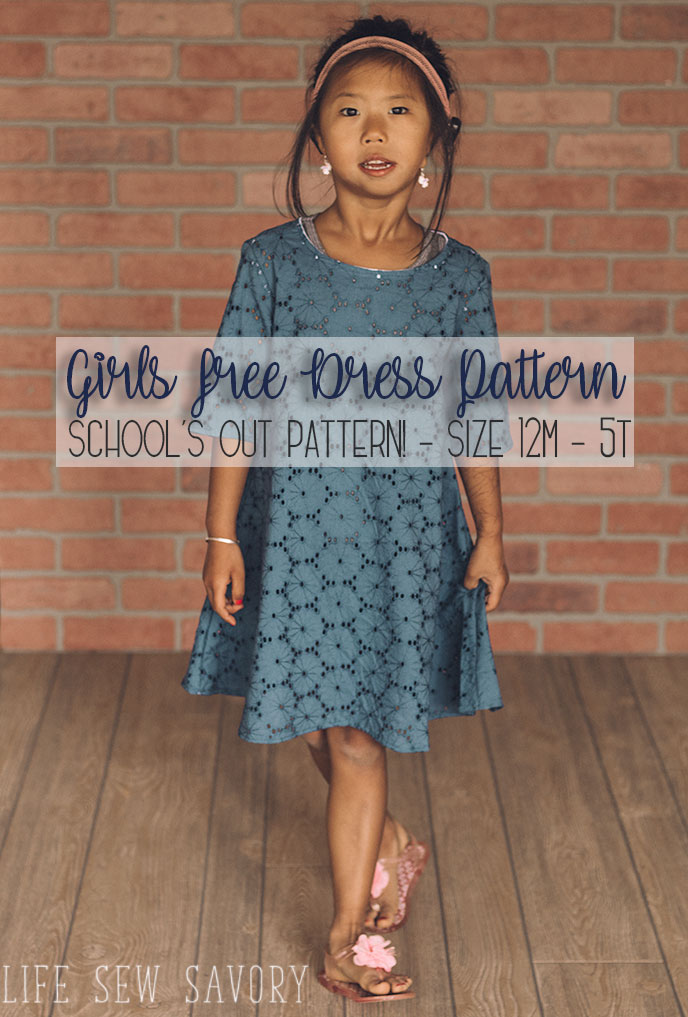
Hi Friends! If you are checking out this post you love free sewing pattern like I do… If this is your first time here you should check out my whole page of free pdf sewing patterns. But in this post you can find the cutest School’s Out free dress pattern for woven fabrics. It turned out SO cute and I’m thrilled to share it with you all here.
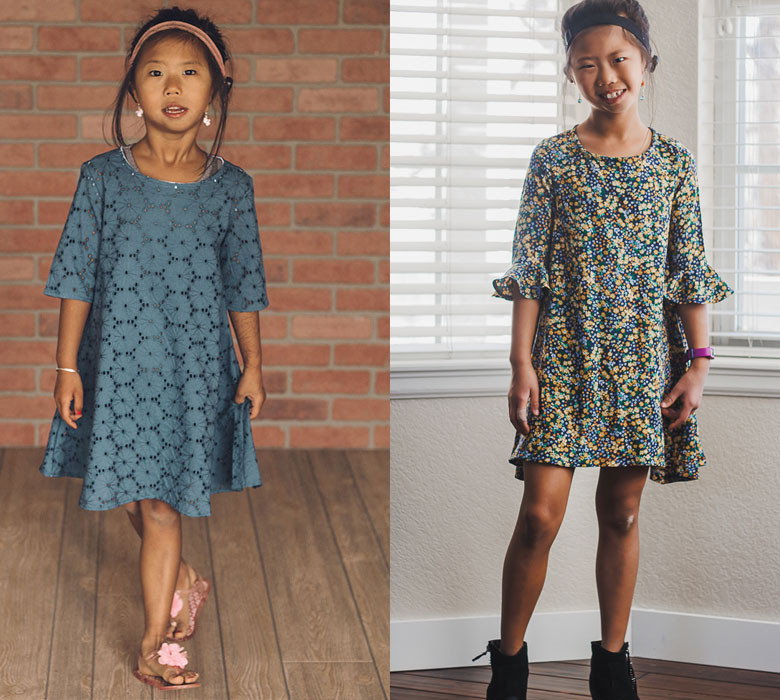
free dress sewing pattern for girls –
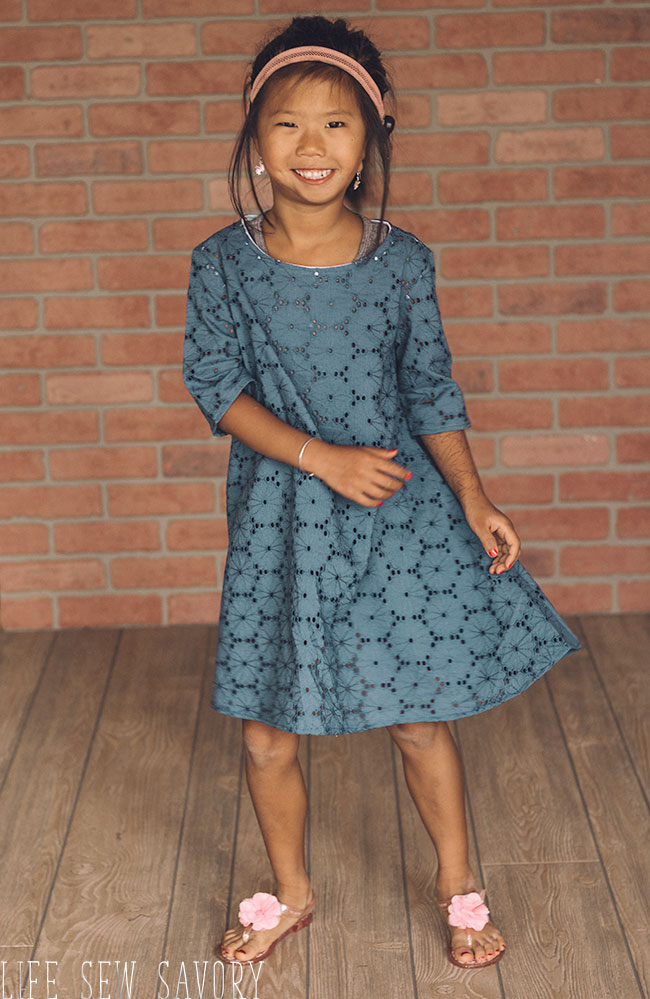
I usually sew with knit fabric, but I decided I needed a good A-line dress for woven fabric. This cute dress is the result. Since school is out this week I’m calling this the school’s out dress. This pdf sewing pattern is free for download in size 12 months to 5 years. {now the pattern goes to 16Y} Check the size chart for details.
As beautiful as this dress looks in these photos I feel the need to mention that I forgot to grade the pattern for my tall thin daughter. Usually, I make her patterns smaller in the width and a larger size in height. This free dress pattern is a straight up 5 and it should be a 3 width graded to the 5 height.

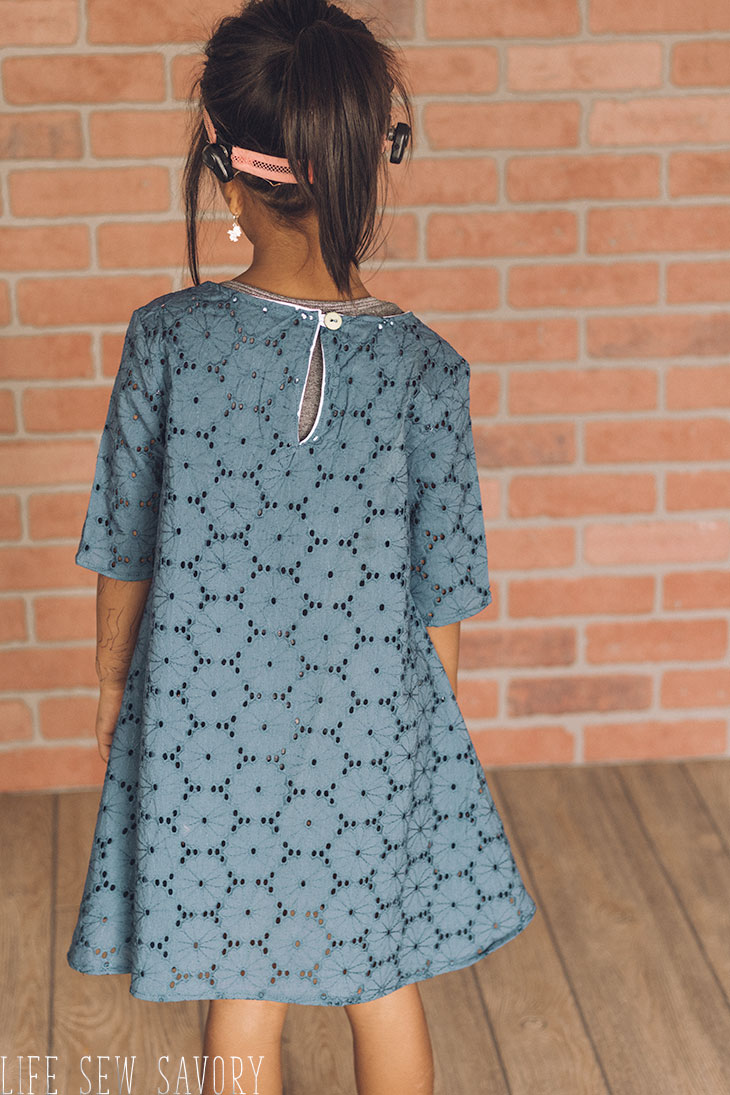
You can see the shoulders are a bit wide, and although I still love the look this is a great reminder that I love making clothes for Rose because I can create a perfect fit for her.
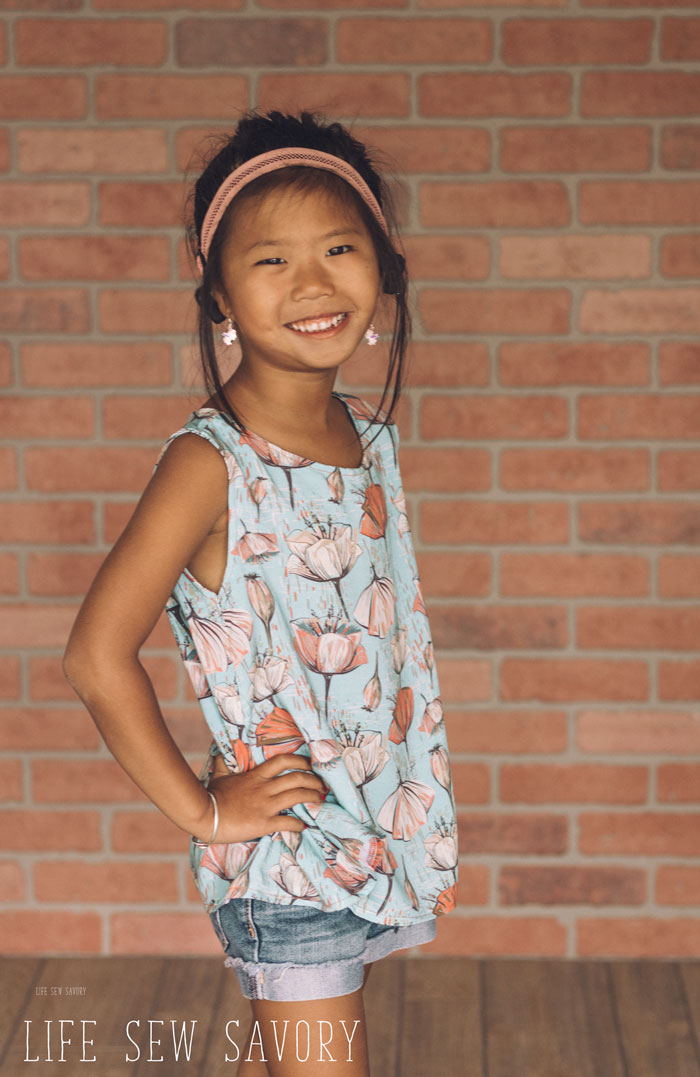
The fun thing about this free dress pattern is that you can also make into a shirt. I made this cute tank for Rose because I didn’t have enough of the floral for a dress.
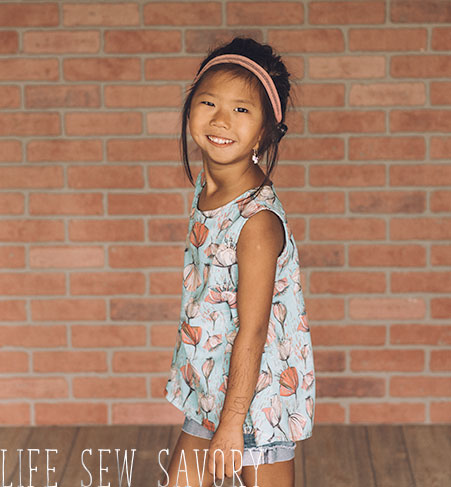
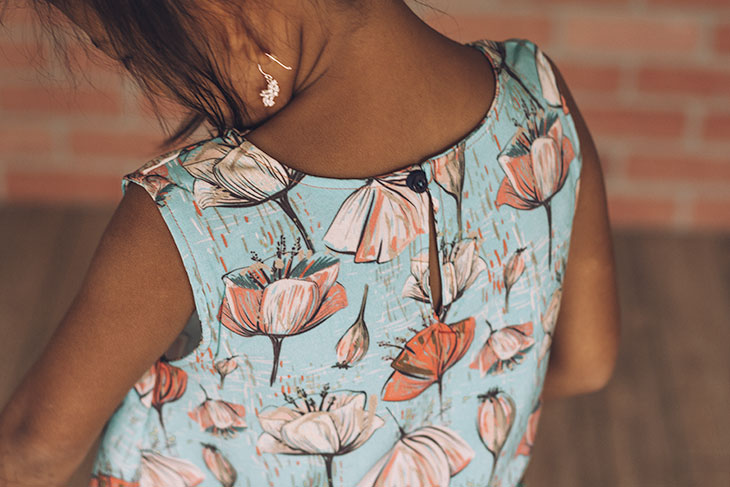
I think the back of this top/dress is the most beautiful part of it. The beautiful keyhole and button closure is easy to sew and looks gorgeous.
Also, with the eyelet fabric I made Rose an under-layer with the summer shorties and girls tank pattern instead of lining the dress. I didn’t want it to be stiff with a lining in the dress, so I’m pretty excited the tank and shorts work under.
The sewing tutorial below gives instructions for leaving the sleeves off and making a cute tank. I don’t have instructions for shortening, but it is easy to shorten the pattern to a shirt/tunic length.
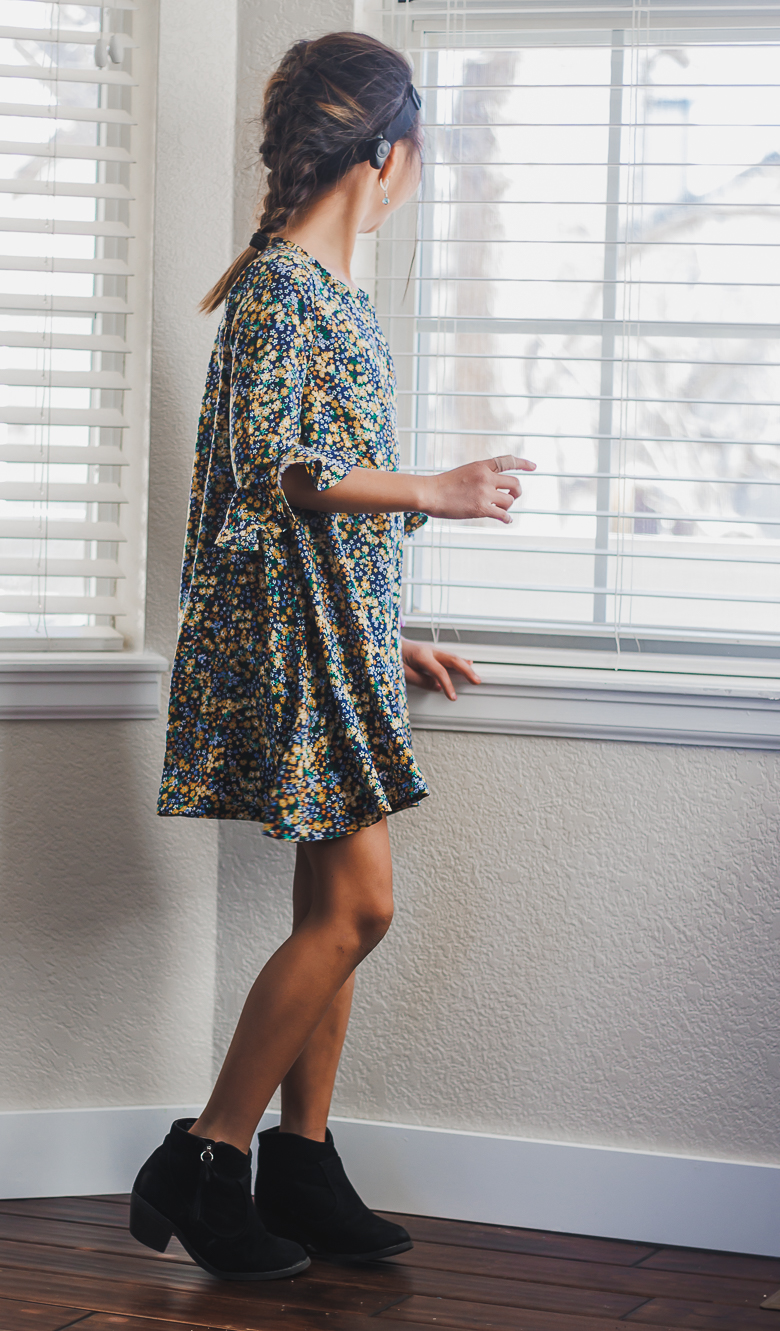
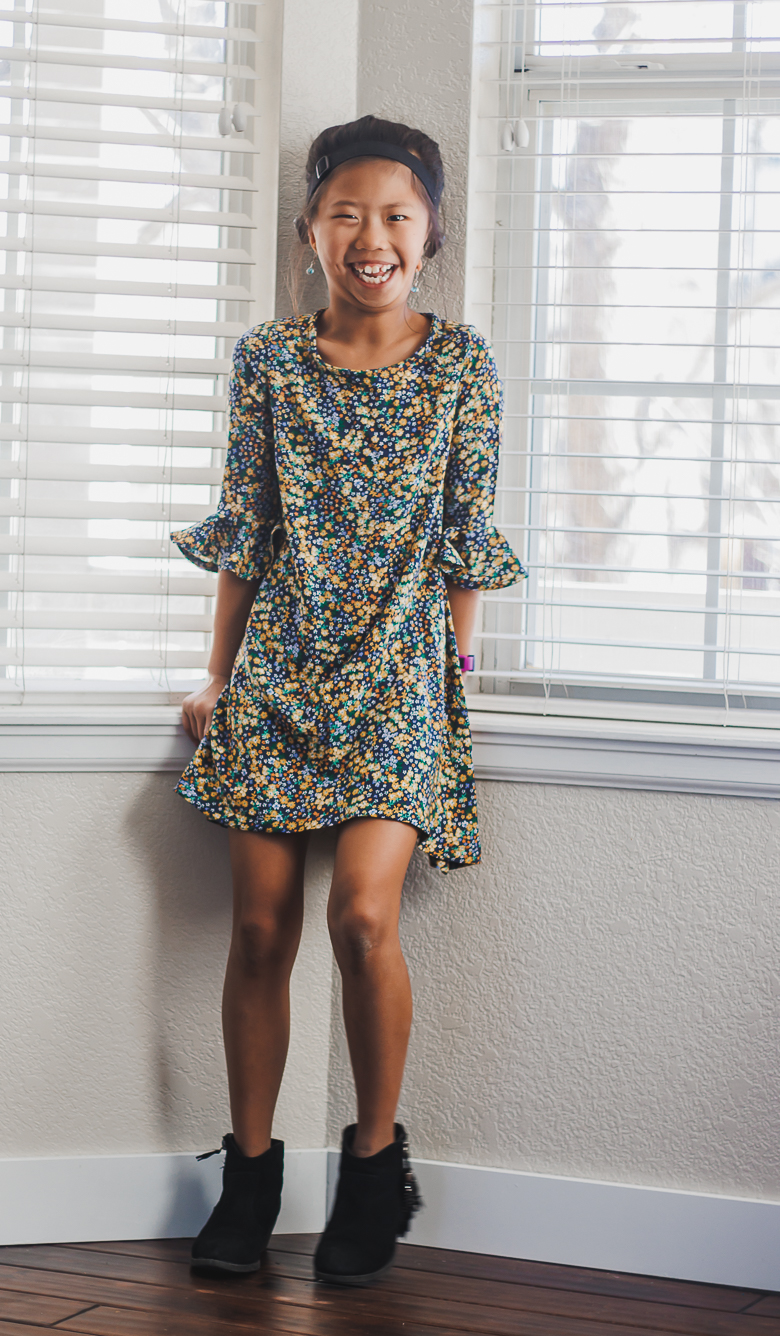
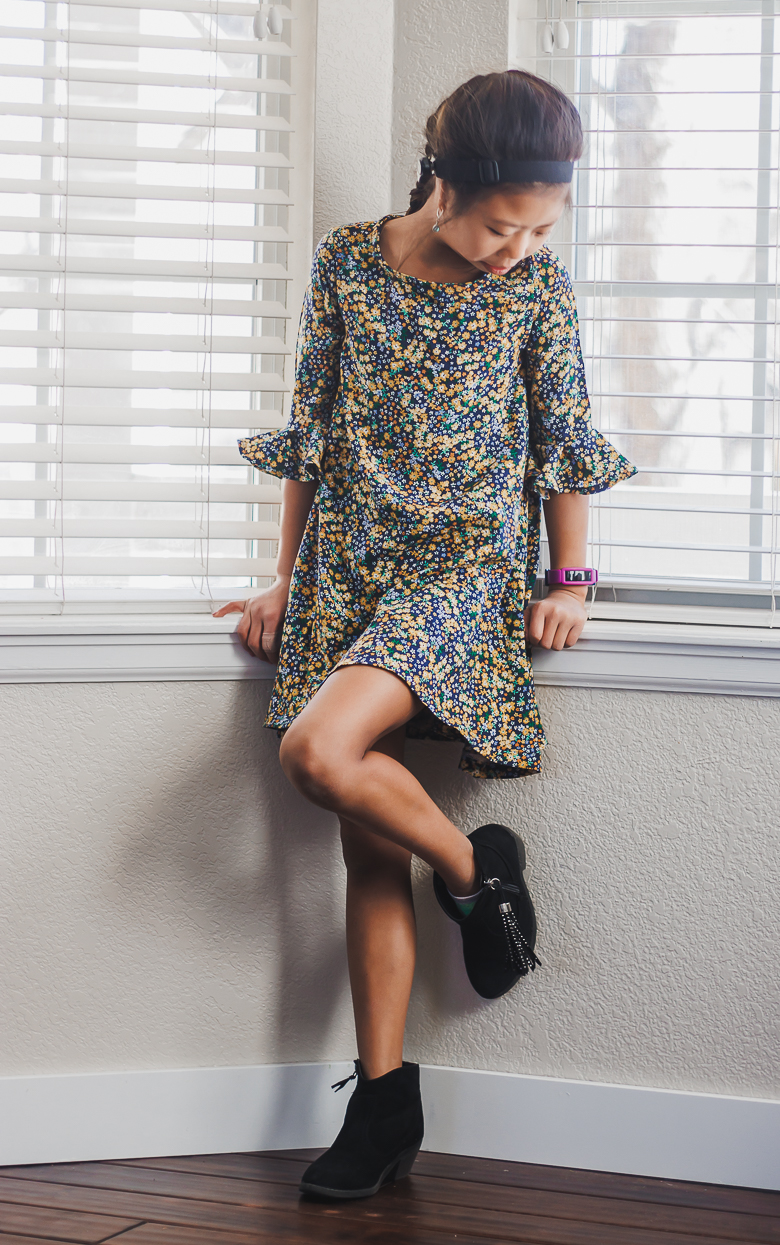
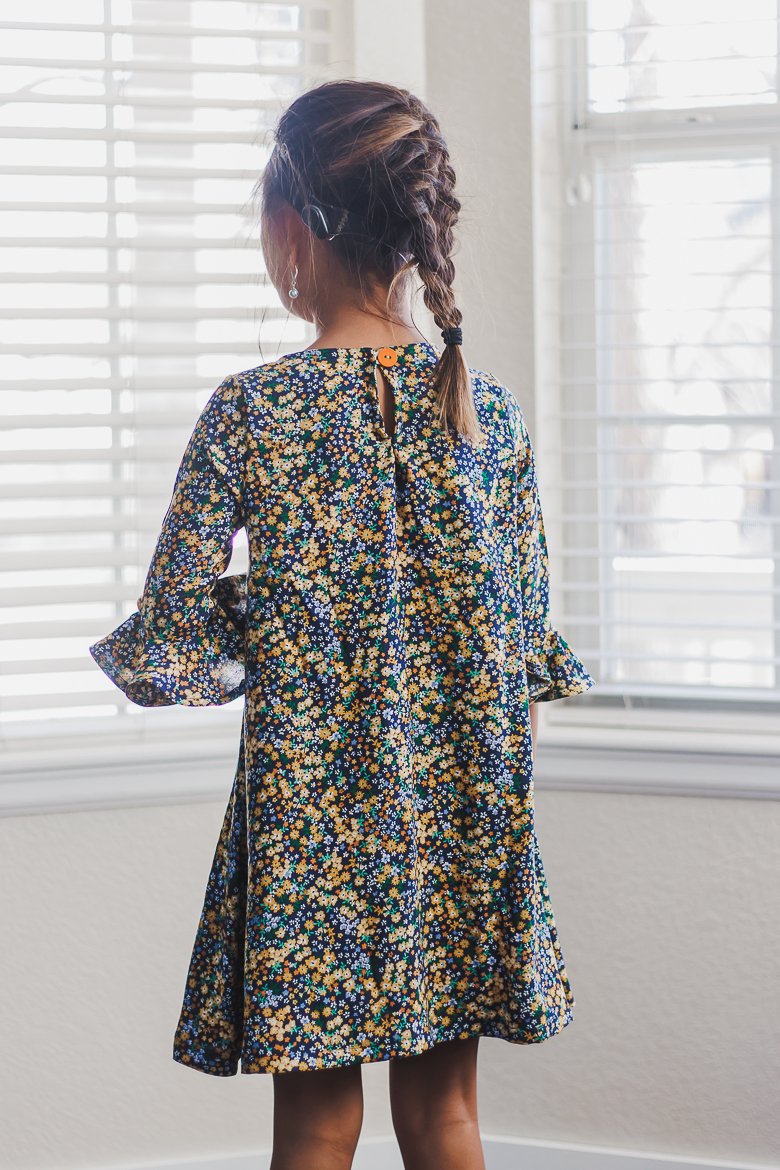
Here is the new version… Now that Rose is older I’m adding more sizes to some of my patterns.. this version is a 6 width and 8 length {Although I could have gone longer!} and I added the simple sleeve flounce – tutorial here.
Here are some other girls dress patterns you may also enjoy –
- Raglan Dress Tutorial
- Dress and Doll Circle Skirt Dress
- Sweet Rose Dress
- Girls Dress from Daddy Shirt
- T-Shirt Maxi Dress
How to sew a dress with woven fabric –
Alright, let’s get into the details of this dress sewing pattern. You can DOWNLOAD and PRINT the pattern by clicking the button below.
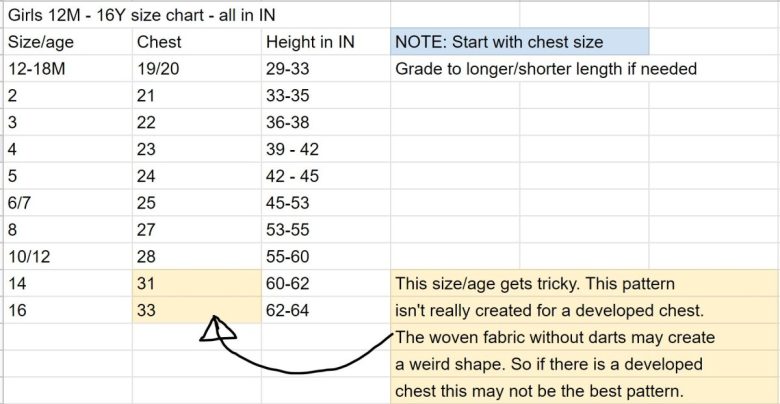
Use this size chart to determine the size you should sew. I would recommend blending sizes if the waist/height measurements are off.
This free printable dress pattern should be made with a light woven {not stretchy} fabric. Fabric that has good flow and drape are ideal. Both floral versions are Rayon Challis.
You will need 1-3 yards of fabric. I don’t have the exact break down, but I do know that the size 8 needs 1.5 yards, the smaller sizes can be made from 1 yard.
The fabric from the new version of the dress can be found on Amazon here. You can also find beautiful Rayon Challis from Raspberry Creek Fabric or Fabric{dot}com
How to sew a Free PDF Pattern –
Trim the edges and tape the pieces together. It should look like this. **UPDATE: the pattern now has FIVE larger sizes and finally has a marking for the back keyhole.**
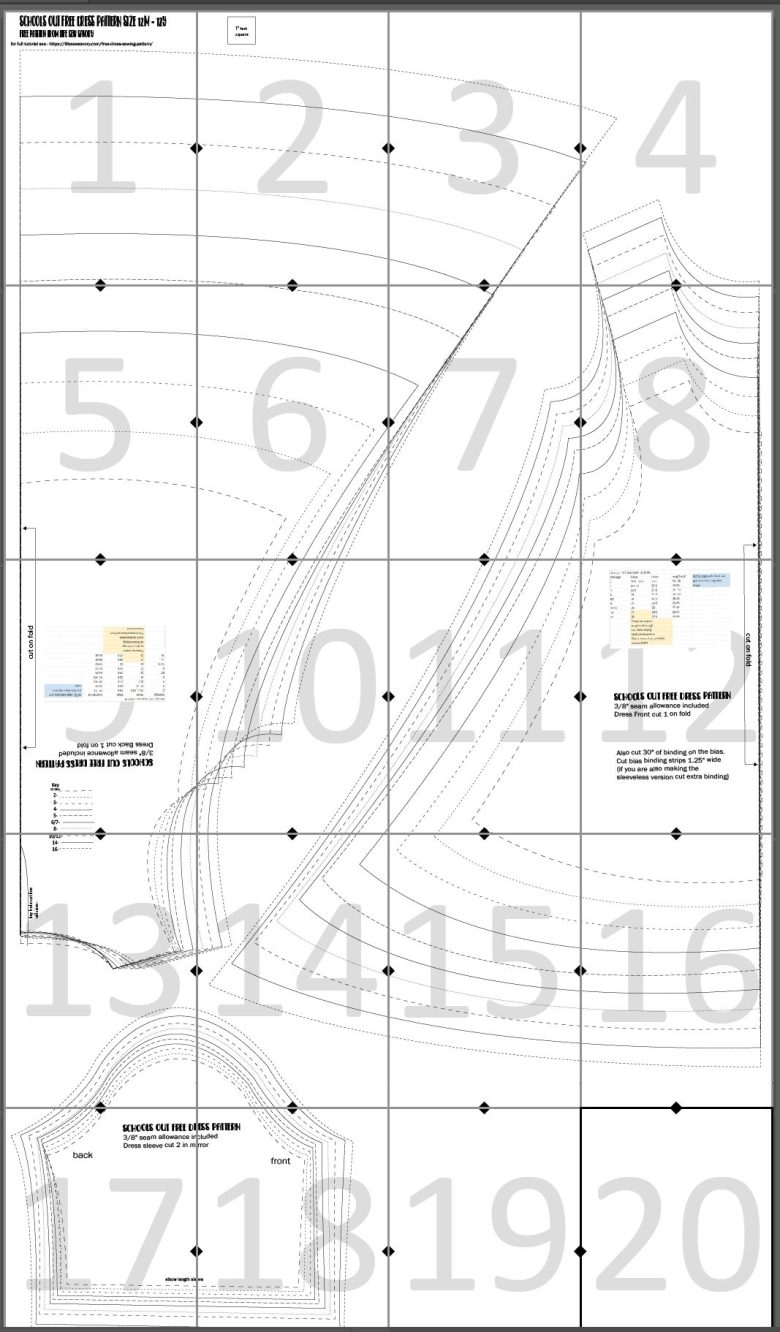
Whew.. this sewing tutorial has a lot of photos, but hopefully that will make this dress an easy sew. There is a 3/8″ seam allowance included and it should be used unless otherwise noted {like on the neckline}
Once you print out the pdf sewing pattern, trim the edges and tape together as shown below. It should look like this. Use the size chart to determine the size you need and cut as directed on the pattern piece. You can leave the sleeves off for a tank and/or shorten to a shirt if you want.
WOW – please excuse the super wrinkly fabric in this tutorial. I have a love/hate {mostly hate} relationship with irons that I’m trying to work on in my personal life.
You should now have 1 front and 1 back. 2 sleeves, binding strips cut on the bias {if you didn’t see this in the pattern – you need at least 30″ of 1.25″ binding cut on the bias of thin fabric. Can be the same fabric or coordinating} You will also need a button for the back closure.
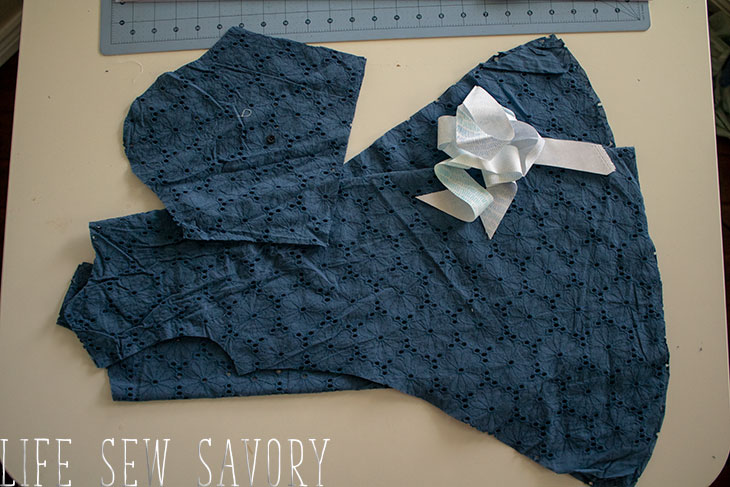
If you havn’t already, use the line on the back pattern piece to cut the back keyhole.
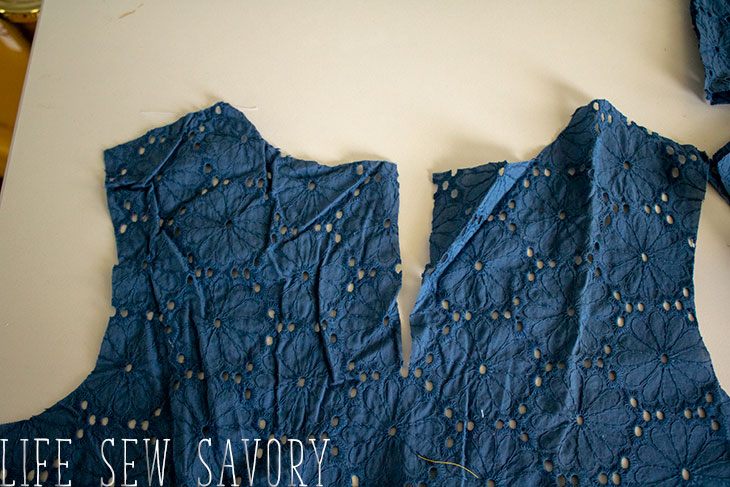
Use the prepared binding to sew the keyhole. Fold binding with wrong sides together, then line up raw edges and pin or clip to right side of fabric.
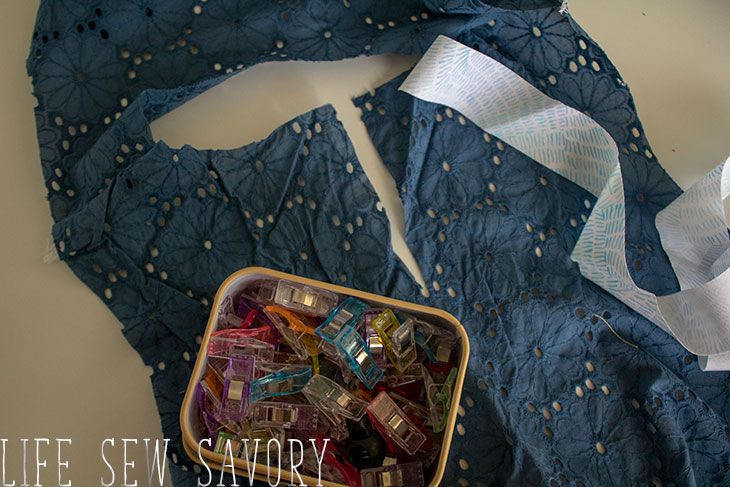
Pin as if the keyhole is a straight line as shown below. Open up the cut and pin straight along.
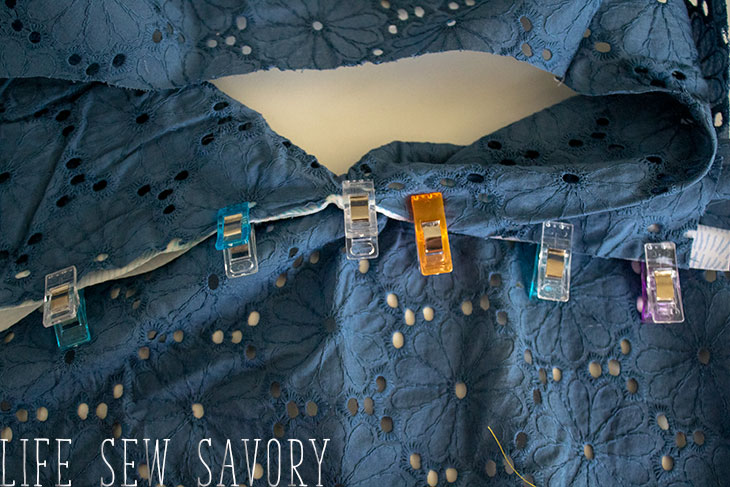
Sew binding to dress with 1/4″ seam allowance then clip the bottom V part of the keyhole.
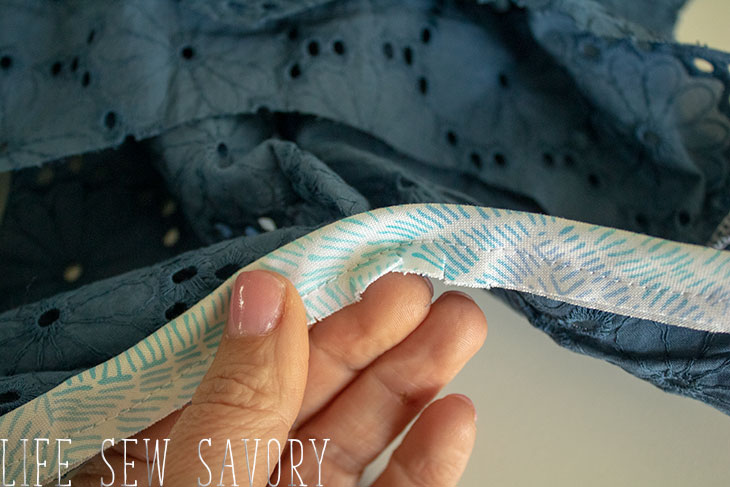
Finish the edge by holding the fabric with the wrong side of the dress facing you. Fold the seam allowance back towards the dress.
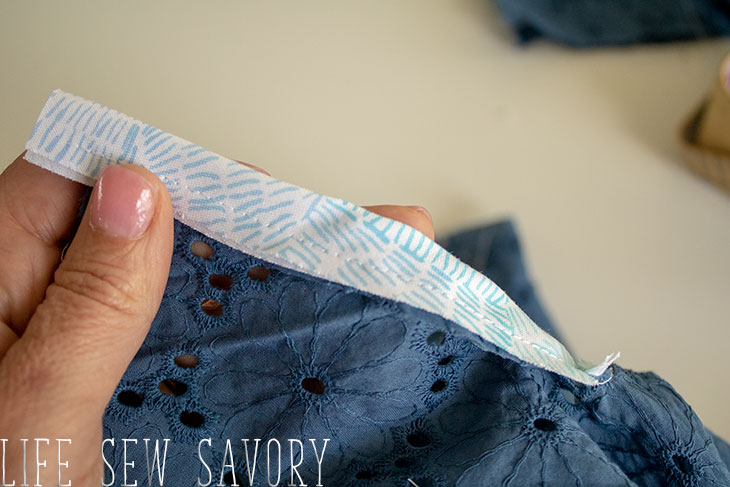
Then fold the binding over to the back side of the dress, covering the seam allowance.
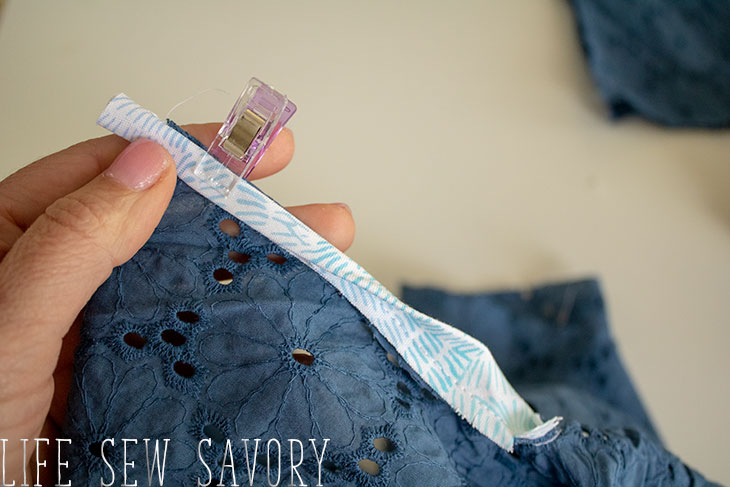
On the right side of the main dress fabric topsitch to secure the binding and finish the keyhole edge.
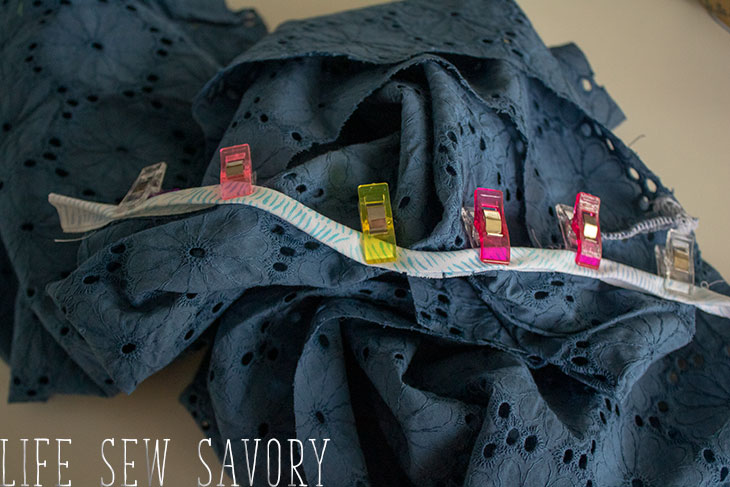
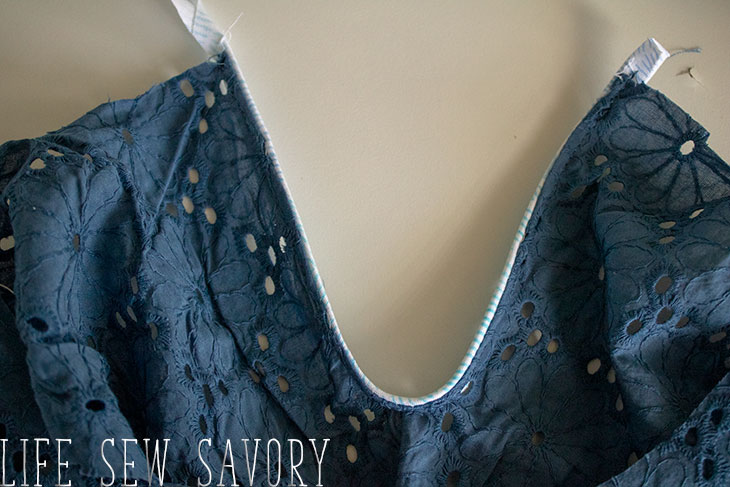
Fold the back keyhole with main dress fabric together and binding facing you. Pinch the bottom V and stitch a single line as shown here. This will give the keyhole V a better shape on the right side of the fabric.
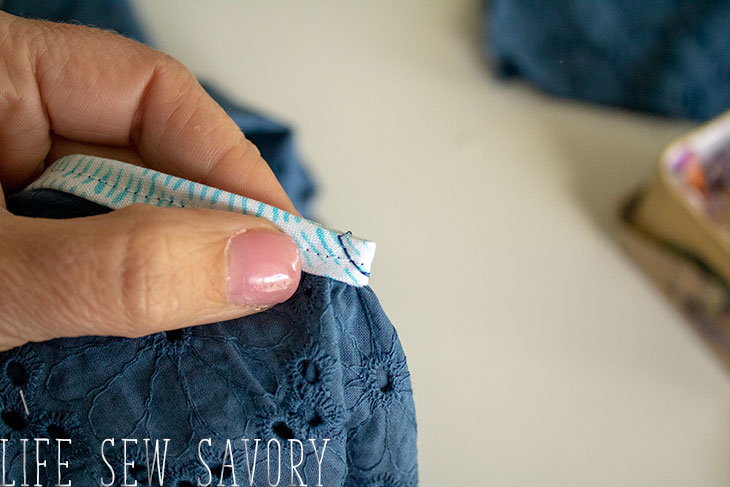
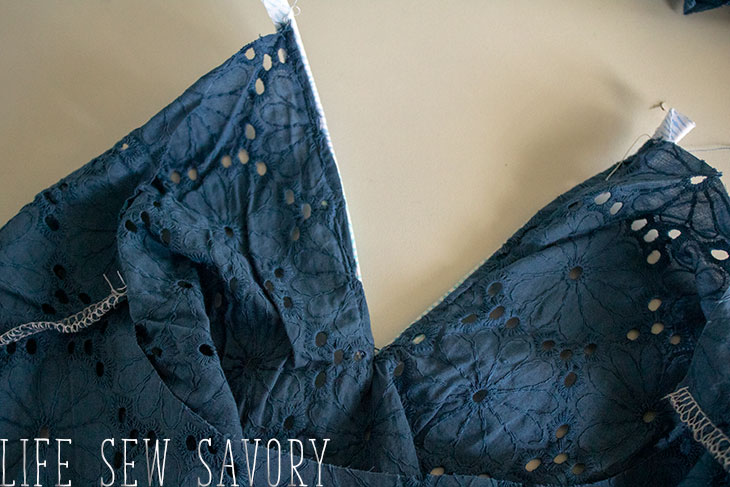
Create a button hole loop with elastic or fabric. If making it from fabric create a double fold piece about 1/4″ wide like this. It should be able 2″ long.
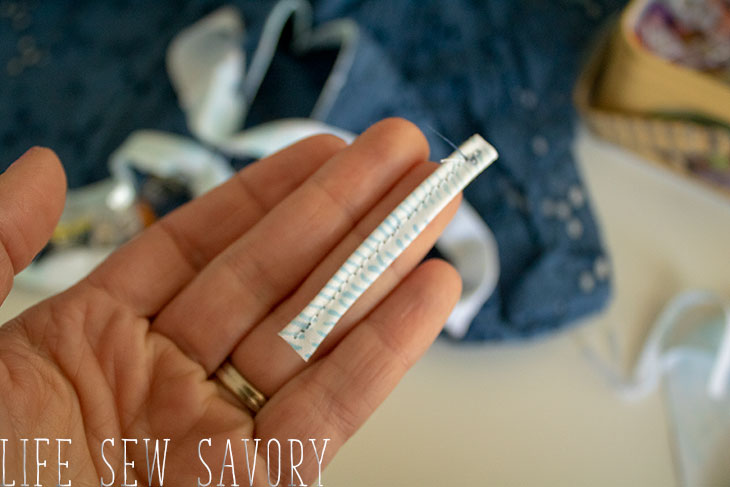
Trim the binding fabric on the top edges of the keyhole to about 1/4″.
With Right sides together sew the shoulder seams.
Finish the neckline in the same way as the keyhole . Fold the binding in half with wrong sides together and then place on the right side of the neckline fabric. Pin or clip to the edge with the raw edges lined up. Sew with 1/4″ seam allowance.
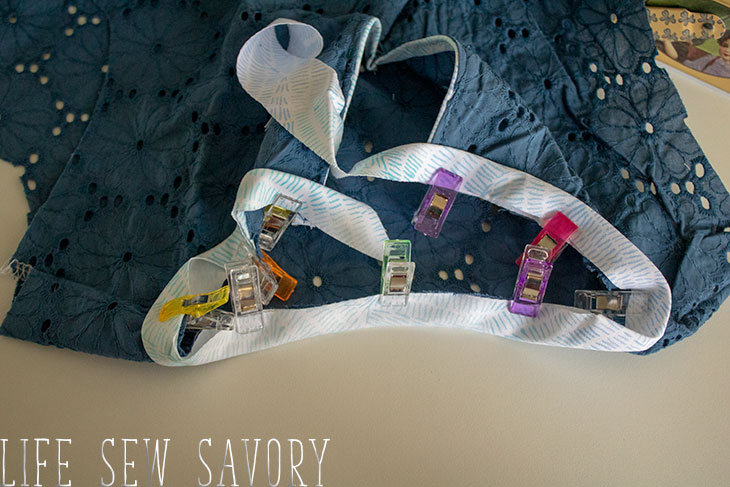
Clip the entire neckline seam allowance.
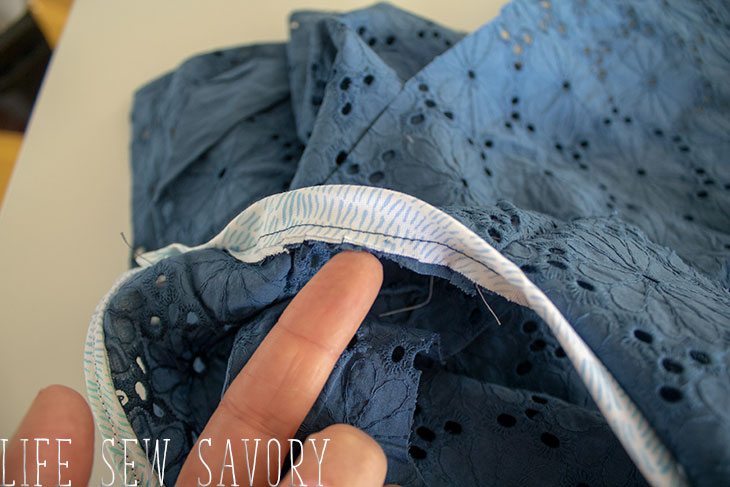
On the ends of the neckline trim the binding to 1/2″ tab.
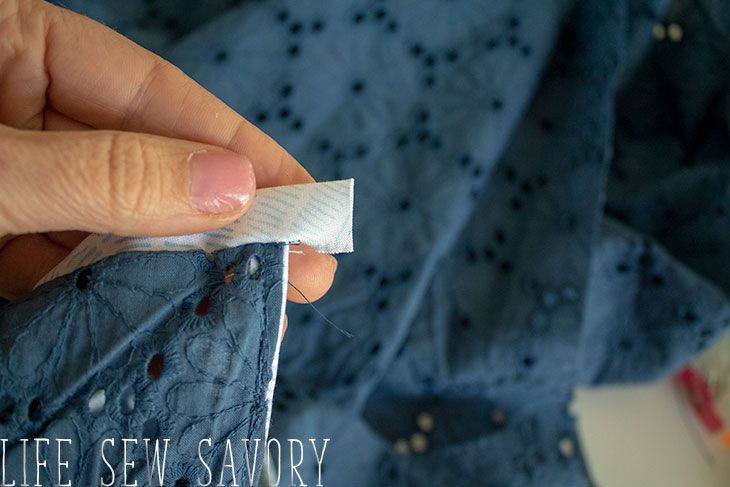
Fold that tab back
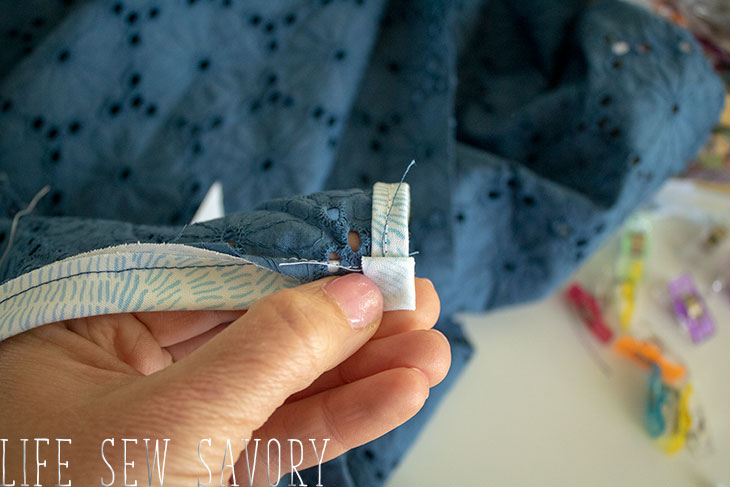
Then over to enclose the end and the seam allowance.
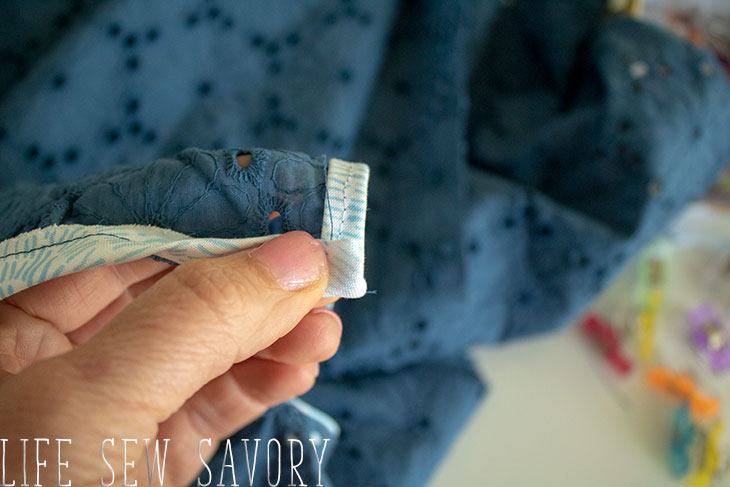
Measure the button loop against the size of your chosen button and the stick the button loop inside the folded over edge of the binding.
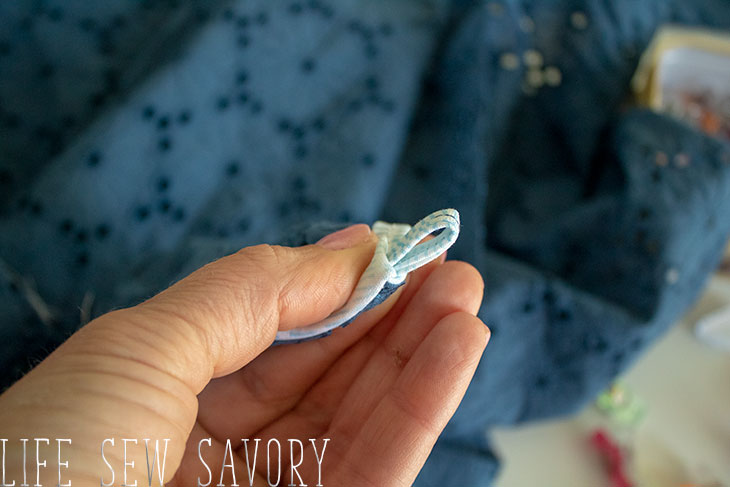
Fold the binding to enclose the seam allowance and pin or clip along the whole neckline.
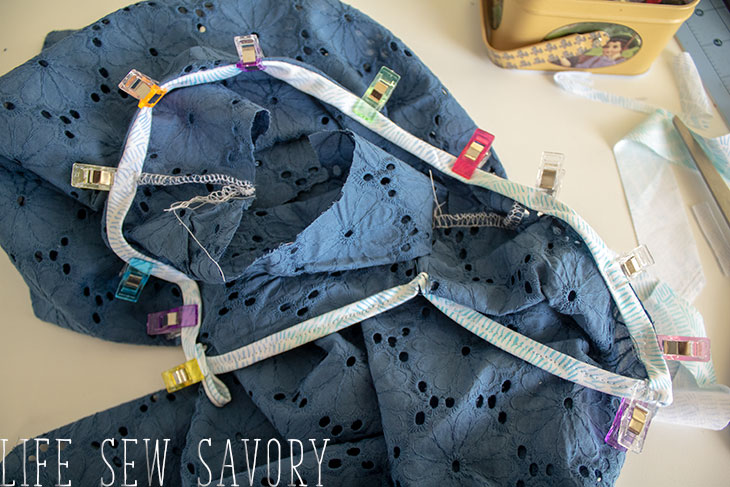
Stitch on right side of dress to finish neckline.
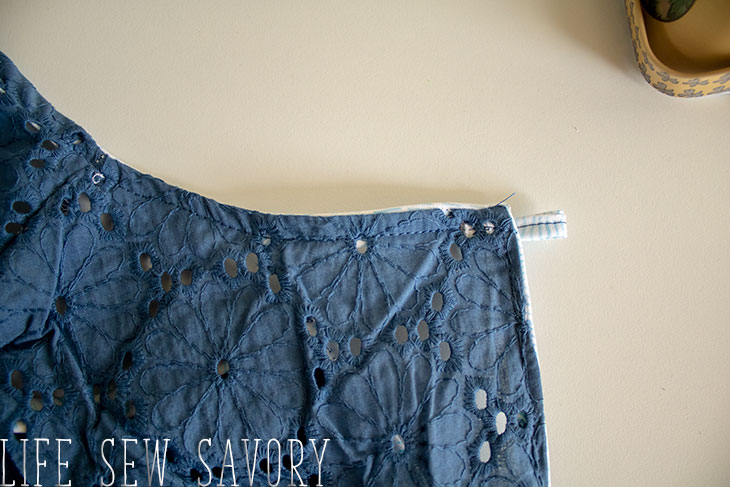
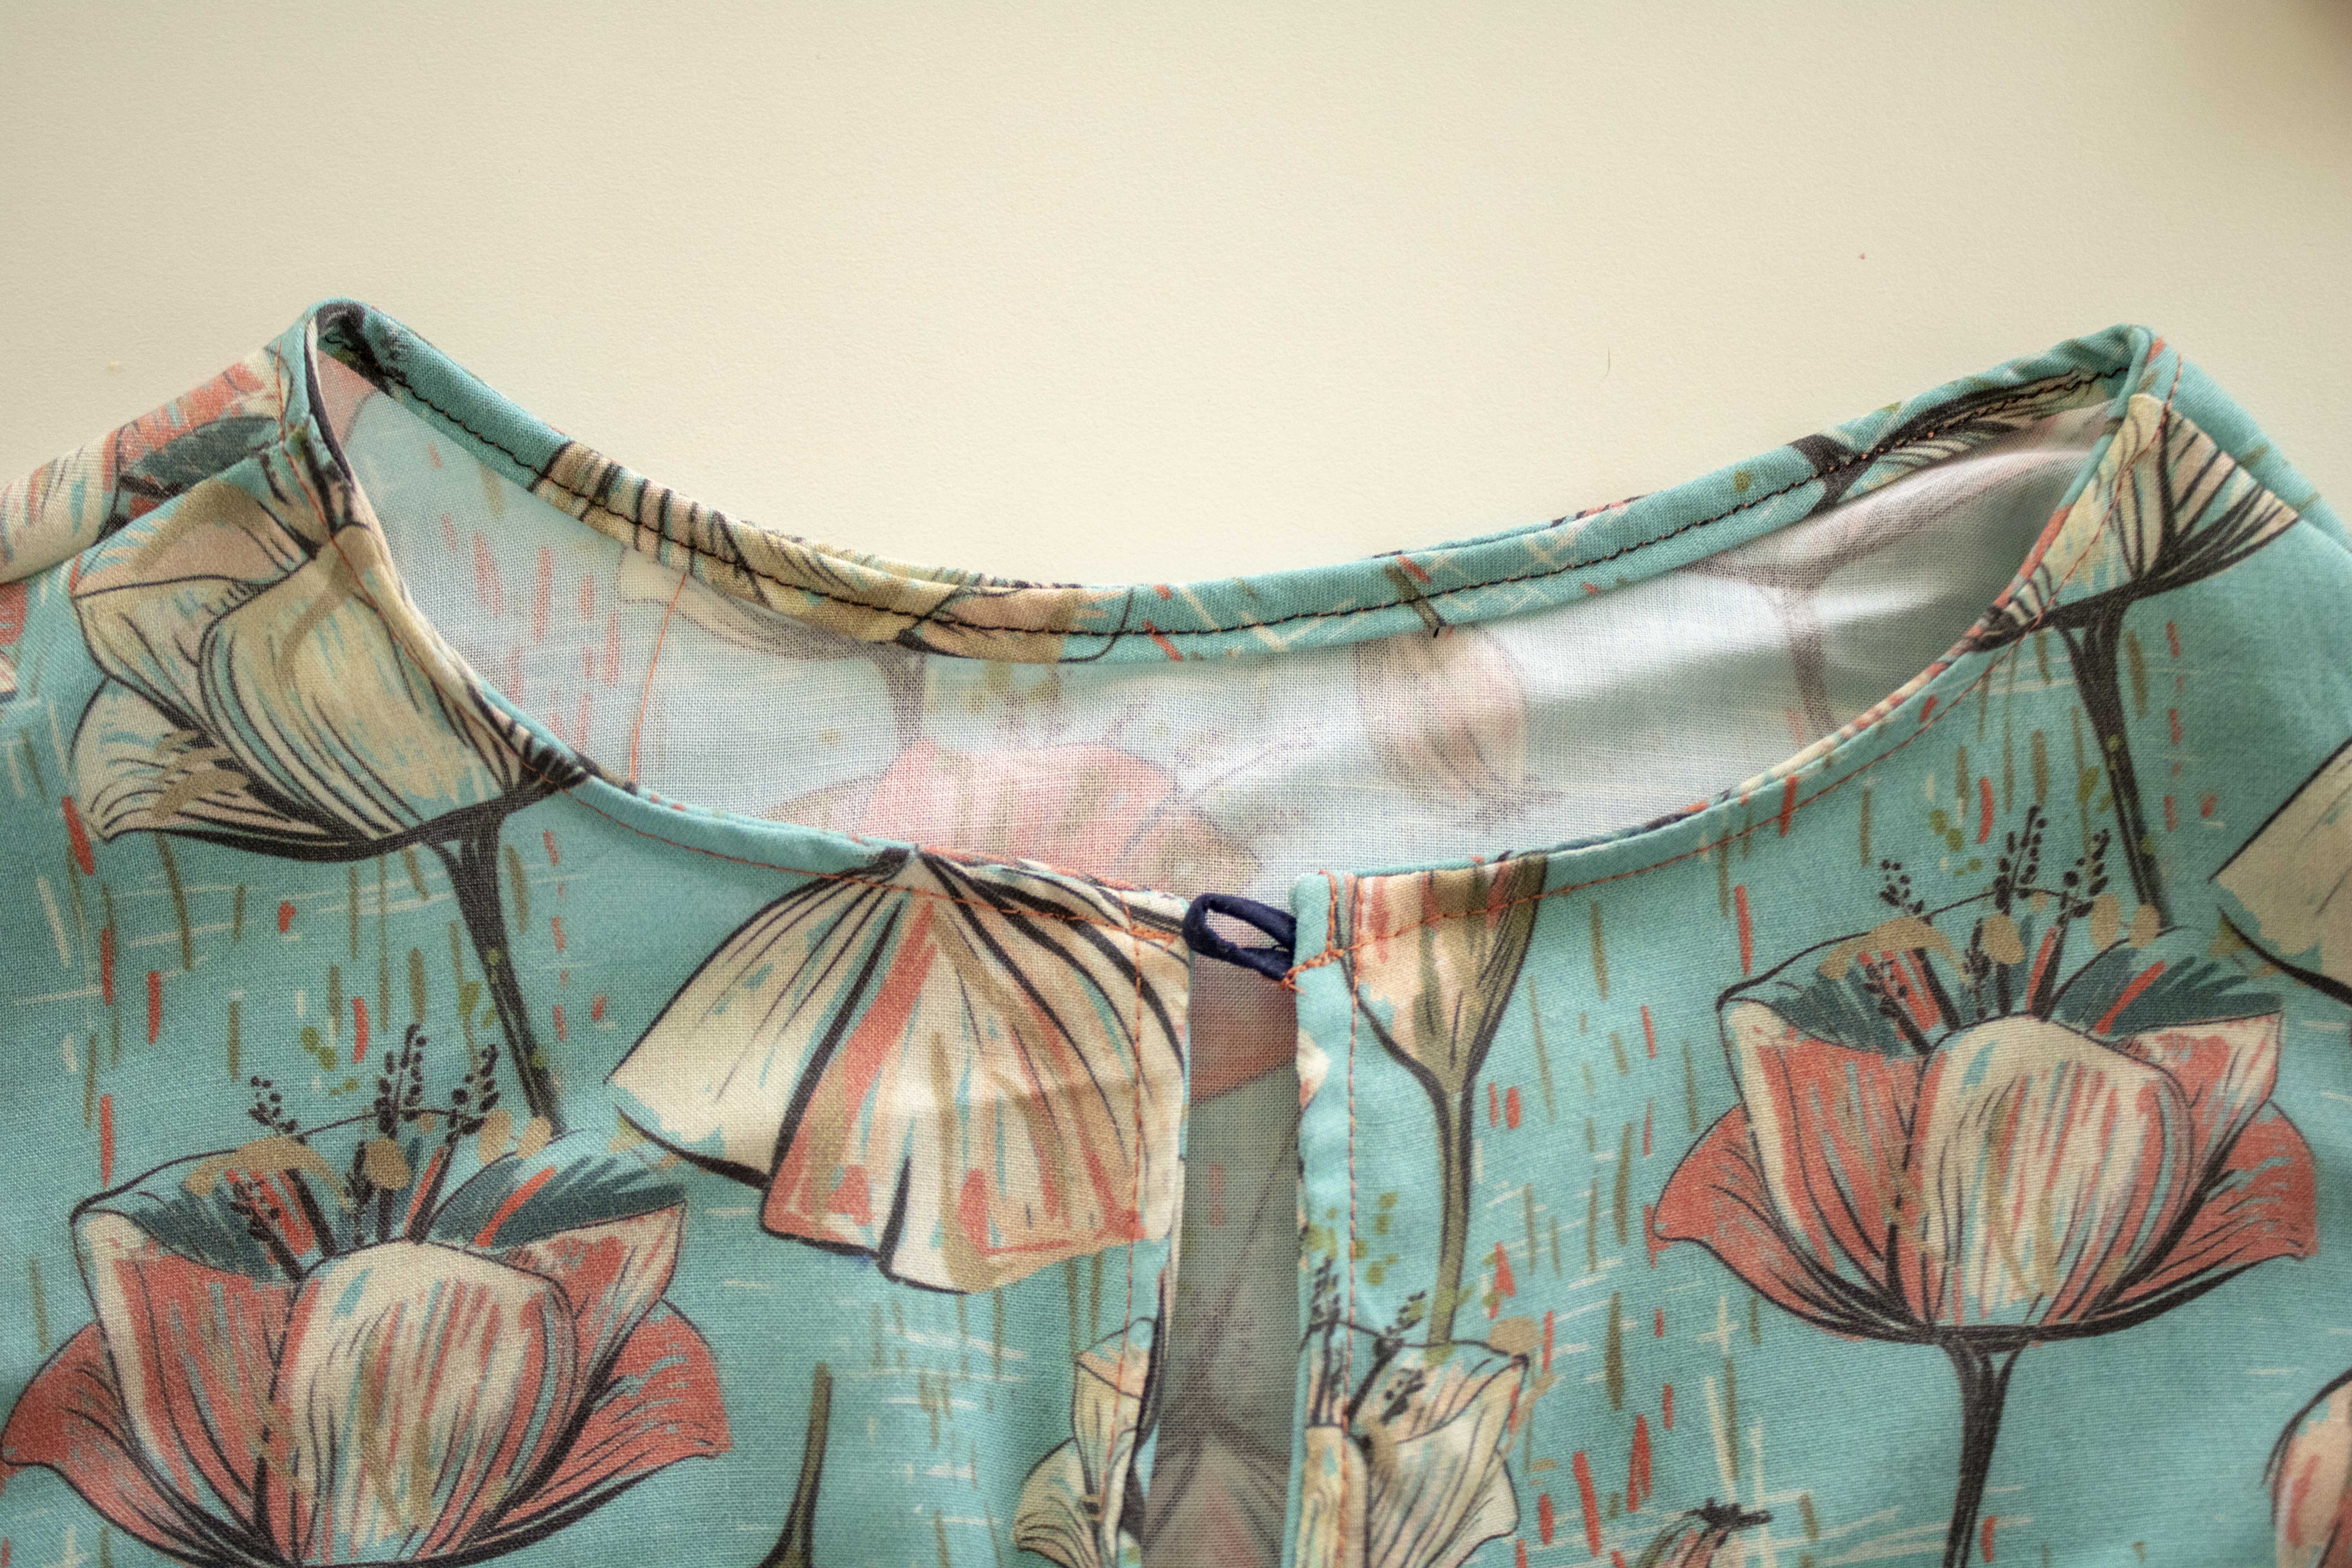
If you are making a tank you will finish the the arm openings at this point with bias binding just like the neckline.
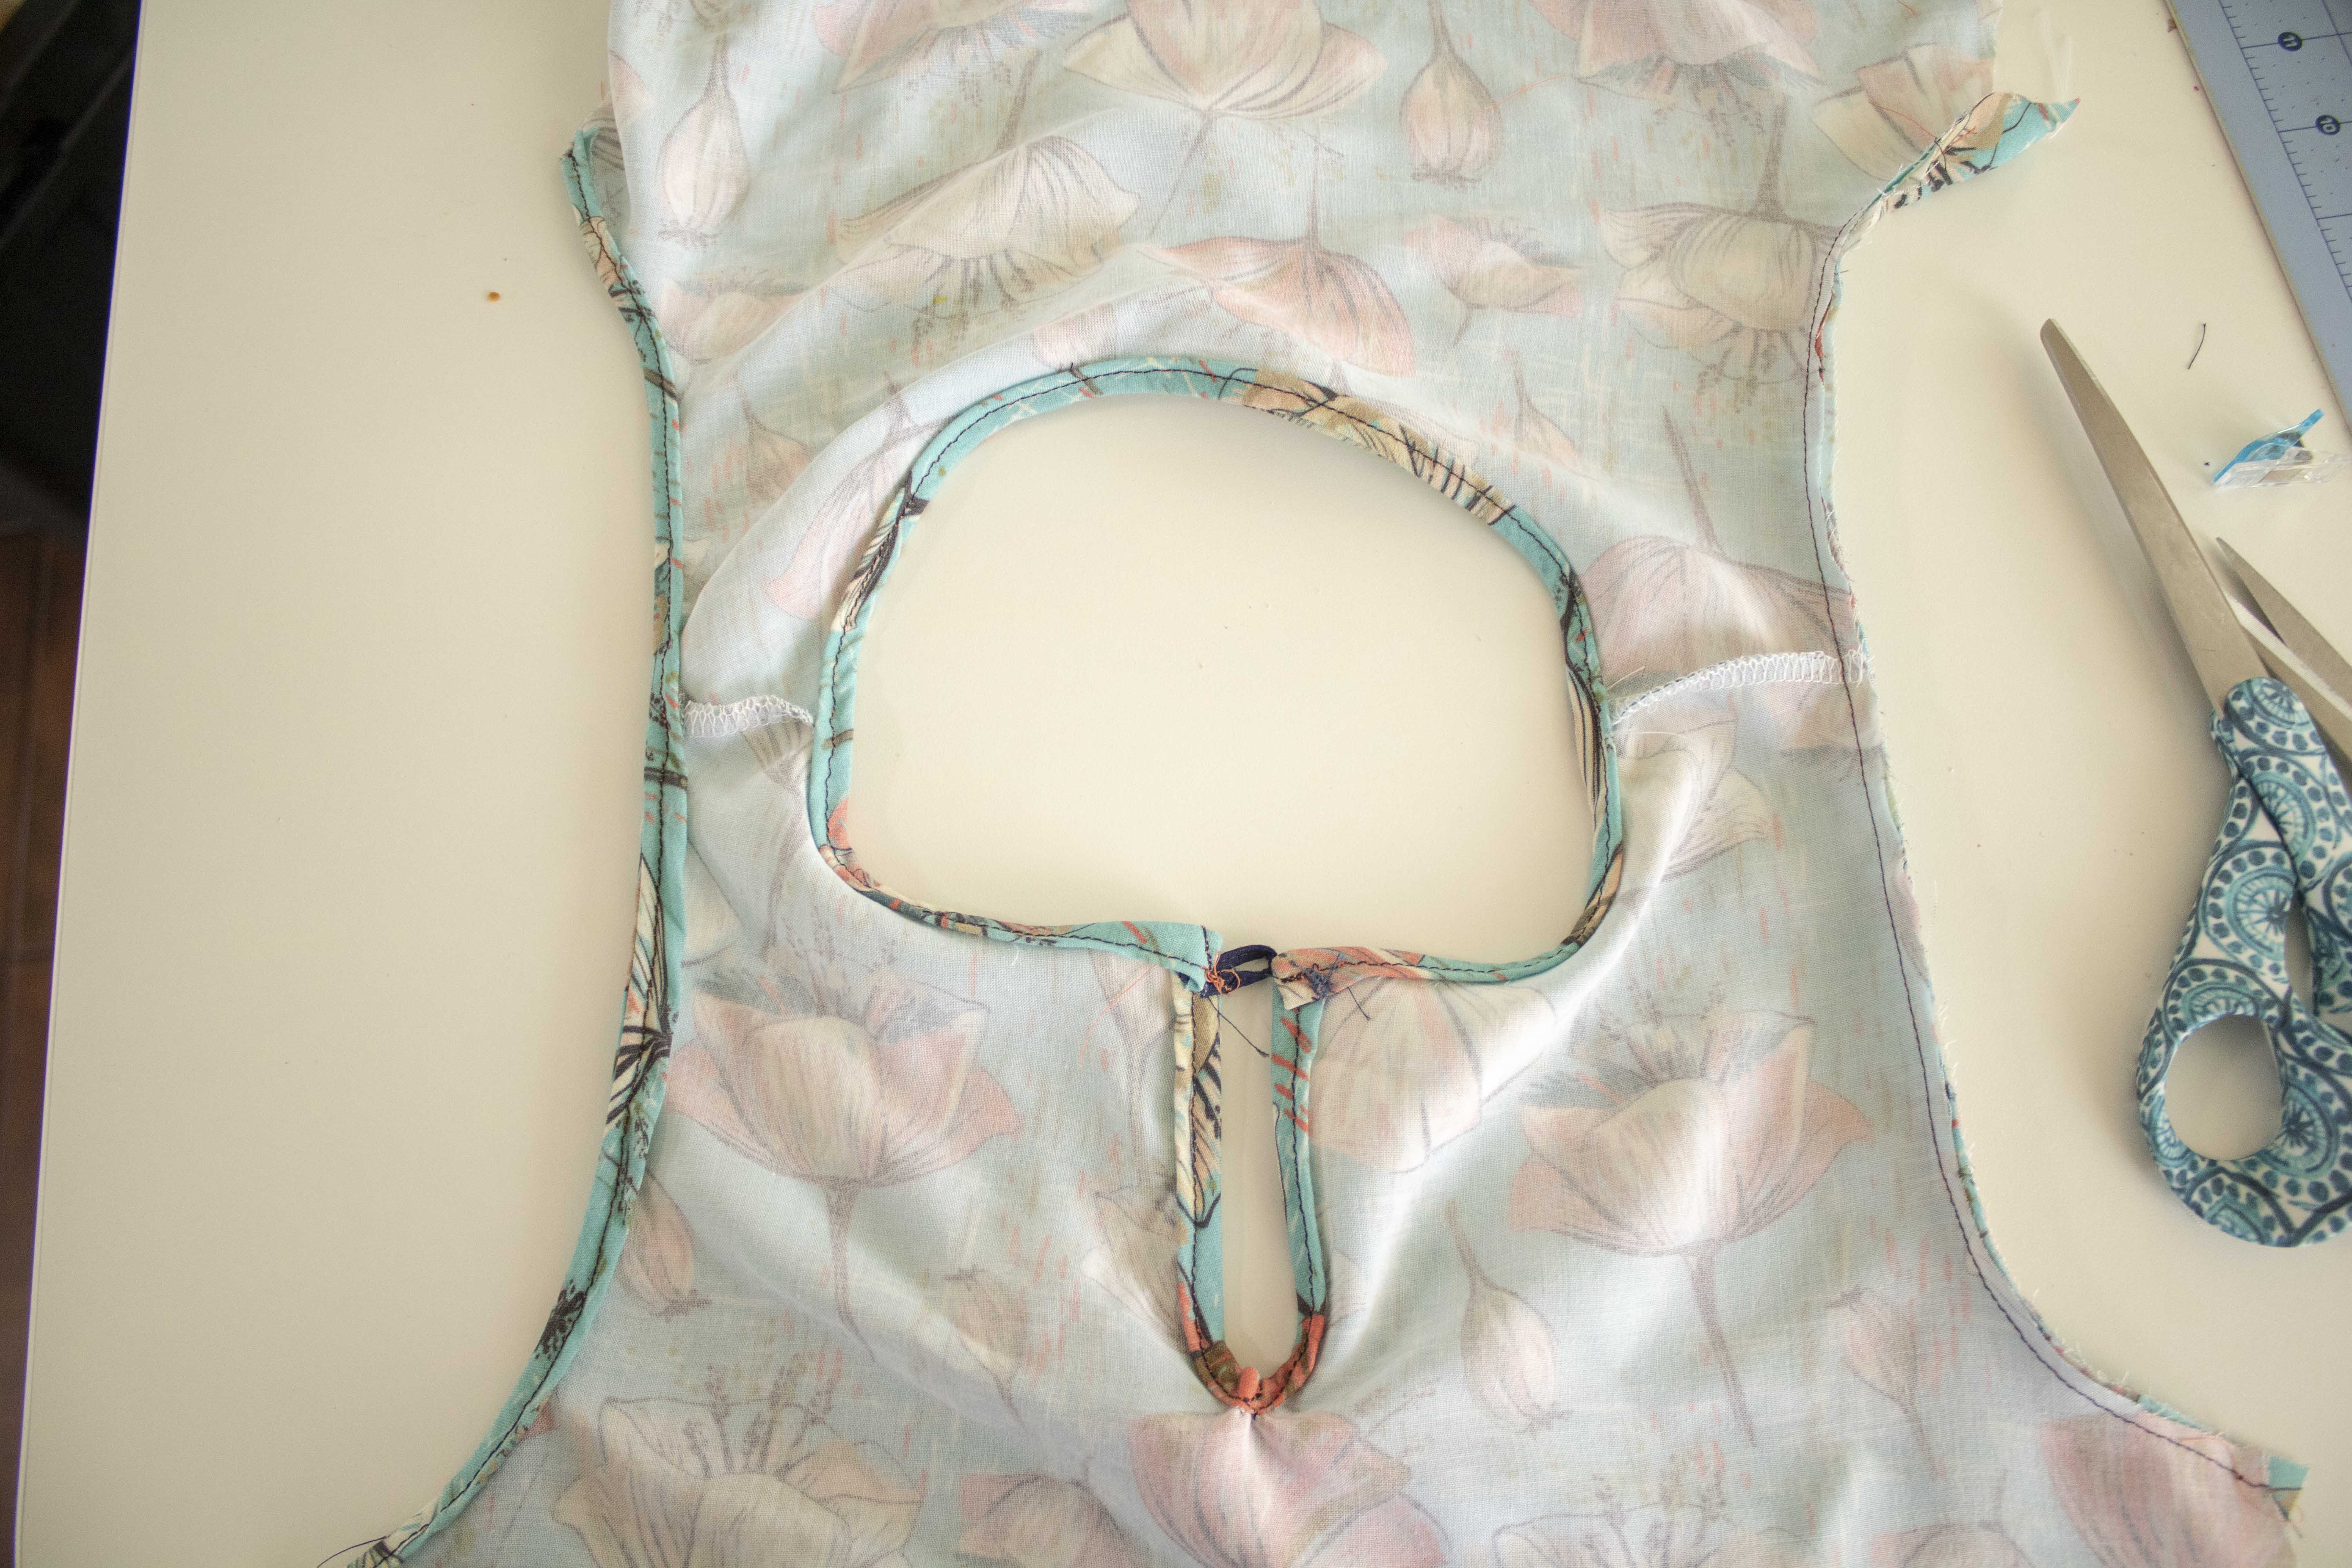
To add the sleeves match the front of sleeve with front of dress, right sides together and then pin or clip from front to middle, then the back to middle. Sew sleeve. Repeat with the other side.
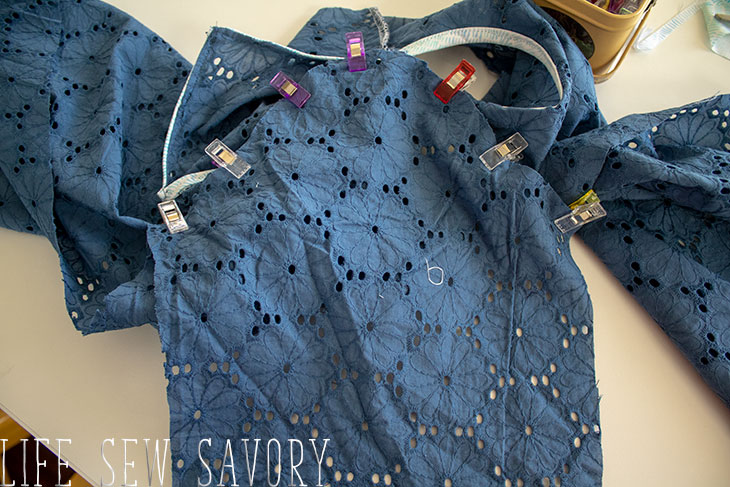
Sew up the side seams.
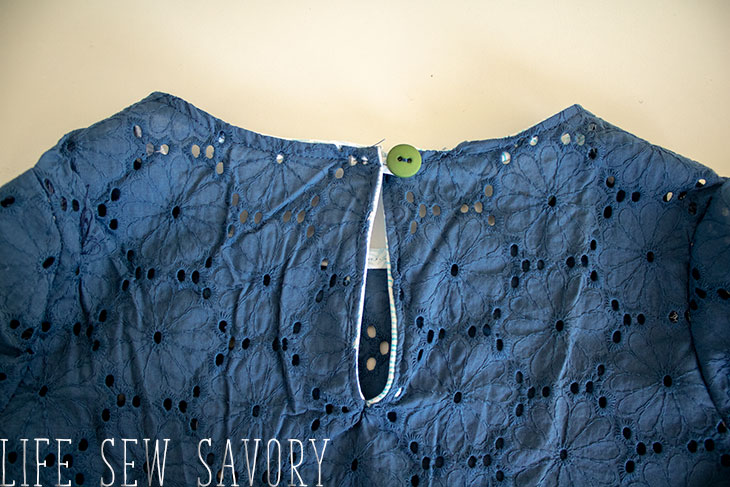
Add the button to the back of the dress/shirt for closure.
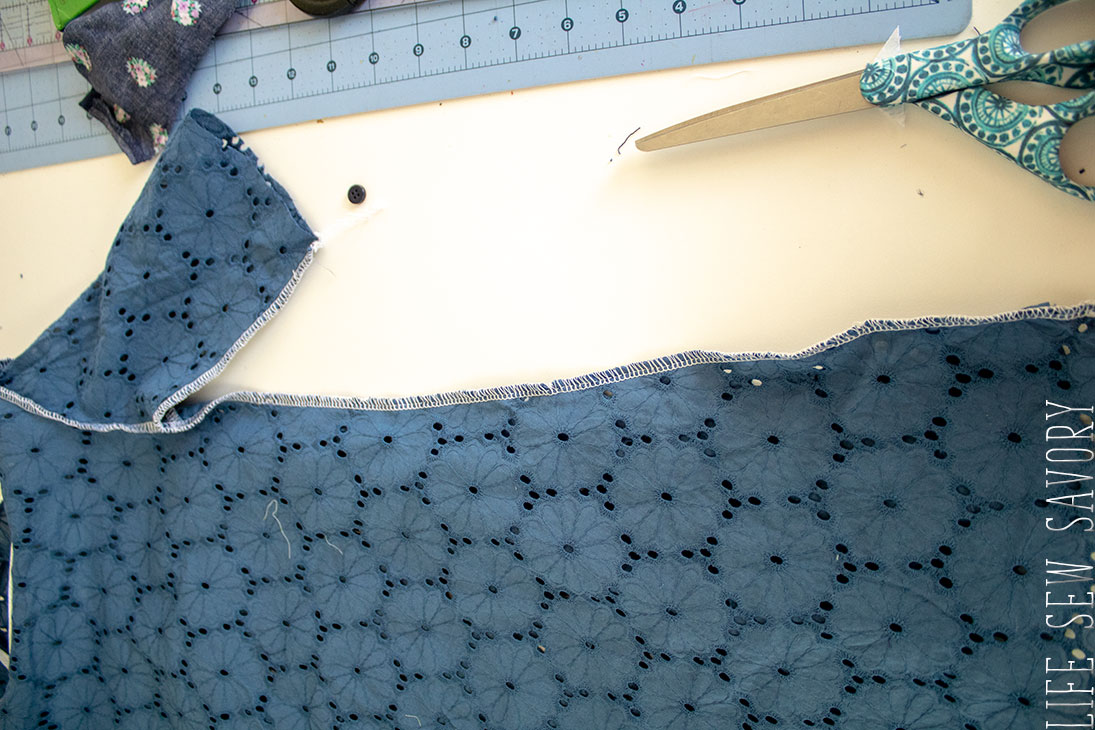
To hem the sleeves and bottom you can use your serger to finish all the raw edges, then turn up a 1/3″ hem and stitch. You can also press up 1/4″, then turn up another 1/3″ for a narrow hem with finished edge. Here is my 1/4″ first press up.
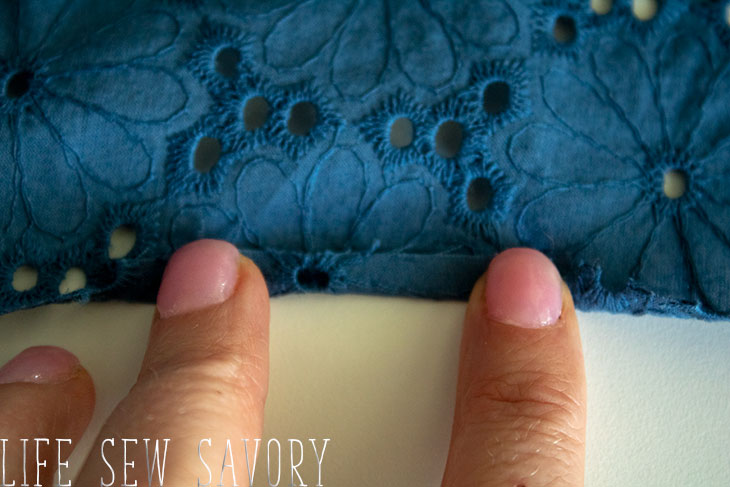
Then turn up again to stitch.
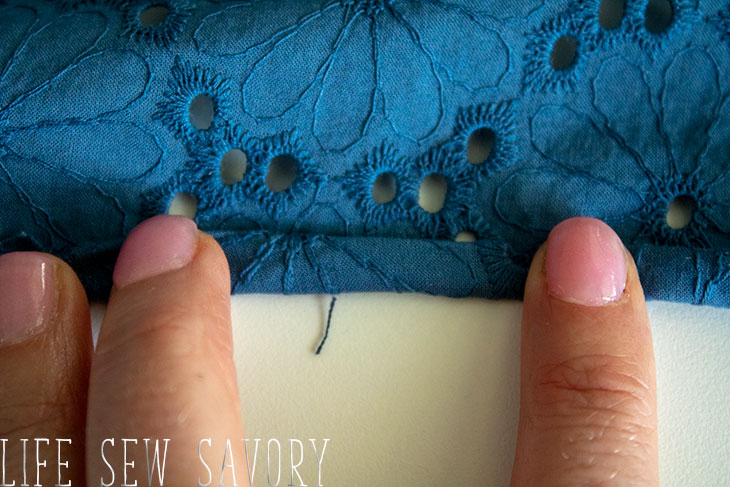
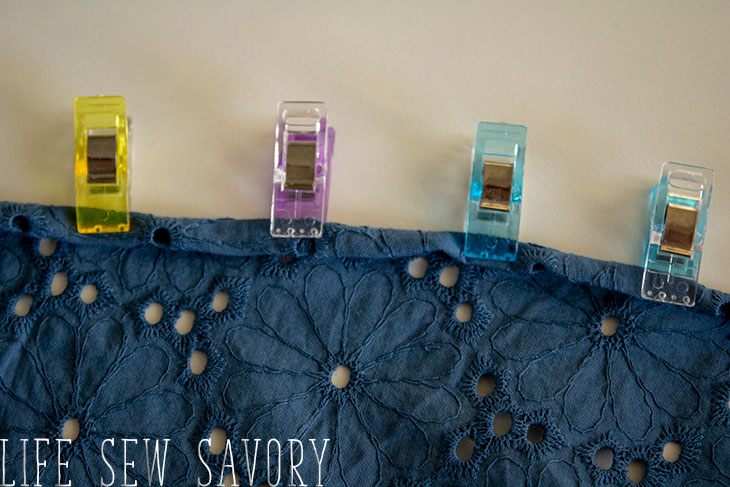
I finished both the sleeves and bottom hem this way. On the shirt I serged, then turned up the hem.
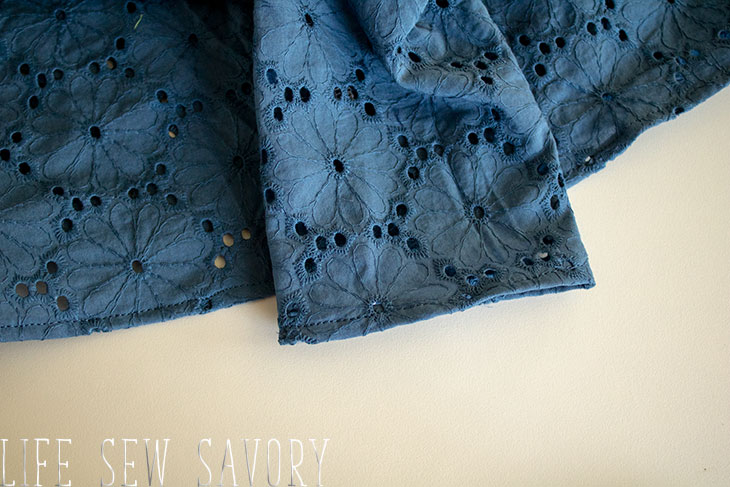
and one more link to download the free dress pattern if you haven’t already –
And you did it!! A cute girls free dress sewing pattern or top for summer. Rose loved her dress and wore it to school after our photo shoot the other day. It’s going to be a great summer dress and top for sure.







Judith Prior says
I can not work out how to download the pattern? I am an experienced dressmaker, but not so good on the computer apparently. LOL Where does it say DOWNLOAD?
I have been trying to do this for half an hour still no success?
Emily says
There are two boxes that say click here to download on this page.. emailing you a photo..
Joan Wallace says
Where is my download for the free pattern?
Diane ODonnell says
I am an experienced seamstress, but for those that are not, I have read over the tutorial several times (because I thought I missed it the first few times) and noticed that you did not instruct to sew the shoulder seams. I thought that you might add those instructions when you finished with the keyhole binding. In picture #2 you show the flat back piece with the instructions to cut for the keyhole. Then in picture #3 it appears to show both the back and front already sewn at the shoulders (I noticed the white thread where the shoulder seams would be). I imagine this would be very confusing for a beginning sewer.
I love your patterns and your step-by-step tutorials are very impressive. Keep the patterns coming 😉
Emily says
good catch!! thanks! I’ve added instructions for sewing the shoulder before finishing the neck. thanks!
Beth Boh says
I am wanting to start this dress, but the step about cutting the keyhole on the back piece is confusing. I do not see any indication on the printed pattern as to how long the keyhole should be. Could I have at least the cut length for the keyhole? Thank you.
Emily says
You are right.. that does seem to be missing. I would cut between 3/4 inches for the back opening. Sorry about that.
Cassie says
Thanks for the pattern – my niece loves her new dress 🙂 I really liked your video explaining how to make a placket. I think I would not have been able to figure it out if your video had not been there! It was so clear and helpful.
Suzanne Farmer says
Thanks for the pattern – my granddaughters will be keeping me busy making these!! I just love the eyelet fabric you used – where did you get it?
Emily says
I’m not sure, I’ve had it in my stash for a long time, sorry!
Anise Allen says
hi could i just ask how long is the keyhole please nothing on the pattern to indicate how far down to cut
thank you looking forward to making this dress
Steff says
This is an adorable dress. Rose is a lovely model for your creations. We are kindred spirits with our tall, thin girls. My 10yo sweetie can wear a 7/8 in width and a 12 in height. Thanks for the reminder that we can customize to our cuties fit. Looking forward to making this over Easter break. Thanks for sharing!!
Sheila Robson says
Emily, I’m sure you must know by now you are my favourite designer! PLEASE will you consider making this is larger sizes? (I’m sure Rose needs a larger size by now??). All my granddaughters bar one are now beyond this size, and I’d love to use the pattern. I’ve got some great ideas for it, too.
Anna Wade says
I agree! I would love to make one for my oldest daughter to match.
Anna Wade says
Thank you so much for these! Just made my daughter the Schools out dress in just a few hours. ( Had to work in run around time with a toddler and 9 year old) It came out perfect with your guidance!
Joanna Milich says
Any ideas one getting this pdf to print properly? I print pdf patterns all the time so I know to use the actual pdf reader and to set the settings properly. I still get a few spots that don’t line up correctly.
Leslie Rzeznik says
Thank you so much for this pattern! I have a question. I just finished printing out, taping together, and cutting out the pattern. There seem to be some issues with the pattern.
1) Is the shoulder seam supposed to sit forward on the shoulder? The armscyes for the front and the back are markedly different.
2) The sleeve seems way too small for the armscye – it looks like it *might* work for the front, but no where near for the back.
Is there an error in the pattern? I am making a size 5.
Galil says
I have the same problem with the size 8 back armhole much bigger than front sleeve does not fit. help
Gail Goncalves says
I have the same problem with the size 8 back armhole much bigger than front sleeve does not fit. help
Julie robertson says
Will the dress neck go on easily without the keyhole? Thank you
Danielle Crist says
Hi! Am I completely missing the sleeves part? My brain is struggling 😂
Elien G. says
Did you found a solution for the sleeves? Cause I’am missing sleeves too. 🙂
Emily says
What part of the sleeves are you missing? Instructions? Pattern pieces? Please email photos to lifesewsavory@gmail.com with any issues you are having!
Emily says
missing it how? Instructions? Pattern pieces?
R says
I’ve used this pattern so many times to make woven tops for the kiddos I nanny. Thank you so much for making it available for free <3
Rebecca Schulze says
So.. I printed the pattern, taped it together and cut it out. The 1” test square is correct so I was assuming the pattern was printed to the right size. My question is, why are the front and back pieces considerably different lengths? Also, the front and back shoulder seams are about 1/2” off from each other. Is that how it should be?I am not sure how you would sew them together without an obvious discrepancy in either the neckline or sleeve. Any help would be appreciated!
sharon Grauer says
I printed out the patter, taped it together and cut it out. The front and back shoulder seams are way off. Is it supposed to be like that?