inside: Sew up this adorable girls tunic sewing pattern for the the little one in your life. Plus it’s a free pdf sewing pattern in sizes 12m – 14Y!
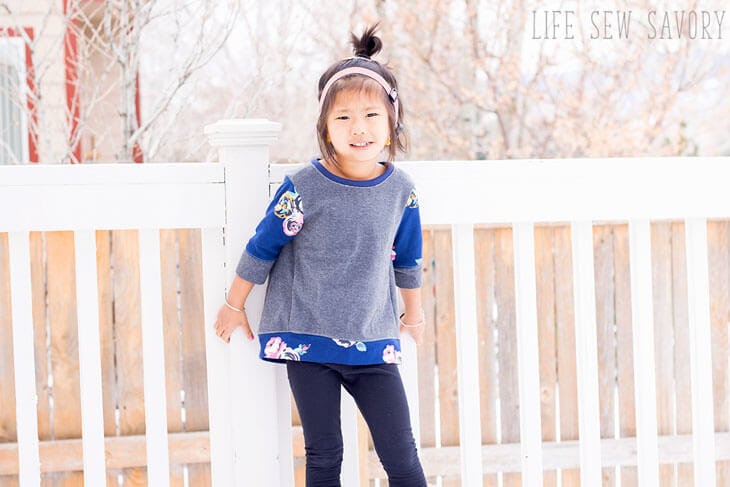
I know I say this every time, but I’m SO excited for today’s free sewing pattern! The girls sweatshirt tunic is a new favorite around here and I think we need a few more. I love the loose fit of this shirt, plus the cuffs on the sleeves and bottom make it quick to sew. It’s also perfect for fabrics like fleece, sweatshirt fleece and french terry.. You don’t need a lot of stretch as the back has a keyhole for easy over-the-head.
Join my group on FB for support with this pattern and to show off your finished tunics!
Free Sewing Pattern – Girls Sweatshirt Tunic
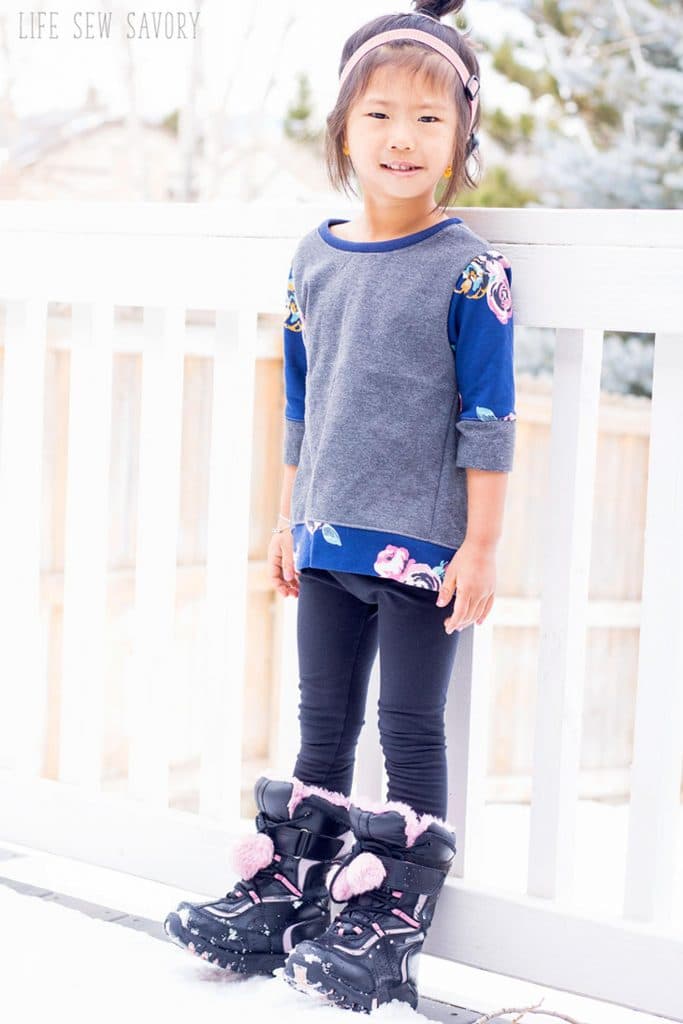
I love this pattern for using some fabrics I don’t sew with very often. I usually use this sweatshirt fleece for pants… {you can find my free kids sweats here} but I LOVE how this tunic looks with the sweatshirt fabric too! I used french terry for the floral fabric {recycled another shirt} and then the grey is a sweatshirt fleece with very little stretch. I would say you need a bit of stretch, but with the keyhole on the back you can get away with just a teeny bit of stretch in your fabric.
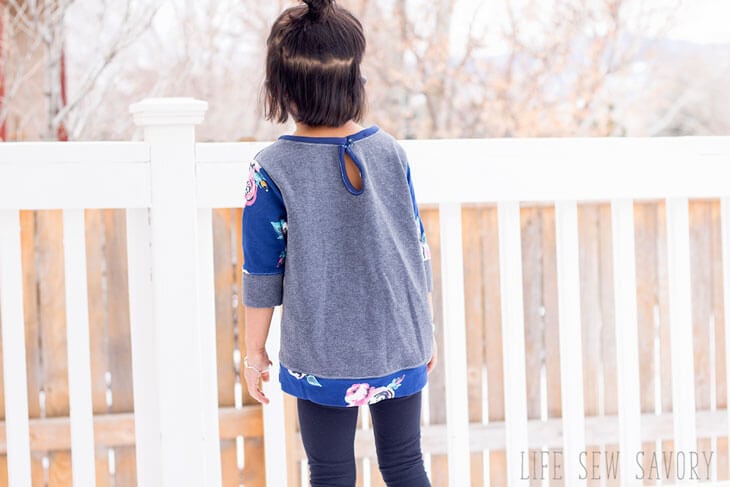
I’m recommending sweatshirt fleece, fleece or french terry for this free sewing pattern, but I’d love to hear what you think will work as well.
The pattern is updated with NEW SIZES {6-14} in November 2023. If you use french terry or a fabric with a bit stretch you can eliminate the keyhole!
The new pattern does NOT have a key hole in the pattern. Depending on your fabric you may want to add one, but neckline of the new pattern should be big enough with out the added back opening.
Once again I paired the tunic with my free leggings! Such a fun fall combo. Add some embroidery or couching to this top for additional fun details.
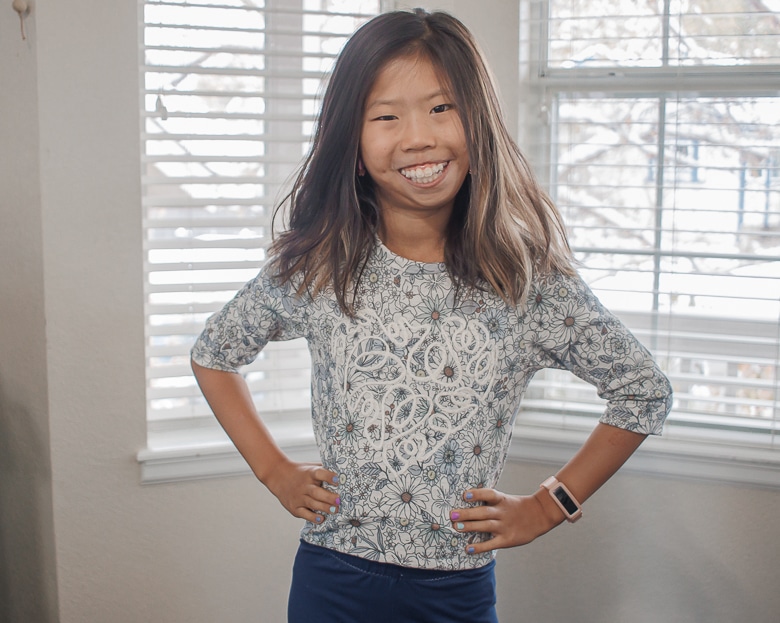
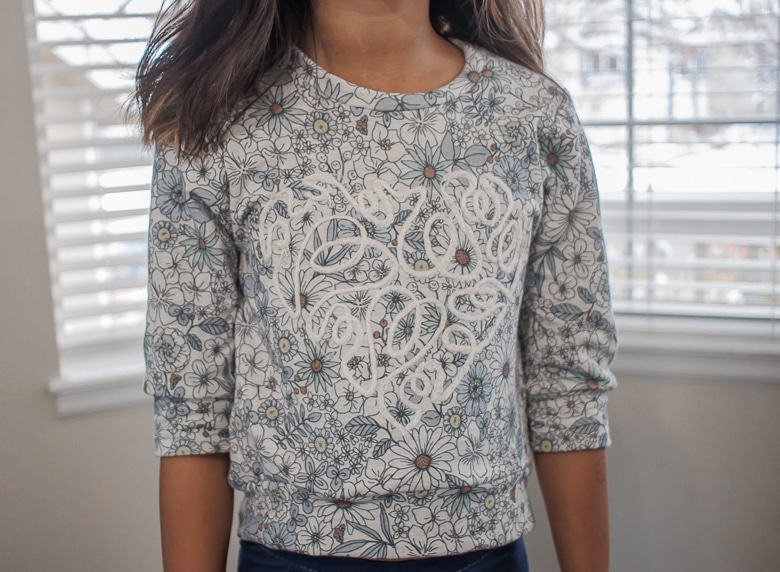
For our latest version, Rose asked me to make her a crop version of this sweatshirt. I trimmed 2/3 inches off the bottom of the sweatshirt before adding the bottom band and it turned out so cute!! So that’s another options for this top.

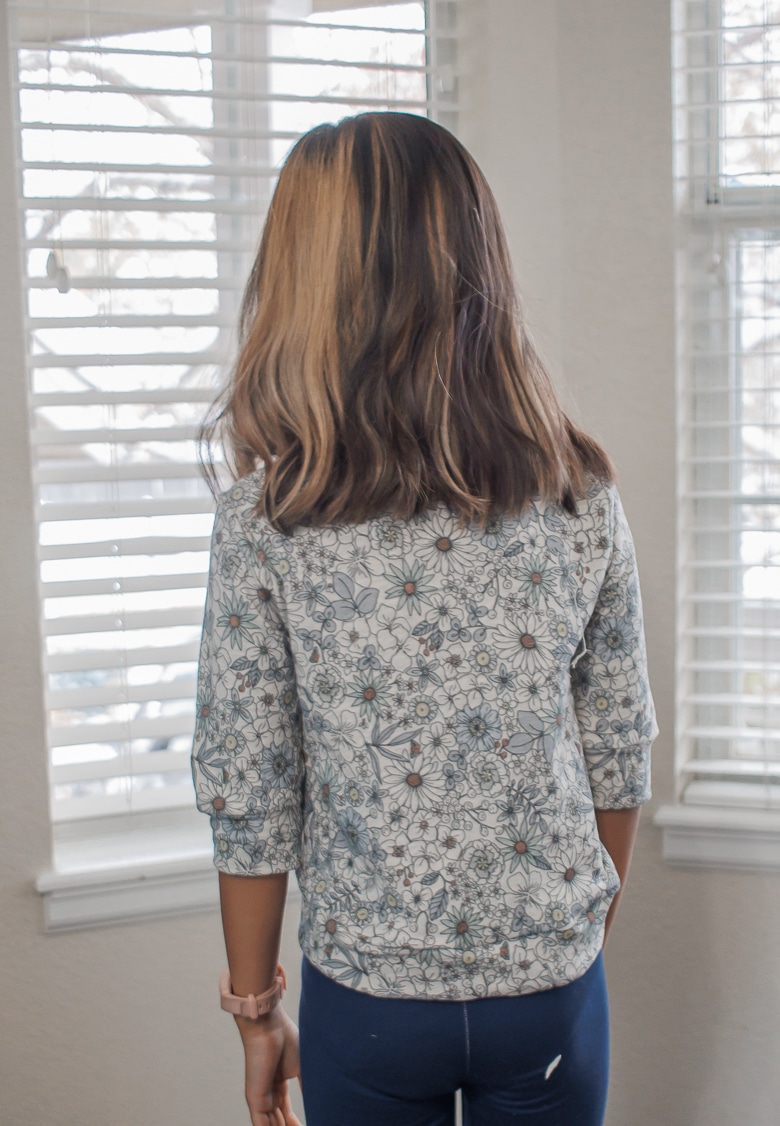
girls tunic sewing pattern-
want to also see this sewn with sweater fabric? Check out the photos in this post for the sweater version.
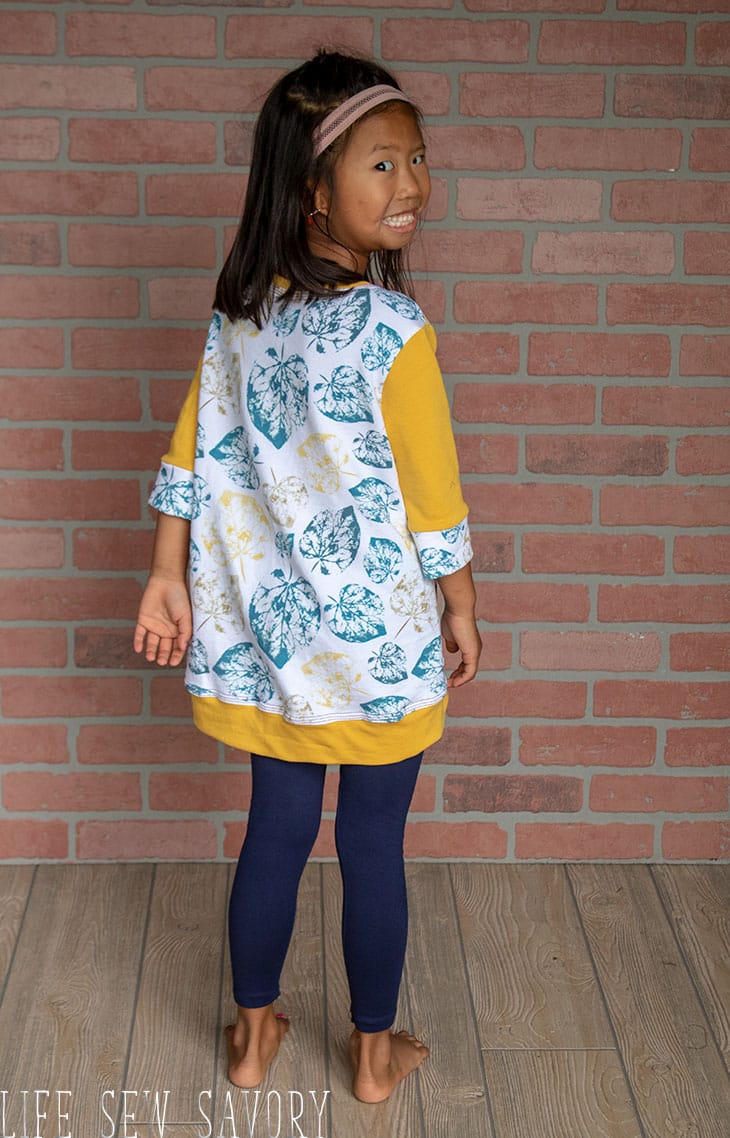
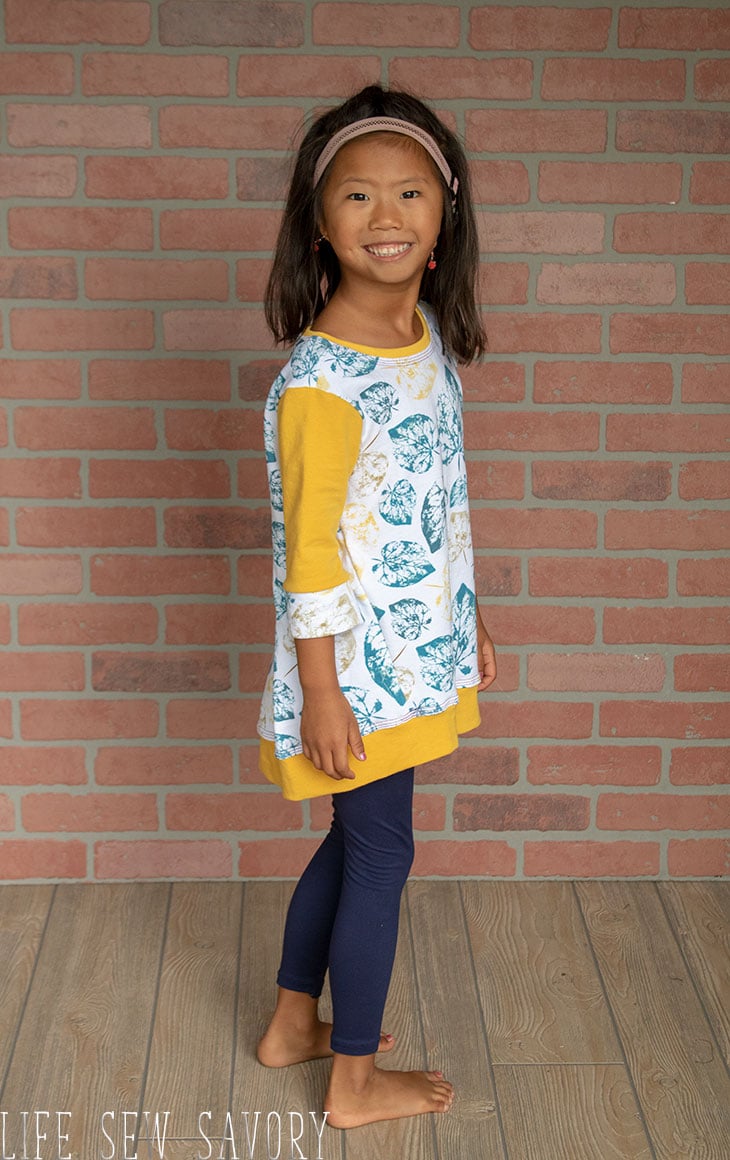
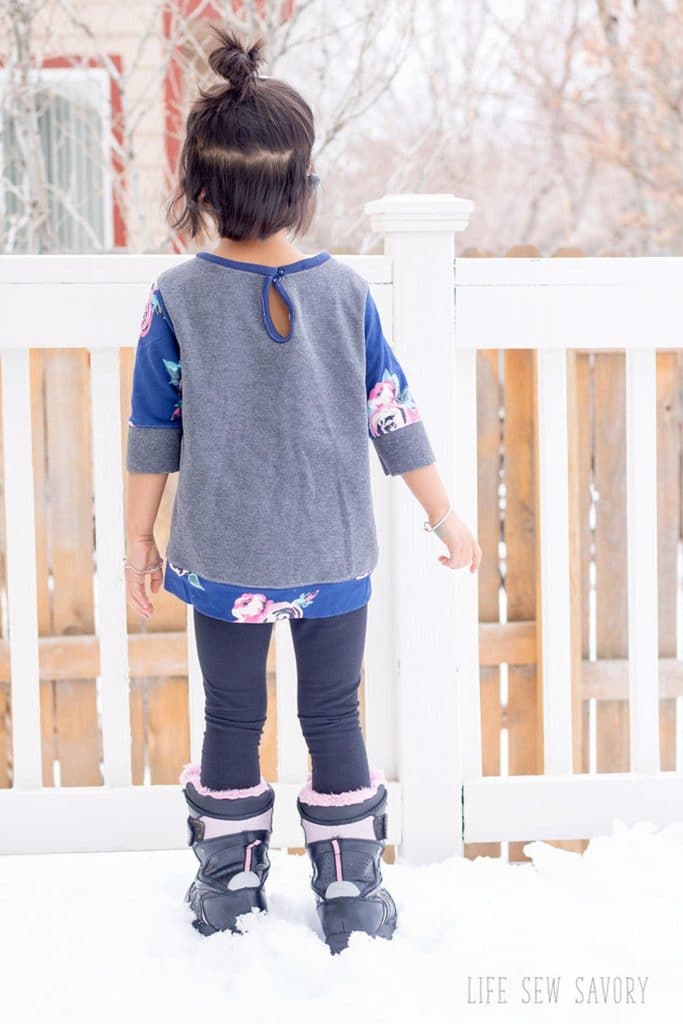
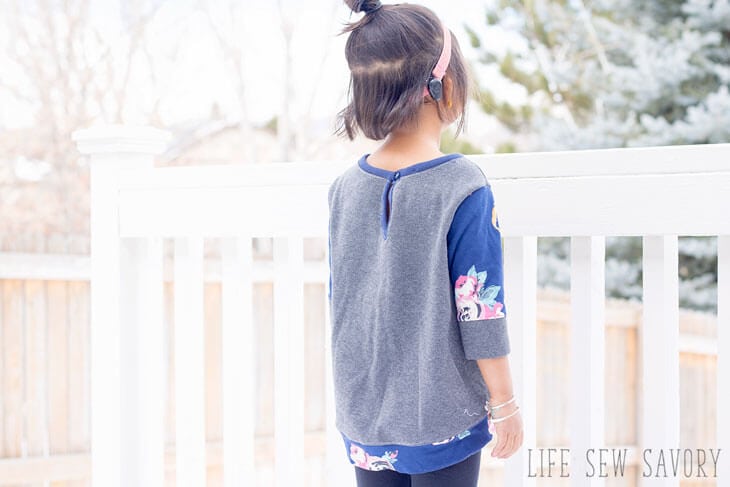
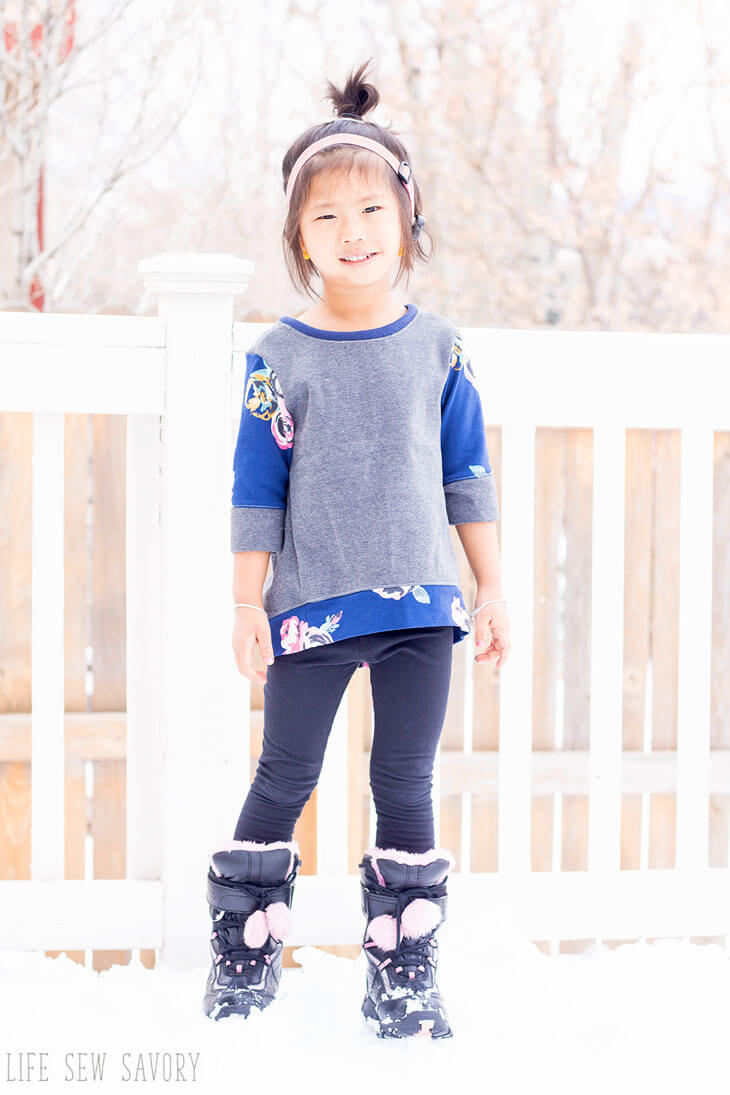
The hem is a bit of a hi-low shape making this tunic perfect for wearing with leggings! You can grab my free leggings pattern here. {Rose is wearing leggings I made in these photos}
Free pattern download and supply list:
Alright! Want to make your own adorable sweatshirt tunic? Click the button below to download the pattern, then follow the tutorial below to put it together.
The fabric and notion needs are listed on the pattern, but I will give here as well.
- 1/2 – 1.5 yards fabric {fleece, french terry, sweatshirt…} You can also use two different fabrics as I did.
- 1 tiny button {optional}
- elastic thread {optional}
- 1/4 yard ribbed knit to match.
- A 3/8″ {1 cm} seam allowance is included on all pattern pieces.
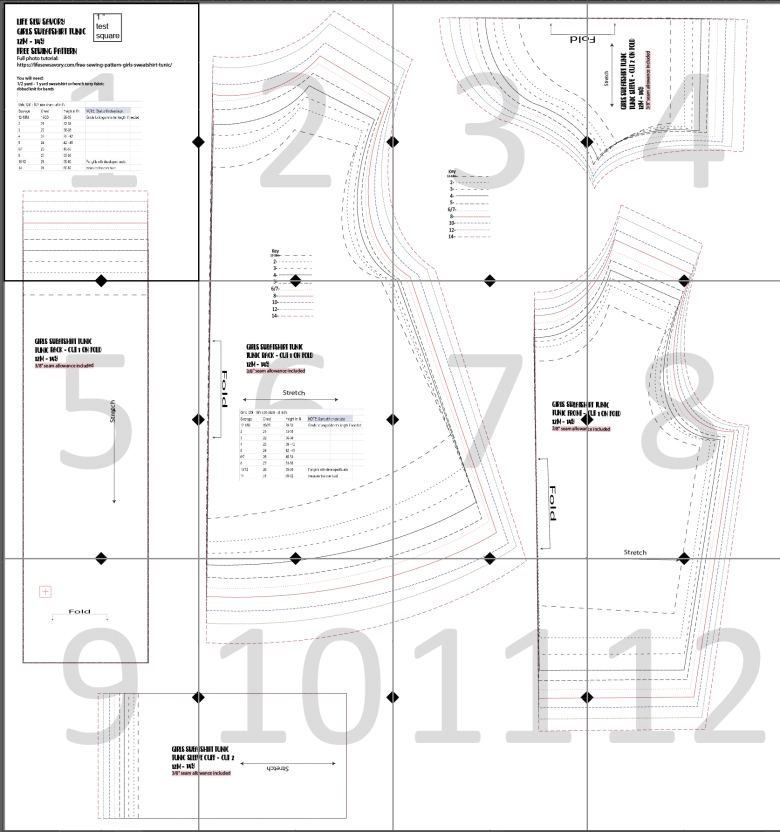
There are 12 pages to print and when taped together they should look something like this.
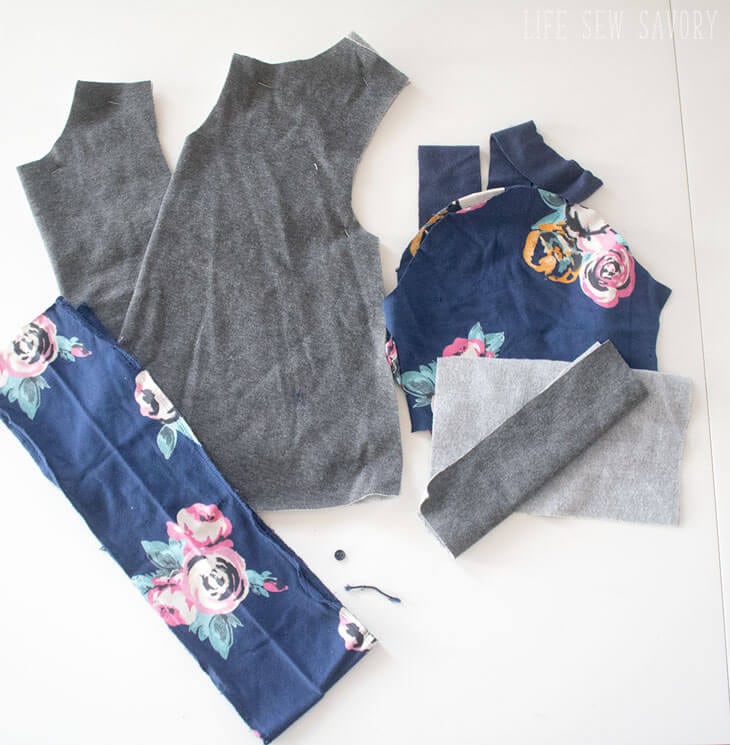
Cut out the pattern pieces as directed on the pieces. You should have.. 1 front, 1 back, 2 sleeves, 2 sleeve cuffs, 1 bottom cuff, 1 ribbed knit neckline, 1 ribbed knit keyhole binding, 1 tiny button and a bit of elastic thread.
Start by sewing the shoulder seams together with right sides of the fabric touching.
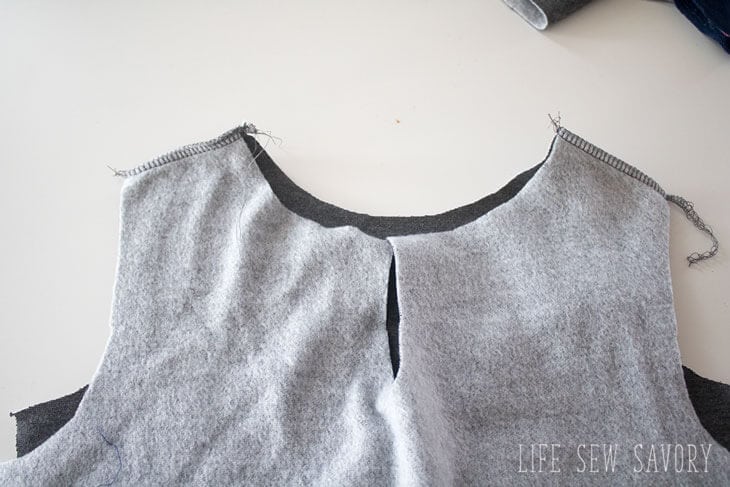
how to sew ribbing on a sweatshirt-
NOTE: new version of pattern does NOT have this key hole! This is if you need to add one, or are using the older version of the pattern.
Take the 2″ wide piece of ribbed knit and fold over. Match the raw edges with the edges of the back keyhole. Stretch a bit and trim an extra. {all sizes have the same length, so more will be trimmed from the smaller sizes}
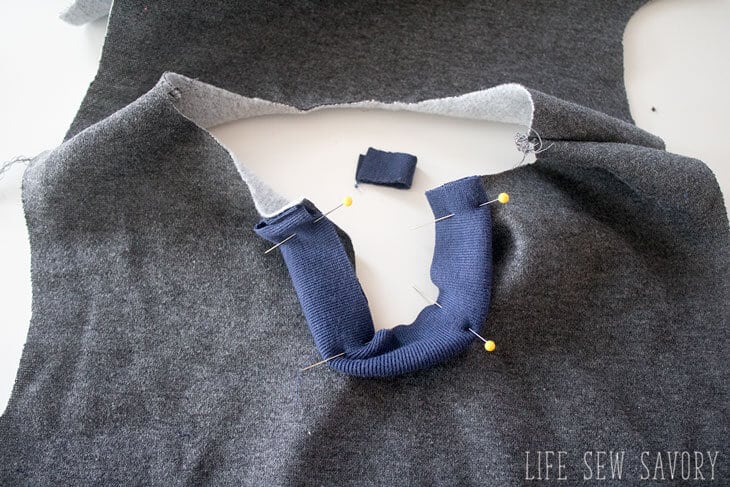
Sew on the right side 1/4″ from the raw edges. You will sew through 3 layers, 1 shirt and 2 ribbing.
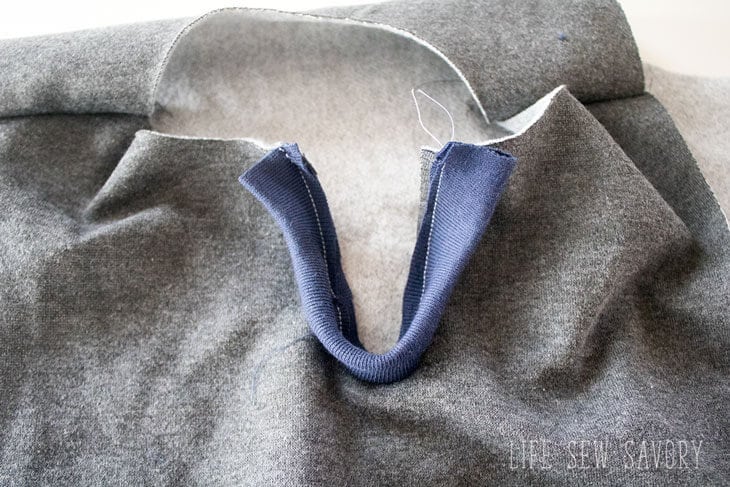
Fold the folded edge of the ribbed knit to the back side of the shirt and cover the seam allowance. Pin.
Stitch on the right side of the shirt to enclose the seam allowance and finish the binding. I would recommend matching thread {haha} I used white here so you can see.
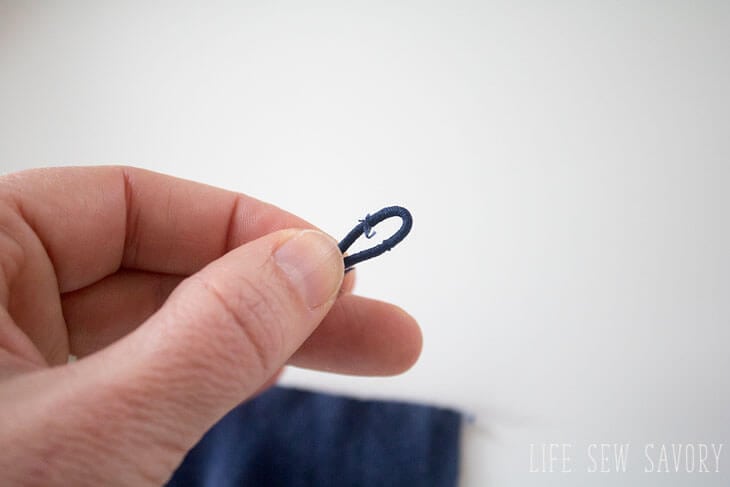
cut 1″ of elastic thread and fold over.
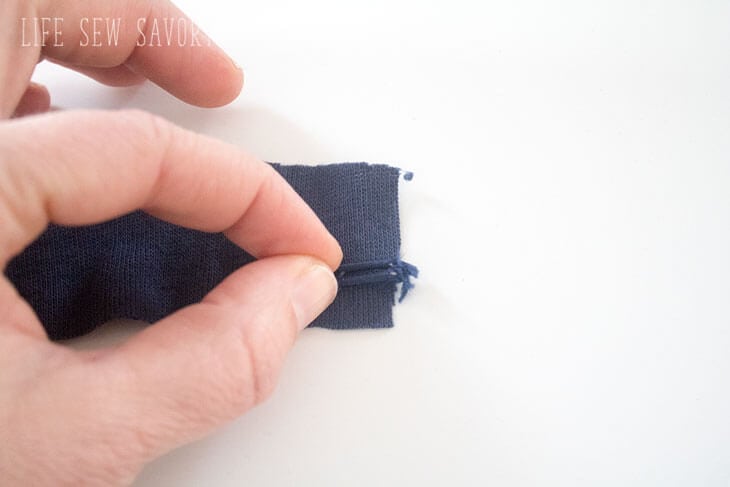
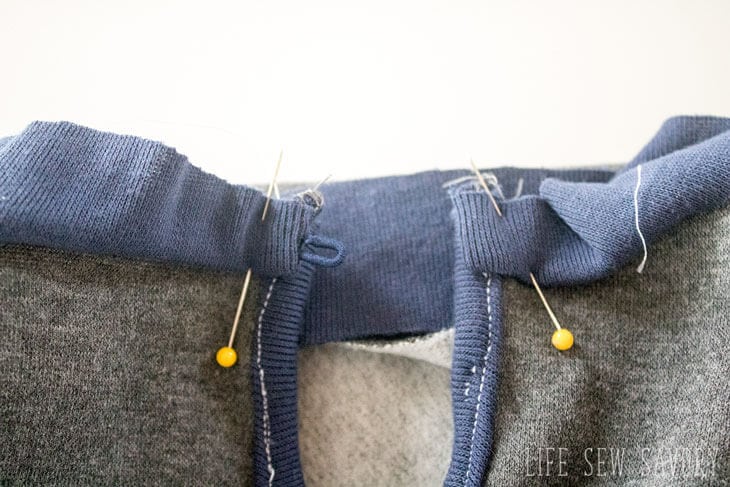
Take the neck ribbing and place the ends of the loop on one short end of the binding.
Sew the short ends of the binding together to fold over the binding. The loop of elastic is inside one end.
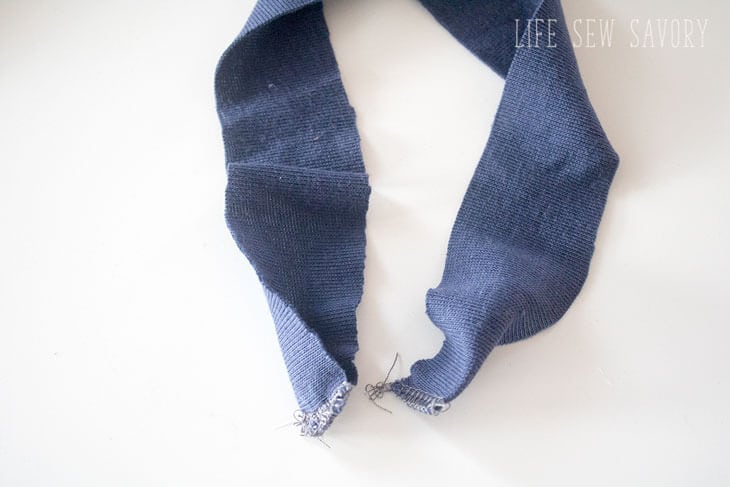
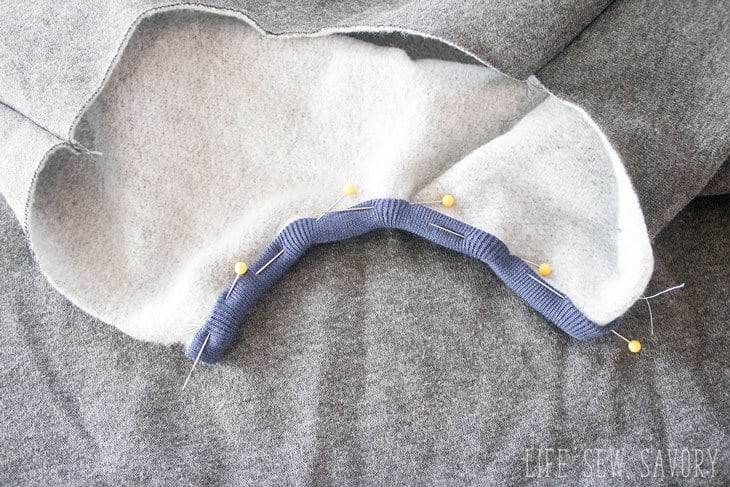
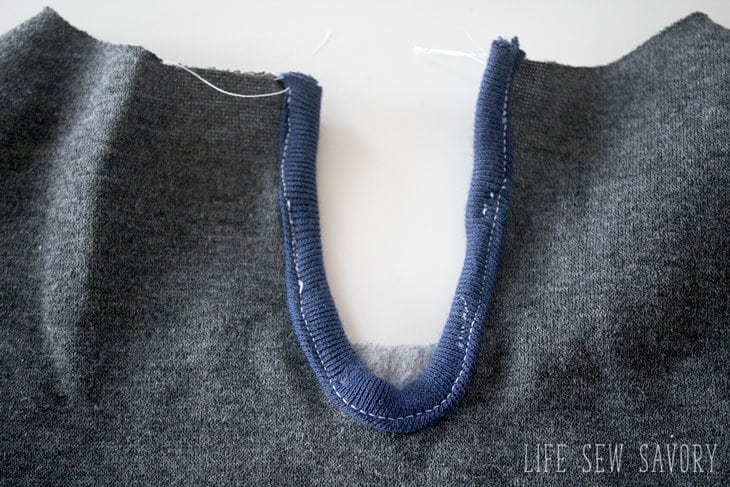
Turn the binding to the right side and place each end of the binding on the sides of the keyhole. Stretch and pin the binding around the neckline matching the raw edges.
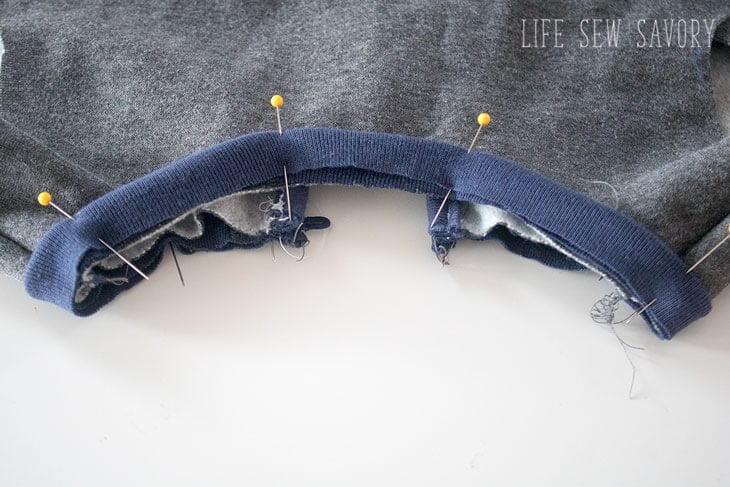
Sew the ribbing to the shirt.
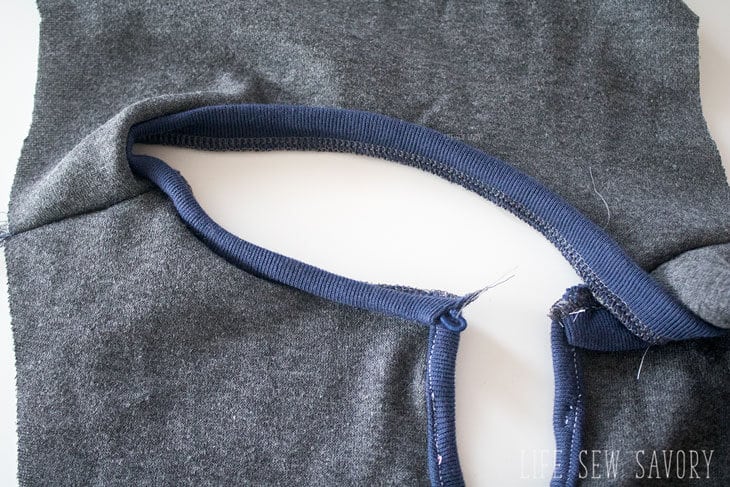
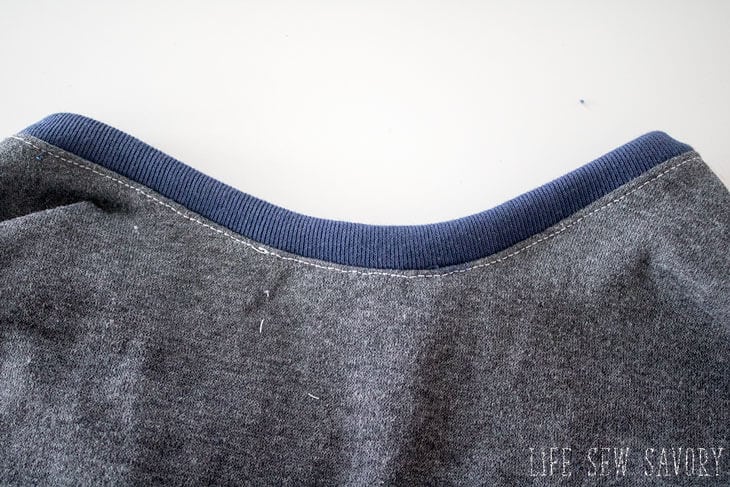
Fold the seam allowance towards the shirt and top-stitch. I just used a normal straight stitch as the fabric isn’t stretchy, but if you have stretch fabric, use a zig-zag, knit stitch or twin needle to top-stitch to keep the stretch.
Fold the sleeve cuffs in half with the wrong side in and pin along the edge of the sleeve.
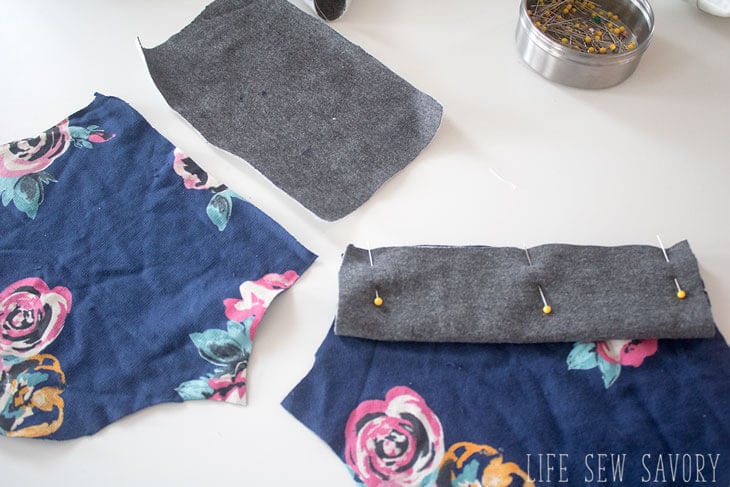
Sew and top-stitch with the seam allowance towards the sleeve.
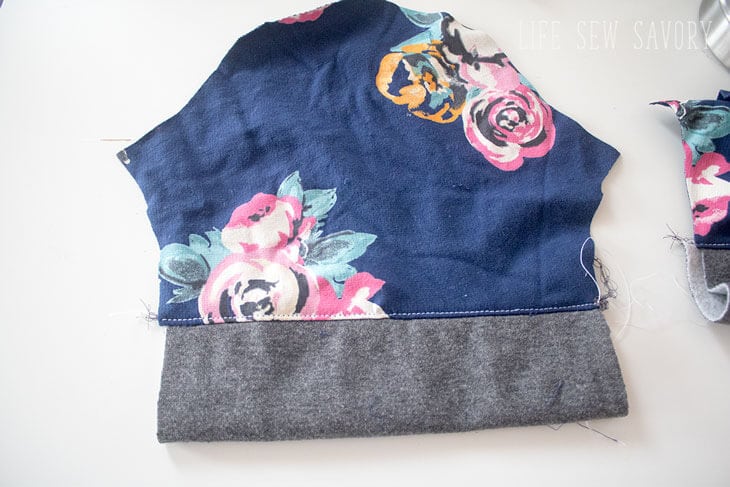
Pin and sew the sleeve along the shoulder opening of the shirt.
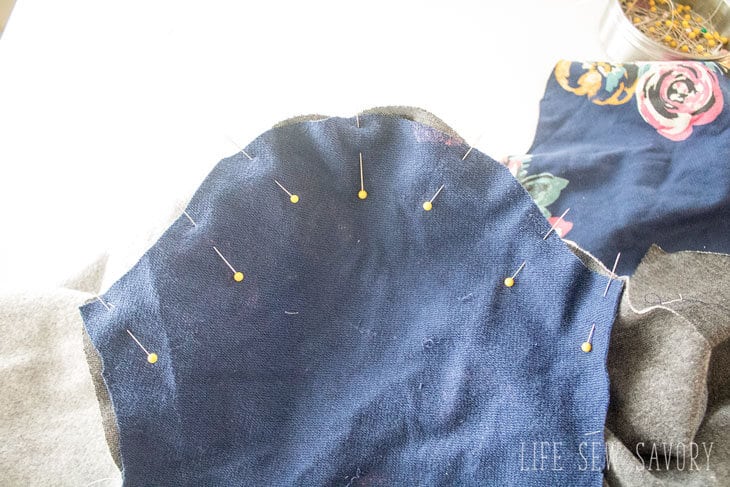
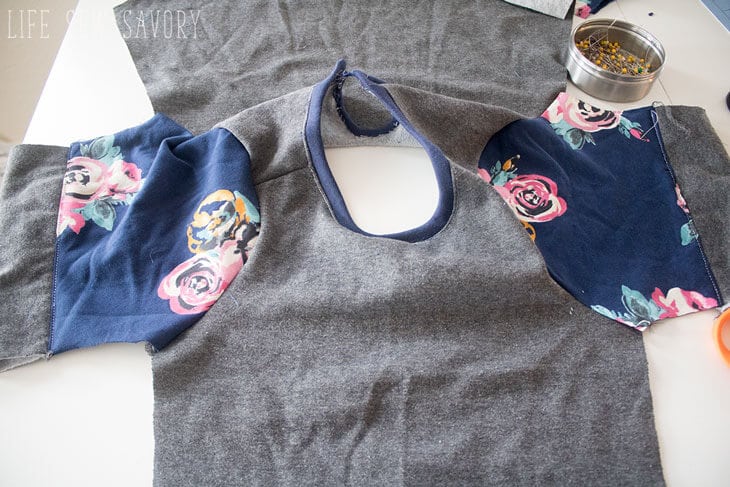
Sew the side seams starting at the sleeve cuff and working down to hem.
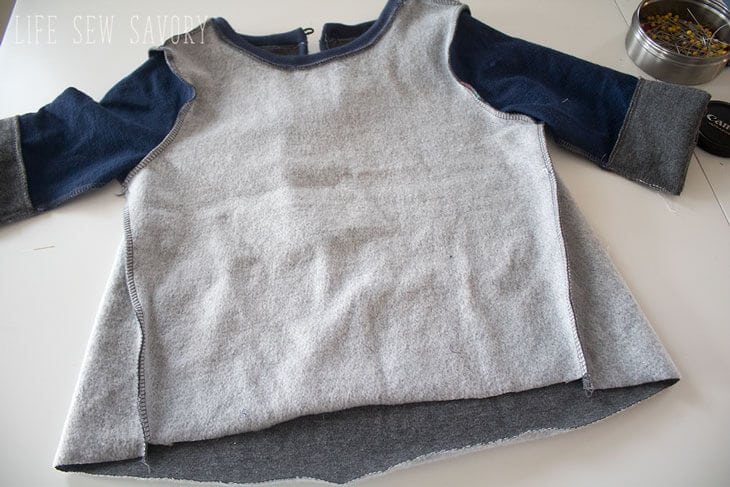
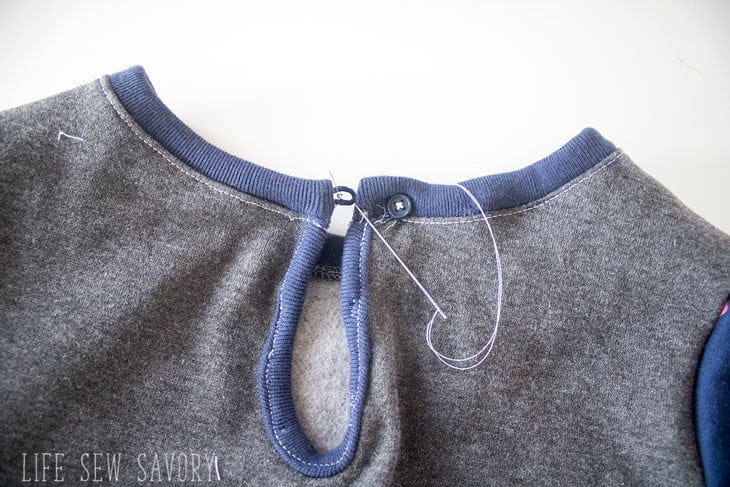
Add the tiny button on the other side of the neck binding to finish the back closure.
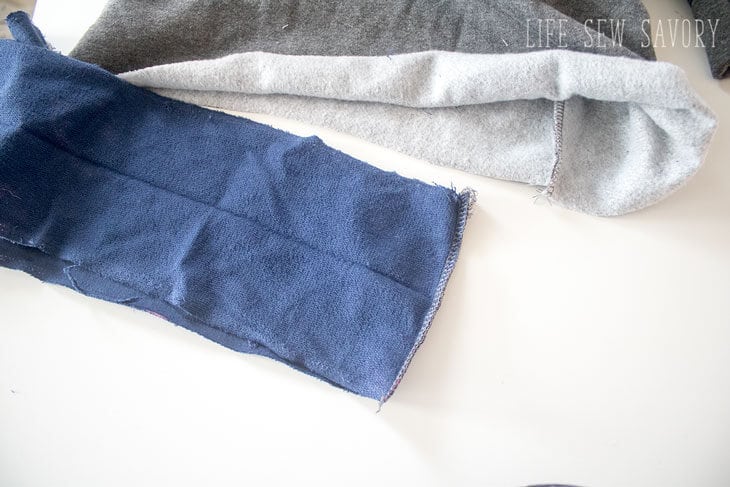
Sew the short ends of the bottom cuff together with right sides touching.
Fold in half and pin to bottom of tunic. I matches the seam with one side seam of the tunic.
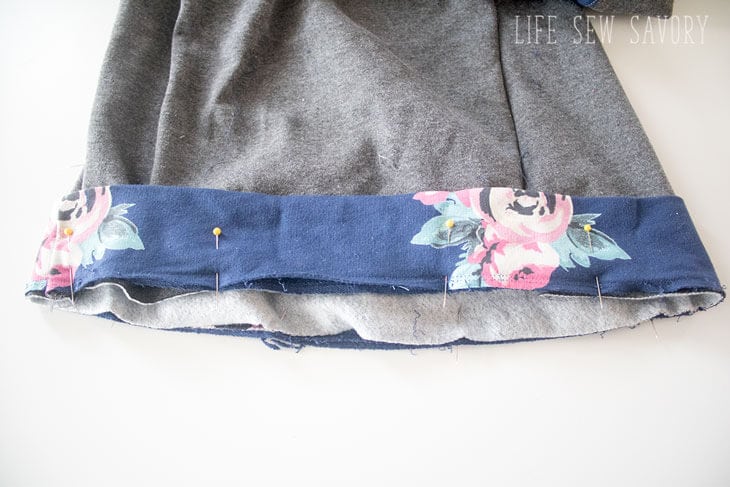
Sew and top-stitch the bottom hem.
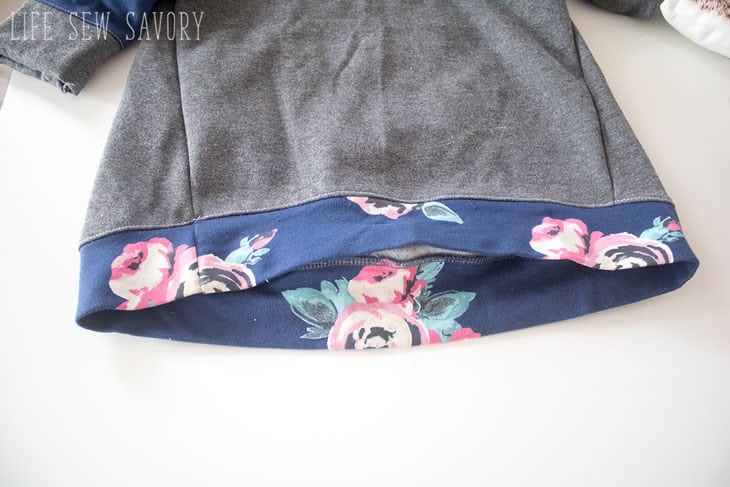
You did it!! I love this free sewing pattern and can’t wait to make more. Rose also loves this and had fun showing it off this week. PLEASE share your finished photos in the fb group so we can all enjoy what you’ve made.




Ali says
That is so adorable!!
Mira Edorra says
Wow!
I love your patterns and the way they turn out. Really so much adorable. Please don’t mind if I ask you to kindly tell how to make pattern manually with measurements. I shall ever remain your loving friend 🙂
Emily says
Hi! I’m not really sure I can explain how to make this measurements.. it’s a complicated process… You could take a shirt that fits you well and try to copy it with modifications to look like this.
Kim~madeinaday says
This is so cute! Thank you for sharing on Merry Monday! Hope to see ya next week!
Kim
Rhonda says
The tunic is adorable, and so is she. Thanks for sharing on Sunday’s Best.
Amanda Nel says
Just lovely…my first time to visit but I am now subscribed!
Emily says
glad to have you!
Jann Olson says
That is such a cute makeover of a sweatshirt, and what cute little model! Thanks for sharing with SYC.
hugs,
Jann
Theresa says
Super cute! Thanks for sharing at the Inspiration Spotlight party. Pinned & sharing.
Adje says
Thank you, again, for this adorable pattern. I am certain it will look lovely on my granddaughters as it looks on your cute daughter!
Cindy says
Hi and thank you dearly for your
patterns. They are easy to follow.
Are you aware that both tunics pieces are titled “front “? It is clear to me that the longer one is the back piece, but a true beginner may become confused.
Happy April
Cindy
Patricia says
Sorry to bother you. I cannot find a download button for ANY of the free patterns. I am trying to start with the button-front skirt child size. I find many download buttons but hey all download other software. THANK YOU
Emily says
You will need adobe reader to view any of these patterns. Make sure you have that installed before downloading…
Penelope says
Hi, I have downloaded the pattern but don’t have the pattern piece and dimensions for the ribbed knit neckline. Please can you advise me.
Kindest regards Penelope