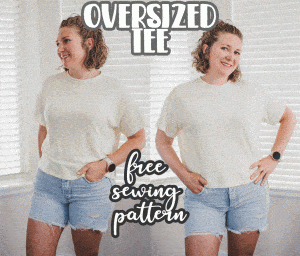
Inside: Sew up this fun free sewing pattern – a womens spring tee {actually for any season} Sew in either short or 3/4 length sleeves for two great looks. Free pdf pattern in sizes xs-xxl.
***Originally post 3/2018 – post updated with short sleeve option 4/2024
Excited to have another free sewing pattern up today! This one is for me, so even more exciting…. who doesn’t like new clothes? Rose always asks who I’m sewing for and when I don’t say her she gets sad… lucky for her more than half my sewing IS for her, but this one is not!! It’s for us big {grown up} girls and it’s also perfect for spring.. so I’m calling this free sewing pattern the Women’s Spring Tee and it comes in sizes xs-xxl and I hope will work for MANY of you! I’ve updated this with a short sleeve option and I’m loving it!!!
Need help? Have photos to show off? Join my FB group for help and to show off your shirts!
Free Sewing Pattern – Womens Spring Tee
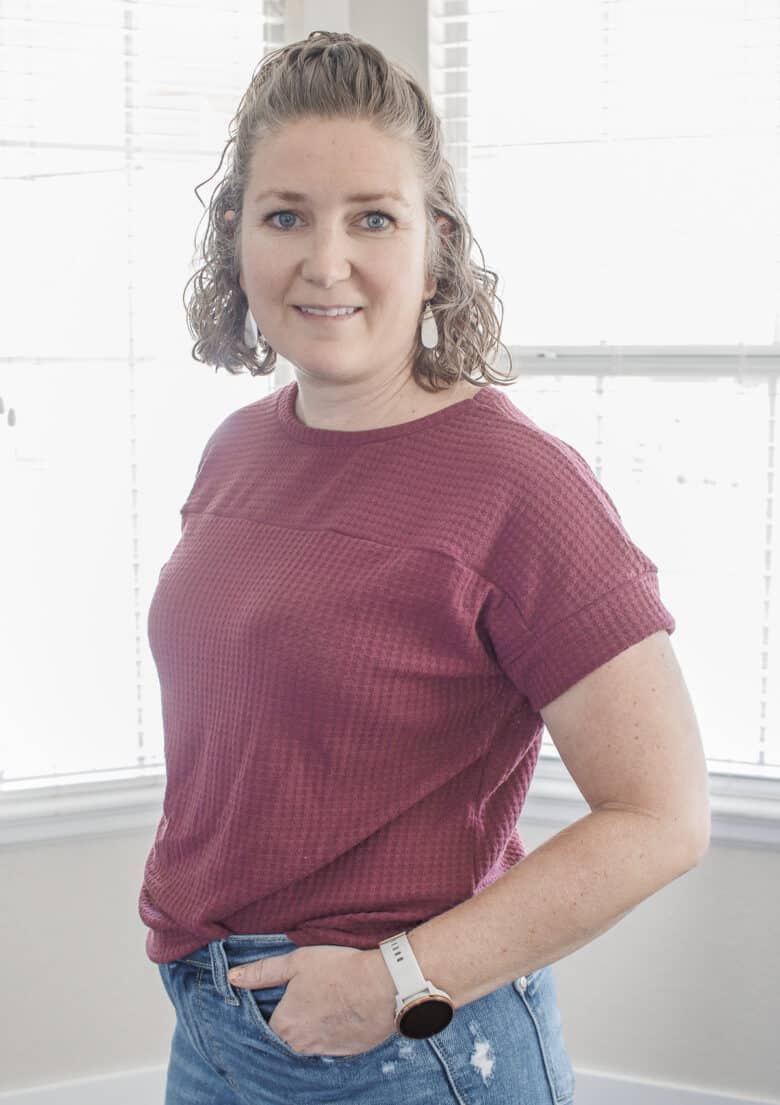
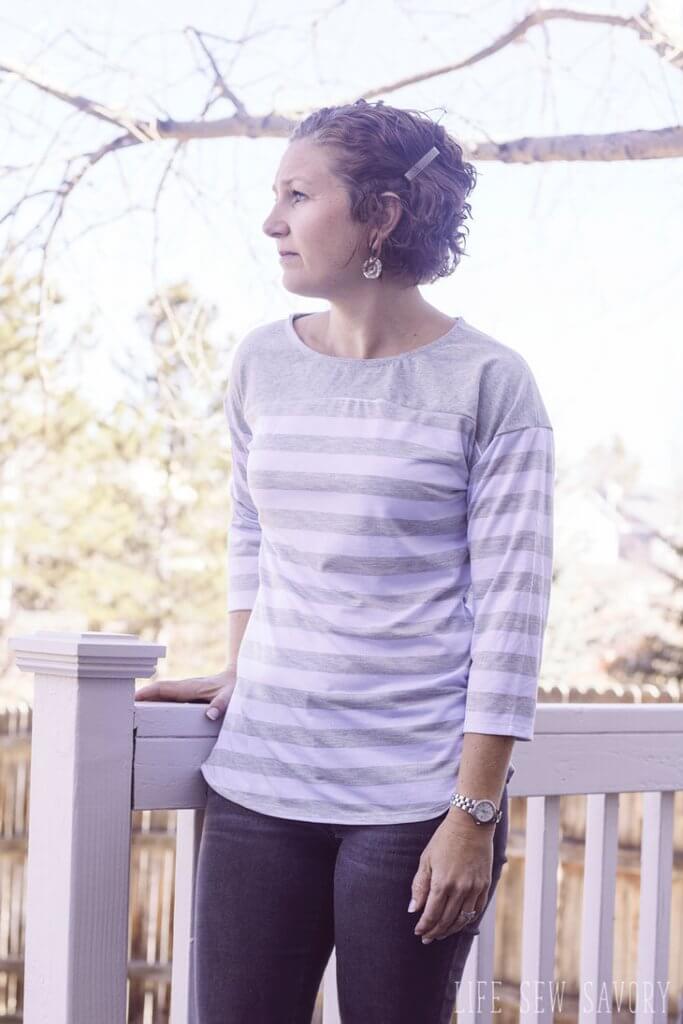
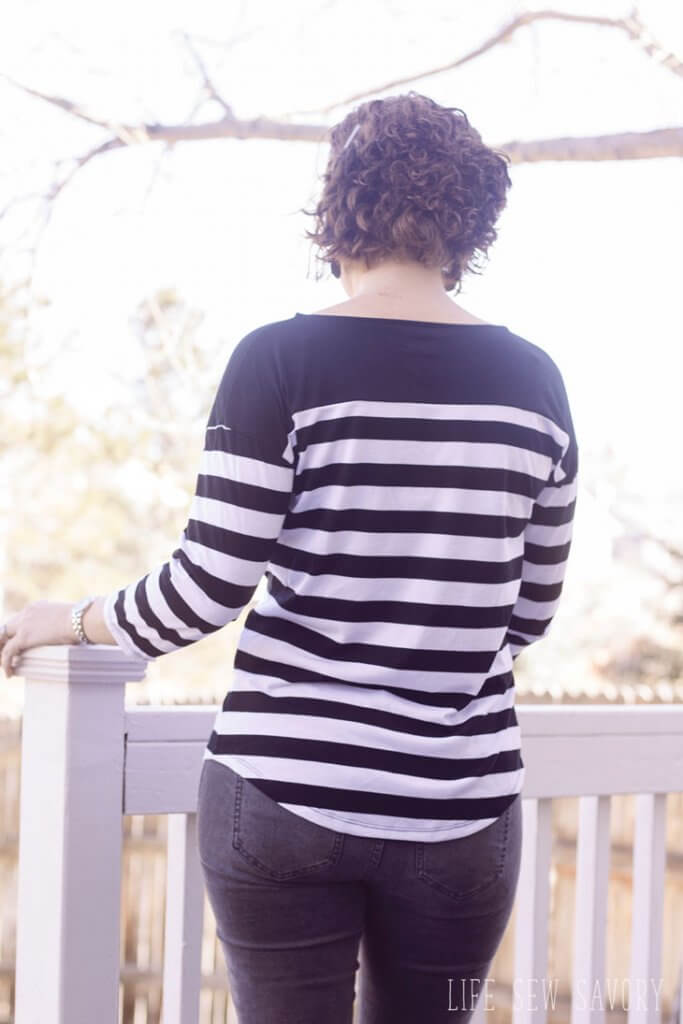
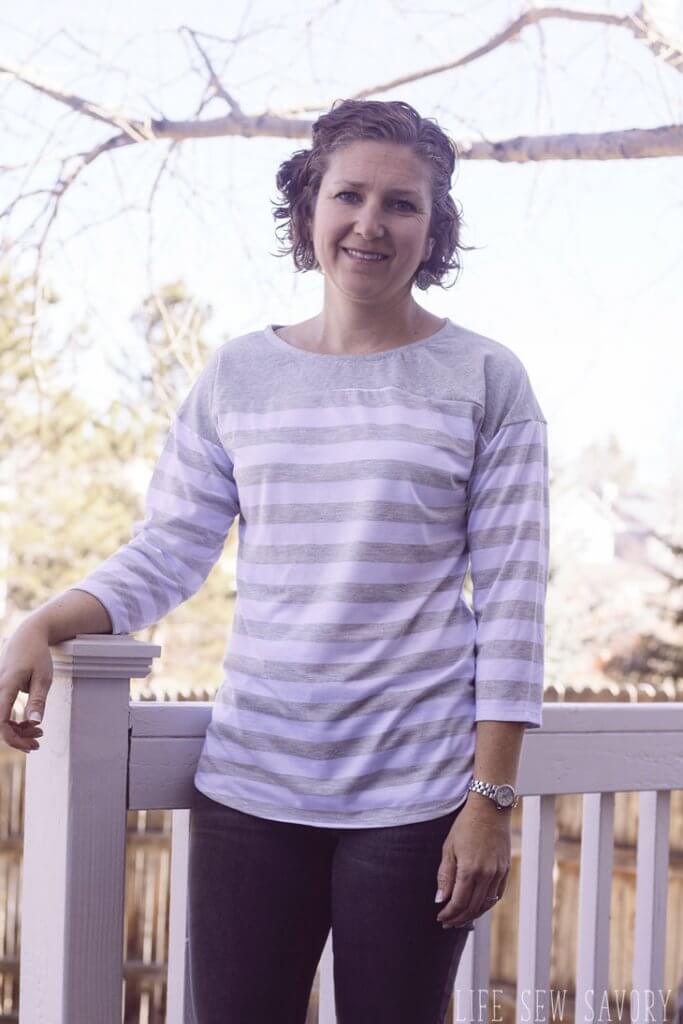
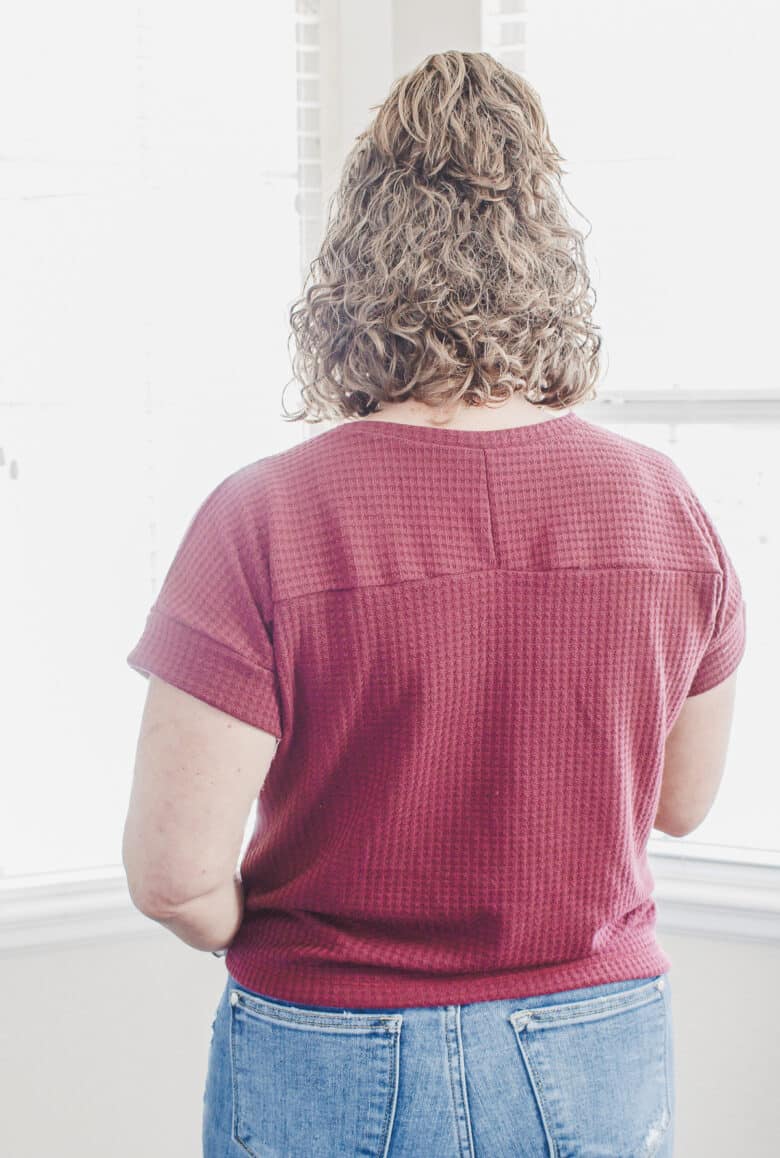
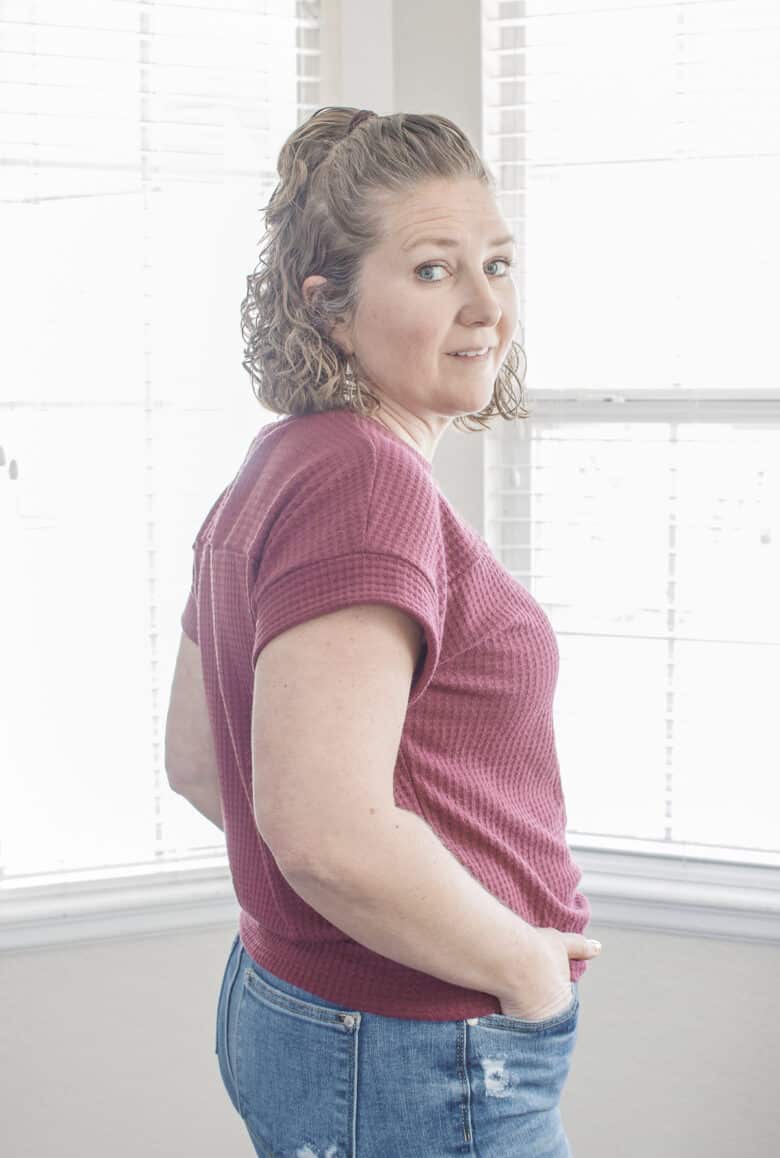
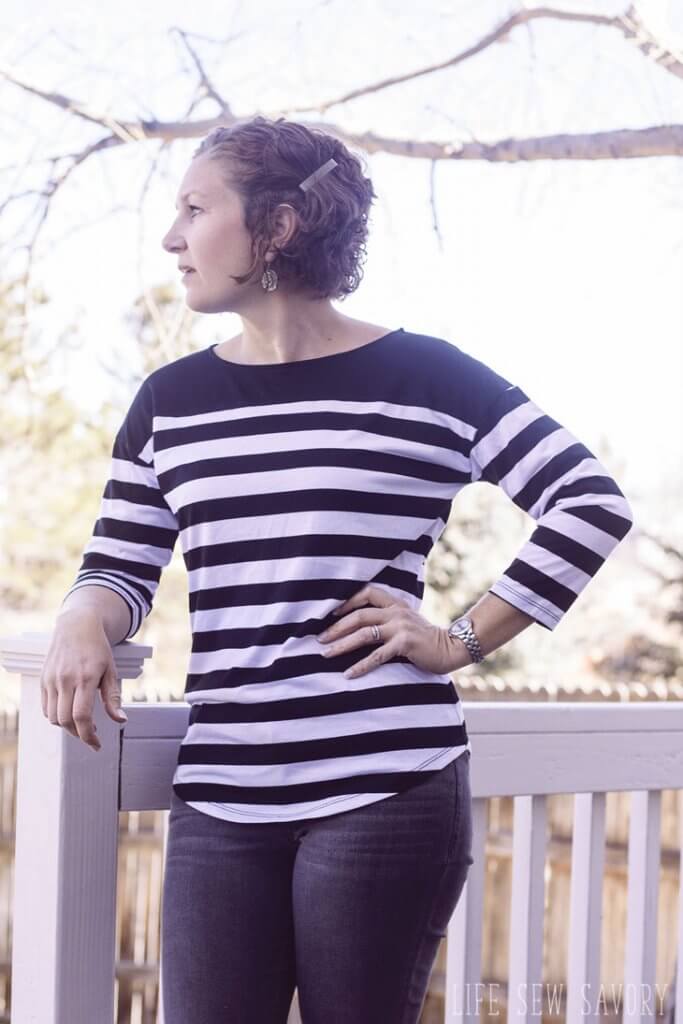
Okay, so just a few more photos before we dive into the pdf print and tutorial details. This spring tee {can be made for any season, haha} I think it works best with really light weight knit fabric. {I’ve linked to some great options on Fabric.com} I made the yoke of the gray one with a slightly heavier knit and it just doesn’t lay as nice… SO.. you will need 1-2 yards of knit fabric {depending on size} and I suggest a very light and drapey knit.. You could also easily shorten the sleeves if you don’t like the 3/4 length style.
I just updated this pattern and instructions with a short sleeve version of this top, and I may love it even more than the first version. Either way, you can now make this top with either the 3/4 length sleeves or short sleeves. This version was make with the yoke and main fabric the same and I squared off the bottom as well as adding the cap sleeves instead of the longer option.


More free shirt patterns to sew
How to sew a free tee – sewing tutorial:
Alright! Let’s get sewing! You can download the free sewing pattern pdf pieces by clicking the photo below. This will take you over to craftsy where you can download this free pattern { as well as all my other freebies!}
The link has been updated to go my site shop as craftsy/bluprint is closed.

Use the size chart here to determine the size you will make.
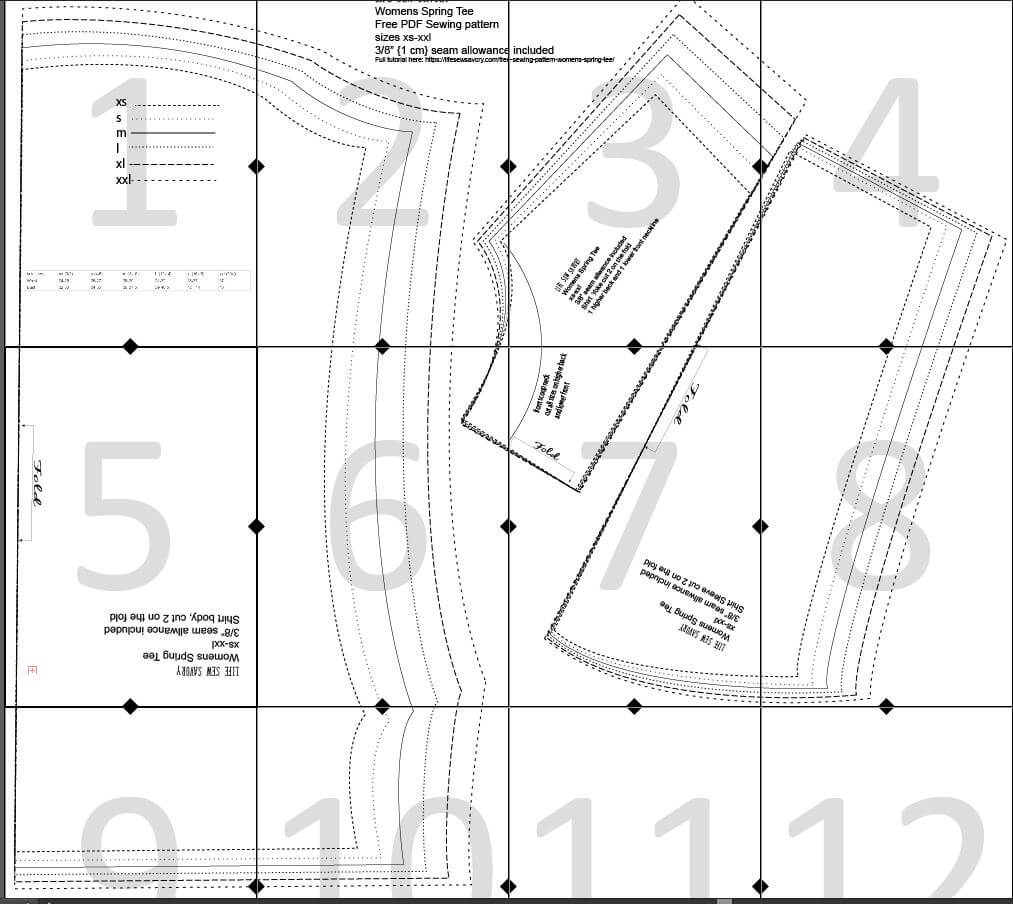
Print the pattern and 100% or actual size and assemble. The should look like this when finished. If you need help downloading or assembling you can check out my youtube video HERE. If you are making the short sleeve version, you will not need the sleeve piece as all.
Shirt Sewing Tutorial –
Cut out the pattern pieces.. you should have… 1 front, 1 back, 1 front yoke, 1 back yoke, 2 sleeves and 1 neckband. A 3/8″ {1cm} seam allowance is included. For the short/cap sleeve, cut 2 pieces of fabric 5″ tall and the width of the shoulder opening {top of the sleeve}
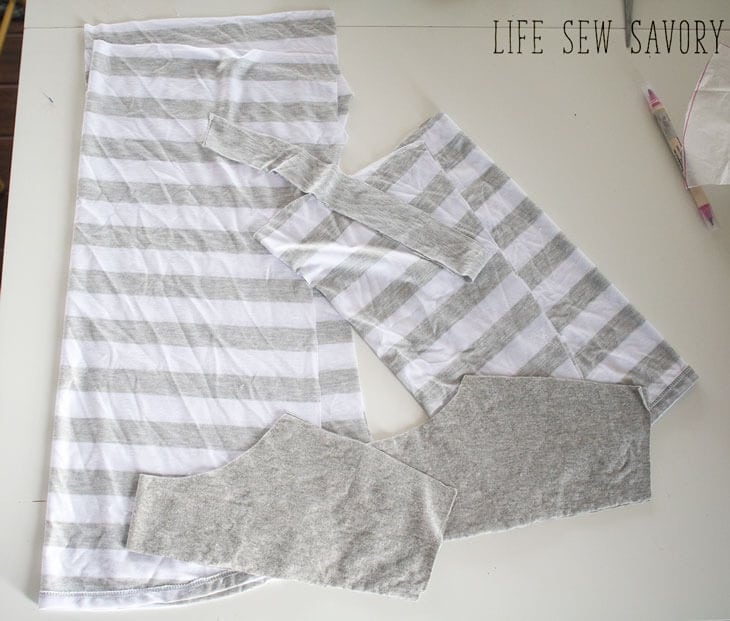
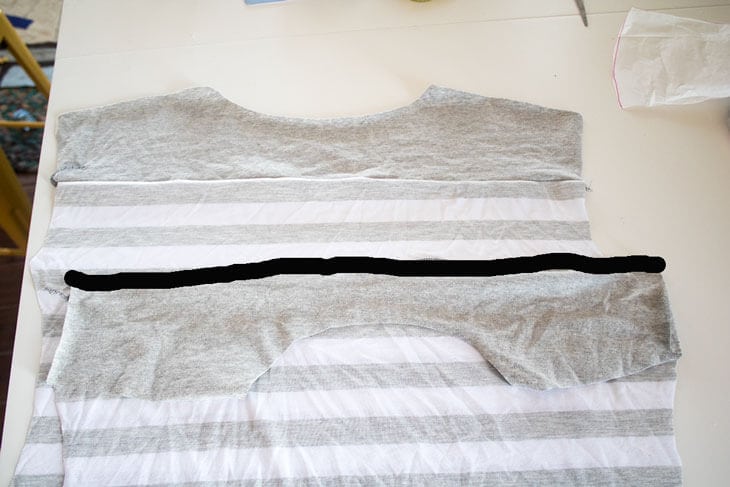
Begin by sewing the yoke to the front and back of the shirt bottom. It doesn’t matter which bottom the yokes are sewn to as they are the same. Sew with right sides together.
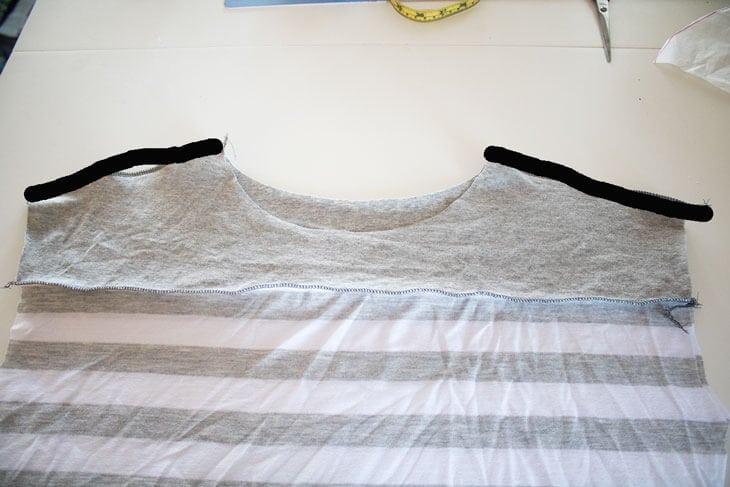
Sew the shoulder seams, again with the right side of the fabric together.
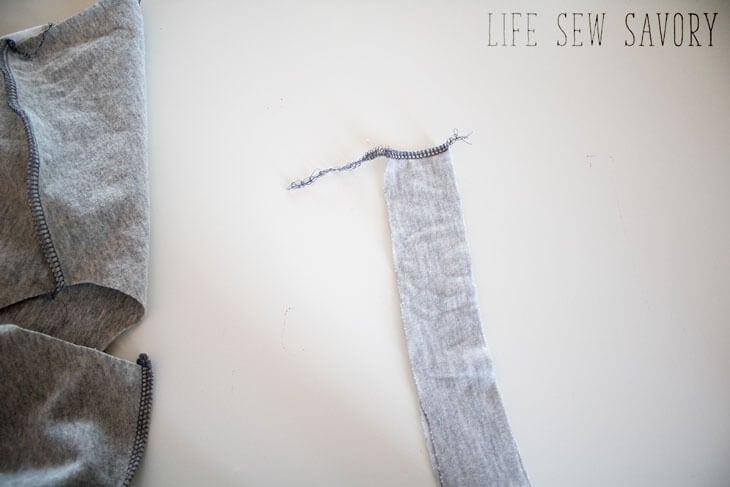
Take your neckband.. it should be cut 1.5″ wide.. the length will be somewhat determined by the stretch of the fabric. Less stretch will be longer, super stretchy will be shorter. I think that 21-22″ long will be pretty good for all sizes, but you will have to use some judgement here to figure out what works for you. Sew the short ends of the binding together and stretch around the neck.. if it seems to loose you can always shorten it now.
Fold the neckband in half and match the raw edges with the raw edge of the neckline. Sew together with a serger or stretch stitch. Make sure to stitch through all three layers of fabric. OH and I just started using wonderclips.. I’m in love!
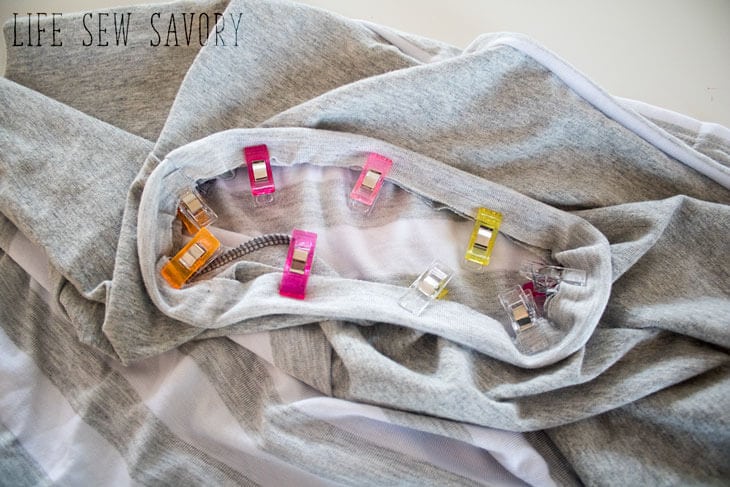
Now.. you can just leave like this… I would top-stitch, or you can follow the next step for a fold over binding.
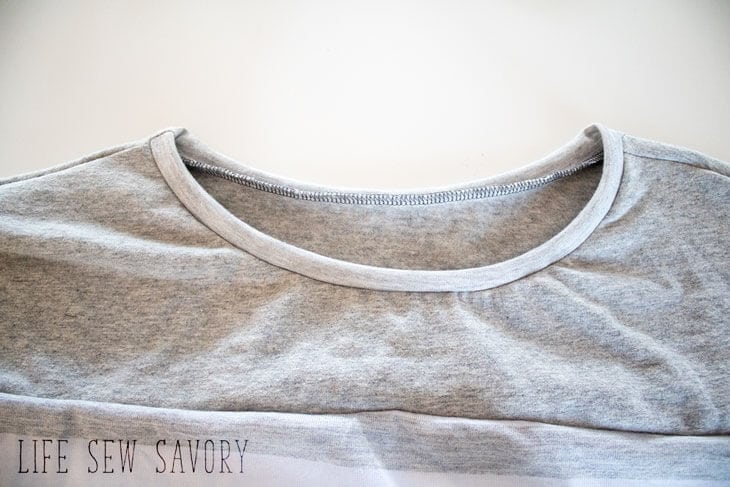
Fold over this neck binding, enclosing the seam allowance. Pin or clip the binding to the back with the seam right on the edge of the neckline.
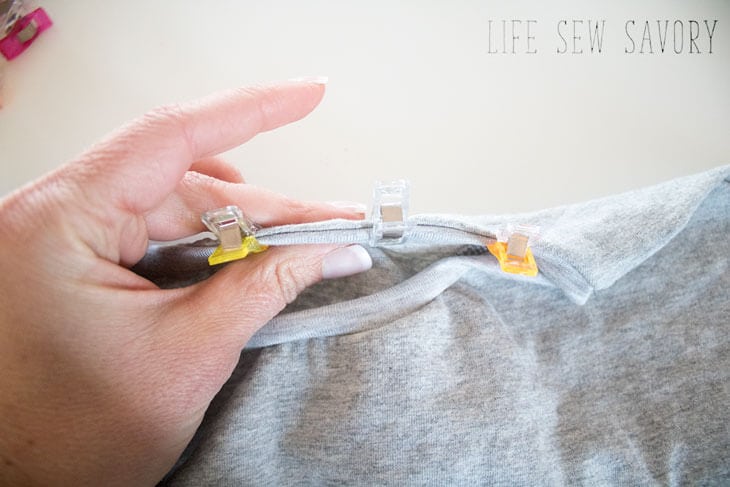
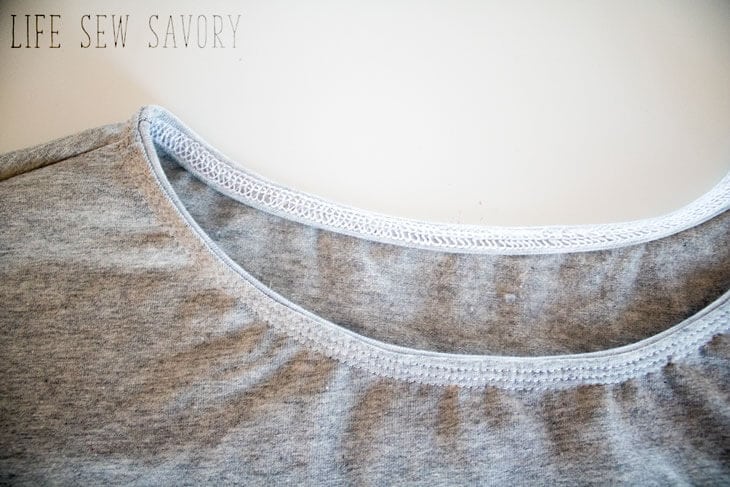
I used my Brother Coverstitch with triple needle to top-stitch. You can also use a twin needle on a regular machine.
Short sleeve instructions are first, scroll down for longer sleeves and the rest of the sewing tutorial. Open up the shoulder part of the top, this is the front and back yoke and part of the front and back main pieces. Fold the cap sleeve pieces with wrong sides together, then line up the raw edges of the cap sleeve and the shoulder opening. Sew these three raw edges together.
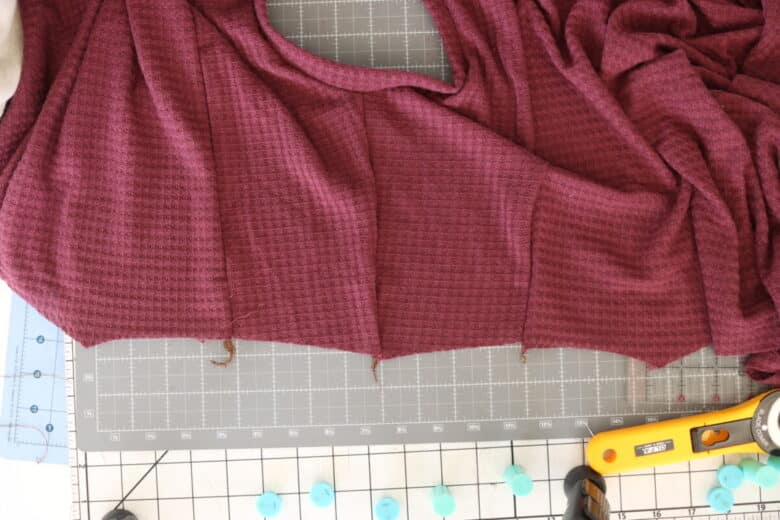
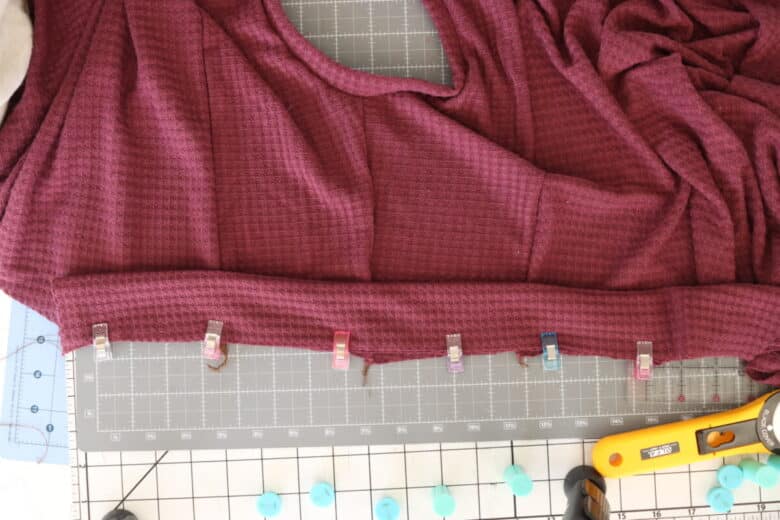
After you have sewed the sleeve on you can trim any extra fabric. You can see I just ended up cutting the 5″ strip longer than I needed. After the sleeve is finished you can place the front and back right sides together and sew the side seam.
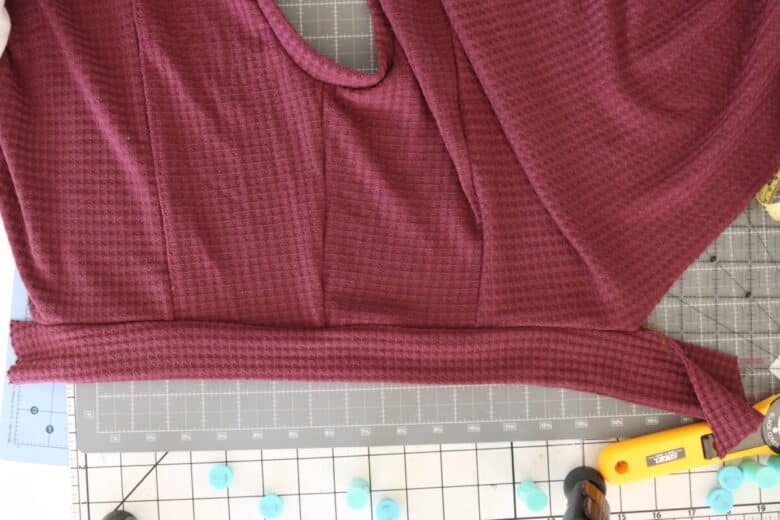
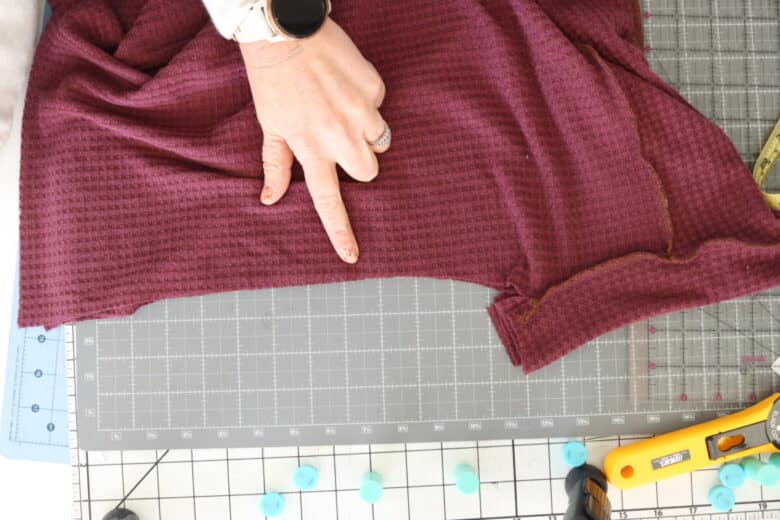
Pin and sew the sleeve to the shoulders with right sides together. There isn’t a front and back on the sleeves, so just match up the outer edges, then pin towards the center and sew.
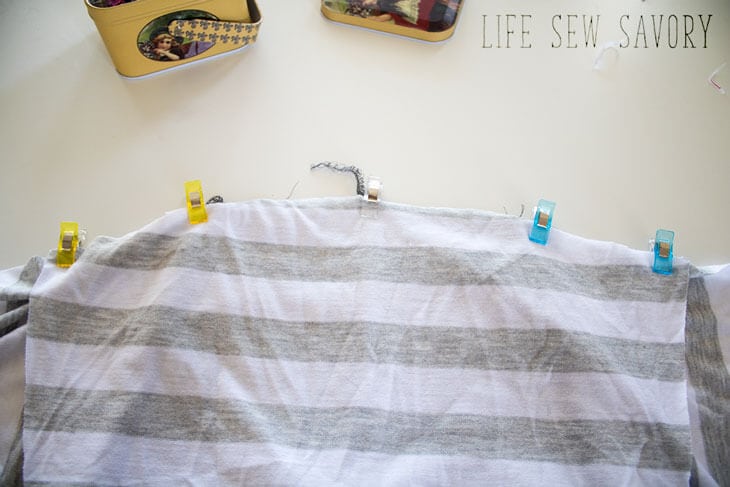
Repeat with other sleeve.
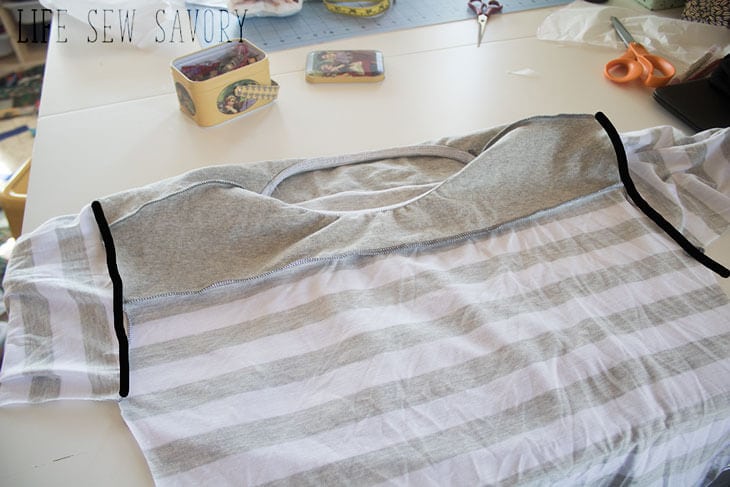
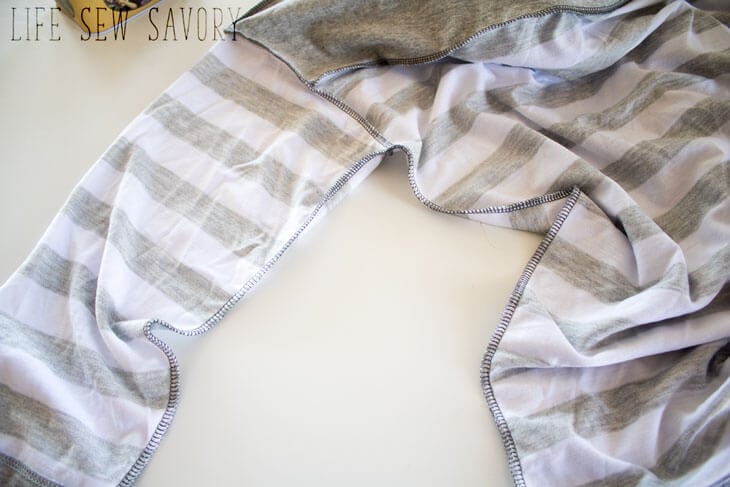
Sew up the side seam from wrist to hem. Then hem the sleeves and the bottom with coverstitch or twin needle..
I’ve been wearing these shirts since I made them earlier in the week and they are so comfy! It’s still a bit chilly here, and they have also been perfect for layering!! I’d love to see photos if you end up making this free sewing pattern. I can already tell its going to be a favorite of mine!







Nicole says
Wow!You have explained such a great sewing pattern, but i like new clothes.By the way this tee is perfect for spring.. SO i must try it!!
Marilyn Lesniak says
Congratulations! Your post was my feature pick at #ThursdayFavoriteThings this week. Visit me at https://www.marilynstreats.com on thursday morning to see your feature! All hosts choose their own features from the comments left on their blog so be sure to return to my blog to see your feature. I invite you to leave more links to be shared and commented upon. Please don’t forget to add your link numbers or post title so we can be sure to visit!
Cris y. says
Hi i’m new here and interested in sewing. I used the old sewing machine with single needle only. Please advise what.s thw best recommended sewing machine to use that can also use be used for heavy cloth like jeans. Thank you.
Cate says
I’ve made this Spring Tee pattern twice now, with great results both times! I love your patterns, and the instructions are easy as well. Thanks for making these available!!
Jean Hill says
I was able to download the pattern this afternoon, & just finished my new shirt. I love it!! The pattern is so easy to use, your instructions are clear & simple, & it was a breeze to make. The fit is just the way I wanted it, not too loose, not binding in the arms or neck, & a nice soft drape – I’m going to make several more using the same pattern & different fabrics (patterns) for variety! Thank you so much for sharing this great pattern with us!!
Pamela says
I was looking for something to do with some rayon bamboo fabric I bought months ago. This pattern was perfect and went together beautifully. Other than changing thread on my serger and coverstitch machines, the project was super-quick. I love the fit and will definitely keep this in mind for other fabrics.
Theresa Shockling says
Thanks for the free pattern and directions.. I haven’t done much sewing, but your directions are so clear that I think that I can make this!
Christina Denbesten says
Hi,
Thank you for the pattern, however the neckband was not included.
Emily says
usually you just cut the neckband off measurements. No pattern piece needed
Jina D DeMeo says
Love your Spring T pattern with the sleeve hack and I appreciate the inclusivity of your sizes I am definitely going to give this T a go.
Jameson Lee says
This sewing pattern is explained so well, wow! However, I love new clothes, and this tee looks perfect for spring, so I definitely have to try it!
Brenda Jerles says
How many yards are needed for the large size? 60” wide.