inside: Check out this free shorts romper pattern. It’s for both kids and adults and has an adorable button front. Simple and comfy this romper is the perfect free sewing pattern to sew for summer.
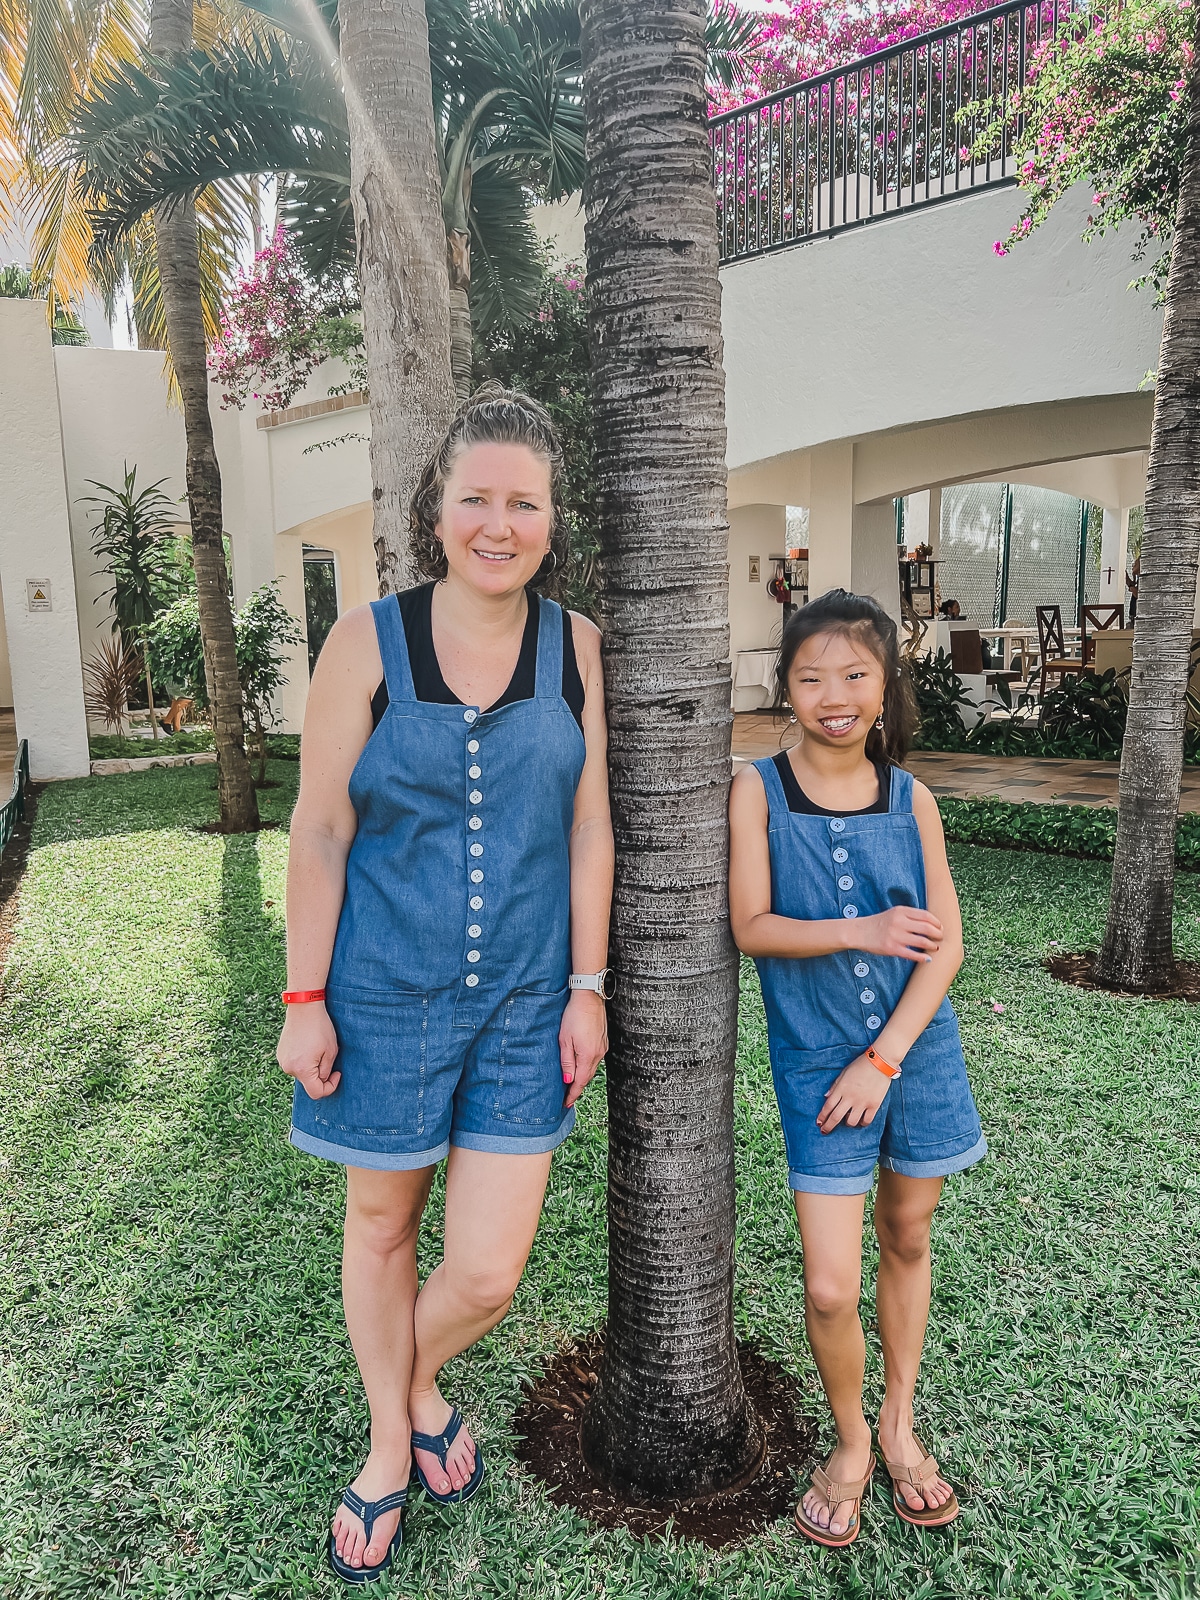
ok! So I’m calling this a shorts romper pattern, but really it’s a sewing hack on the romper/jumper pattern I shared just a few weeks ago. This is a simple hack to add a fun button front detail to that original free sewing pattern and you can sew it long {original} or shorten it like this version. Rose and I LOVE how this turned out and we had so much fun being matching on our spring break vacation.
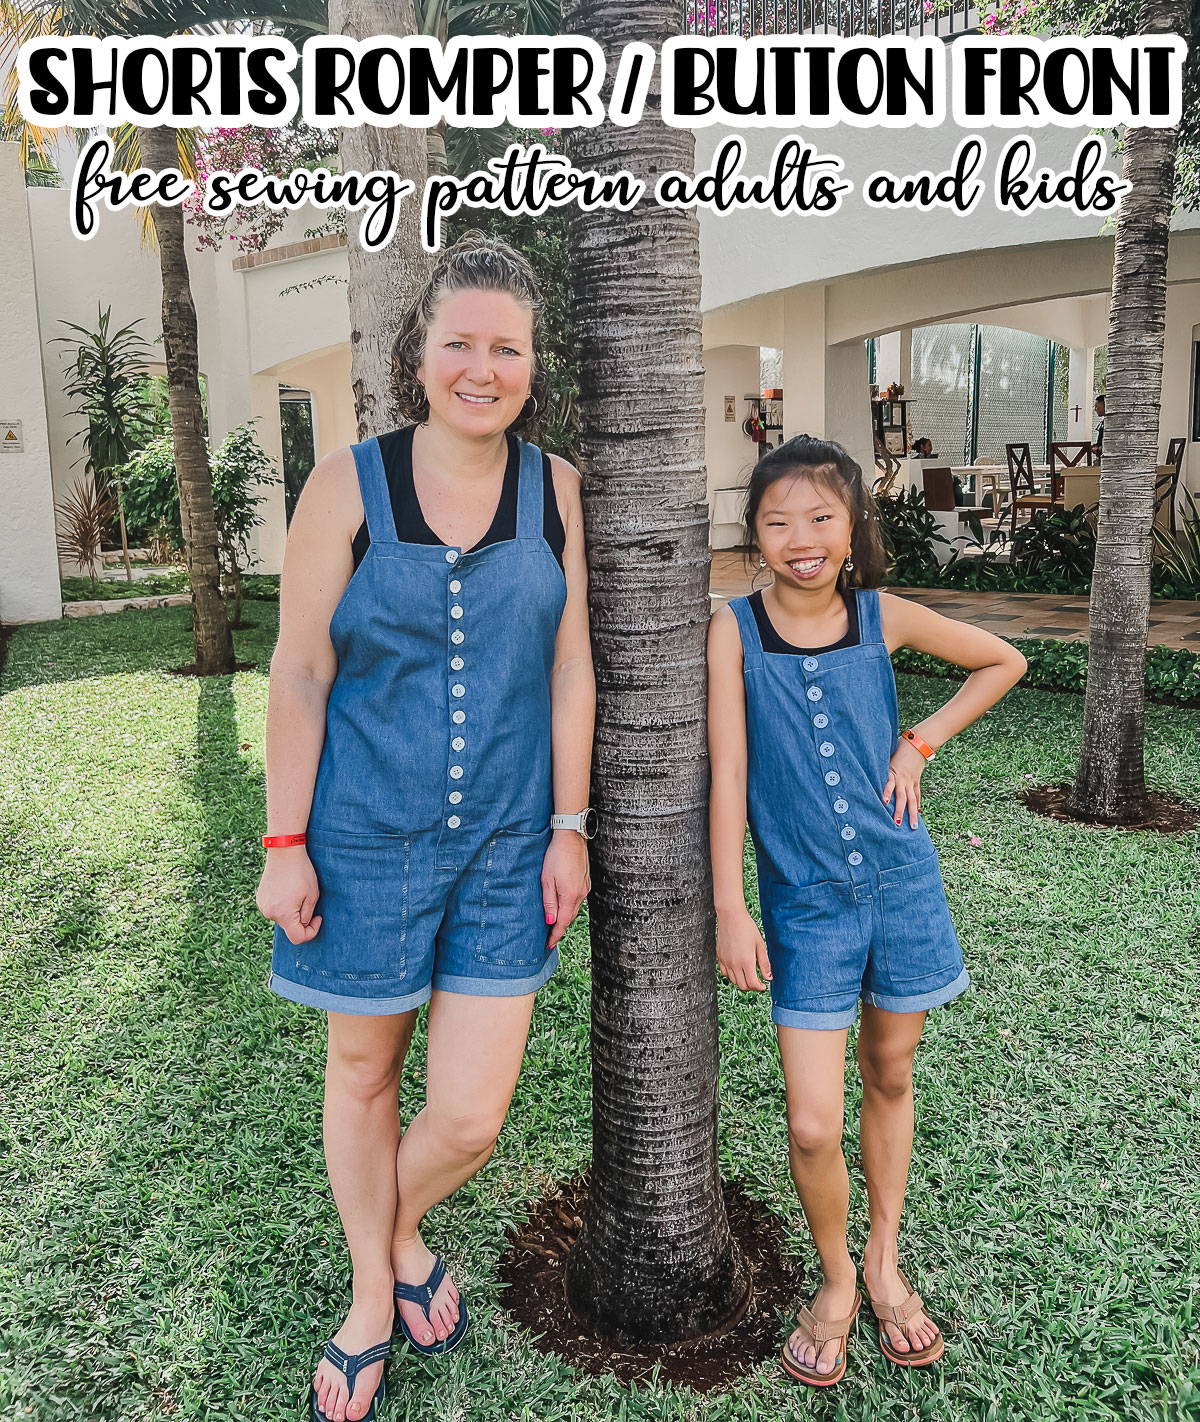
Free Shorts Romper Pattern
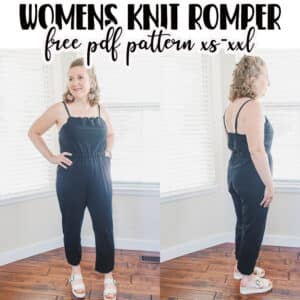
As soon as I tried on my full length romper a few months ago, I knew I wanted to make a shorts version as well. I used both the womens and the kids jumpsuit free patterns to create these two rompers.
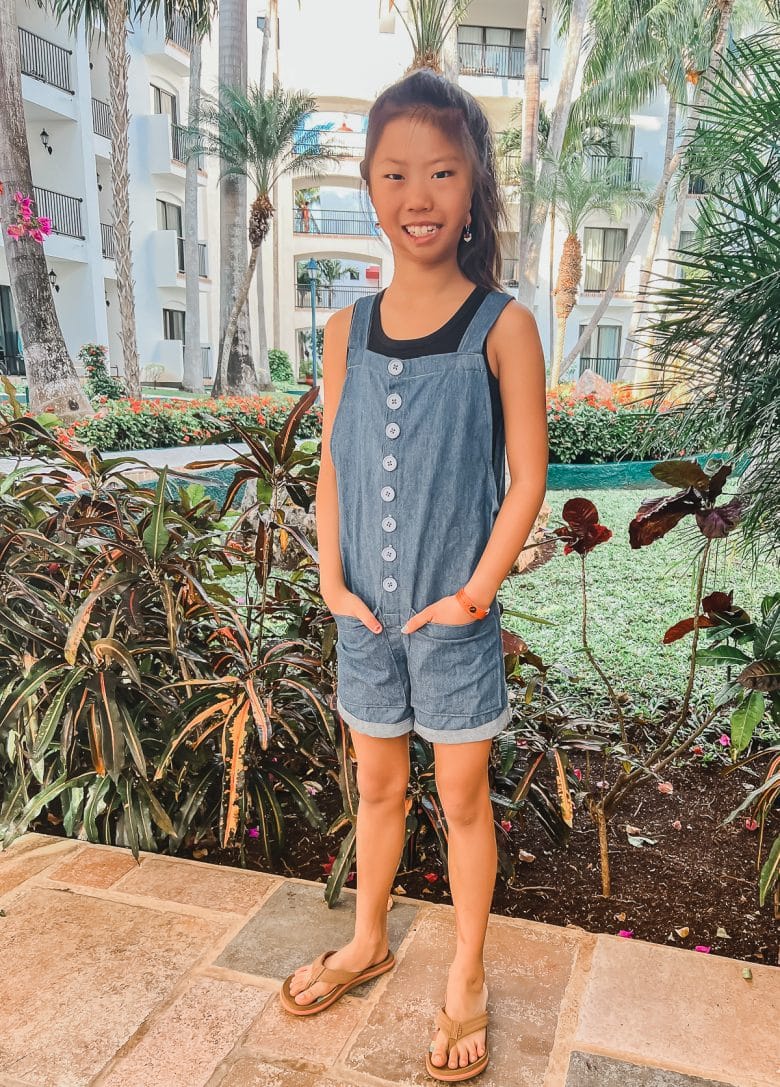
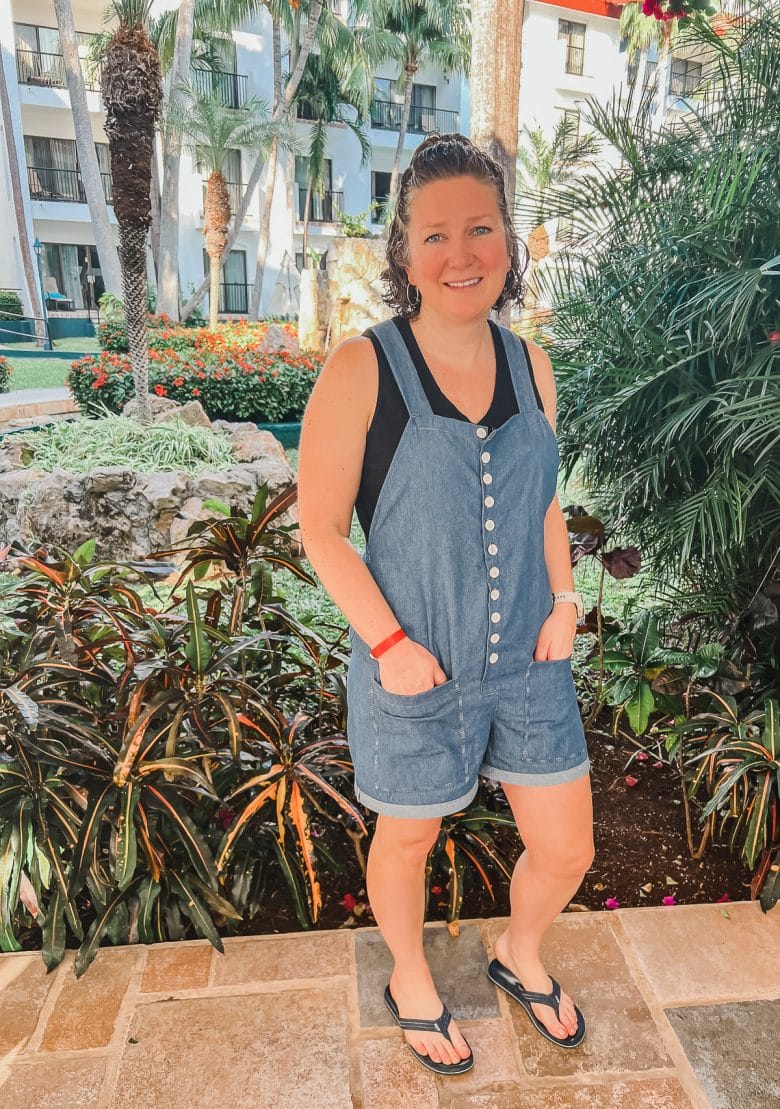
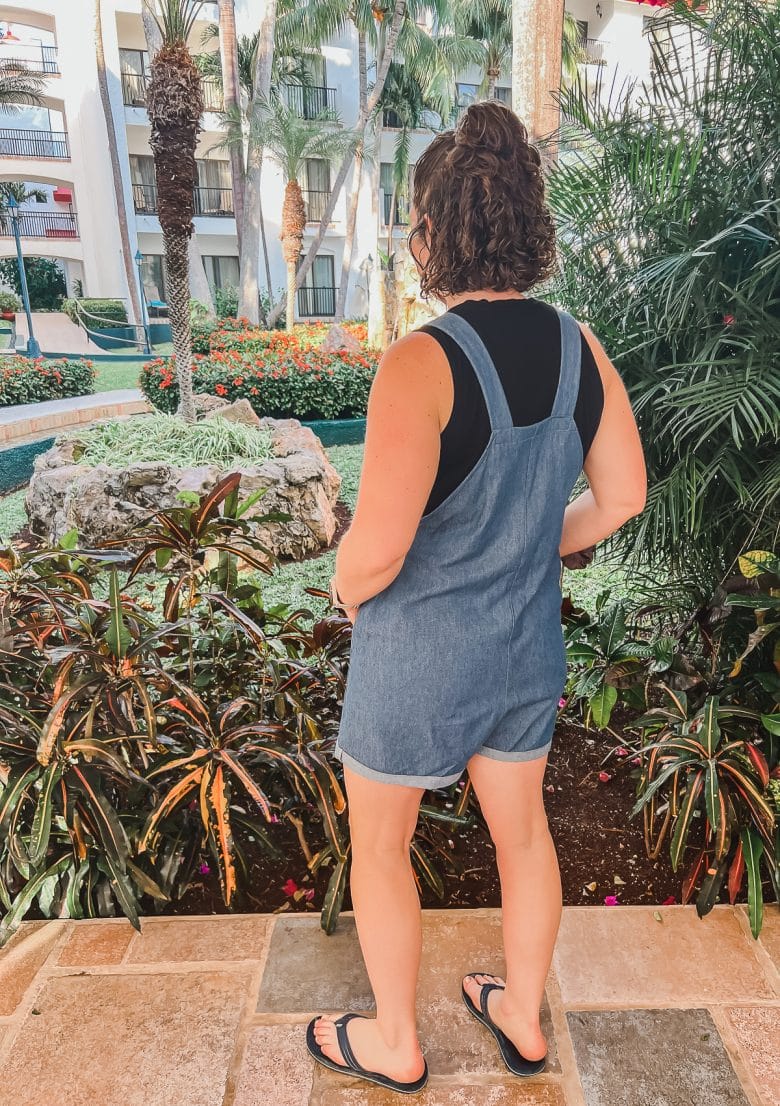
For the most part these shorts rompers are the same as the full length version, but here are a couple of the differences. The biggest difference is the hack to add the front button placket. I love this! Since the front opens, I was also able to sew the straps in place and I didn’t need the tie that the original version. I liked not having to tie/untie to get on and off, but both are so great too.
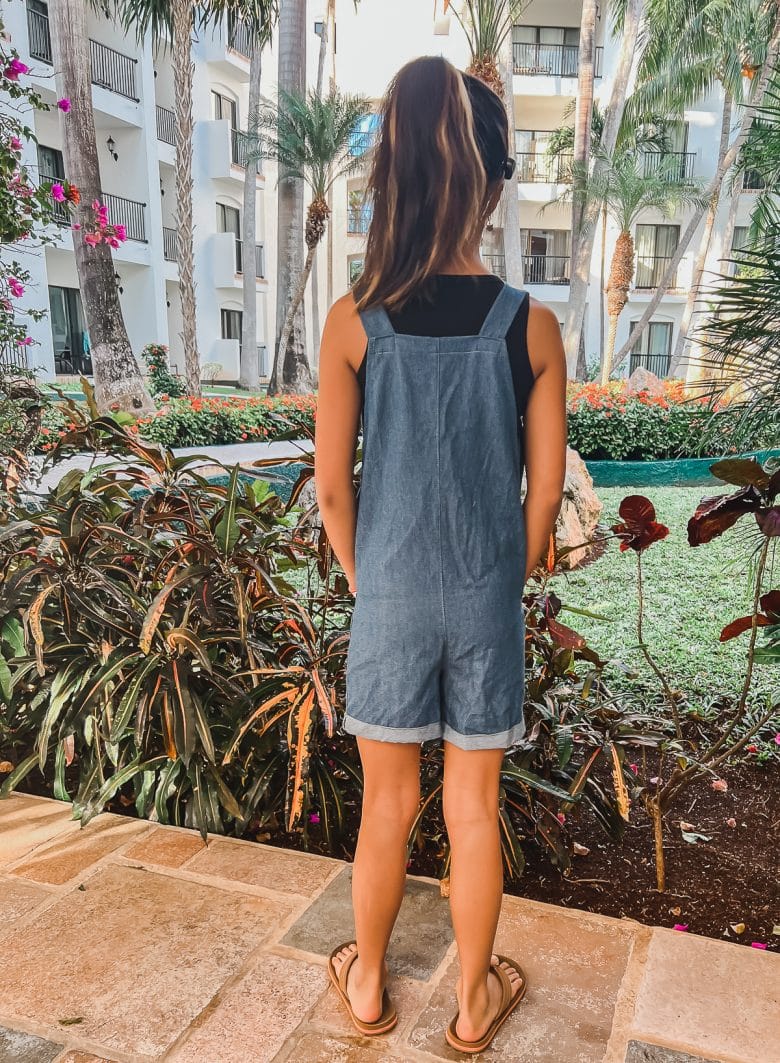
The button placket is SOO fun. All these buttons are actually functional and they were super easy to sew using my machine. Here’s my tutorial for making the perfect button hole.
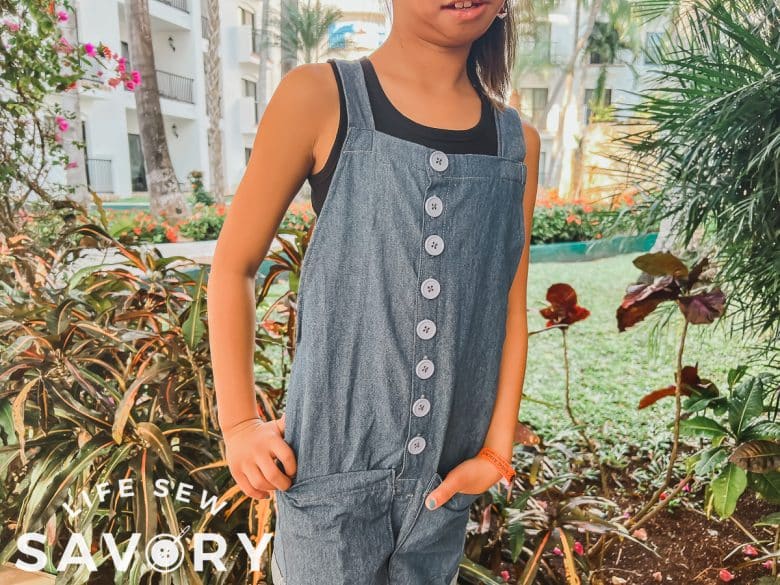
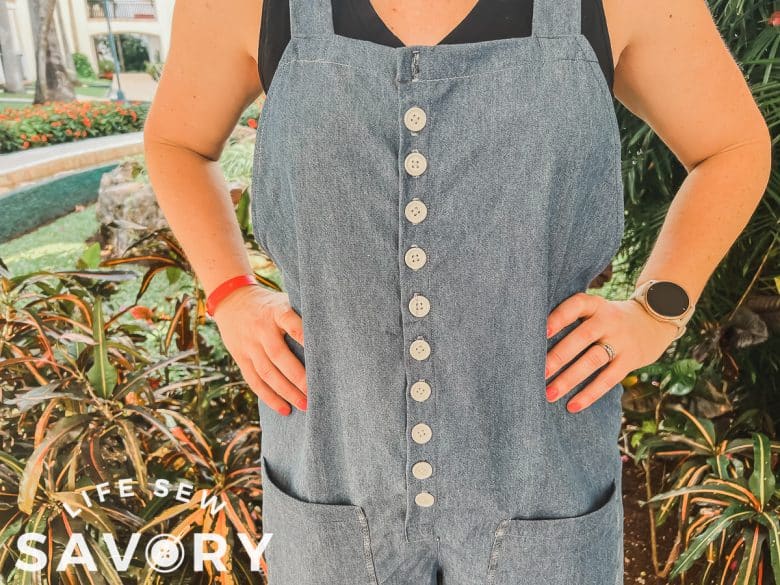
Sew a romper from a free pattern
Ok! here are the patterns you need to create this look. There are two patterns below. One is the adult version and the other is the kids pattern. Between these two you should be able to create adorable rompers for nearly everyone you want. This post has the tutorial to add the button front, but you may need the full sewing tutorials to finish this sewing project.
Looking for other rompers to try? Here are a few more that I have created over the years. They are all free.
Button Front Romper hack
Now it’s time to sew! Let’s first talk about the modifications you will need to make to the original jumpsuit. I would suggest opening both tutorials in two tabs on your device so you can bounce back and forth. This tutorial just focusing on the button placket, you will need the other tutorial for the rest of the jumpsuit.
On the FRONT of the romper add a two inch wide rectangle coming off the straight part of the front center. You can see that it stops when the front starts to curve. For the legs I would shorten the legs to a bit longer than you think you need, and can adjust the shorts as needed.
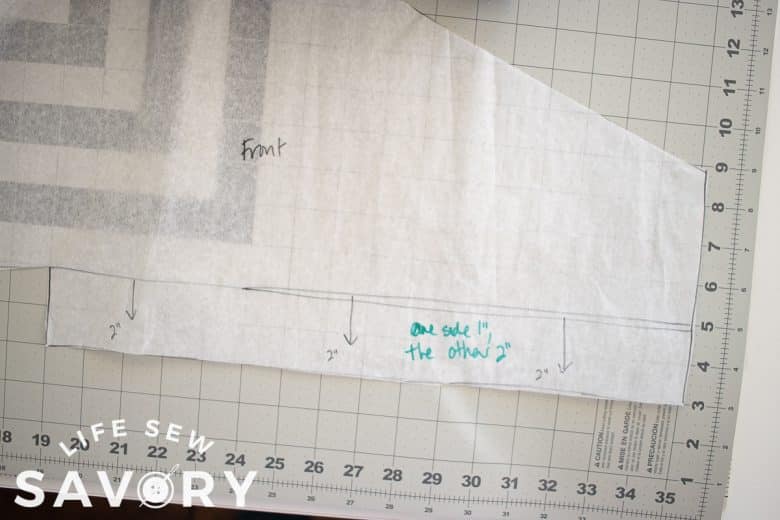
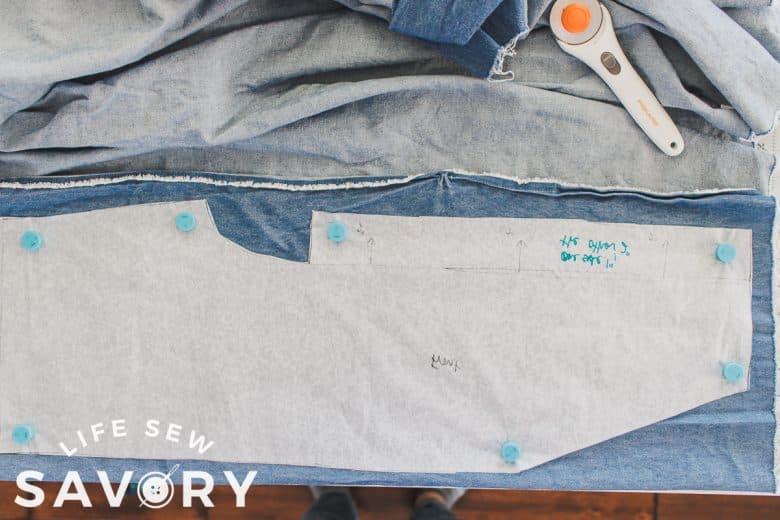
The front placket that you created above needs 2″ on one side of the front and 1″ on the other. Trim 1″ off one side. Sew the curved crotch seams on the back {all the way up} and on the front, just the short curve UNDER the placket.
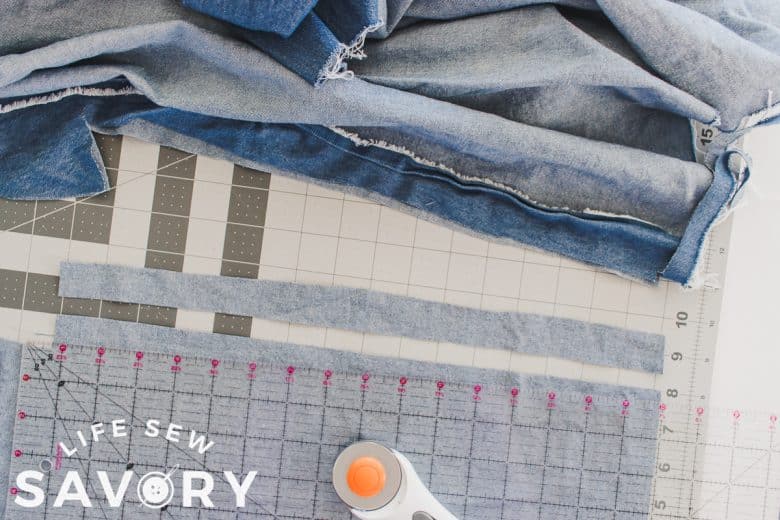
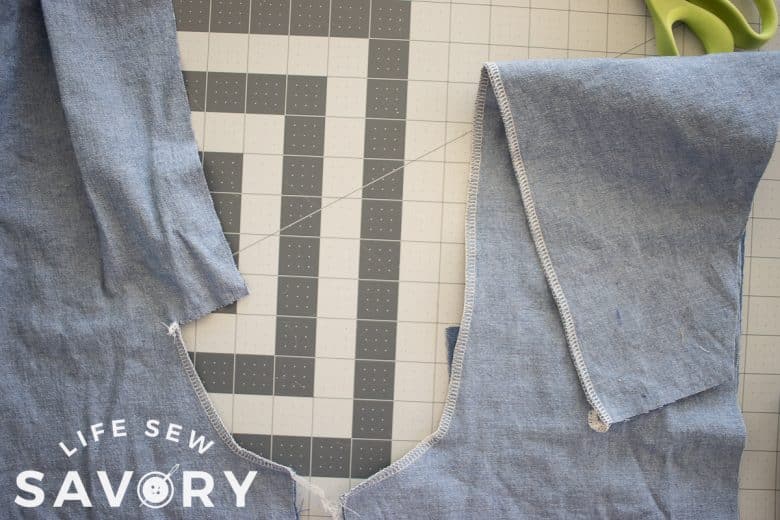
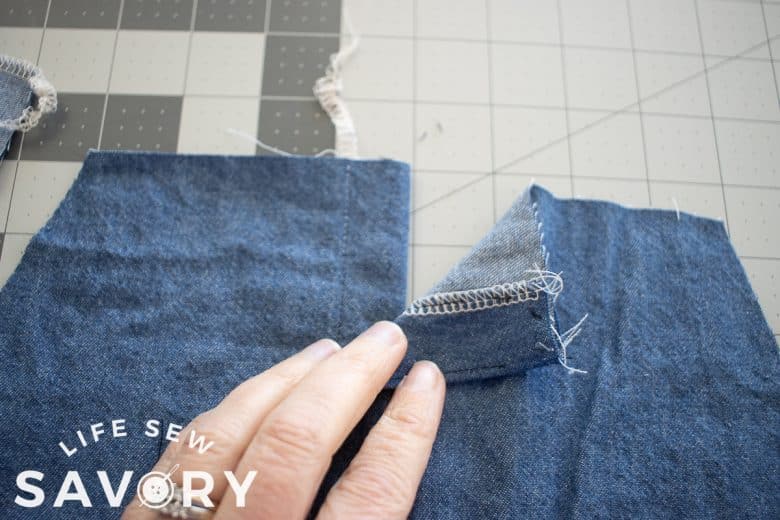
On the 2″ side of the front fold 1″ back with the right sides of the placket together. This will create a 1″ overhang from the front. On the 1″ side fold the placket to the back with the wrong sides together.
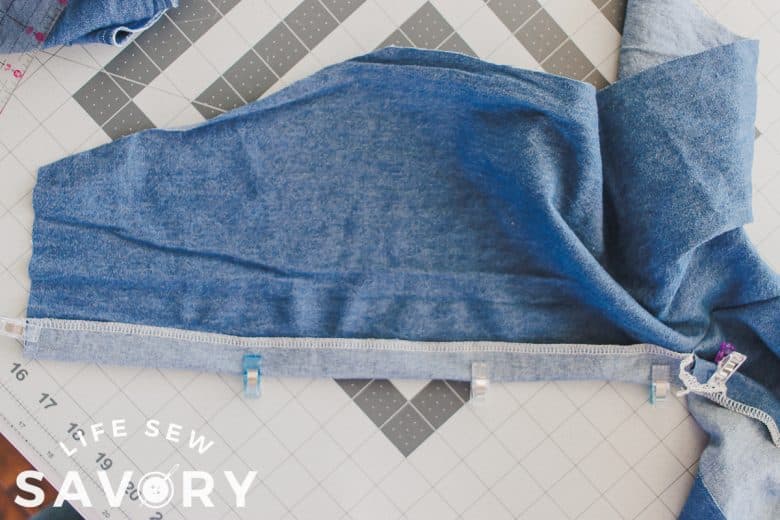
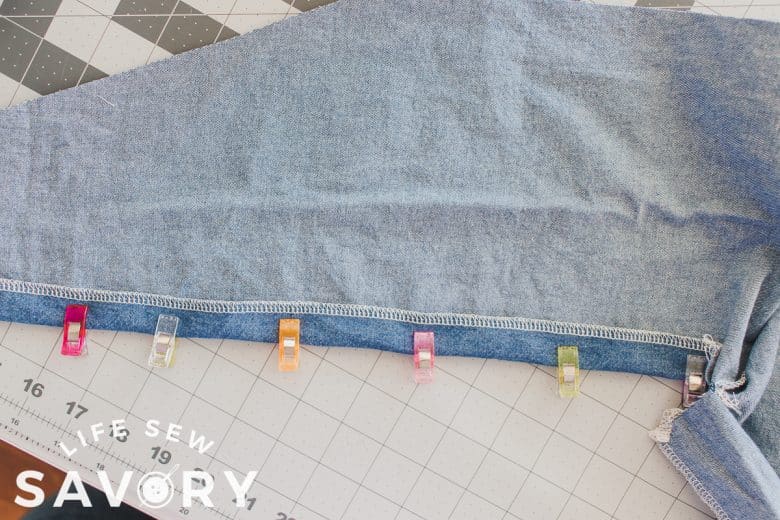
On the wide placket side you have this fold at the bottom. Sew across the 1″ fold to finish the bottom.
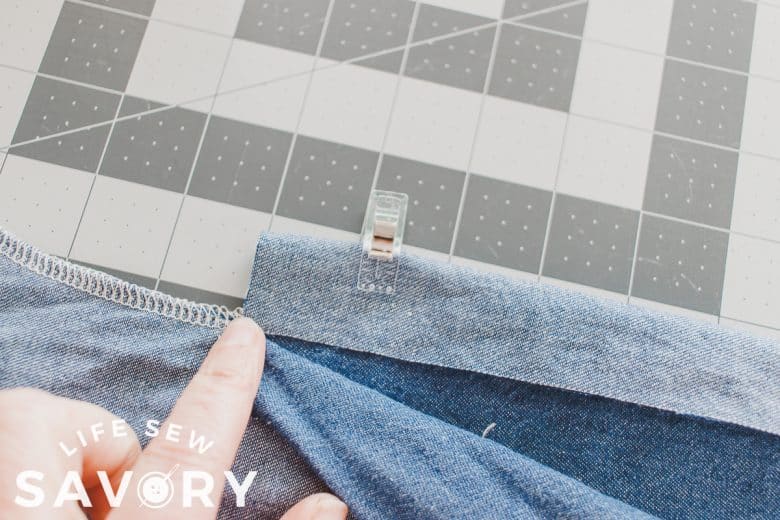
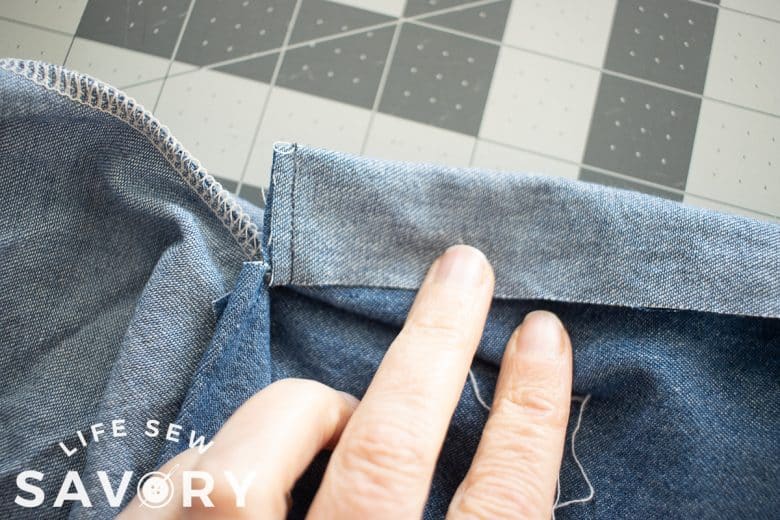
Topstitch the inside edge of both sides of the placket. On the side folded to the front, you will then flip the placket open the see the right side of the fabric. The bottom of the placket should be finished where you sewed across the bottom.
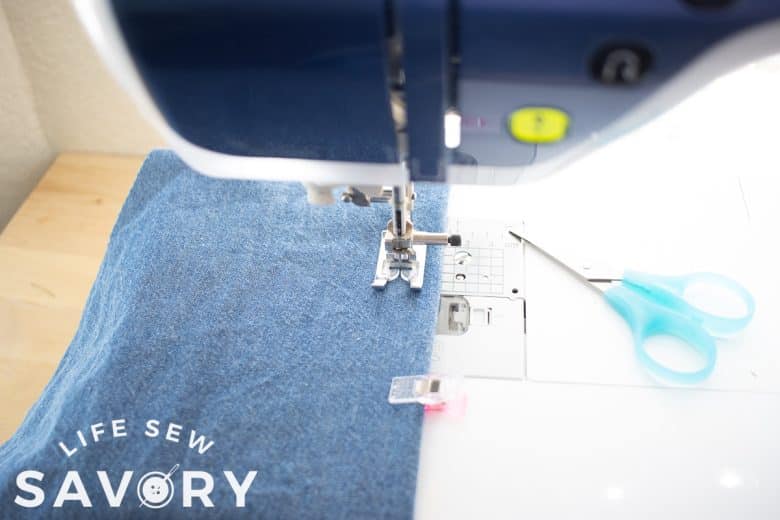
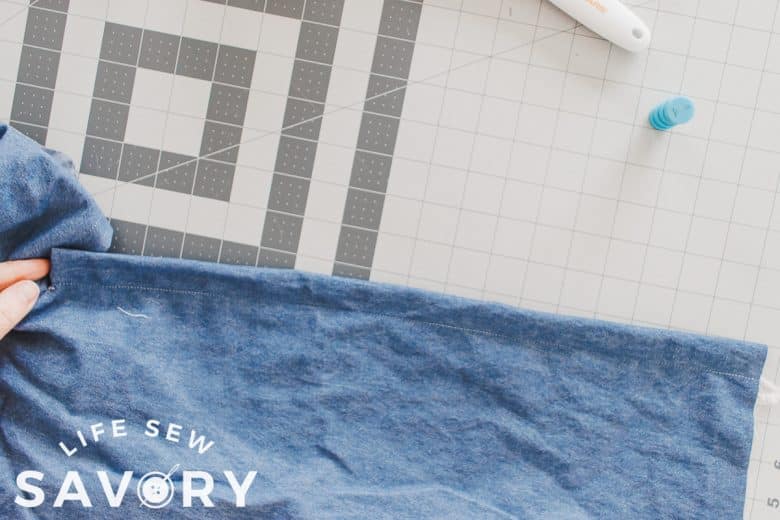
Now it’s time to stack the plackets. The overhang side goes on top stack the top and bottom and pin.
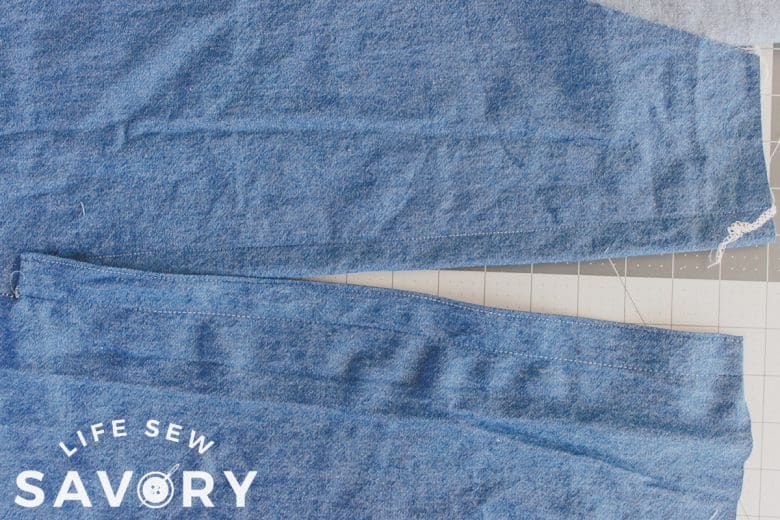
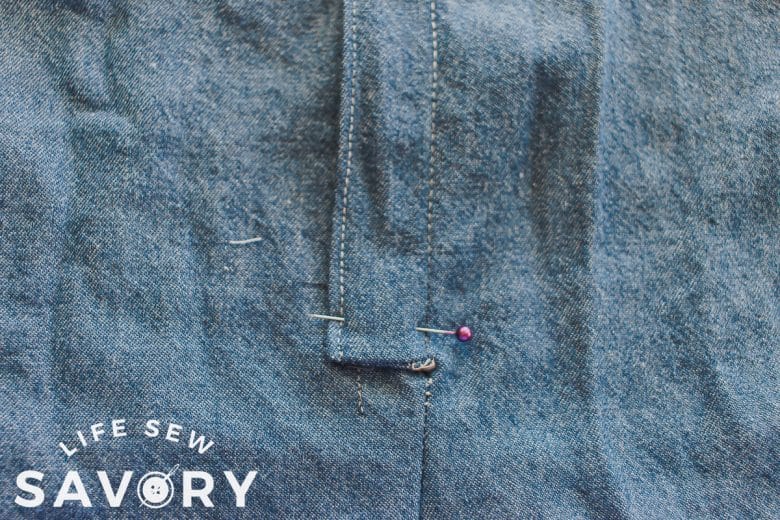
Topstitch the bottom curved crotch seam to finish the seam.
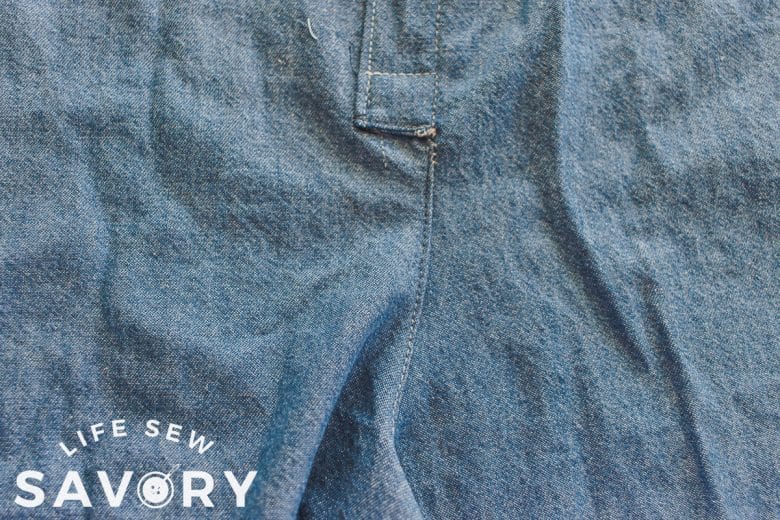
At this point the placket is finished and you can continue with the full tutorial, but here are a few more photos I took making this version. Fold the angled sides of the front over 1/4″, sew, then fold again and sew. For the top, fold over 1/4″ and sew, then fold over 1″ and sew again. Do with both sides of front.
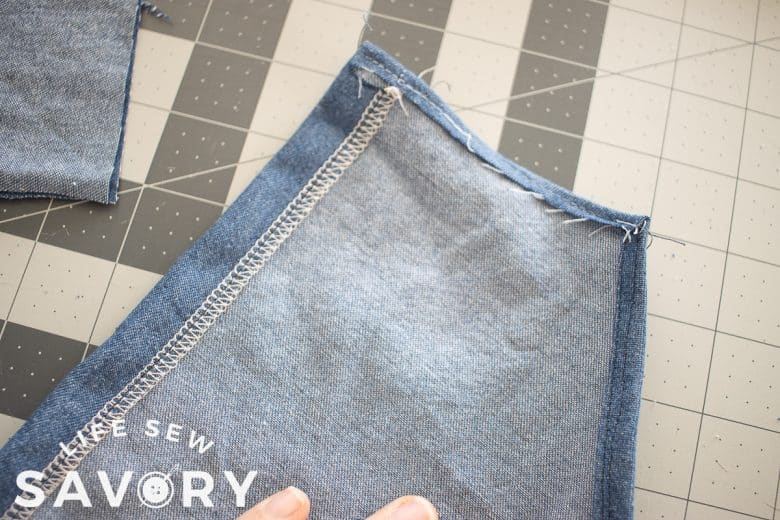
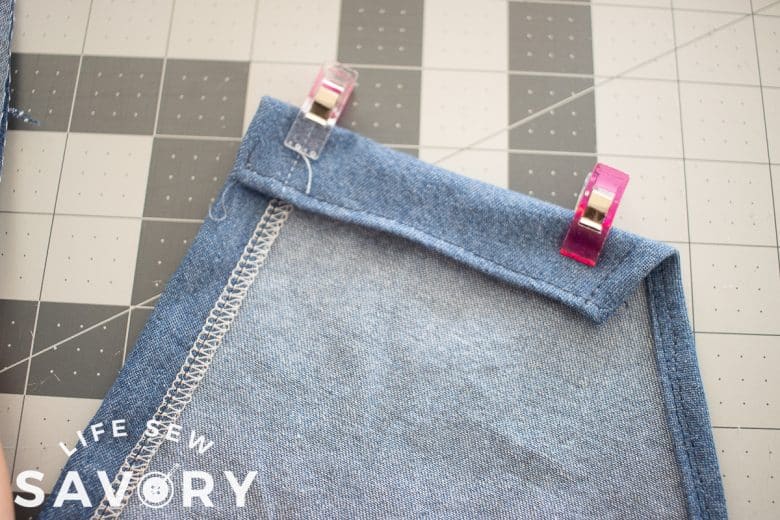
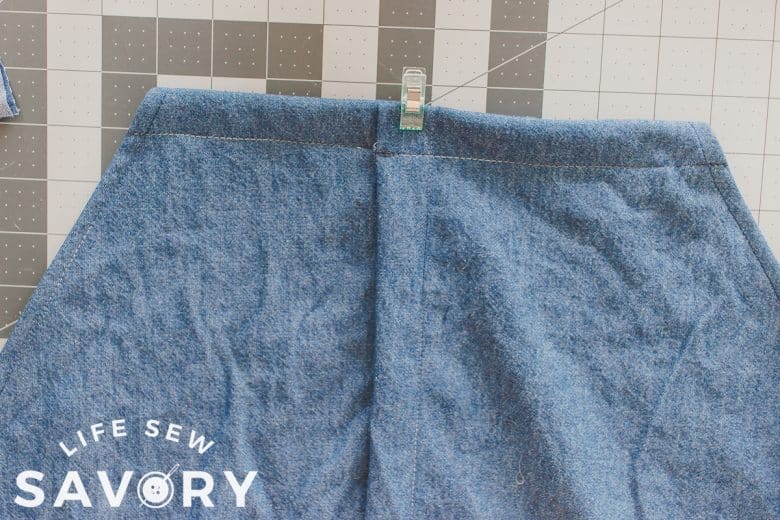
Pin the top to keep the placket lined up while you sew the rest of the romper. When you are finished with the romper add buttons and button holes or snaps to finish the romper.
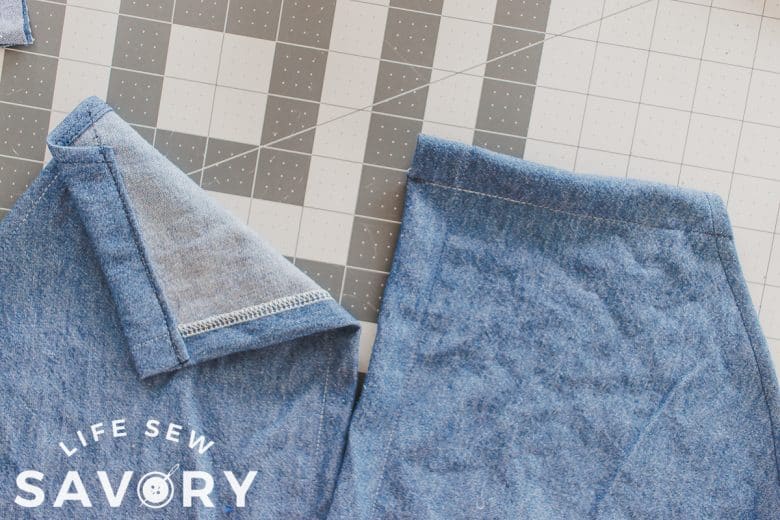
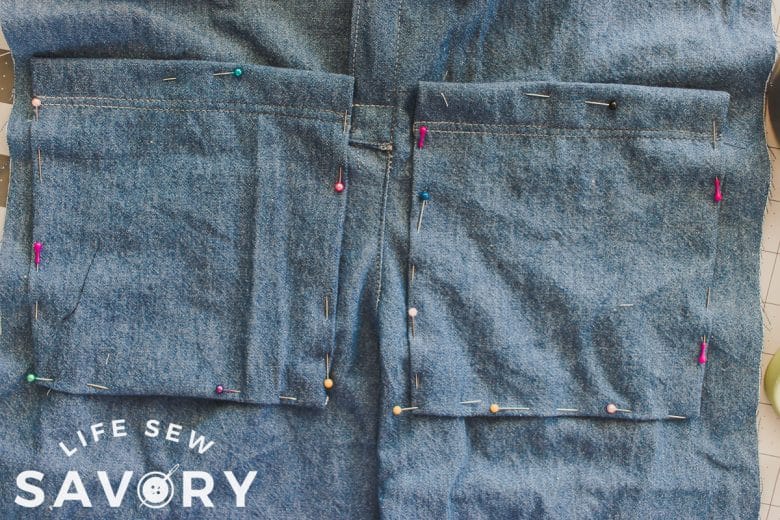
The pockets I made sure to sew on either side of the placket. The pockets are a bit higher then in my other version, but with the shorts there isn’t as much room down the legs.
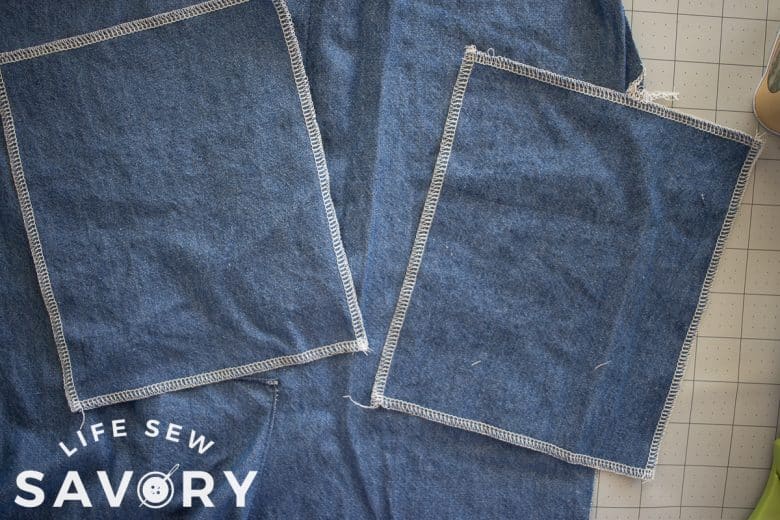
See the full tutorial to put the rest of the jumpsuit together. It’s so cute!! I cuffed the bottom after trying on for length. you can also just add a hem.






Happy Wheels says
Thanks for this sewing project tutorial. I already know how to add the front button and complete this product for my baby.
narcissist test says
This sounds absolutely perfect for summer! A free shorts romper pattern that works for both kids and adults is such a fantastic idea. I’m especially keen on the adorable button front detail mentioned – it adds a charming touch. Simple and comfy is exactly what I look for in a sewing project. Thanks for sharing this great find!