inside: Use this gardening knee pad tutorial to make a cute pad to protect your knees this summer. Easy to sew and perfect for garden use.
{updated 5/2024}
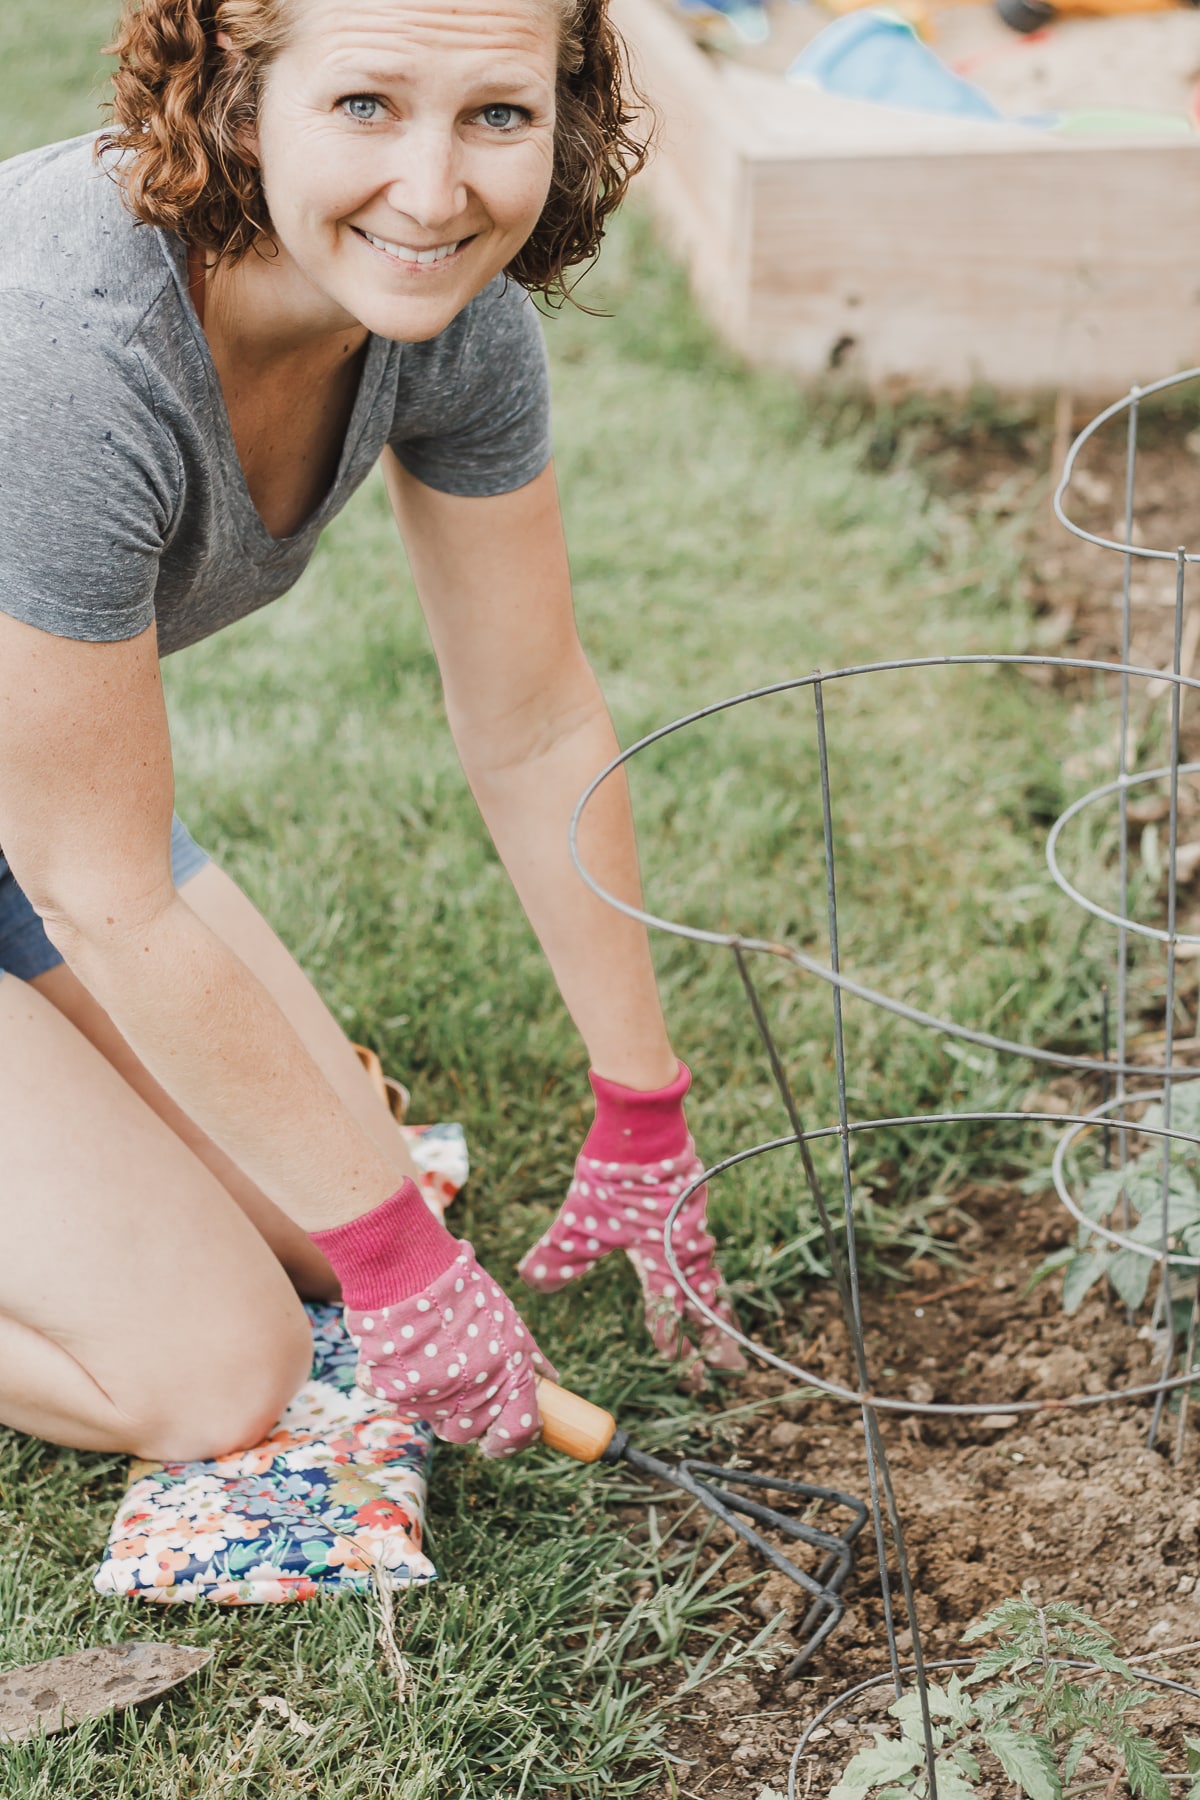
I planted our garden last weekend. We’ve had so much going on and terrible weather, I’m a few weeks later than last year. I’ve made my garden a bit bigger this year, so I know I’ll be spending time on my knees wedding and picking. I love my new gardening knee pad to help protect my knees while I work this summer.
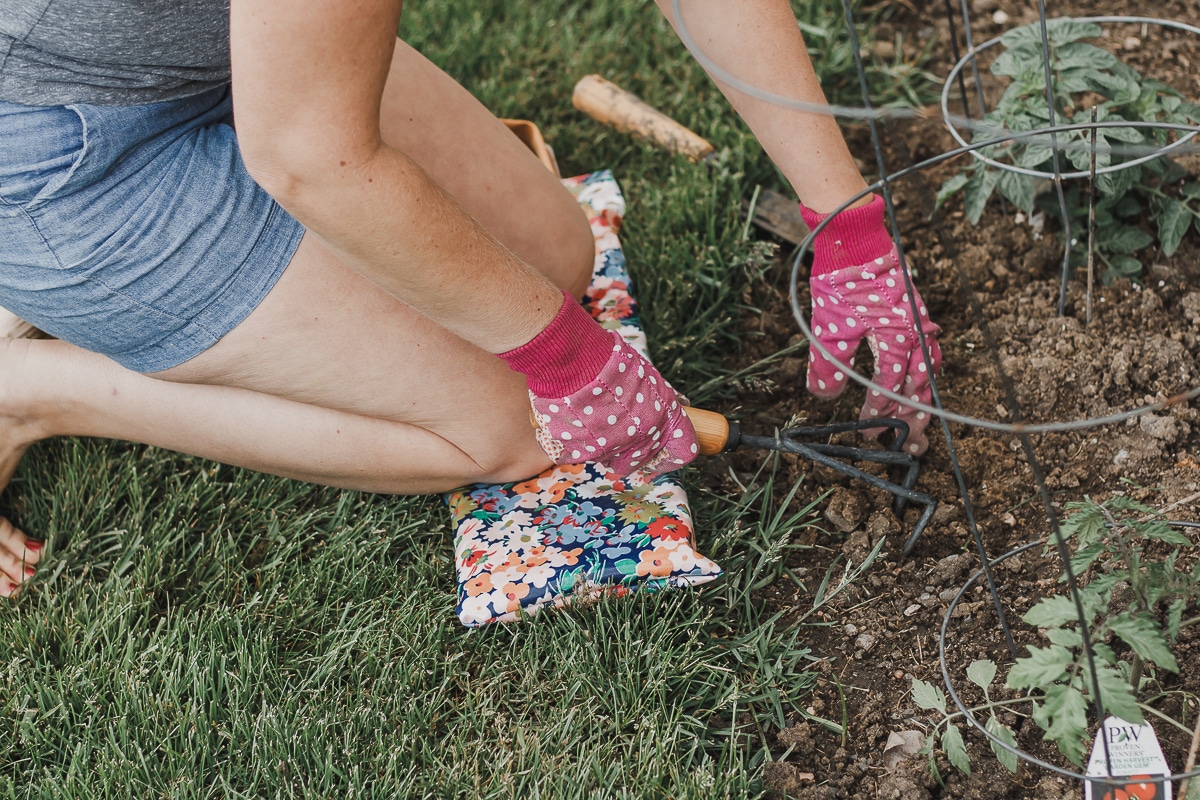
Gardening Knee Pad Tutorial –
I’m not a huge gardener. My mom had a HUGE garden when we were growing up but the first 14 years of our marriage we lived in an apartment so I didn’t have any garden space. We moved in here at the end of summer 2017, so really I only have one summer of gardening under my belt and I didn’t give it enough water so we had some trouble. I’ve got high hopes for this summers’ garden.
**Update five years later and I continue to improve my garden each year! I’ve figured out what we like and what I can grow easily here in the short growing season of the Denver area. Also, my favorite place to buy tomato plants is Costco! Three come in a pot and they grow well here!
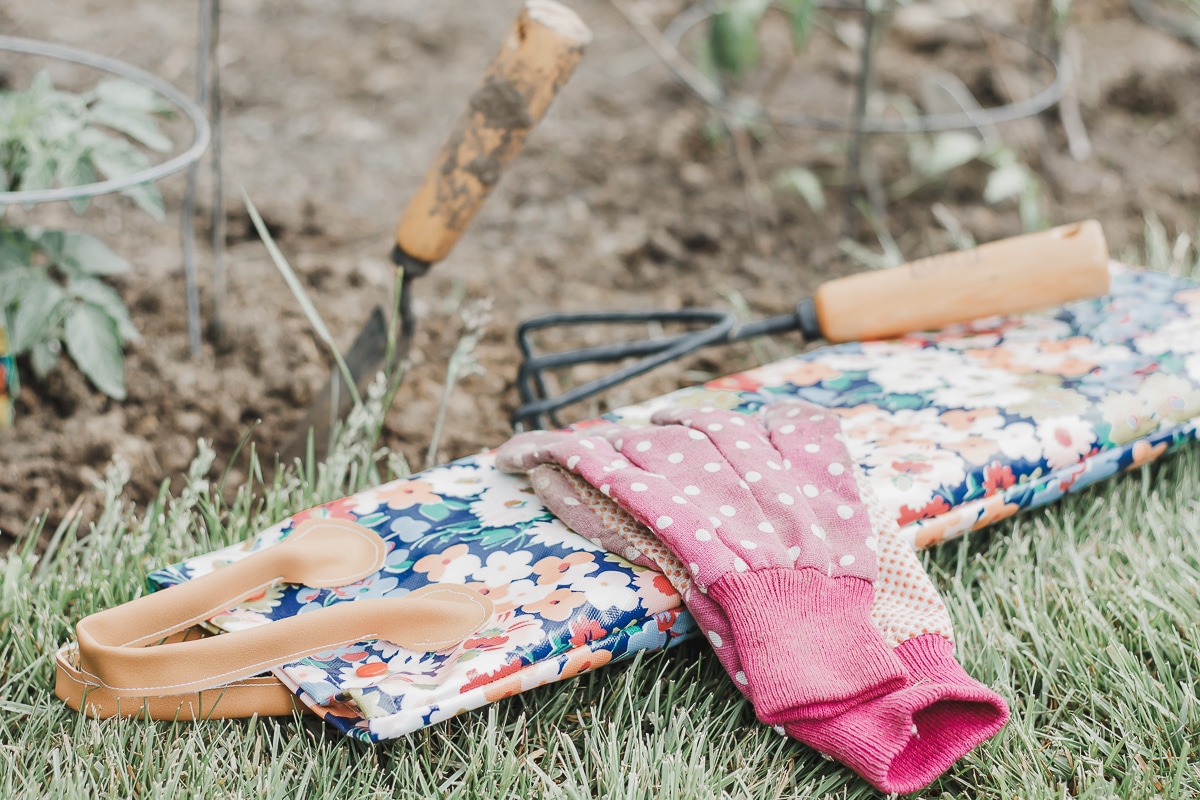
Since I’m planning to spend more time working in the garden this year, I’m super excited about my new garden knee mat. Yes, I could have just gotten a plain mat, but I make cute stuff for a living so I decided to make a fun kneeling pad for myself and share this gardening knee pad tutorial with you all.
Garden knee pad with handles
I knew I not only wanted to make a knee pad {and make it cute!} but that I wanted it to have handles to make it easier to carry around. I’m super pleased with how it turned out and I hope you will make one too! You can also check out the video tutorial in this post for more details. {if you have an ad blocker you will have to turn it off to see the video}
**I’ve also added a second method for closing the top and adding straps. Both version are featured here.
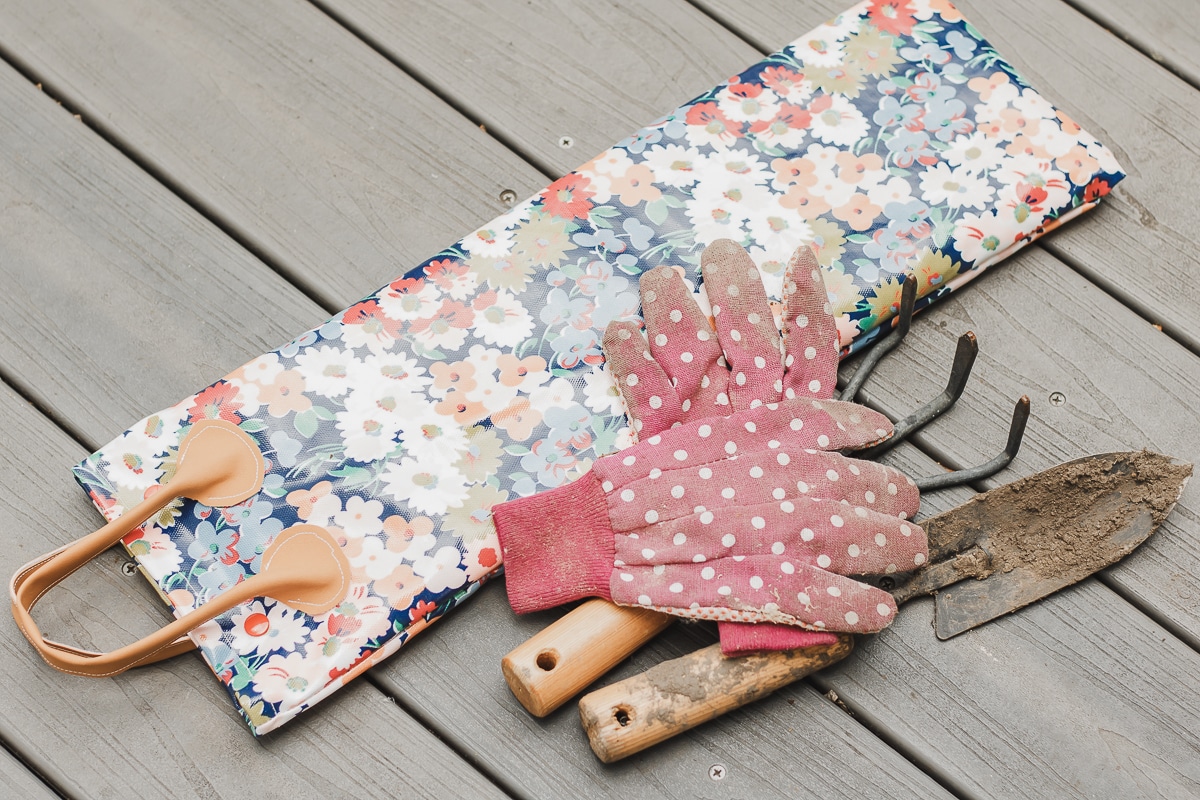
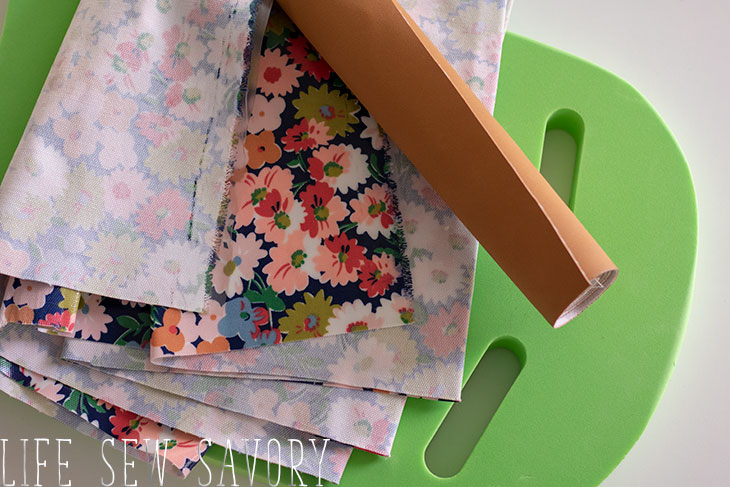
I used a pleather for the handles and oilcloth for knee pad. You can find oilcloth here on Amazon or waterproof rip stop here. What do you think is on the inside to make it padded? Scroll down to the supplies to find out.
I used oilcloth so that it is resistant to the dirt and water, but also so that it is removable and washable if I need.
Other fun summer sewing projects
- Popcicle holder for cold hands
- Simple Summer Tote Bag
- DIY Hammock Swing
- 35+ fun ideas for summer
- Fruit Themed Sewing projects
- Outdoor Sewing Projects for summer
How to make a garden knee mat
Here’s what you will need to make your own knee protecting mat.
- pleather or strapping for handles
- oilcloth or Water Proof Rip Stop – 1/2 yard
- kickboard – I ordered mine from Amazon, but you can find these anywhere
- snaps or velcro
Condensed version -photo tutorial below
Gardening Knee Pad Tutorial
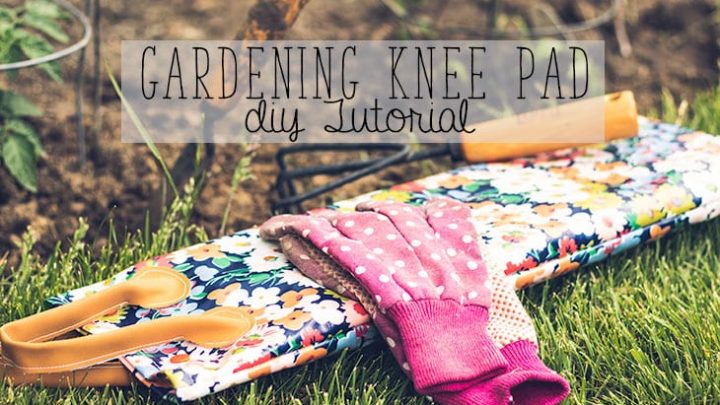
garden in style this summer with this gardening knee pad tutorial.
Materials
Instructions
How to make a garden knee mat
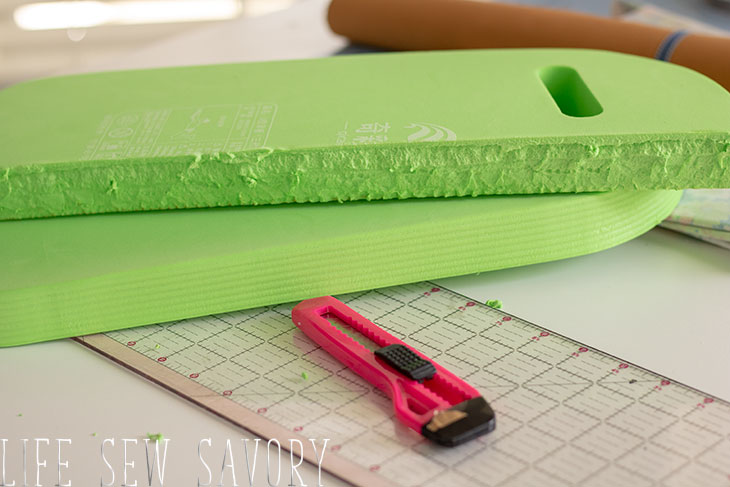
- Cut the kickboard in half – you can make TWO! Make a knee pad for yourself and one for a friend!! {haha}
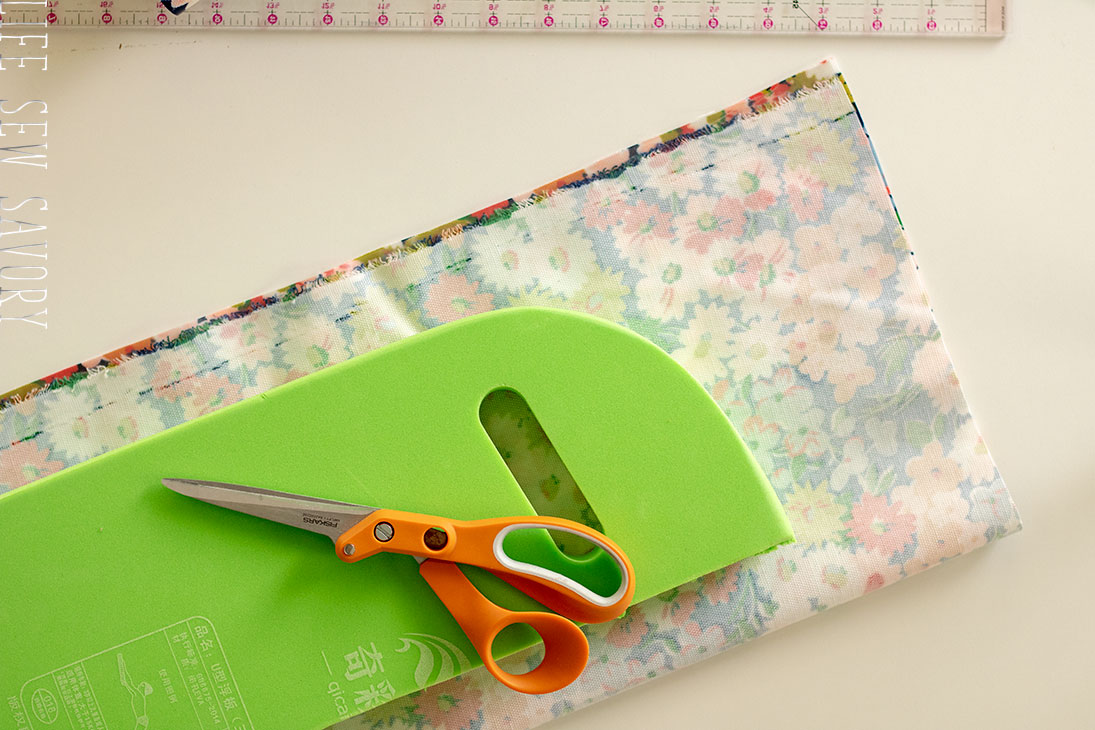
- Create a pillowcase for your cut kickboard. You will want a 1″ seam allowance on the sides and bottom and I left a 4″ edge on the top to add the snaps and handles.
- Sew the sides and bottom with a 3/8″ seam allowance. Clip the corners and turn right side out.
- Place the kickboard inside to test the size. Sew the sides smaller if needed. Fold the top edge inside and pin or clip. Sew the edge down to finish this top edge.
- Cut two handles. The pleather here is 12″ long. and you can see the general shape I created. You can cut yours different if you want, but here is want I did, rounded ends and a narrow {1.5″ wide center} Fold that center in half and sew down the edge.
- Pin and sew the rounded ends 2″ down from the top edge. I had to turn my knee pad fabric inside out to sew these handles.
- Use velcro or snaps for a closure on the open end of the knee pad. I placed two snaps, and can use these to hold the foam inside my knee pad.
Cut the kickboard in half – you can make TWO! Make a knee pad for yourself and one for a friend!! {haha}
Create a pillowcase for your cut kickboard. You will want a 1″ seam allowance on the sides and bottom and I left a 4″ edge on the top to add the snaps and handles. You can cut with the fold of fabric on the bottom of the board or the side.
Here’s my new simplified version of the kneeling pad. Once you have your fabric cut out you can finish the top edge with a double fold hem. 1/2″ folded, then 1/2″ folded, sew down. Then add velcro to the wrong side 1″ down from the top hemmed edge.
Cut 14″ straps of nylon webbing to use as the handle. Sew to the right side of the fabric. If your fold is on the side you will have two straps and two pieces of velcro on the top edge of fabric. My fold was on the bottom, so I had two top edges. After you have added the handles and added the velcro, sew up the sides seams to finish.
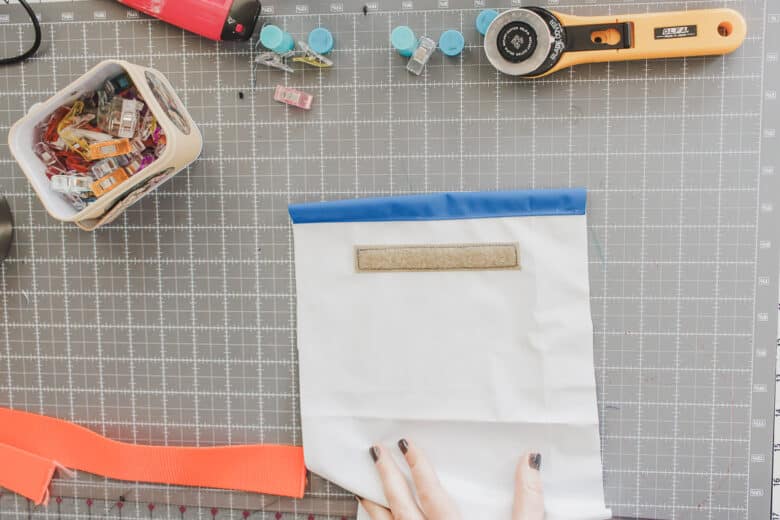
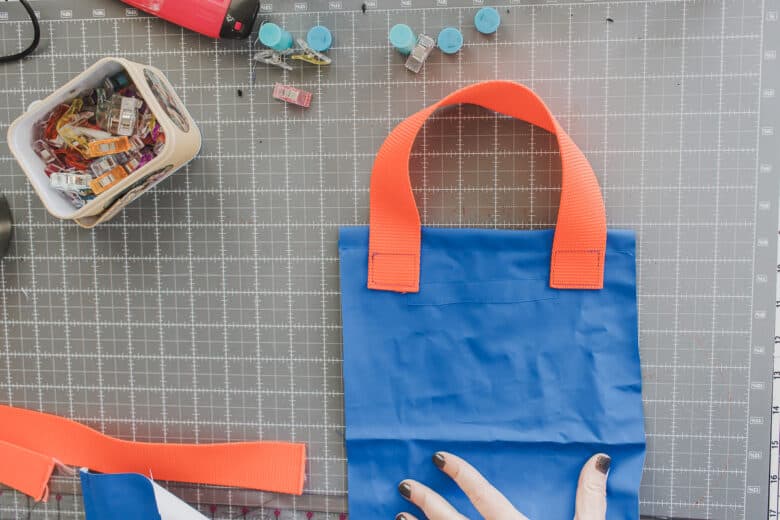
Back to the original tutorial. My fabric had a fold on the side of the pad.
Sew the sides and bottom with a 3/8″ seam allowance. Clip the corners and turn right side out.
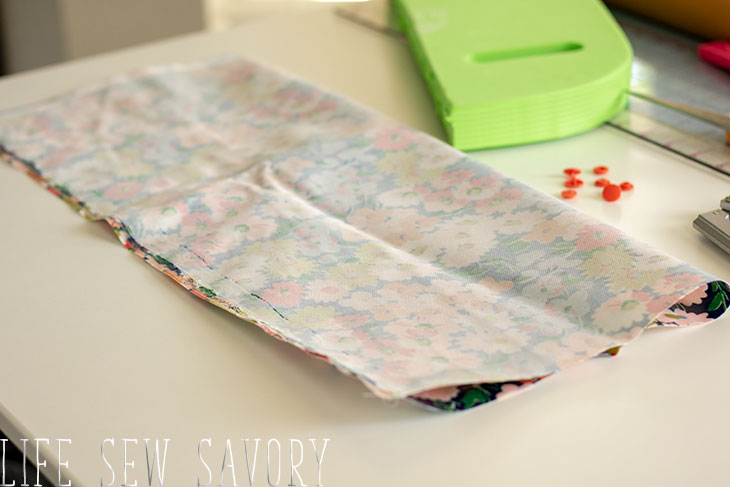
Place the kickboard inside to test the size. Sew the sides smaller if needed. Fold the top edge inside and pin or clip. Sew the edge down to finish this top edge.
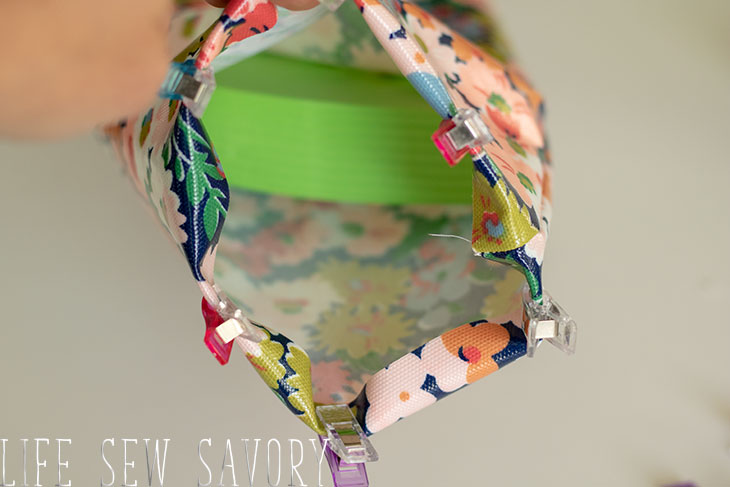
Cut two handles. The pleather here is 12″ long. and you can see the general shape I created. You can cut yours different if you want, but here is want I did, rounded ends and a narrow {1.5″ wide center} Fold that center in half and sew down the edge.
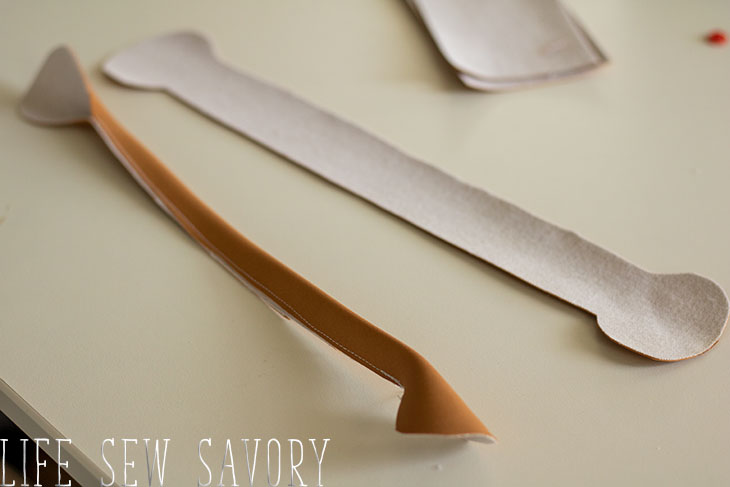
Pin and sew the rounded ends 2″ down from the top edge. I had to turn my knee pad fabric inside out to sew these handles.
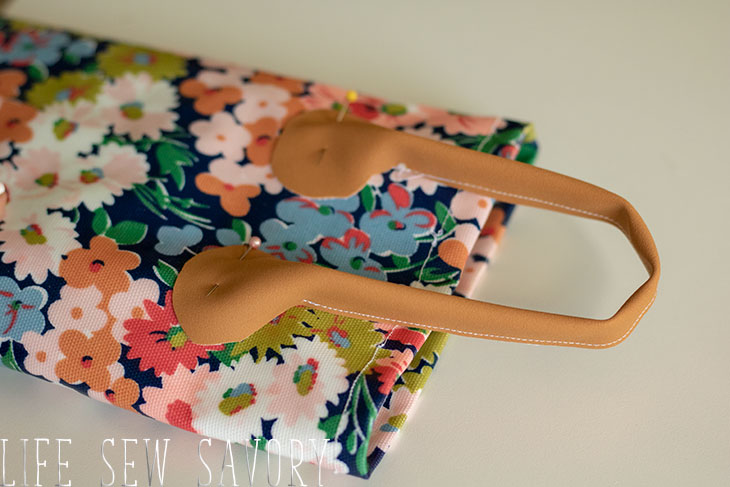
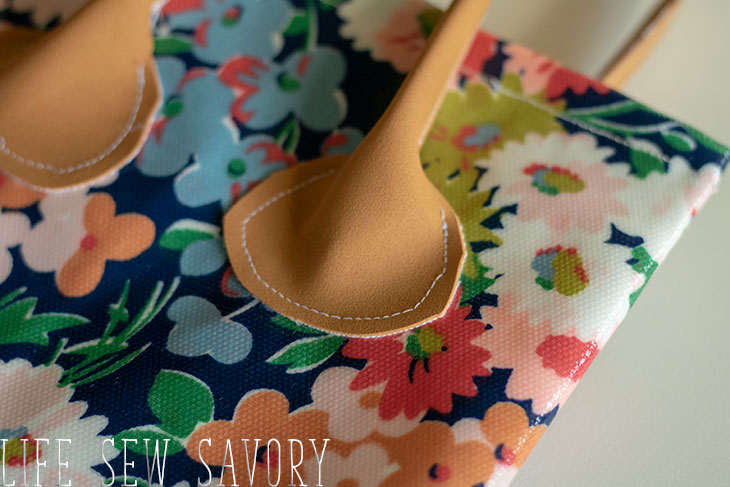
Use velcro or snaps for a closure on the open end of the knee pad. I placed two snaps, and can use these to hold the foam inside my knee pad.
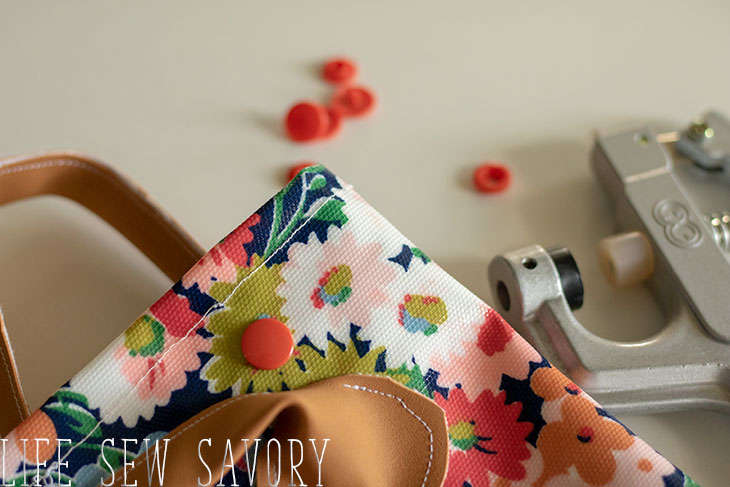
And there you go! You did it! Now you can garden all summer long and your knees will thank you. If you use this gardening knee pad tutorial please share photos in my Facebook Group here.




Corten says
Thank you so much for the video’s. You are a great presenter and so natural. Always makes me smile. 🙂 Lots of love. God bless!
Sunny says
We lived in MT for 20 years and I found snow peas grew very well if planted early. It is also easy to freeze them and use them year-round in soups, etc. Good luck with your new garden and thank you for the cute knee pad idea!!