inside: Learn how to sew Halloween treat bags for passing out fun candy or treats. Perfect for trick or treating or Halloween parties. Cute Halloween treat bags are easy to make.
I created this project for the Brother blog LAST year and now I get to share it with you here too! Have you checked out the Brother Sews Blog? I write a couple posts there each month, and you should be checking it out. These Halloween treat bags are adorable and easy to make. They are so great for both passing our snacks to trick or treaters or if you are having a Halloween party.
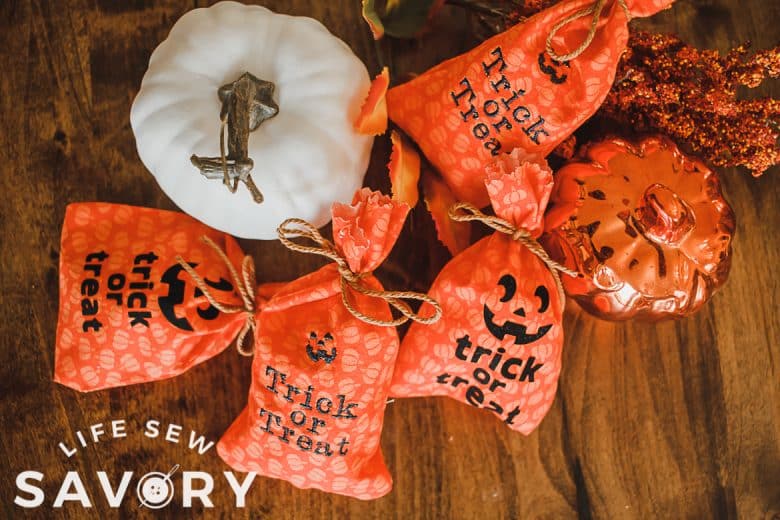
Halloween trick or treat bags
Here’s a quick video walking you through the process of creating these treat bags for Halloween. If you are having trouble viewing the video, disable your ad blocker or try a different browser.
You can make these bags with either vinyl or embroidery on them. If you want to keep it super simple you could just sew simple bags with fun Halloween fabric. Below you will find the supply list needed to create these bags.
Here’s a close up of the embroidered version.
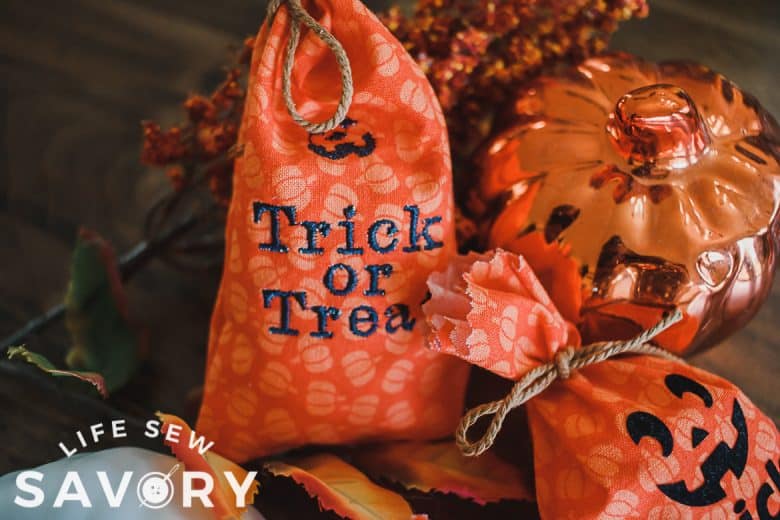
And here is a close up look at my vinyl treat bag version. I love both of these versions and I wanted to show both options here since not everyone has a craft cutter or embroidery machine.
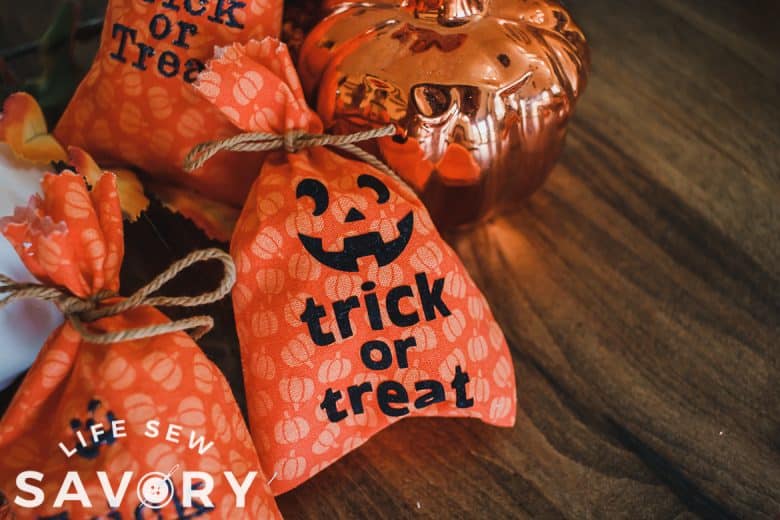
Halloween bags
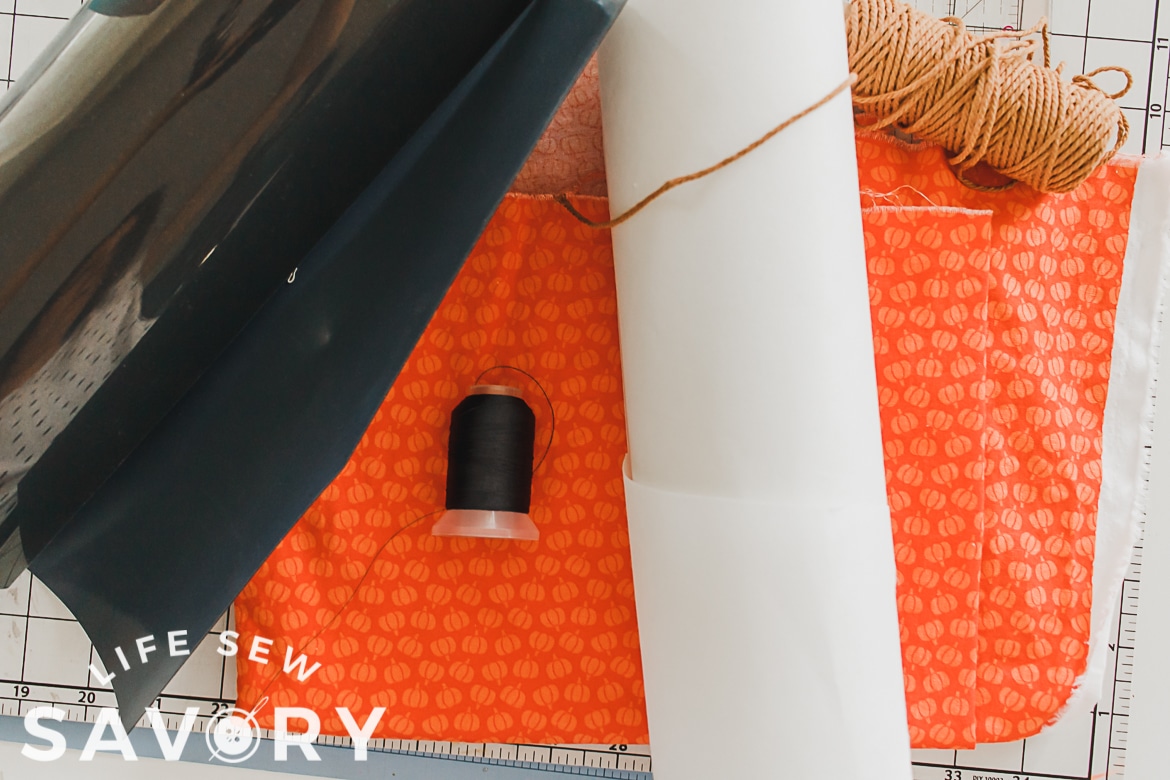
Ok! Time to gather your supplies. Again, there are so many options when making these bags for Halloween treats, and I’ll show you what I did to inspire you to create your own version.
Treat Bag Supplies:
- Halloween fabric
- Iron On vinyl
- Embroidery thread and stabilizer
- Jack O Lantern embroidery design
- Pinking Shears
- Twine for tying
- Sewing machine, Embroidery Machine, Cutting machine
I love this project because you can make it with a small hoop embroidery machine. You don’t need a machine with a large hoop to make this project. Ready to dive in?
How to make treat bags for Halloween
Ok! Let’s take a look at the step by step details for this project. It’s super simple and I’m sure many of you can figure out the details from just looking at the picture, but here are the details.
If you are making the embroidery version, we will cover that option first. Hoop your Halloween fabric with a layer of stabilizer.
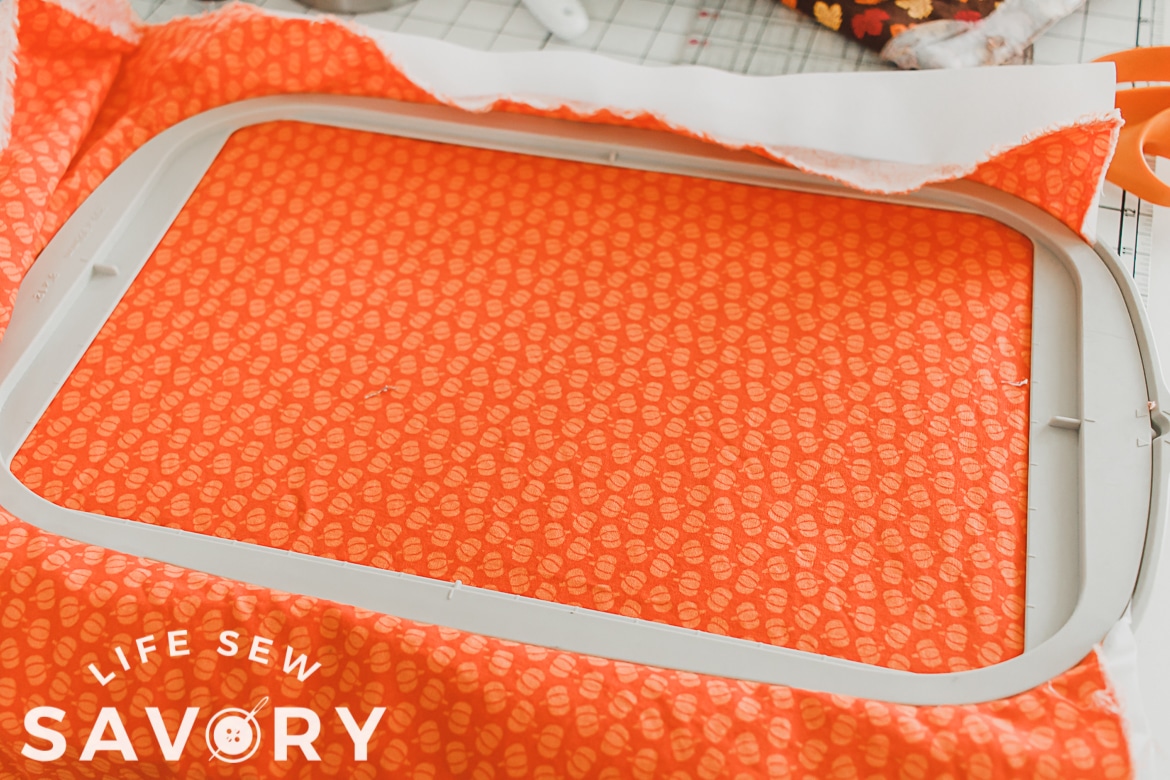
I purchased the jack o lantern file listed in the supplies and added text to the design on my machine. I embroidered on a large piece of fabric. Leave 2-3 inches between designs so you can cut the bags after embroidery. Depending on the size of your hoop, you may be able to create 1,2 or 3 bag designs at one time.
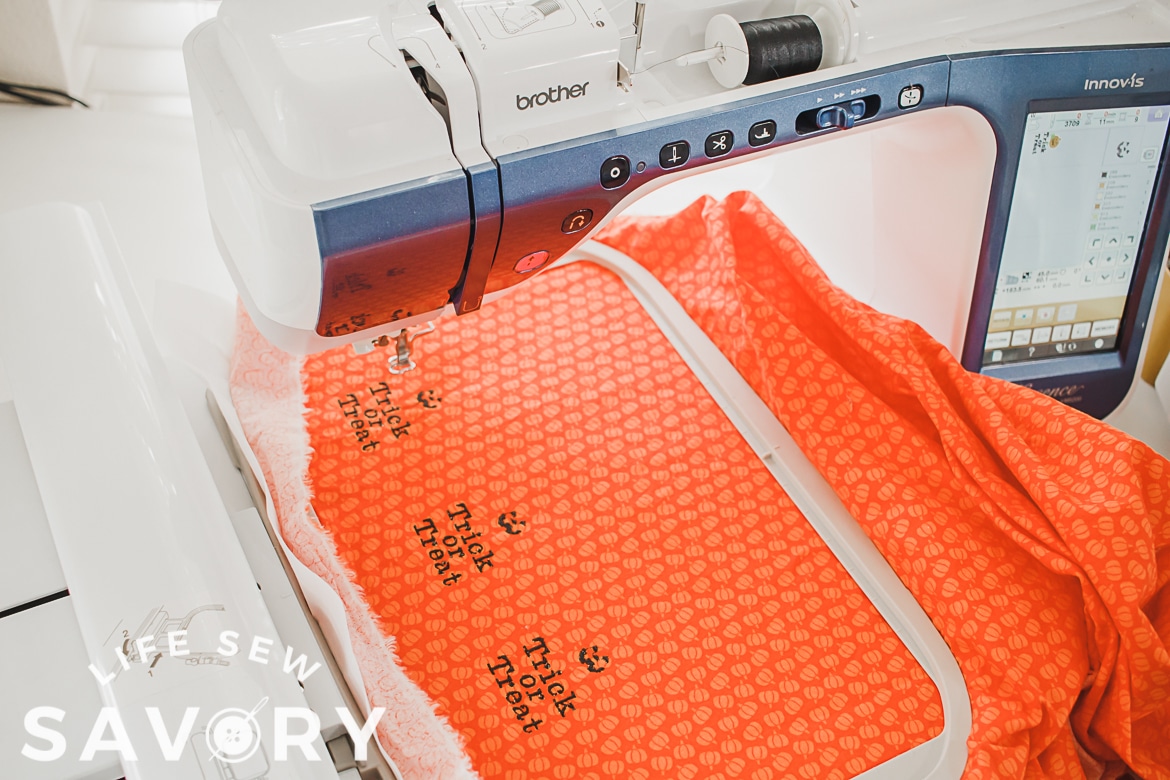
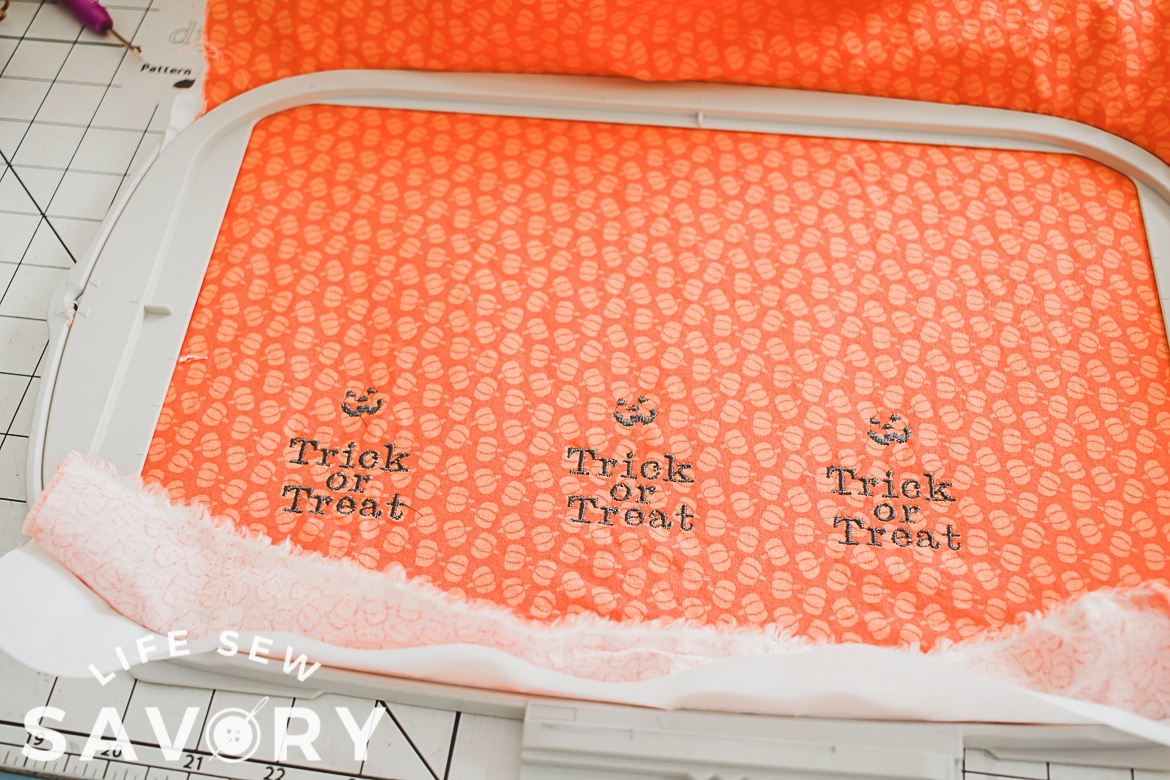
Once you finish the embroidery, its time to cut the bags. Cut your bags around 3.5″ x 6″. Cut two pieces for each bag. One should have embroidery on it if you are using embroidery. If you are adding vinyl, both bag pieces can be blank.
You can adjust the size depending on what treats you plan to put in your bags. Use the pinking shears to finish the TOP EDGE of the bag pieces.
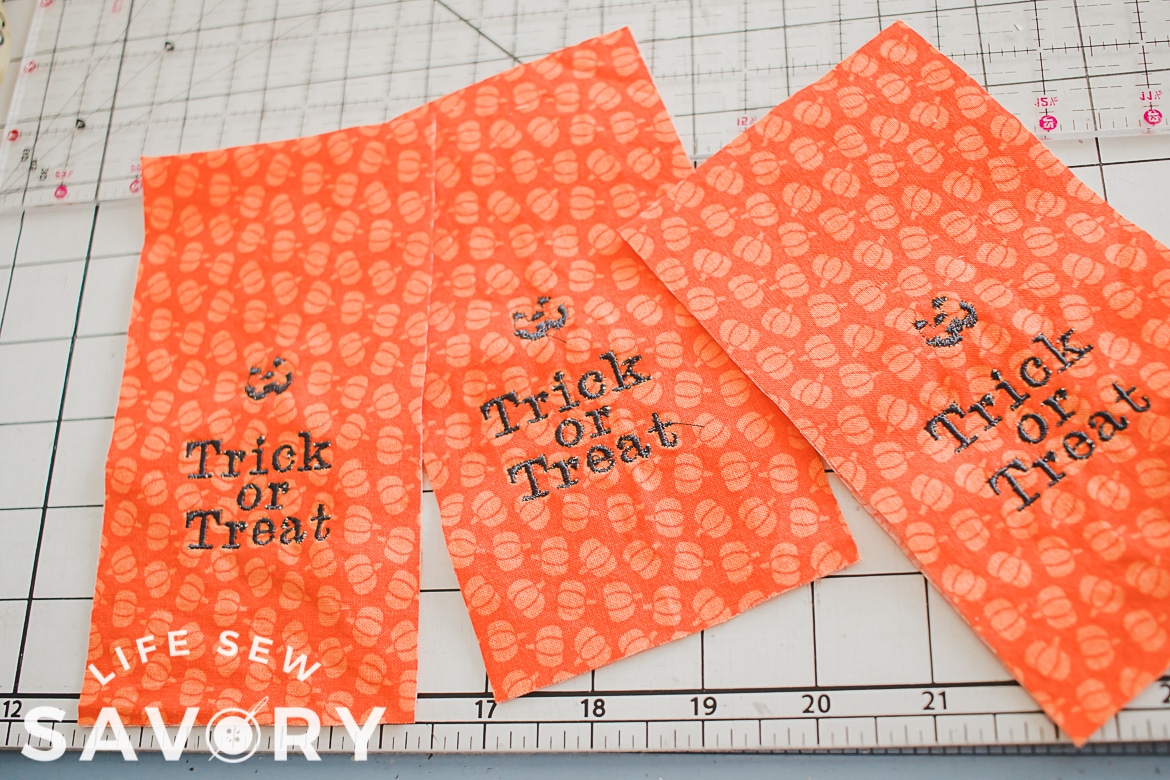
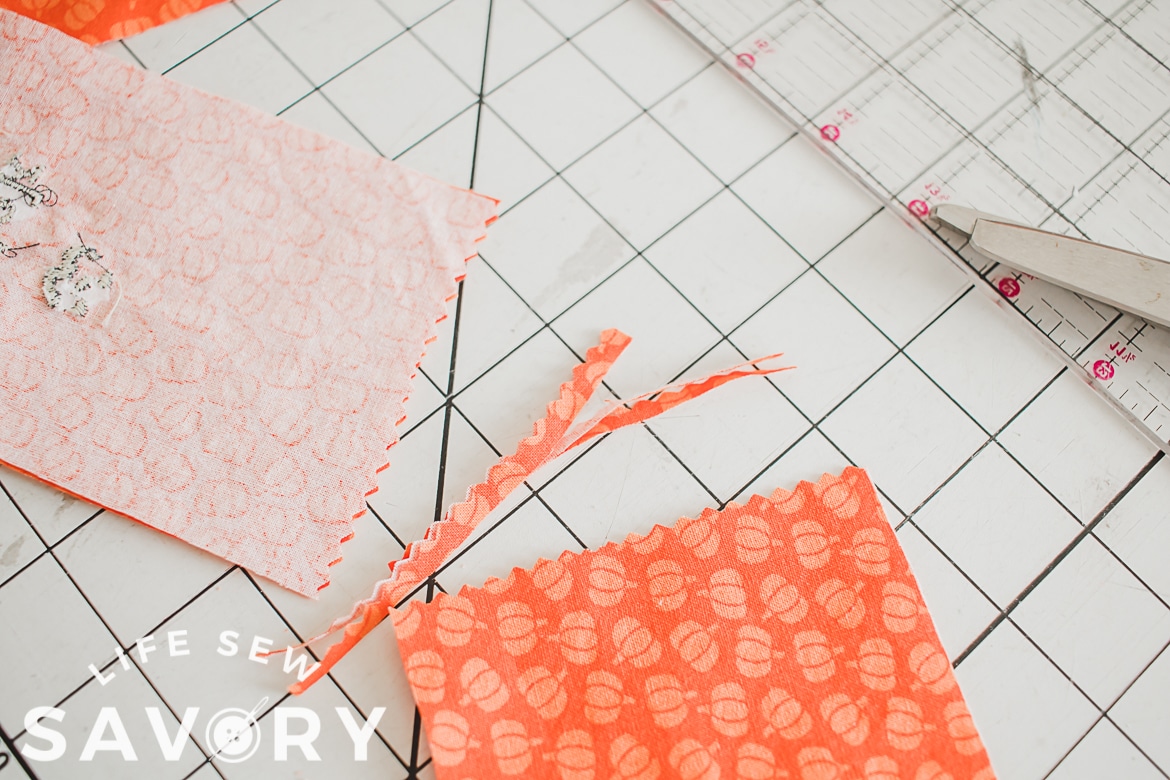
Place the two fabric pieces right sides together and sew the sides and bottom of the bags. Turn the bags right side out after sewing. You can clip the bottom corners to get cleaner corners after turning.
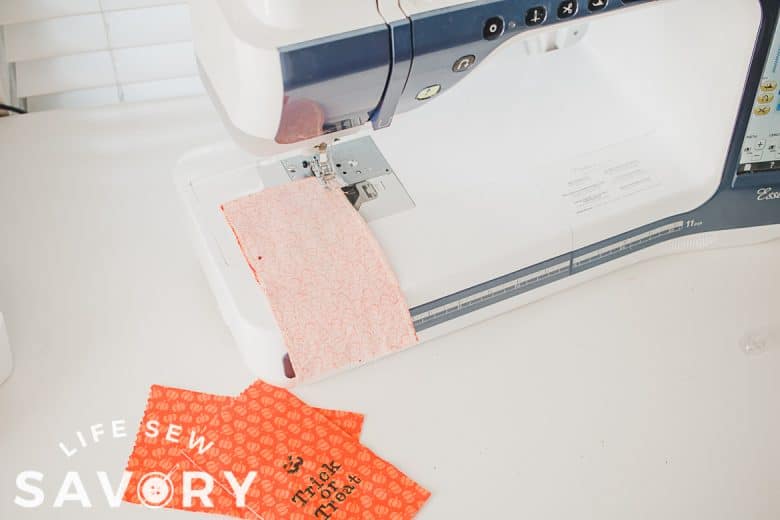
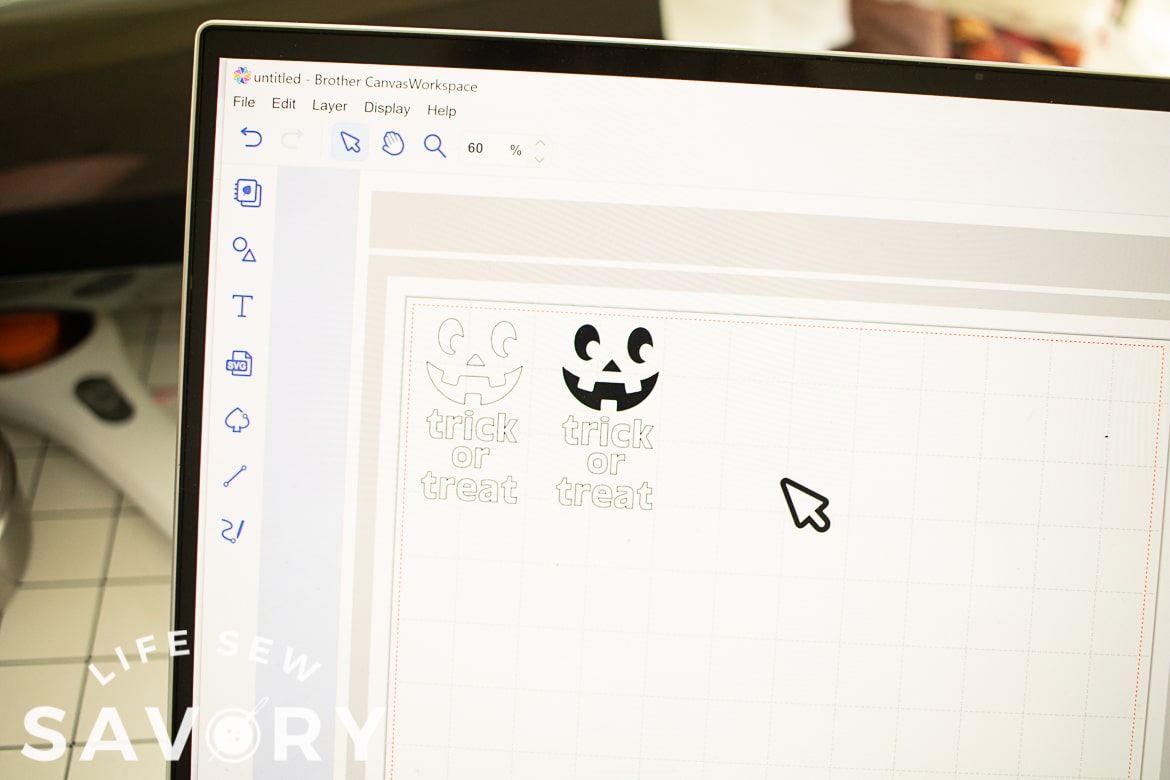
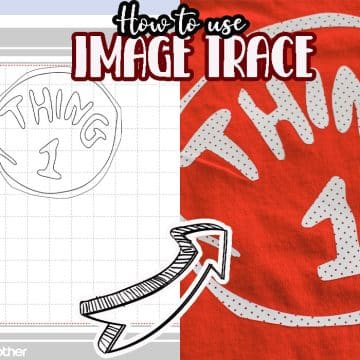
If you are wanting to make bags with iron on vinyl, cut the bag size as above and sew the three sides just like above. Create a cut file in Canvas Workspace or your own cutting machine software. I used the image trace feature to trace a face from clip art, then added text as well.
Remember to mirror the text before cutting or your words will be backwards {I’ve done this way more than I’d like to admit.}
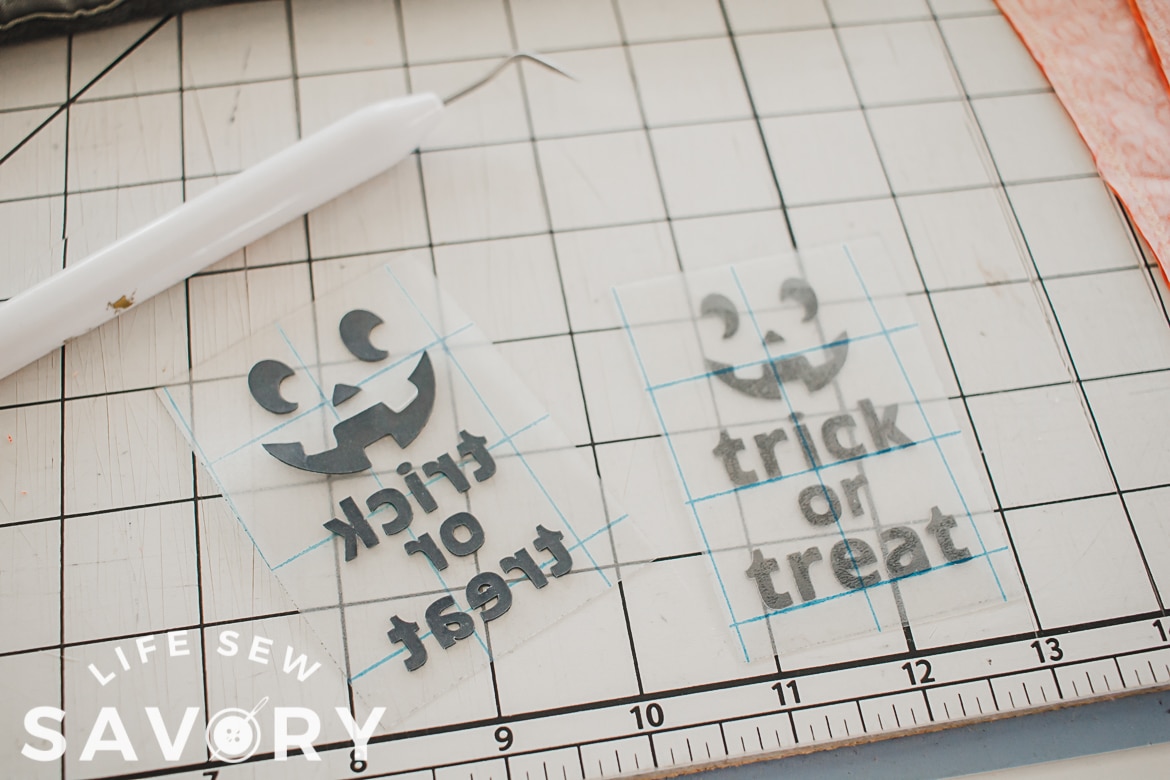
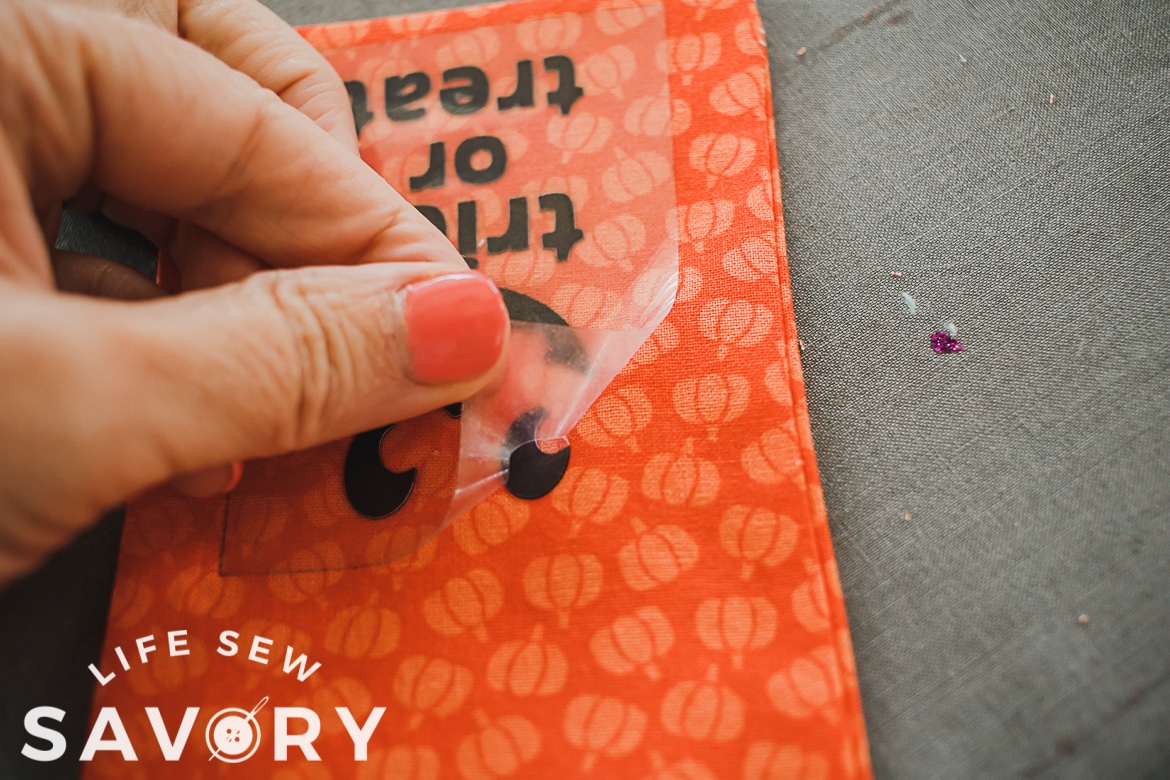
Place the vinyl on the front of your bags and use an iron or heat press to adhear to the fabric.
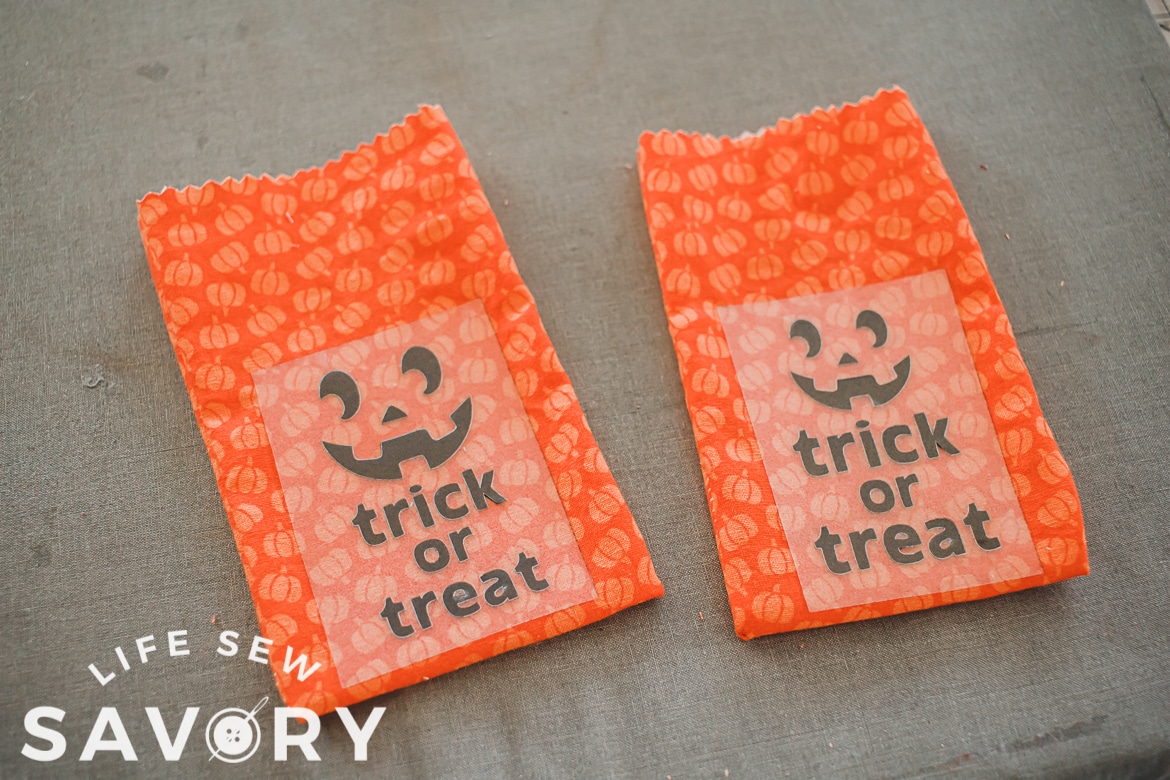
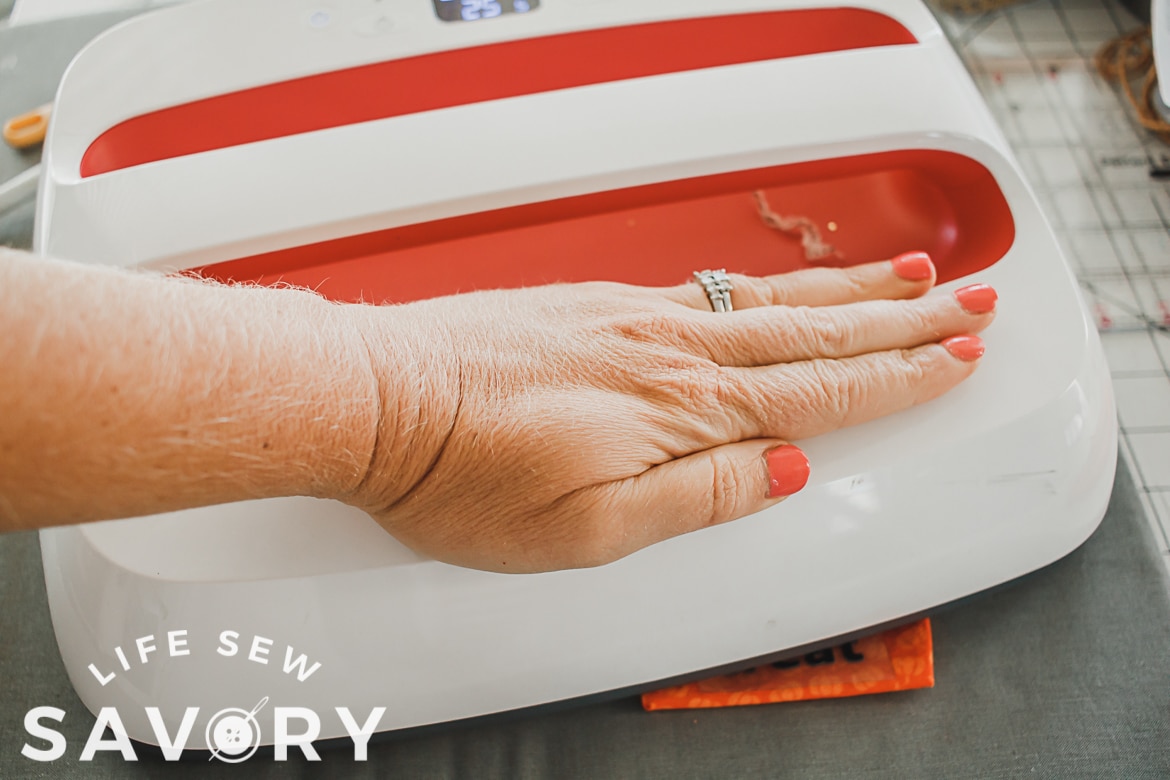
Peel off the vinyl cover and now you bags are ready to fill. Add treats or goodies into the bags, then close with a twine or ribbon.
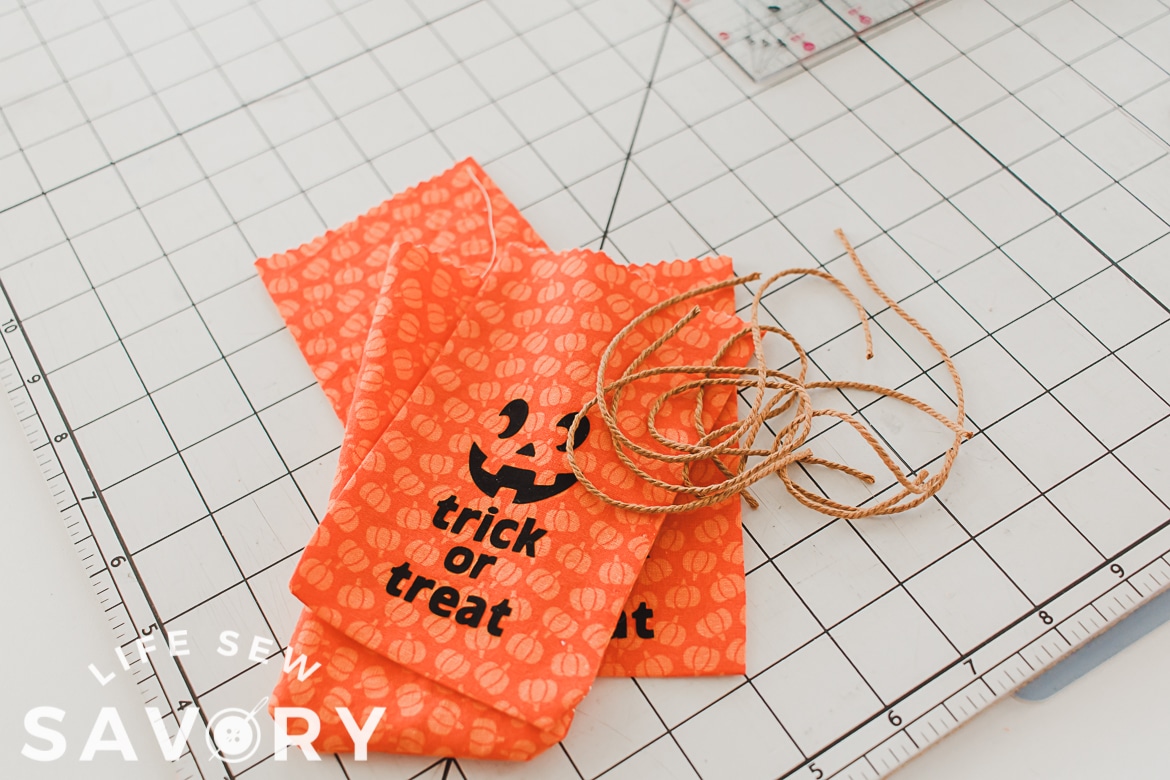
So cute right? I think both versions are just adorable and so fun for a Halloween party or handing out at my door.








Leave a Reply