inside: Learn how to add ruffles to a shoulder two different ways. This sewing tutorial will show you how to sew shoulder ruffles with two methods. Add beautiful ruffles to your clothes with this tutorial.
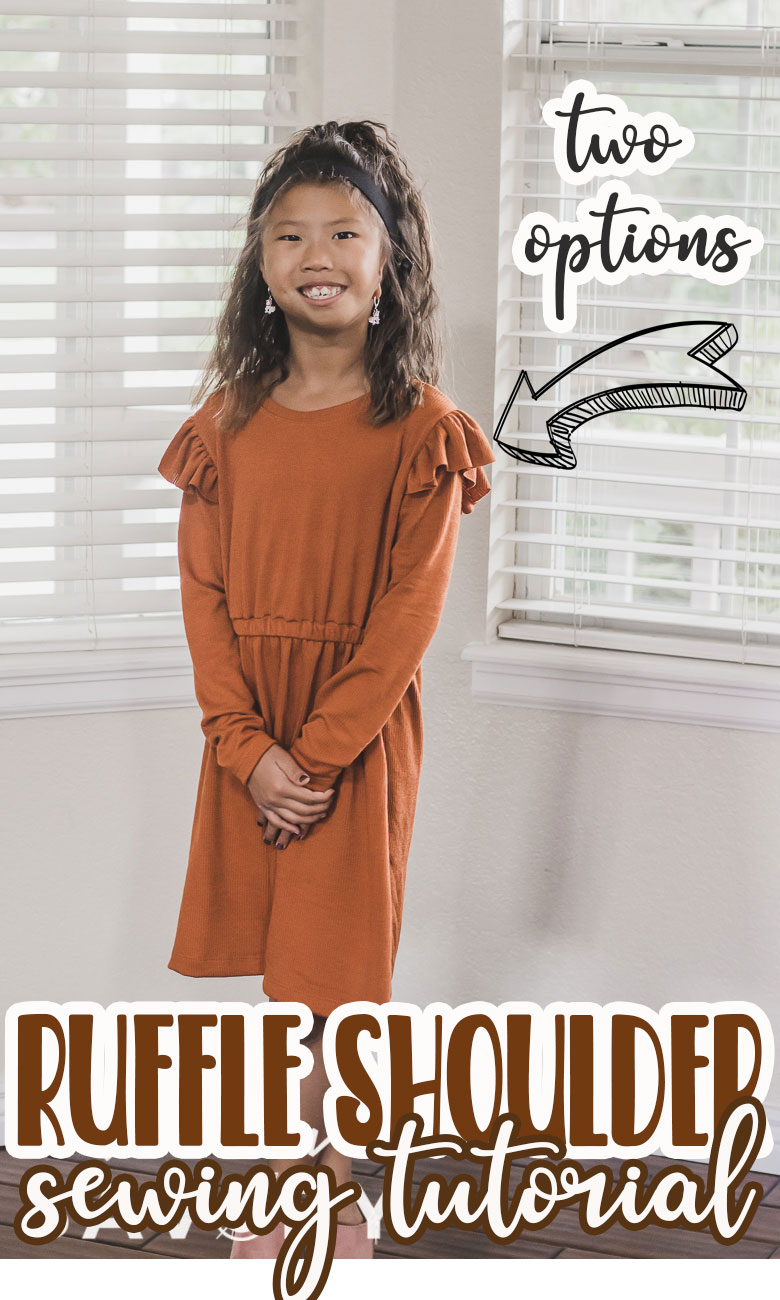
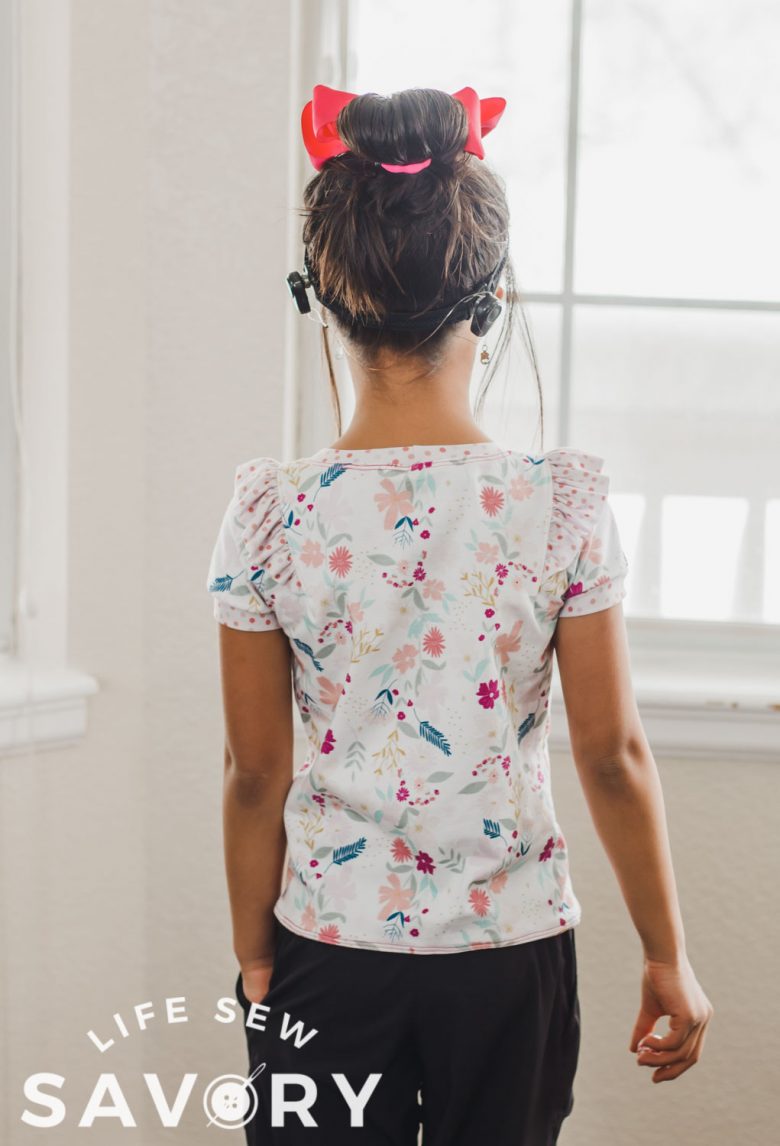
In the spring I sewed Rose a shirt with adorable ruffle shoulders. She loved the shirt and has been wearing it all summer. Now that it’s cooling off I decided to add ruffles to the shoulders of a dress for a cool weather ruffle option. Both of these ruffle shoulder tops are super cute and give two ways for you to sew ruffles onto the shoudlers of your favorite pattern.
How to sew ruffle sleeves –
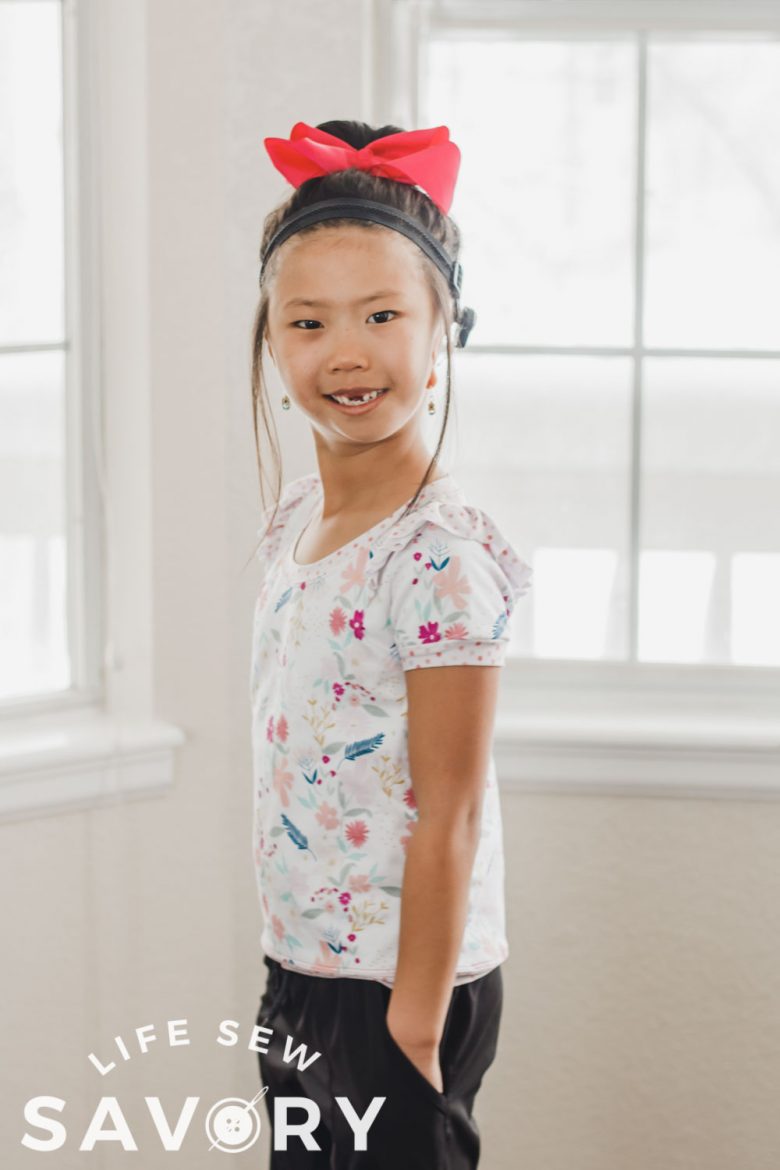
Ok! So I mentioned that I had sewn the short sleeve version in the spring and this top has gotten so much wear. If you look close you will see that Rose doesn’t have any front teeth in the photos either. They have now grown in {nice and crooked} and she looked older, even six months later.
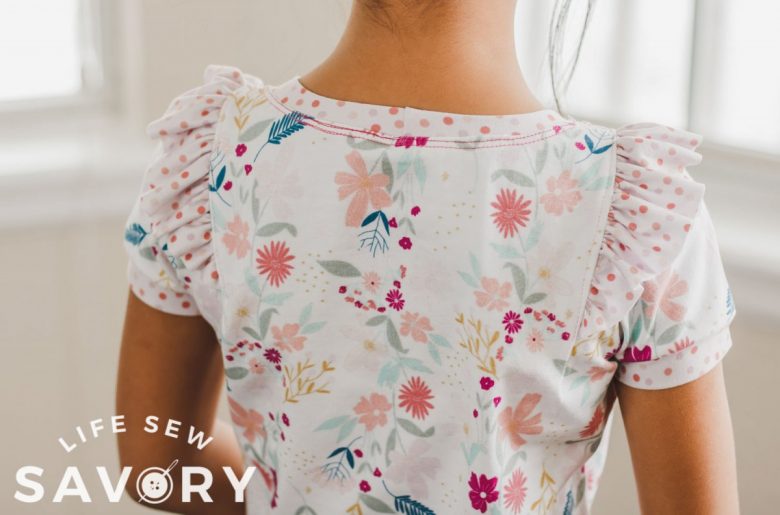
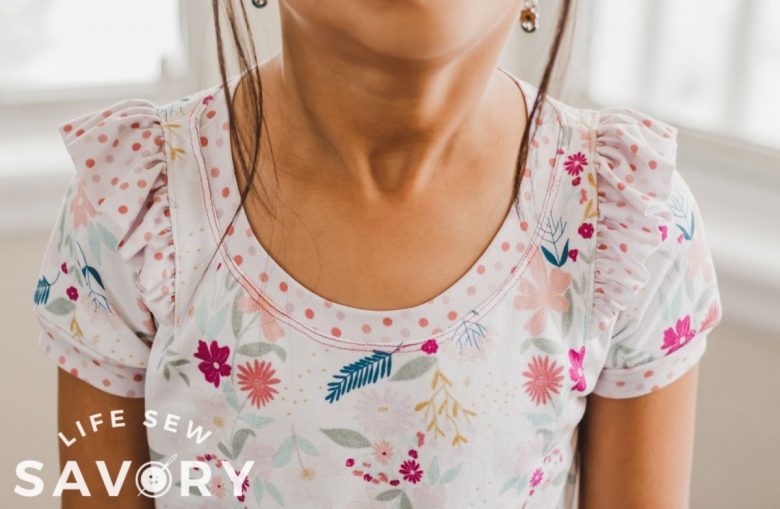
This first version of the ruffled shoulders has the ruffles sewn into slice between the neck and the sleeve. I really love the ruffle placement on this version and this adds such a cute flare to a simple t-shirt. This is the girls fitted tee free sewing pattern.
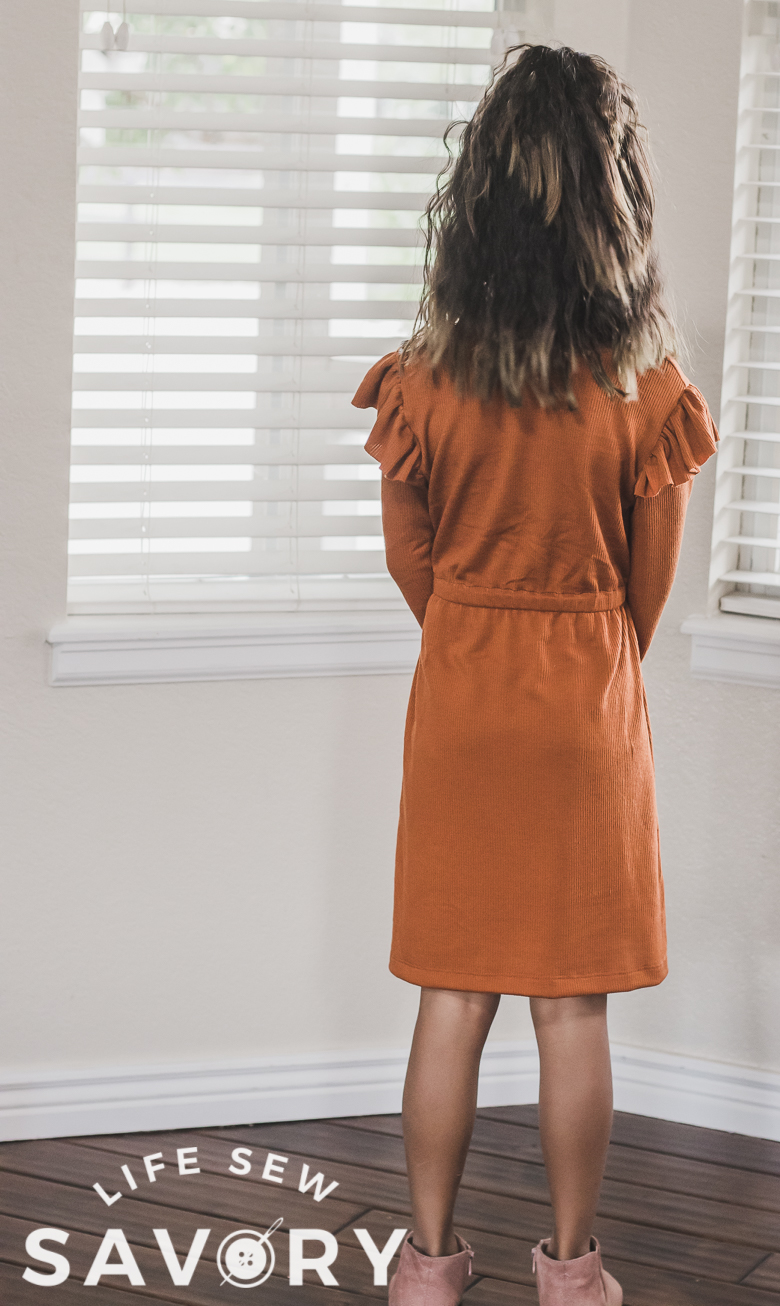
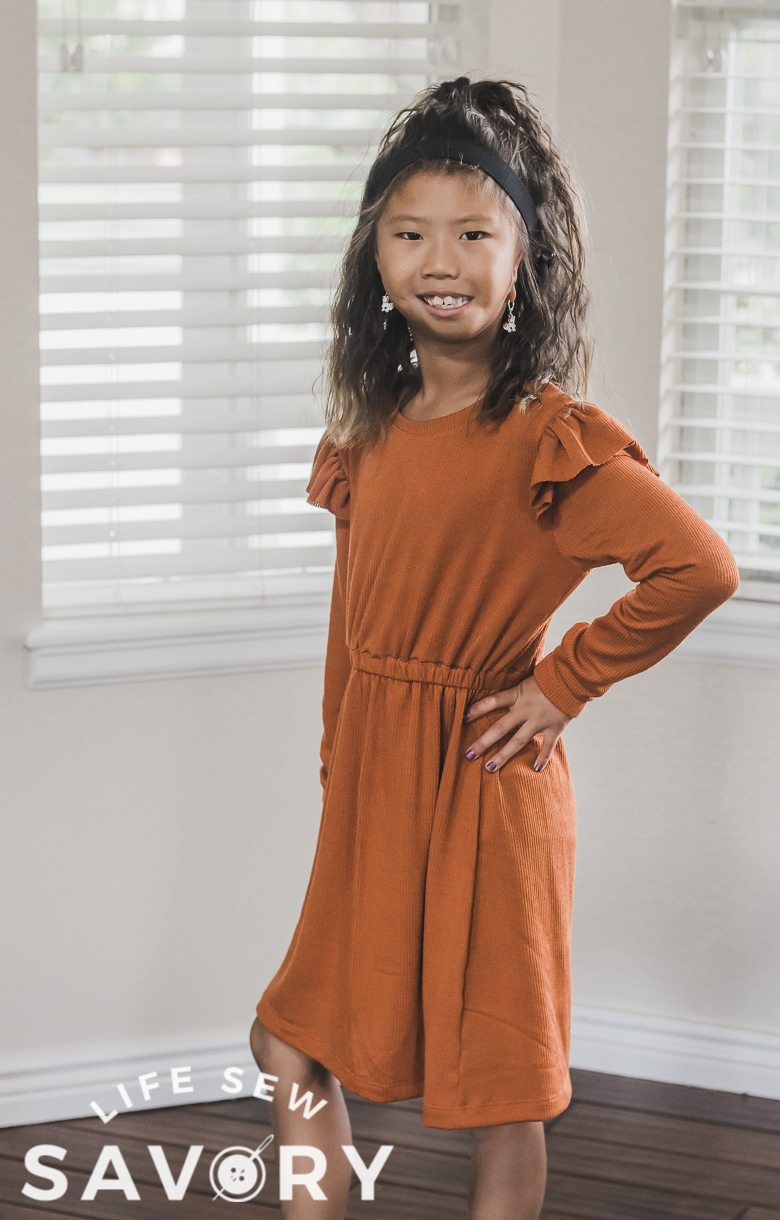
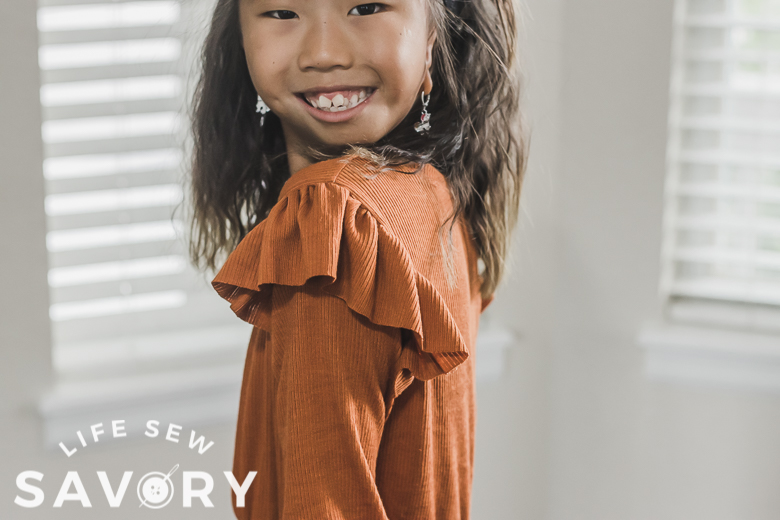
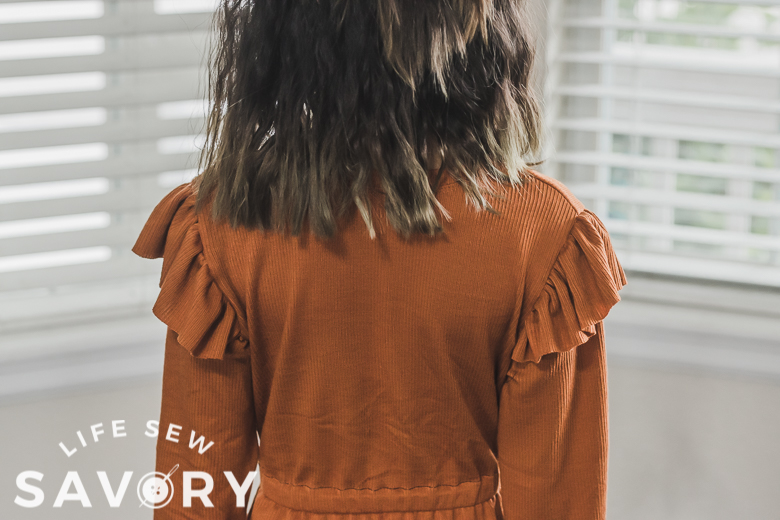
This is the second method of adding a ruffle and in this version I just added the ruffles to the shoulder seam when I sewed in the sleeve. I also love this version and it’s perfect with this ribbed sweater knit fabric.
I sewed this dress while Rose was at school and I should have sized down one size. It’s the sew simple free dress pattern and it’s not suppose to have a waist like this, but it was too big. You can see the shoulders are a big big still, but I actually like cozy fall look . The added elastic in the waist fixes most of the size issues.
In this post I’m going to show you how to create both of these ruffle shoulder versions. The shirt has the ruffle cut into the shoulders and is a bit more narrow ruffle. The dress is a wider ruffle and it’s sewn into the shoulder with the seam. Both of these ruffle sewing methods are shown here.
ruffled shoulder supplies –
- Shirt or dress pattern.
- I used the fitted girls shirt and sew simple dress patterns in the post here.
- Fabric for your patterns, plus a little bit for the ruffles
How to add ruffles to a sleeve-
Cut out your pattern as directed. In addition to all the other pattern pieces you will want to cut ruffles for each shoulder. This first method I’m going to show you is an actual shoulder ruffle.
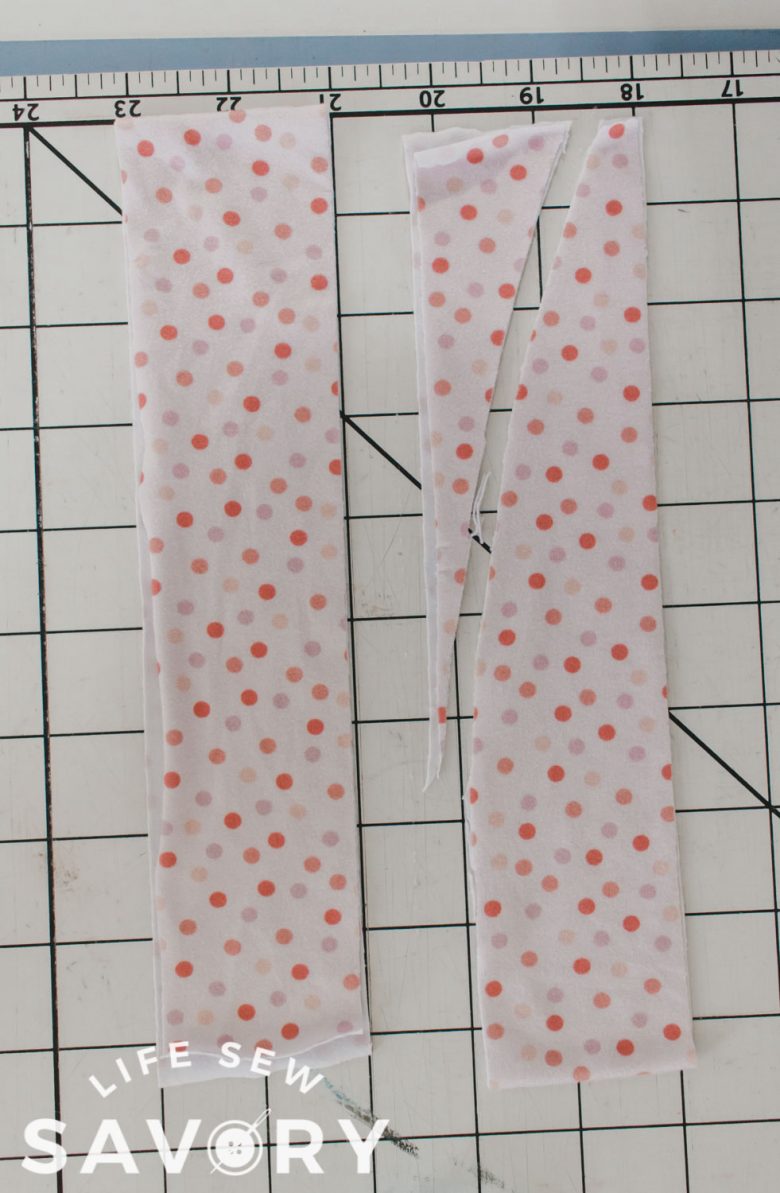
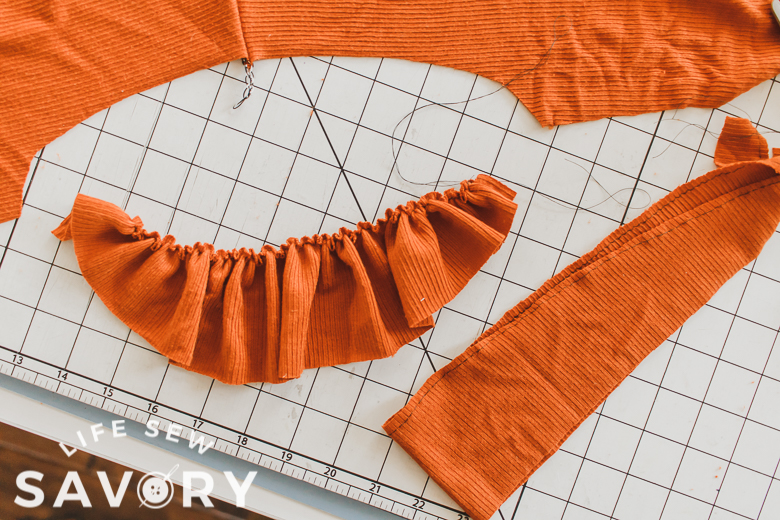
These are a slightly more narrow version, so the ruffles are only 2″ wide and cut 20″ long. If you are making this on a women’s top I would cut the ruffles about 30″ long. We now need to curve one side of the ruffle.
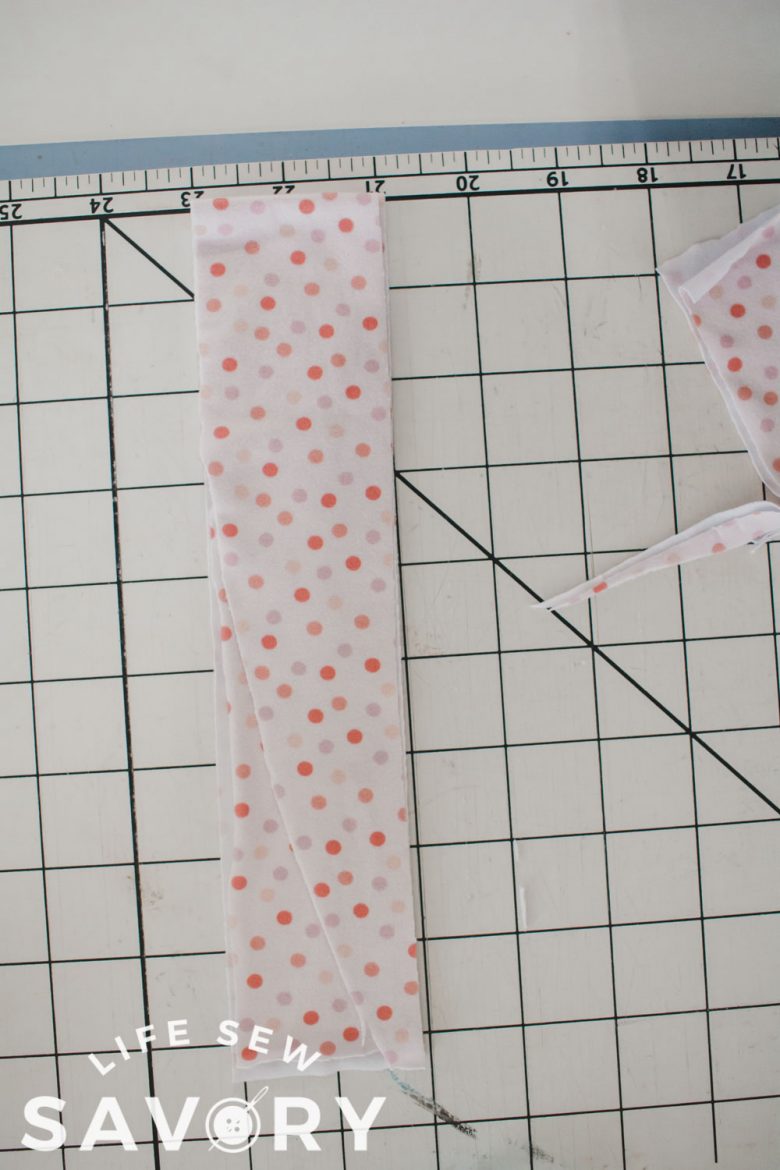
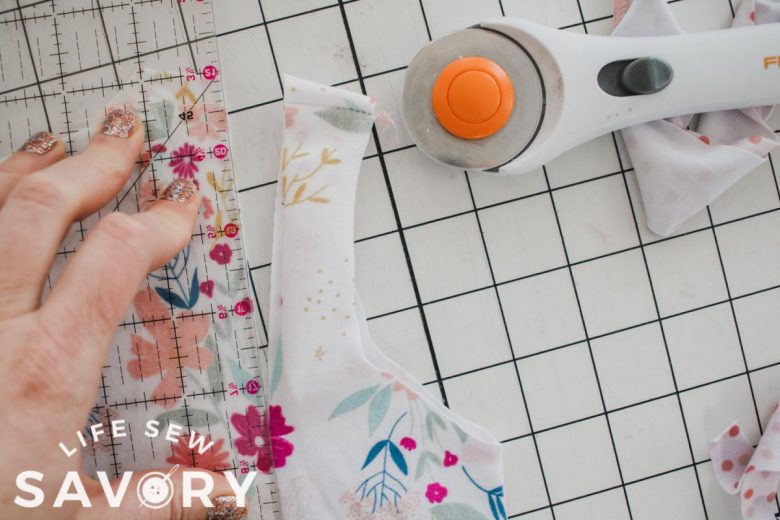
Fold the ruffle in half as shown, then curve from the raw edges to about 3″ from the center. Once you have one curve cut, use it as a pattern to cut the other one to match.
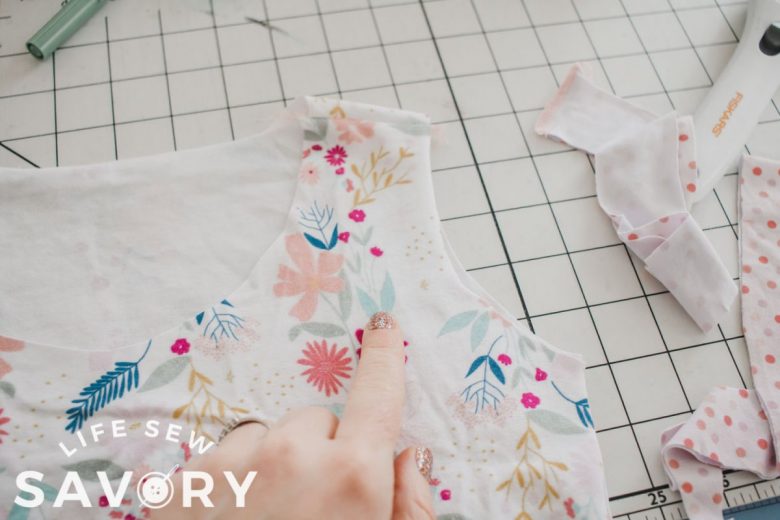
For this shoulder ruffle version we will need to cut the shirt. Sew the shoulder seams together and add the neckline first {or after} Find the center of the shoulder and then about 2/3 of the way down on the arm opening. Use a straight edge to cut this line.
Repeat with the other shoulder. Remember the cut should only come down about 2/3 of the arm opening.
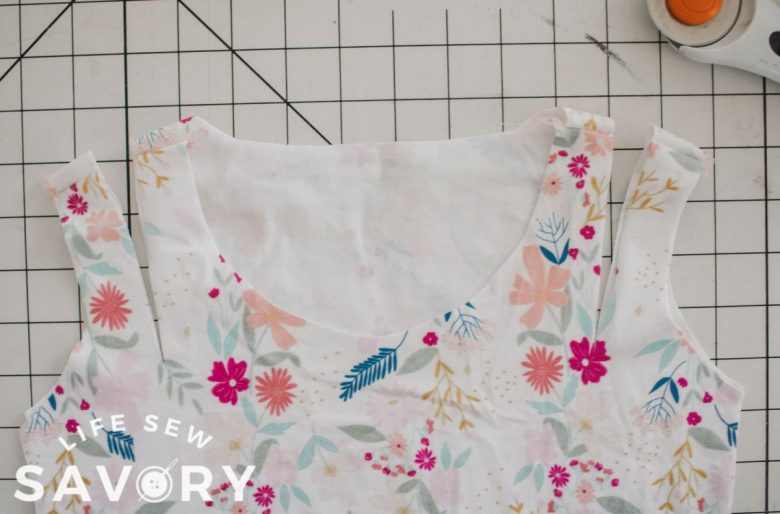
Now run a gathering stitch on the curved edge of the ruffle piece. Need helping with gathering? check out this gathering tutorial. I used a single thread gathering stitch. Pull the gathers to match the length of you cut opening.
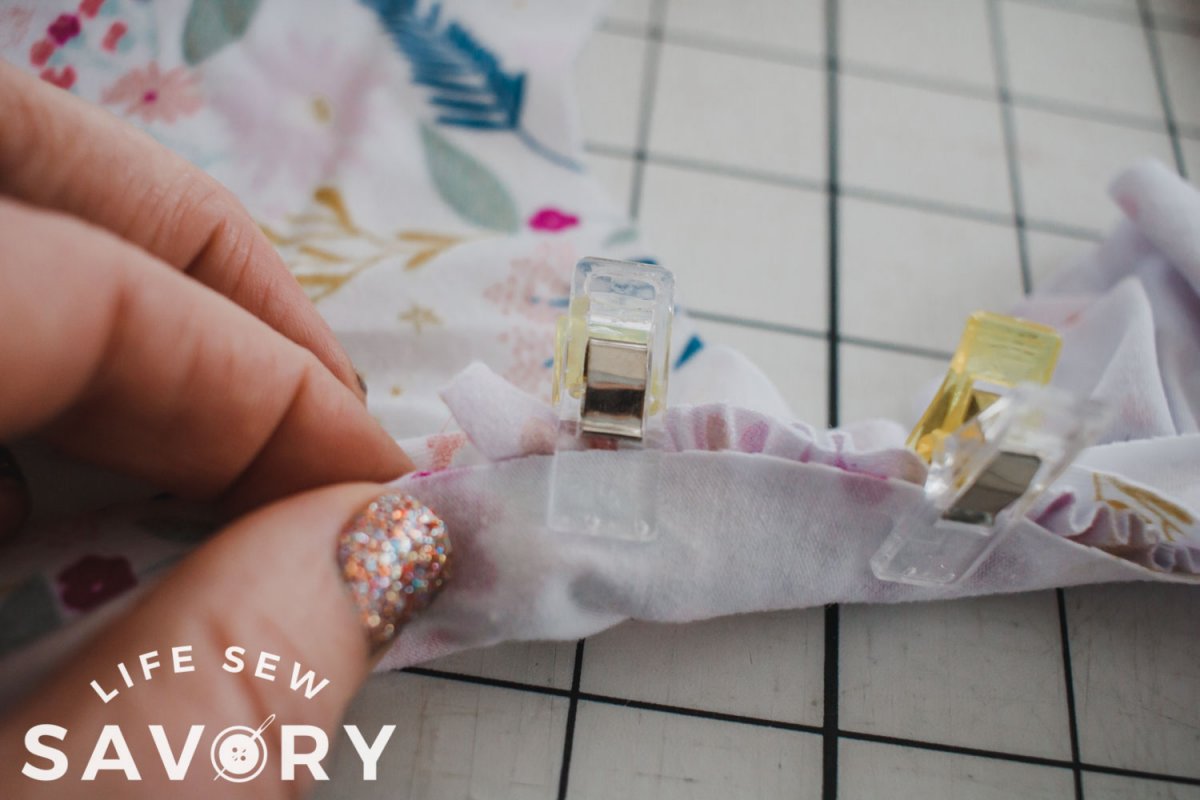
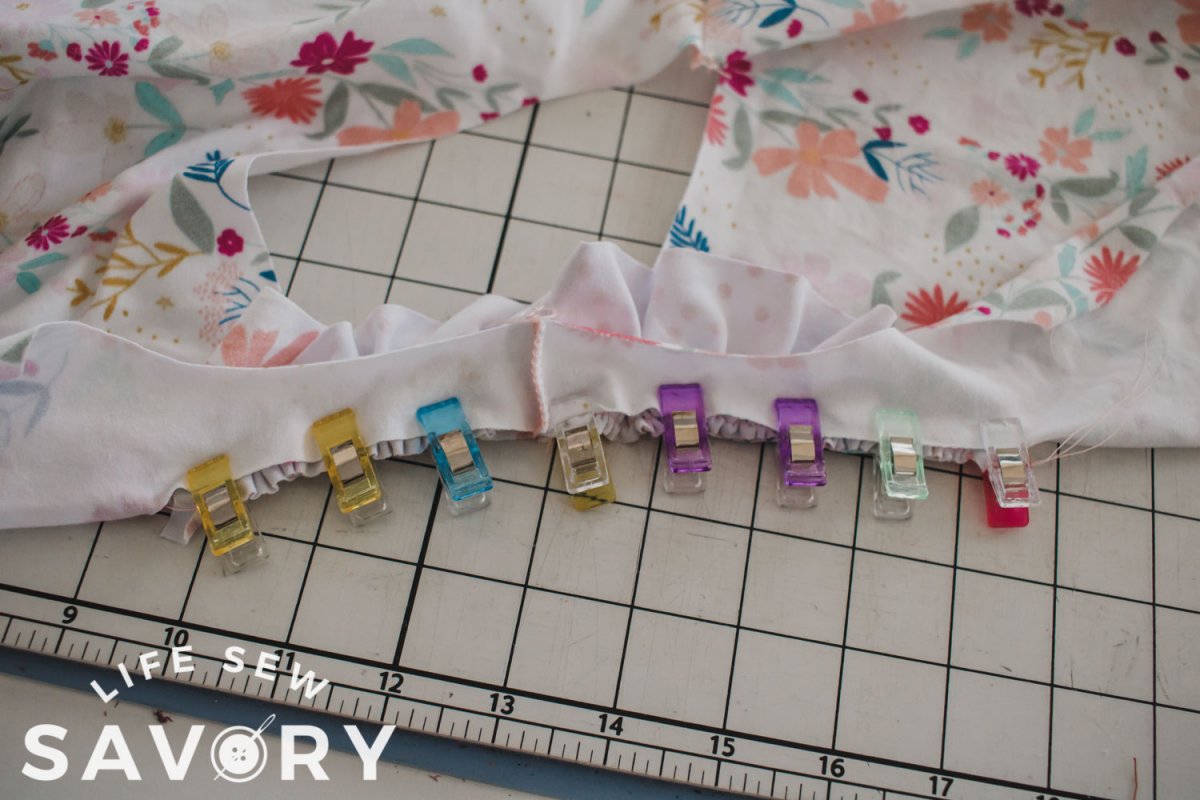
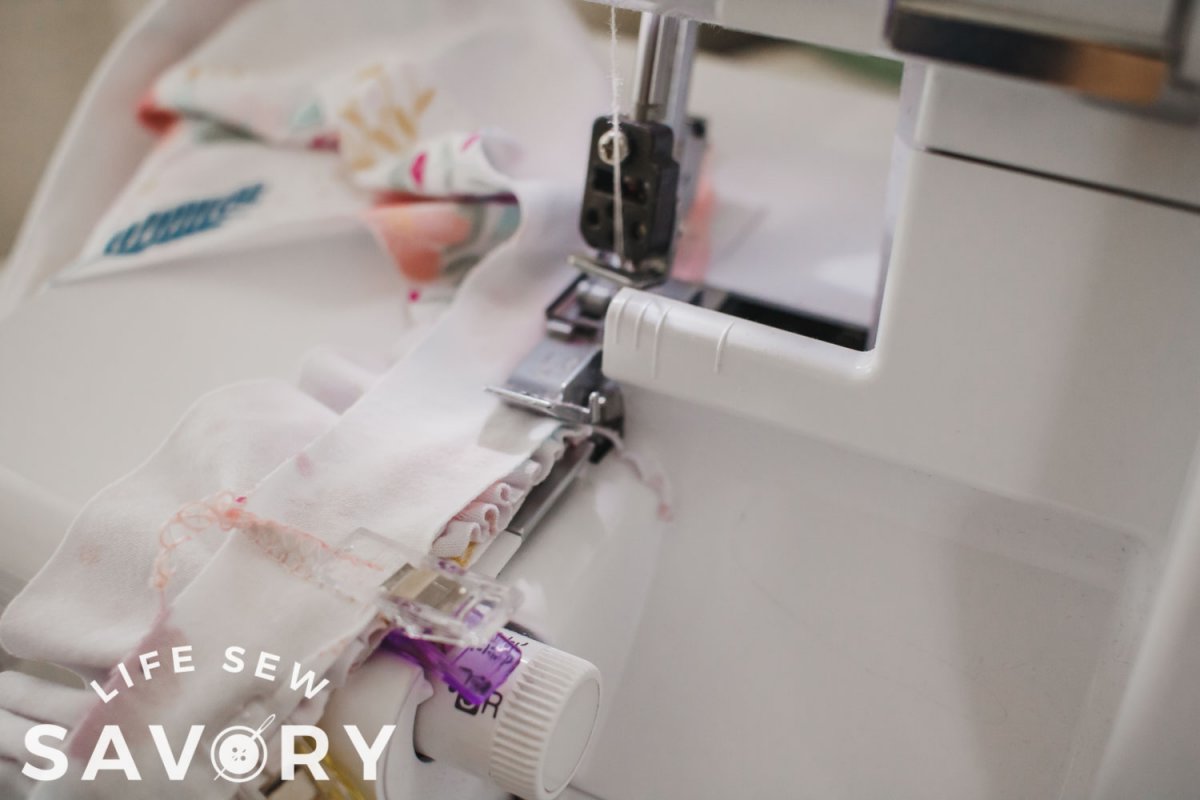
With the right side of the ruffle fabric towards the neckline, insert the ruffle into the cut and pine or clip in place. The cut should extent just a tiny bit past the ruffle. Sew all the layers back together. make sure to keep the gathers straight an catch both sides of the shirt.
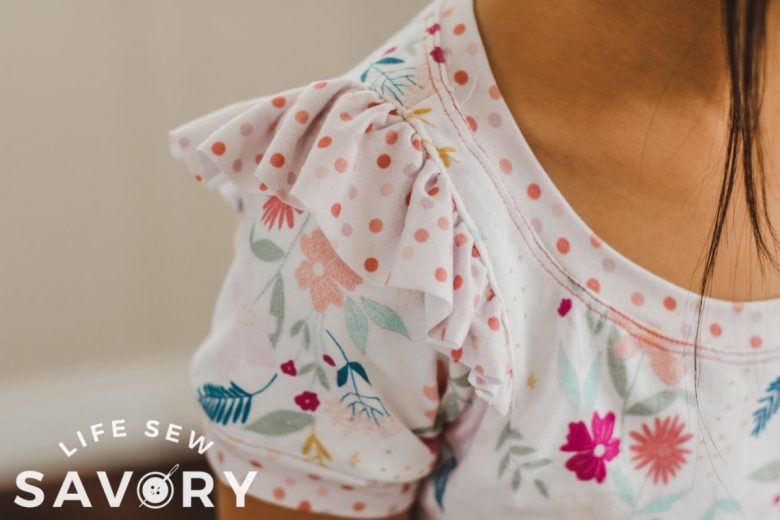
I love how this looks. You can top-stitch the seam allowance towards the neck side of the shirt if you want. this also helps the ruffle to fall to the shoulder and not flip up.
How to add ruffles to a dress-
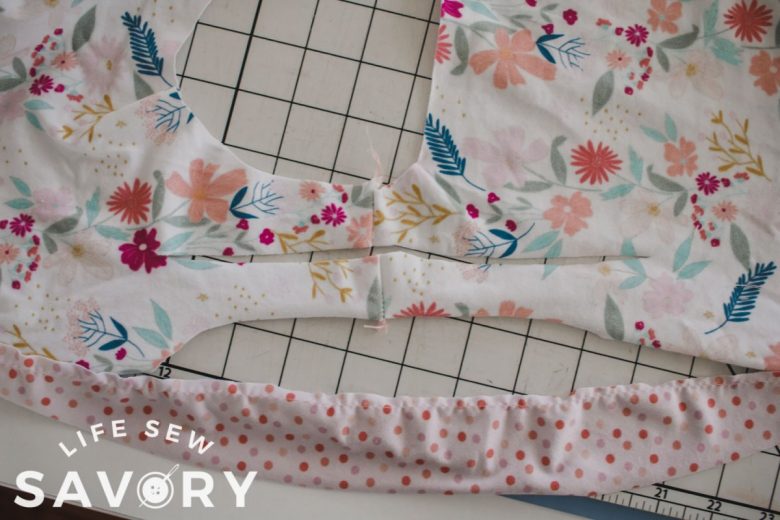
Cut the dress or shirt pattern as directed. Then cut the ruffles. These ruffles are cut 20″ long and 3″ wide, so wider than the other version. You could can make a wider or narrow ruffle on either version. Curve the ruffle edge just like in the first method.
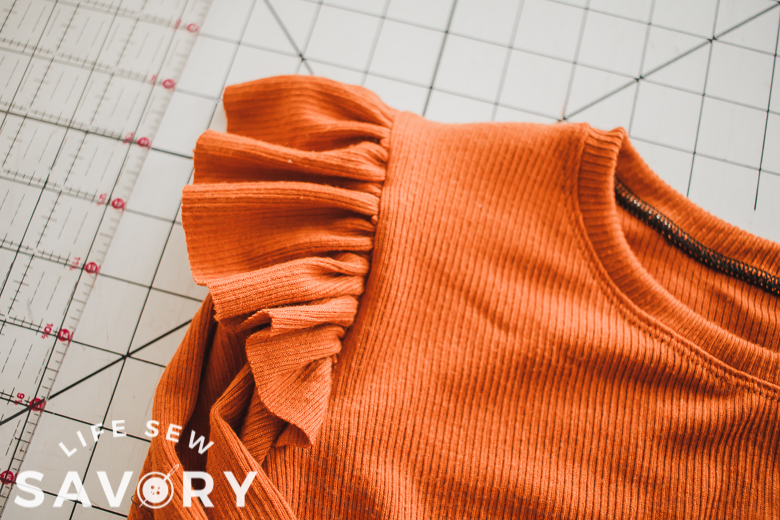
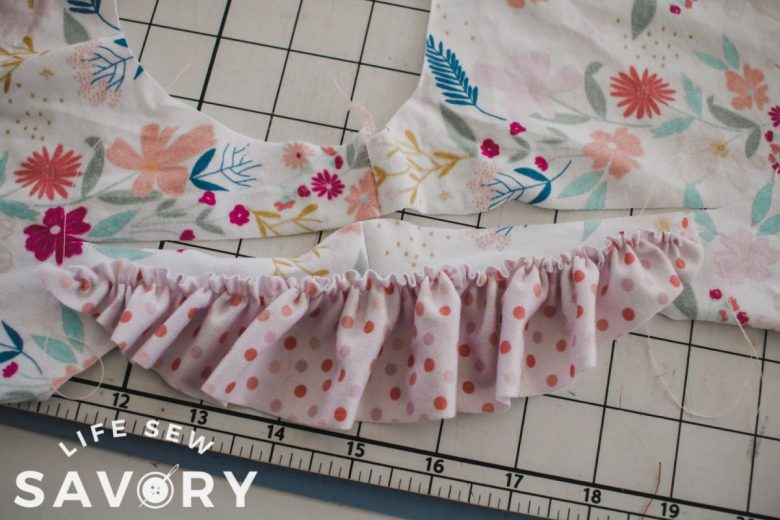
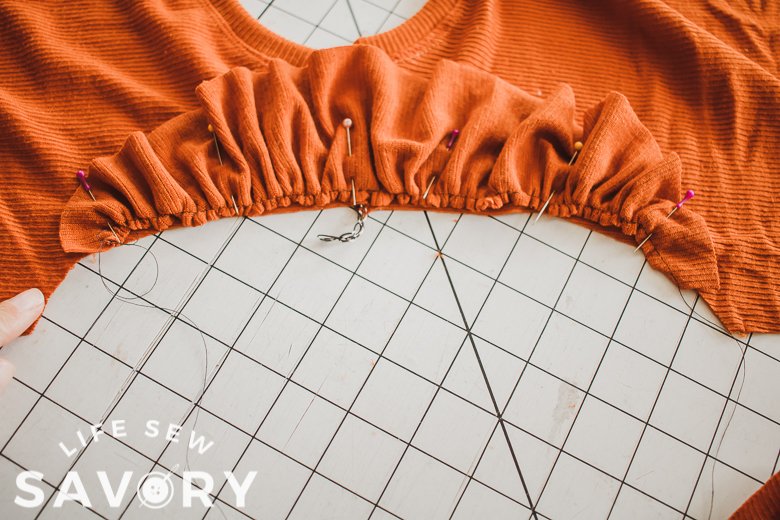
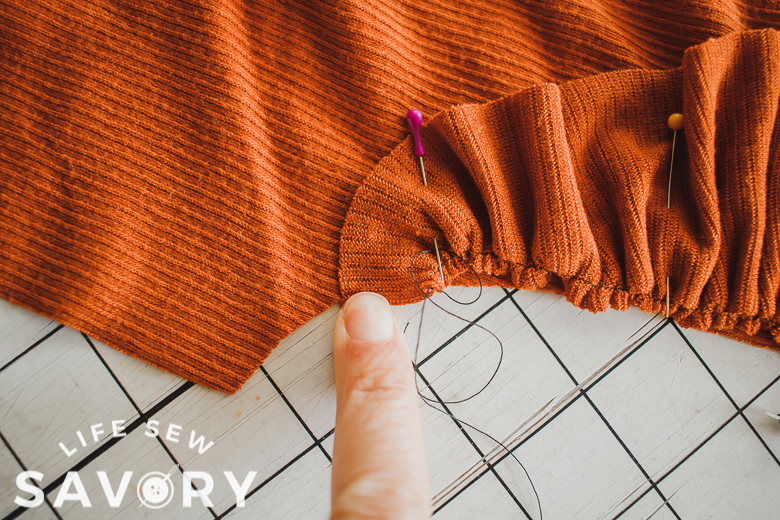
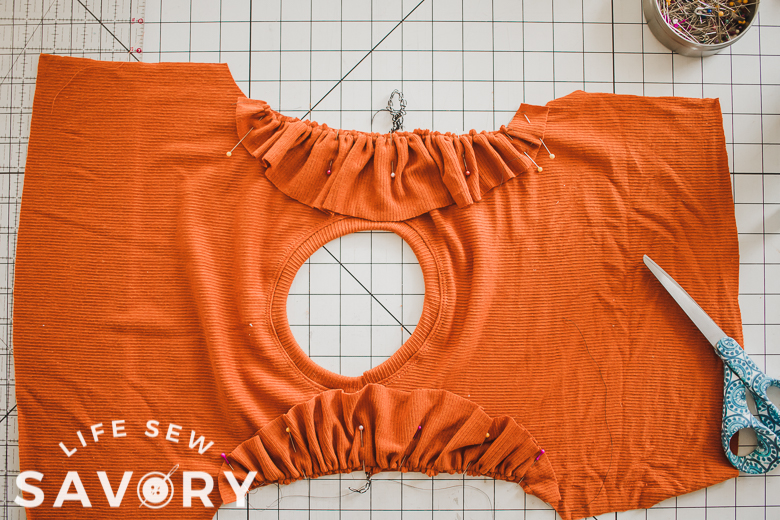
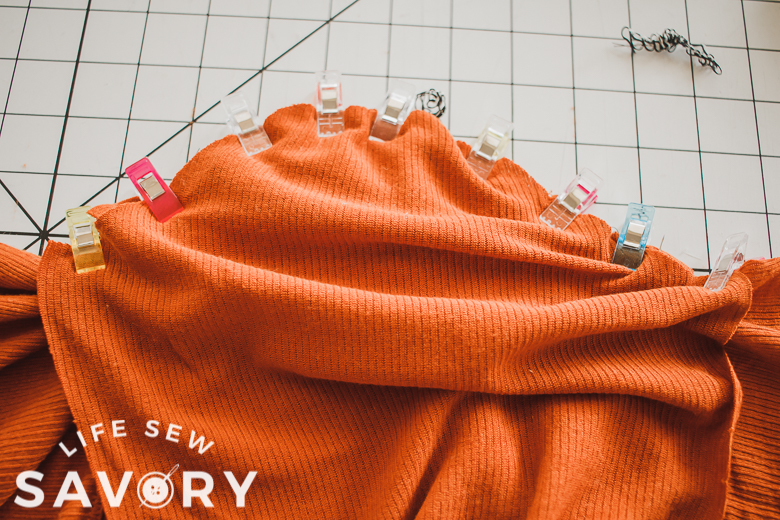
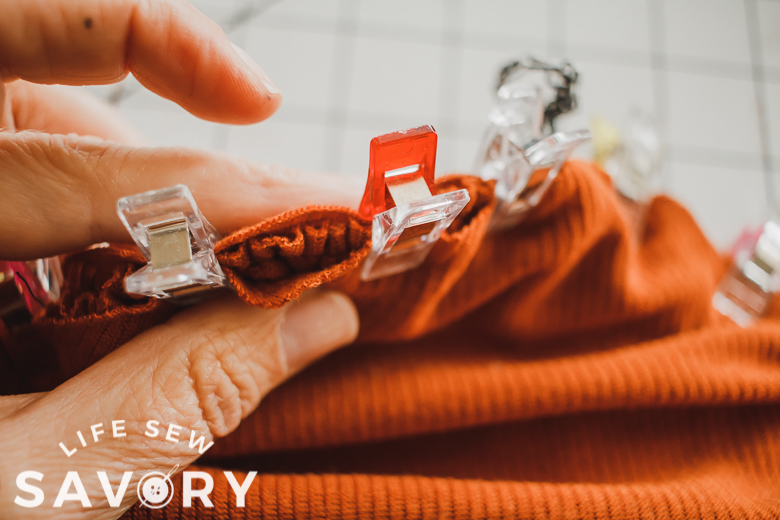
Gather the curved edge of the ruffle and pull the threads until the ruffle is about 3″ shorter than the shoulder opening. You want the ruffle to be shorter than the shoulder opening. With right sides together pin the ruffle to the shoulder. There should be about 1.5″ of shoulder on either side of the ruffle.
Curve the edge of ruffle that that it’s in the seam. We don’t want a boxy edge of the ruffle sticking out. Repeat with the other shoulder.
You can baste the sleeve in place OR at the sleeve on top of the ruffle and sew all at once. If you add the sleeve you will be sandwiching the ruffle between the shoulder and sleeve. Make sure right sides of the sleeve/shoulder are together.
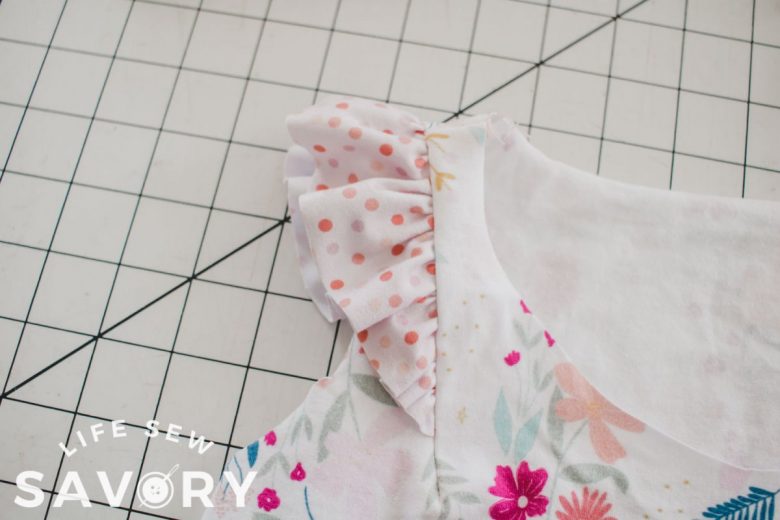
Sew the shoulder seams. When you open up the shoulder it should look amazing!!! So beautiful right?? Finish sewing up the dress as directed.






Lindy Yearsley says
Thanks for this tutorial! This is just what I wanted to do on a dress for my daughter as well! Thanks for the clear instructions.
Pamela Felic says
Are the edges of the ruffles as sewn left raw? I’m trying to see from the pictures but I can’t tell.
Emily says
yes!
Things to do says
I love this idea! A ruffles shoulders is a great idea for my next project! Thank you for sharing!
Sandy says
Thanks for the tutorial! I have two questions. Your first tutorial..can you add ruffles to a ready made this way? Also, if you cut shoulder, how does that effect fit? Would you have to buy a larger shirt to accomodate the new seam? I’m trying not to overthink it.
Sandy says
How do you sew ruffle into the cut shoulder without the fabric dimpling at the start of the seam? How do you begin the actual seam? Thanks for any info
Marleen says
Thank you for this amazing tutorial. I love the sliced-in ruffle just as much as the sleeve seam ruffle. Very cute. I can’t wait to try these for my daughter. I am so glad I found your patterns for boys – my son now demands I make nothing but the Boys Knit Shorts for him to wear year-round – those pockets! He even agreed to let me make him the mesh pants for a plane trip! Thank you for sharing your amazing talent with the world!