Inside: Learn my two main methods for how to cut fabric with a ScanNCut. Cutting fabric is easy with a cutting machine and these tips.
This post is for cutting fabric with the thin fabric blade. Have the rotary auto blade? See this fabric cutting post here.
I’ve been using my Brother ScanNCut for all my cutting projects for the past five years. I love the versatility and all the amazing projects I’ve been able to create. I’ve shared a number of tutorials with projects and inspiration over the years, but I’ve never really done a deep dive into the fabric cutting feature of this machine. Today I’m going to share how to cut fabric with a ScanNCut machine.
How to cut fabric with a ScanNCut
On Wednesday nights during the school year I volunteer at our Church for a girls group called Vessels. My daughter is finally old enough to join me and she is so excited… back to the cutting fabric.
Each week we do a craft with the girls and for one of them we needed 500 small fabric hearts cut. This was a project I could help out with and today I’m going to share how I cut the fabric hearts.
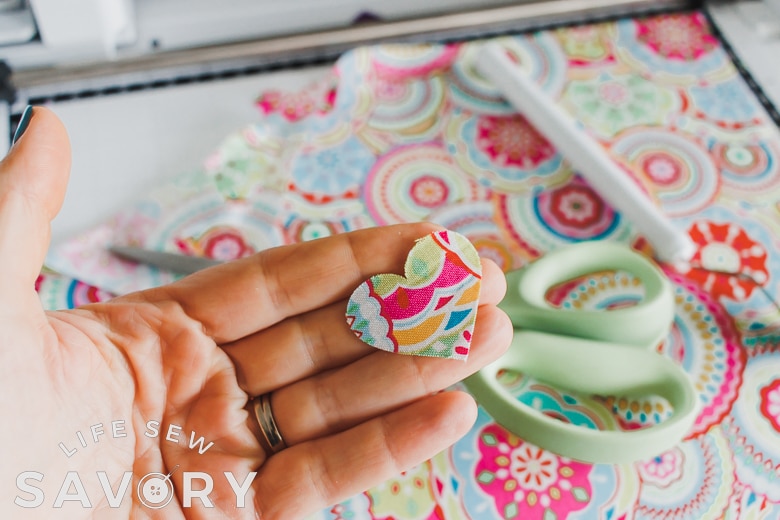
Once I got set up, I was able to cut the 500 hearts in about an hour. This seemed like the whole process went fairly quickly and I’m excited for the week we get to use these hearts this year. I have cut fabric two different ways with my cutting machine and today I will talk about both ways.
Projects to make with cut fabric
- Fabric Gift tags
- Chapstick holder cut file and sewing project
- Pallet Word Art
- What can you cut with a ScanNCut
Set up your machine to cut fabric
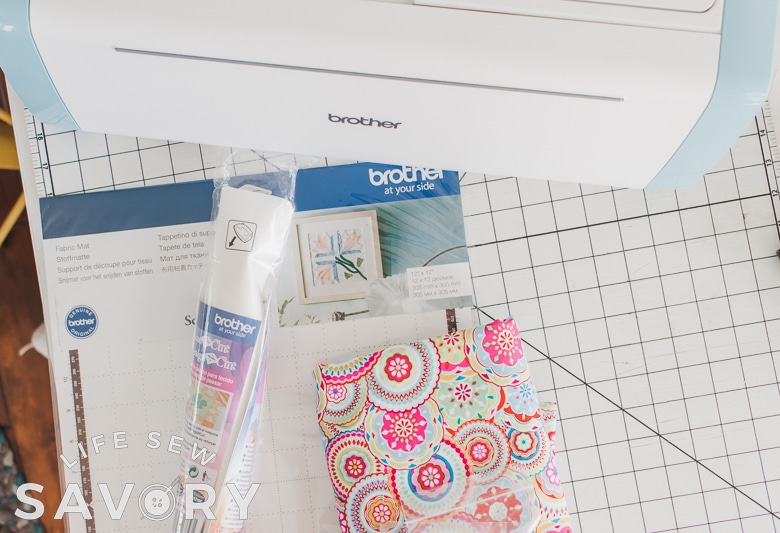
Gather your supplies and then change your auto-blade to a thin fabric blade. Your ScanNCut lid should have storage for the extra blade when you aren’t using it.
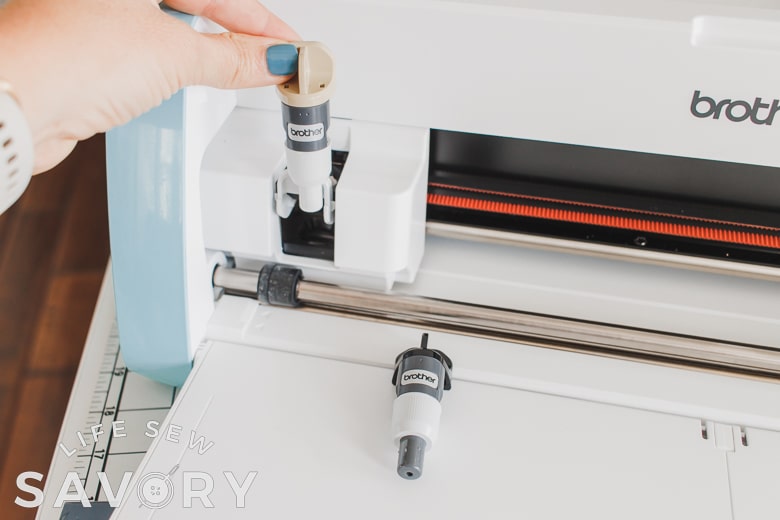
If you have done a lot of cutting with your blade {or you notice it not cutting well} you may need to change the blade. About 400 hearts in, using an old blade, I needed to change mine. The process is super simple and once changed out, my machine cut perfectly once again.
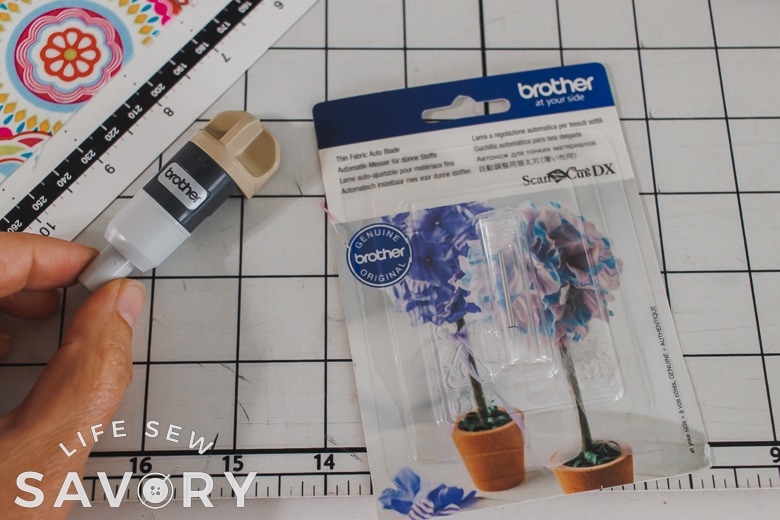
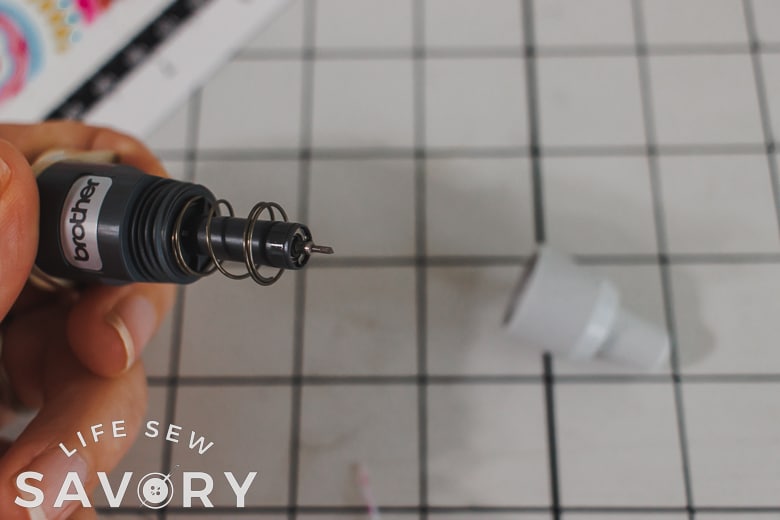
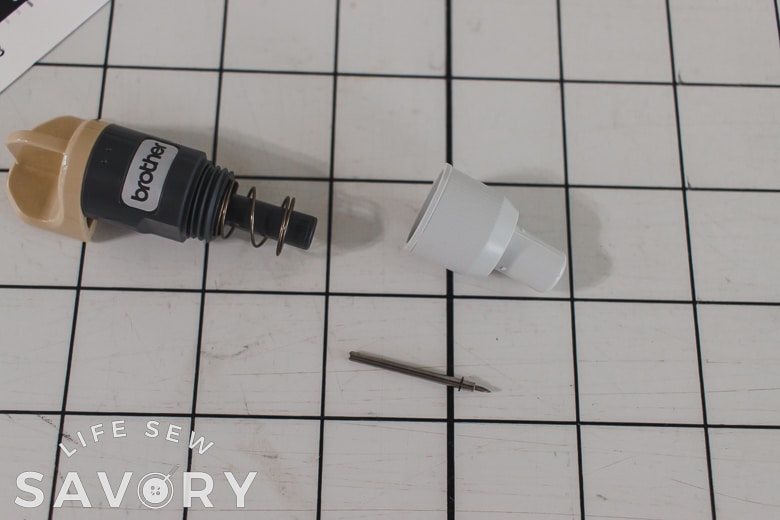
Unscrew the blade cover and then gently tug at the blade. It’s held in by a magnet and will just pull out. Replace with a new blade and then replace the cover. I put the old blade in the plastic sleeve from the new one for disposal. Place back in your machine and you are ready to go.
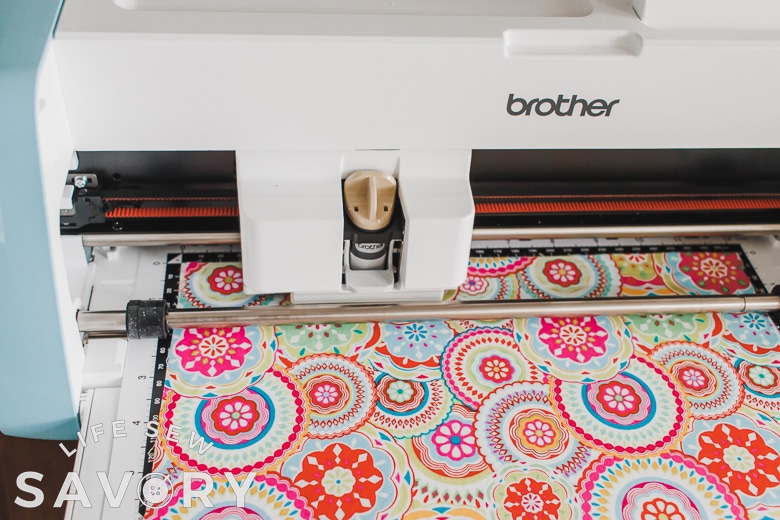
Cutting plain fabric
I originally just started cutting cotton fabric as is on my cutting machine. I created the cute pallet art {linked above} With this method. To cut cotton fabric as is on your ScanNCut you will need:
- Fabric Mat OR
- a Standard Mat with high tack sheet
- Thin Fabric cutting blade
- Cotton Fabric of your choice
Begin by setting one of the built in designs or wirelessly transferring a design from canvas workspace on your computer. These hearts were one of the built in designs. Because all the cutting is auto, you shouldn’t need to adjust the settings. Sometimes I will slow the speed down just a bit, but otherwise I don’t adjust for fabric cutting. A test is always helpful too.
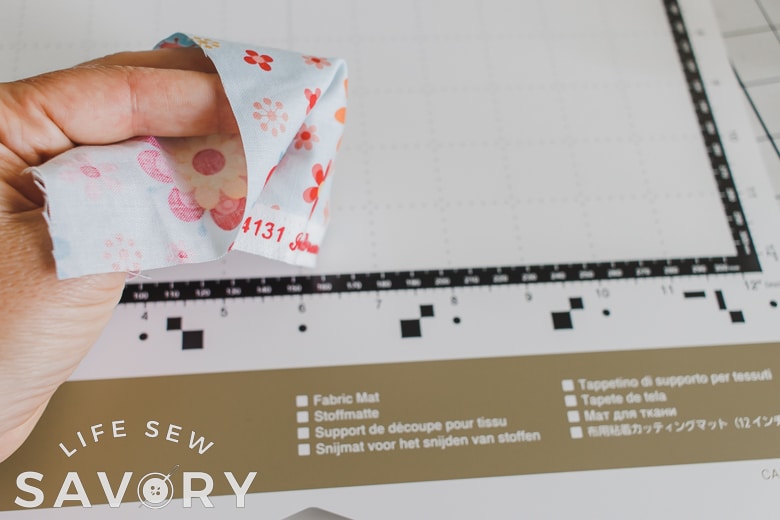
Grab your fabric mat OR standard mat with high tack sheet. Both of these will really grip the fabric and keep it from sliding while cutting. Place the fabric right side up on the fabric in the place where your design will cut. Set the design and then test and start to cut. If the fabric slides you will have to stop, adjust and restart.
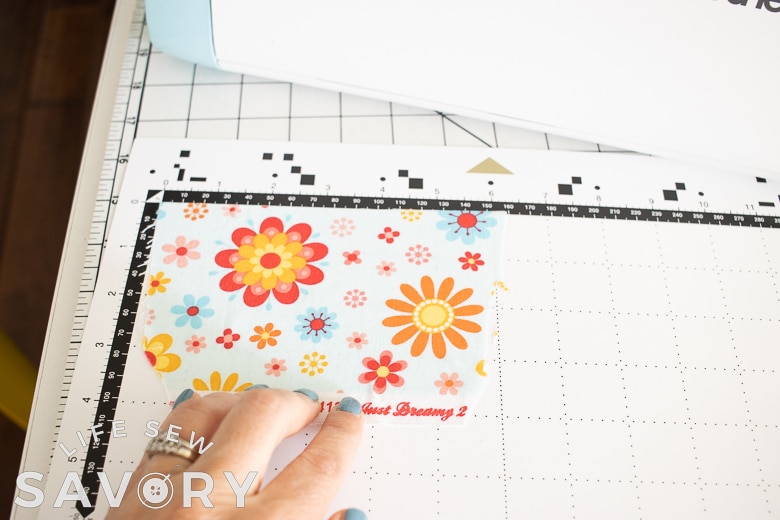
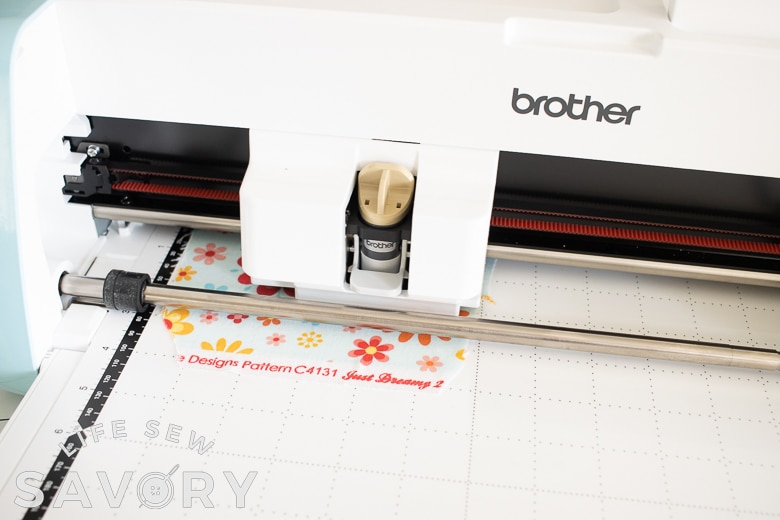
When cutting is finished you can lift the fabric edge to reveal the cut design. Peel all the extra fabric away from your design. You may need the spatula to lift the edge of the cut design.
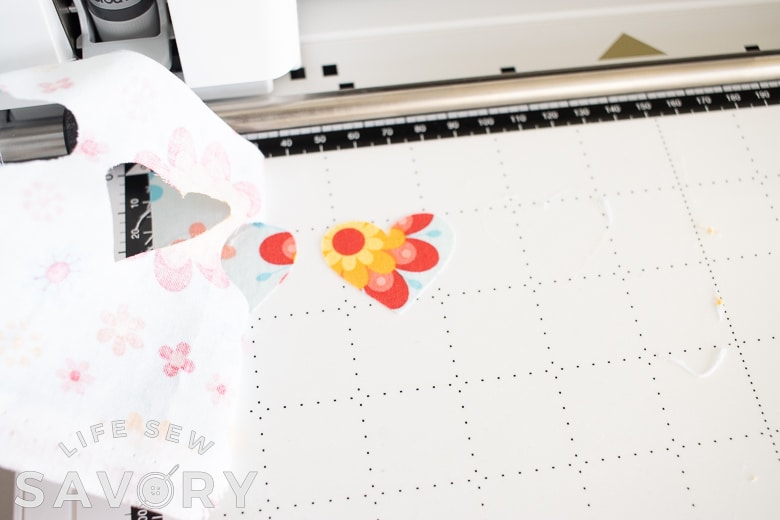
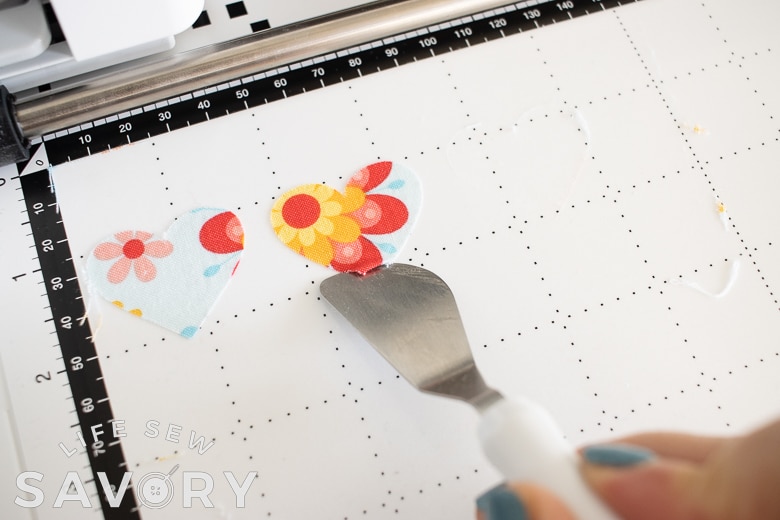
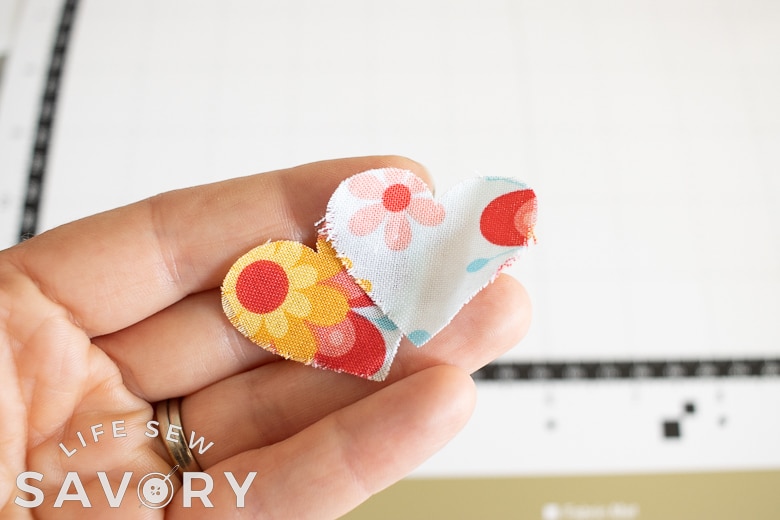
Here is how the fabric is cut. I actually love the slightly frayed edges depending on what I am making.

Cutting fabric with fusible backing
My preferred fabric cutting method is probably the backed fabric method. The cut lines are cleaner and the fabric doesn’t fray after cutting. PLUS the material is double fusible, so after cutting you can fuse your cut fabric to the project before sewing if you are making applique or something like that. Supplies needed for the backed fabric cutting method:
For this method grab your standard mat, fabric blade and applique backing. I find this method easiest for mass cutting, speed and accuracy.
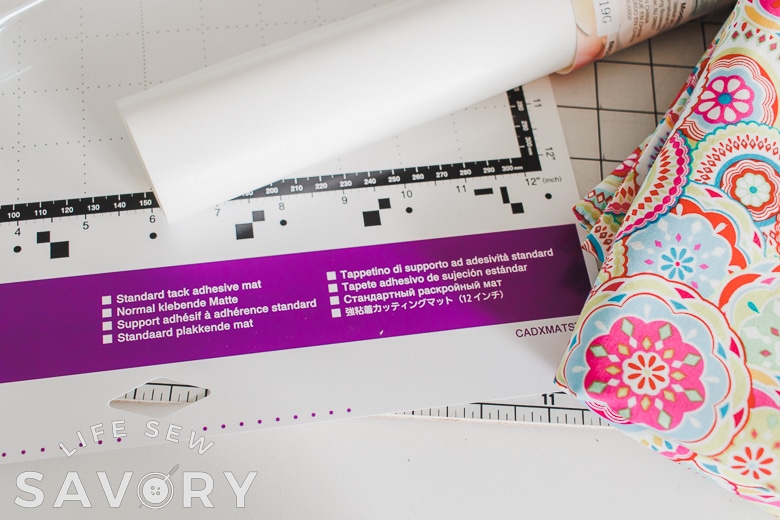
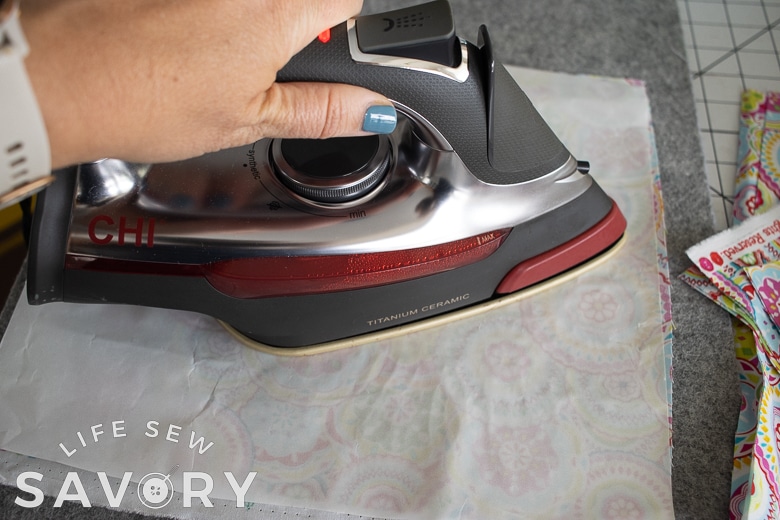
Fuse the applique backing to the wrong side of the fabric. When it’s fully fused and cooled you can peel the paper backing off.
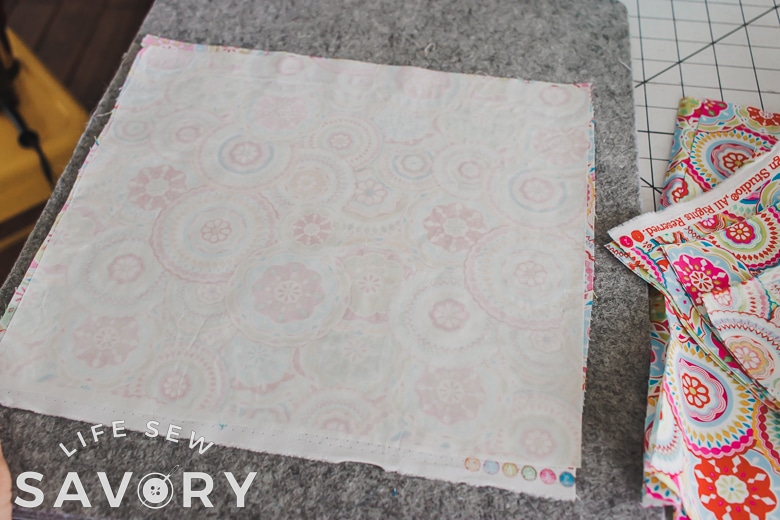
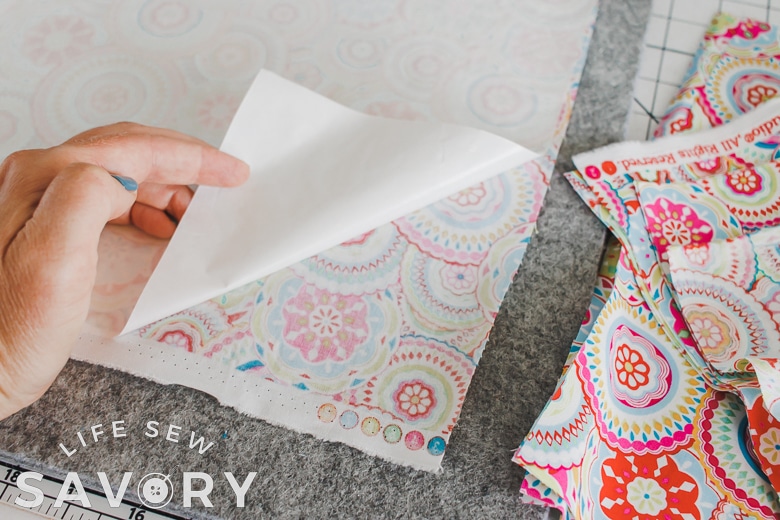
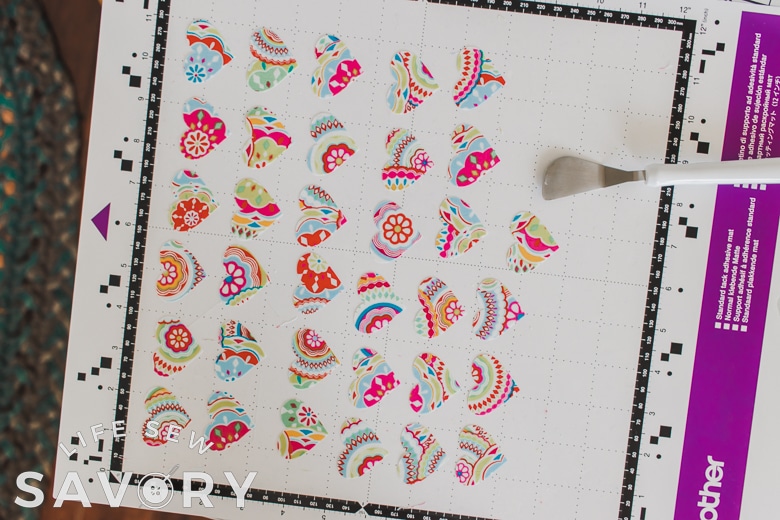
Once again, place the wrong side of the fabric on the mat. The backing you just added will stick nicely to the standard mat. Cut your design as desired.
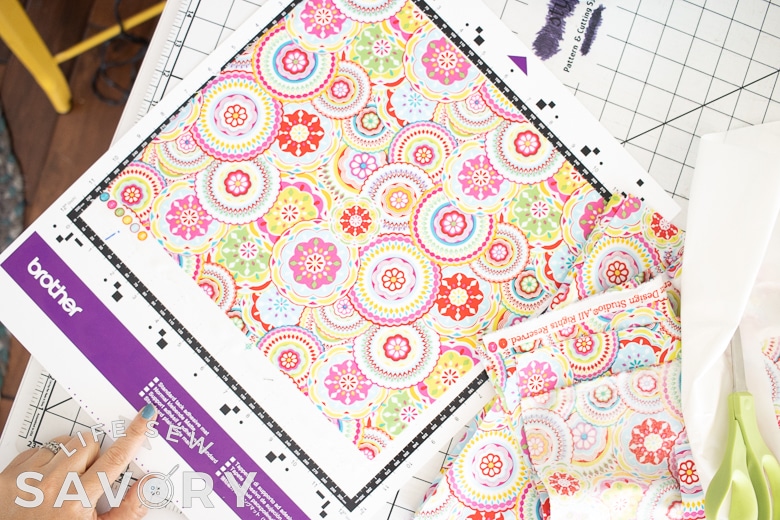

Peel the fabric back to reveal the design. You may be able to just peel the fabric, or use a spatula.
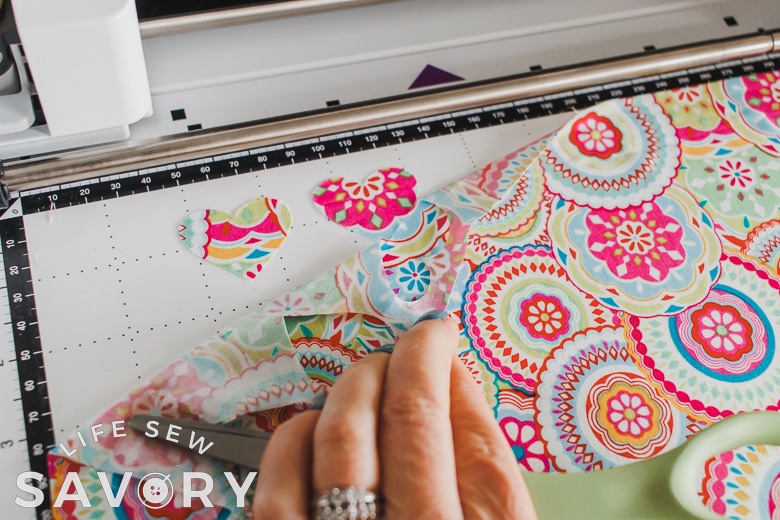
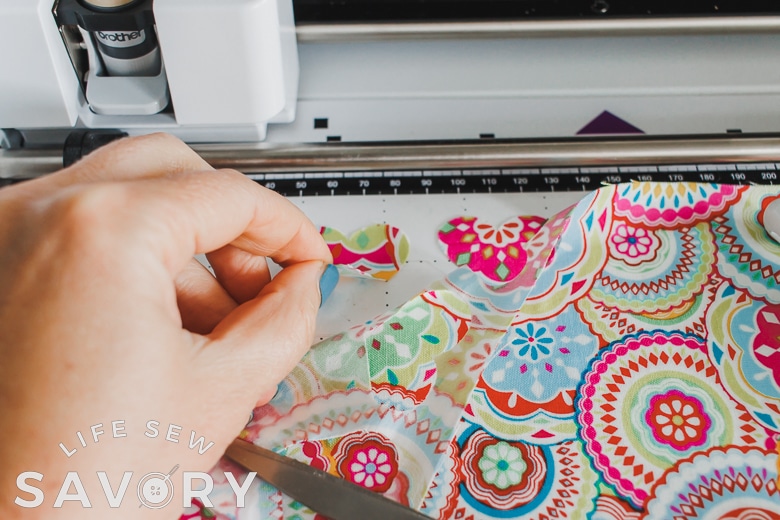
The cut lines are a bit cleaner and it’s super easy to cut a full sheet of your project. After I got it arranged I was able to cut 46 hearts on each sheet.


Let me know if you have any questions about cutting fabric on your Brother ScanNCut.



JP says
Is a lightweight cotton the only kind of fabric you’ll cut with your scan’n’cut? Or could I try something like a slightly heavier cotton canvas? Just got my machine and don’t want to break it so I’d love to know any limits you know!