inside: learn how to make a bishop sleeve pattern from a fitted t-shirt sleeve. Draft a wide bottom bishop sleeve with this simple tutorial and sew a beautiful shirt.
When I was sewing Rose’s Christmas dress last Christmas I wanted a t-shirt, but with a bit more fancy flare. I took my girls fitted long sleeve tee and added Bishop sleeves to get exactly the look I wanted. You can see the full outfit Rose wore this with in my Christmas dress post. Here, I’m going to show you how to take a fitted t-shirt pattern and make a full, beautiful Bishop sleeve with the pattern.
How to make a Bishop Sleeve top
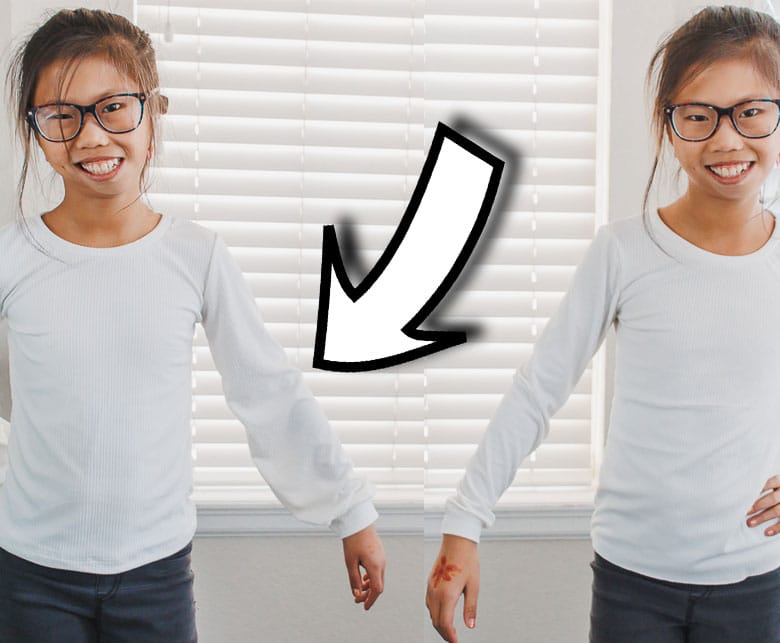
There is a video in this post that will walk you through the Bishop sleeve drafting, and below I have the step by step photos. Use whichever helps you best. I’ve also got a section in this post that has free sewing patterns that you could use for this sleeve hack as well. I used the fitted tee as the base for this top.


Here’s a comparison between the regular fitted sleeve that this pattern comes with and then the more full Bishop sleeve you can create with this sewing tutorial. I love them both, but the Bishop sleeve is beautiful for a more dressy look.
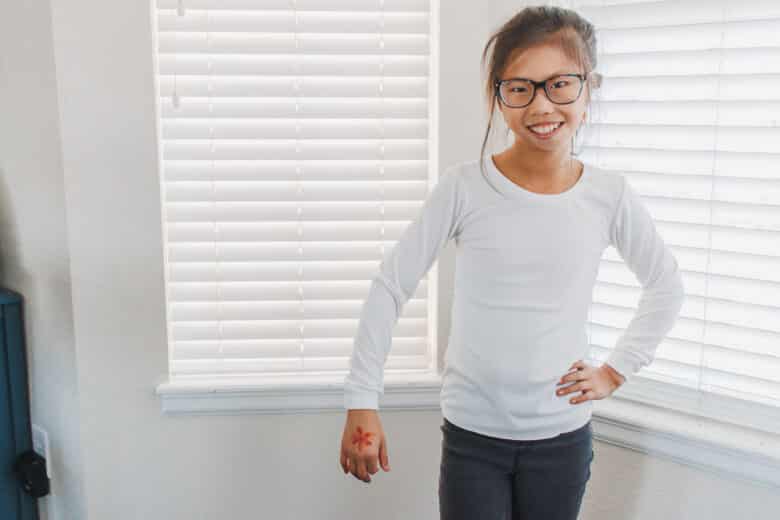

You can create Bishop sleeves that are SUPER full, and I would say mine are more on the mid-full end, but just enough to dress up the shirt.

Free shirt patterns to use


Draft a Bishop sleeve from a t-shirt pattern
Ok! let’s jump into the how-to of this sleeve hack. Here’s what you will need:
- T-shirt pattern with long sleeves. {my girls free shirt}
- 1-1.5 yards knit fabric. Mine was a lovely soft rib knit I found at hobby lobby. Nothing too stiff or the arms won’t flow.
- Tissue paper for spreading and tracing.
Start by tracing the original sleeve pattern onto tissue paper. Find the center of the sleeve and draw a line down the center.
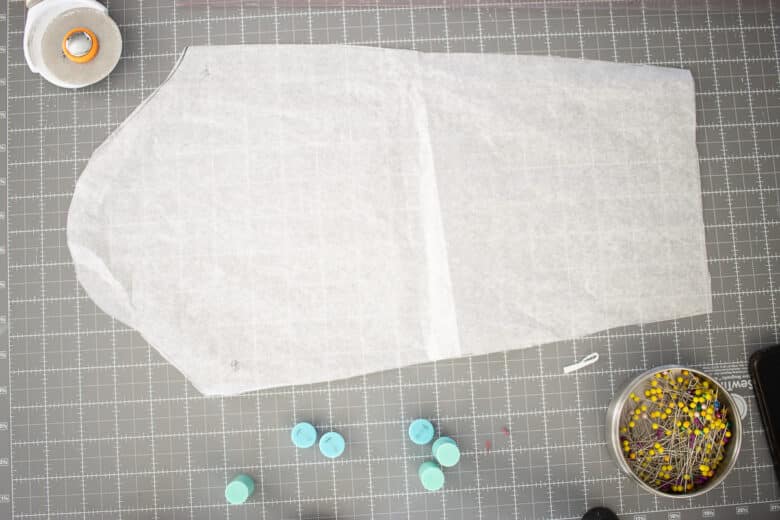
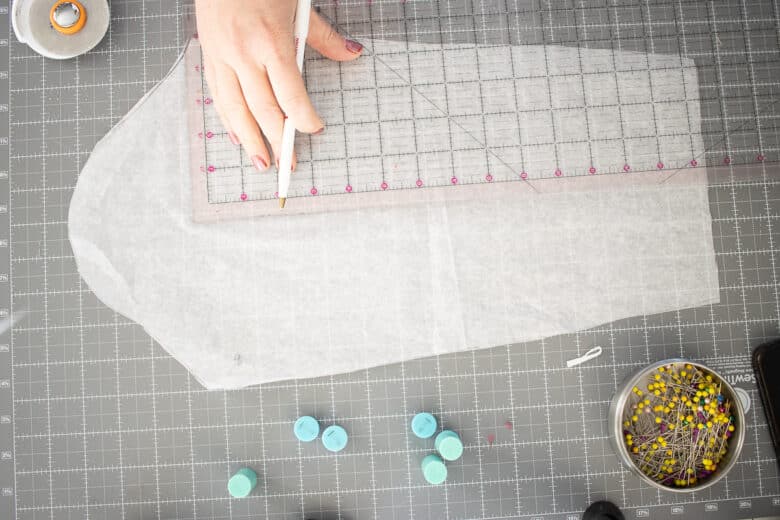
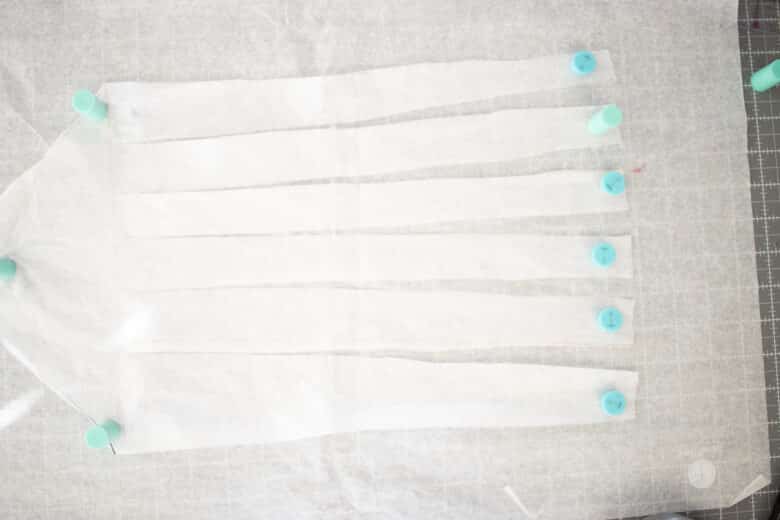
Continue drawing lines out from the center. The lines should be about every inch. Draw a perpendicular line at the bottom of the shoulder curve. Cut all the lines up to the intersecting line. You can cut all the way up to the top of the shoulder curve – this will result in a fuller sleeve.
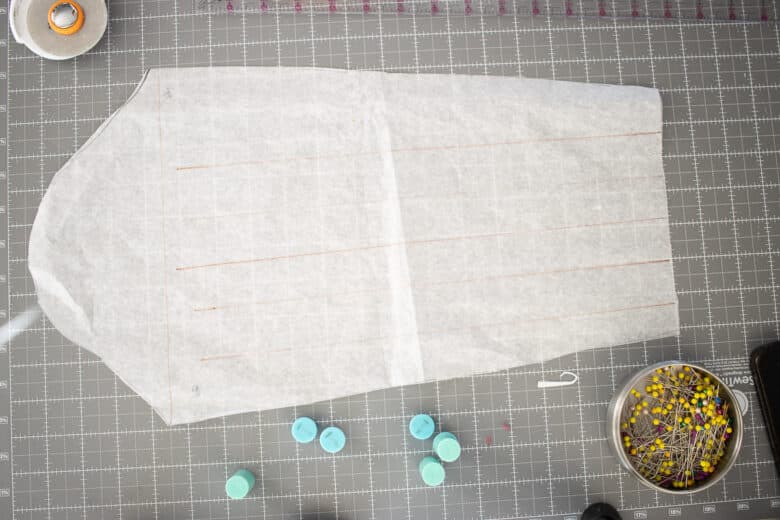
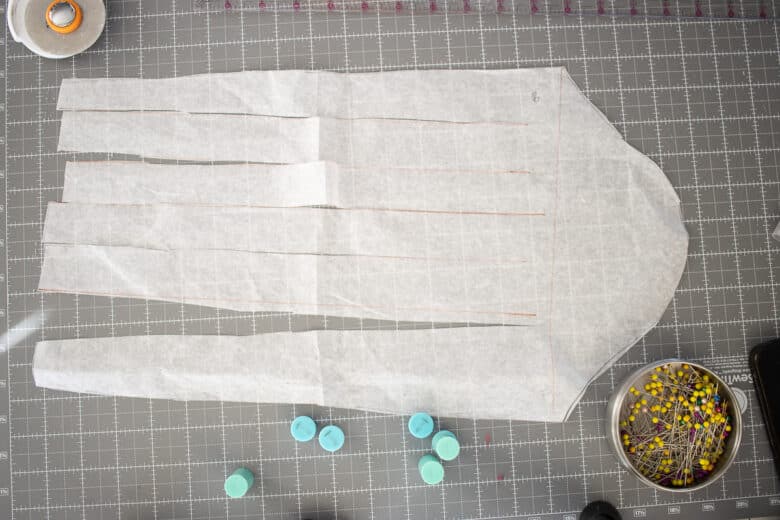
When you have the lines all cut, place this cut piece on a another piece of tissue paper. Use weights or pins or magnets to hold the paper in place while you spread the cuts. I spread the center cuts 1″ apart and keep it in the middle, then spread the other cuts out to the sides.
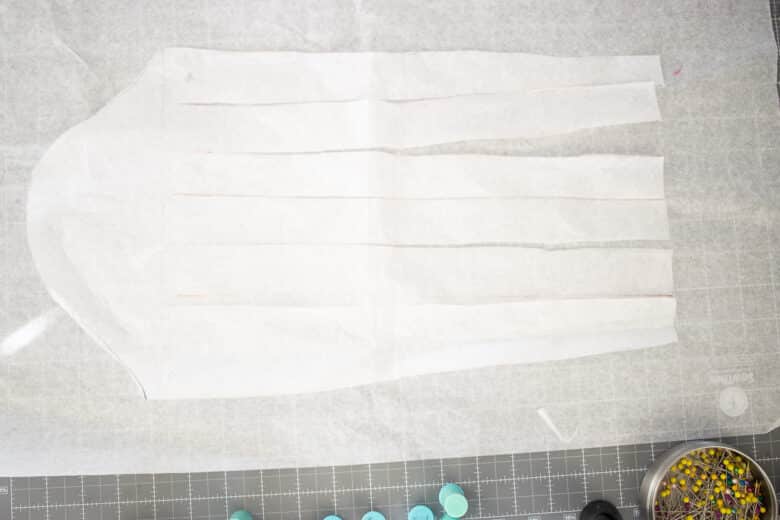
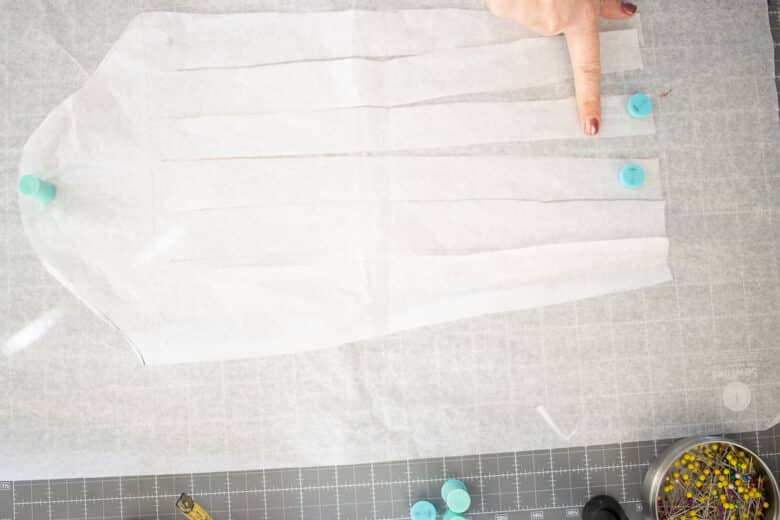
When you have them all spread out, you can trace the new sleeve shape. Mark the front and back if needed.
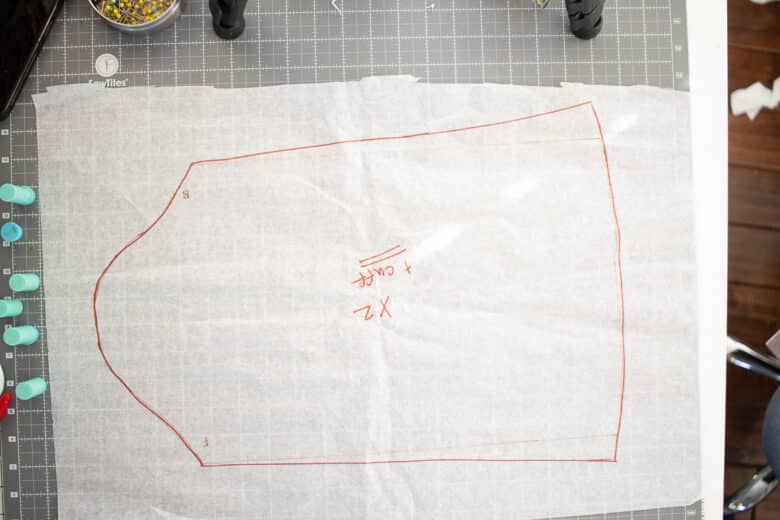
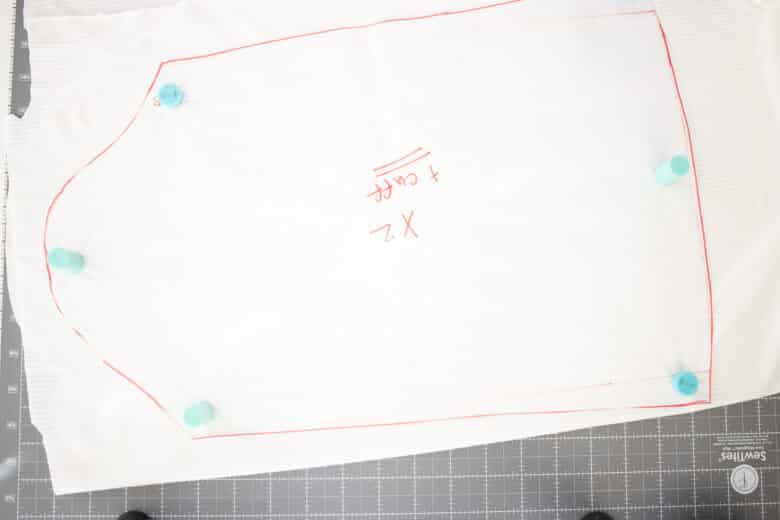
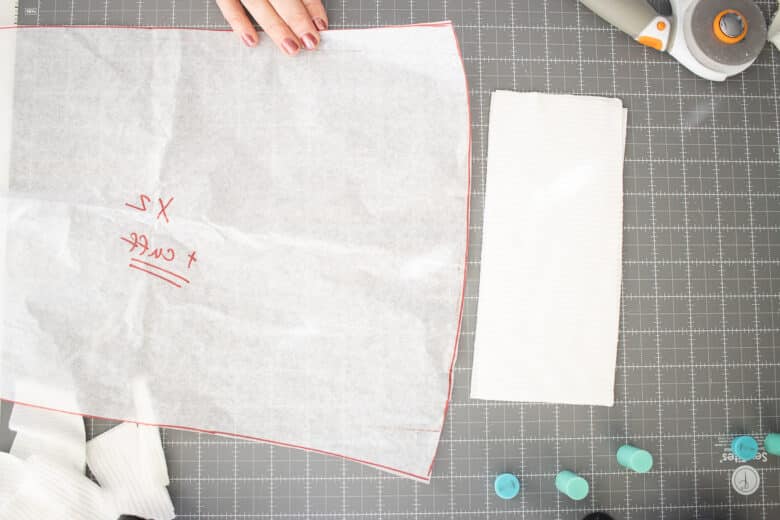
Cut two of the sleeve from fabric. I cut cuffs as well to finish the end of the sleeves. My cuffs are 4″ tall and 9″ wide. The fabric stretch should go the long way. You want the cuffs to be able to stretch all the way along the edge of the sleeve, but you also want it tight on your wrist.
Check out the full t-shirt tutorial for sewing this shirt, but here is the quick version. Sew one shoulder seam, then sew the neckline. Need help with your neck bands? Here’s my perfect neckband tutorial.
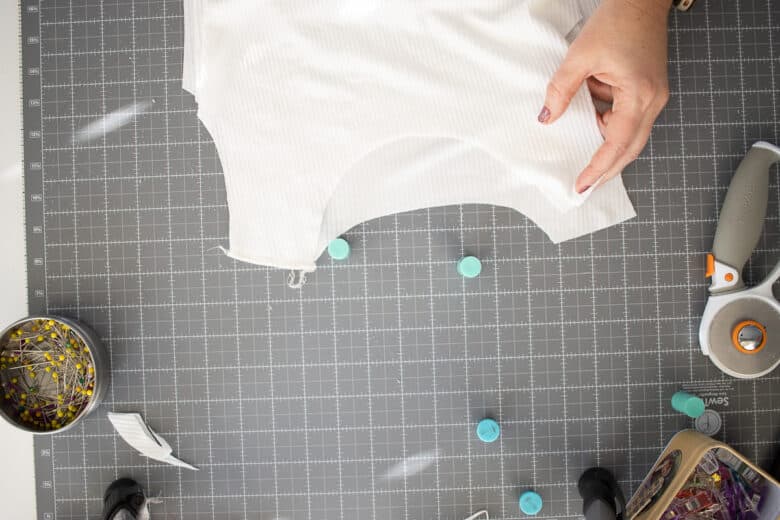
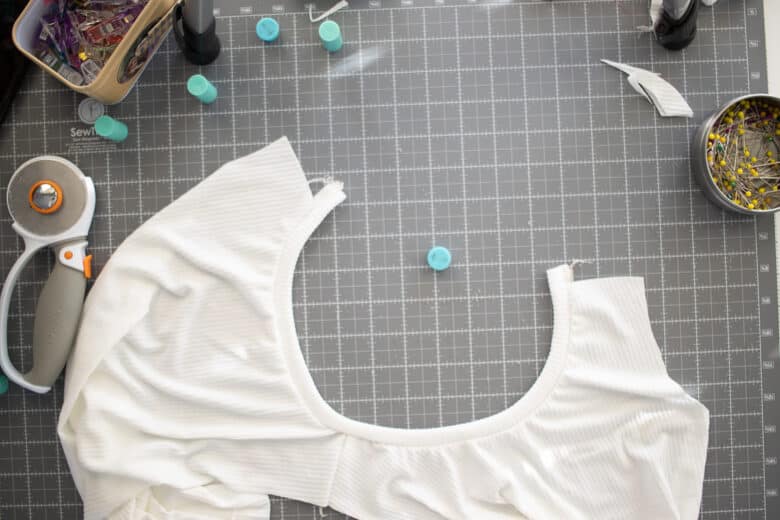
Sew the second shoulder seam, then sew one sleeve into the shoulder. Repeat with the other sleeve.
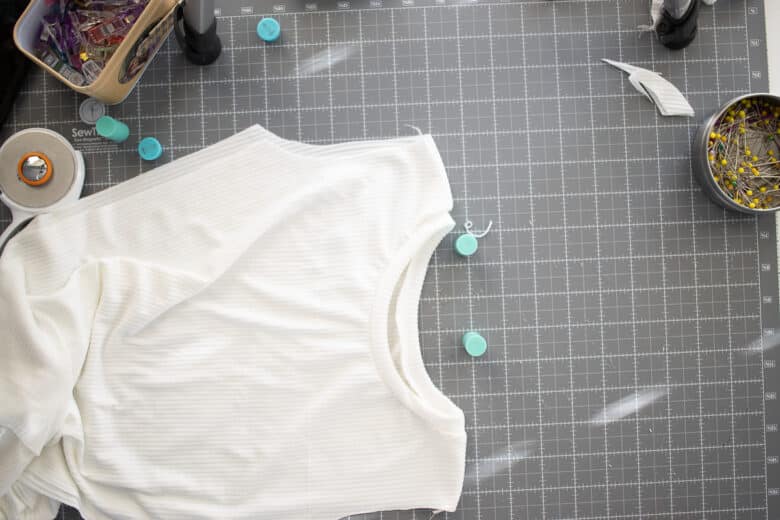
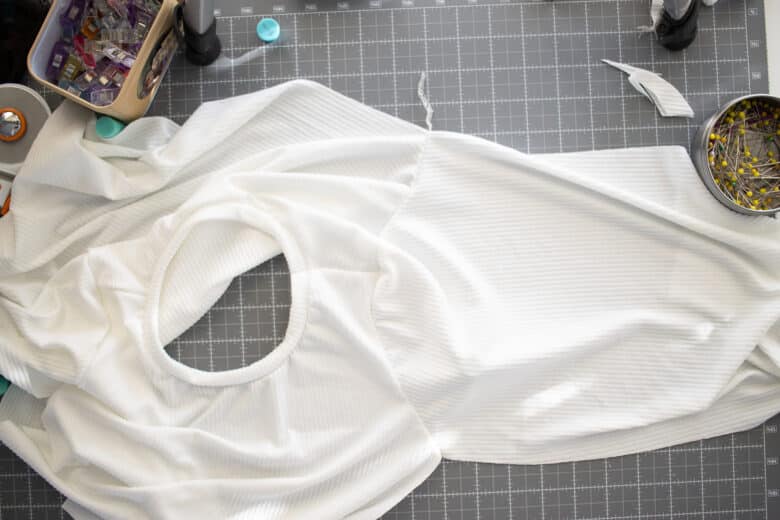
Stretch and sew cuffs to the end of the sleeve. With right sides together, sew the side seams from the cuff edge to the bottom of the shirt.
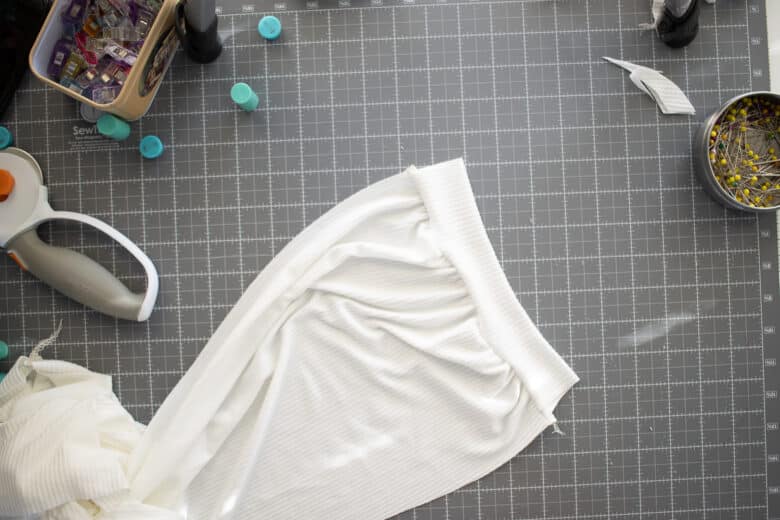
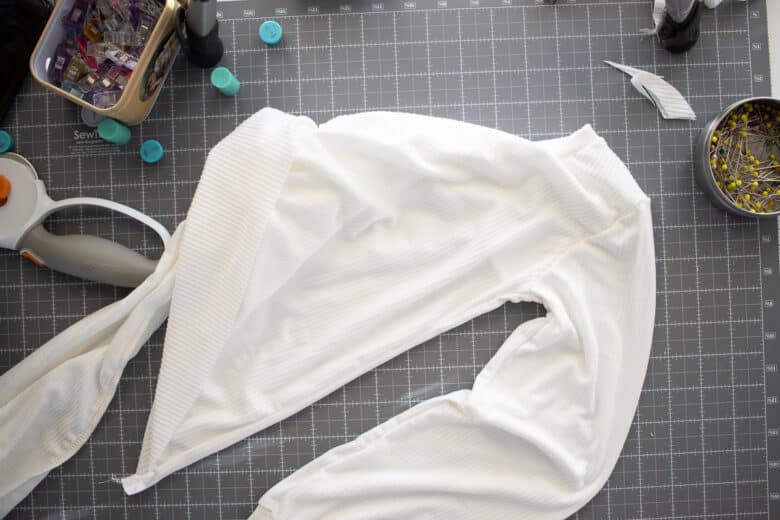
Here’s a comparison of the fitted sleeve and the bishop sleeve hack. Hem the bottom of the shirt with a 1/2″ hem. Use a stretch stitch or coverstitch. Need help hemming knits? here’s my post with all the options.
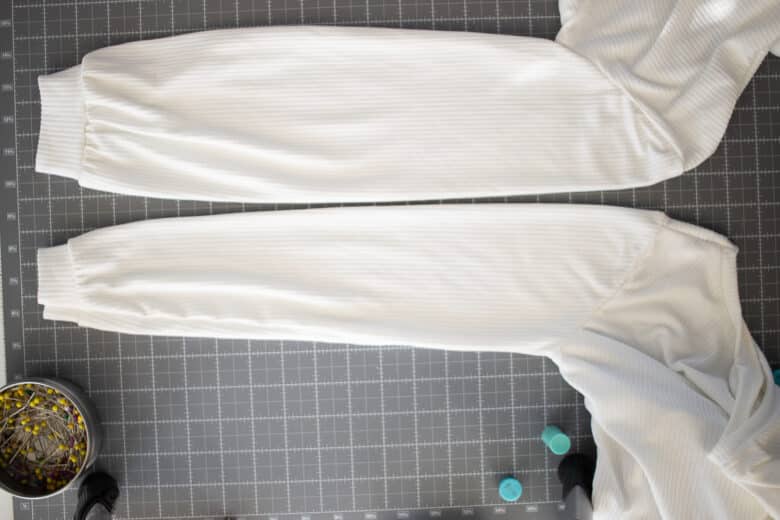
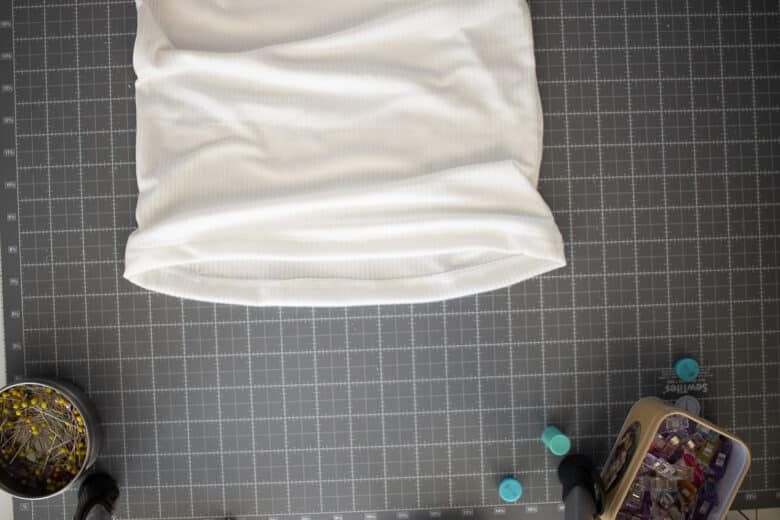
That’s it! I love the result and it worked perfectly with Rose’s Christmas dress and she also keeps wearing it with jeans. It looks adorable both ways.


Leave a Reply