inside: learn how to make wood signs with vinyl lettering for a gorgeous farmhouse style home decor. Easy DIY tutorial with free svg file
I’ve been wanted to spruce up our family room for a few months and I finally worked on a few things. I’m sharing a DIY tutorial today to show you how to make wood signs with vinyl lettering as these signs were central to my project. You can make vinyl lettering on wood signs with any text you want for gorgeous custom wall art.
I first shared some photos of our family room when we first moved in and these DIY curtains. The room has come a long way since those photos and I’ve made custom bookcases by the fireplace, loads of throw pillows and how my framed scripture art. I will be sharing a fun throw pillow tutorial next week and more photos of the room.
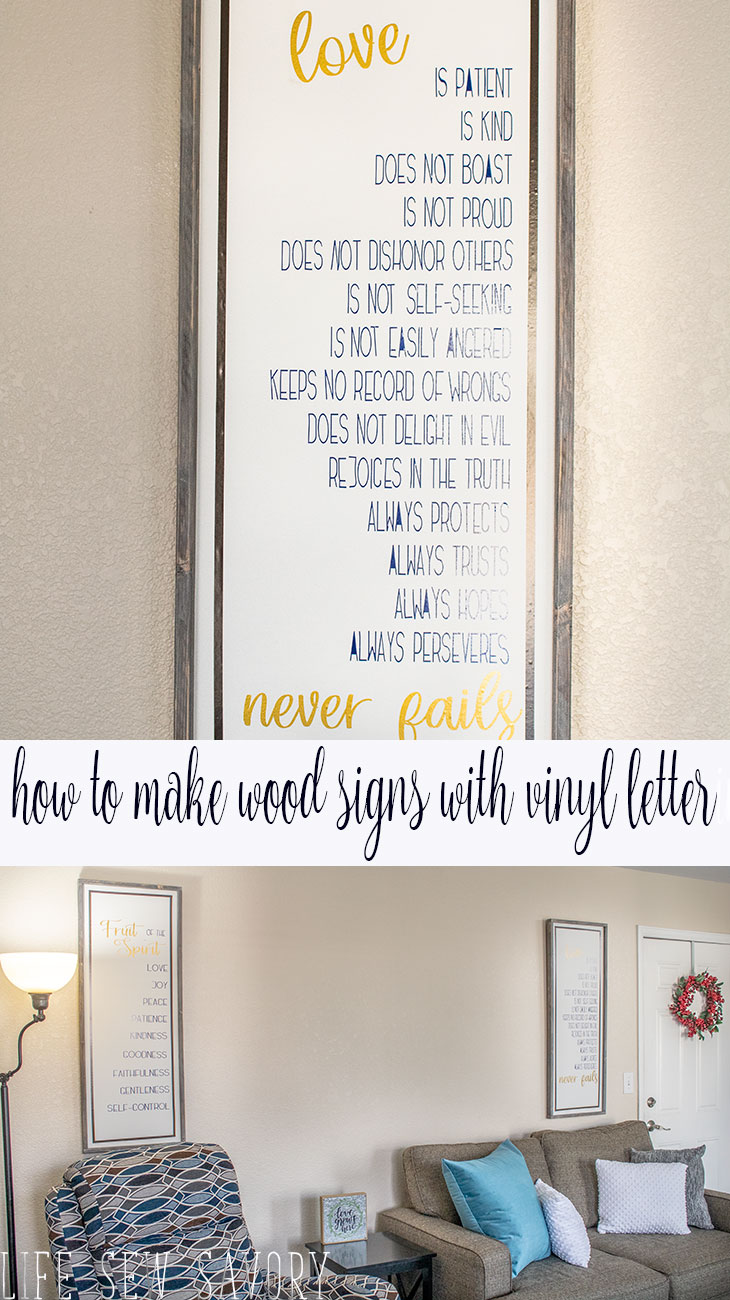
how to make wood signs with vinyl lettering tutorial-
We had some other art hanging in in our family room. Pictures we had brought with us from Hong Kong.. and they were ok… but not what I really envisioned for the room. I have a bit of a decor challenge on this big white wall as the middle part has to be left open… The opposite wall has a big window and sliding patio door. And the big open space in the middle is where we shine our projector.
Side story here.. {skip ahead if you only want to find out how to make wood signs with vinyl letters} When we were moving from Hong Kong my husband wanted to get a huge tv. Our small apartment just didn’t have the space. I wasn’t so excited. When I hear big tv, I just think how can I hide it! {haha} total personal preference but I just don’t love a room with a huge tv staring at me.
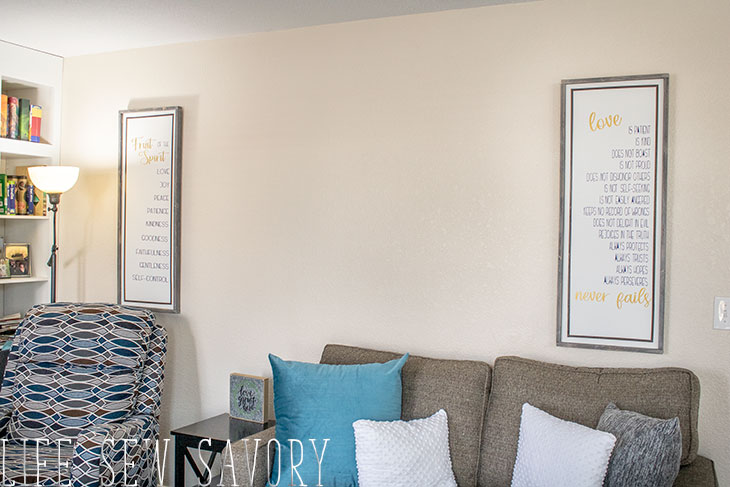
Right before we moved we went to a friends house and they didn’t have a tv, they had a projector and the image was HUGE. Like whole wall huge. My husband and I knew right then this was our compromise. Huge picture for him and when you turn it off – tv gone for me. So that space between the photos is where we watch tv. If you are interested in trying this system here is our setup
– Projector – We made sure to buy one bright enough to watch during daylight hours
–Roku – for streaming hulu, Netlflix and hundreds of other apps {haha}
–HDMI splitter to hook it all up
–Digital Antenna for watching tv
–Tv digital converter box – this pairs with the antenna stream tv through your project
We also have a cheap dvd player hooked up to watch our dvds
OK! Enough about all that! let’s make some vinyl wall art!
Vinyl Wall Art –
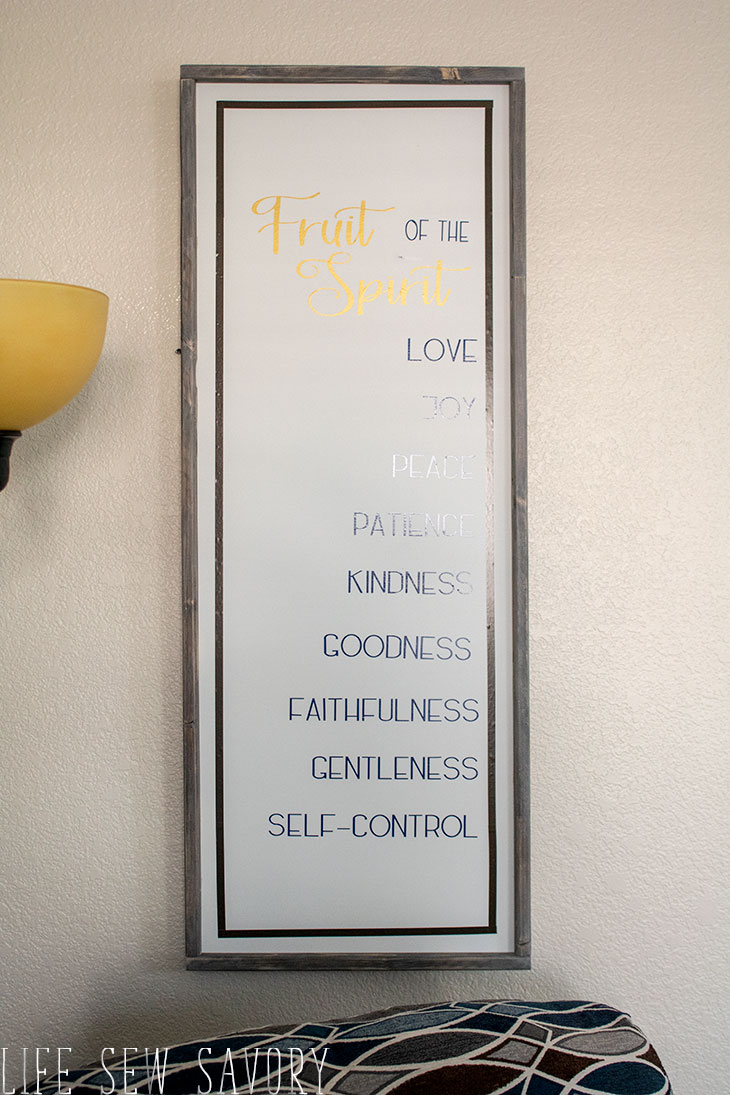
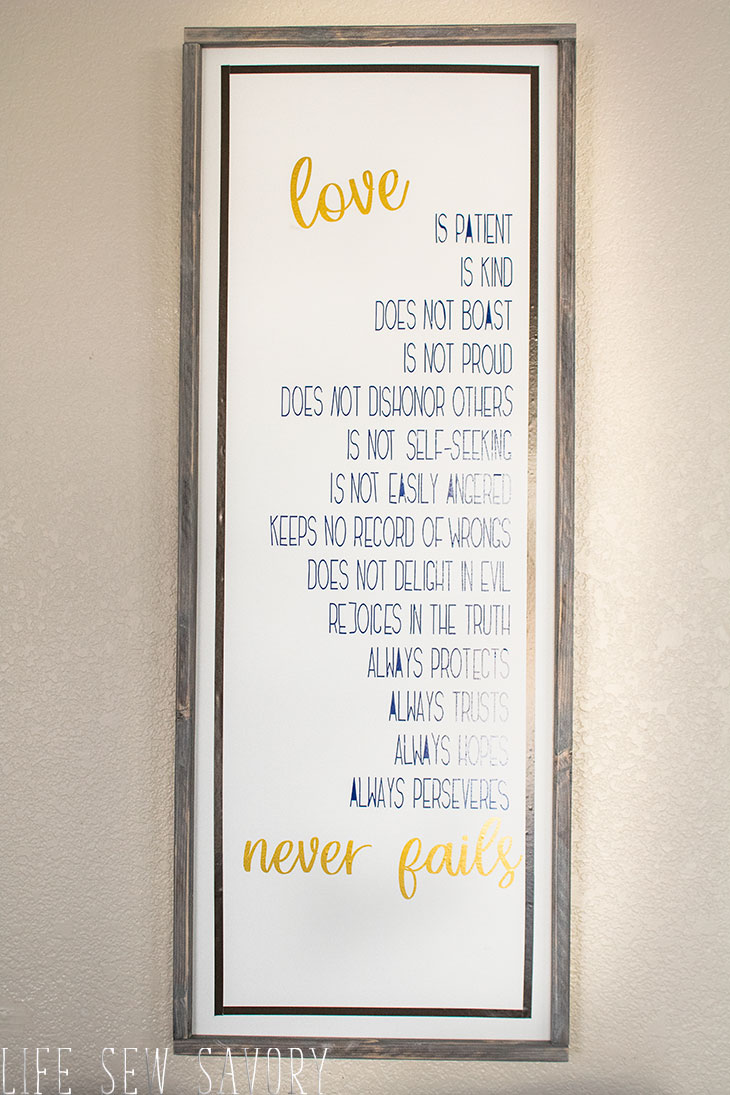
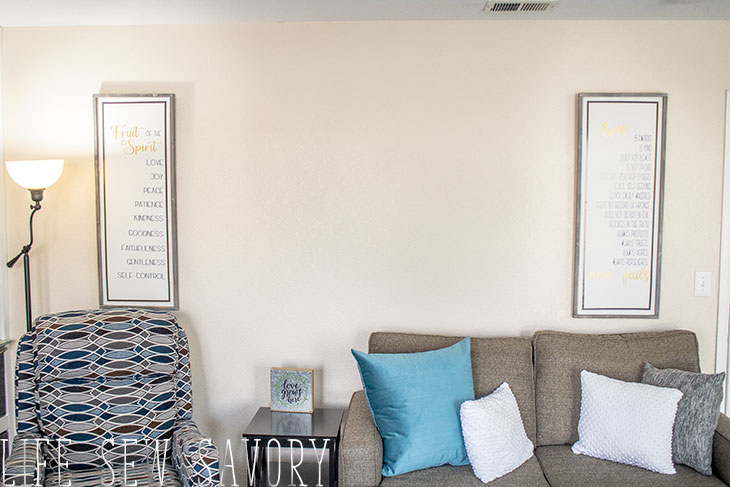
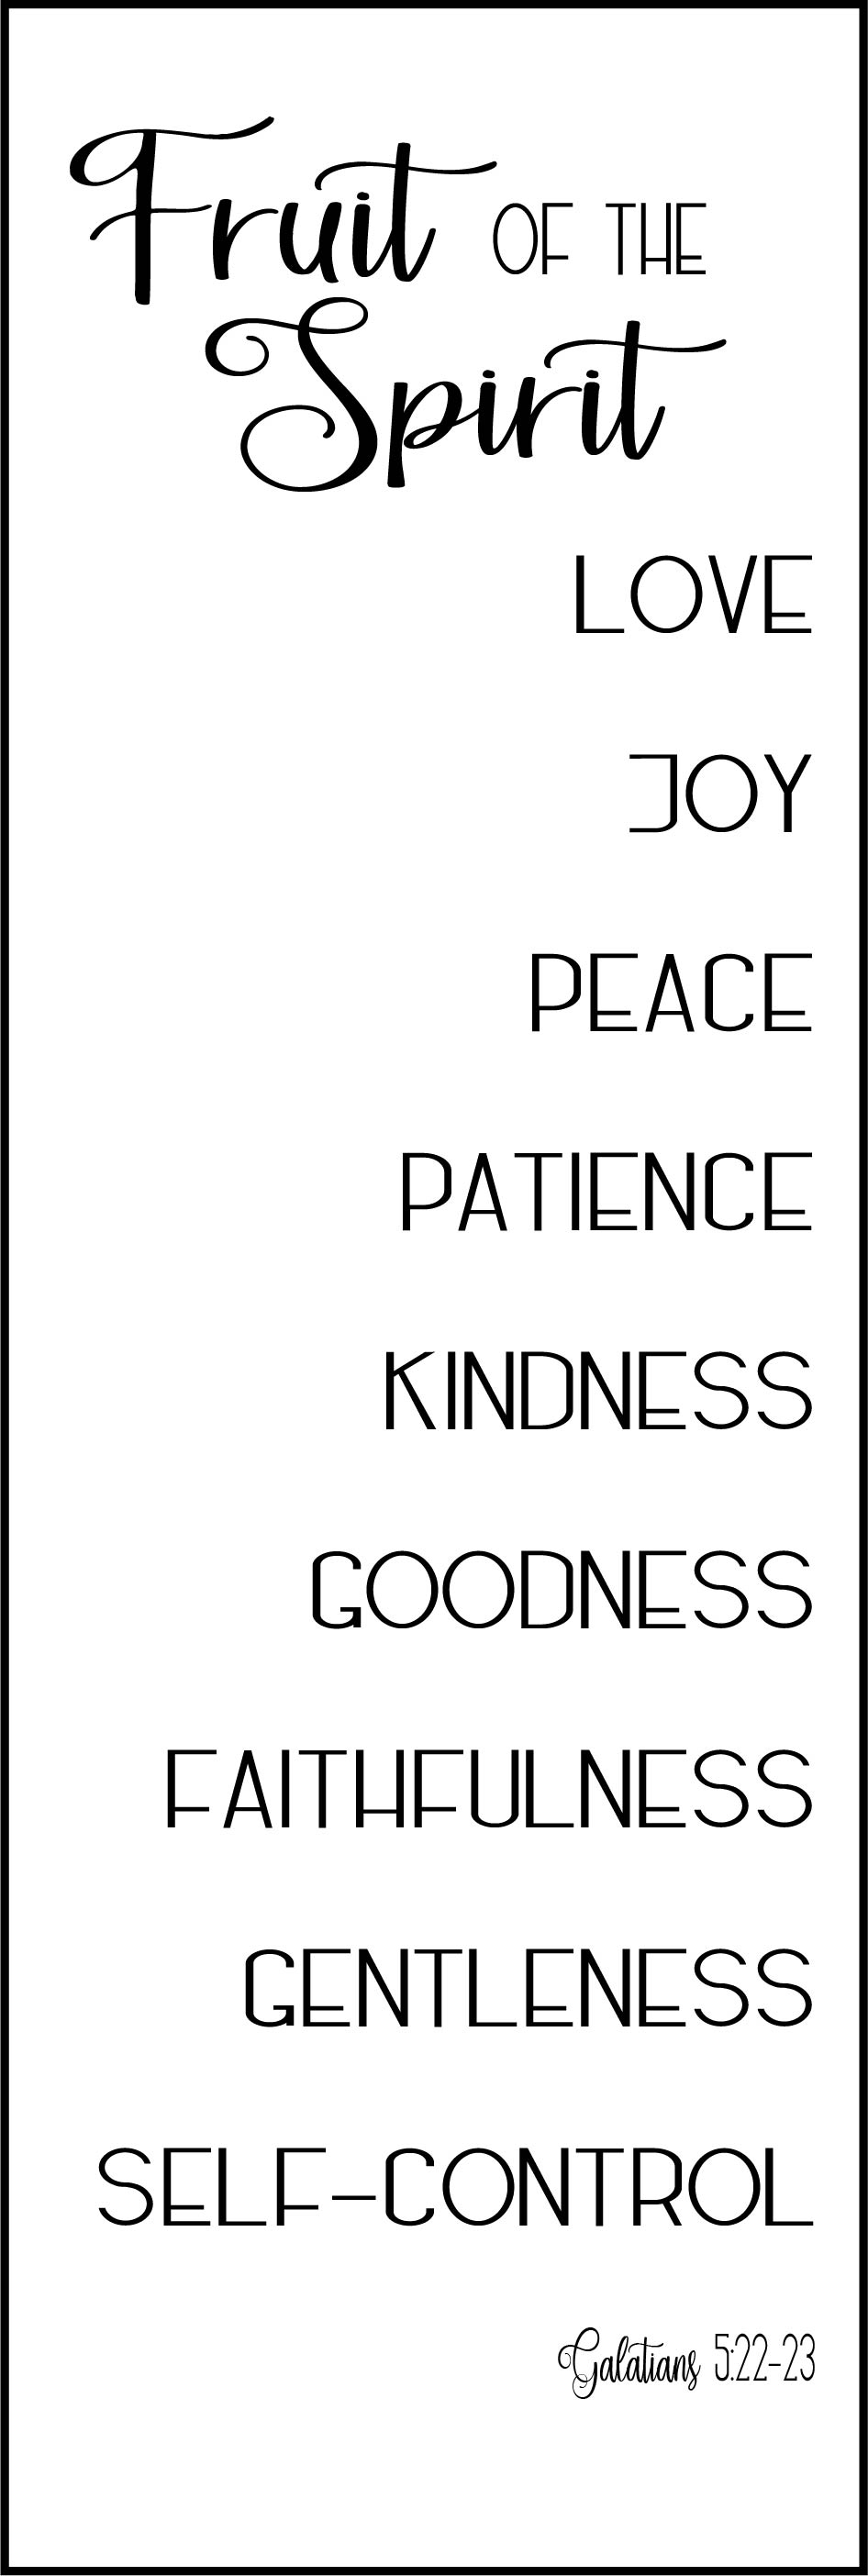
Here are my two finished signs! And while I am sharing the free svg and pdf files for these prints below, this tutorial is about creating custom wall art that fits YOUR home… This is what I wanted, but if you want to make something different I hope this tutorial can inspire to create your own vinyl lettering on wood signs.
I started with my supplies – vinyl {blue, green, gold} transfer tape, and two gorgeous wood signs.
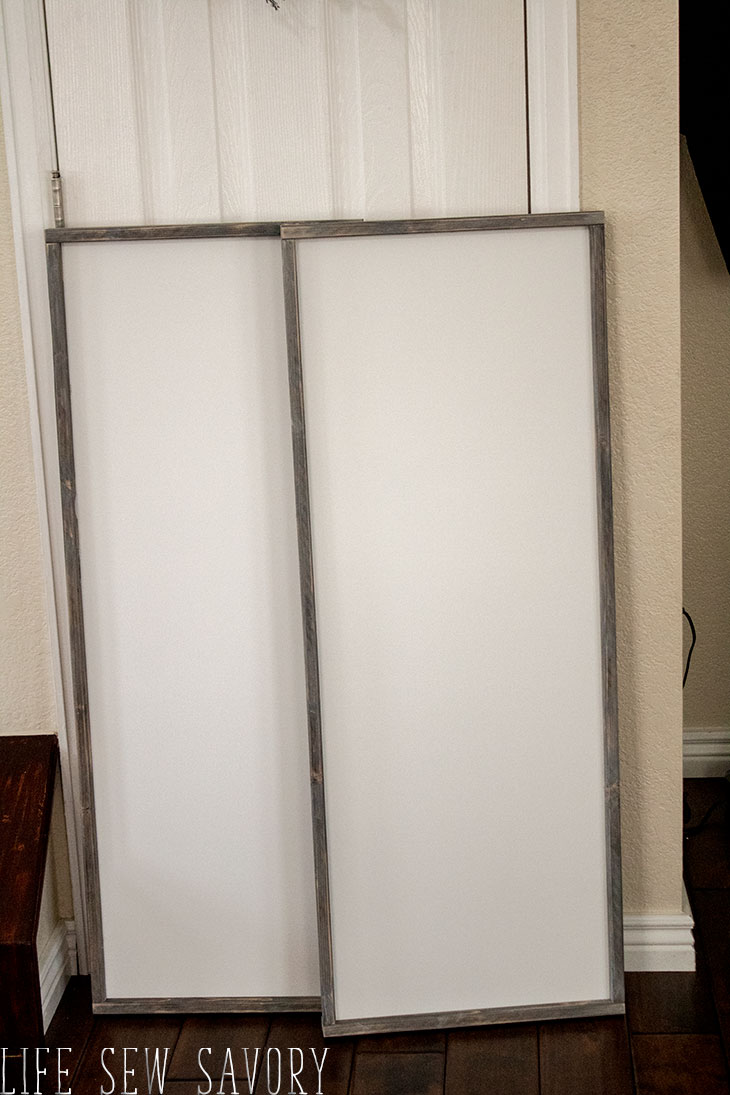
I could have made the farmhouse style frames, but that just isn’t my thing, so I went ahead and ordered the pair from Etsy. I got to pick my frame color and size and I LOVE how they turned out. I would totally recommend the seller and I bought mine HERE.
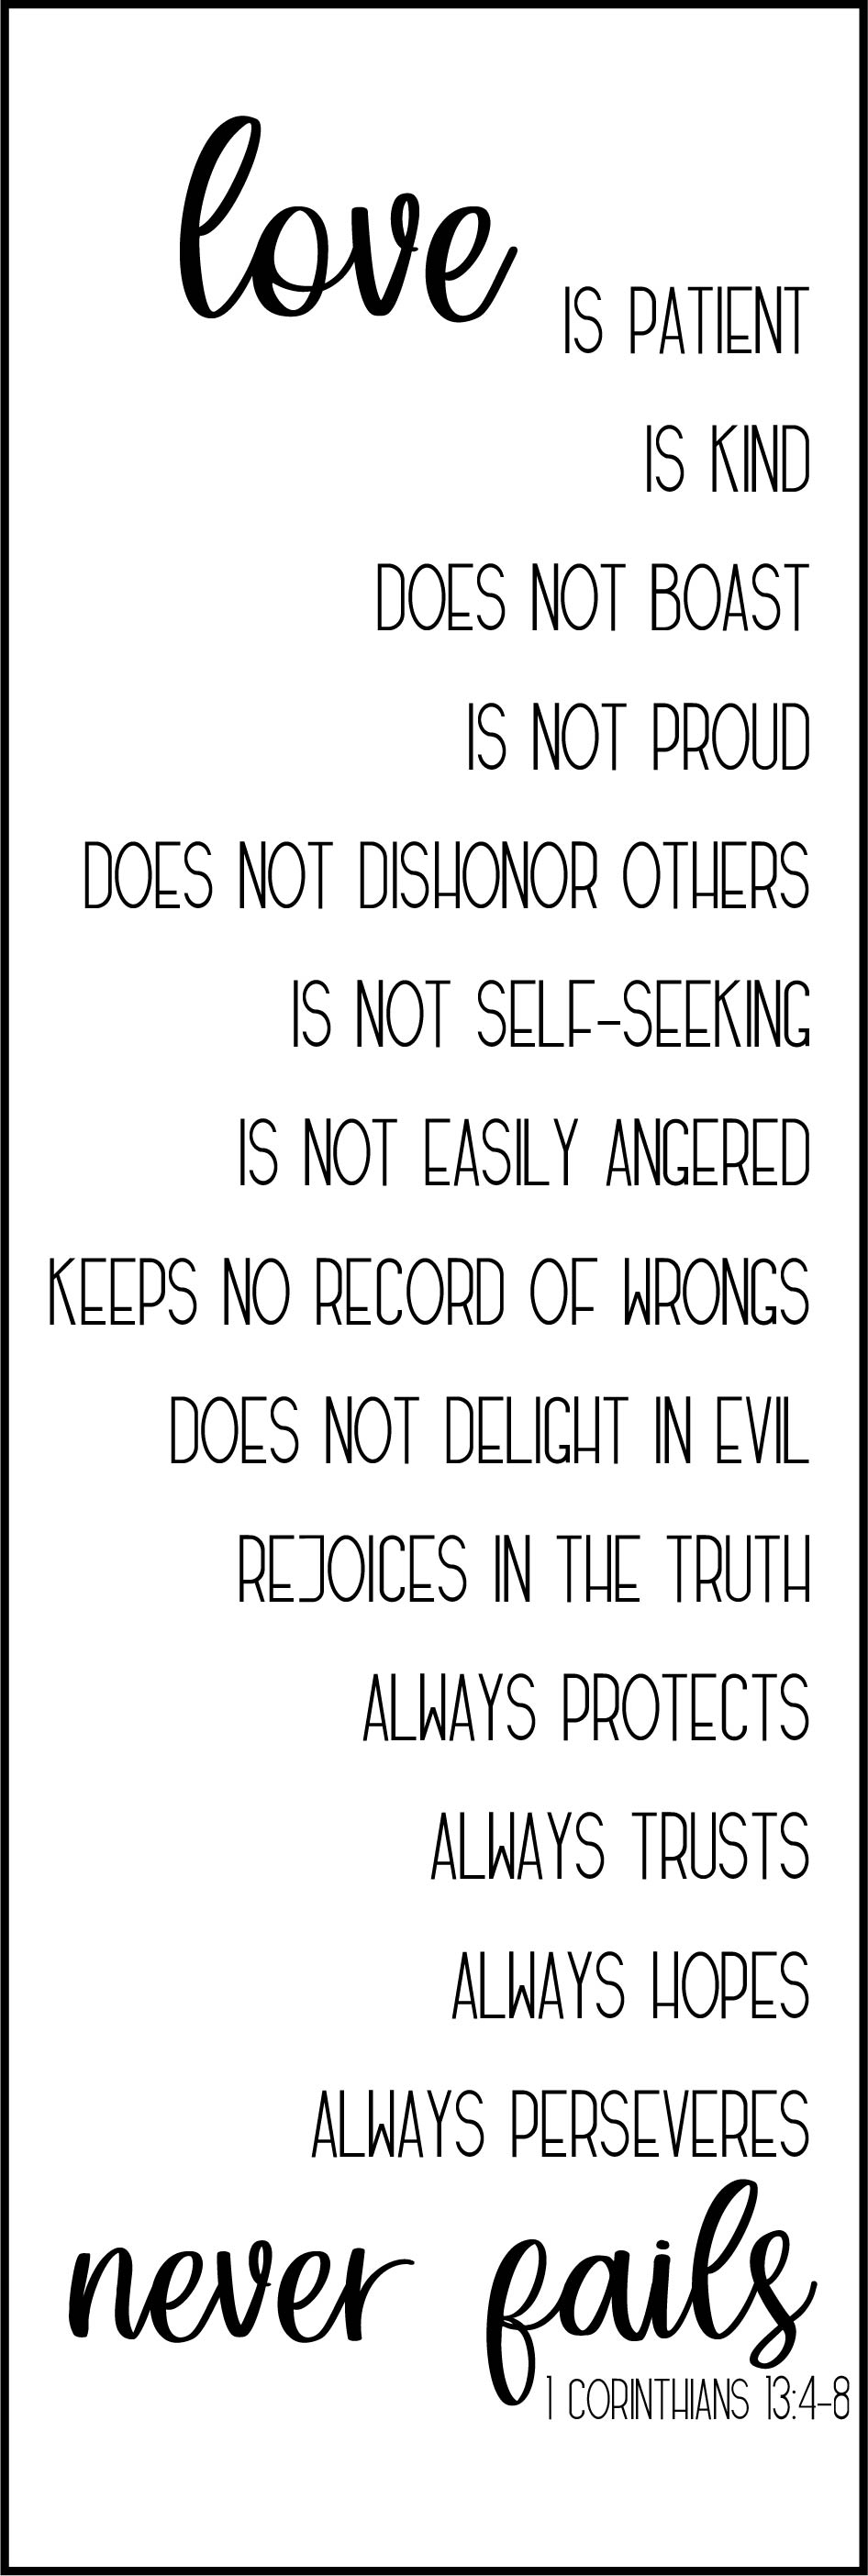
Here are my cut file.. they look like the photos below. The ZIP FOLDER HERE contains both pdf and svg files for both pictures. For personal use only and please credit back to me… have fun!!!
So no matter what vinyl letters you want to put on your signs, here is how I did it.
vinyl lettering on wood signs-
I use a Brother Scan N Cut with roll feeder to create my signs, but you can use any craft cutter. It is easier if you can cut long rolls, but it is possible to break up and cut on a smaller mat if that’s how your machine works. Import my svg file or any other text you want to put on your sign. Transfer your file to your machine.
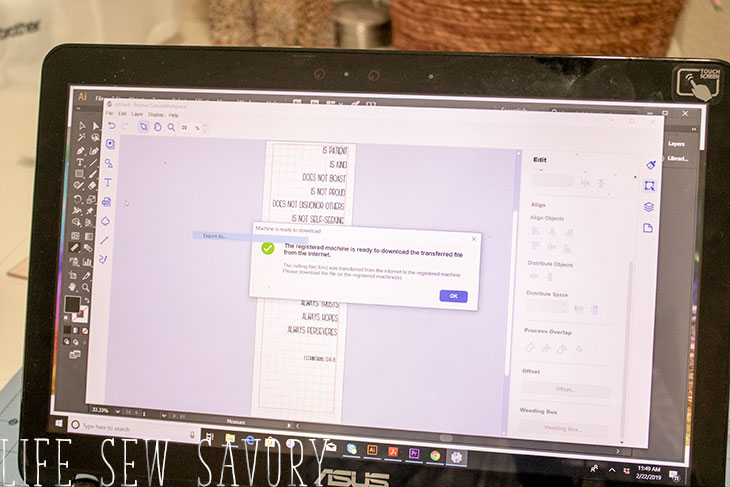
I also created long-thing strips of vinyl to make a frame around the text. I could have hand cut this as it was just straight lines, but it was super easy cutting it on the Scan n Cut.
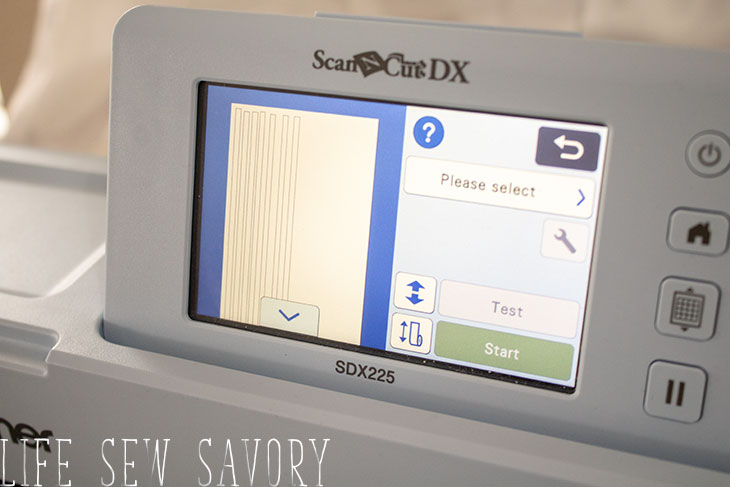
I used both my mat for cutting the gold lettering..
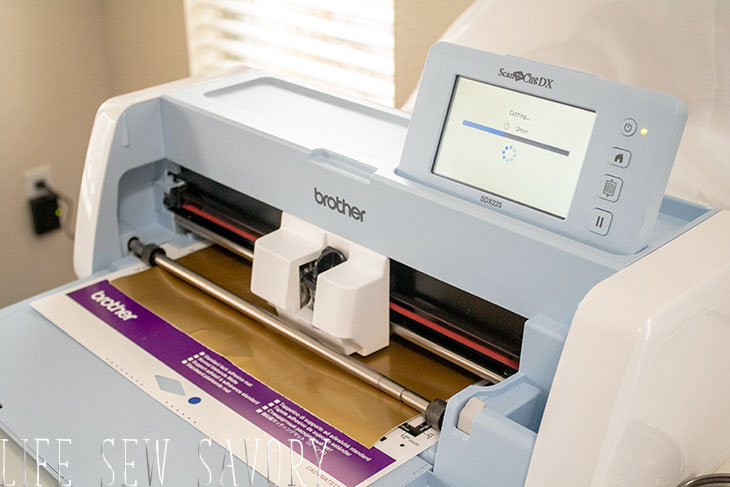
and the roll feeder for the longer text. You can see my roll feeder in action here.
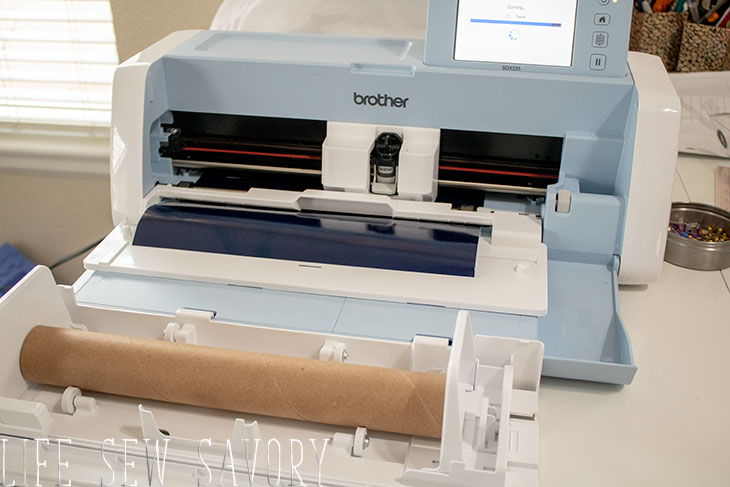
Weed the vinyl… remove the extra vinyl from the letters you cut. I won’t lie – the tiny letters were a bit of a pain to weed. Some of the letters wanted to come up with the extra vinyl. It took me longer than I hoped, but it was worth it… be patient and go slow!
I laid out all the words I had cut on the actual wood sign. I had ended up with a few different cuts, so this was when I put it all together. I used tape to keep it all in place.
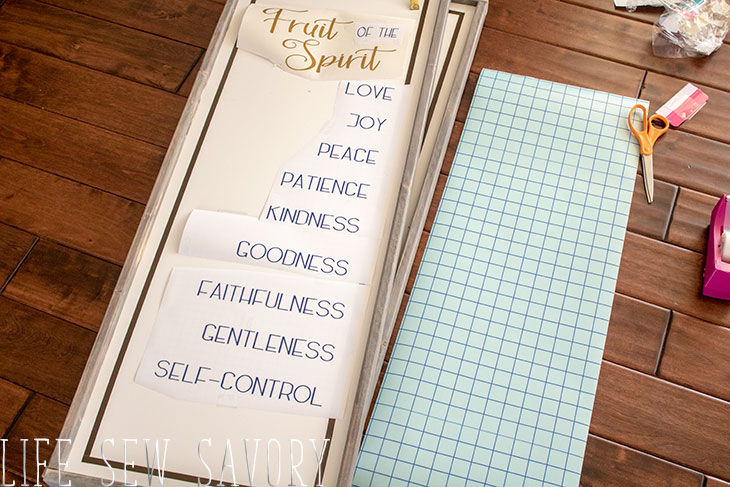
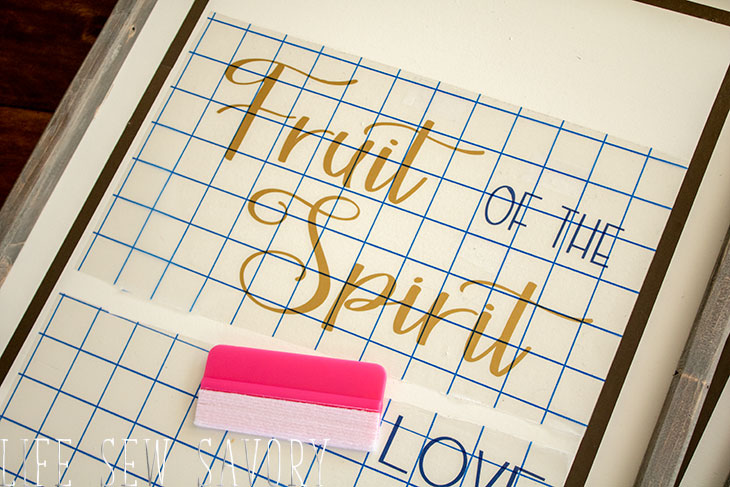
Then place your transfer tape over the vinyl. This brings it all together and creates a single long piece to transfer. Rub over the transfer tape to transfer the letting to the tape. From there lift the tape and vinyl letters with it. Place on the frame {make sure it’s straight in the place you want} and then rub again to place the letters on the wood frame. Sometimes I had to go over a certain part over and over to get it to stick.
Finished framed scripture art –
Here’s my final result! I’m pretty excited about the result. Next week I’ll reveal more of the room with another fun tutorial – this one sewing…
More home decor projects you should make-
easy Wall Art




Leave a Reply