inside: Learn how to sew a circle sleeve with this simple pattern hack and tutorial. Add a beautiful sleeve to any top or dress in the form of a circle sleeve. Simple and elegant you will love this sewing tutorial.
I’ve been wanting to try a sleeve like this for awhile now and now that I’ve tried it, I will be sewing sleeves like this all the time! The circle sleeve pattern hack is so simple and easy and looks so pretty and elegant. My daughter is taking band at school for the first time and needed a black concert dress. I used the girls free t-shirt pattern as a base, added a skirt and also this circle sleeve pattern hack to create a beautiful black dress.

Circle Sleeve Sewing Hack
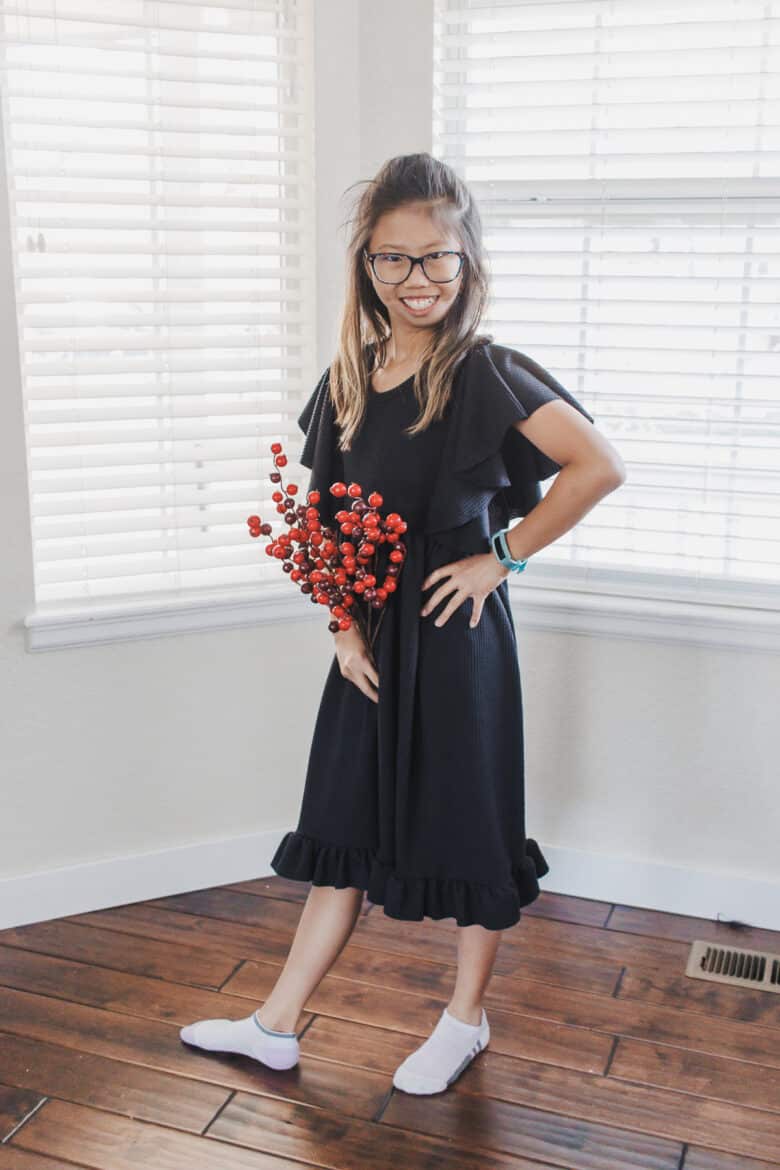
I was hoping to do a whole Christmas themed photoshoot with this dress, but time, daylight and afternoons ran out, so we grabbed a sprig of berries and this is what we ended up with! {haha}

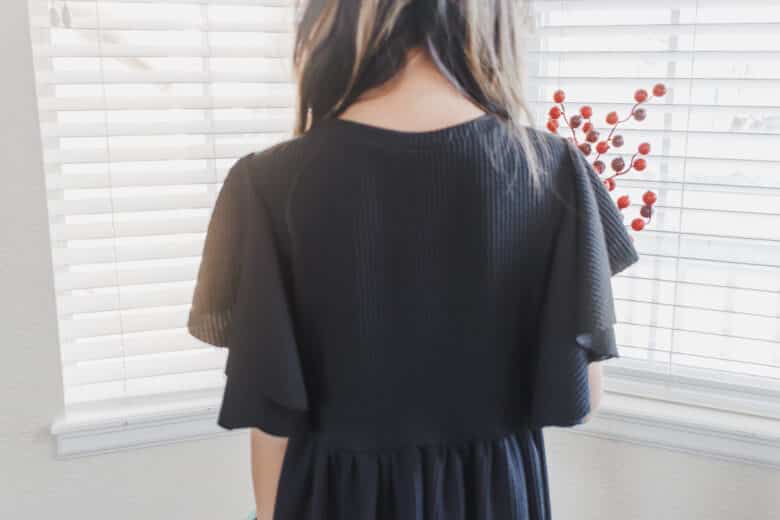
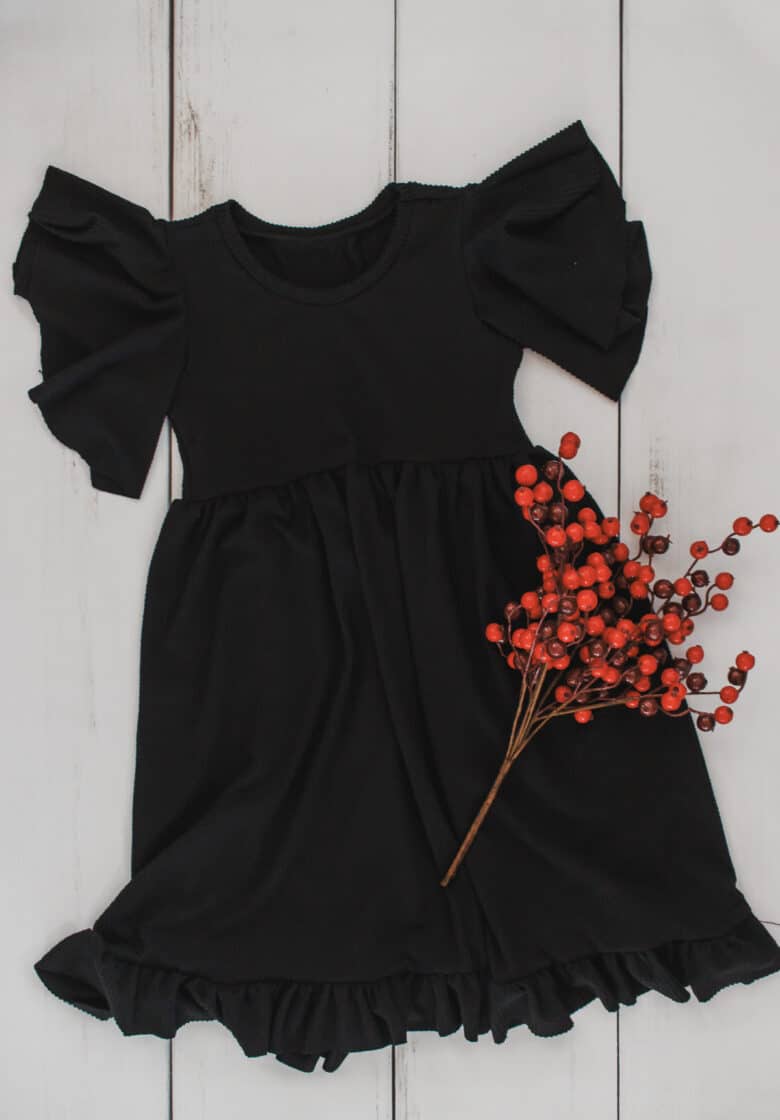
I knew I was going to like the results, but the circle sleeves are actually so much better than I was even hoping. They are so elegant on this dress!


This fabric has beautiful drape, and I left the edges of the sleeves unfinished so there is no bulk.


Rose loves the dress and is excited to wear it to her band concert in December. I’m just excited that I already have it finished and ready to go! Now we just need some black tights and dress shoes {she doesn’t own any dress shoes right now.} {opps!}
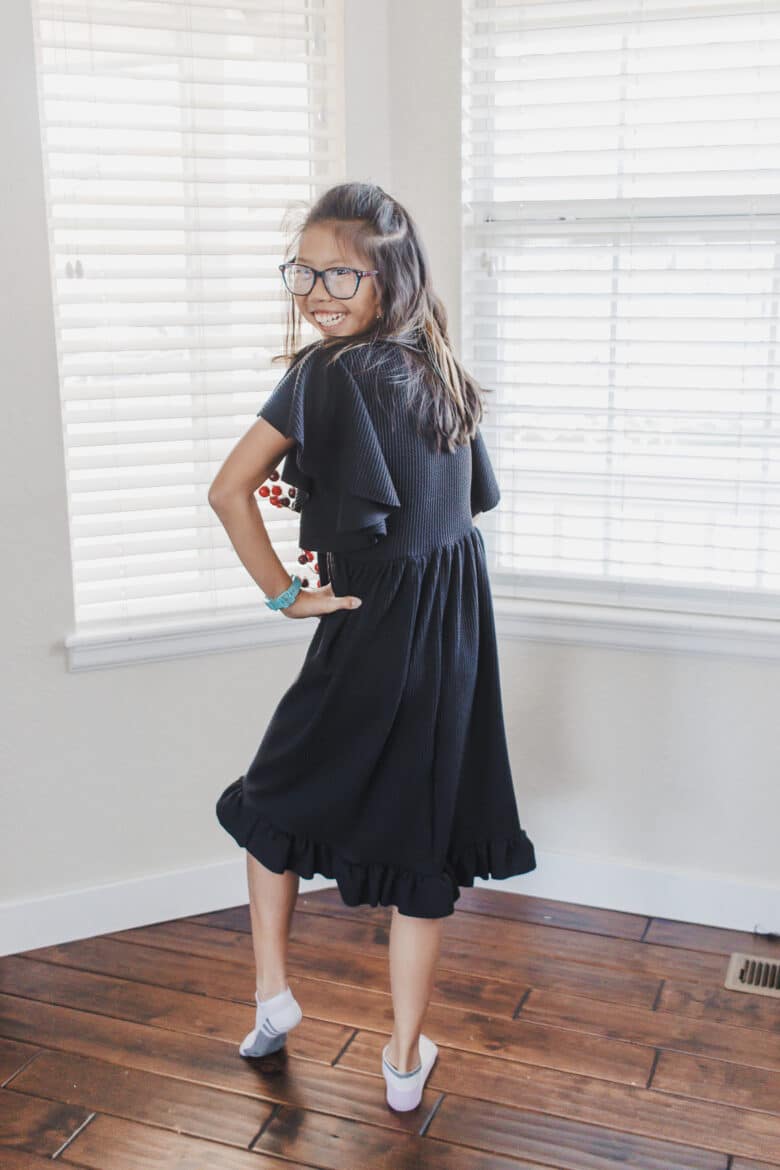

Adding a circle sleeve to a top or dress
Here’s what you will need to create this look – a similar one of your own design.
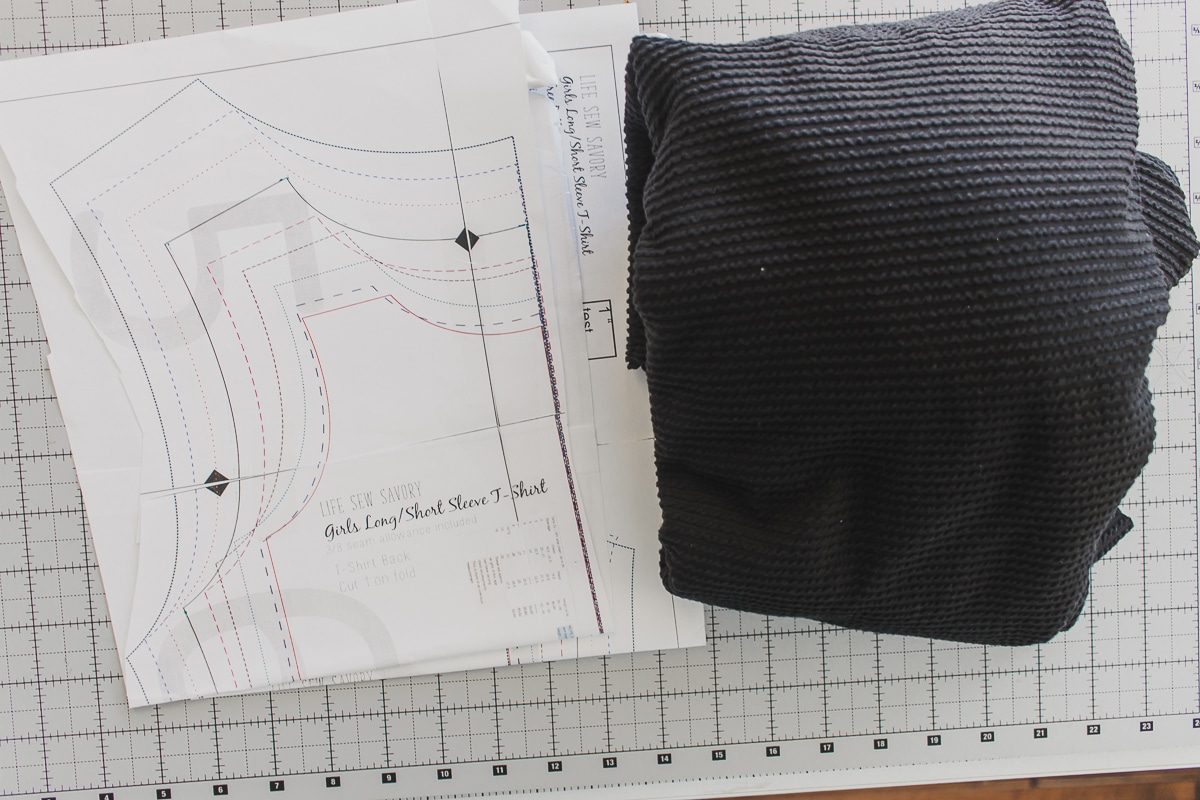
- Free Girls t-shirt pattern {this is a fitted tee design}
- Fabric {this dress took 2 yards knit from Raspberry creek fabrics} I sewed a size 10 and had barely enough for reference on fabric.
- tissue paper for creating a pattern {optional} I have this pack of tissue paper and it’s lasted me forever! So perfect for hacking and tracing patterns.
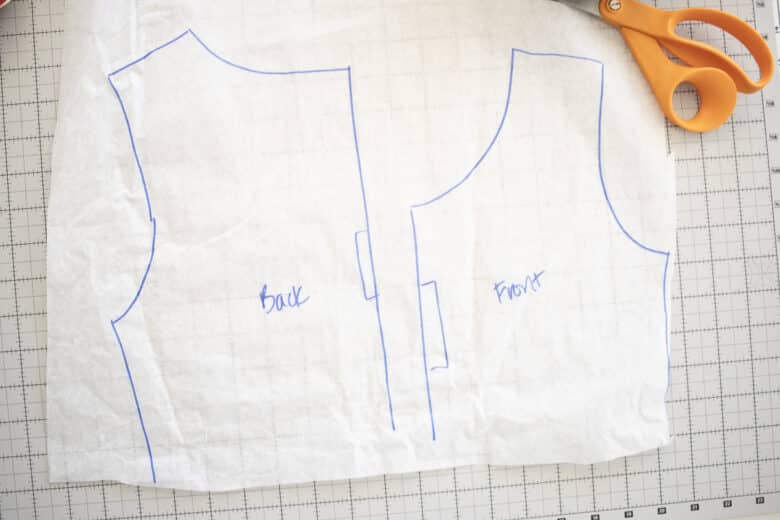
Trace the size you need of the front and back of the shirt pattern. I shortened the shirt to about 4-5 inches from the under arm. You can make your dress top longer or shorter as you want. Just make sure the adjusted side seams match.
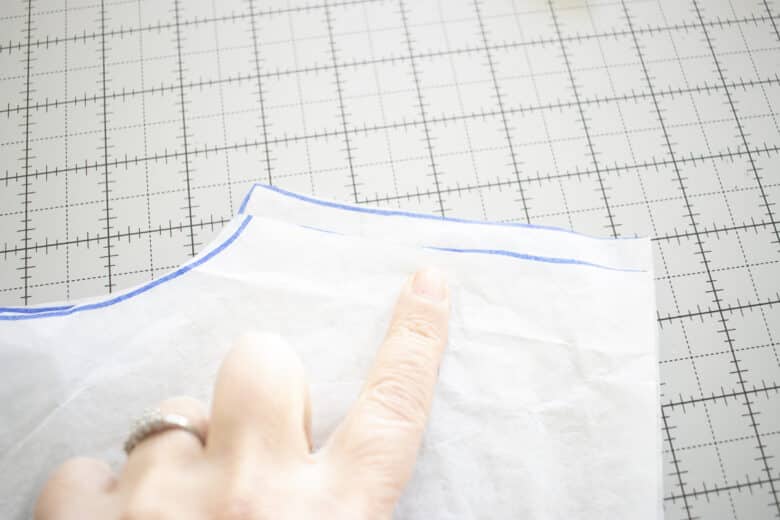
You will also cut the neckband for the t-shirt as directed. Need help with your tee neck band? See my post with neckline basics here.
How to Sew a circle sleeve
Now that we have the pattern set up, it’s time to cut the other pieces. We will be cutting two circles for the sleeves and then a skirt as well. To cut out the circle sleeves we need to know two measurements. 1. the opening at the shoulder we will sew the sleeve to. 2. The length of the sleeve.
Place the top pattern pieces together and line up the side seams. Measure the opening as shown. Subtract 3/4″ for seams that will be sewn during top construction.
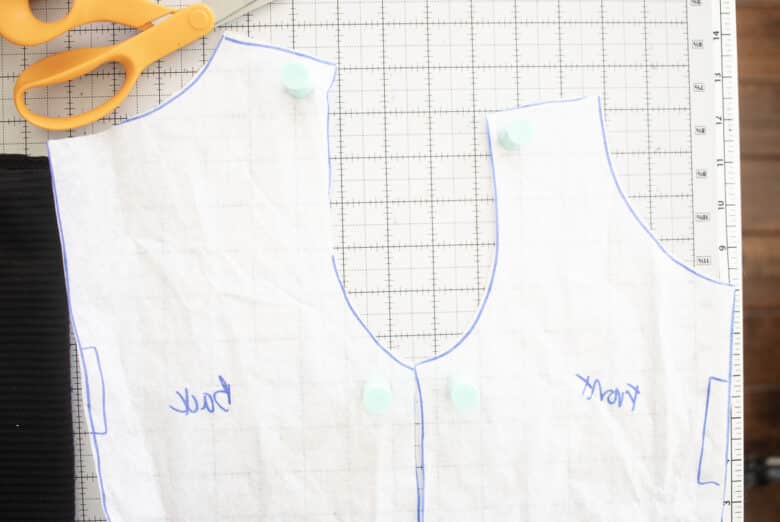
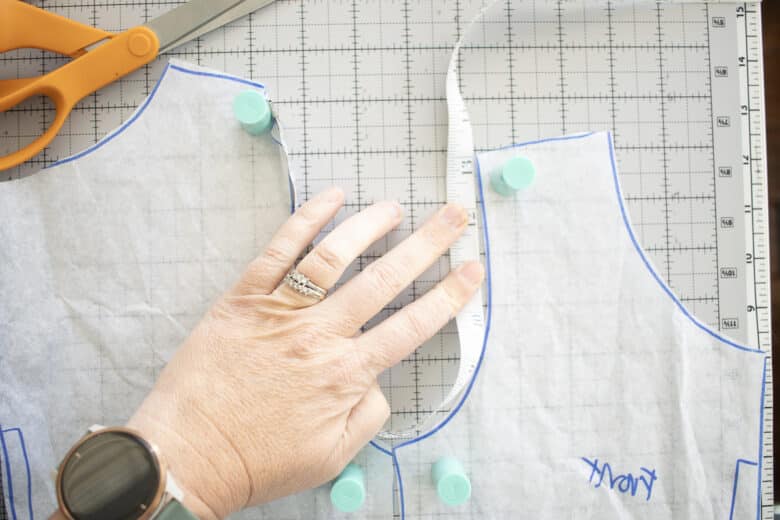
Take that opening number… for example 12.75 and multiply it by 6.28. You will need a smaller number.. mine was 2.07 {round it to 2″} For the length of my sleeve I want it around 7-8 inches long. So my double folded fabric needs to be 7 + 2 = 9 inches.

Let’s double fold the fabric! Along one edge fold the fabric up at least 9″, then take the bottom folded corner and fold it over to the left at least 9″. Now in the corner {Where my finger is} you will have four layers of fabric, or a double fold.
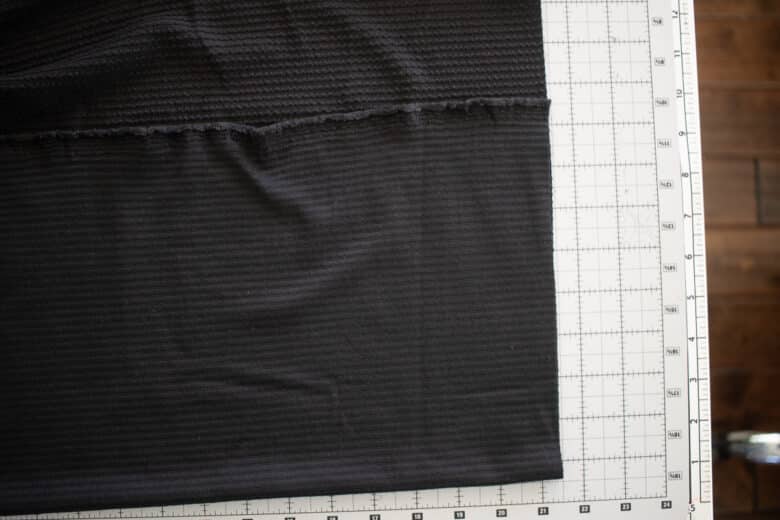
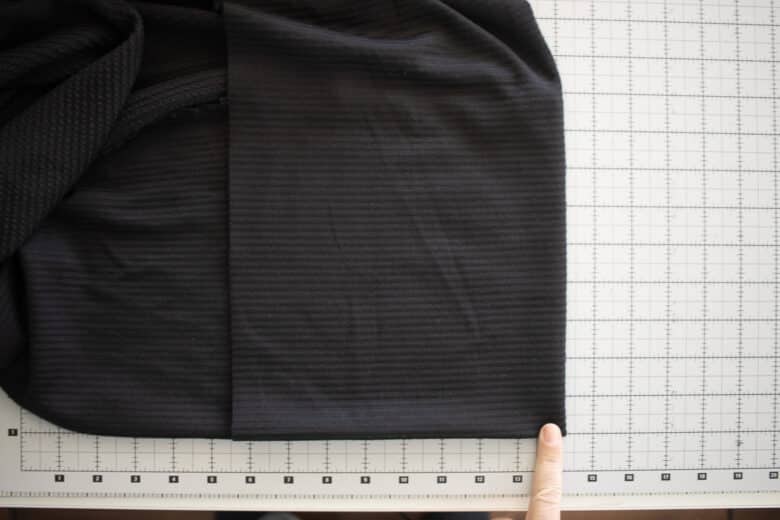
Measuring from the corner point, measure in 2″ around in a few places, then cut out that inner circle {this is where you will sew it to the shoulder opening.
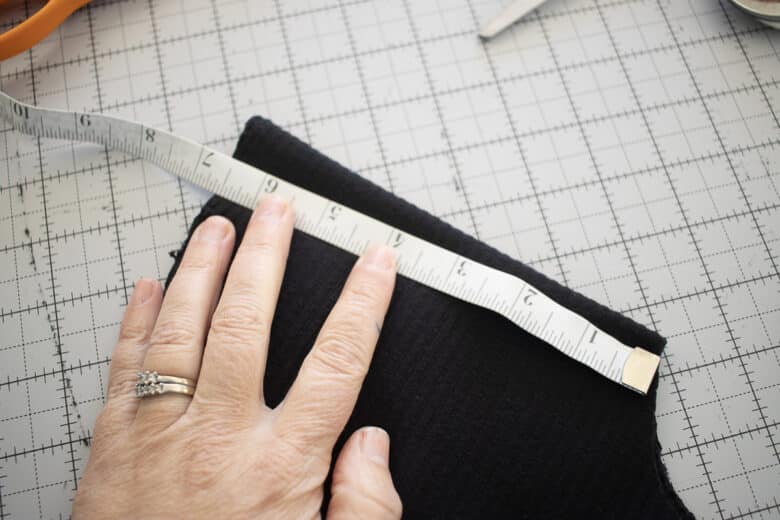
Measure from the new edge out to the sleeve edge, the length of your sleeve. Mine ended up 6.5″. Measure several places around the circle, then cut. This edge will not be finished, so try to keep a smooth cut line.
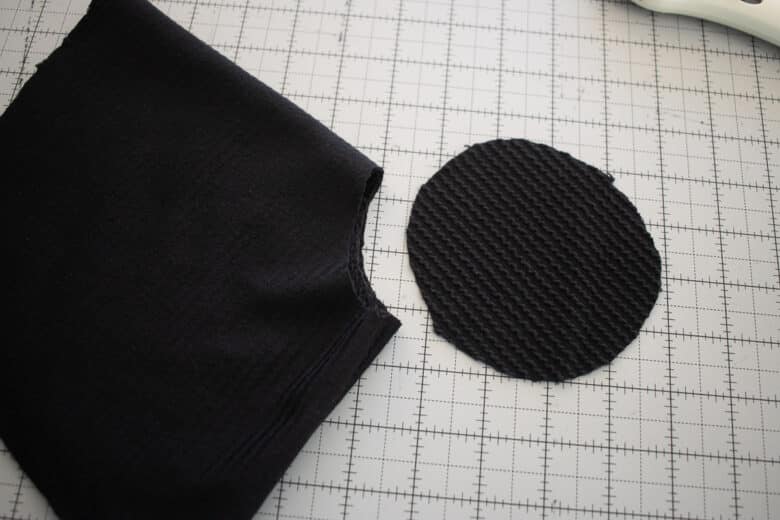
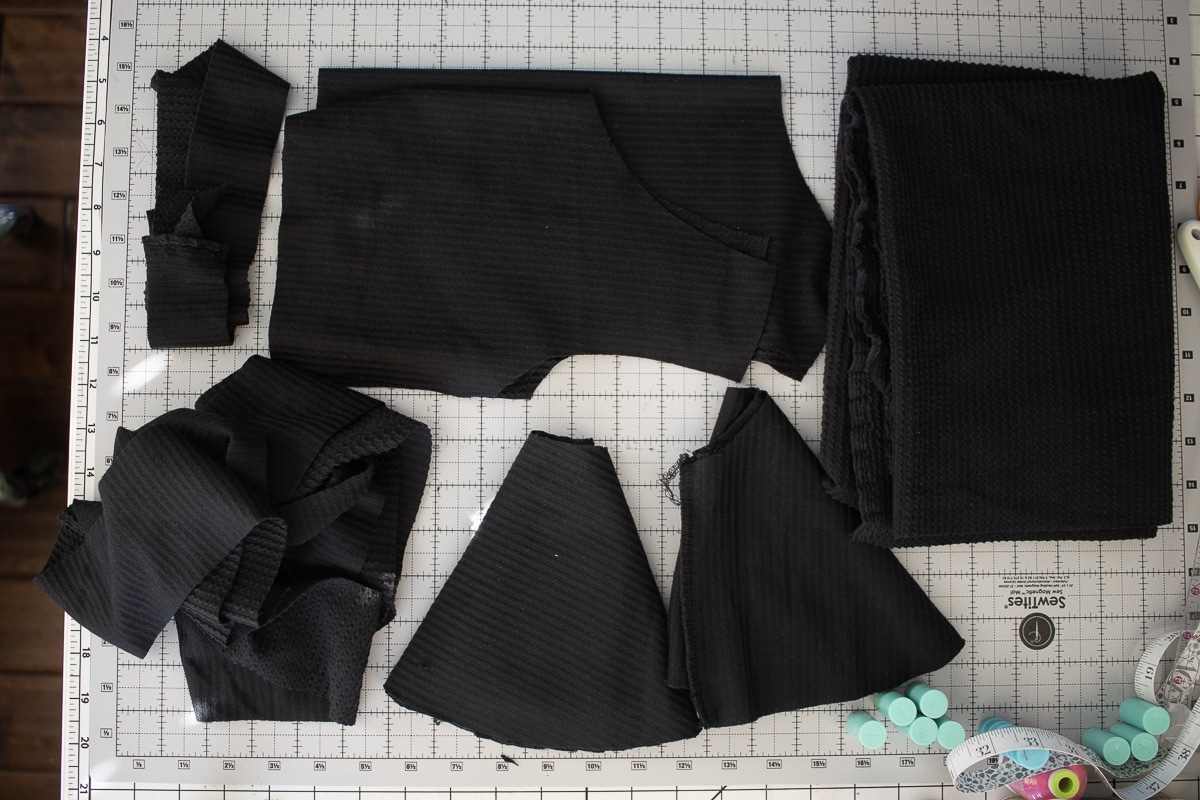
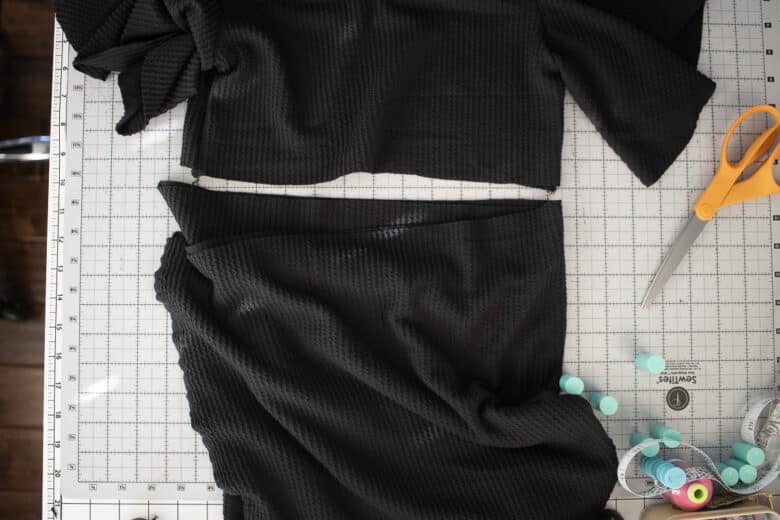
Now you have all the pieces needed to sew this dress with circle sleeves. Starting at the top left and working around clockwise: Neckband, front and back of top, skirt piece {1 width of fabric-60″, skirt length 18″}, circle sleeves, and ruffle for bottom of skirt {2x width of fabric – 3″ tall}
You can always refer back to the girls free t-shirt post for more details on assembling the top, but here is the simple directions. Sew one shoulder seam with right sides together. Then add the neck band along this opening.
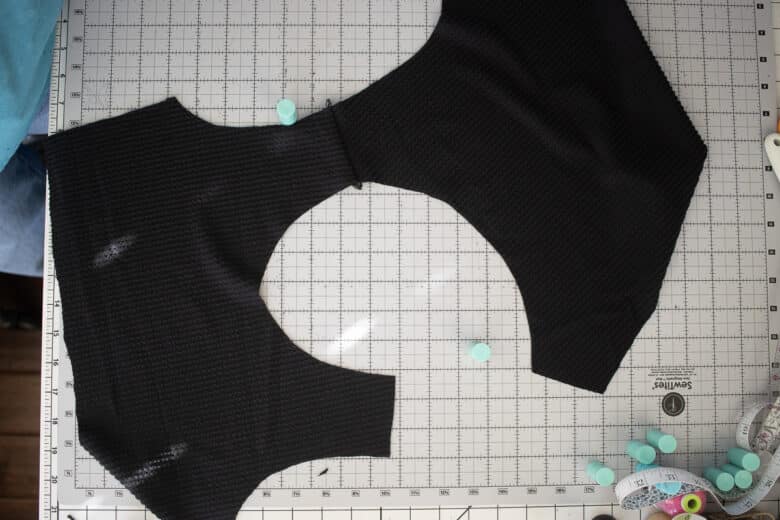
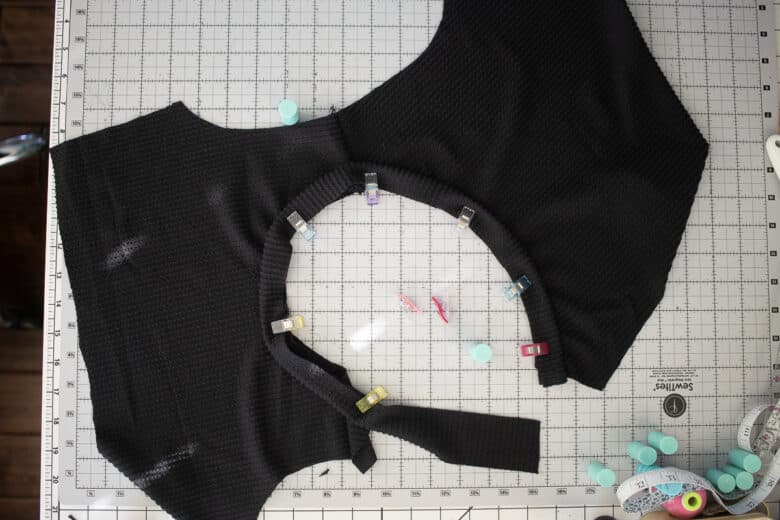
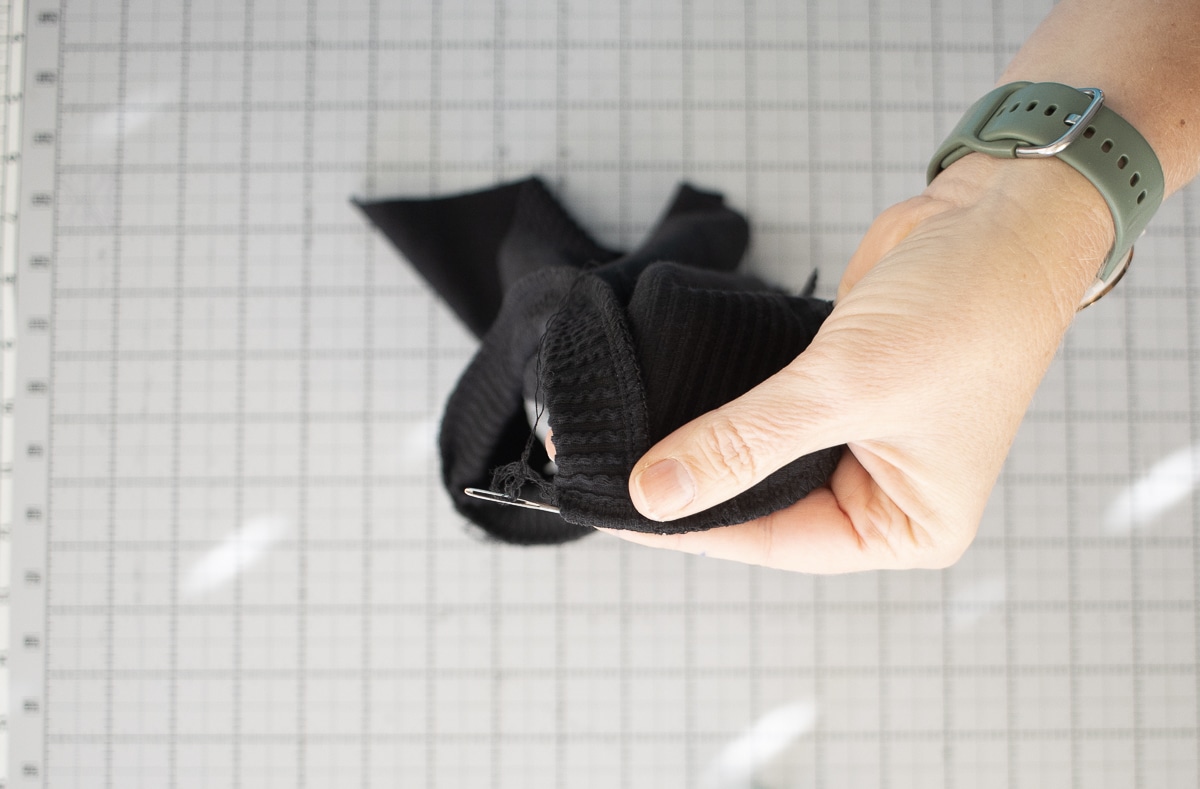
Sew the open shoulder closed. If you used a serger, remember to properly finished the tail of the serger on the neckline. I like to use a darning needle as shown.
With right sides together, sew the side seams of the top. Grab one circle sleeve. I made the top of the sleeve where the lines of the fabric where going straight {the grainline} Place the sleeve right sides together inside the shoulder opening. Line up the top of the sleeve {You choose the part of the circle} and line that up at the shoulder seam.
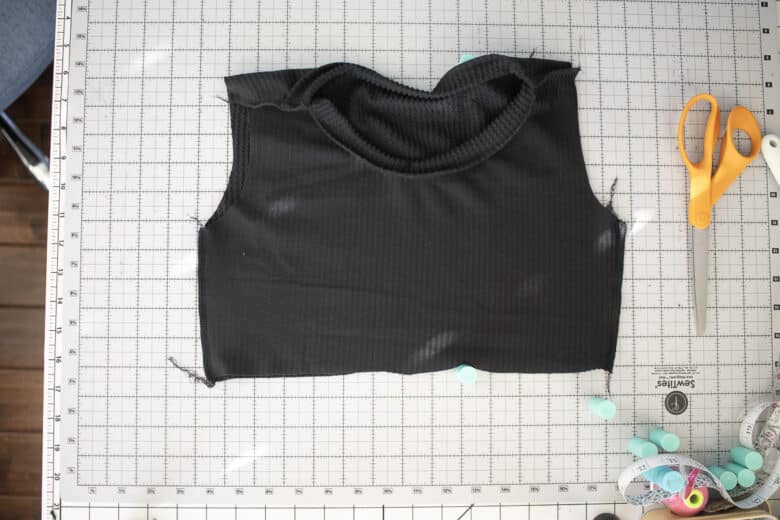
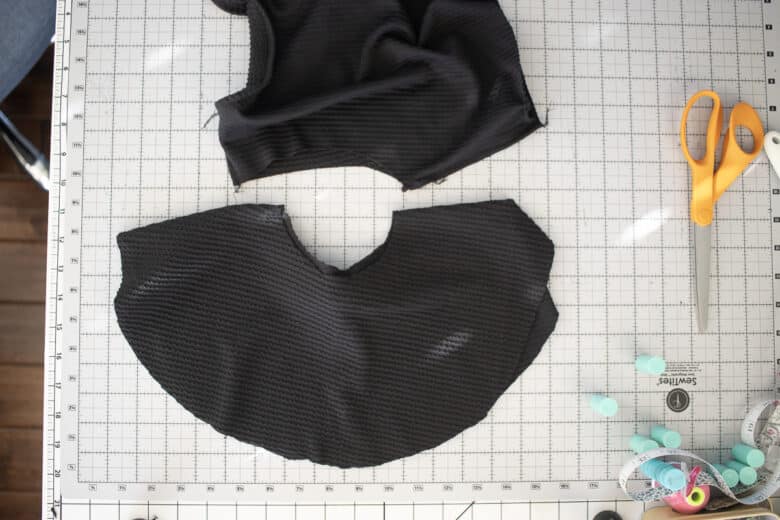
Pin or clip the sleeve around in the shoulder opening and then sew.
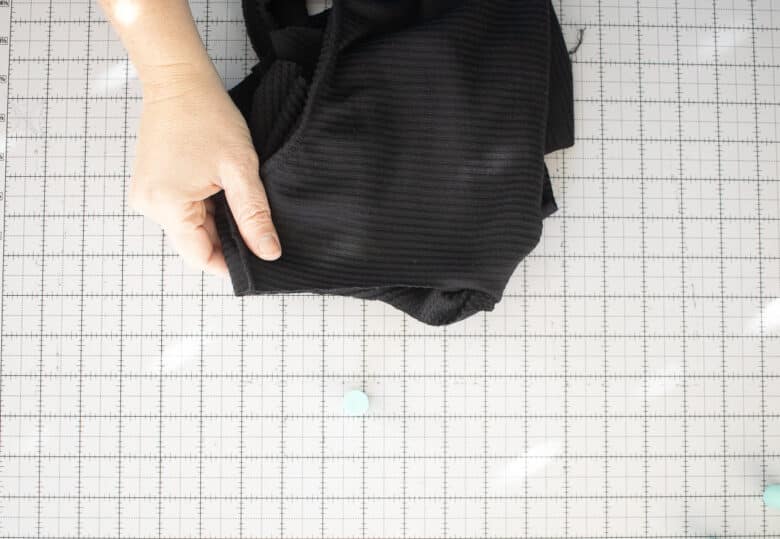
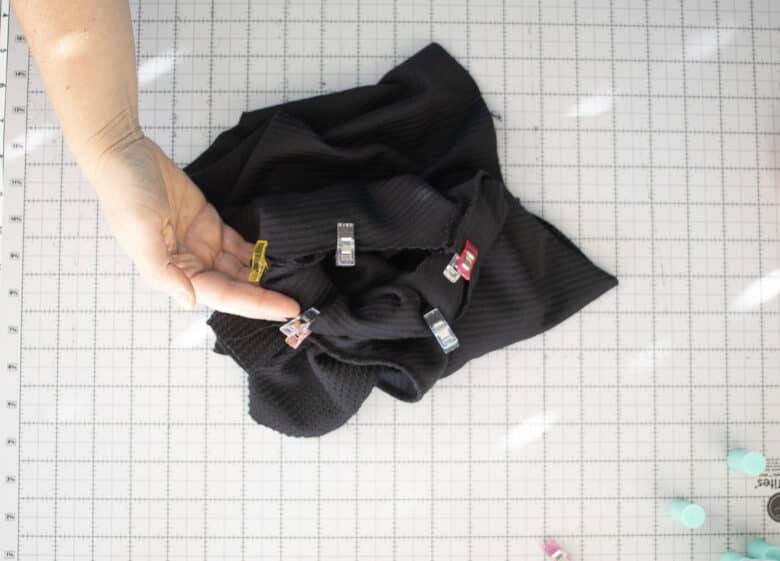
Repeat with the other sleeve. Grab the skirt and sew it into a circle.
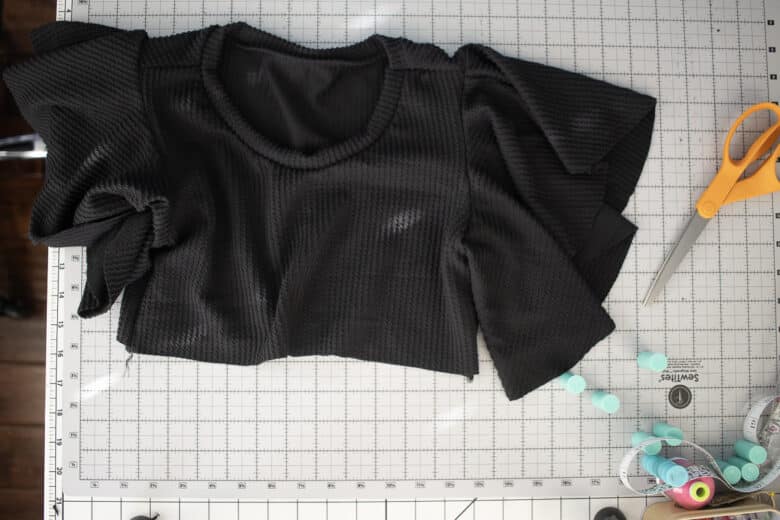
Gather the top edge of the skirt until it matches the width of the shirt. I added clear elastic into my serger seam and attached the skirt to the top with the right sides of the dress together. Here’s a tutorial for adding clear elastic into your seams for stability. It’s super easy with a serger.
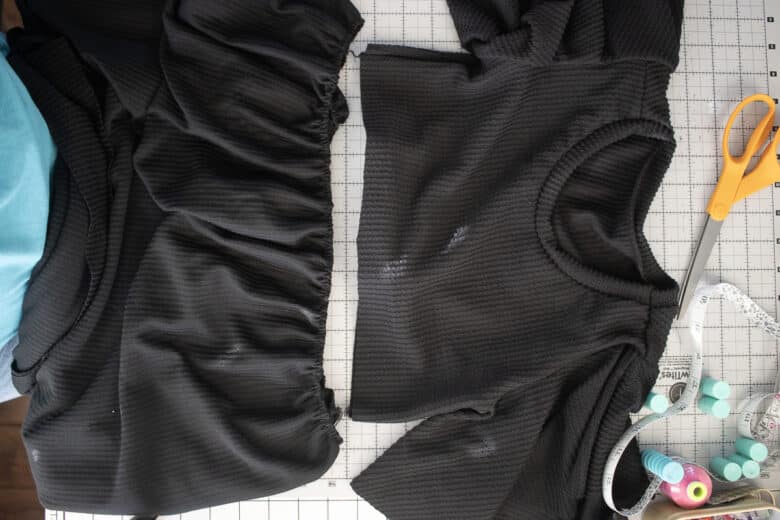
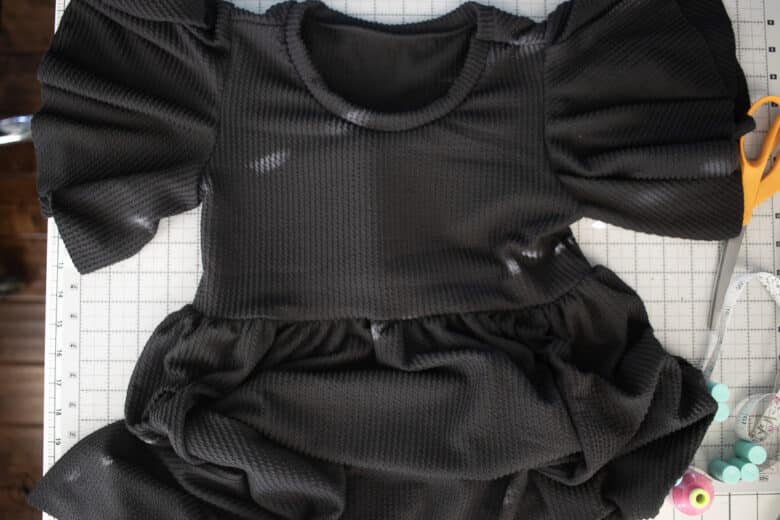
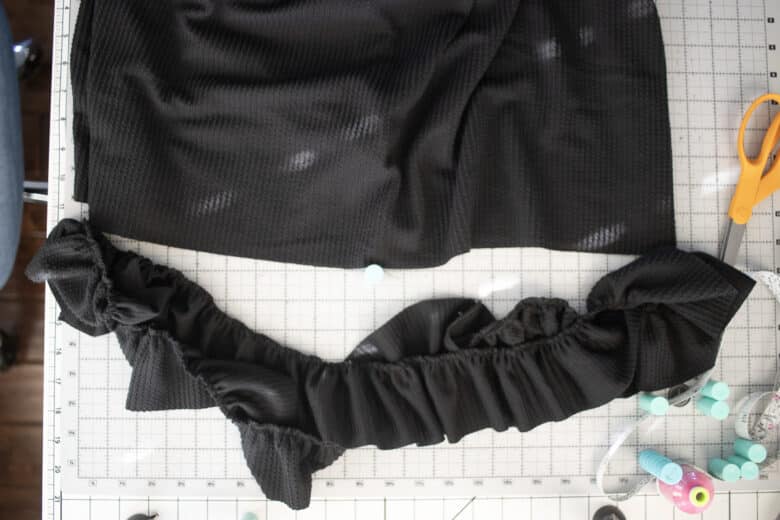
The bottom ruffle is optional, but looks cute! My ruffle was twice and long as my skirt, and it looks super cut. I did not add clear elastic in this seam.
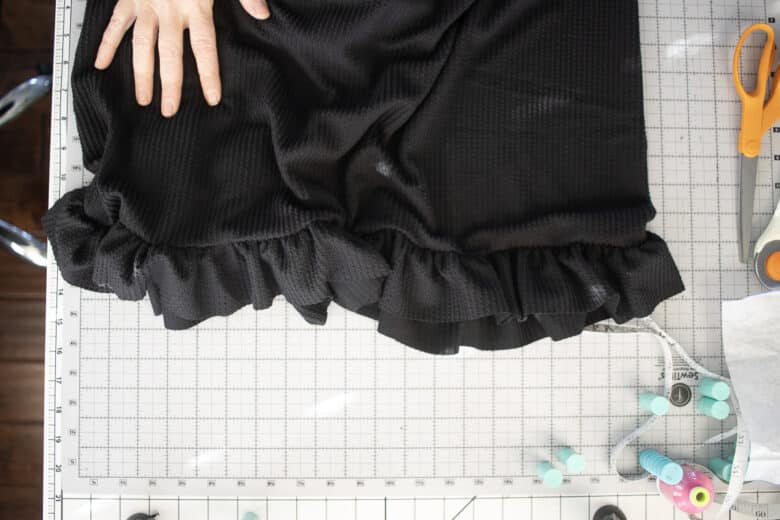
And now it’s finished! A beautiful dress with just a free t-shirt pattern. I can’t wait to play around more with these circle sleeves and sew a shirt with them for spring.






Judy says
wow! I love that dress and your daughter looks so cute!
I’m going to study this more later so maybe I can learn how to make one.
Clever of you to come up with this!