inside: Learn how to sew a clear stadium bag with this free tutorial. Also learn how to turn any bag pattern into a stadium bag with clear vinyl and bias tape. Sew a clear bag in any shape or size.
We live just outside of Denver and that means we have stadiums for nearly all professional sports teams, plus concert venues and many other big events going on. We don’t go to a ton of sporting events or concerts, but we do try to attend a few each year and I figured it was time I had an official clear stadium bag {or two}
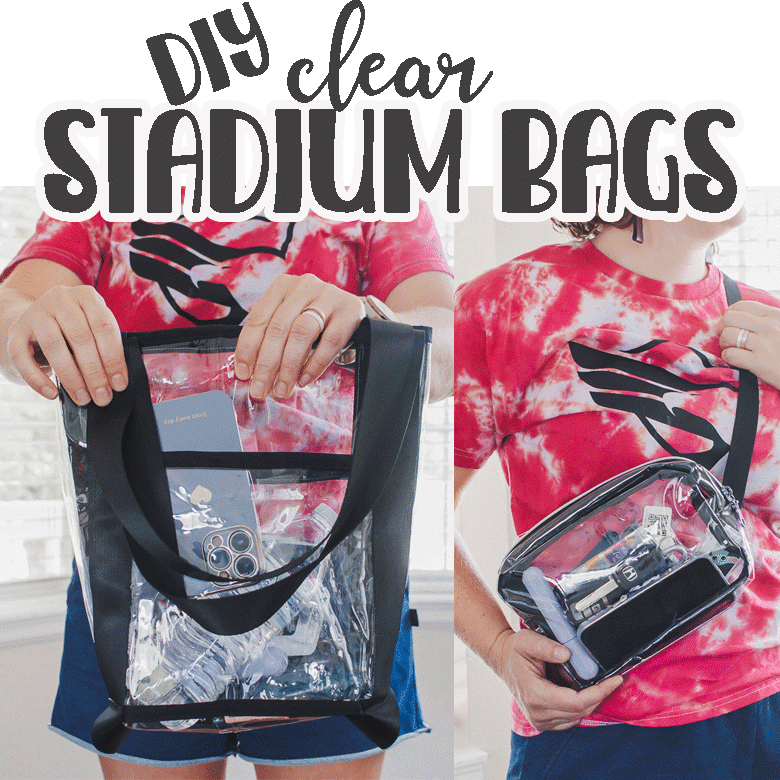
DIY clear stadium bag
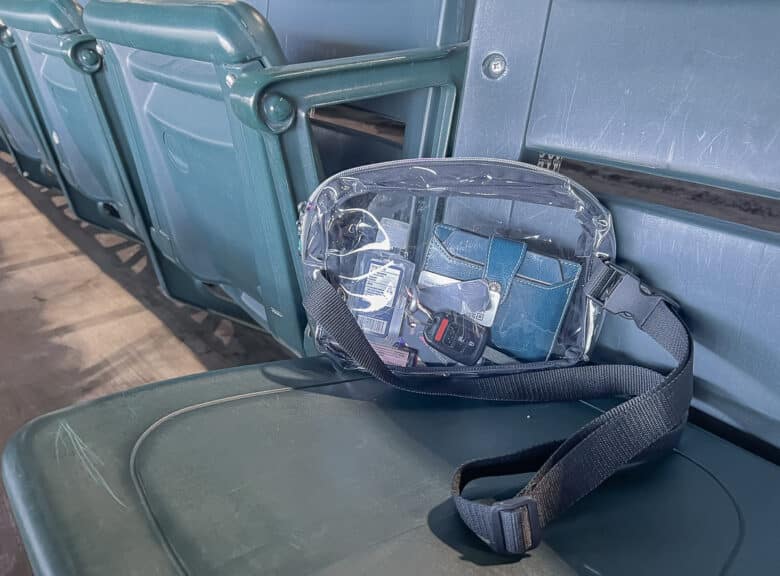
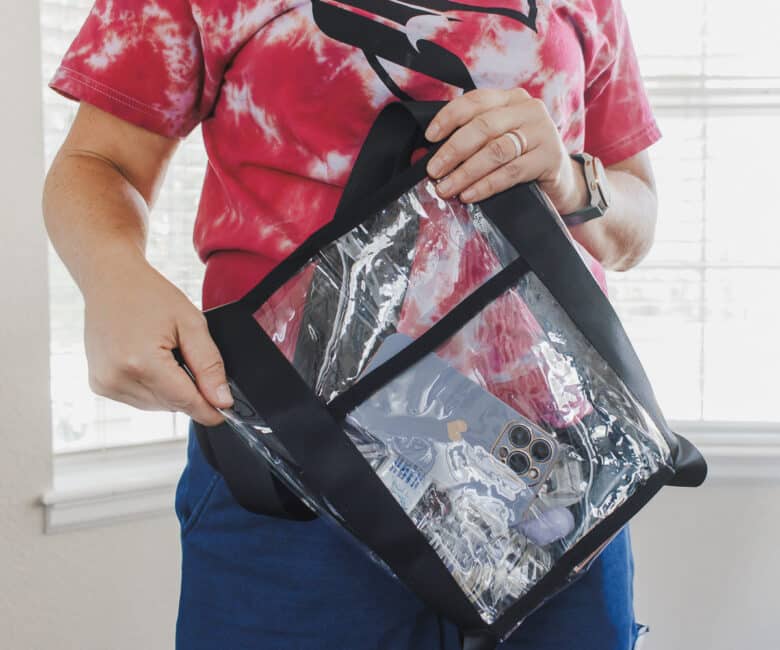
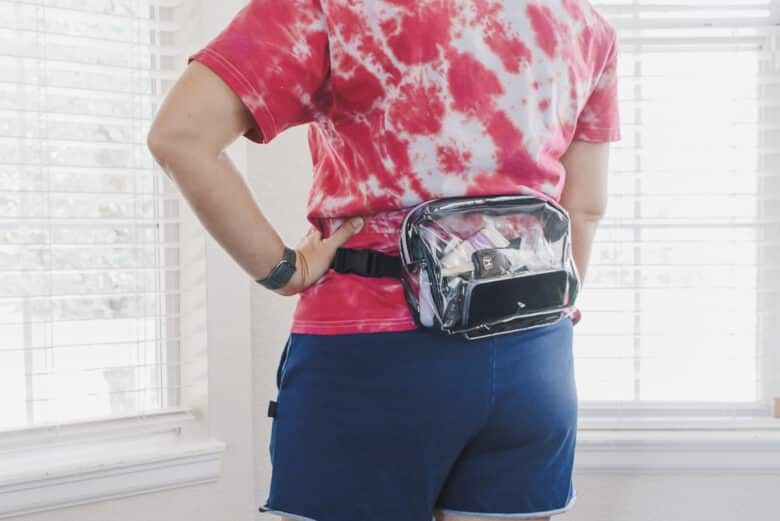
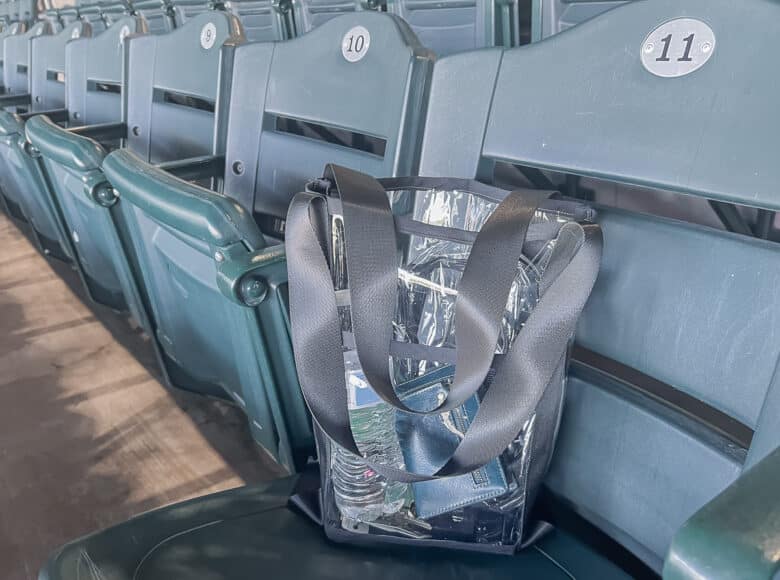
I sewed myself two different versions to have some choice, or to have two different bags we can take if the whole family is going. We now have a fanny pack version and a tote bag version. For the belt bag I used my zippered cross body bag and for the tote bag I just sort of made it up… I’ll give you the tutorial below.
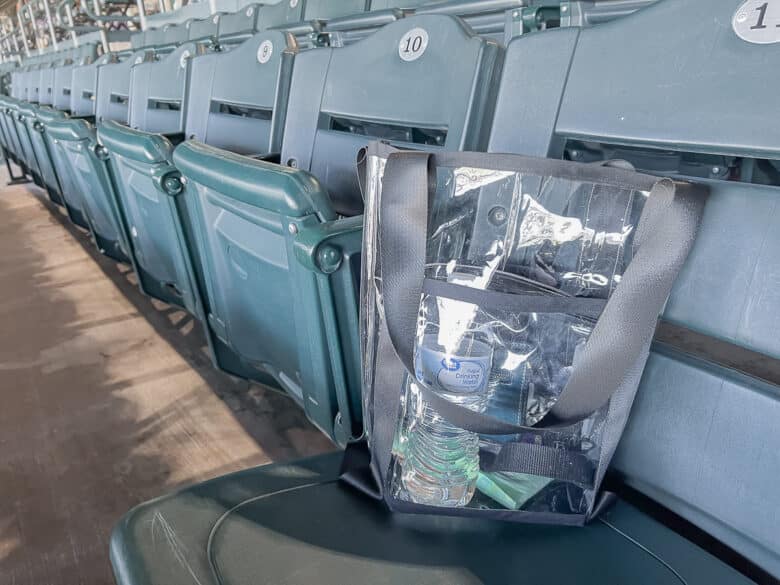
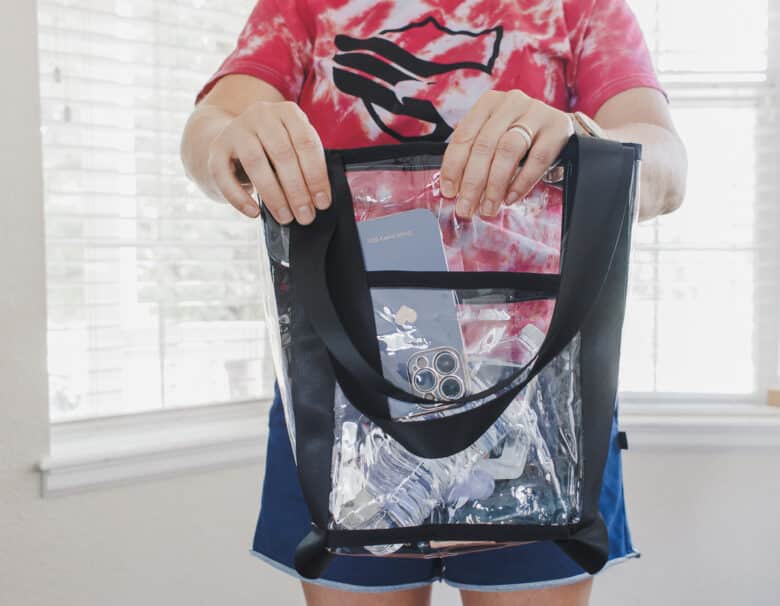
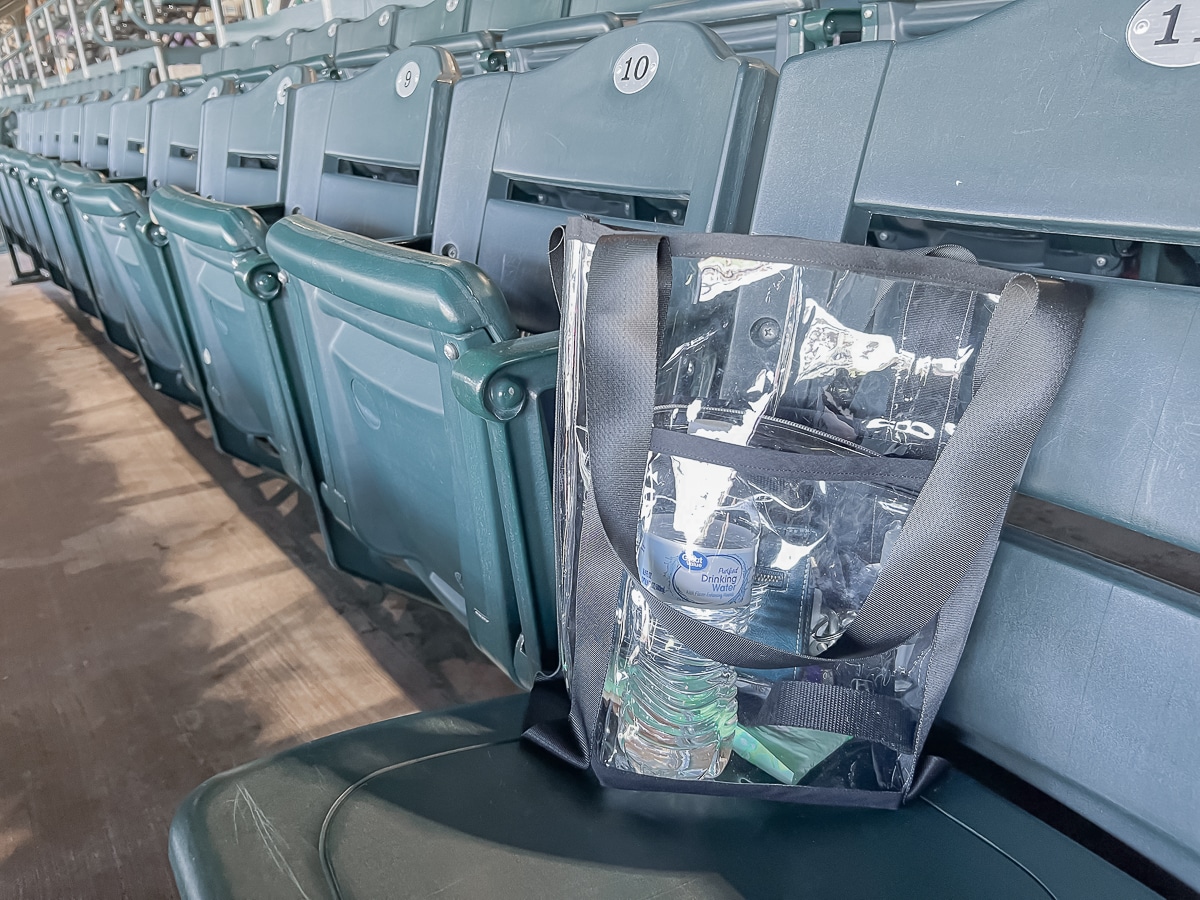
This clear tote is close to the maximum size for most stadiums. You can adjust the measurements to create a different size if you want. I will give you the measurements I used to create my version.
The smaller hip bag is great when you don’t need to carry much or need a second bag. These bags work great separately or as a set.
Free bag patterns and tutorials to sew
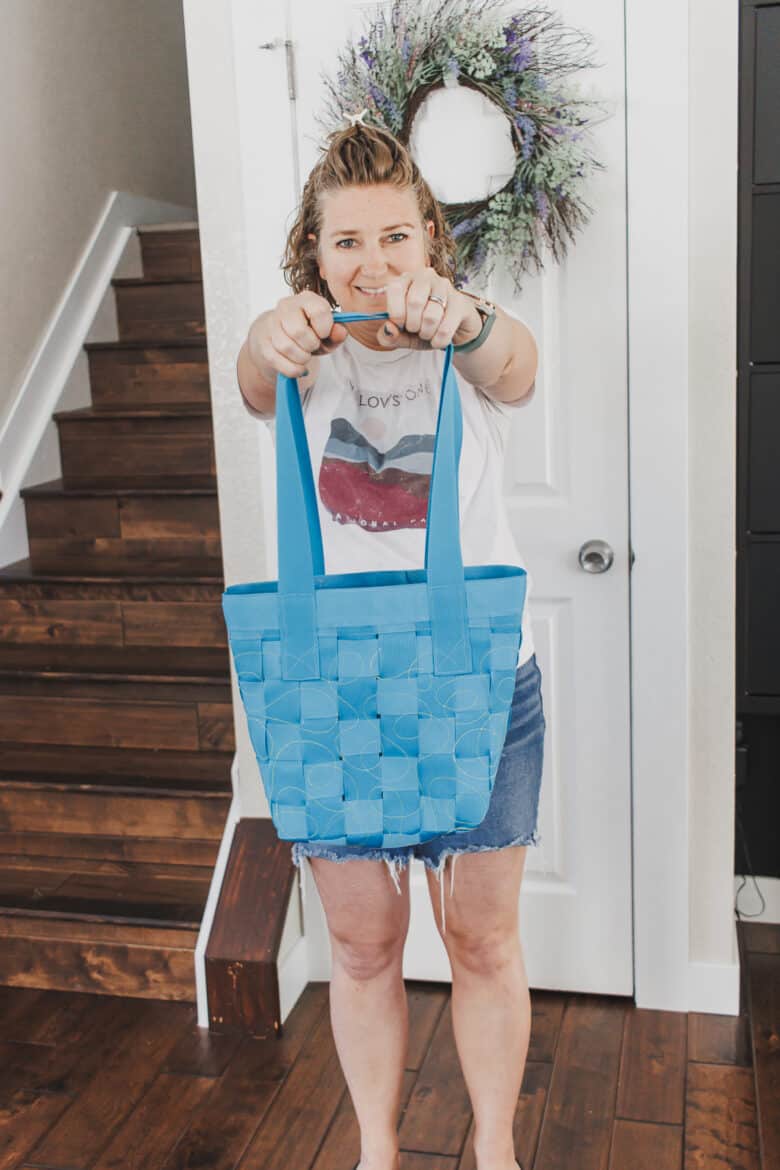
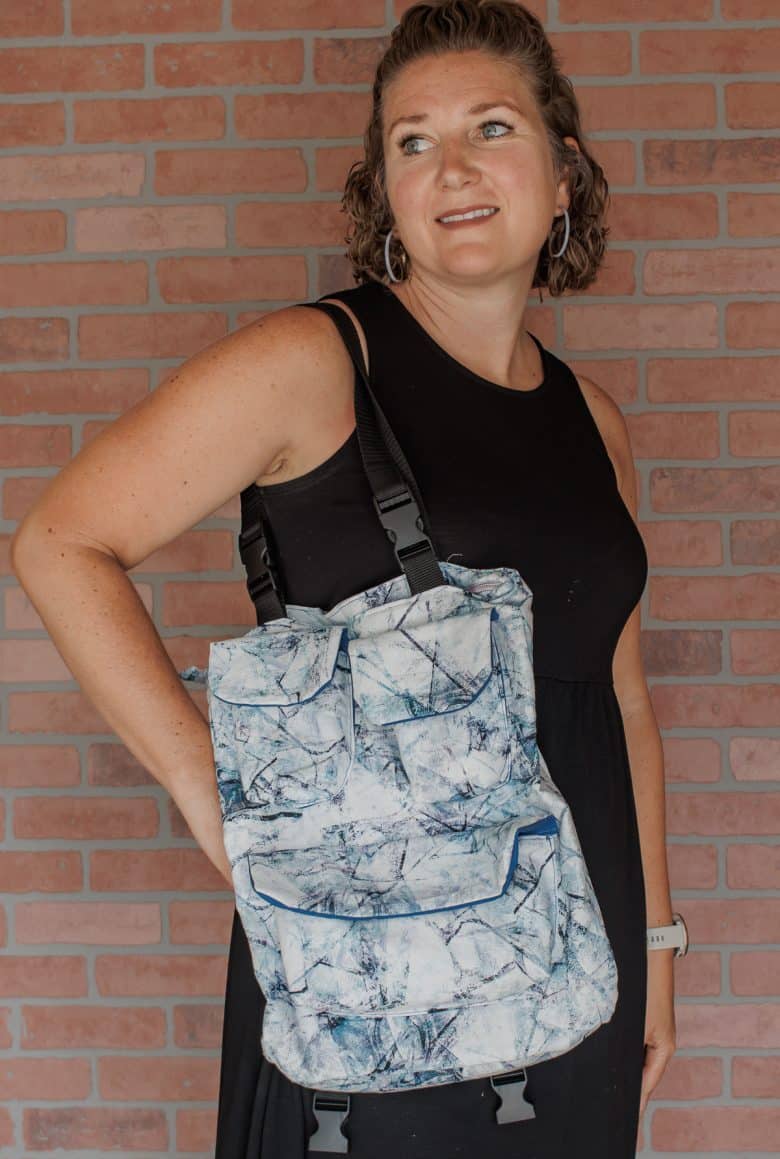
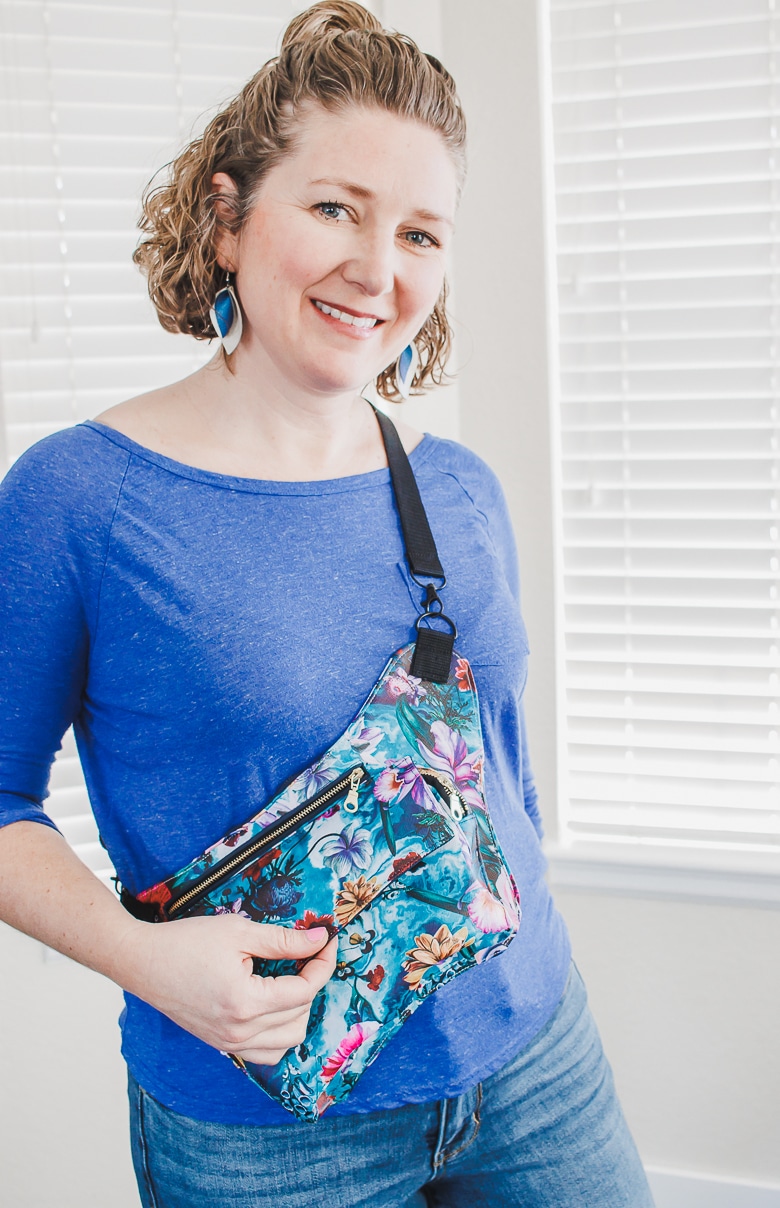
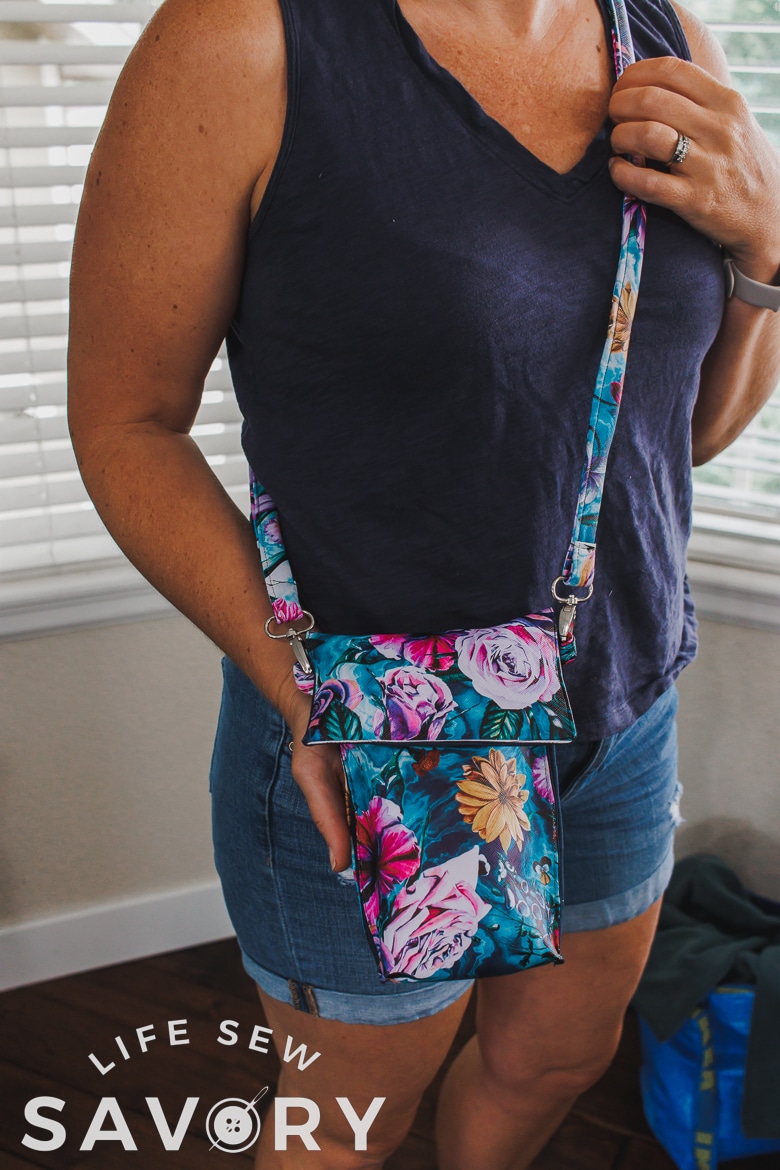
Here are some other amazing free bag pattern and tutorial you may want to try out. The links to these are below.
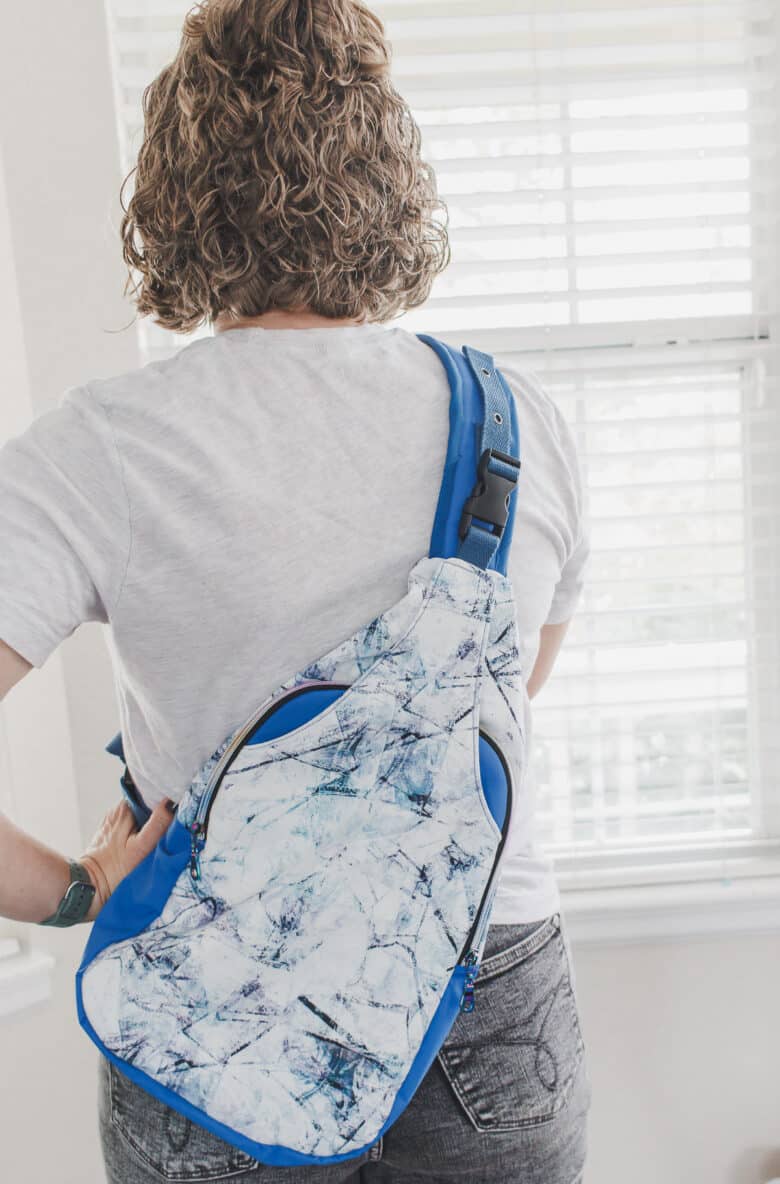
- Sling Bag
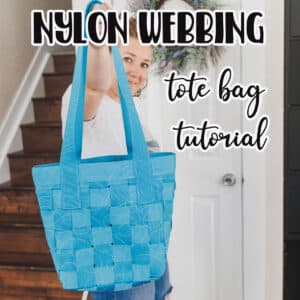
- Nylon strapping tote
- Convertible backpack/shoulder bag free pattern
- Cross Body Bag
- Side body Bag
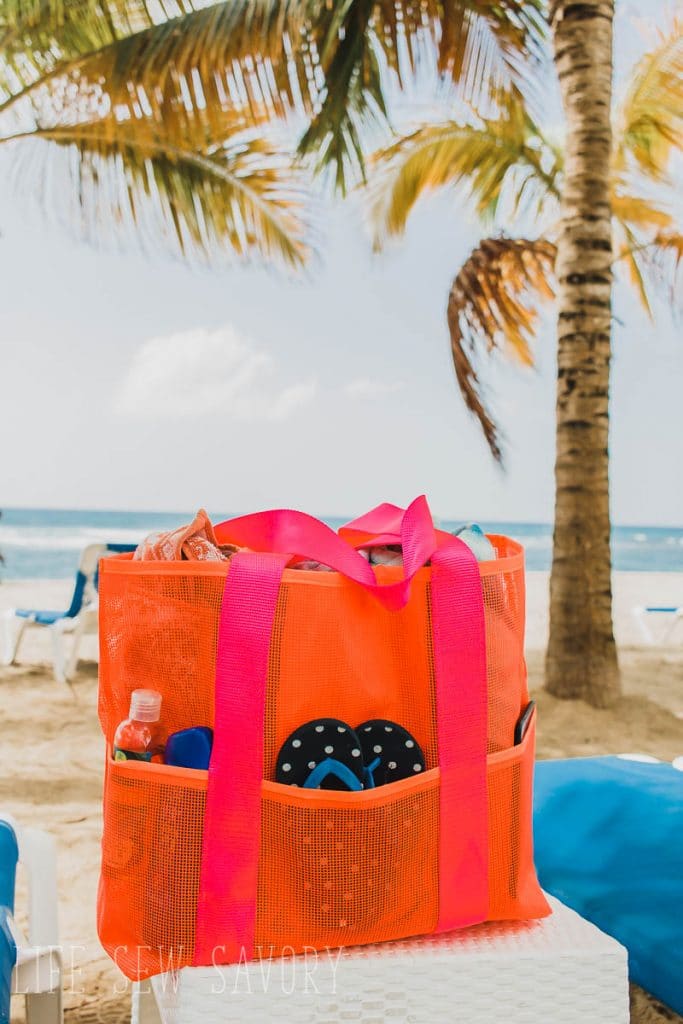
- Mesh tote beach bag
Sewing with clear vinyl
Don’t want to follow my tote tutorial below? You can use any pattern you already own to create a clear stadium bag. Just sew it with clear vinyl and cover the seams with bias tape! I’ll show you a few tips for sewing a clear bag using any pattern you already have.
Check that the bag pattern fits your stadium bag requirements and use the tips here to sew an amazing clear vinyl bag.
Clear vinyl bag sewing supply list
- Clear vinyl – this link is the exact vinyl I used for this project
- non-stick Teflon foot
- Black nylon strapping
- Double fold bias tape – I bought mine at Hobby Lobby {used one pack per bag}
- Buckles {depends on bag you are making}
- All Amazon links here are directly from my orders and the exact products I’ve used here. {except bias tape}
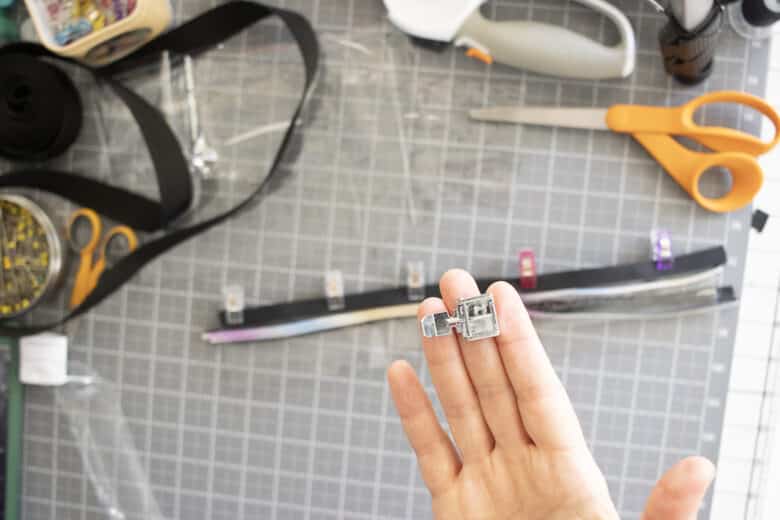
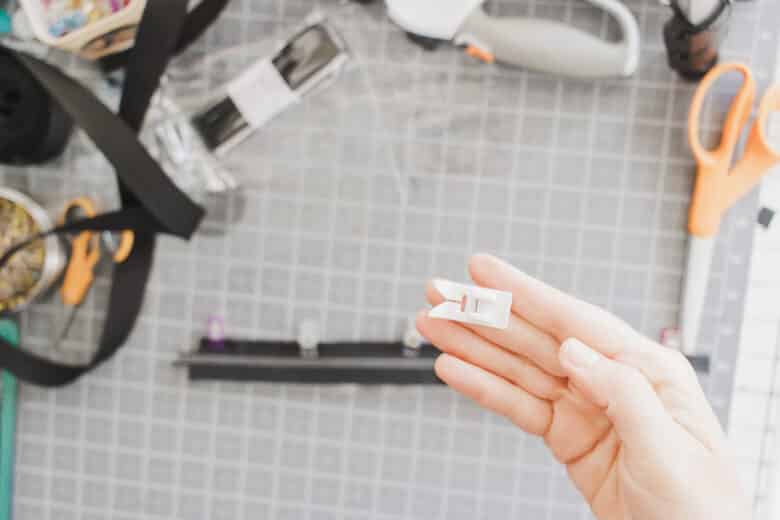
The first two photos show the sewing machine feet I used for this project. When I needed to sew the zipper I did use a zipper foot, but 90% of this project was sewn using my non-stick teflon foot. I used this for sewing the vinyl and the bias tape.
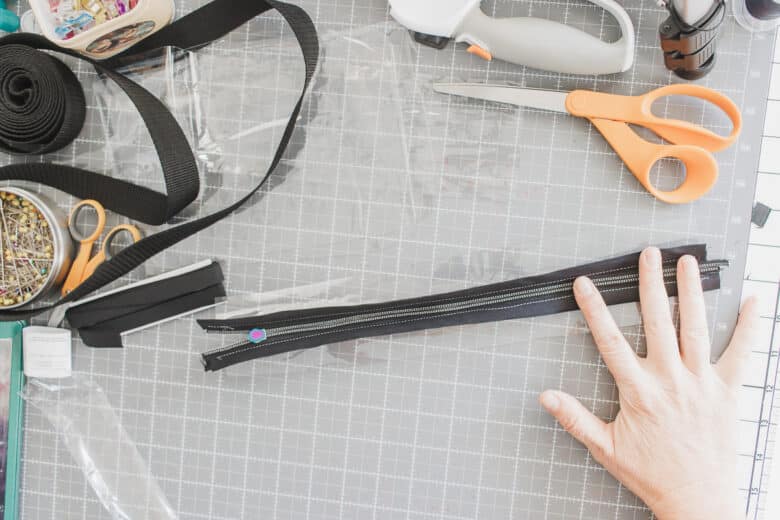
If you are using my zippered cross body bag you for a stadium bag {or any other bag pattern you already own.} Cut out the bag in it’s simplest form. For my cross body, cut two back pieces {eliminate the front zippers} Essentially you will sew the bag as the pattern directs, but after you sew each seam, you will cover the seam in bias tape. Here you can see that I sewed the two sides to the zipper, then covered those seams in the black bias tape to cover the vinyl edges.
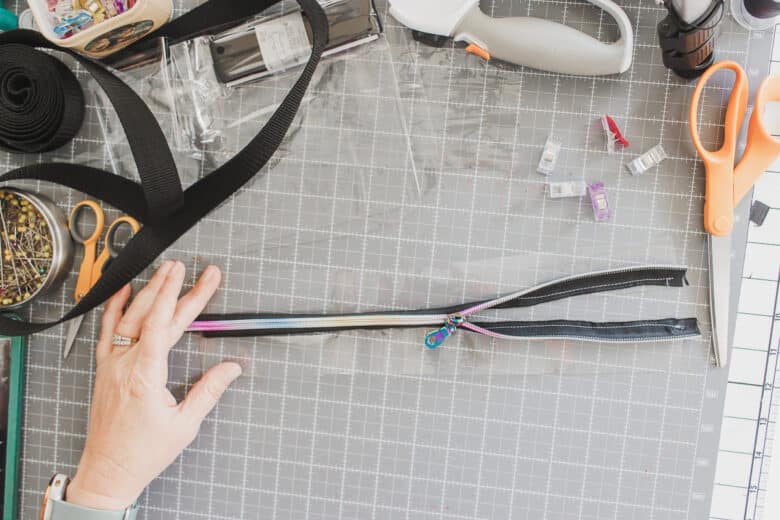
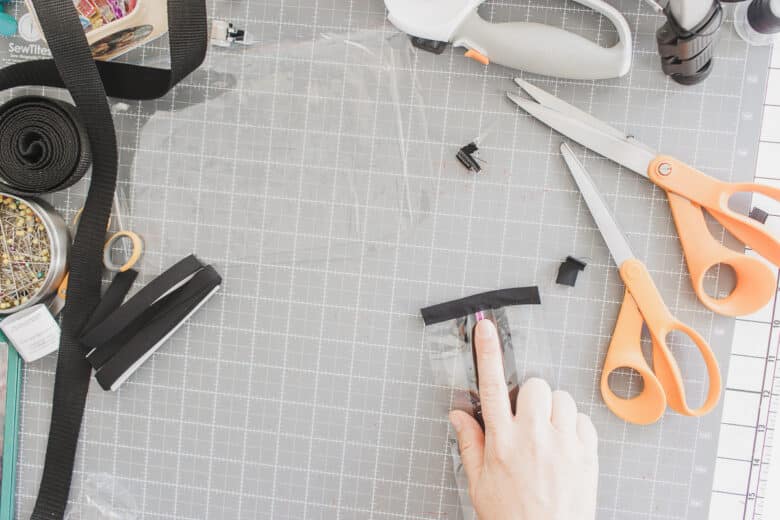
Here are more seams I’m covering with bias tape. The seam on the bag side, and then when I sewed the side to the back. All seams are covered in bias tape. You DO NOT have to do this step for the function of the bag, but as far as for looks, the bias tape is huge for the finish.
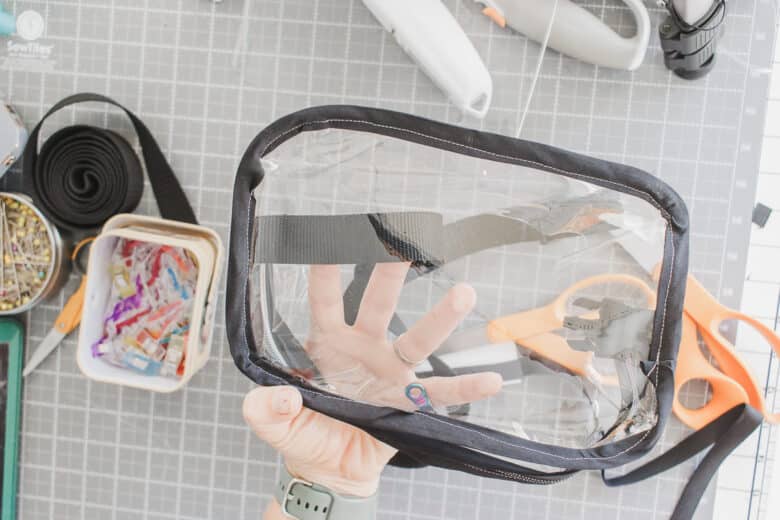
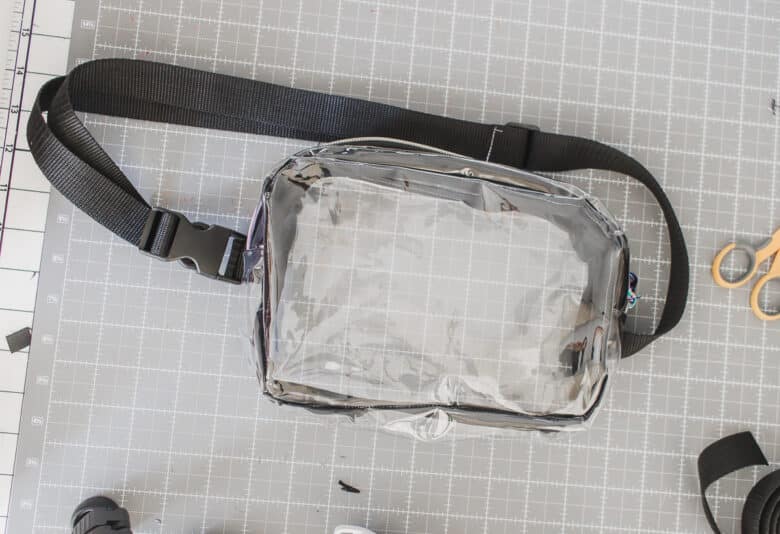
Here’s my cross body clear bag finished. The vinyl is stiff and a bit hard to turn if turning the bag inside/right side out, but I like the weight of it for the wear of the bag.
How to sew a clear stadium bag
Ok! Let’s make a clear vinyl stadium bag! You are going to cut a front and back to the bag 14″ tall x 13″ wide. You will also cut two pockets 7.5″ x 9″. You will place the pockets about 2″ from each side and 3″ from the bottom of the bag.
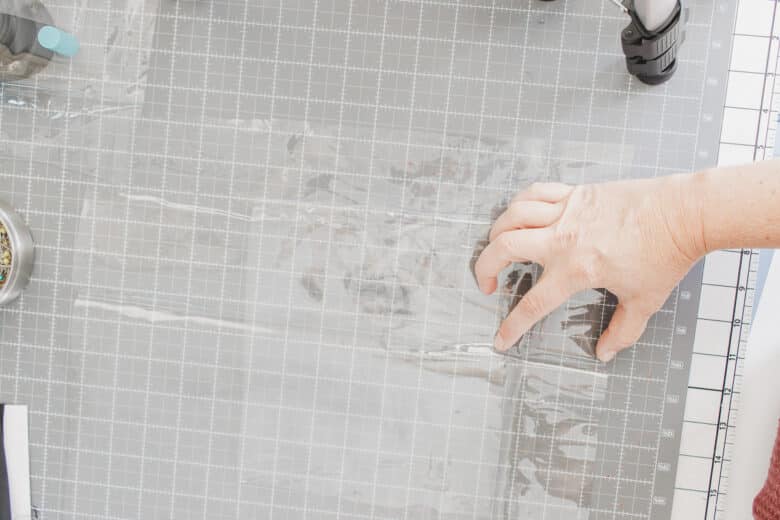
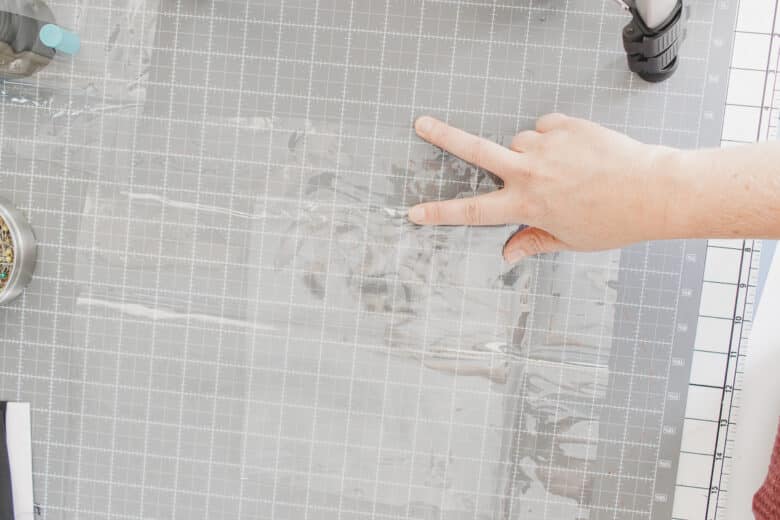
Finish the top of each pocket with bias tape. Place the pocket back on the side as directed above. Sew the bottom of the pocket in place, then place a piece of bias tape over the bottom. The sides will be left un-sewn.
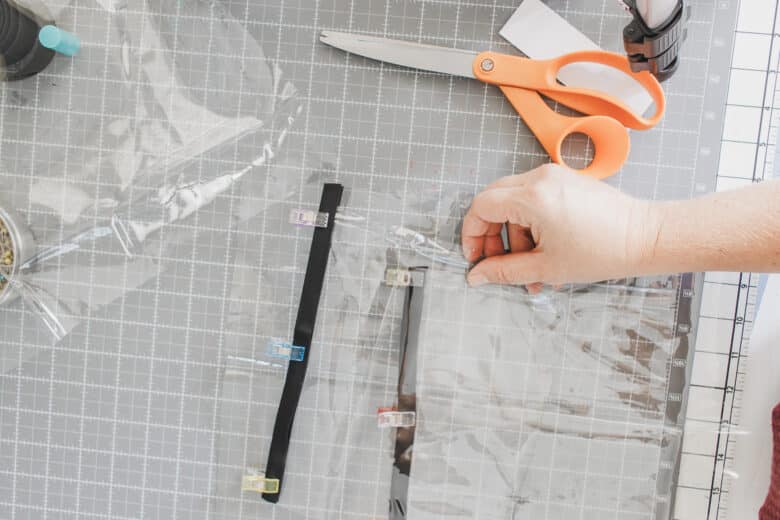
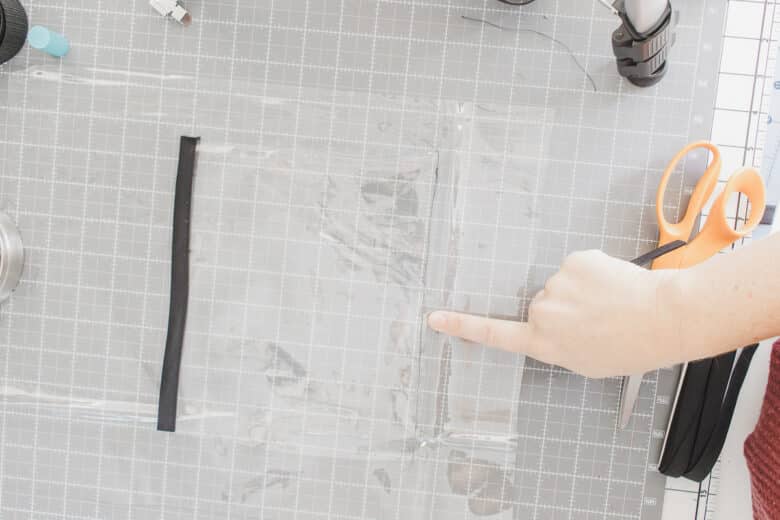
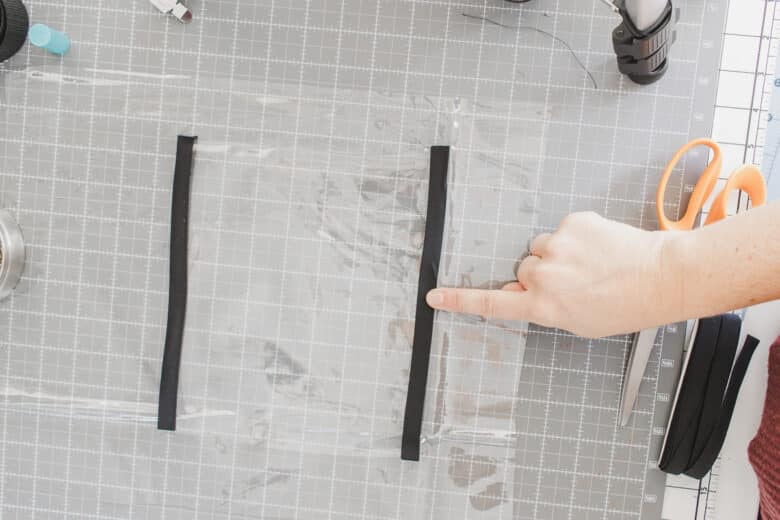
On the bottom corners {below the pocket} cut out a 2.5″ square from each of the bottom two corners. It’s so hard to see my clear cut outs {haha}
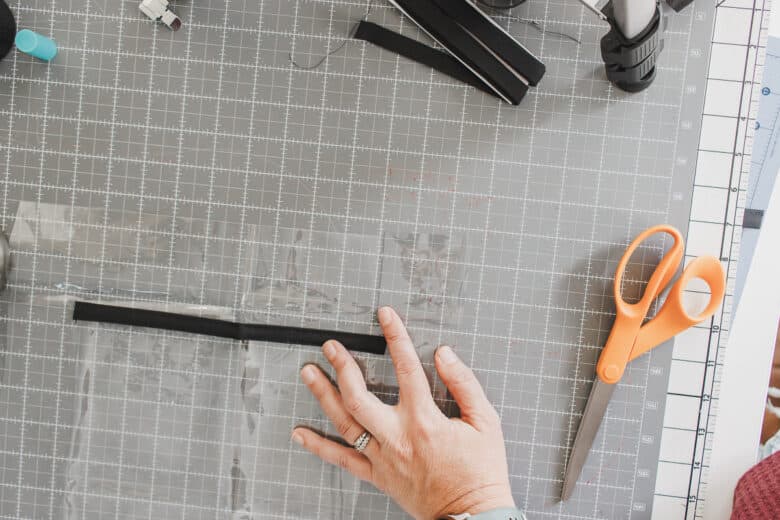
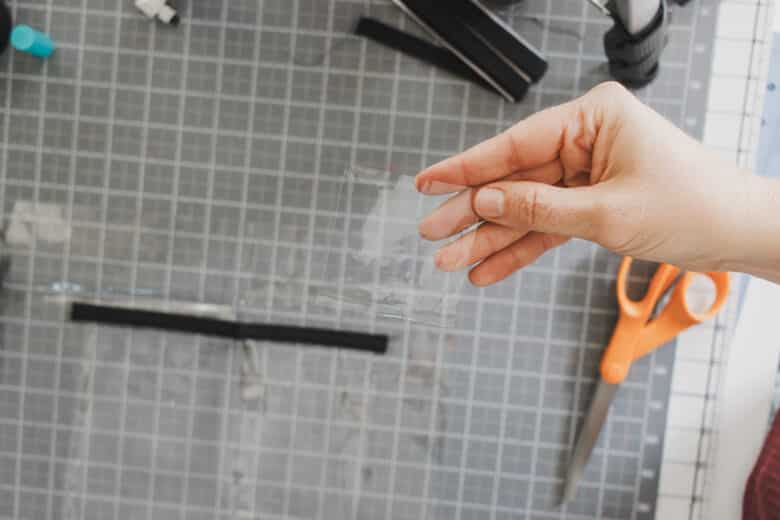
After you have sewed a pocket to each side and cut out the bottom corners on each side, place the two sides together with the pocket sides together. Sew the bottom edge, the space between the notches. Cover that seam in bias tape after sewing.
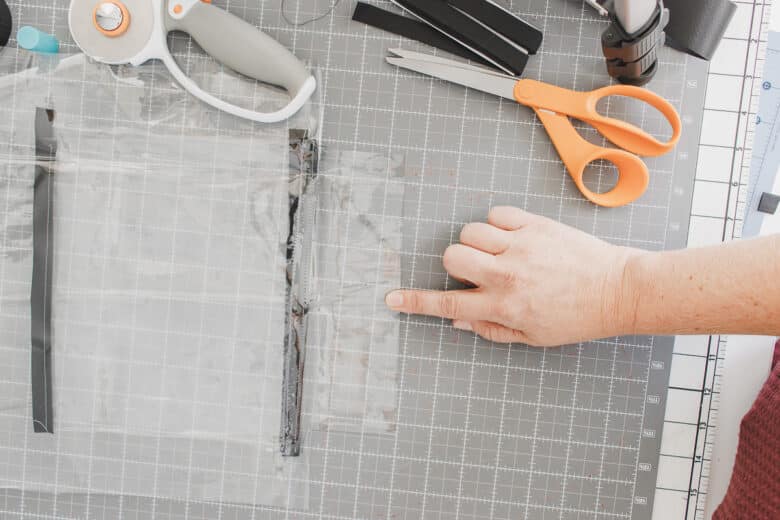
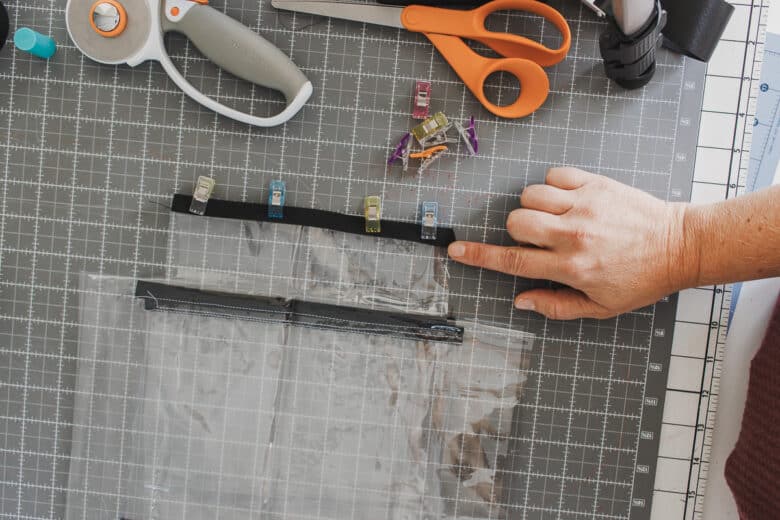
Now it’s time to add the strap. Place the end of the strap at the bottom of one pocket {the strap will overlap the raw edge of the pocket. Lay it up the side of the pocket and over the top edge of the bag. Create a loop for the strap and then place the strap back down the other side of the pocket. You should now be back at the bottom of the bag. Go up the other side of the bag along the pocket, around the top loop and then down other side of the pocket and back to were you started the strap.
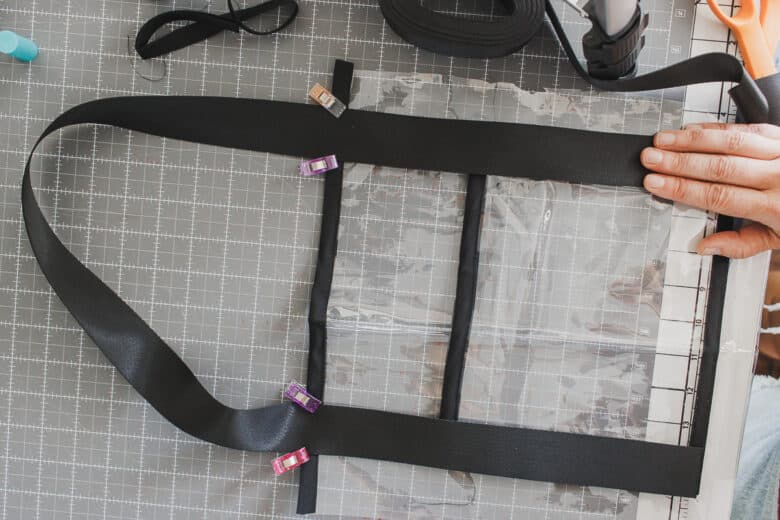
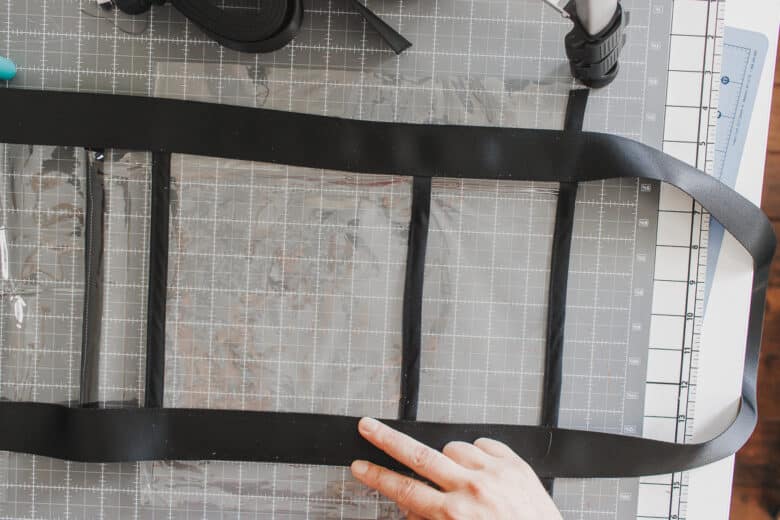
Fold the bag in half and make sure the straps all line up and the loops are the same length.
Sew along both sides of the strap on both sides of the bag. Sew the strap everywhere EXCEPT for the bottom. Do not sew the strap at the bottom between the pocket bottoms. You will leave this part of the strapping UNSEWN.
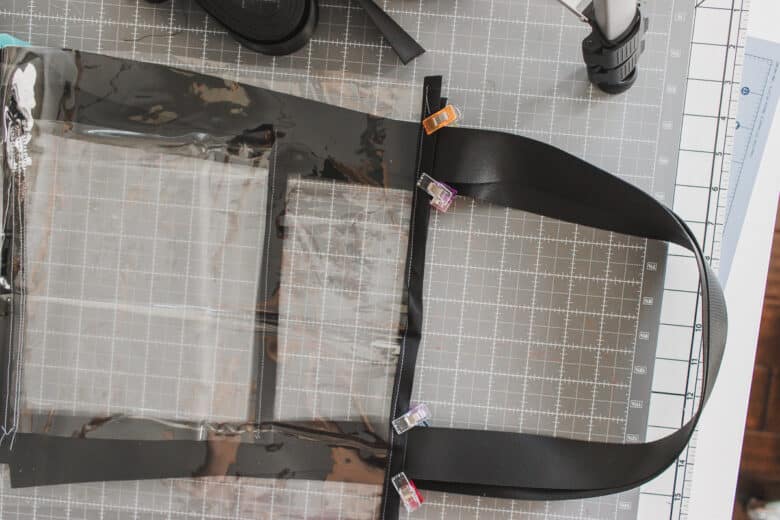
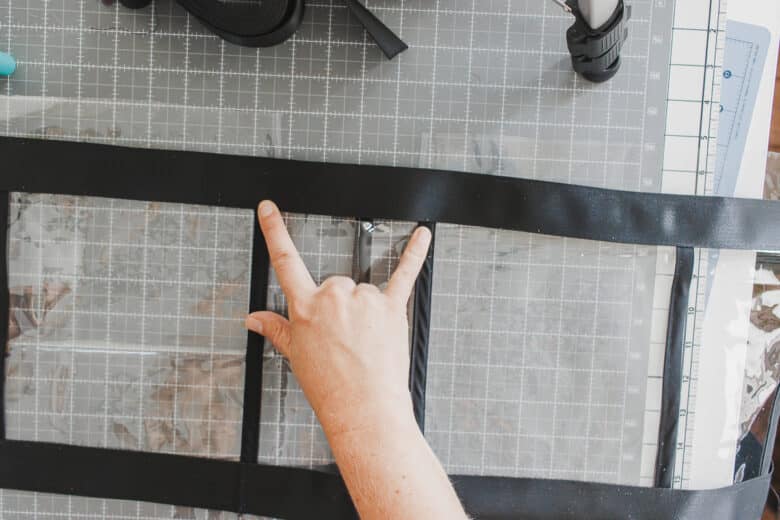
Now fold the two sides of the bag together with the pockets touching again and clip the sides to sew.
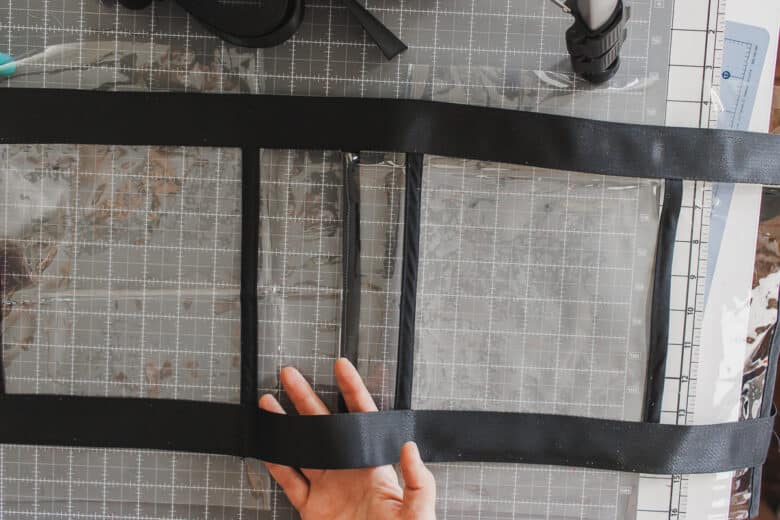
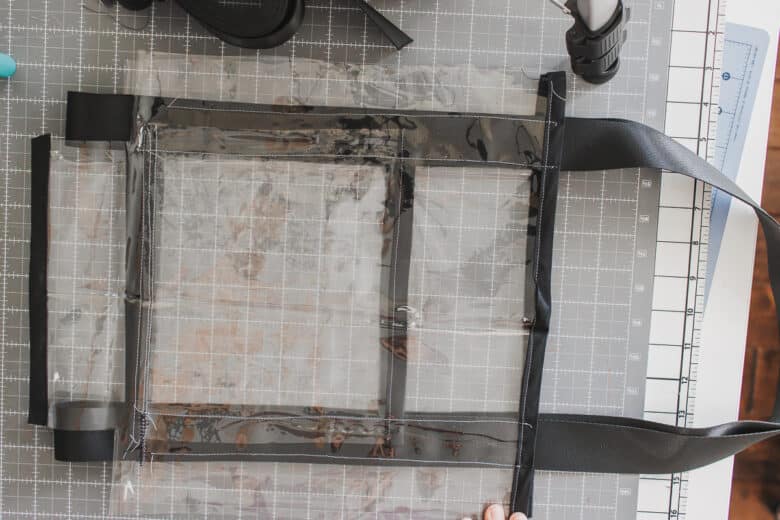
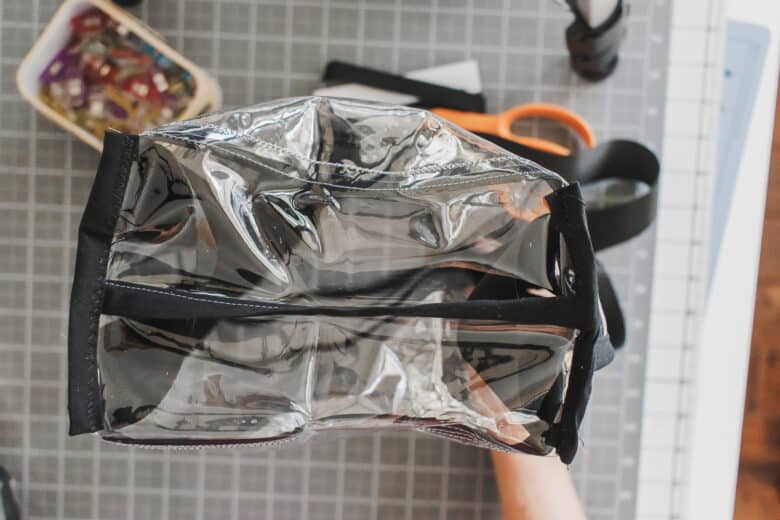
Sew the two side seams, then cover with bias tape. Now you should have the bag all sewn except for the two bottom open corners. Fold the bottom openings so that the bottom seam and side seam are lined up.
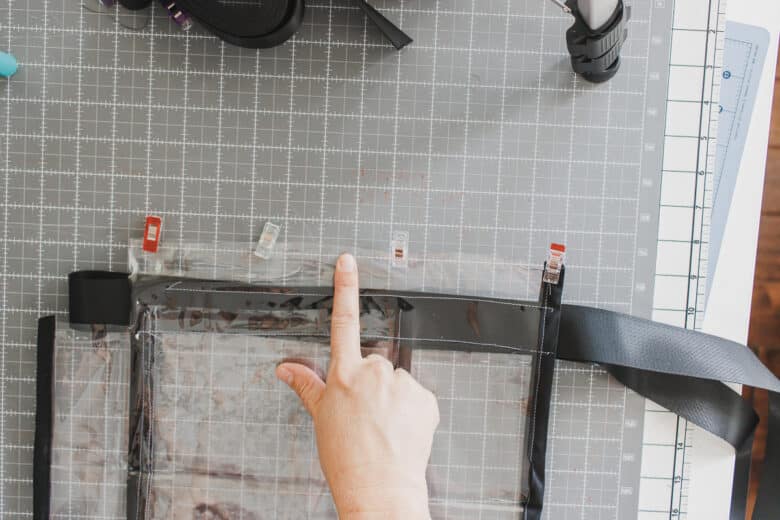
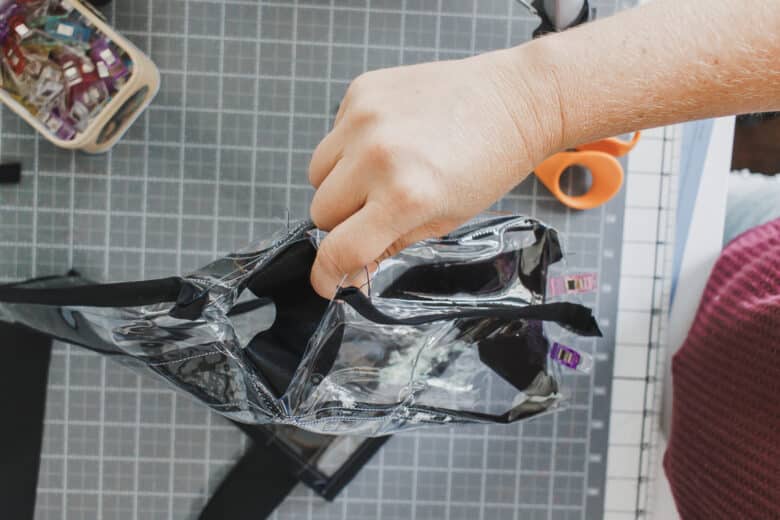
Clip this edge and then sew the two corners closed.
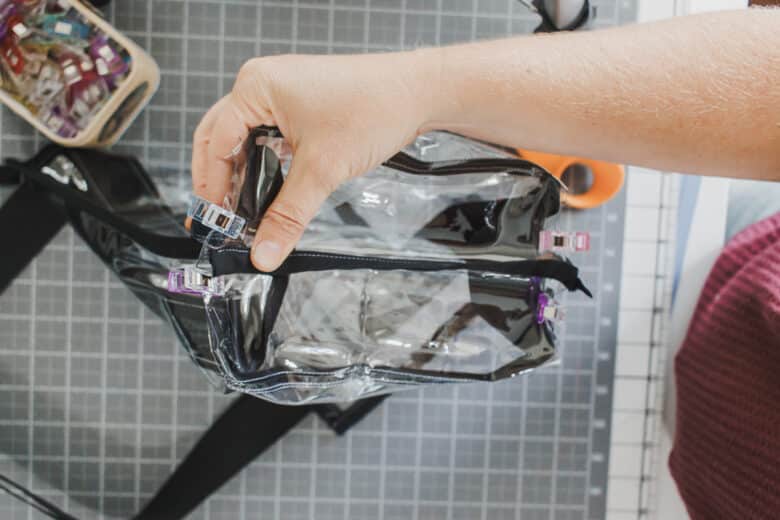
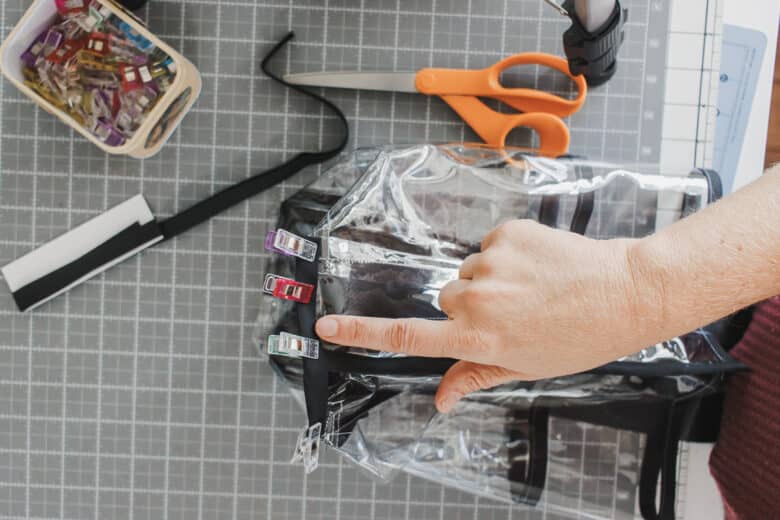
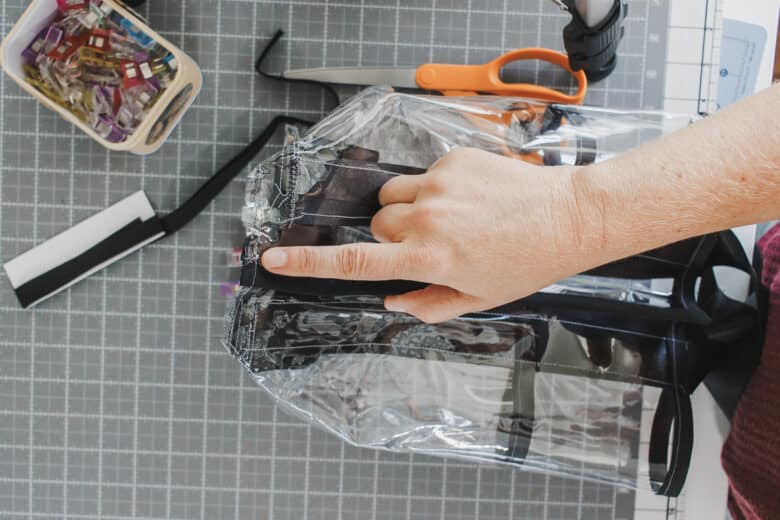
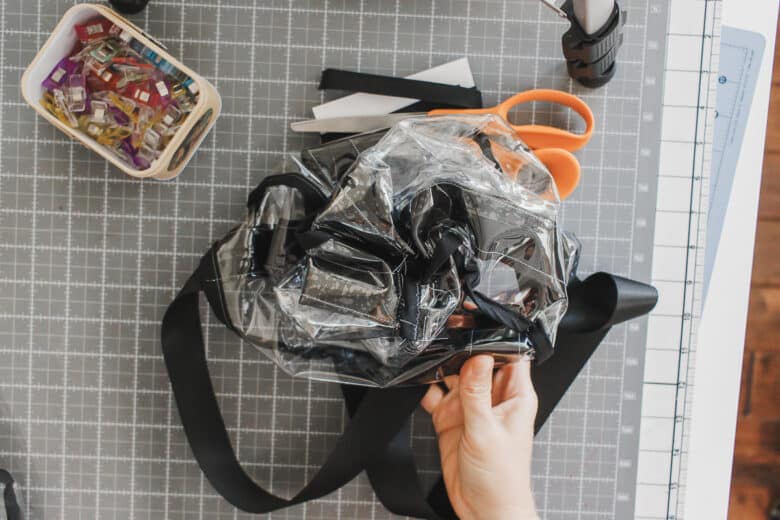
Cover these two small seams with bias tape to finish sewing the bag. Now comes the hardest part of the whole project… turning the bag right side out {haha} Not really, but it was really hard to turn.. the vinyl sticks to itself and is a bit stiff… Turn and shape the bag and you are finished!
Enjoy all the fun events you will attend with this bag!







Korrie says
Hi Emily-I love this idea! Thank you for the easy instructions and the advice with the bias tape! I’m always looking for fun new ways to create and would like to try seeing with vinyl but have been a bit intimidated…I have 2 questions. What strength needle do you use and do you choose particular strength thread or just all purpose thread that matches your bad tape? Thanks again for your wonderful instructions and ideas!
Korrie says
Edit for spelling errors…*sewing not seeing and *bias not bad
Emily says
hi! I just used all purpose thread and a universal needle. if you have trouble with breaking you can use a denim needle, but the vinyl sews up pretty easy!
tricia says
Thank you for this detailed tutorial! My question is for a store bought bag that I have in clear vinyl, the seams are starting to separate a little and I would like to repair it – is it possible to do with simple stitching or since the vinyl is tearing beyond the seams/bias tape area, should I try to repair the seams in another way? Thank you for any advice!