I’m so excited about this raglan shirt hack! Today I’m going to show you how to sew a collar with a zipper and make a super cute raglan pullover top. I am so pleased with how this zipper collar tutorial turned out and I can’t wait for you to try it too! You can see the whole how to sew a collar project on the video or check out the photo tutorial below. {and yes, we’ve already had snow in Oct!}
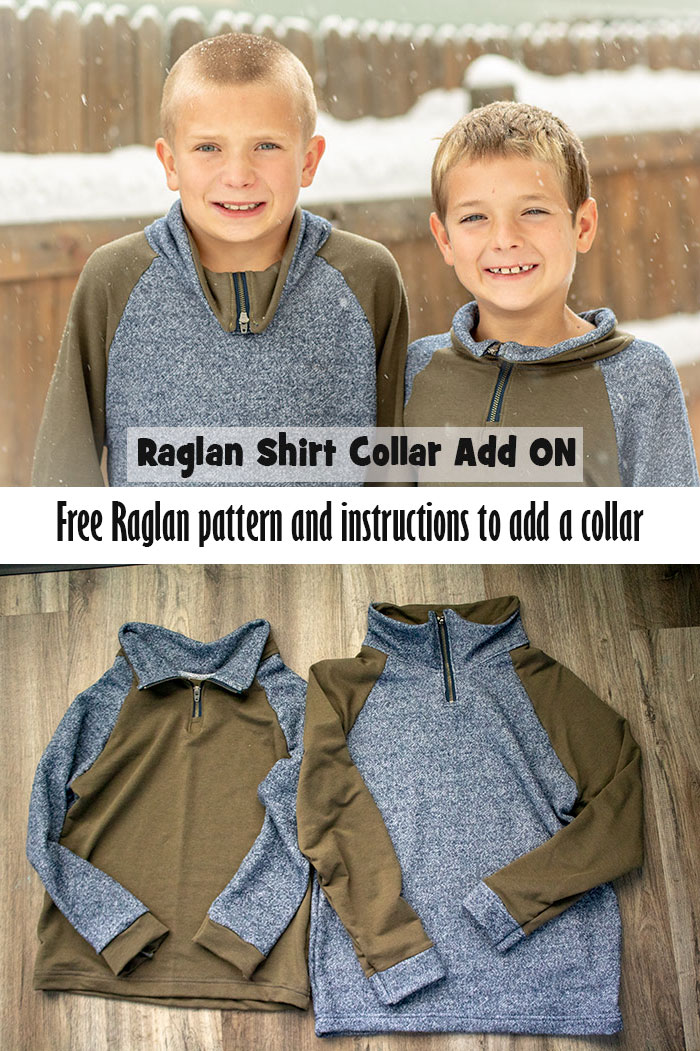
How to Sew a Collar with Zipper tutorial
It wasn’t easy to get these boys out in the snow and smiling, but we did pretty good in the end. You can at least see the the shirts! We used this for our family photos and I can’t wait to see how they turned out. The photographer offered to send clients my way who need help with styling, so I think they were a hit. I’m not really interested in mass producing though {haha}
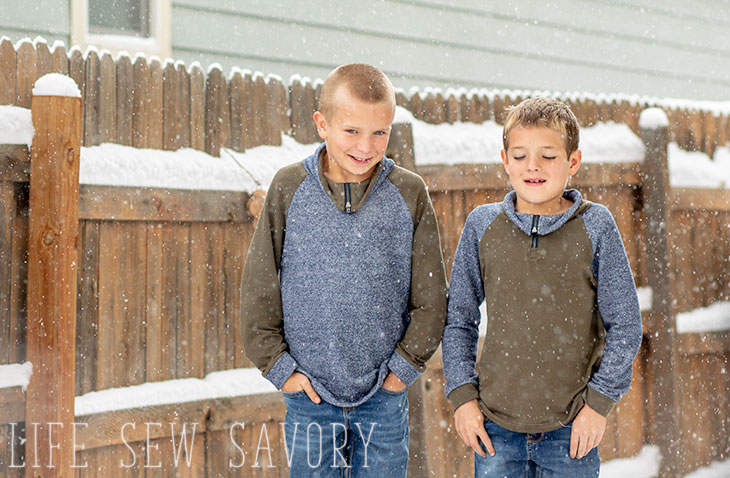
I used this gorgeous French Terry HERE and HERE and zippers from my stash…
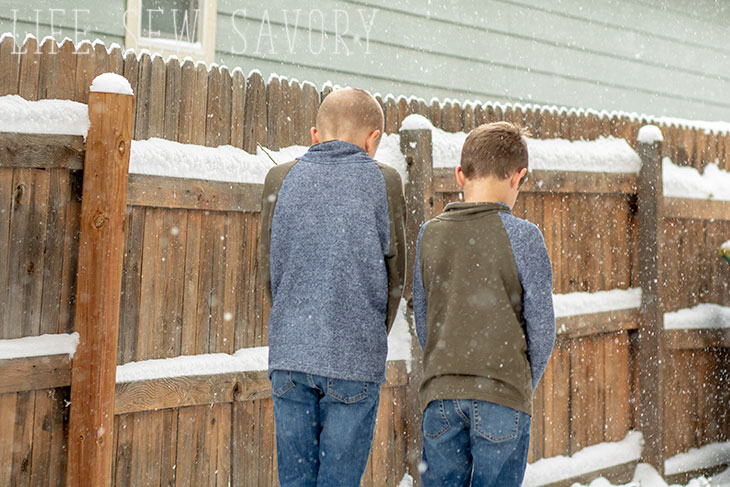
how to sew a shirt collar –
ok… start by heading over to the FREE raglan shirt pattern post and download it there. Follow the directions on that page to sew up the shirt all except for the neckline. Follow the directions, just don’t add the neckline when instructed. You will need additional fabric for the collar and a zipper 6-8 inches.. mine was 6″ and I would say it was slightly short… But it worked…
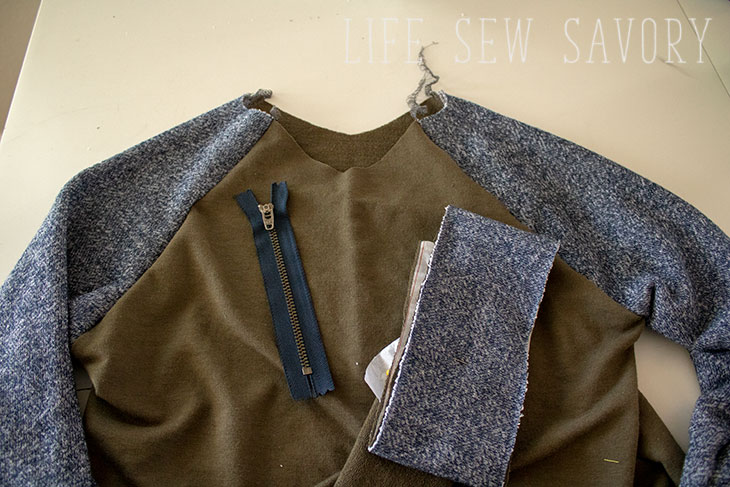
Begin by finding the center of the front and clip 1″ to mark the center.
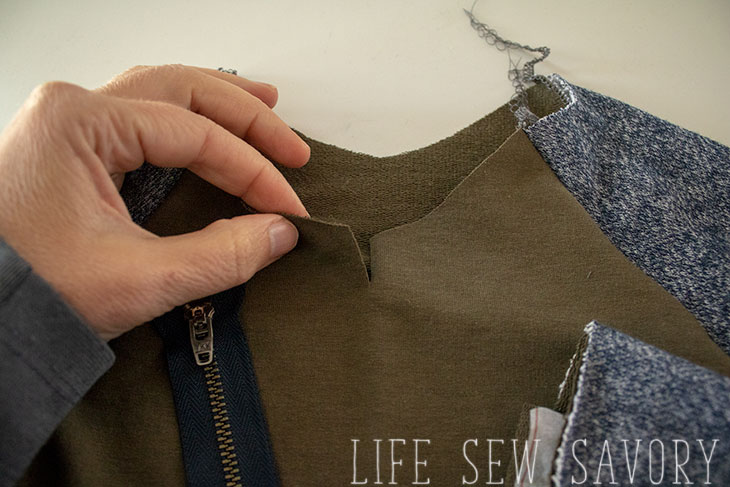
Measure the neckline. You will use the measurement to cut the collar.
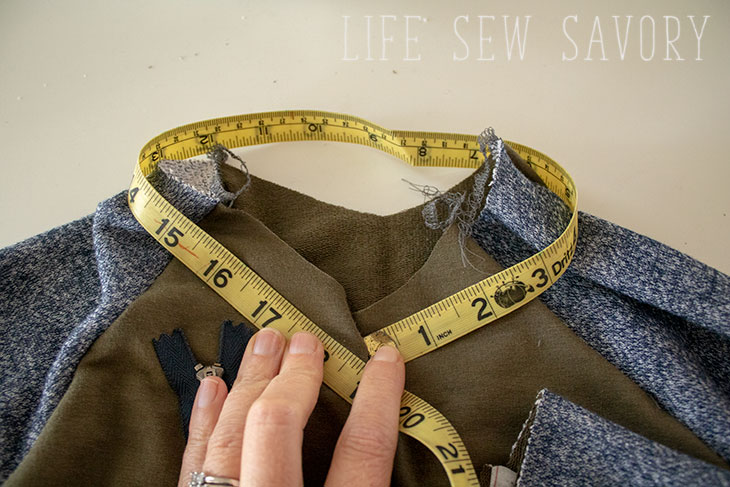
how to cut shirt collar
The collar height will depend on the size of shirt you are making. I made the size 8 with a 3.5″ tall collar and the size 6 with a 3″ tall collar. I would not going taller than the 3.5″ but the 3″ could also work for larger sizes… The grainline of fabric will go from top to bottom of the collar. You can cut the short end of the collar straight or at and angle like I did. The angle will give a larger neck, if you want it straight up, keep it straight. My angle was no more than .75″. Cut the collar the length measured above ex. 18″ and if you want the top to extend cut it that much longer.. 18″ on the bottom 19″ on the top {1/2″ angle on each side.} You will cut 2 collars. I cut 1 green and 1 blue.
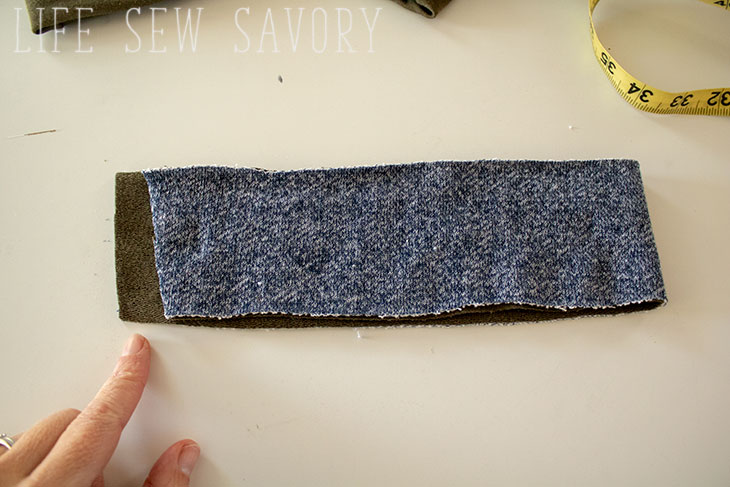
Sew the top edge of the collar with right sides together. The top edge is the longer edge, or if the same just sew one long side. 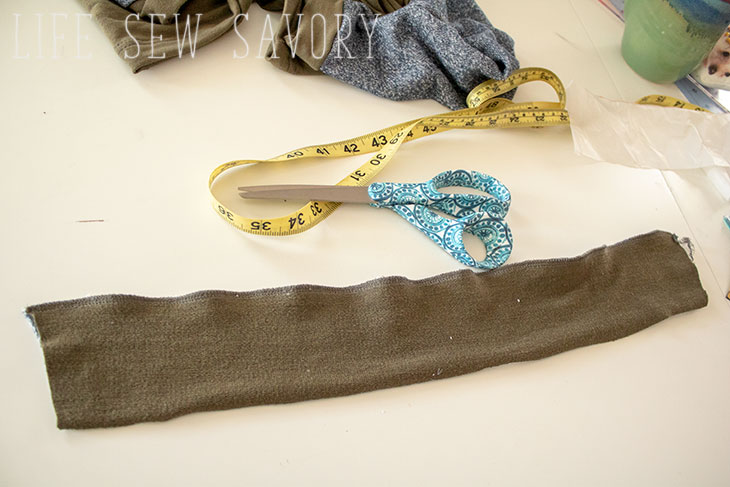
how to make shirt collar
Lets put it all together. Pin just ONE edge of the collar to the neckline. Choose the side of the collar that you want on the outside of the shirt. Line up the edge of the collar with the 1″ slit you cut earlier. pin around shirt neckline and sew.
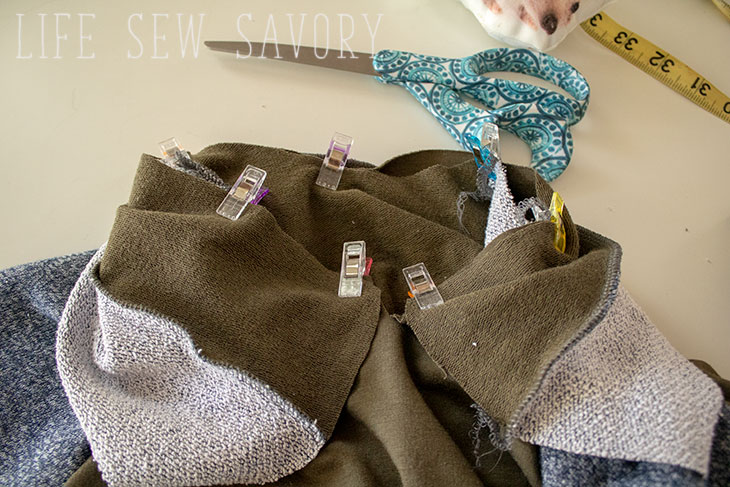
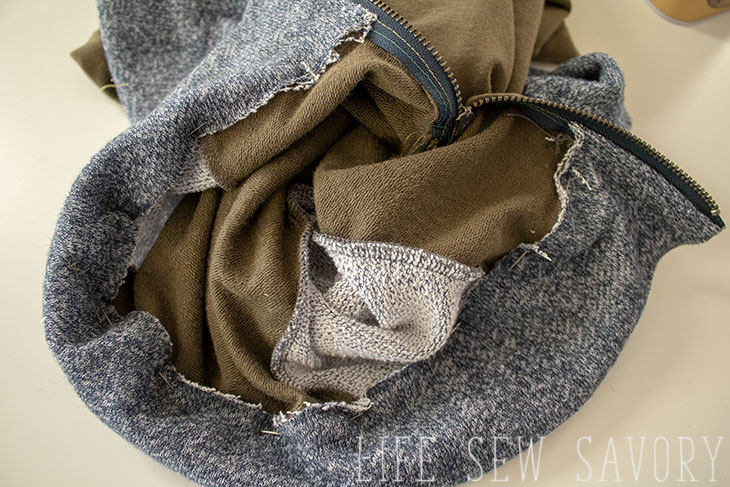
When you open up the neckline it looks like this.
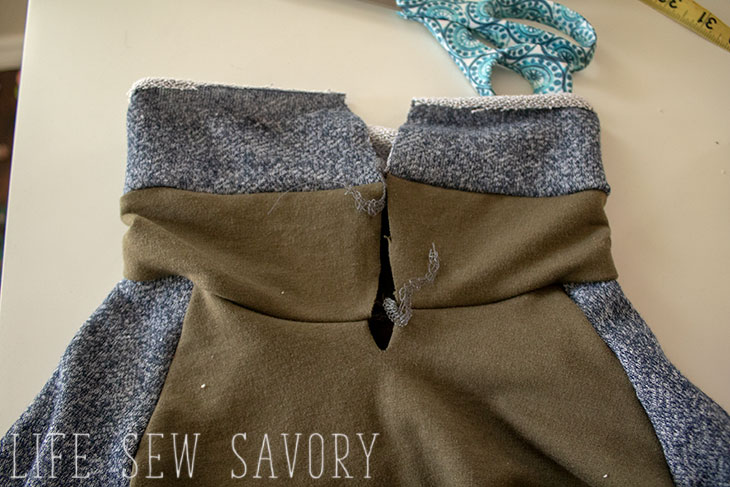
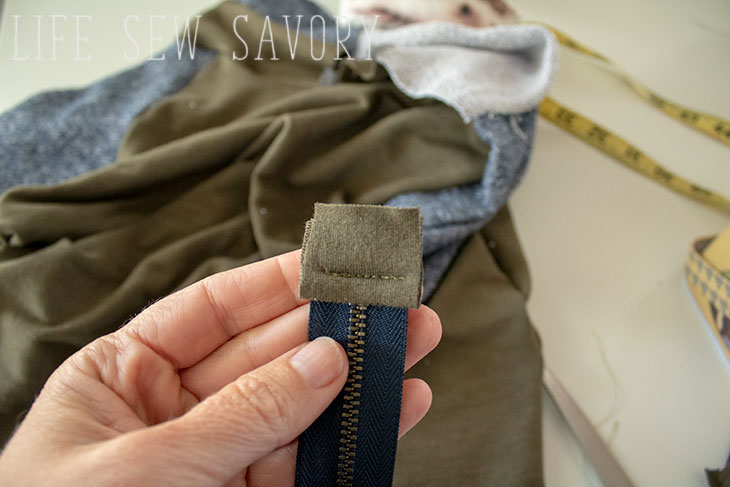
Add a small zipper tab to the bottom of your zipper. Fold the fabric over and place the fold at the bottom of the zipper. Stitch.
Test the length of your zipper on collar and shirt. The top of the zipper will be at the top of the front collar piece. The zipper will be right side down on the right side of the fabric.
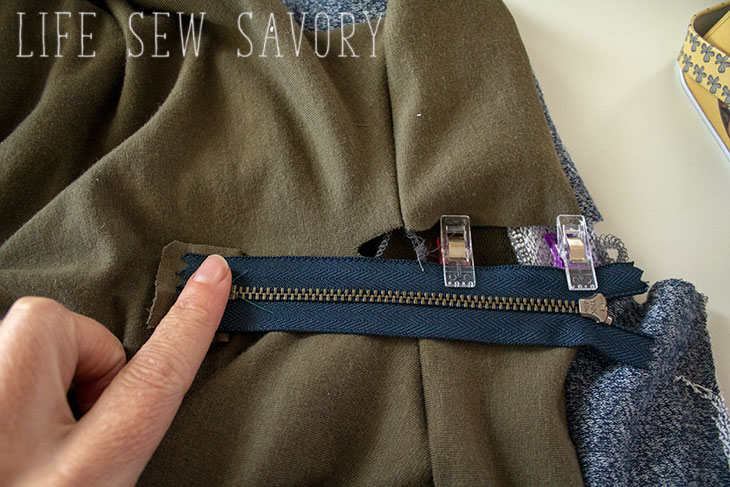
Clip the shirt opening down to the bottom of zipper and the Y off the end. You cute should end at the bottom of the zipper NOT the zipper tab.
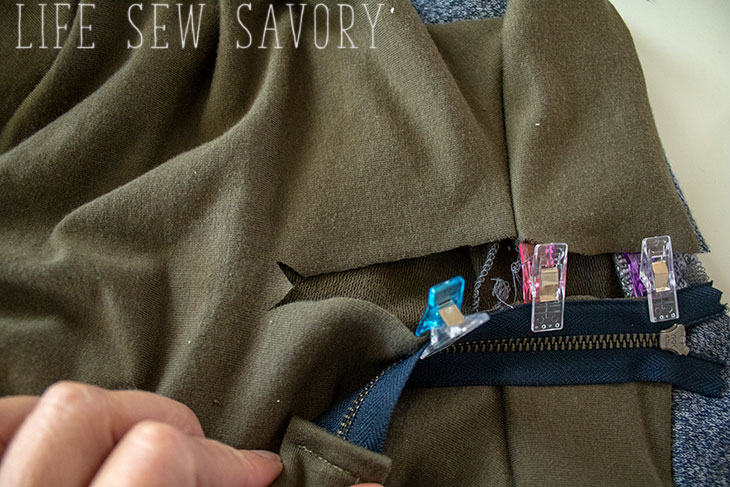
I clipped the top of my zipper just a bit. The very top should line up with the front of the collar top edge.
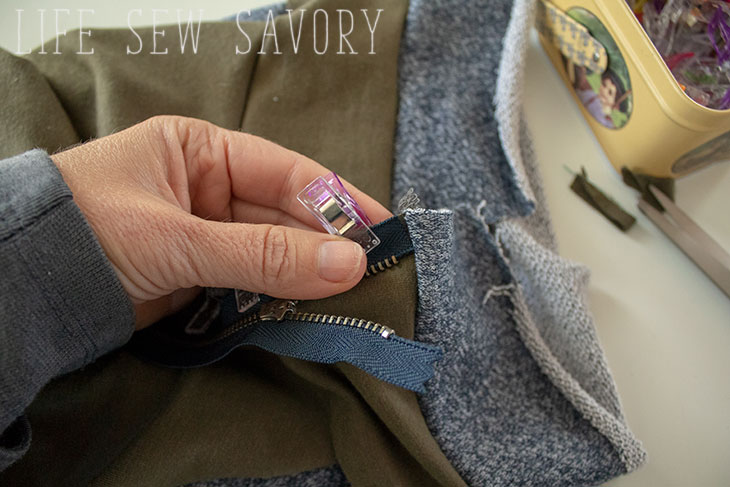
Fold the back of the collar over and with right sides together sandwich the zipper at the top. Sew with a zipper foot along the edge of the zipper and fabric.
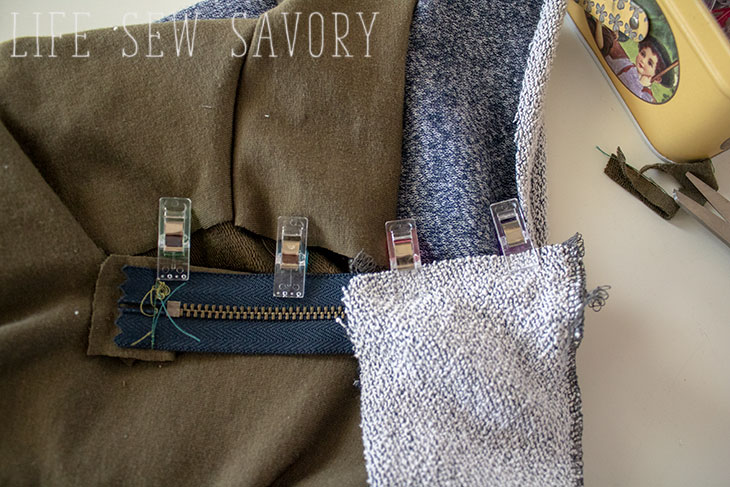
When you flip open the fabric and turn to the right side it looks like this.
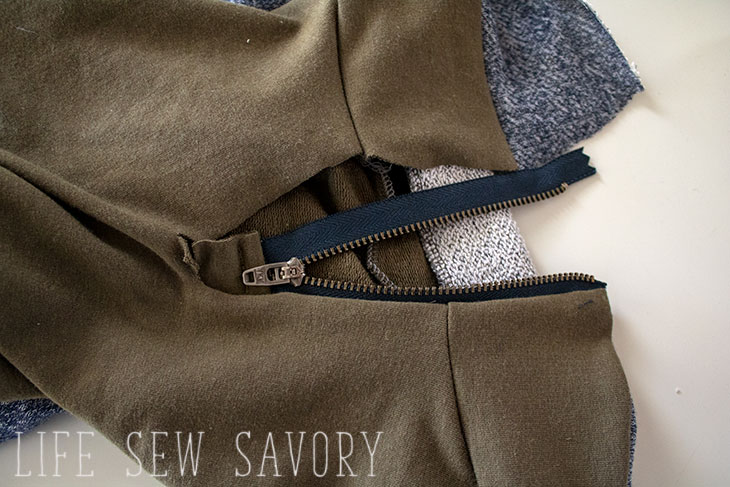
The back looks like this with the back side of the collar coming down to cover the seam around the neck.
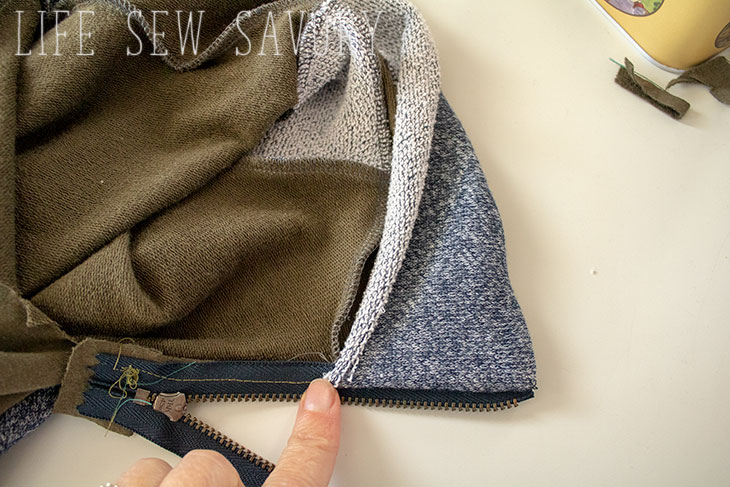
Flip the shirt around and with right sides together pin the zipper to the other side of the neck. Fold over the back of the collar just like before to enclose the zipper. Sew the side of the zipper along the side. DO not sew along the bottom of zipper yet.
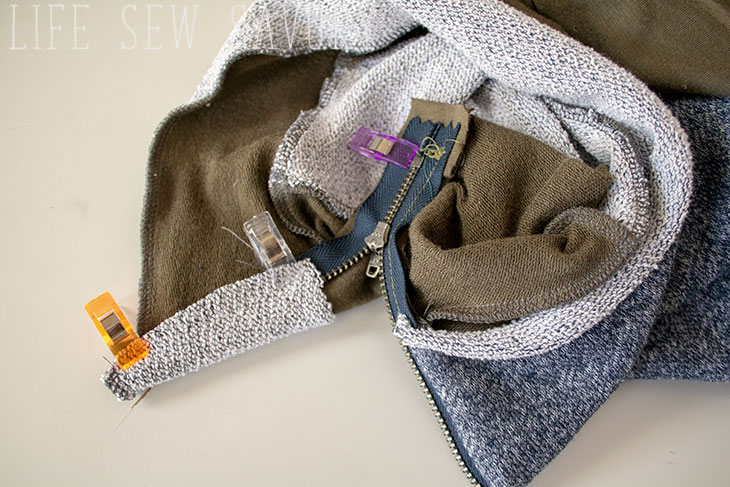
On the front of the shirt fold under the Y you cut earlier and pin to zipper tap. Top stitch along each side of the zipper and around the bottom here.
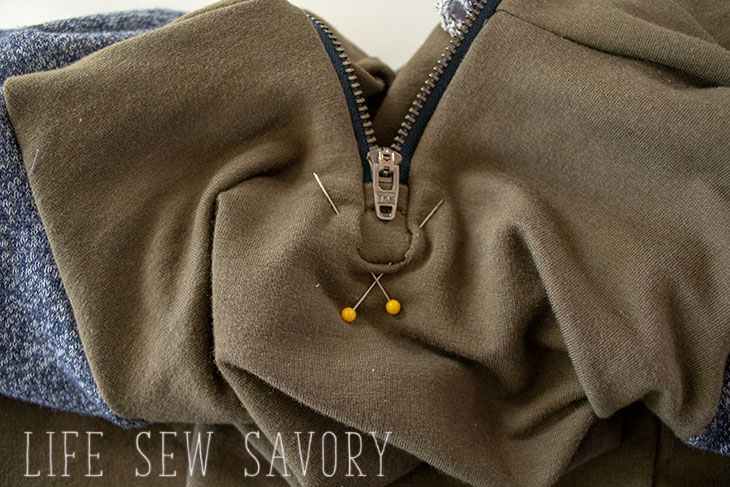
This part takes a bit of practice. I will say I like how the bottom of the zipper turned out on the blue shirt better that this green one.
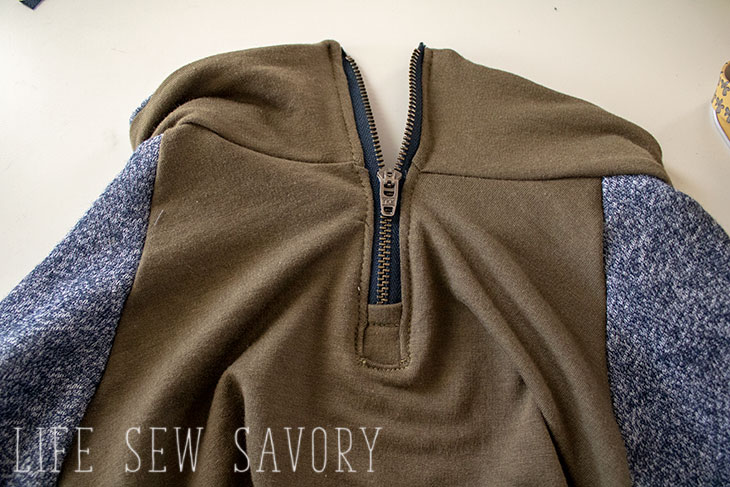
Now to finish we will enclose the neck seam allowance and finish the collar. Fold the inside of the collar down over the seam allowance and pin so the edge of the fabric is JUST at the seam. Put your pins on the front side of shirt.
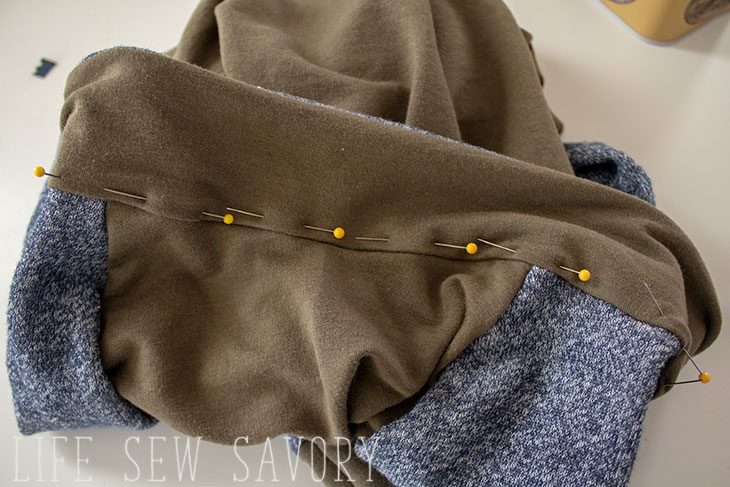
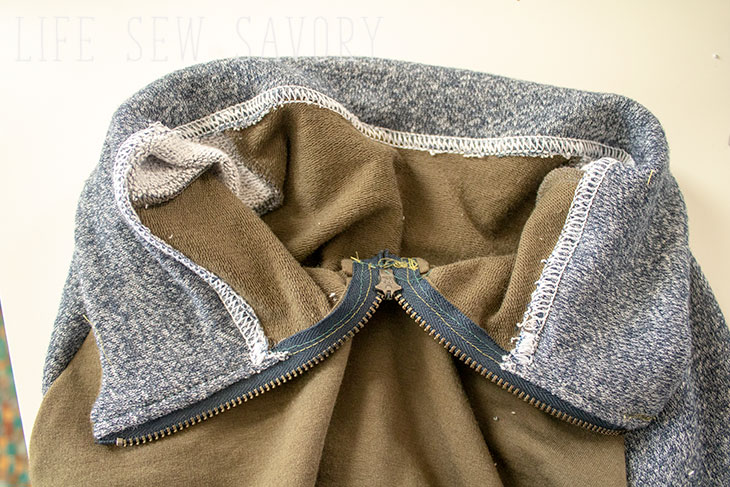
Sew with a double needle, cover stitch or even a wide zig-zag to finish this seam. Here is what the inside looks like.
And the outside of the shirt.
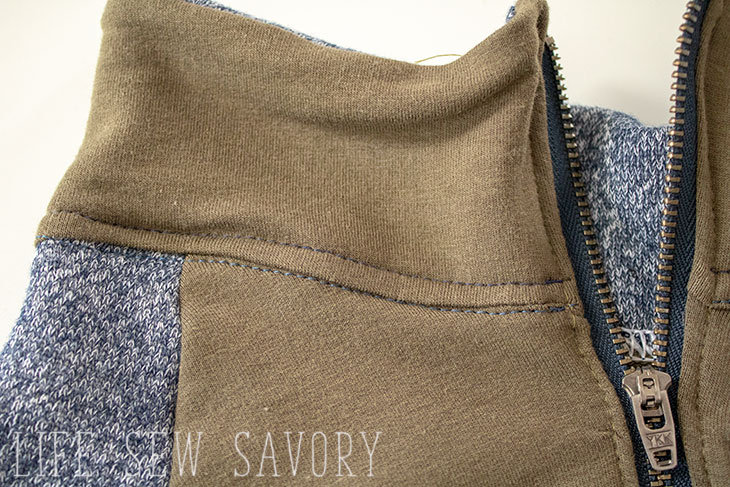
I just love this pullover look and my kids are already asking for more of these! That’s a win for me!
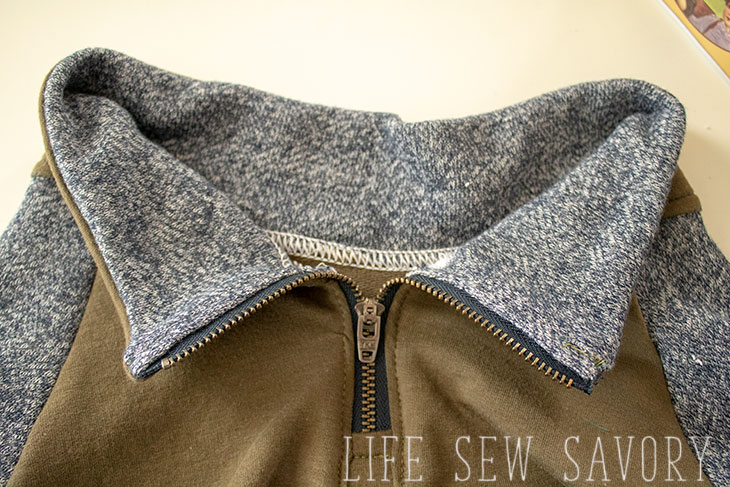
You did it!! Look at how cute the pullover Ralgans look {and the boys are pretty good looking too!}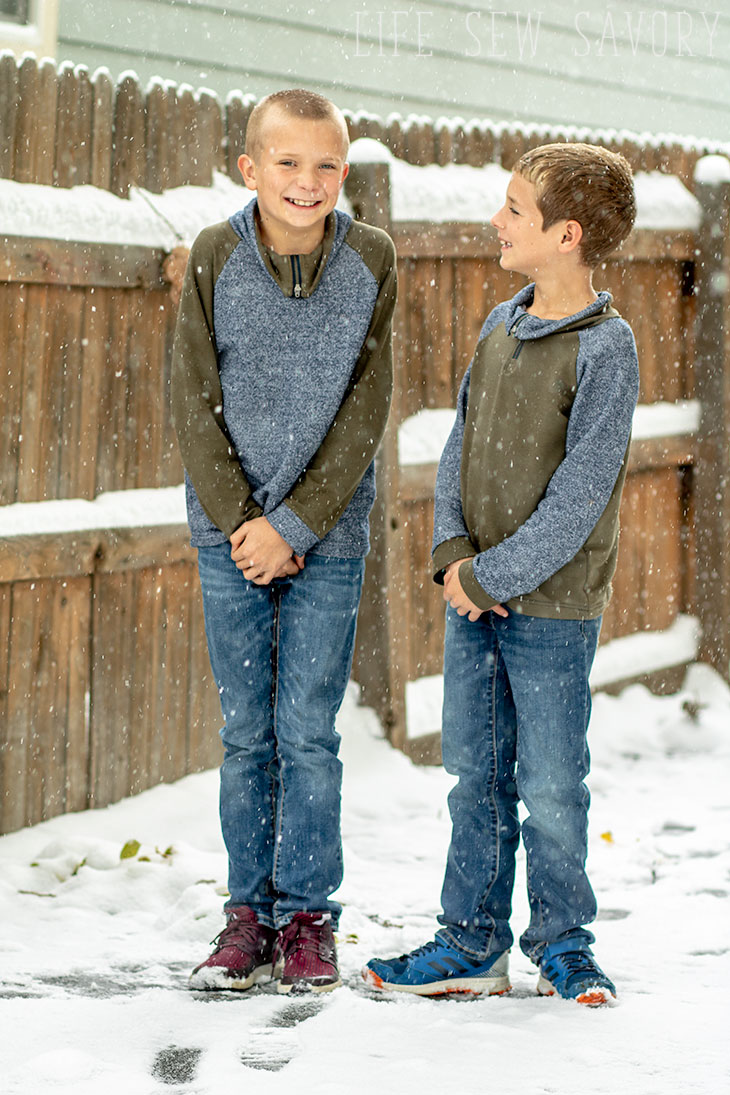
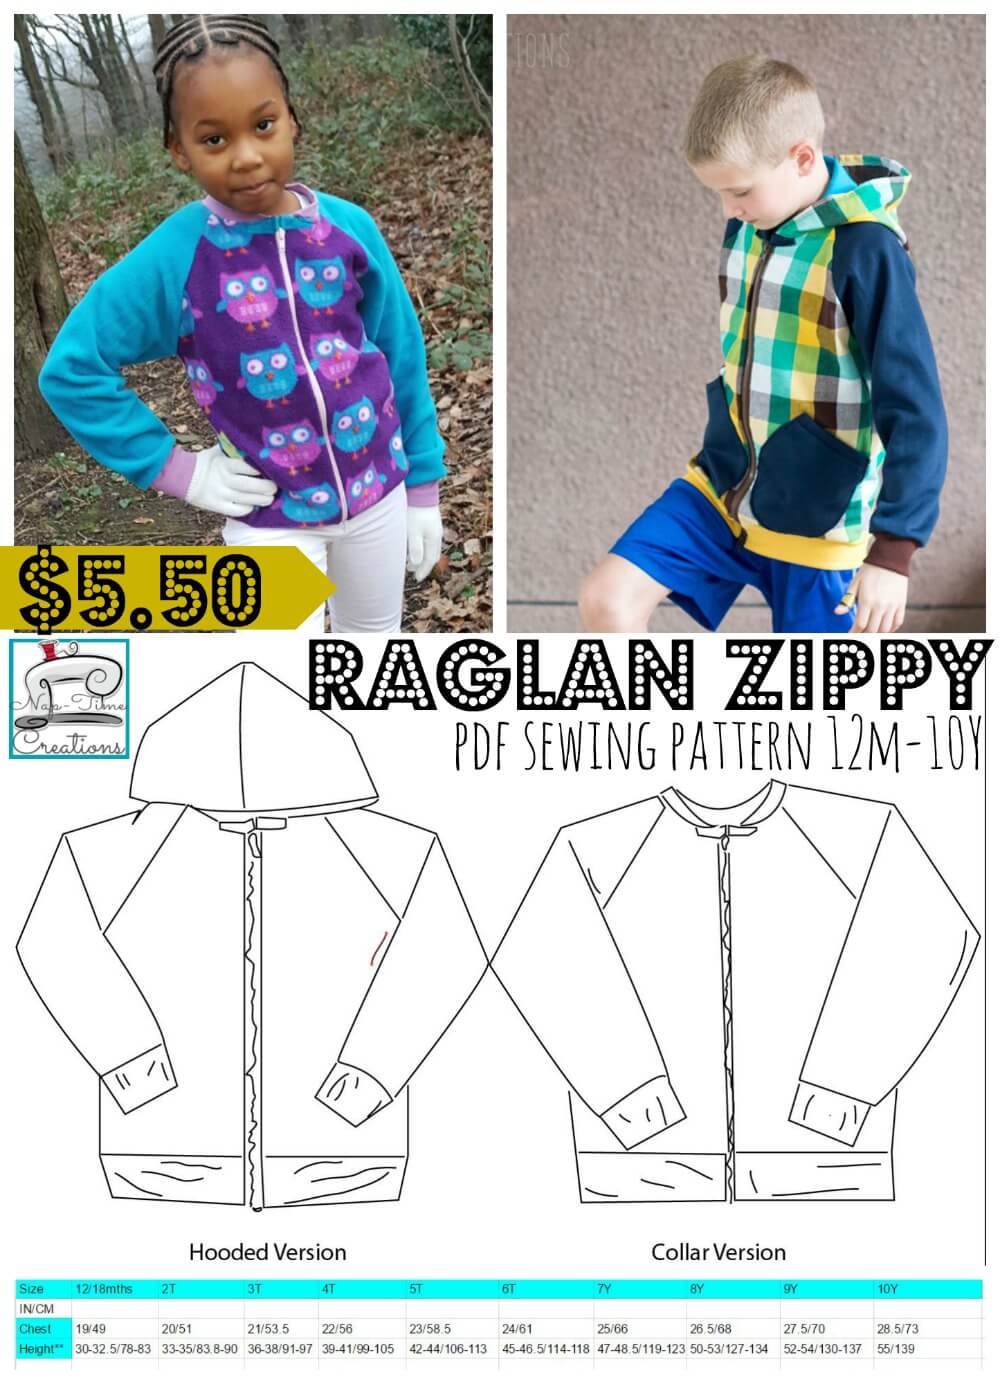
Other fun things to make with the Raglan pattern –







Leave a Reply