inside: Learn how to sew a dress AND download the free dress sewing pattern to use for the tutorial.
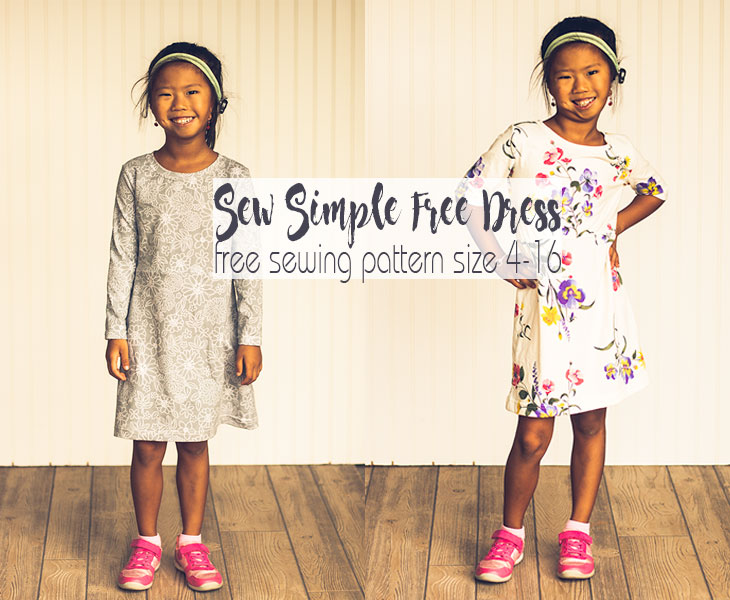
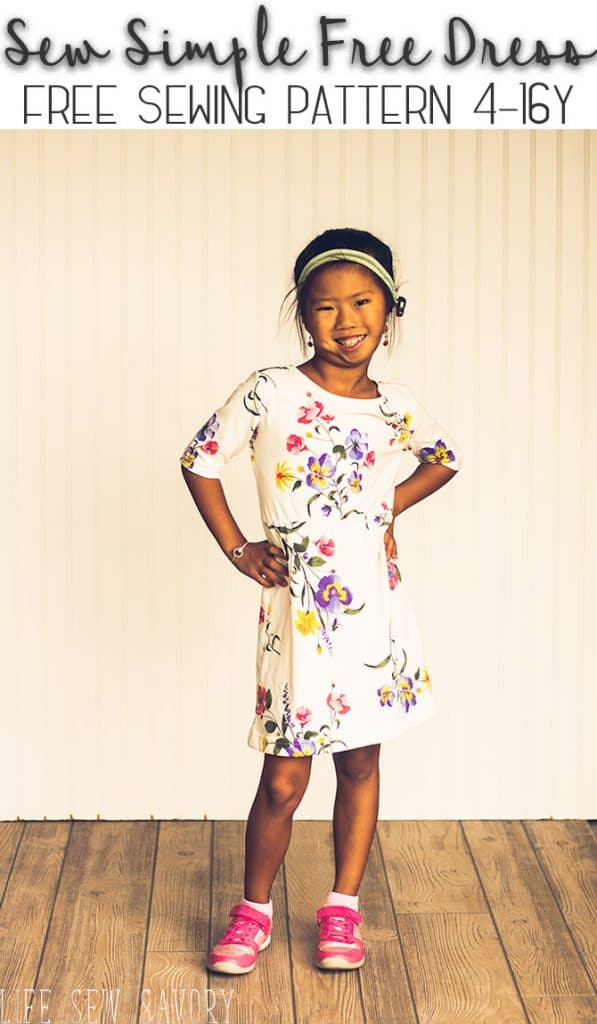
I’m so excited to share another free dress sewing pattern with you today. It’s a super cute, simple knit dress with free pattern download and tutorial for how to sew a dress. The free sewing pattern comes with an elbow length sleeve and a full long sleeve. This simple dress would also be easy to make longer in the skirt if you wanted as well.
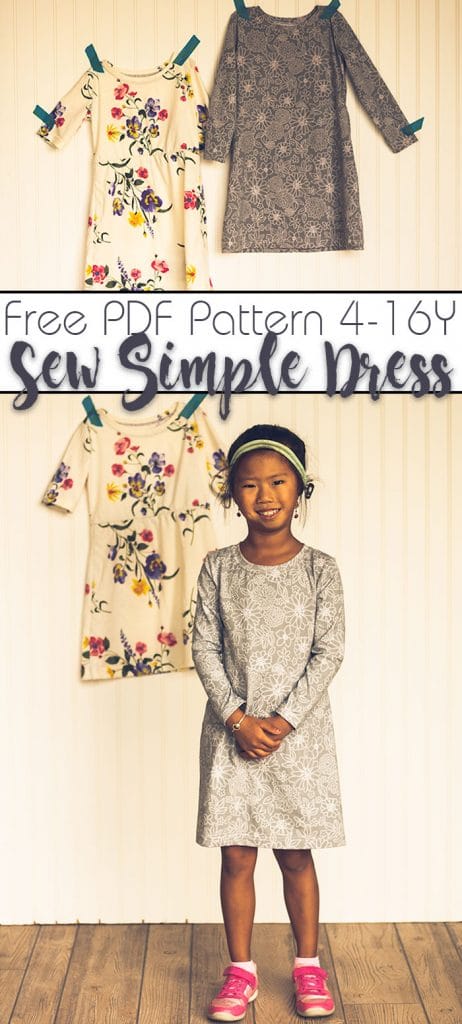
Girls Dress Pattern Free-
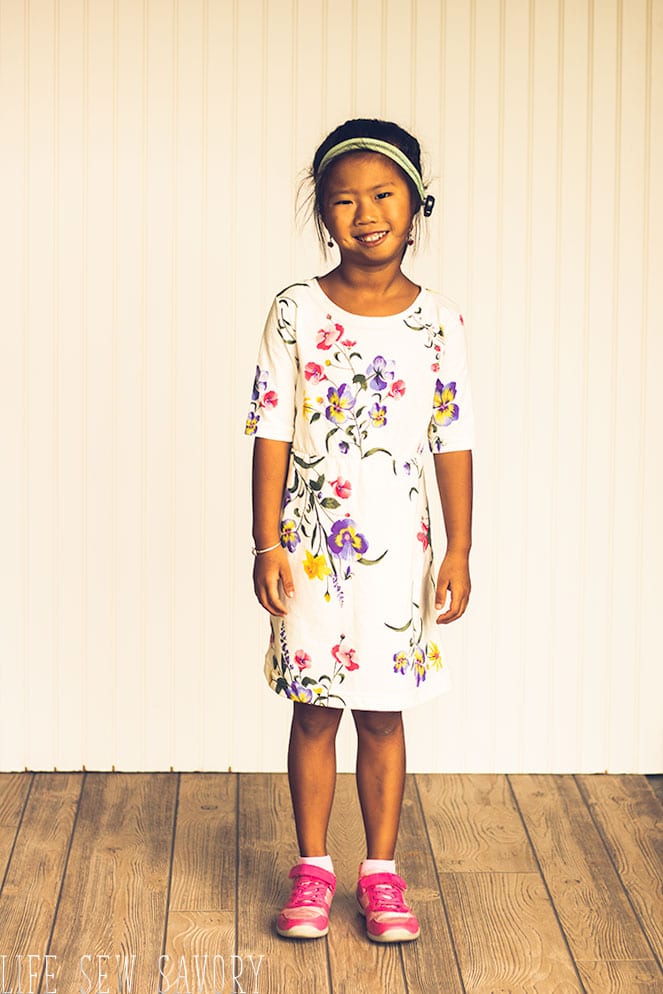
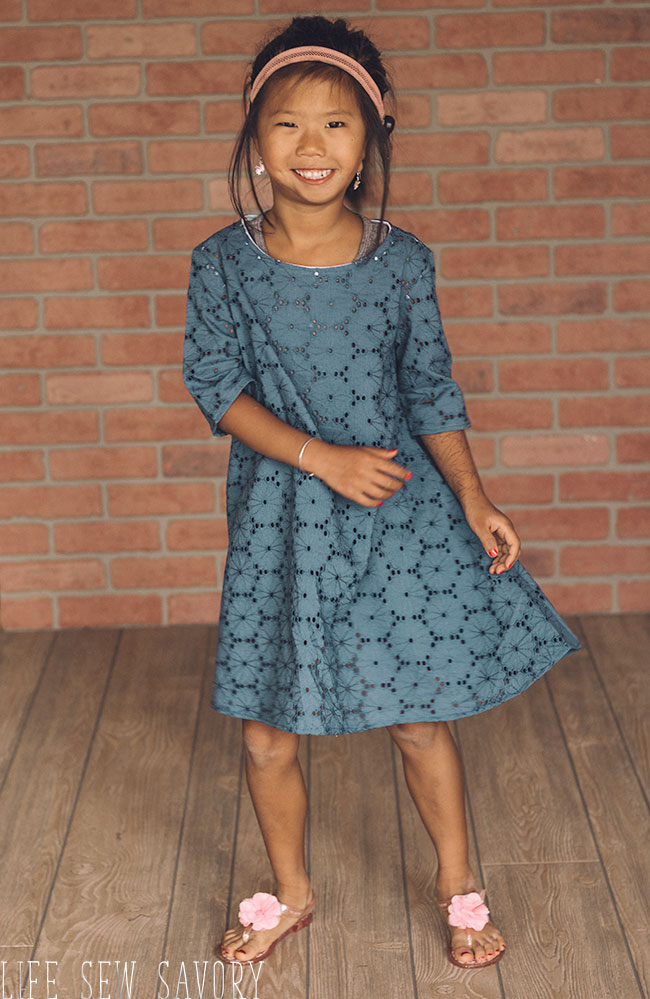
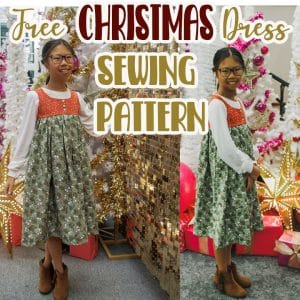
The full pattern download link and photo tutorial are below, but I thought i would show off this cute dress just a bit more before we get to all that! The elbow length sleeves are perfect for fall, and it would be super simple to shorten to cap sleeves if you wanted shorter sleeves as well.
The video in this post has voice overs describing every step of the process. If you cannot see the video, disable your ad blocker and if you cannot hear, try a different browser.
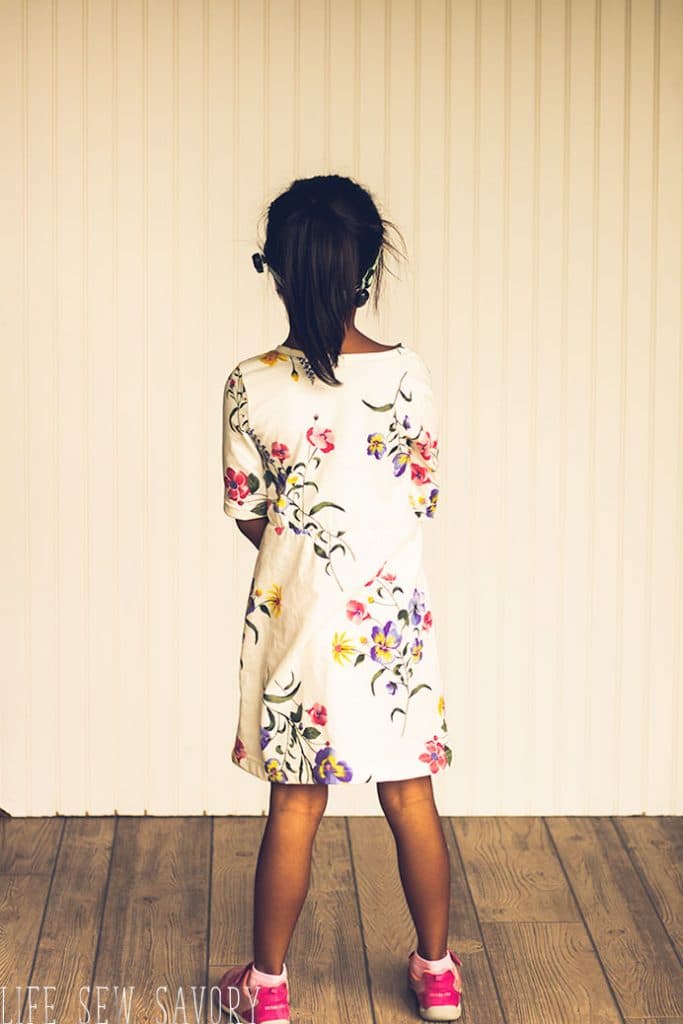
There really isn’t much different from front to back of this dress, just a bit lower neckline in the front. I was also thinking that this dress would lend itself nicely to a High Low hem. {you can check out my tutorial to try!}
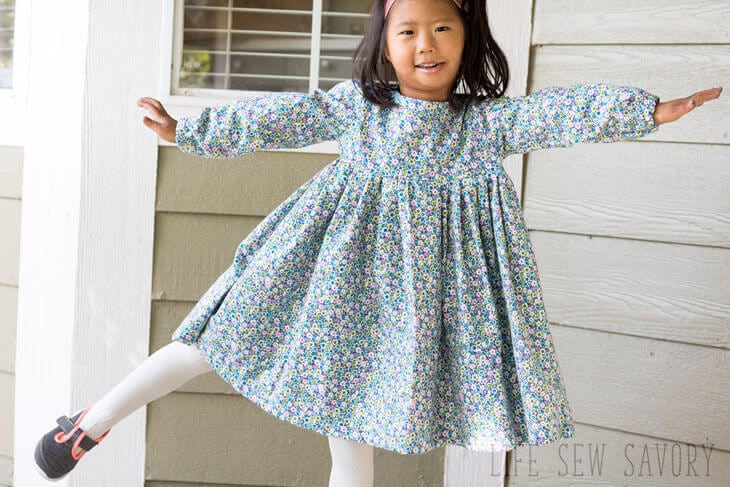
The only different with this version of the dress was the full length sleeves. The fabric was also slightly thicker, but the whole look is adorable. The skirt is not full, but flares out just slightly.

How to Sew a Dress-
ok! Let’s get sewing. Use the button below to download the free sewing pattern.
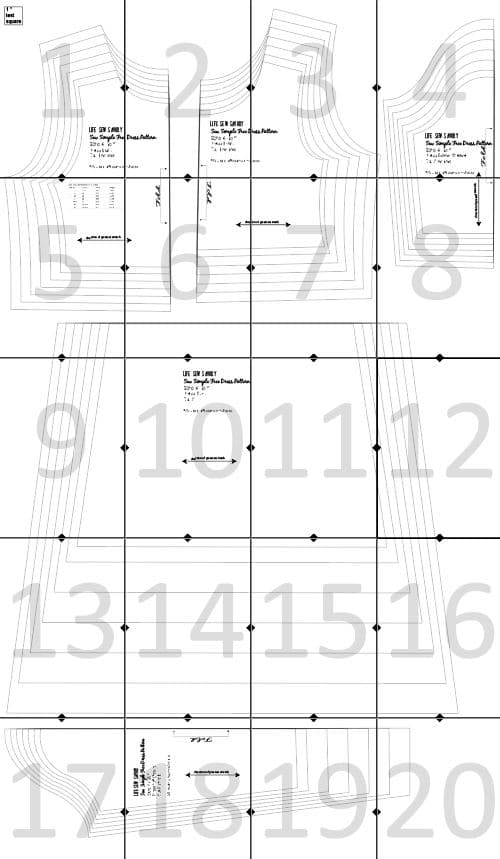
Print the pattern and trim and tape together. If you need more help with this part of the pattern see my post all about pdf patterns. Use the layout guide here to place the pieces together.
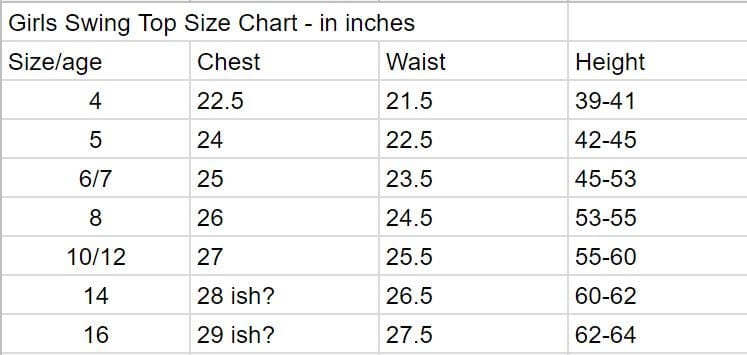
Next determine the size you are making with this size chart here- Go by the chest measurement first and adjust the length based on height. My dresses are 4 width and 6 length.
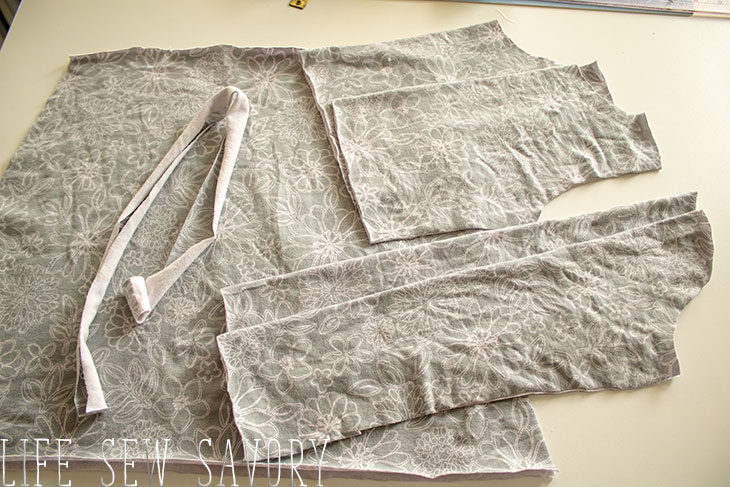
Let’s Make a Dress!
You will need:
- 1 yard for all the smaller sizes and 1.5 yards for larger sizes.
- I love the Art Gallery Fabric used in this post… Find more HERE
- {optional} clear elastic for waistband
Cut from Fabric –
- Cut 1 front and 1 back on the fold
- Cut 2 sleeves on the fold
- Cut 2 skirt pieces
- Cut 1 neck binding 1.75″ wide x 20″ {this will be longer than you need, but will trim later} The direction of greatest stretch should go with the long side.
Sew all seams with a serger or stretch stitch. Top-stitch with double needle or cover stitch machine.
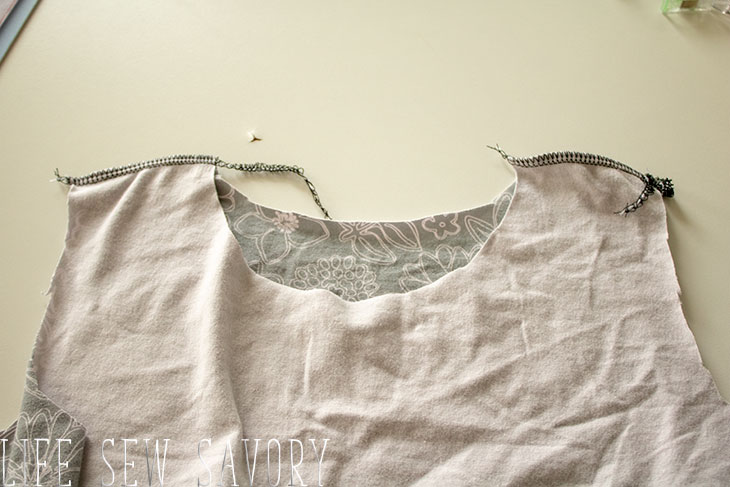
Sew the shoulder seams of the front and back together. If you want to sew the neckline with the open neck method only sew one shoulder then follow this tutorial.
Continuing this method – prepare the neckband by measuring the length of the neck opening. Depending on the stretch of your fabric cut the length of binding 80-90% of the neck opening. The stretchier the fabric the shorter you should cut the binding. I like 80% for most necklines.
With right sides together sew the shorts ends of the neckband together. Fold in half with the right side out and the long raw edges together. I like to place the seam at the back of the neckline. Stretch and pin evenly around the neck.
Sew the neckband in place making sure to catch all three layers of fabric. Press seam allowance to dress side and top-stitch.
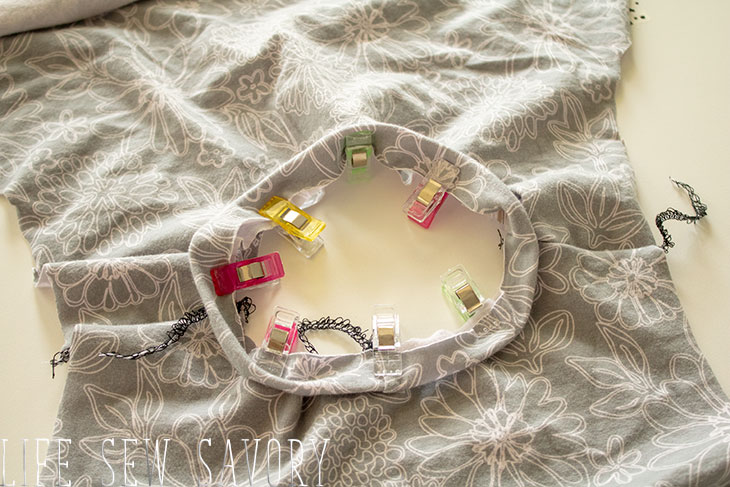
Open up the shoulder seam to see the arm/shoulder seam. Place the middle of the sleeve on the shoulder seam and pin/clip. Pin the two ends on either side. Ease the opposite curves together from the middle outward towards the pin you just place.
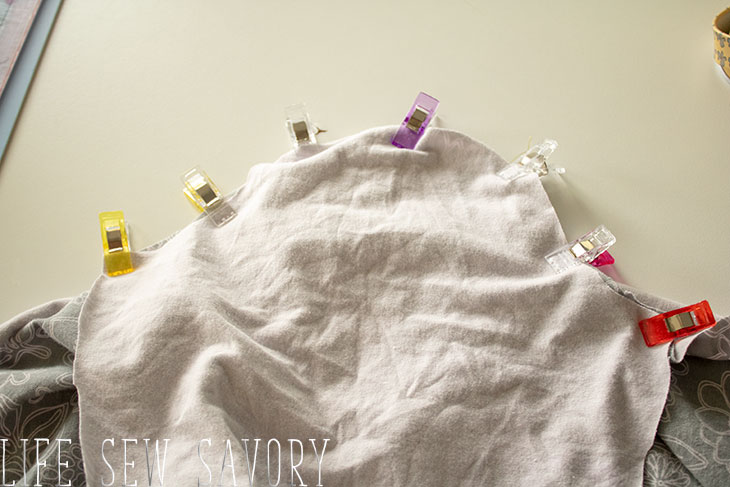
Sew the sleeve in, easing the curves and then repeat with the other sleeve. I like to hem the sleeves while they are open like this. Fold over to backside a 1/2″ hem and sew.
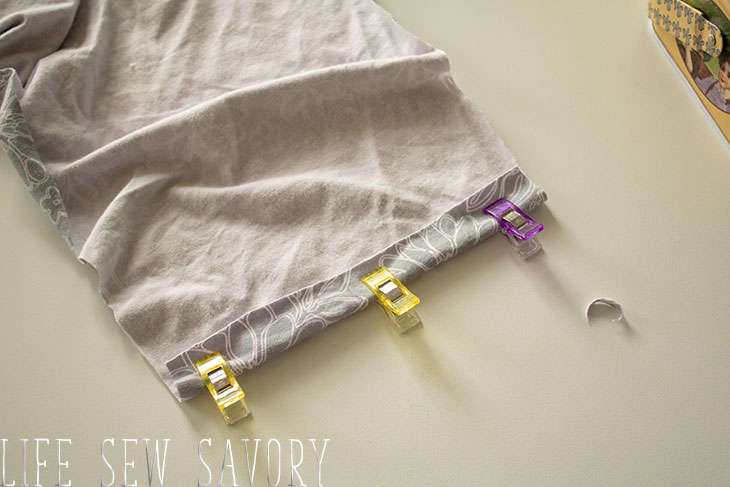
With the right sides of the fabric together line up the end of the sleeve, the under arm, and the bottom of the top. Sew. Repeat on the other side.
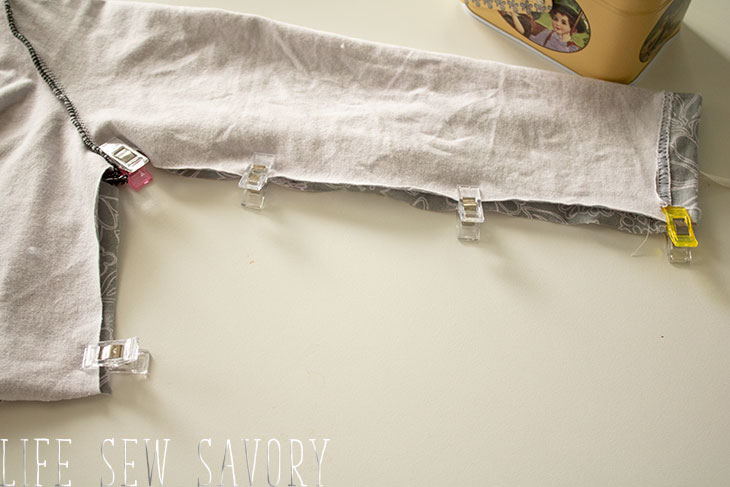
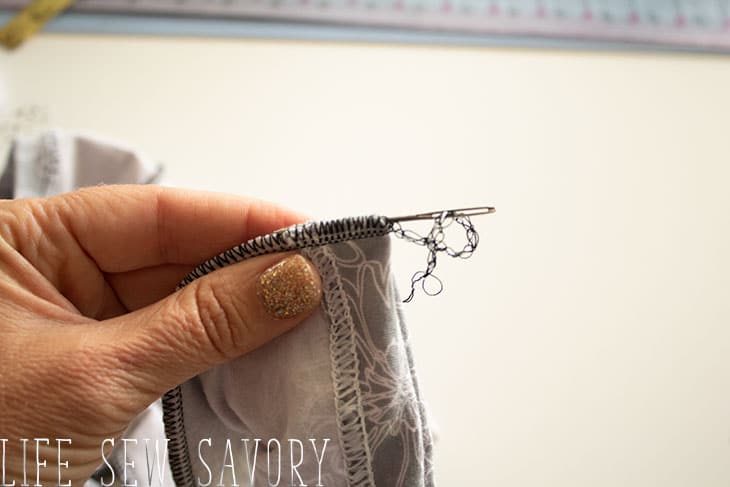
If you used a serger you will need to finish the loose serger end on the sleeve hem. I like to use a darning needle back through the threads. Looking for more tips like this for serger use? Check out my online class for Serger Basics.
Sew the two sides of the skirt together.
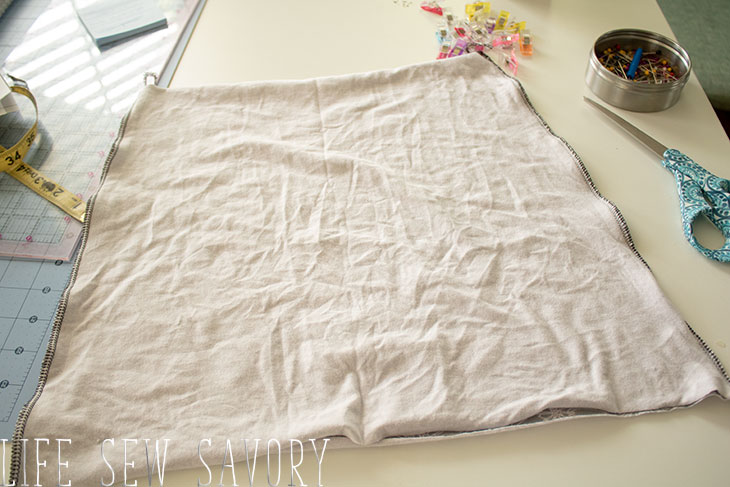
At this point I also like to hem the skirt. Turn up a 3/4″ hem and then sew.
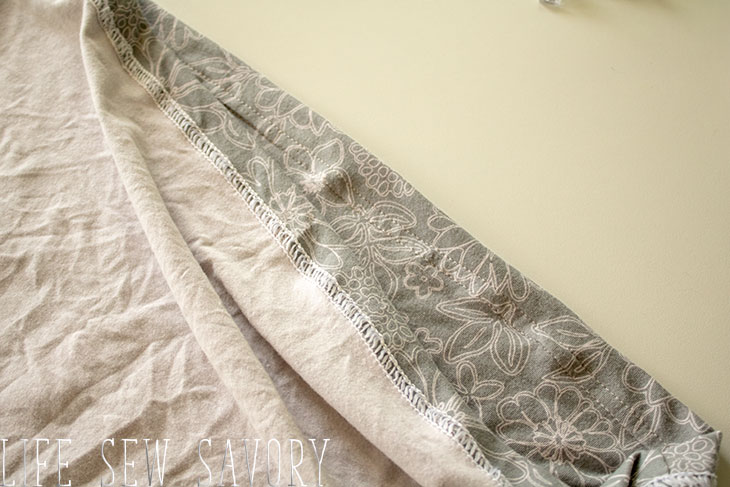
Place the top inside the skirt with the right sides together. You will place the side seams of the top and bottom together. They may not line up perfectly depending on your side, but the total distance around should match. Evenly space the top and bottom together and pin.
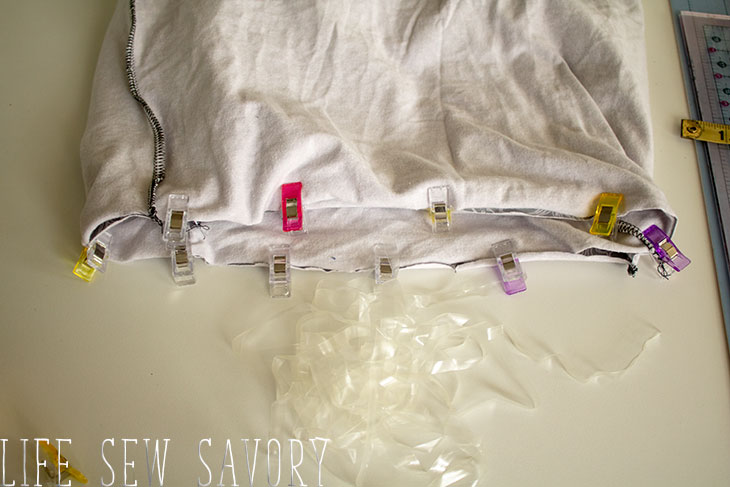
Optionally… sew clear elastic in the waist seam to help it retain its shape and not stretch out. If you have a serger this is very simple. Place the elastic through the small hole on the serger foot.
NEED help with this elastic? Check out my full tutorial for adding clear elastic here.
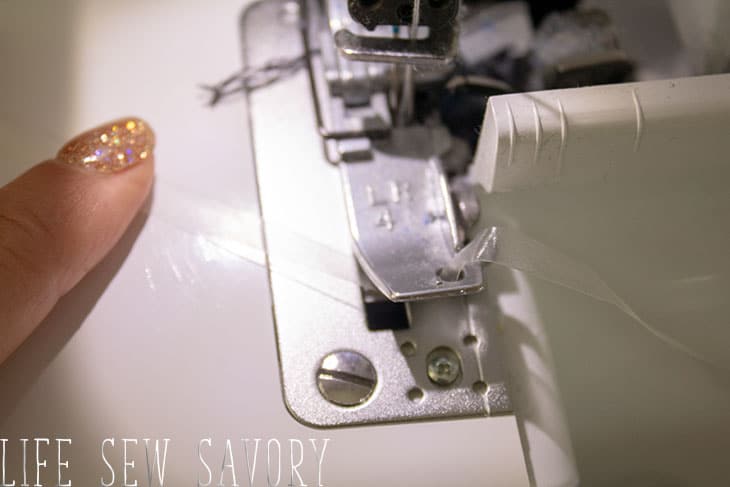
Pull the elastic under the foot and to the back of the machine. Place your fabric under the foot and under the elastic.
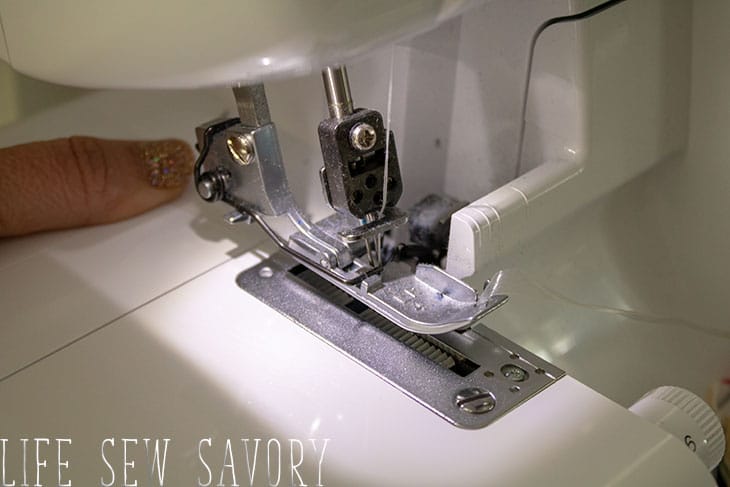
Sew as you normally would around the skirt/top. The elastic will self feed. If you have thicker fabric I would pull the elastic just slightly to tighten to give it a bit more stretch. I wish I had done this with the grey version of the dress.
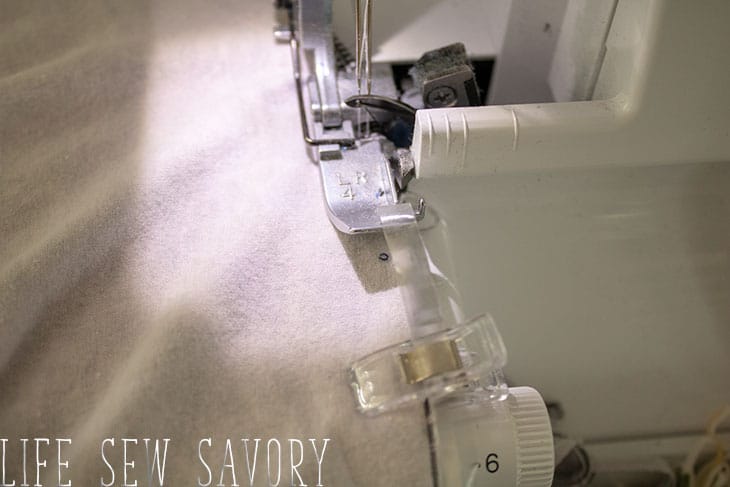
You are finished!!! I hope your little ones enjoy this dress as much as mine does.
If you’ve just been reading and haven’t started sewing yet, here is one last link to download the free dress sewing pattern.
More free dress patterns you may enjoy-





Vicki McGeown says
PLEASE I need some help, I am not receiving any reset email when requesting because for some reason my password or login is not being recognised.
Emily says
Hey Vicki, email me at lifesewsavory@gmail.com and we can fix this!
Claire Perrin says
What kind of fabric is best suited for this project please? Jersey, ‘regular’ cotton fabric, etc ?
Carole S. Kalmes says
After tracing the pattern, I noticed the front is about 2 inches wider than the back but the skirt is the same for the front and back. In your comments, you mention they are the same except for the neckline. I’m not sure how to proceed. I’m tempted to use the back and just change the neckline. Any advice?
Emily says
Yes, the front is a bit wider… I mentioned that the side seams may not match quite right on your skirt depending on the size you are making. Hope you figured it out, sorry for the delay..
Carole S. Kalmes says
I didn’t mention that the back matches the width of the skirt with no gathering and the bodice front does not.
Carole Kalmes says
Has anyone else encountered the problem I shared. I love the pattern and I don’t want to give up on it.
Nafeesthul says
Can I use woven instead of knit for this pattern?
Janice says
Can I make this dress out of velveteen?
Thanks!
Emily says
that would be lovely!!
Elizabeth says
Where is the video? I have tried multiple browsers and have no ad blocker and I cannot find it. Is it on youtube?
Katherine says
Does this need a 2 way stretch of a 4 way stretch fabric as it does tell you what type of fabric to us. Thank you
Emily says
either should work. The floral version in the photo was made with 2 way stretch. T-shirt like fabric
Kaylie says
Do you usually top-stitch the bottom of the dress and/or the sleeves after hemming them? Thanks.
Martha J Daniels says
Love your patterns. Thanks for sharing.
Karen Licavoli says
Cannot download pattern
Saira Saim says
Thank you for the pattern! I made a size 10. I was able the match the sides by trimming them.