Inside: Learn how to sew a skirt with ruffles with this sewing tutorial. Layered ruffled skirts are adorable and easy to sew. Sew a ruffle skirt in any size with built in shorts!
**Updated with new photos!**
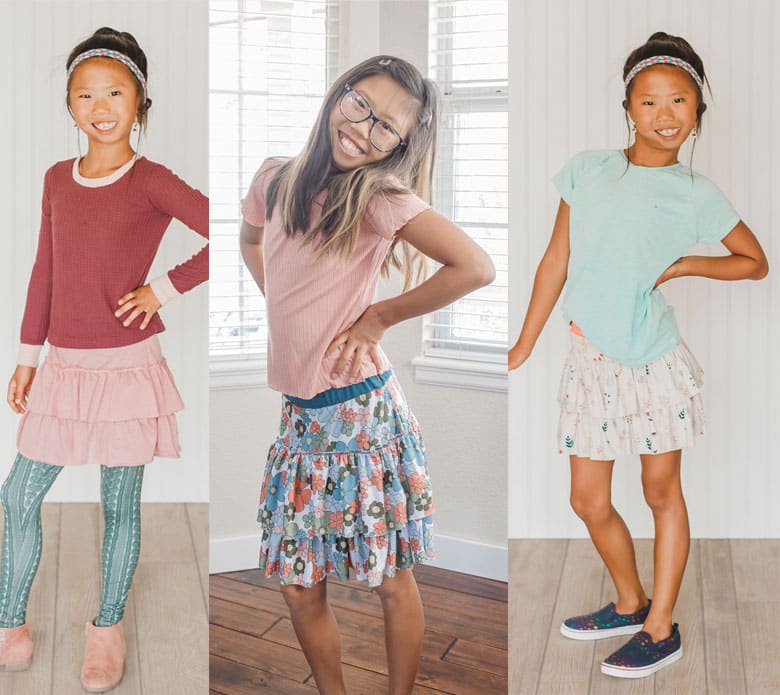
I’ve been sewing Rose a few new things for her back to school wardrobe. Skirt with shorts attached are a huge hit with her as she loves to wear skirts, but also swing upside down on the monkey bars. I’ve previously attached circle skirts to leggings, but today I’m going to show you how to sew a skirt with layered ruffles and shorts attached. I’ve sewn a new version for this summer 2024, almost 3 years after the original photos.
How to sew a skirt with ruffles –
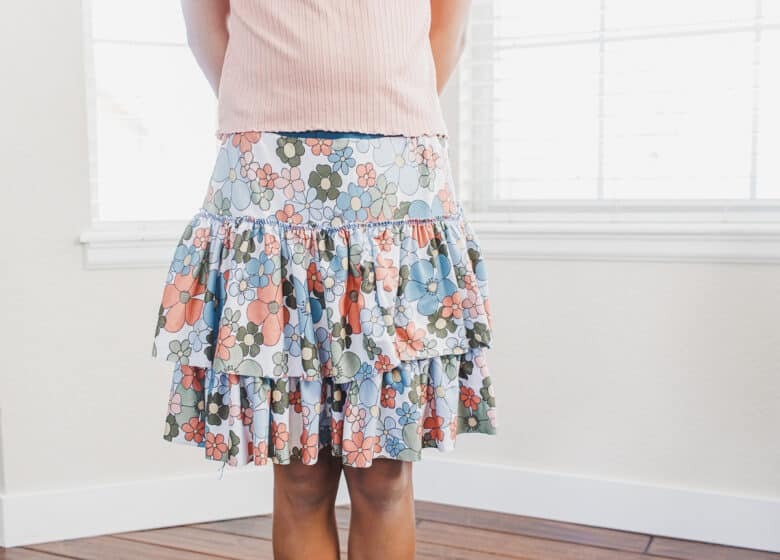
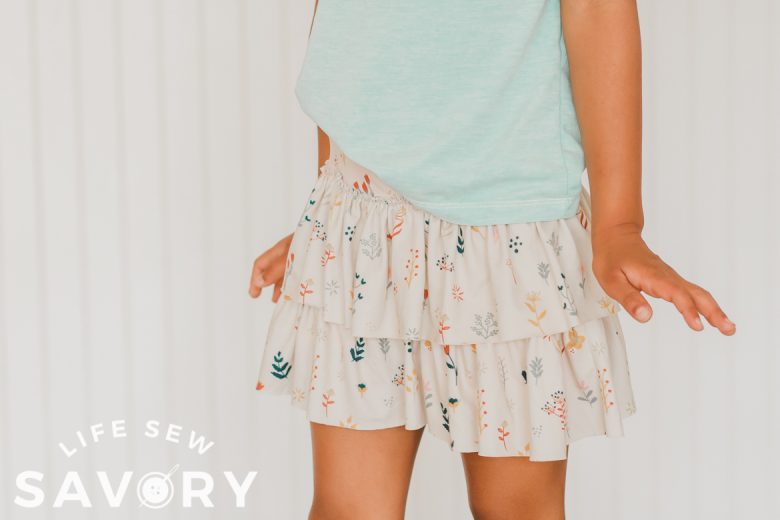
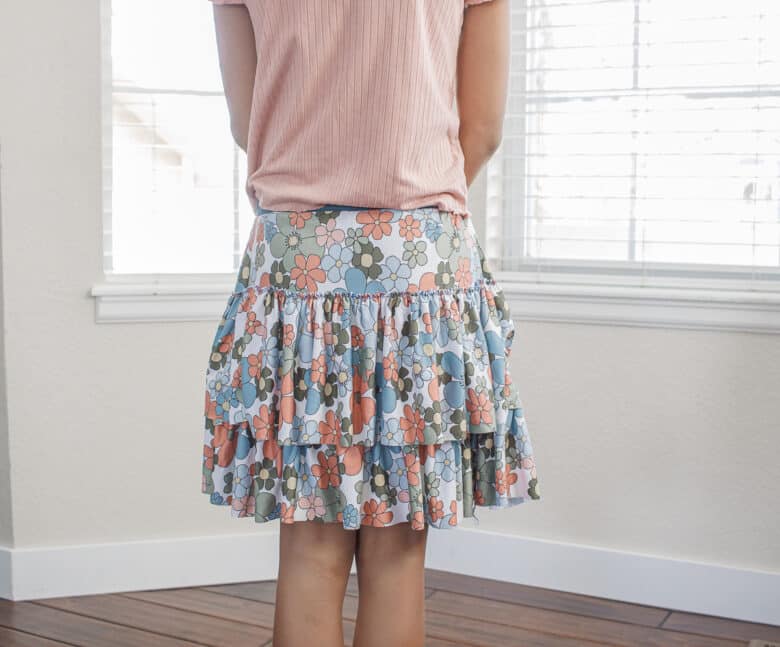
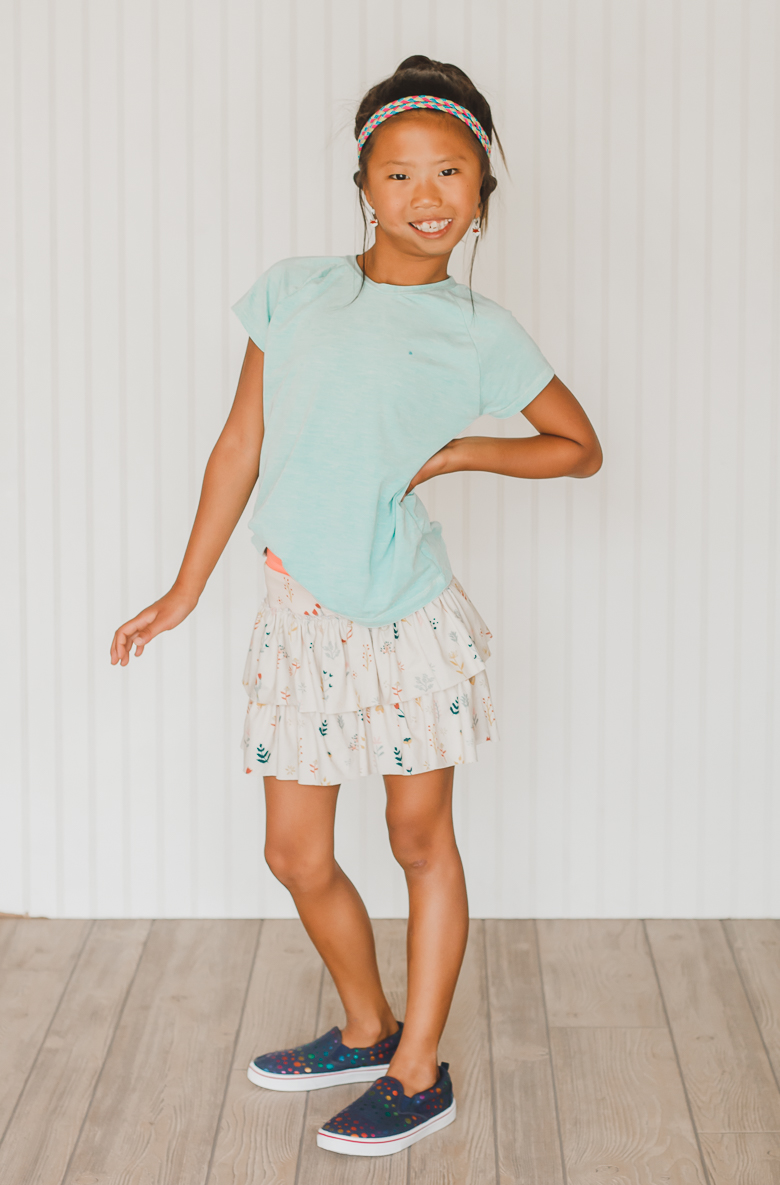
I’m just so pleased with how these layered ruffled came out on the skirt. I originally sewed two versions, one with shorts and one will full leggings under the skirt. This time around I’ve just sewn the shorts version, but now in a larger size for my growing girl. I also made the ruffles a bit longer this time around.
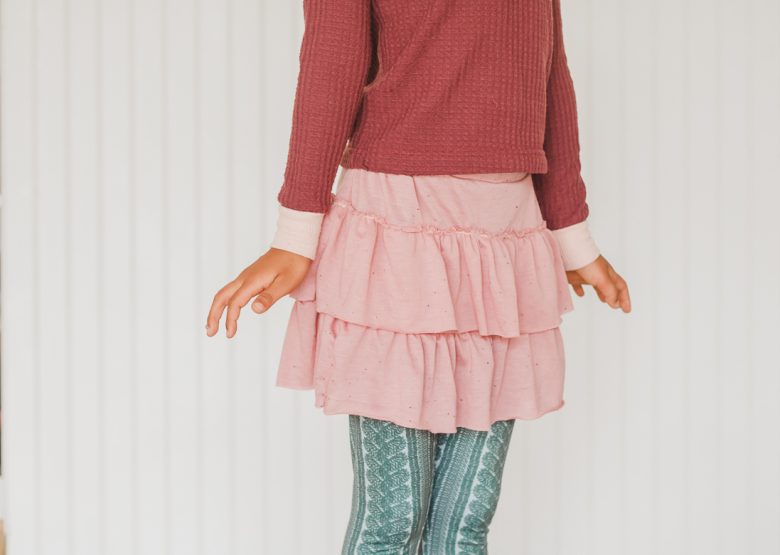
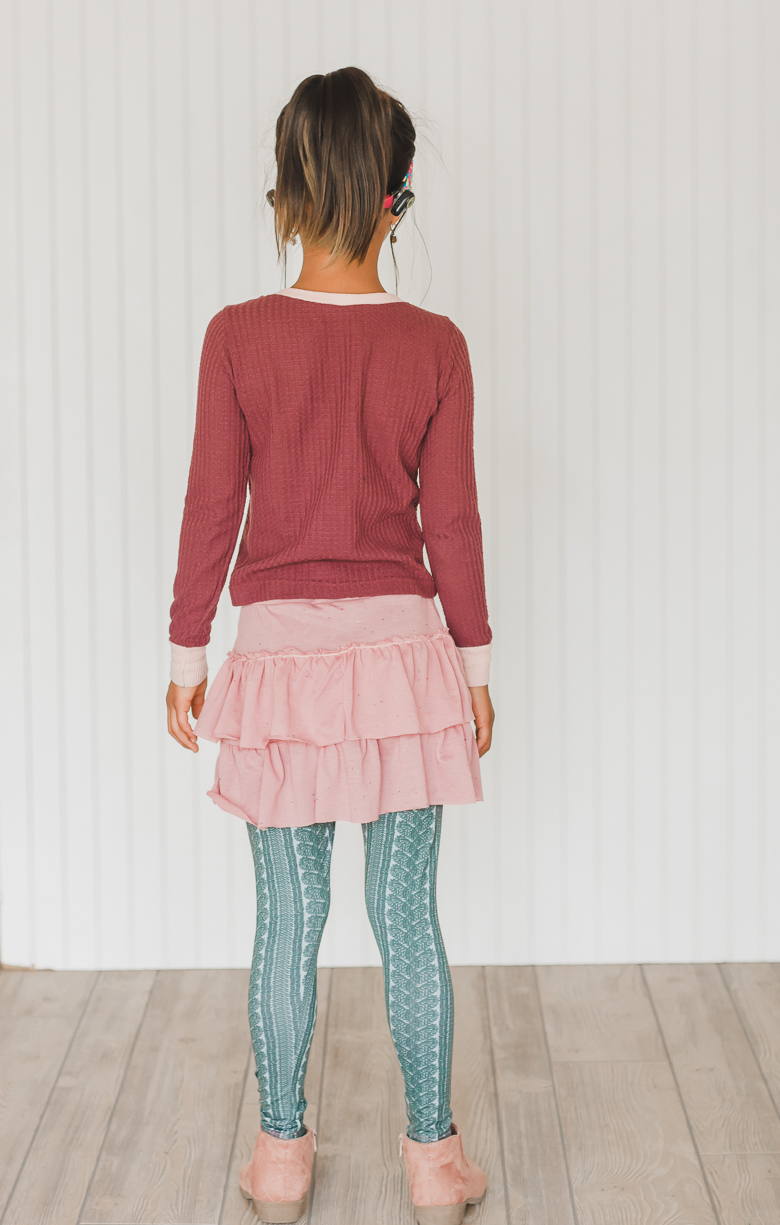
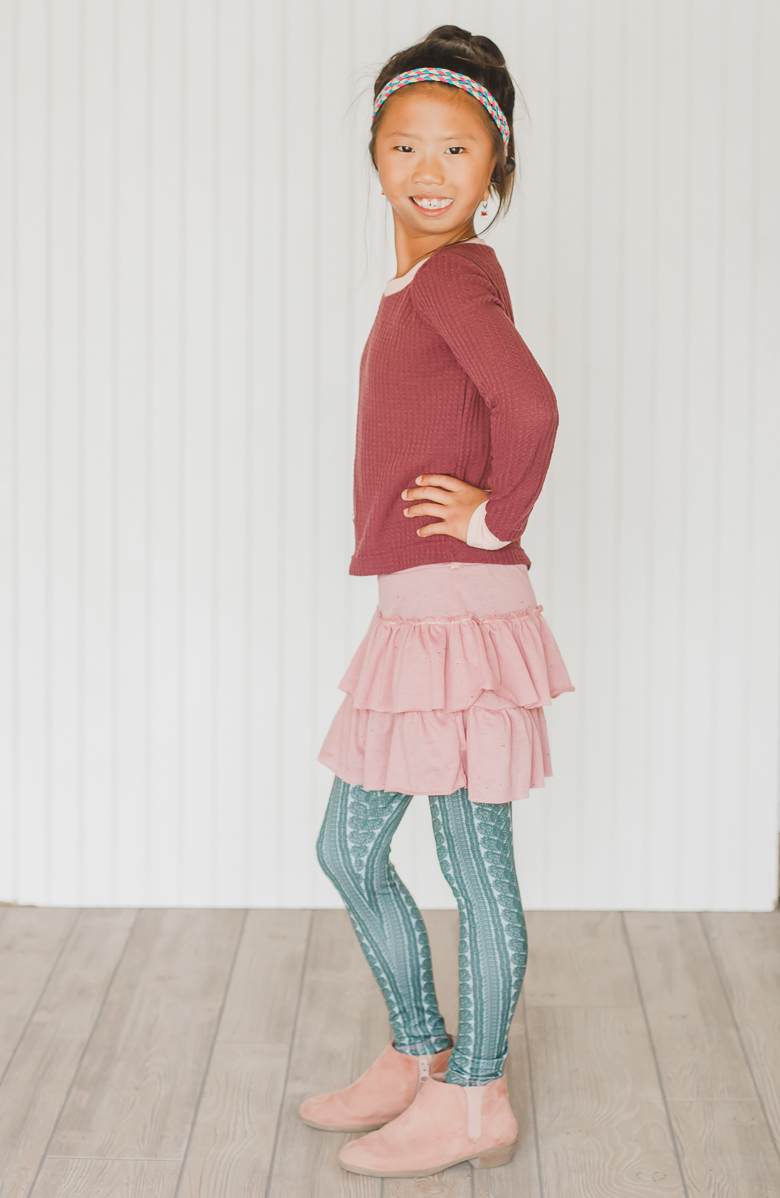
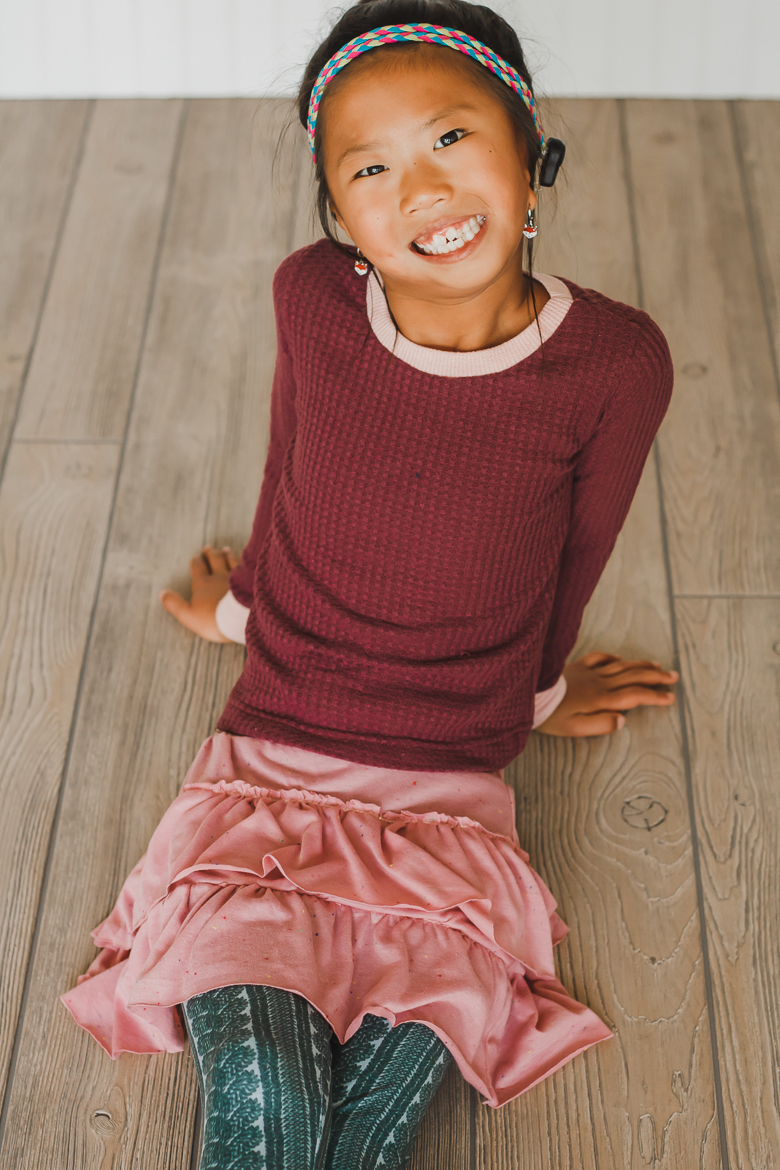
Here is the full legging version. The shirt is from last year, but it really goes well with the new skirt. The shirt is the girls fitted tee in waffle.
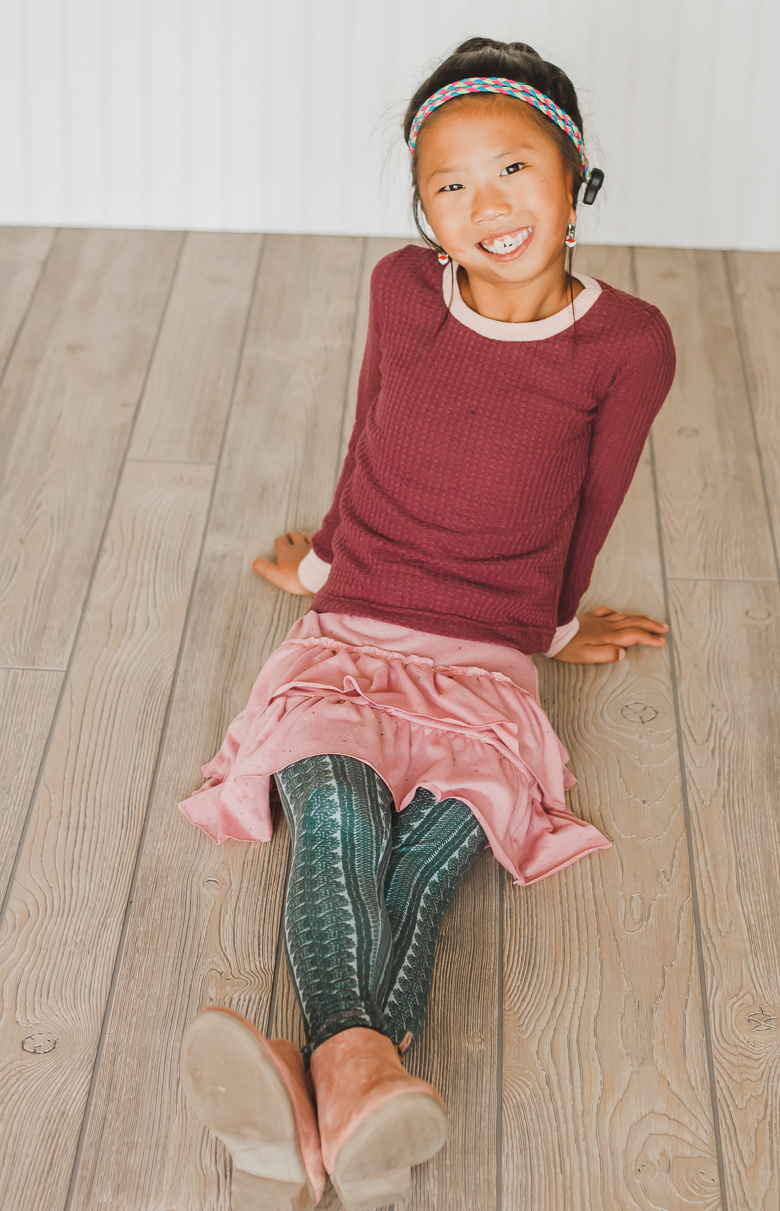
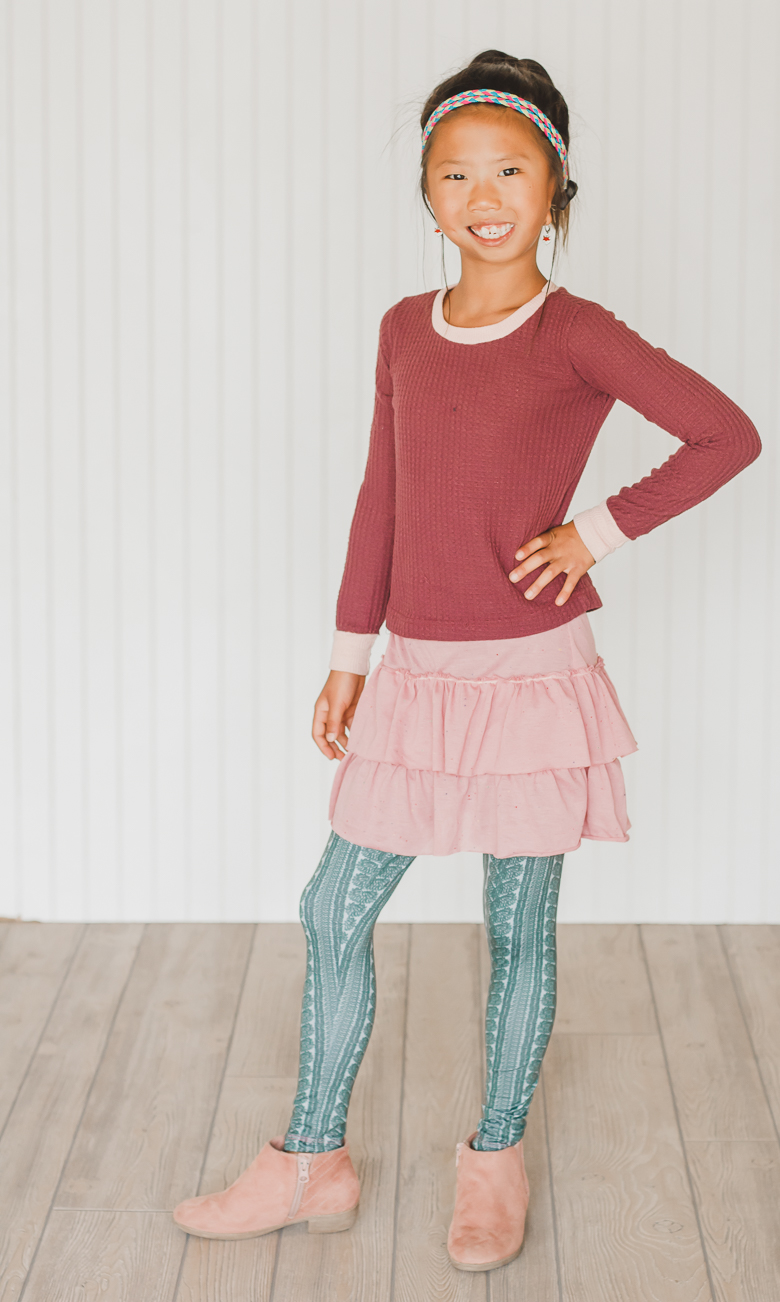
The wide 1.5″ elastic waistband is the perfect addition on this skirt. I sewed the short ruffle version with a tighter skirt and the full legging version with a slightly looser skirt under the ruffles. I’m so excited to show you how to make this skirt yourself.
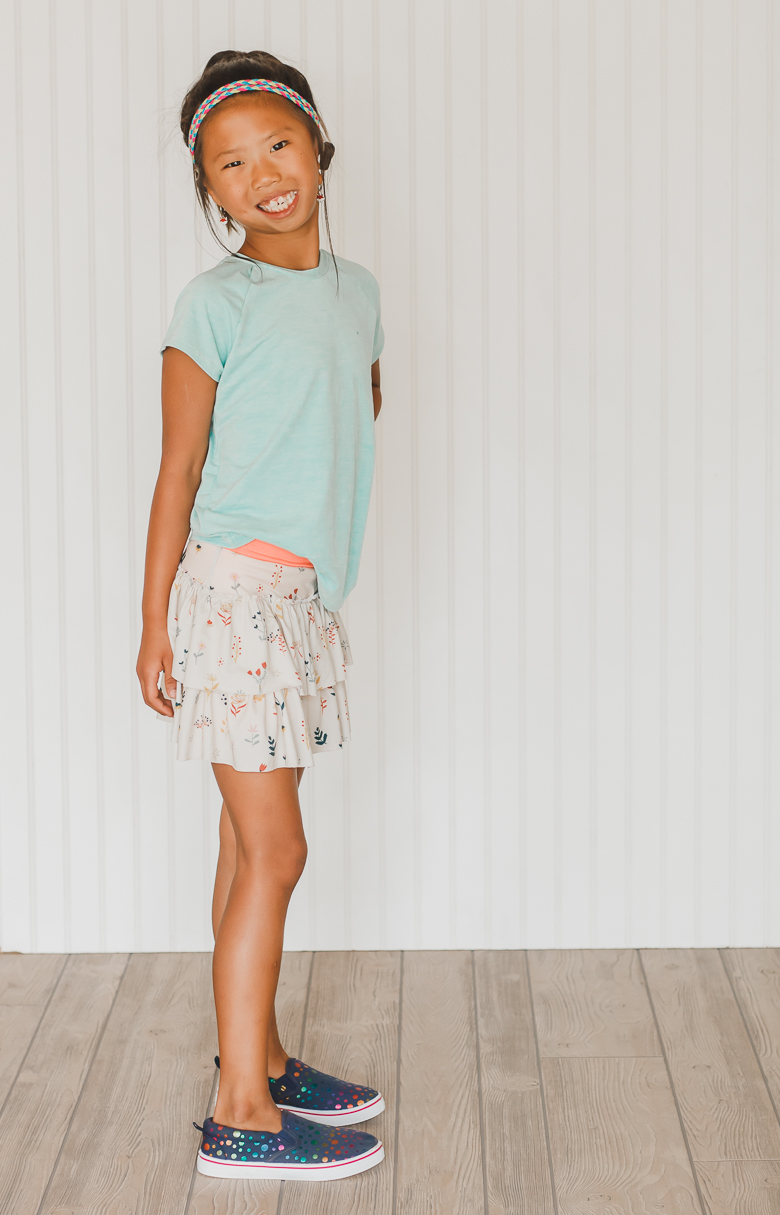
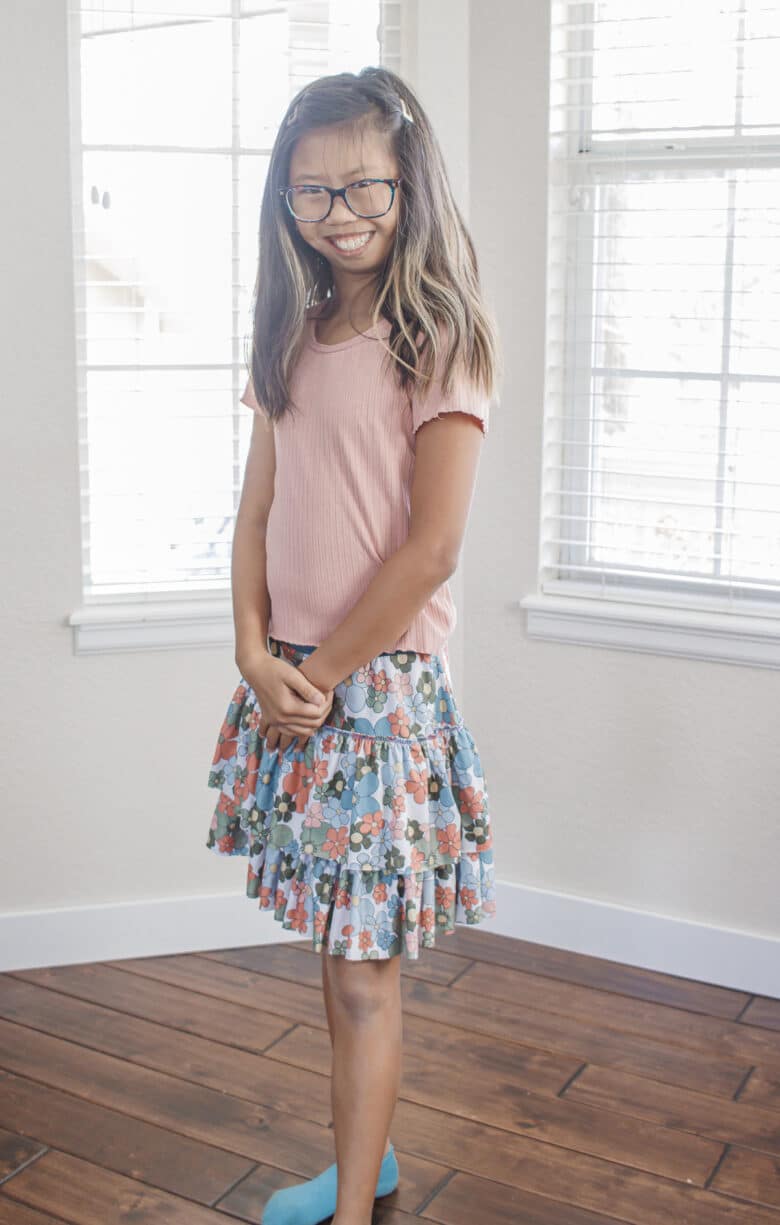
Rose is also wearing more of my free patterns as tops in these photos. The short sleeve teal is the KIDS RAGLAN free pattern and the long/short sleeve top is the GIRLS FITTED TEE in long/short sleeve.

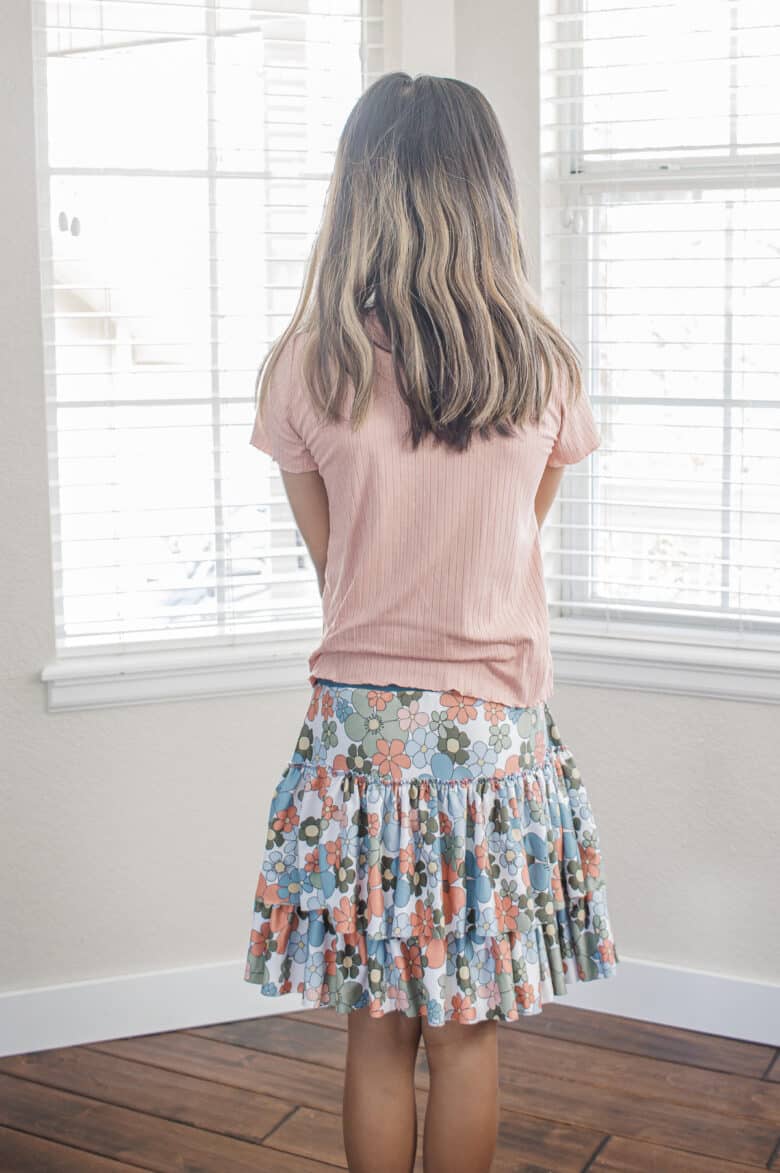
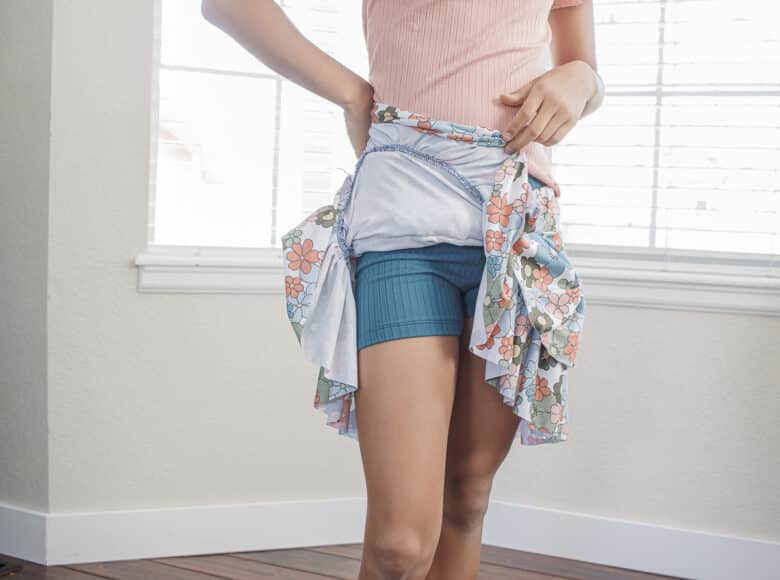
The best feature of this skirt is the built in shorts. All of these skirt have built in shorts or leggings and this makes them the perfect play skirt that also looks so so cute!
Other cute skirt tutorials to sew –
How to sew a layered ruffle skirt –
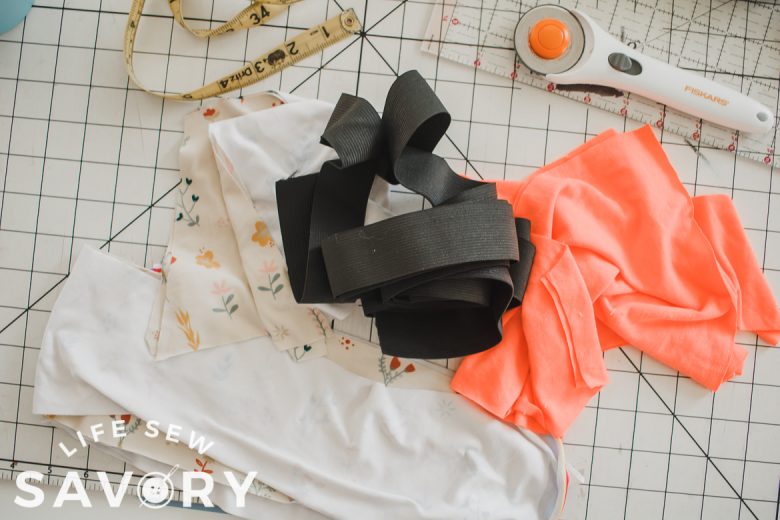
Let’s first talk about the supplies needed. What you will need will depend on what size you are sewing, but this layered ruffled skirt can be adapted to any size.
Skirt Supplies – Make sure to use a good four ways stretch fabric for the shorts and a two or four ways stretch for the skirt.
- Fabric for skirt {1/2 yard approx} Adult size would be closer to 1 yard.
- 1/2 yard for shorts {you can make two shorts from this fabric}
- Free shortie legging pattern
- OR full length legging pattern
- 1.5″ wide elastic – cut to the size of the child’s waist. Stretch then cut to size.
- Sewing Machine and/or Serger
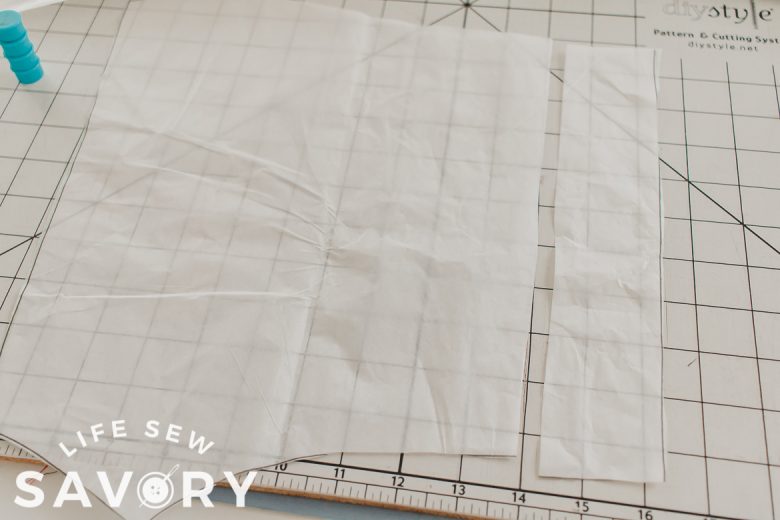
Print the free pattern and trace the size required. Use the size chart to determine what size to cut out. After you have traced the legging pattern, trim off 1.5″ from the top of the leggings. For a full bum, leave an extra 1/2 inch height on the back of the leggings. Cut two from fabric of the shorts.
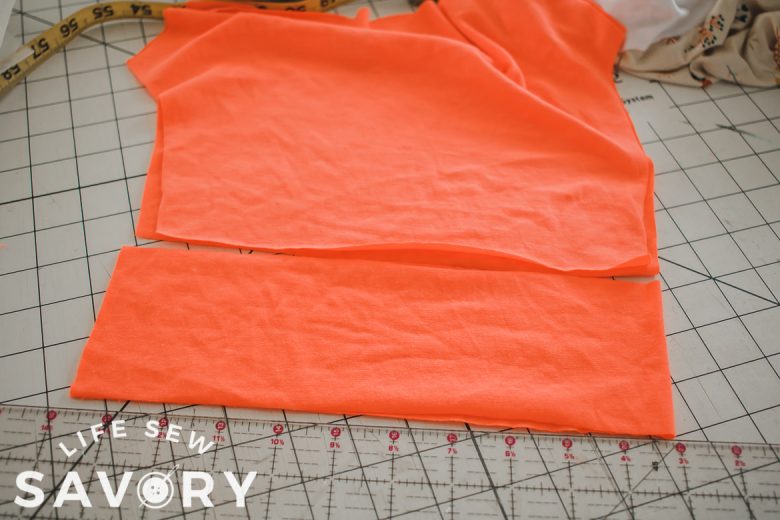
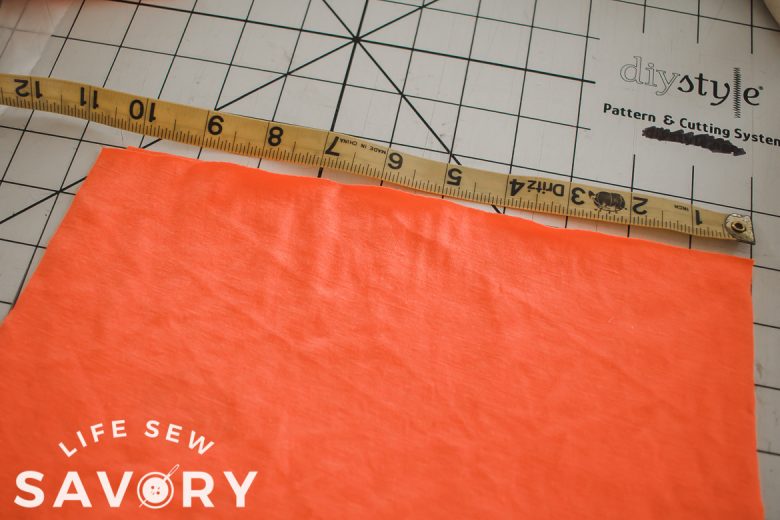
You can cut the waistband from the same shorts fabric or skirt fabric. Cut the waistband 3.75″ tall and the same diameter as the top of the shorts as shown here in the orange fabric. You will cut the skirt and ruffles as directed below – set fabric aside.
You can cut the skirt now or after sewing the shorts {see below} measure the top of one legging piece and double it to get the top diameter of the leggings. Mine is 10.5″. You can round up {I will use 11 for cutting my skirt} {add even more for a looser skirt- see photo below} The top of the skirt piece should be the same as the measurement {11″} and the bottom should be 4-5″ wider. I like to fold the fabric in half and mark the top and bottom, then cut the angled edge to create two skirt pieces. The height of this first layer should fully cover the bum area. This size 5 is approx. 6″ tall. This layer plus the bottom ruffle will equal the total length of the skirt.
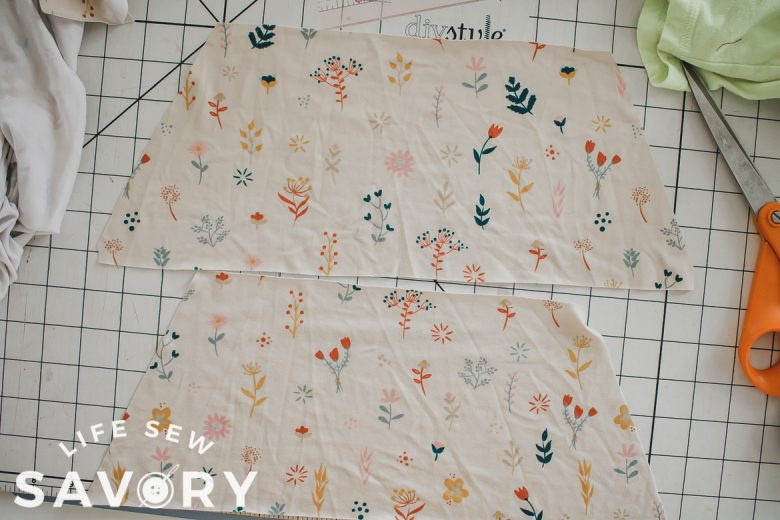
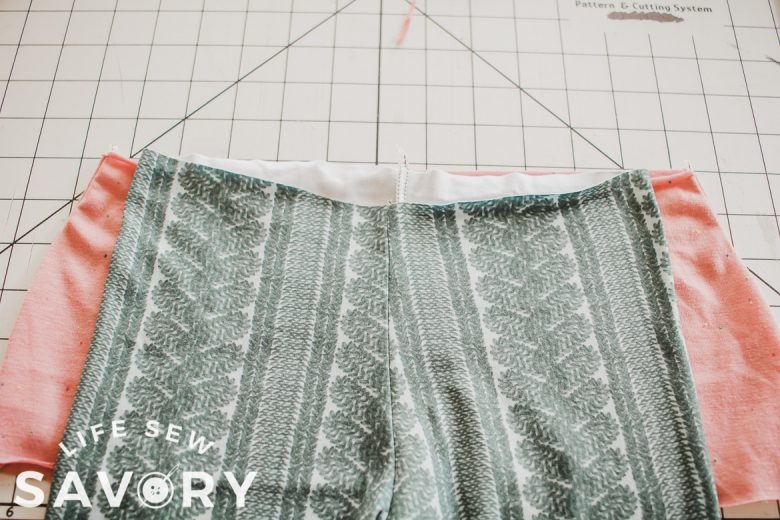
Sew the shorts according to the original tutorial, but do not do anything with the elastic or waistband. Then sew the sides of the skirt together with right sides of fabric touching.
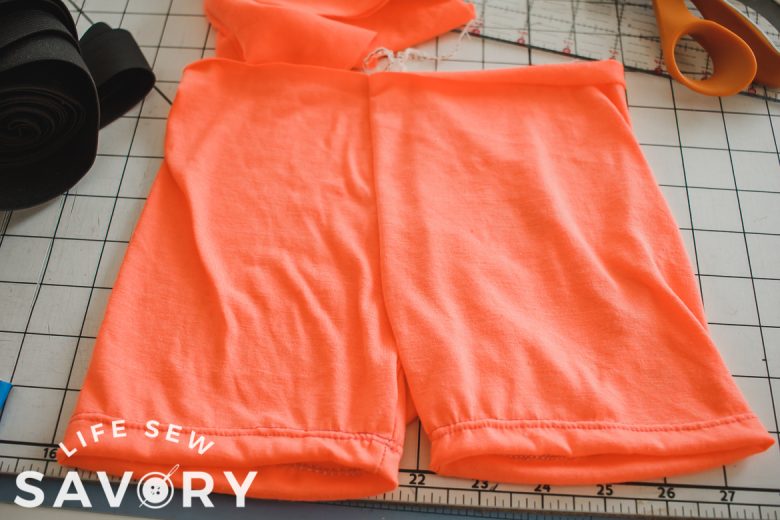
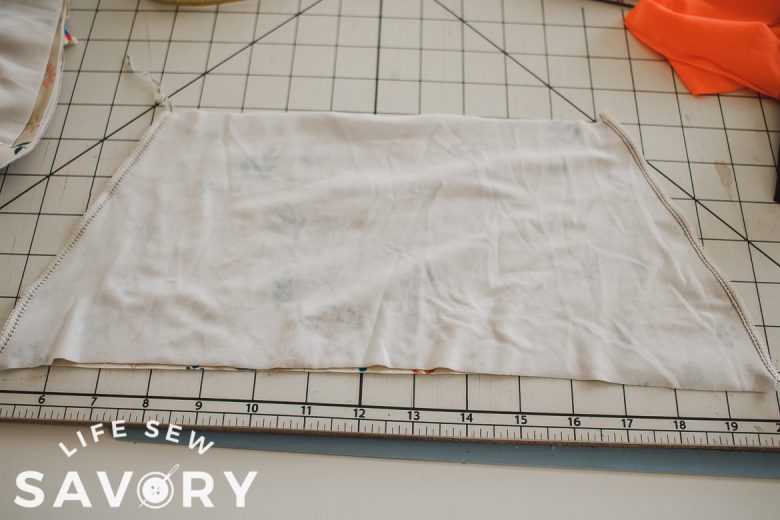
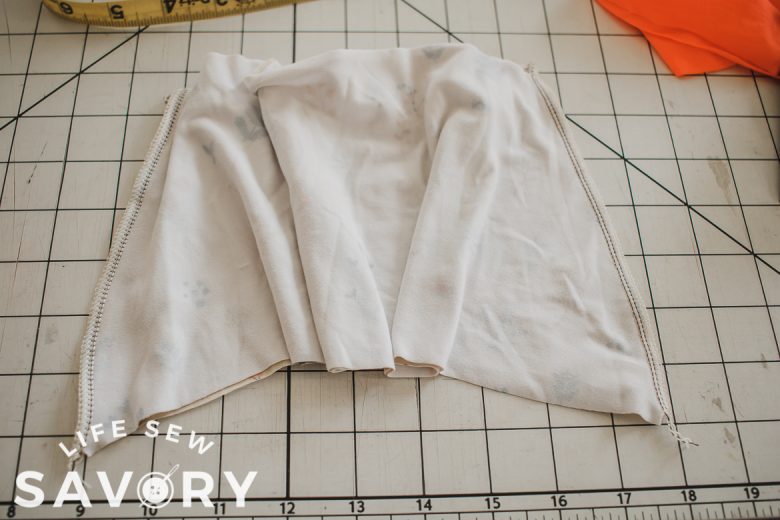
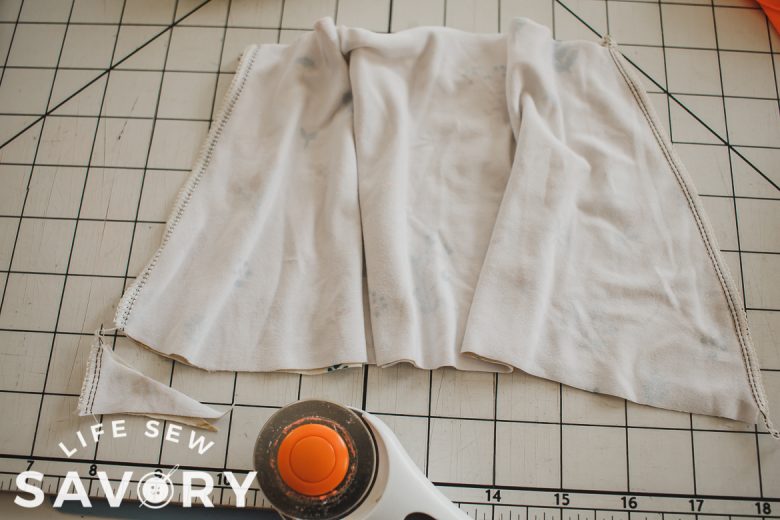
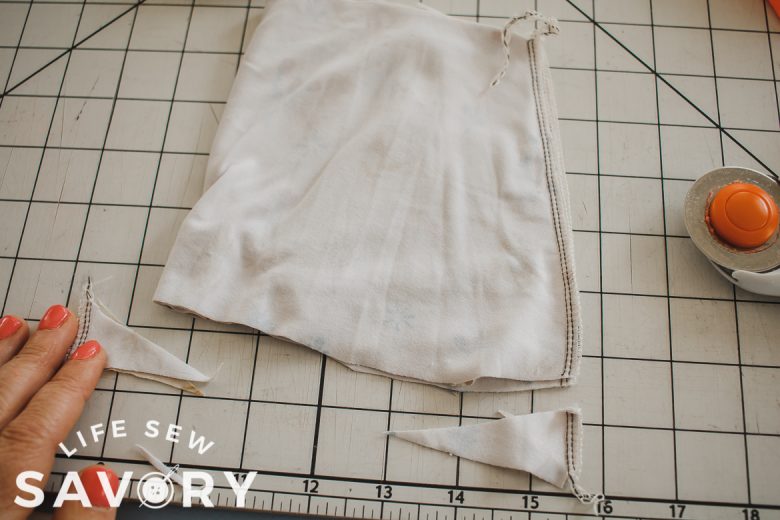
Now, if we wear the skirt just as this, the sides will be longer then the front and back – you can totally do this! I trimmed the corners in a curved was to level out the bottom of the skirt. Hold the top and shake down to see how it hangs.
DIY ruffle skirt tutorial –
I cut my two layered ruffles 4.5″ tall and about 1.5 x the skirt edge width. Cut two ruffles. If you are sewing a larger girls size or adult size I would make my ruffles wider… maybe 6-8″ tall. Cut to the right length and run a gathering stitch along the top of the ruffle. {need help with gathering? See this tutorial}
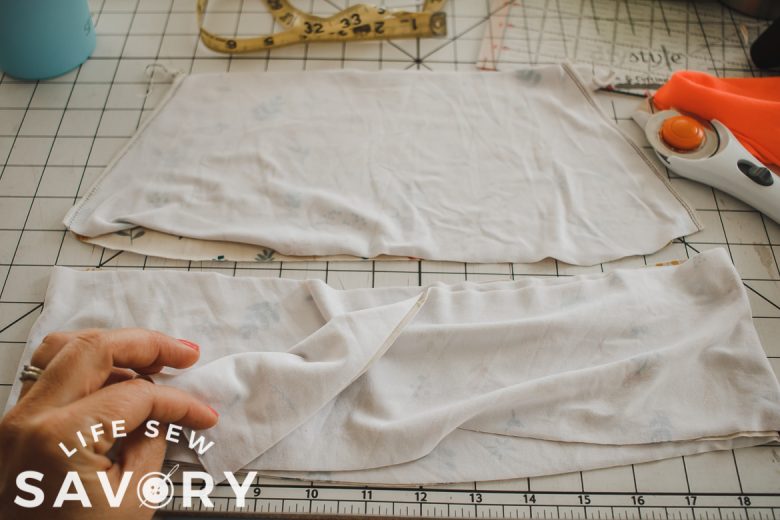
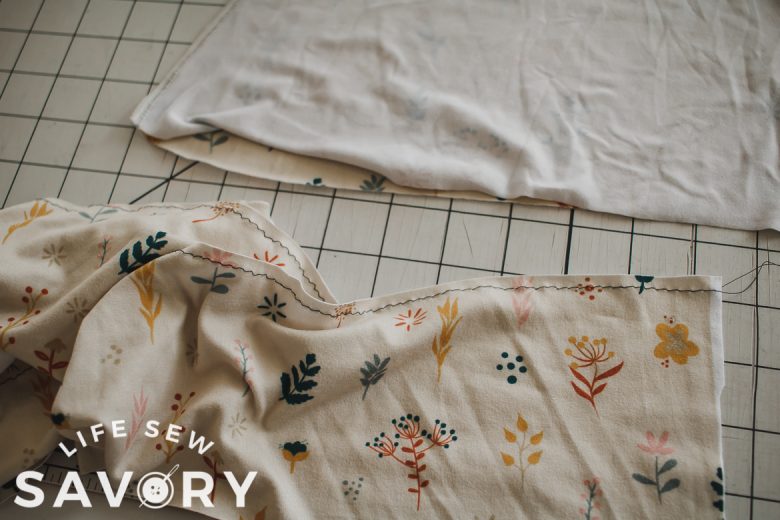
You can either sew the ruffle into a circle before gathering or after. Gather the ruffle to match the bottom edge of the skirt. Tie off the gathering strings and even out the gathers.
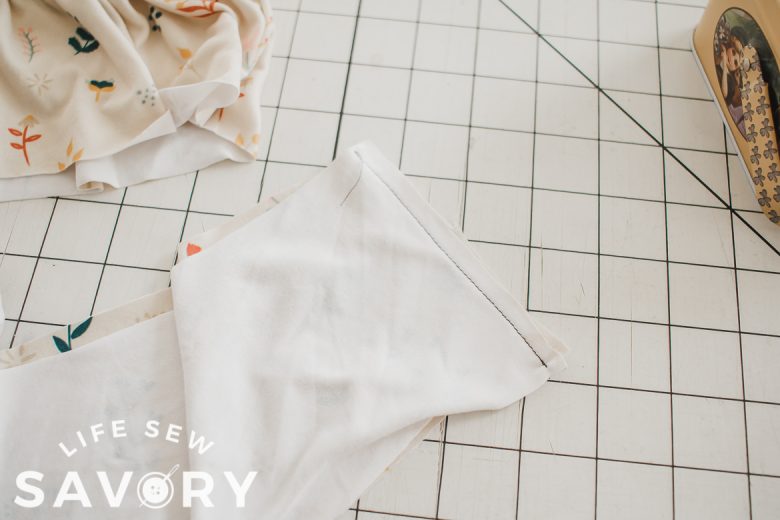
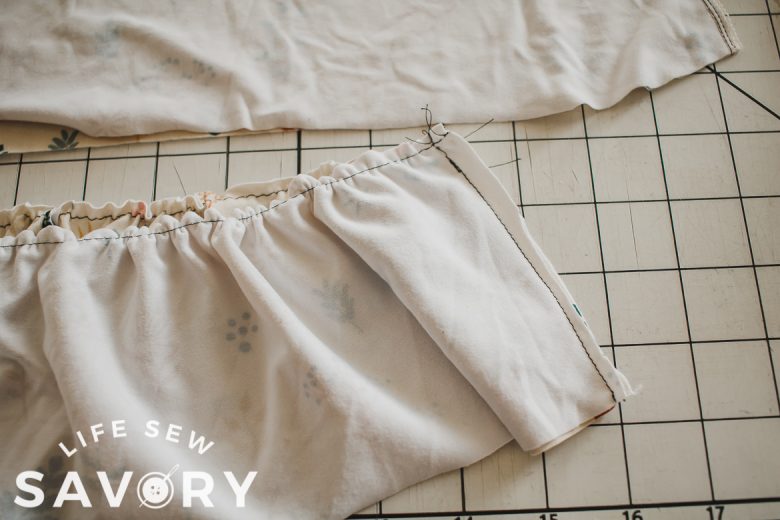
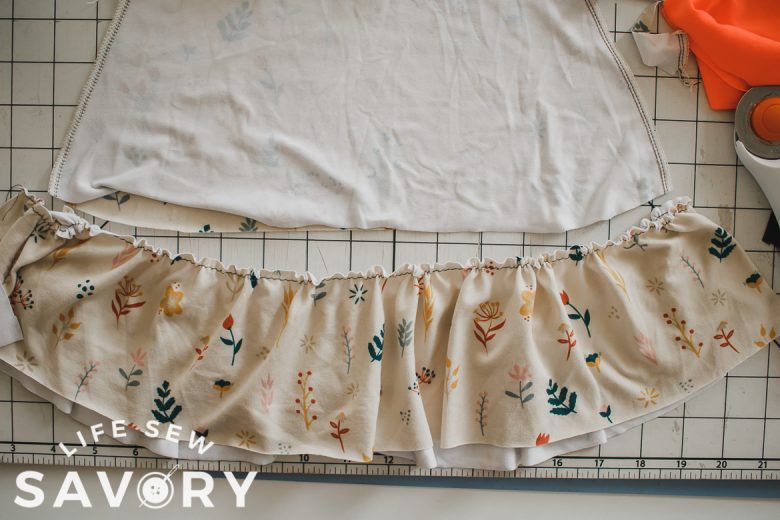
Pin or clip the ruffle to the bottom of the skirt. Sew with a stretch stitch or serger to the bottom area of the skirt.
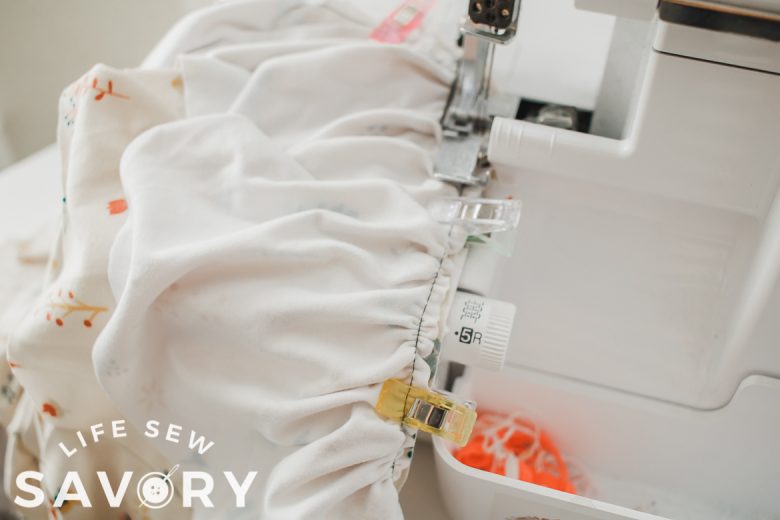
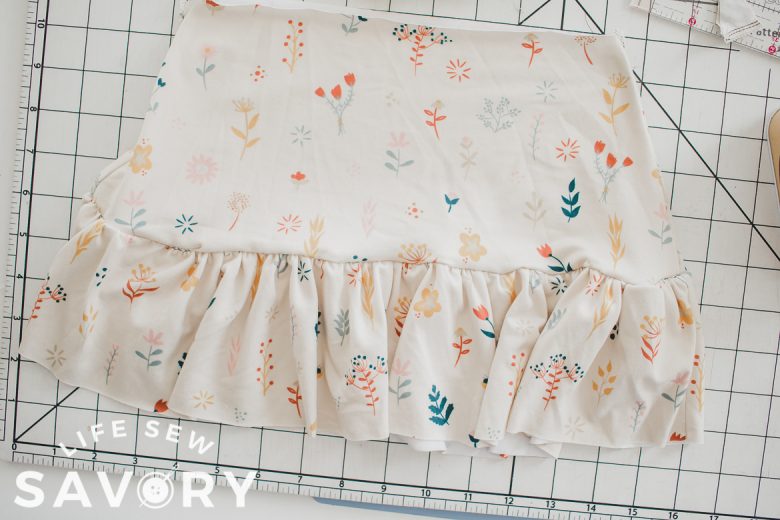
Grab the second ruffle and gather to the width of the middle of the skirt. You will want the top ruffle to slightly overlap the bottom ruffle. For me that was a placement of 2″ down from the top. Pin the ruffle directly to the outside of the skirt measuring as you go.
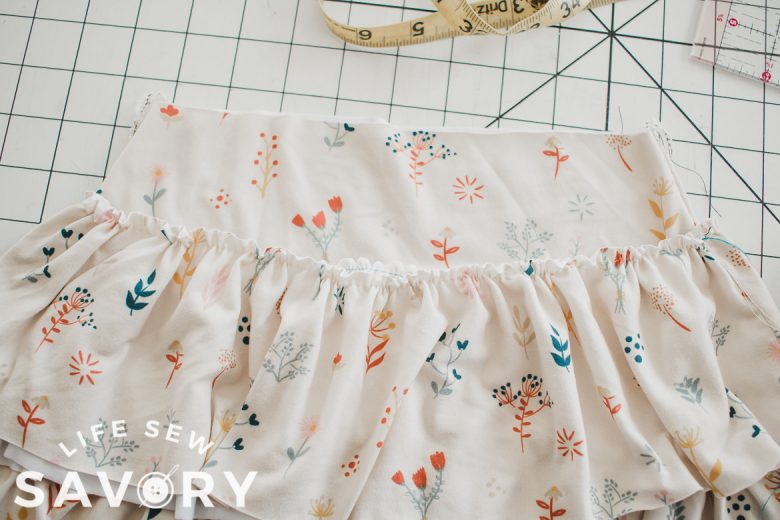
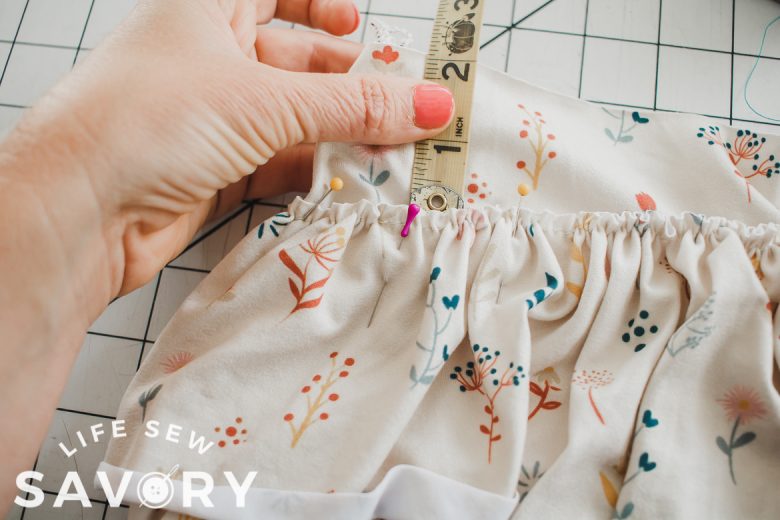
I used a ton of pins to keep the ruffle in place and then sew on top of the ruffle to attach it to the skirt. I used a zig zag stitch so it would keep it’s stretch.
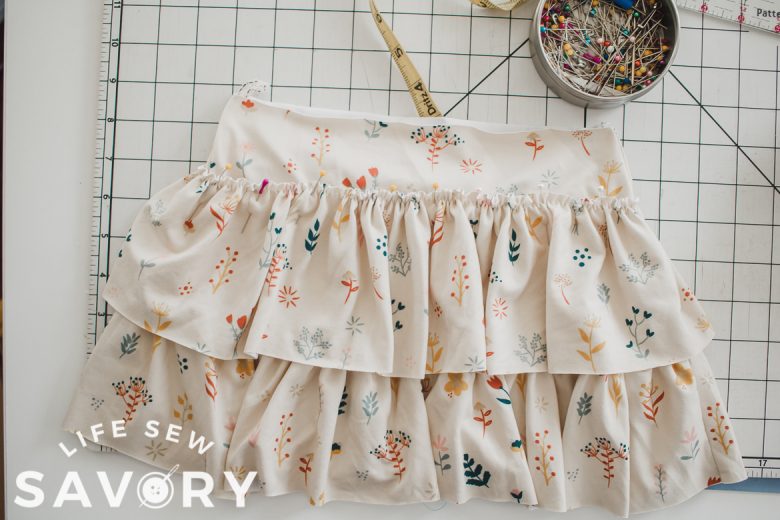
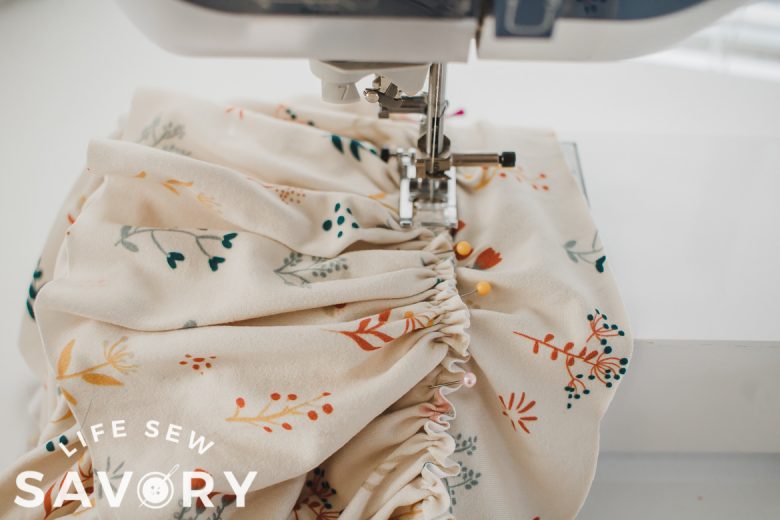
Now the skirt part is finished and we can sew on the waistband.
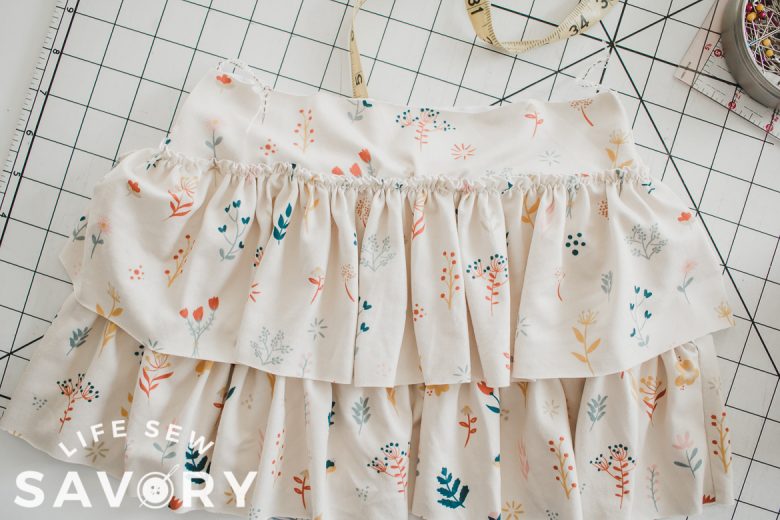
Place the shorts inside the skirt. The right side of both should be facing up. Match the side seams of the skirt with sides of the shorts. {there is no side seam on the shorts} Sew the short end of the waistband with right sides together.
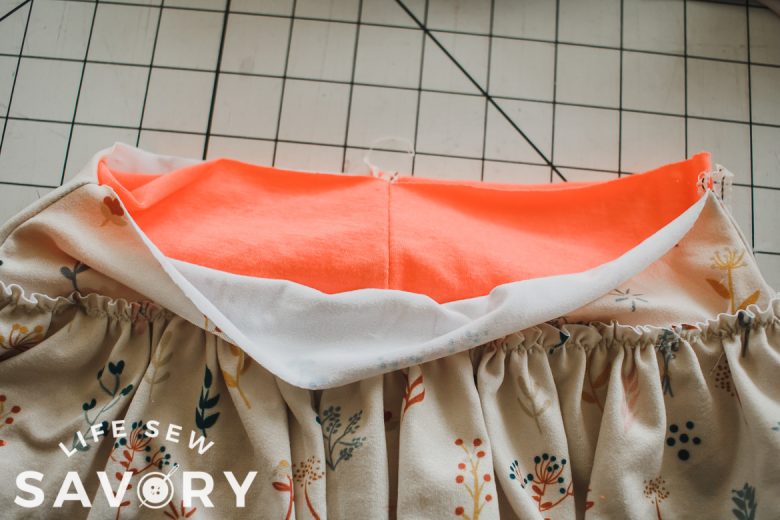
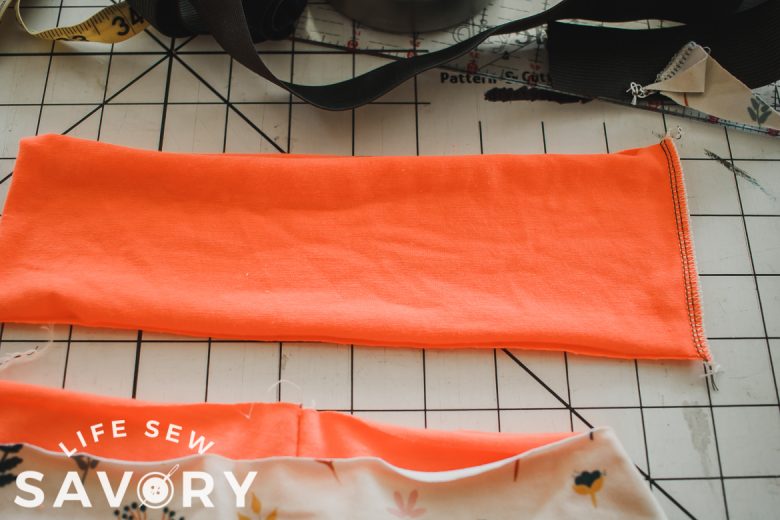
Fold the waistband in half with wrong sides together. Match the seam with the back of the skirt/shorts and pin or clip all the layers together. There will be four layers of fabric. Clip the layers all the way around the skirt and shorts. You may have to stretch one layer to fit. Sew with a serger or stretch stitch, making sure to catch all the layers. Leave an opening to thread the elastic.
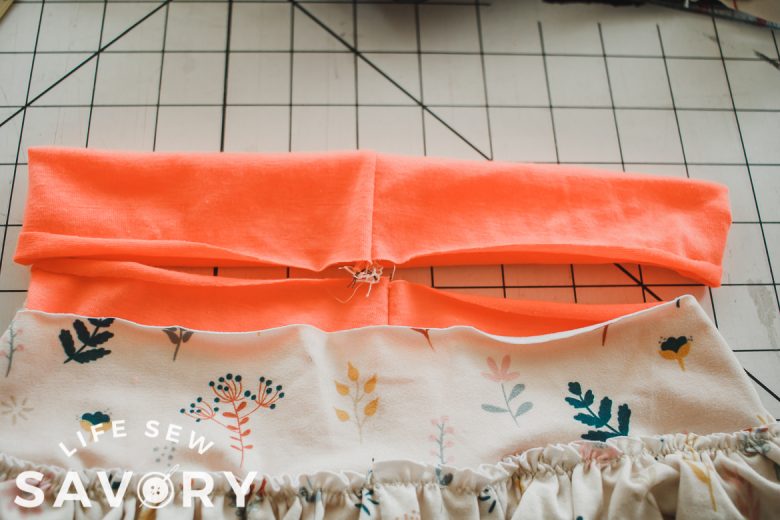
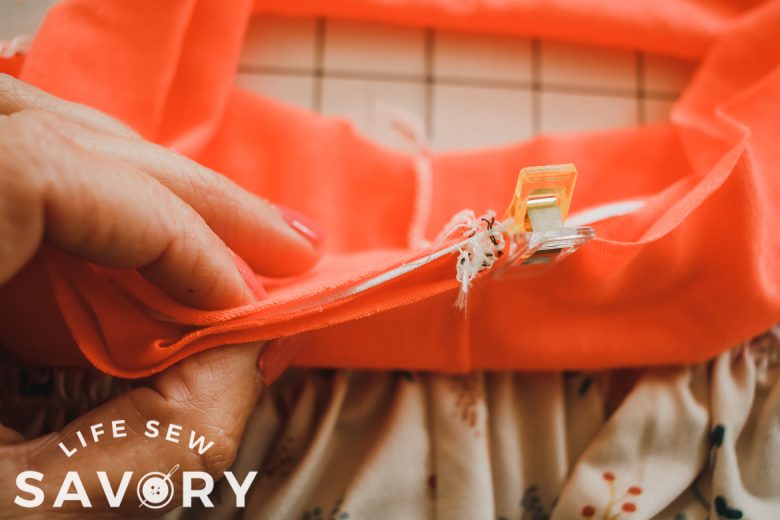
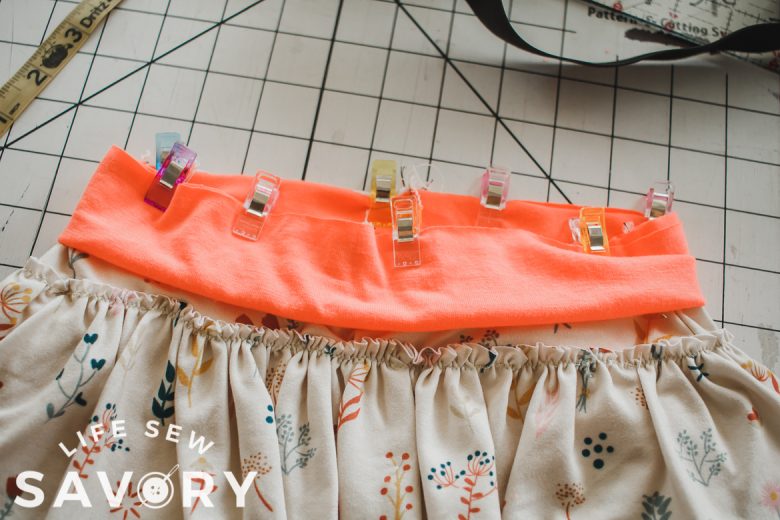
Thread the elastic through the casing, then overlap and sew the elastic into a circle.
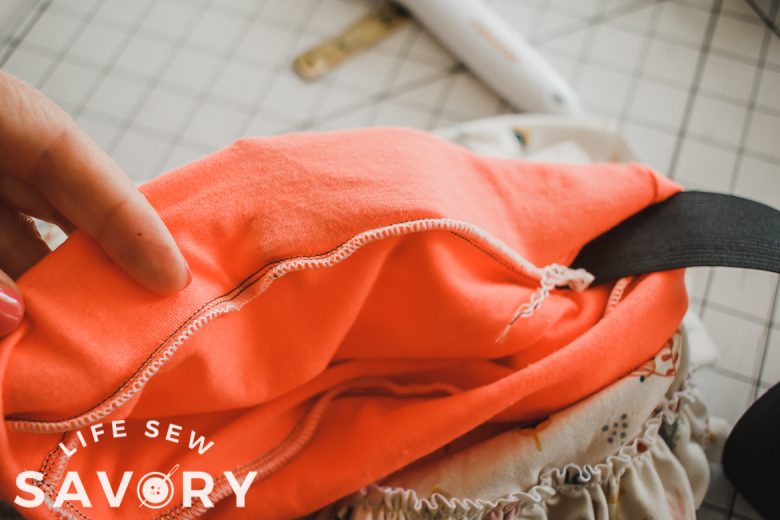
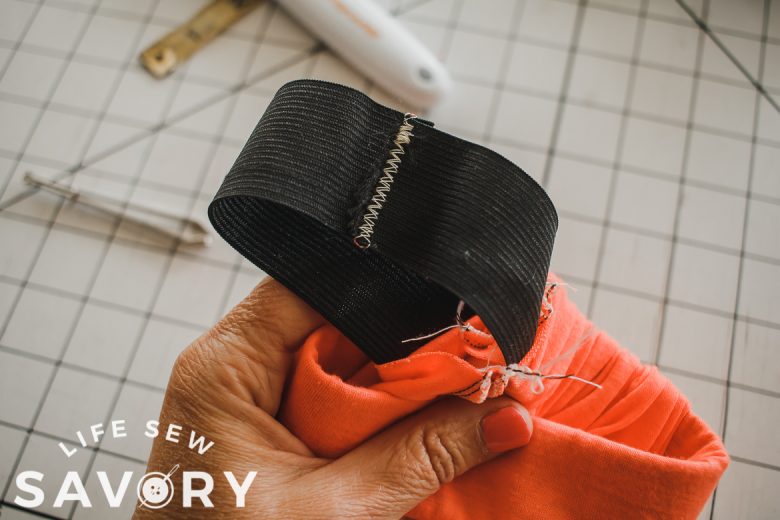
Stitch the elastic in place my running a stitch around the whole waistband. OR stitch up and down on the side seams. This keeps the elastic from twisting or sliding.
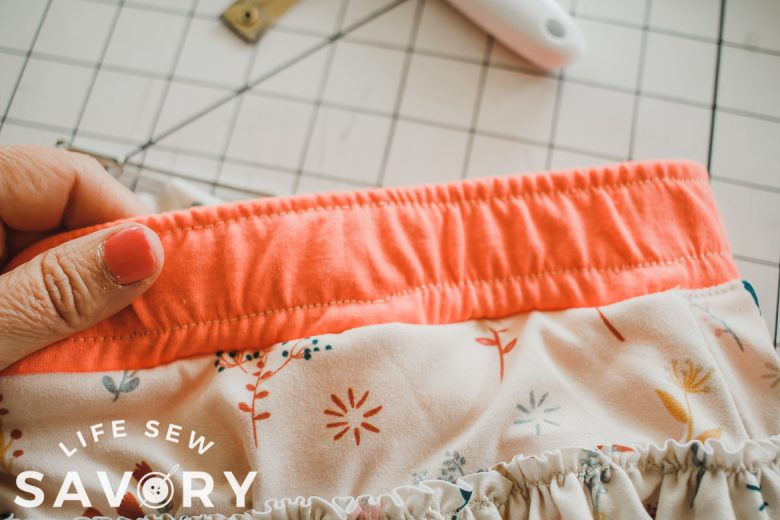
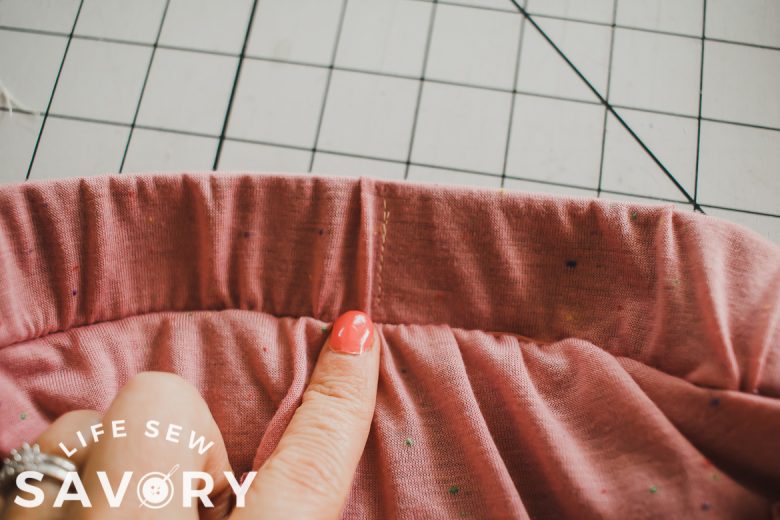
And that’s it! Now you have an amazing skirt to enjoy.






Jaci Rider says
Hi, I’m looking for the pattern for the ruffled skirt with shorts? Found the shorts pattern but not the actual skirt pattern? Thanks!
Emily says
the skirt is made with measurements as described in this post. There are not printable pieces for the skirt, only the shorts