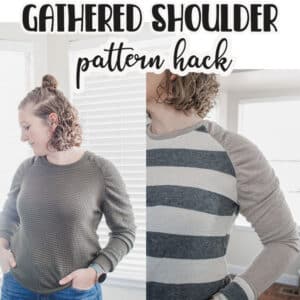
Inside: learn how to sew a sweatshirt with gathered sleeves. This gathered sleeve sweatshirt is a modern hack on the traditional sweatshirt look. Choose comfy and style this winter.
I’ve seen several sweatshirts with this gathered sleeve style this fall and I wanted to try and create the look myself. I used two free sewing patterns to create these gathered sleeve shirts and today I’m going to show you how to sew this sweatshirt for yourself. It’s a super cute adult and child matching look.
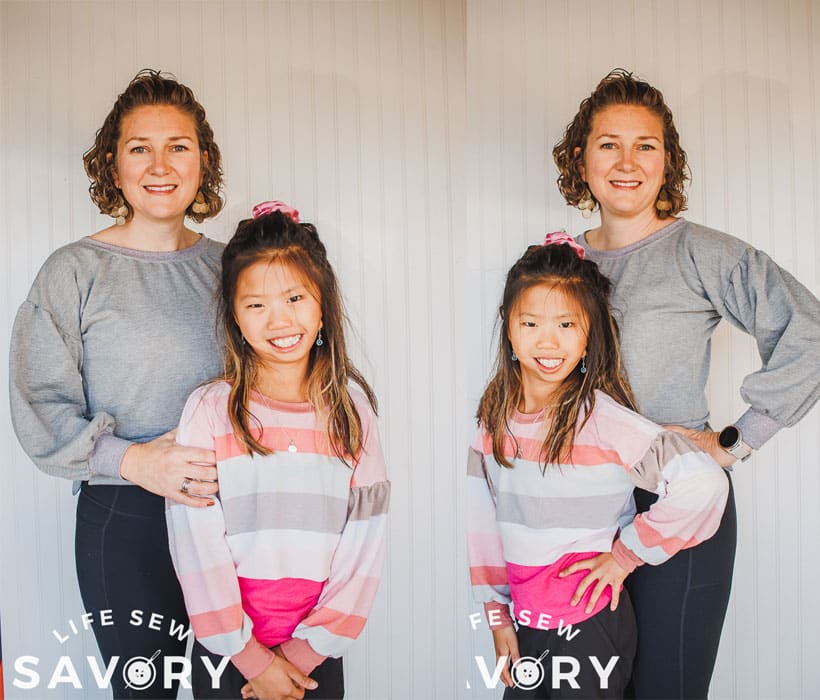
gathered sleeve shirt
Like I mentioned I’ve seen friends wearing shirts like this and I’ve also seen some ads to buy sweatshirts like this. It was actually a pretty easy sewing hack, and I have the steps for you below. Let’s take a look at a few more photos before we get to the tutorial.
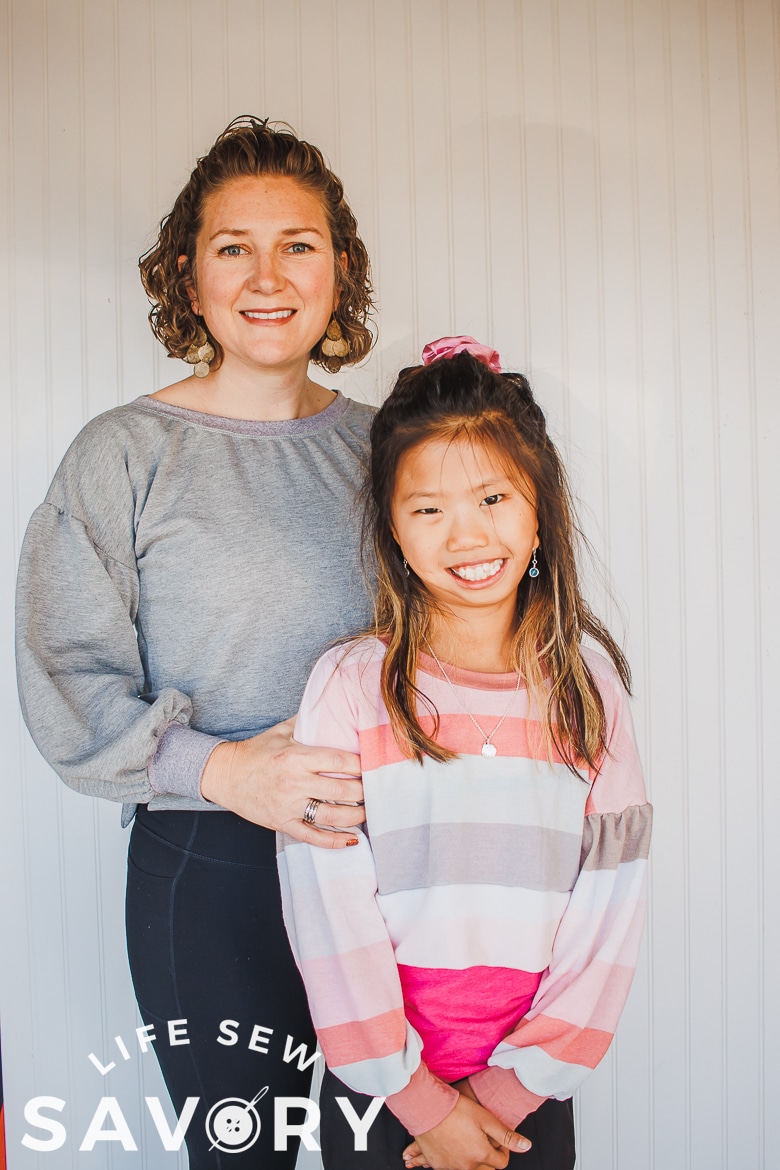
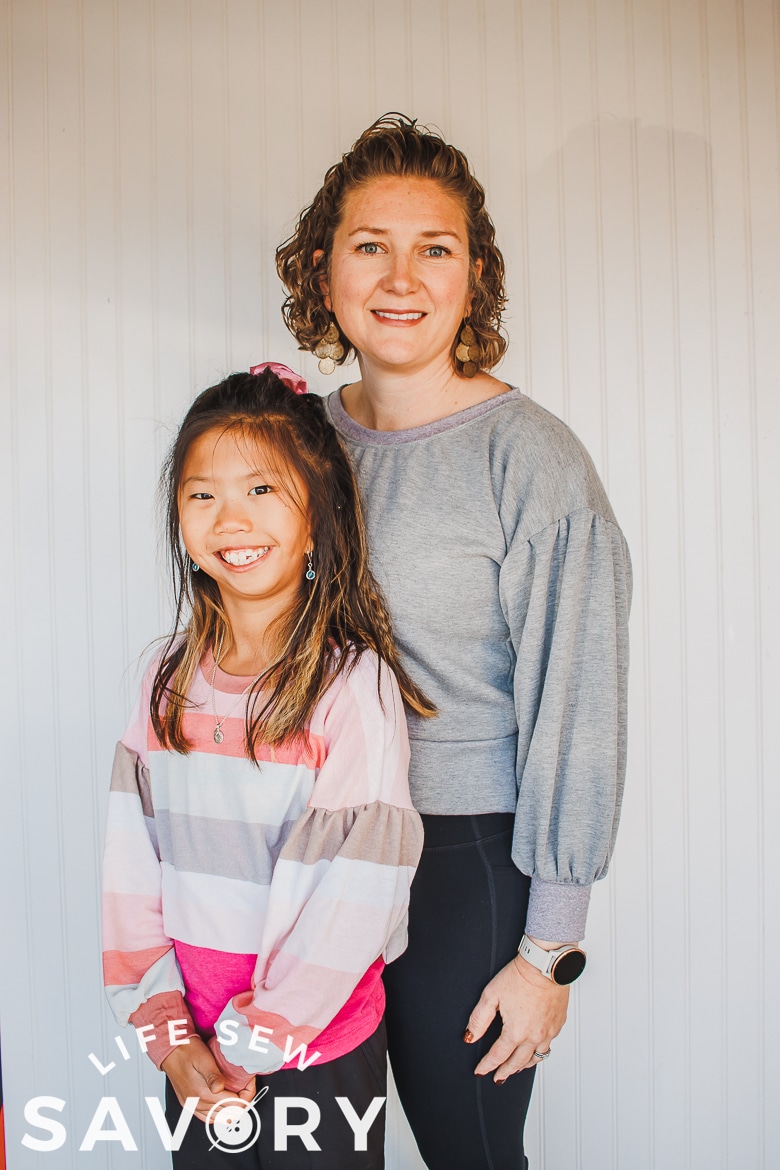
I had fun taking photos with Rose. It’s been awhile since we did a photoshoot together. She was in a very silly mood so it took awhile to get a few good ones.
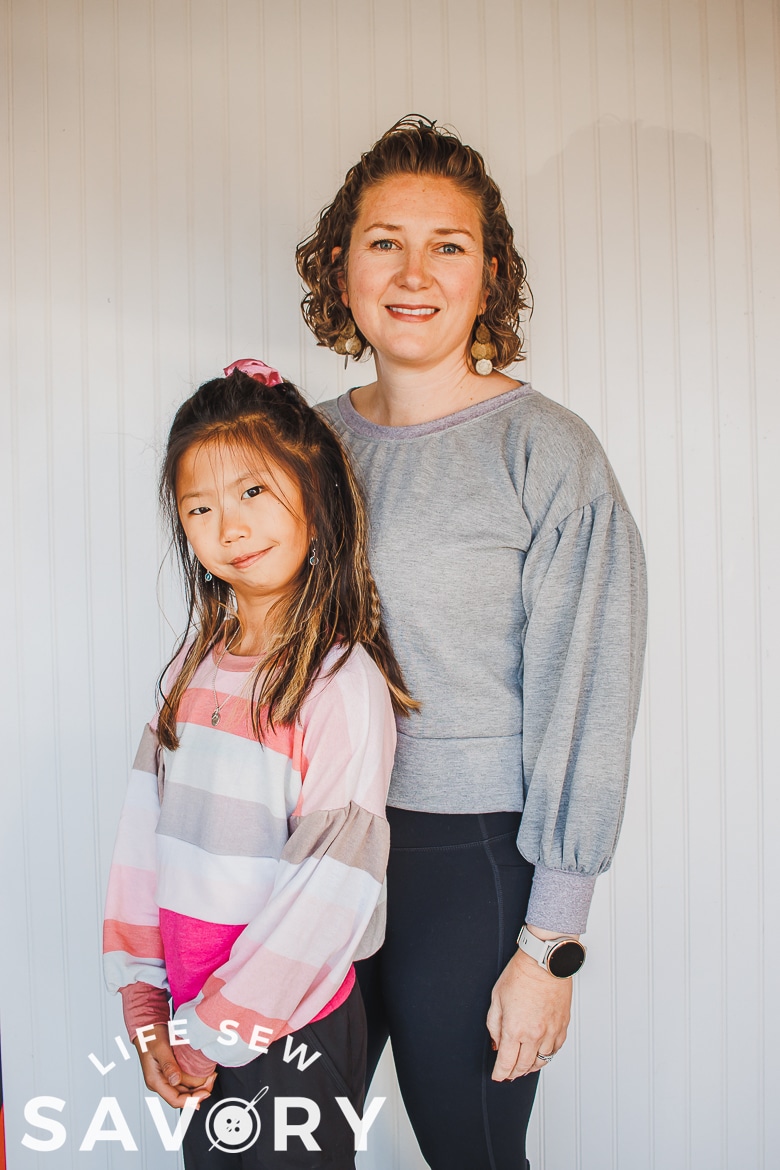
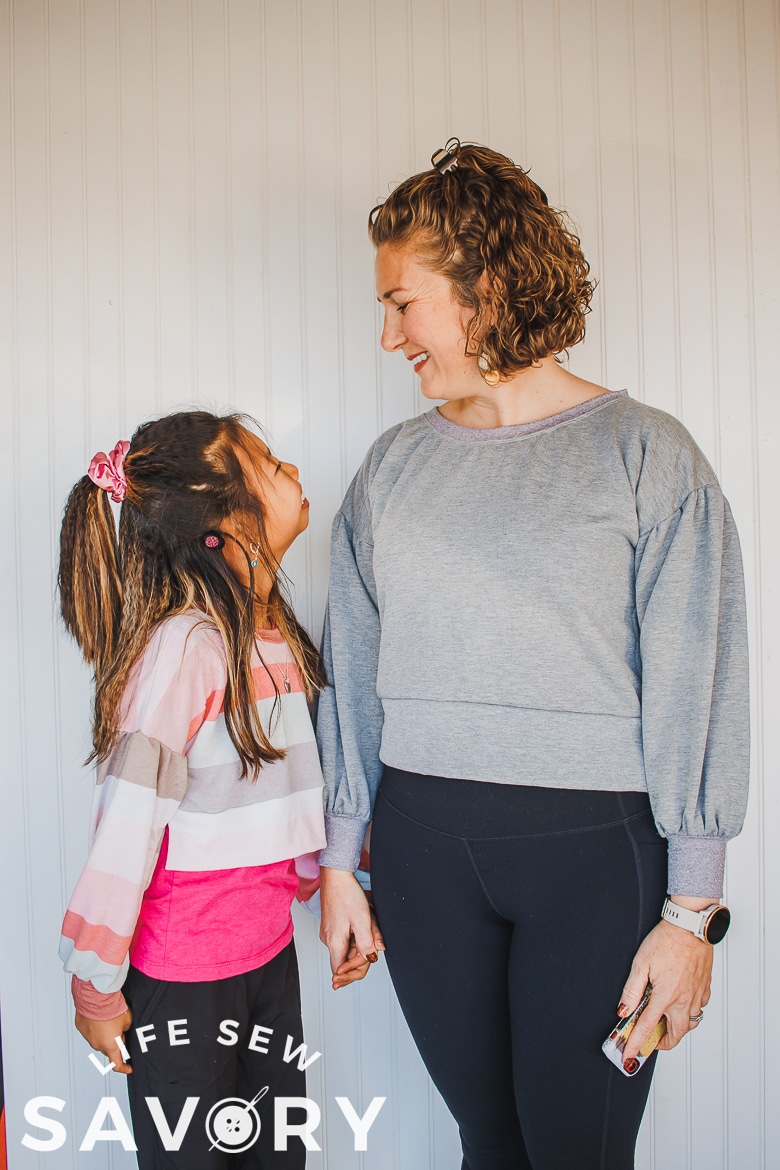
I think next time I sew these tops I will make them just a bit longer for both of us. I don’t super love where mine hits me on my waist and Roses is just too short to wear without an undershirt. The sleeves were the focus of my project. Rose looks like she is getting so tall in these photos. {and she is!} but she was wearing her booties that have a heel on them, so I think it’s a little big deceiving. {haha}
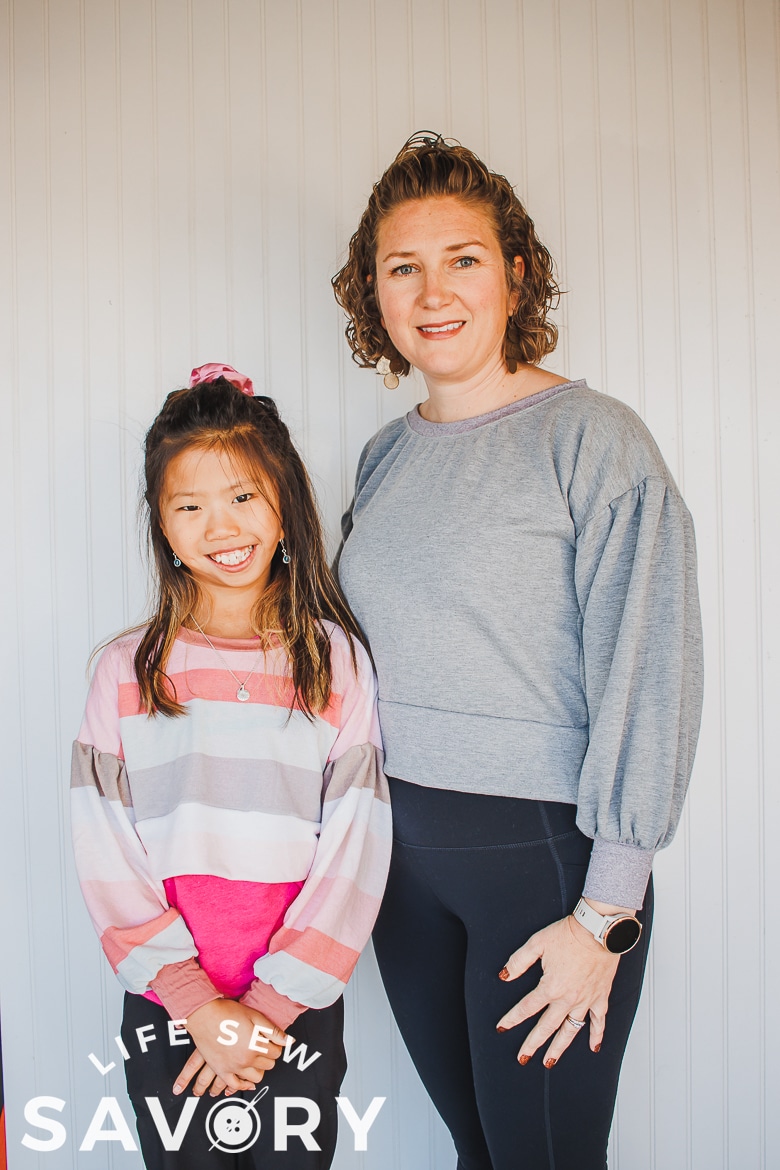
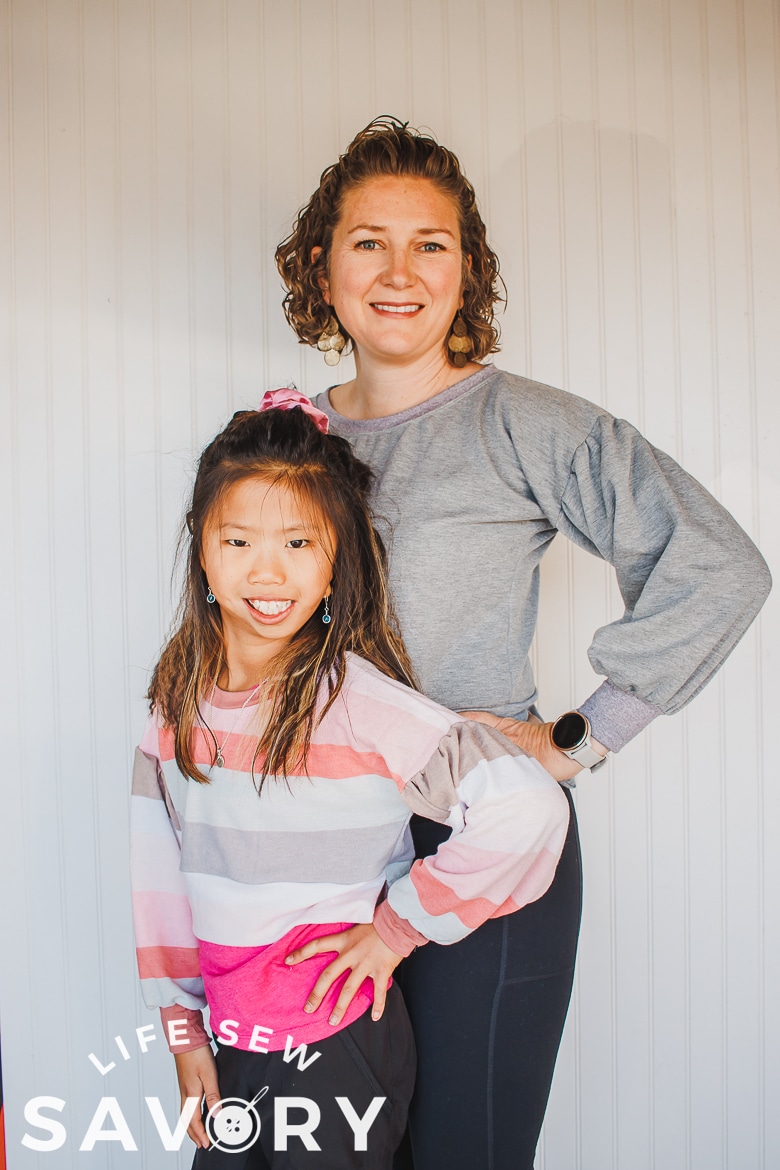
Also, she got a crimper for her birthday… We are having so much fun with it on her hair.
More crop top hacks –
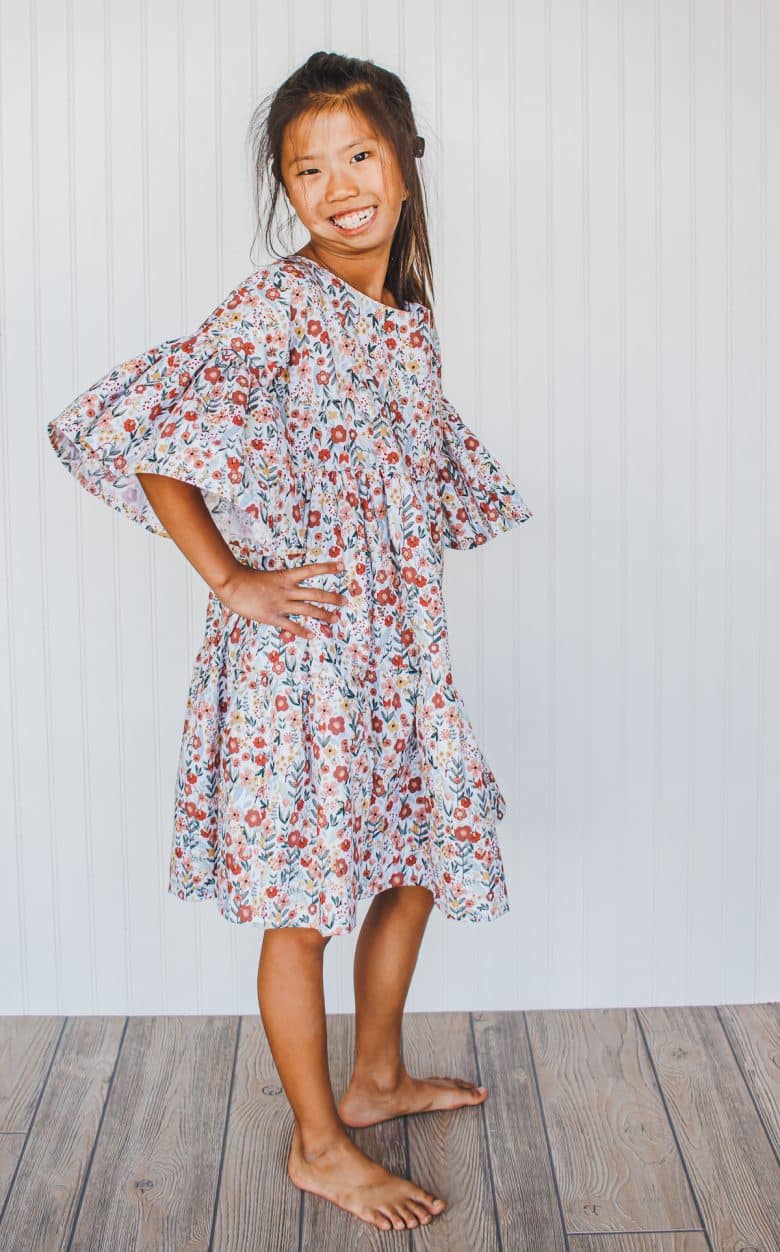
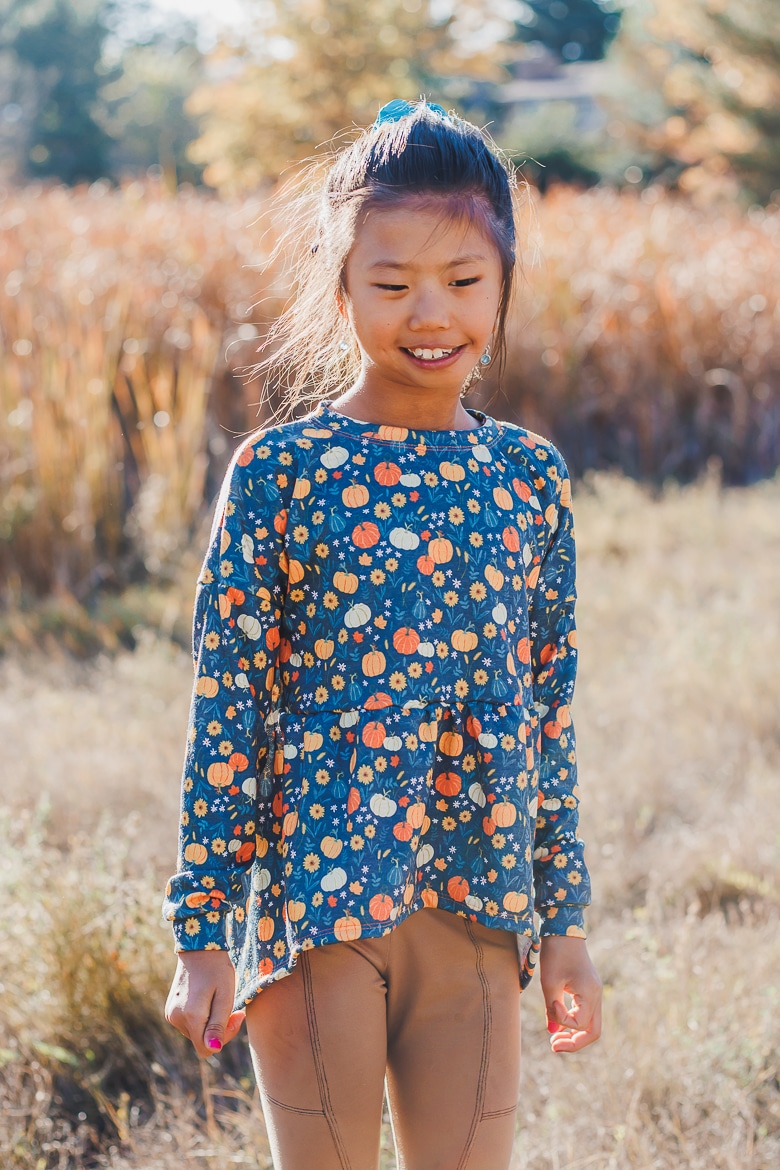
Since releasing this pattern I have use the same top {the crop pattern} to make a few more looks. Check out these… Basic Crop Top, Easy Sweatshirt Hack, Peplum Top Hack, Gathered Sleeve Sweatshirt top and dress, Ruffled Dress {with woven fabric}, BabyDoll Dress, Ruffled knit dress/top
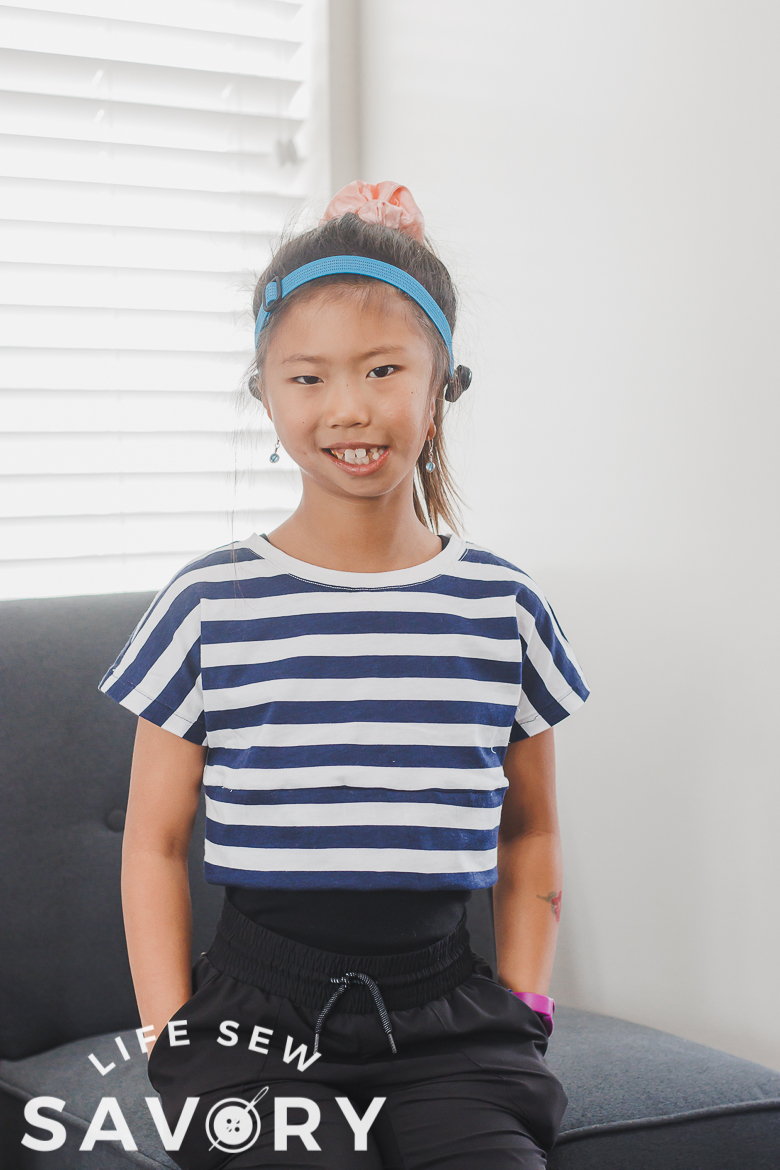
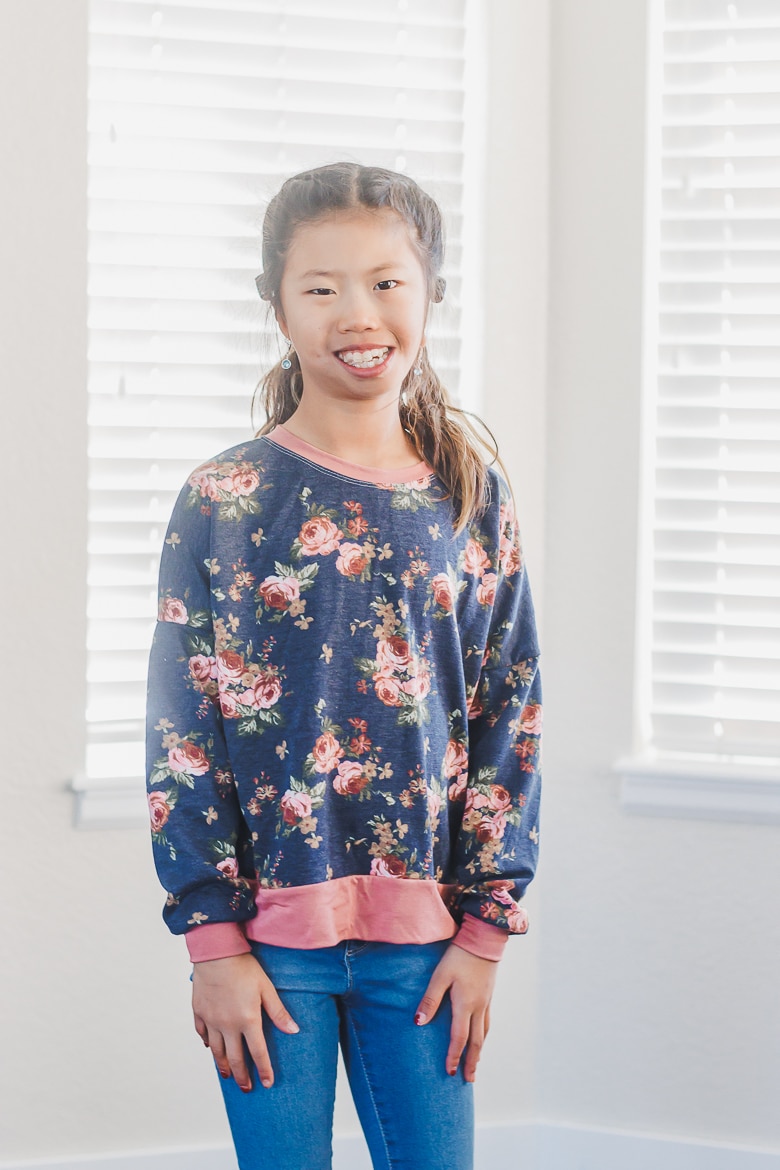
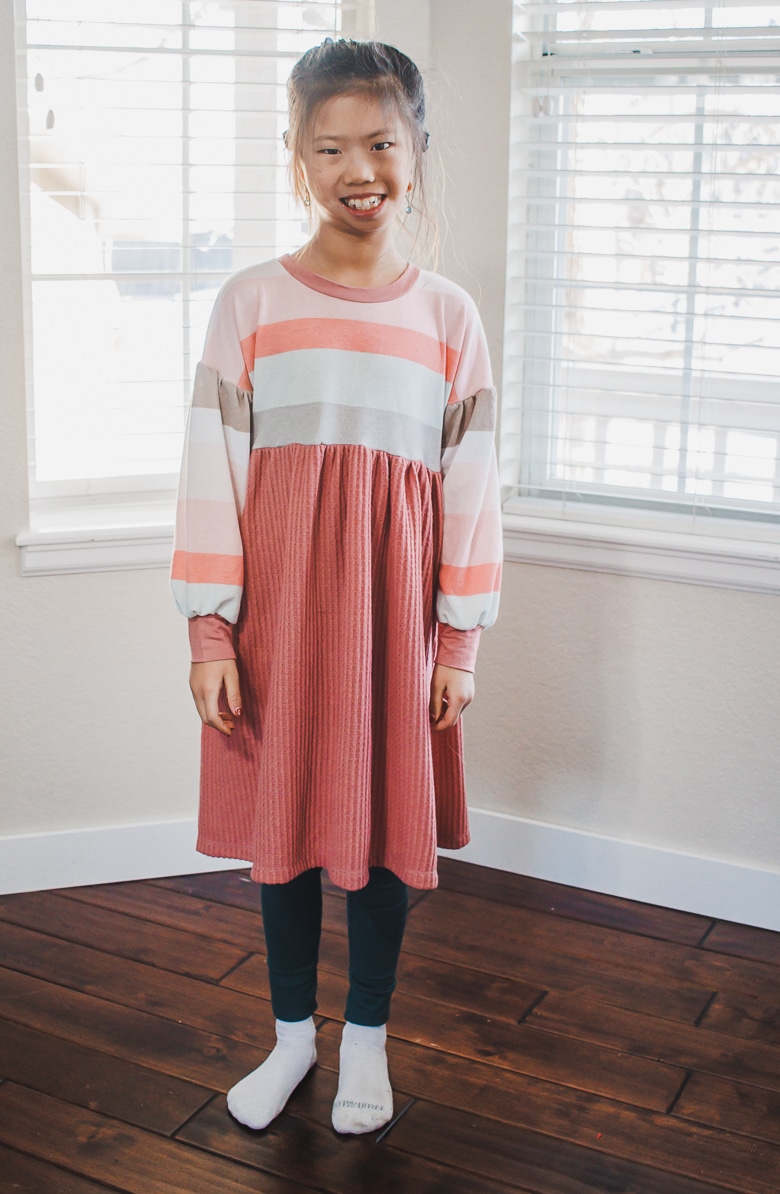
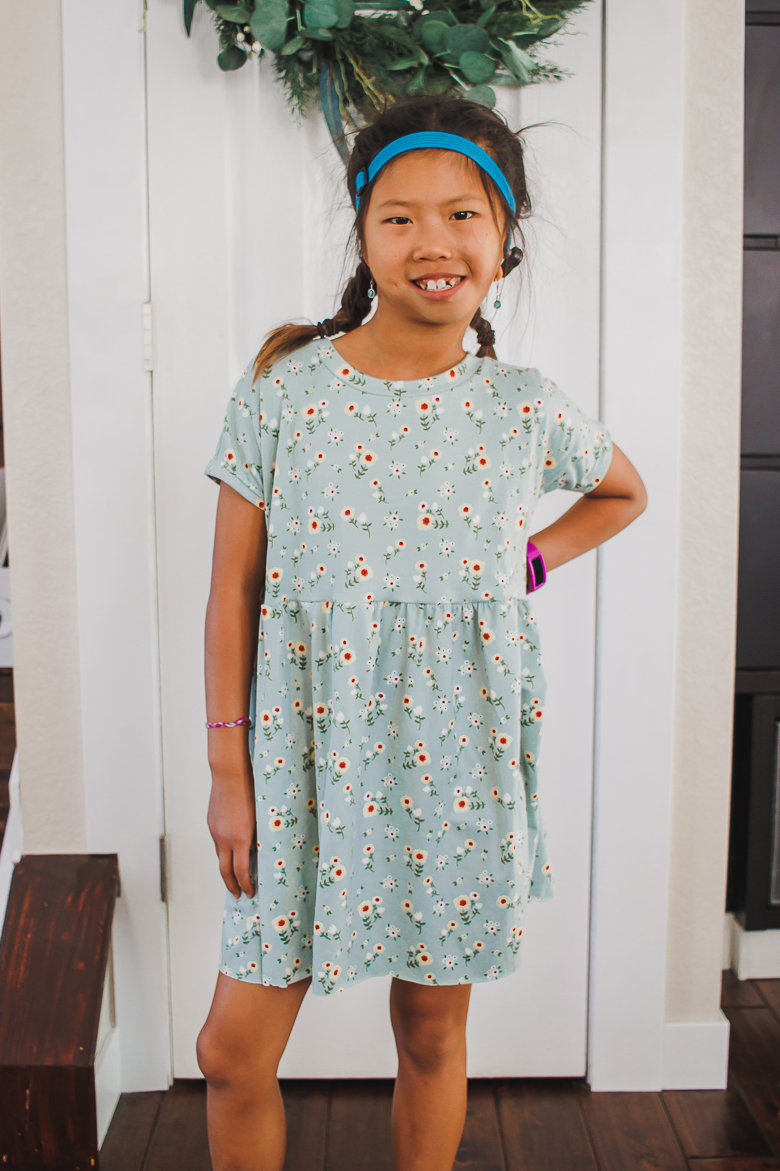
how to sew a sweatshirt
Ok! let’s dive into what you need to create this look. I used the patterns listed below.
- Womens Loose fall dress {used the top part only}
- Girls Crop top
- Sweatshirt fleece
- French Terry
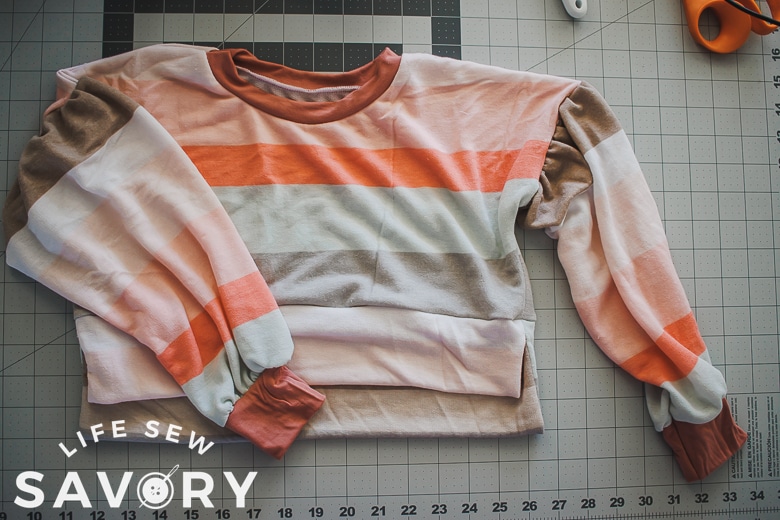
The striped fabric is French Terry and is a bit lighter and stretchier than the sweatshirt fleece. The fleece is super cozy and has very little stretch, but I wanted to try it with both options to show how they would look. I would use either one of these again.
best fabric for sweatshirt
The best fabric to use for sweatshirts is called sweatshirt fleece and it’s flat on the outside and fleecy on th inside. This fabric usually has very little stretch 10-20% or less and you will need ribbing or other knit fabric for the cuffs and neckband since it has no stretch. My favorite location for sweatshirt fleece is Raspberry Creek Fabrics and they have a good selection of plain and prints. I’ve been buying from them for many years and the sweatshirt fleece is so cozy for tops and bottoms. When I sewed sweatpants for my kids and my womens joggers a few years ago I used this fabric.
sewing a sweatshirt
Ok! Now time for the how-to! This is an easy sewing tutorial and I’m going to give you a guideline to follow. The photos are of the adult version of this shirt, but for some steps I will add details for the child size.
Cut neckband 1.75″ wide and 80/90% of neck opening. Cut cuffs to fit your wrist and about 2″ tall.
Download the free patterns and place the pattern on your fabric. Fold over the sleeve so that it ends about 1″ after the under arm curve. This will raise up the shoulder and the gathers.
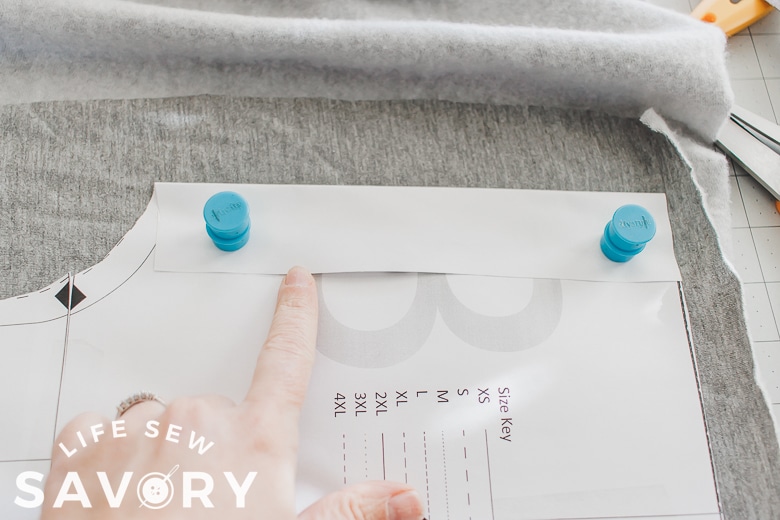
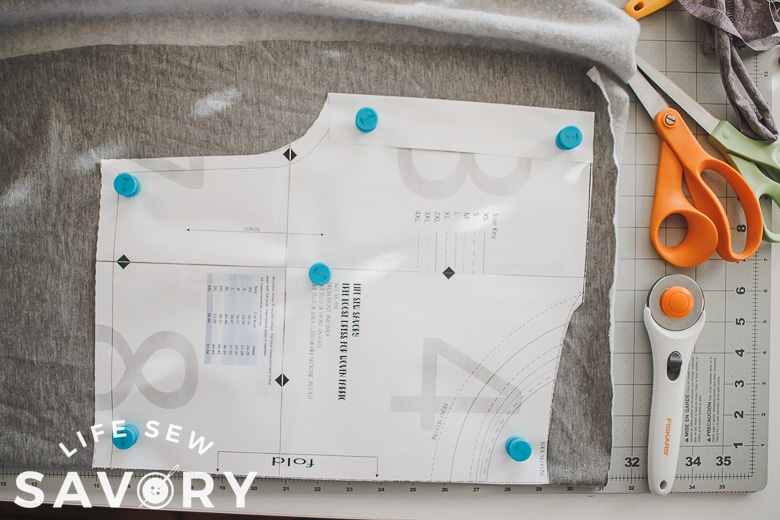
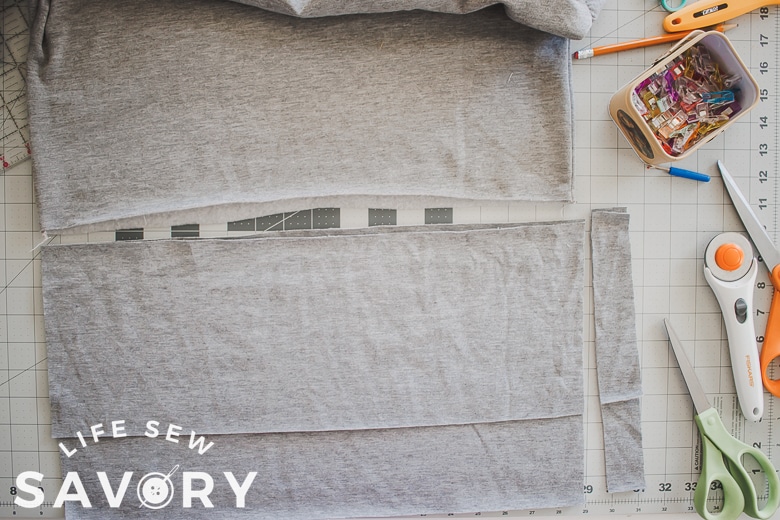
Before you cut, lengthen the top if desired. I added about 1.5″ to mine, but wish I had added about 3″. Now we will create the sleeve. The top of the sleeve is a fold, so fold over the fabric so that it extends about 3″ past the shoulder. This makes it actually 6″ wider than the shoulder and allows for gathering. For larger sizes you may want even more extra fabric to gather.
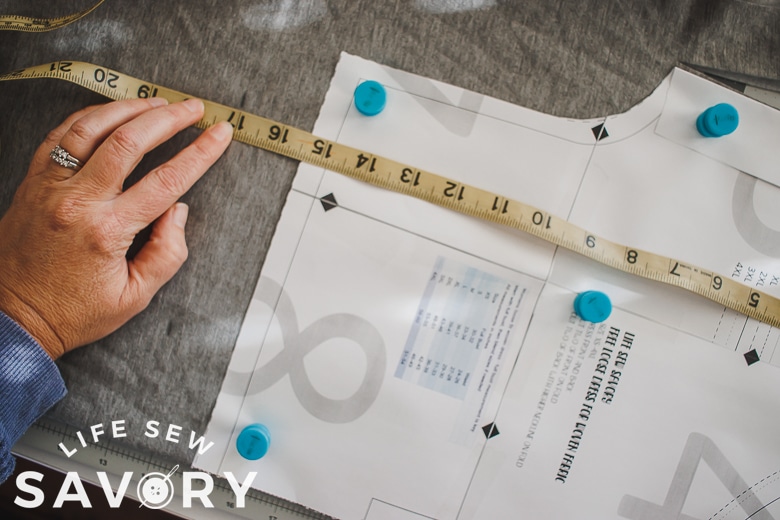
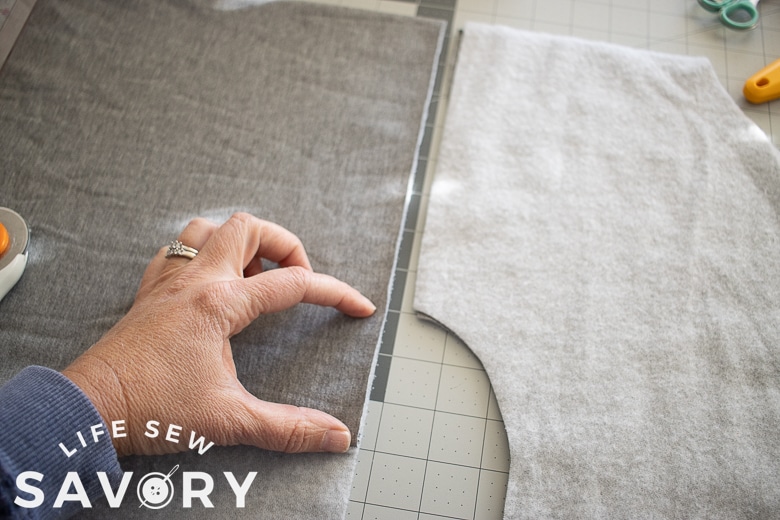
Next measure from your neck to wrist to determine how long you need your sleeve. Mark this length on the fabric. You will also have a cuff, so I would mark about 1″ shorter than you want the final sleeve. This will allow a bit of seam allowance as well. Cut the sleeve in a rectangle shape.
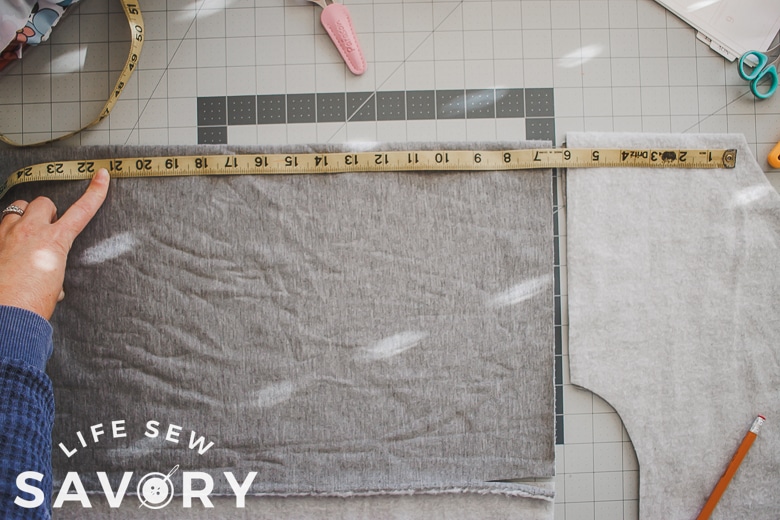
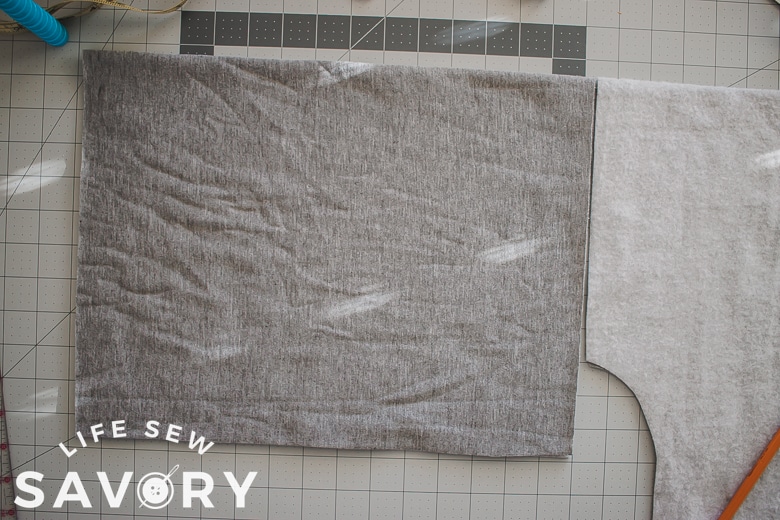
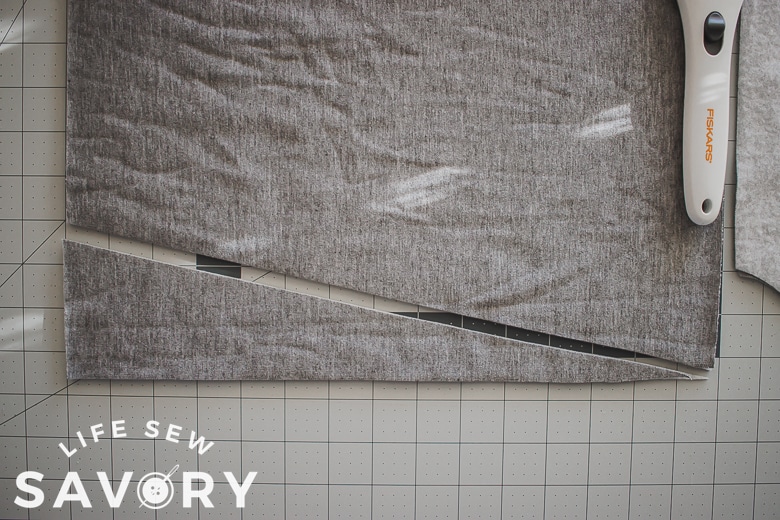
Finally mark about 3″ at the bottom of the sleeve on the wrist side and angle down towards shoulder. This will create a wedge shape. You should still have plenty of fabric at the wrist to gather. Again, for larger sizes you may want to start with a bigger rectangle. For the kids, a bit smaller.
Sew one shoulder seam with right sides together, then sew on the neckband and top-stitch if desired.
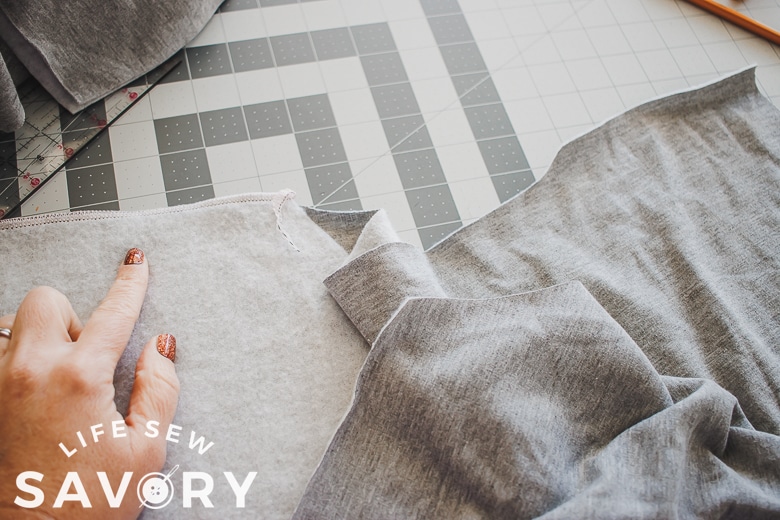
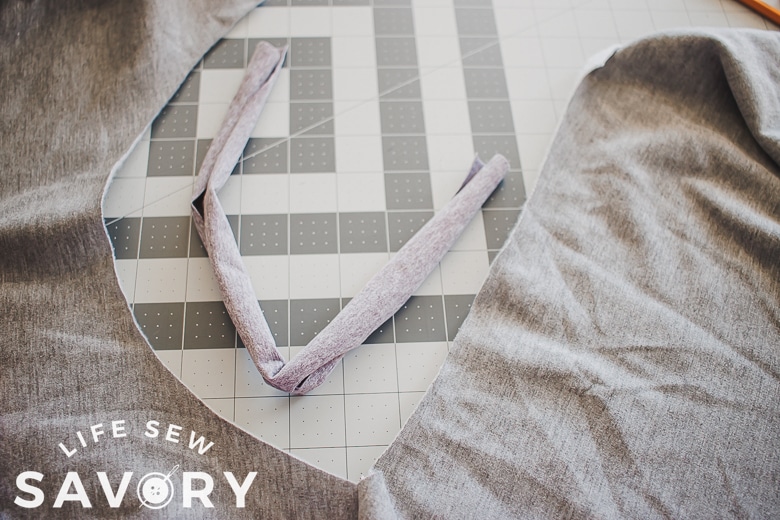
Need help with your neckband. Here is my neckband tutorial. Sew the other shoulder closed to complete the shoulders.
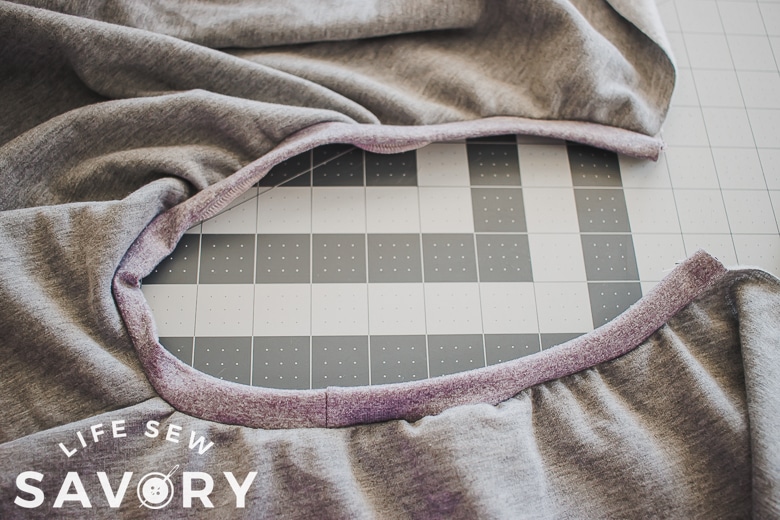
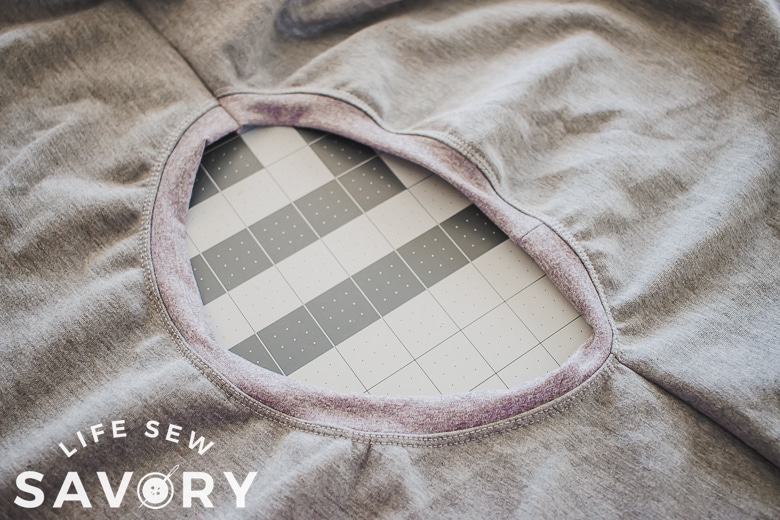
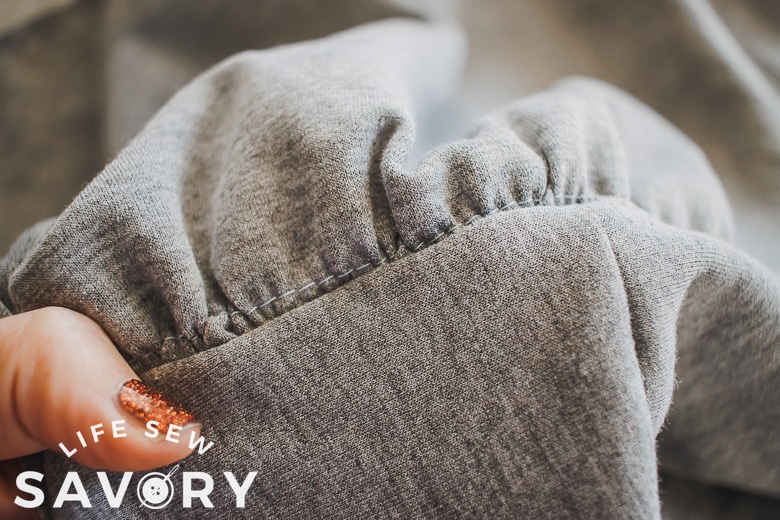
Open the top so the shoulder is flat and lay the top of the sleeve by the shoulder. Gather the sleeve top edge to match the length of the shoulder. Need help gathering? See my gathering tutorial here. Then match and sew the shoulder seam.
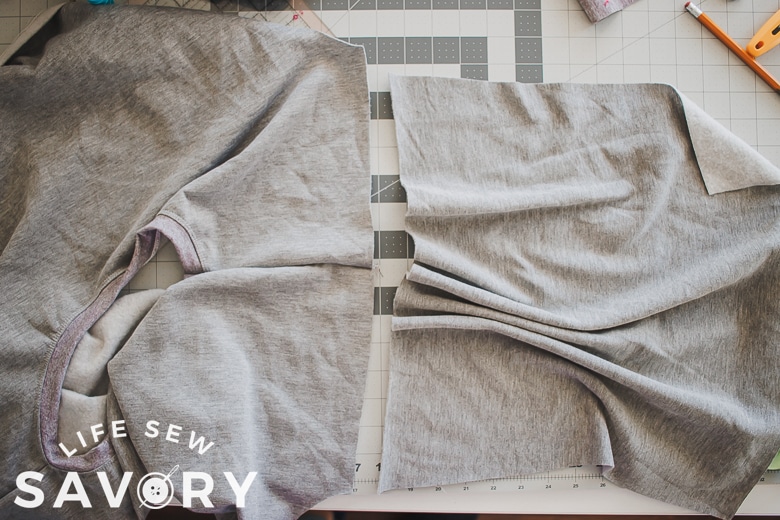
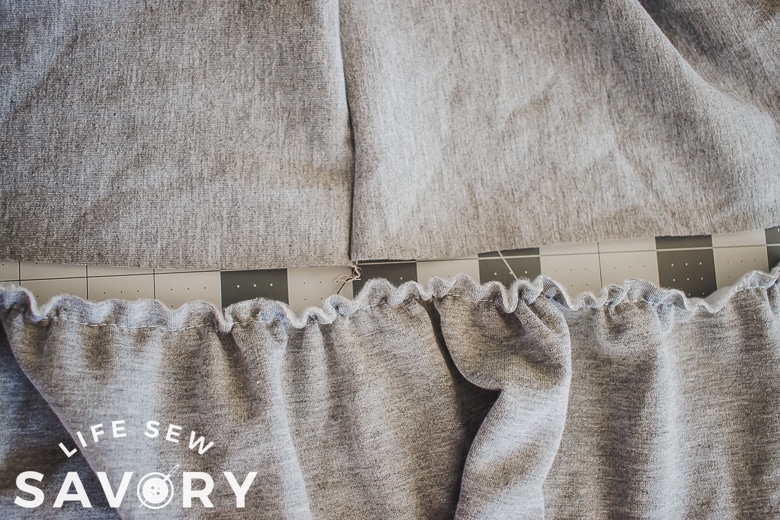
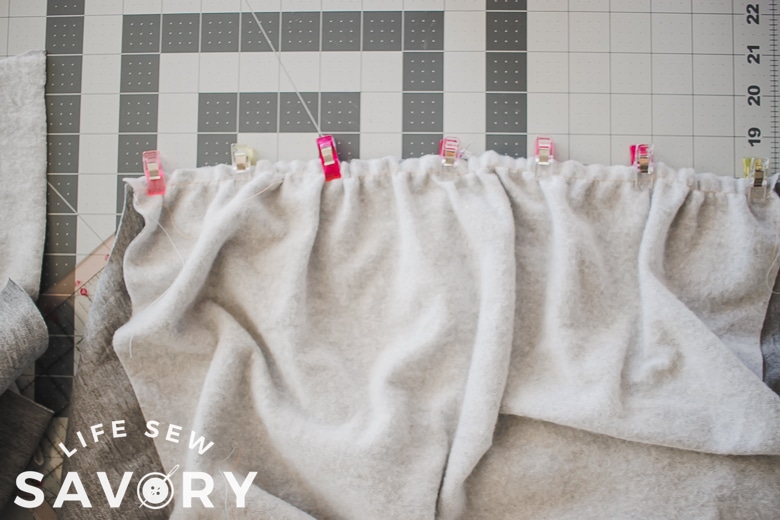
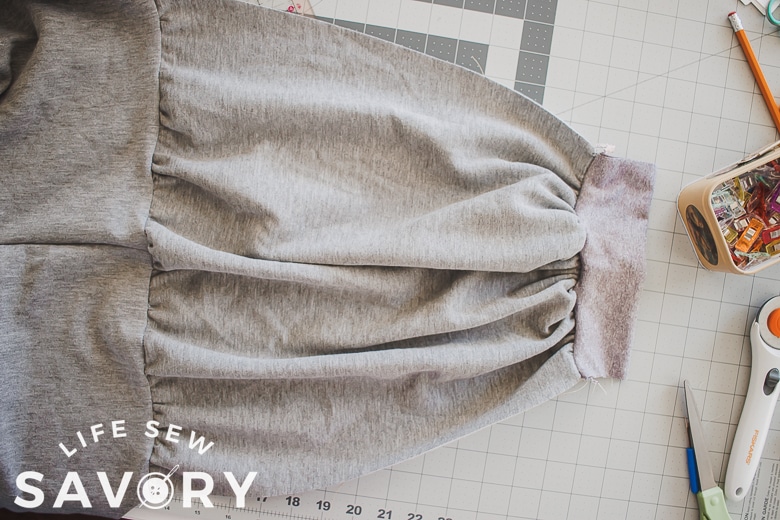
Do the same steps at the wrist. I gathered the wrist edge of the sleeve almost all the way, but did stretch the cuff a bit as I sewed for the final gathering. More tips on cuff sewing here.
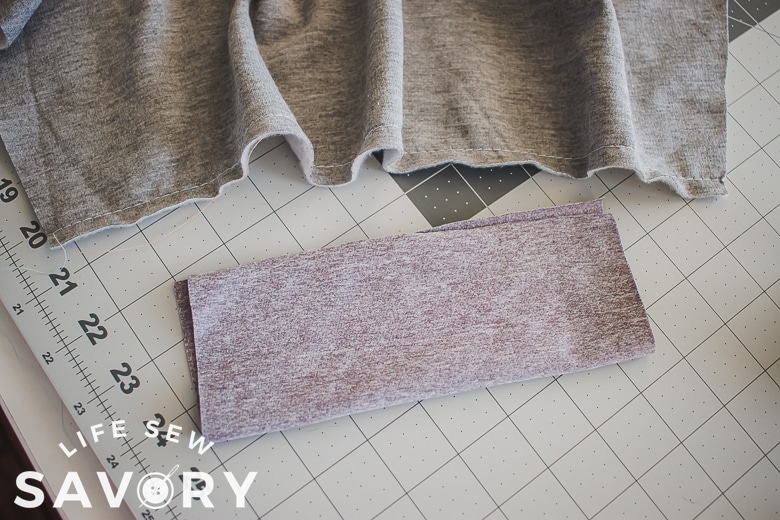
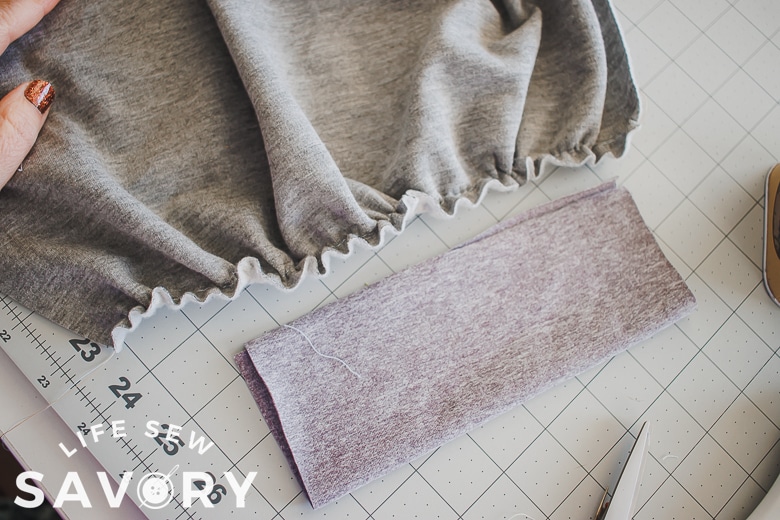
If you see any gathering stitching after sewing arm together, remove with a seam ripper. Now you have a pretty gathered sleeve. Repeat for the other side. Sew side seams.
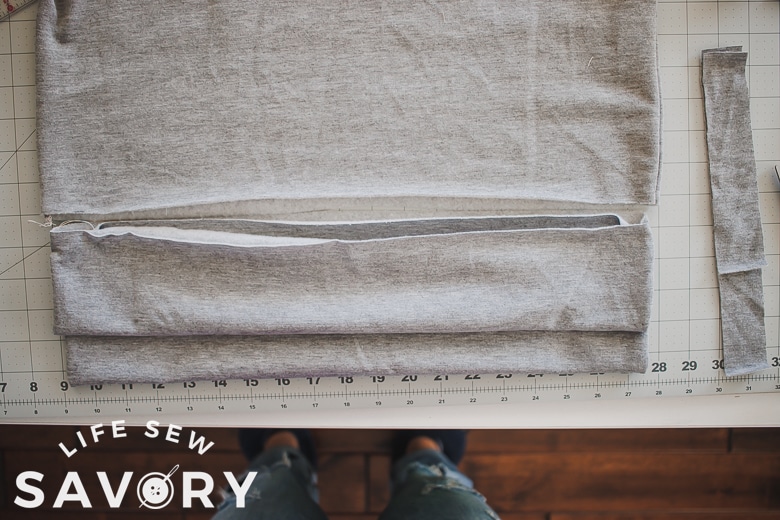
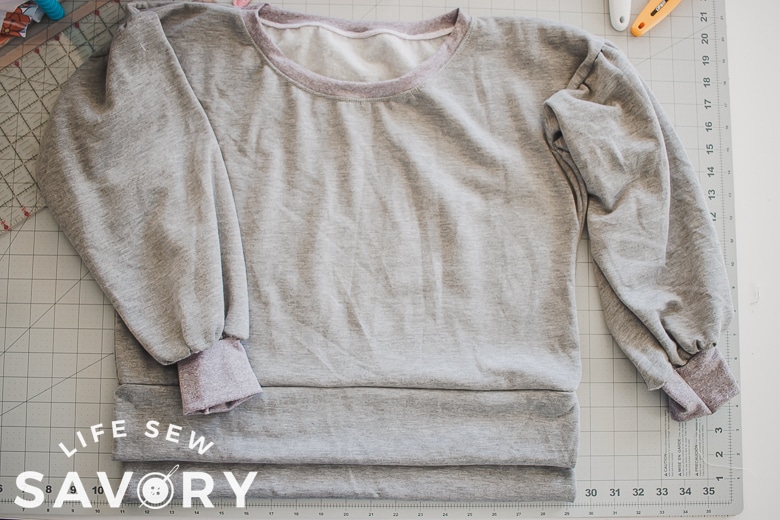
You can just add a bottom band OR a split hem band as seen here. My split hem tutorial will walk you through the steps. Find it here.
Now you should have one or two super cute sweatshirts to wear and be cozy this fall/winter. I love mine!!






Leave a Reply