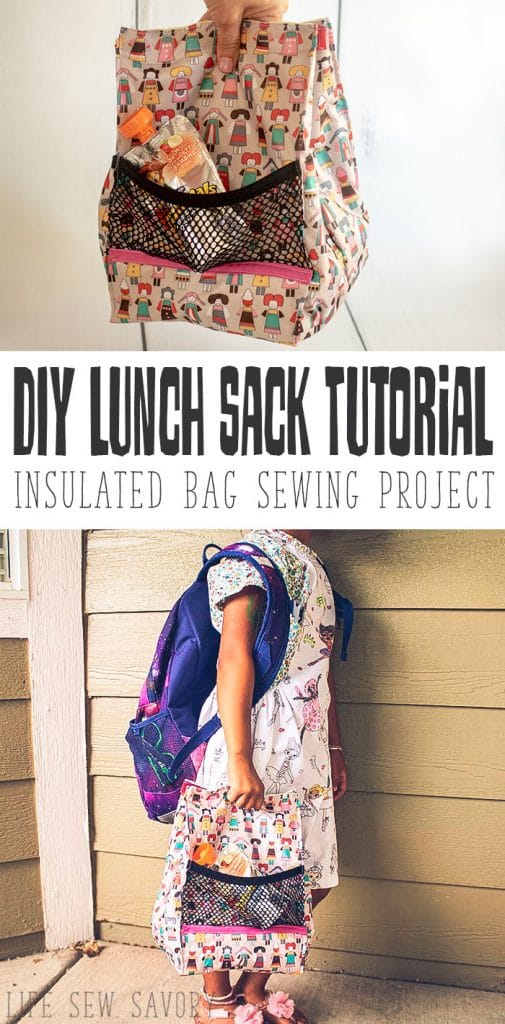
inside : Learn to make your own insulated DIY lunch bag with this sewing tutorial. Customize for size and design and keep school lunch cold/hot.
This post is sponsored by Danimals but the content and opinions expressed here are my own.
I cannot believe that we are already days into the new school year. I know my kids start in the early side, but I am a bit delayed in getting you all this insulated DIY lunch bag sewing tutorial… just the business of getting three kids ready for back to school and all {haha}
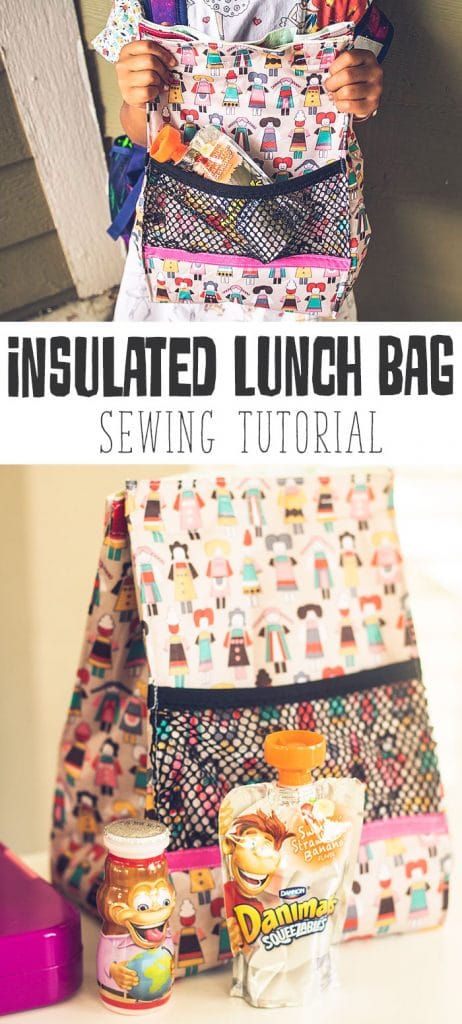
Insulated DIY lunch bag –
It may be later than I would like but I am super excited about this lunch bag pattern and tutorial. It was made to go specifically with my new Yumboxes, but I will tell you how you can customize this for any lunchbox.
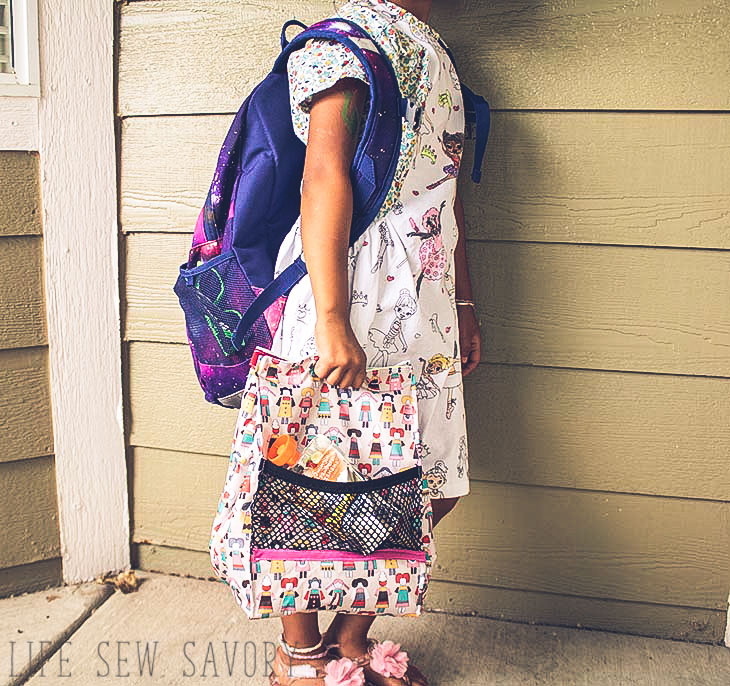
We are pretty excited about having mom – made reusable lunch bags this year, as well as some of the tasty new lunch foods that we have found.
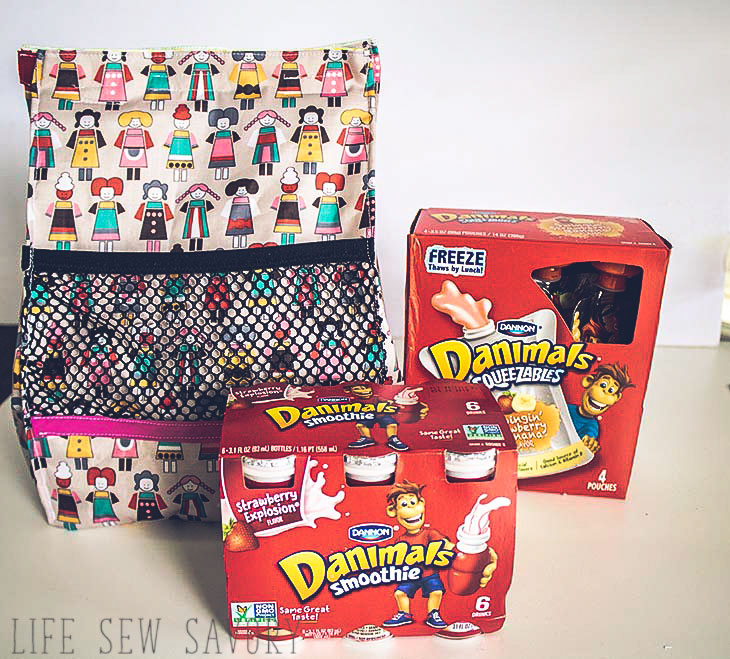
My kids love the Danimals smoothies and squeezables in their lunches. They are perfect as is, or frozen {they thaw by lunch!} I love the mess free yumminess that gives my kids a important nutrients like calcium and vitamin D either at school or after school, with a taste they love.
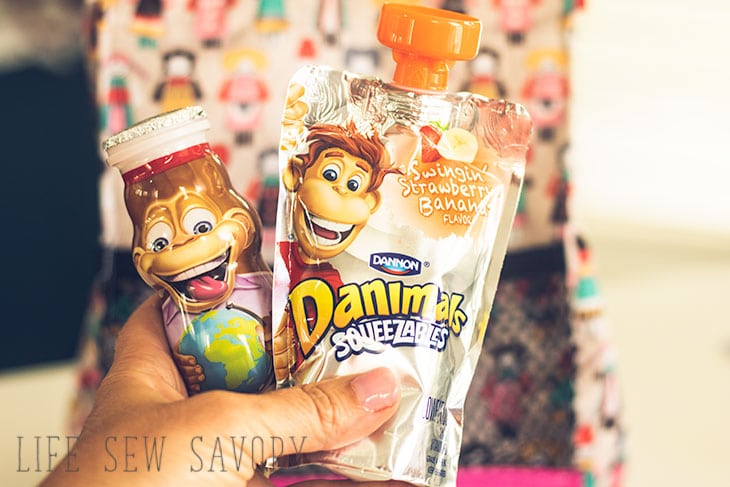
Danimals are a good source of calcium and vitamin D, plus they are super easy for grab and go. The kids and I love them equally, but for different reasons. You can find them nearly everywhere, but check the Danimals website for the Store Locator.
Other reusable bag tutorials
Lunch bag pattern and tutorial –
Let’s get sewing!! Supplies:
- Insulated interfacing
- wipe-able fabric for easy cleaning
- lining fabric
- Velcro
- Optional Mesh and FOE
I realized after I made this that my cute wipe-able fabric is on the outside and my lining fabric is just cotton. It may have been better to switch the two… just a thought as you get started.
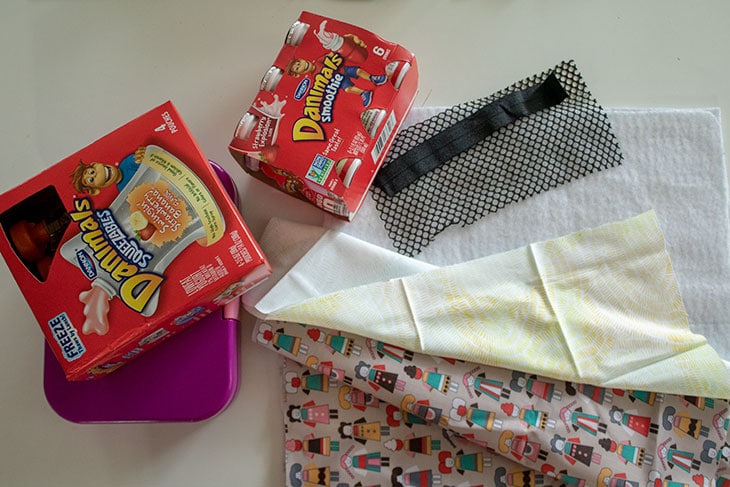
Start by figuring the size you want your bag. My dimensions fit a yumbox 8.5 x 6.5 x 1.8″. I cut my fabric 15″ high x 16″ wide. If this works for you great…… use this size. If not here are some ways to figure your own sizing. I would keep the 15″ high and then you want to add 4″ to each side of the width of your box {the longest side}.
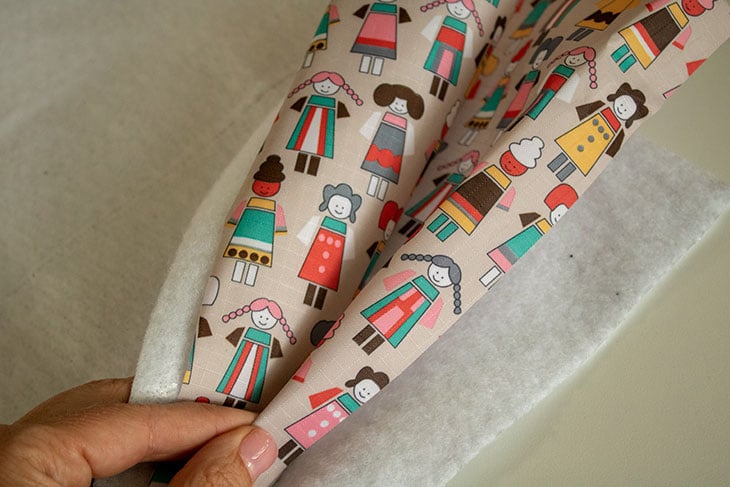
Place the main fabric right sides together, and then place the interfacing on the wrong sides of the fabric. Sew down both sides and across the bottom, catching all four layers. Repeat sewing sides and bottom of lining fabric.
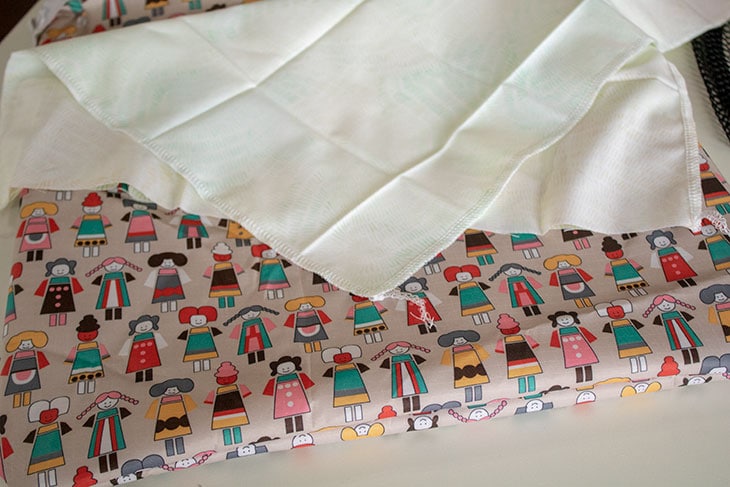
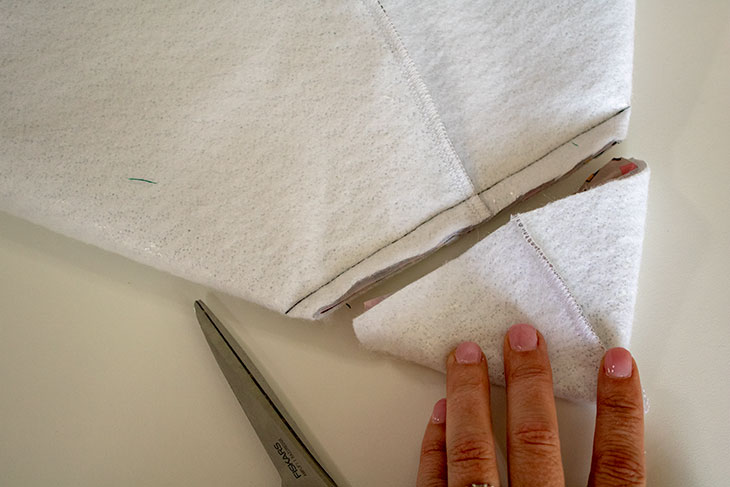
Fold the main fabric and the lining inside out. Fold the side seam so it lays on top of the bottom seam. Measure 4″ from the corner. Place pins to mark the 4″ corner as shown.
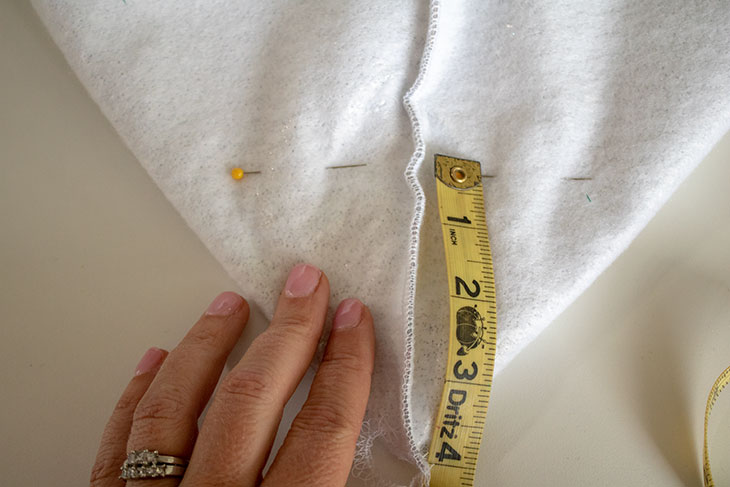
Sew on this line, then trim off the corner. Repeat again with the lining.
At this point you should test your lunch box to make sure it fits in the bottom of the bag.
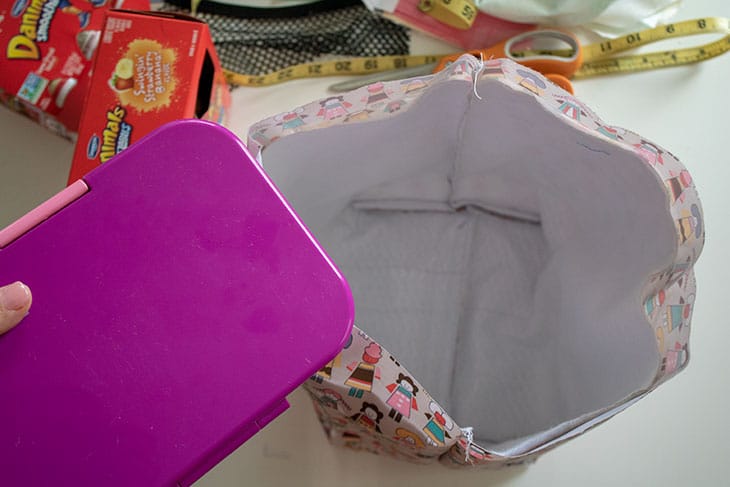
Place the lining and the main lunch bag right sides together, aligning the top raw edge. Sew around with a 3/8″ seam allowance. Leave a 4″ opening to turn the bag.
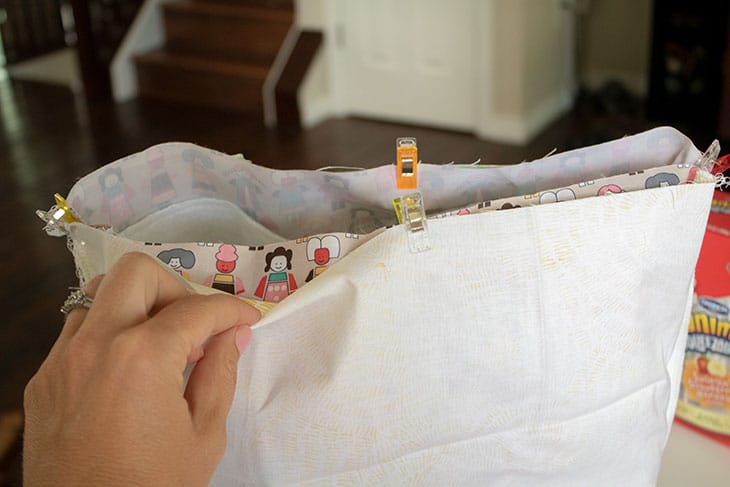
Turn the bag right side out and push the lining inside the lunch bag. Press the top edge of the bag flat and close the turning hole.
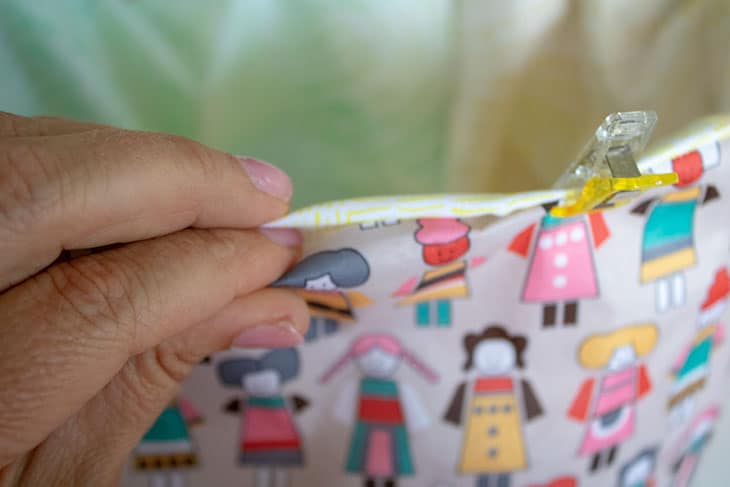
From the lower corners of the bag, Pinch and pin/clip straight up to the top. This will create a “fold” on each corner of the bag
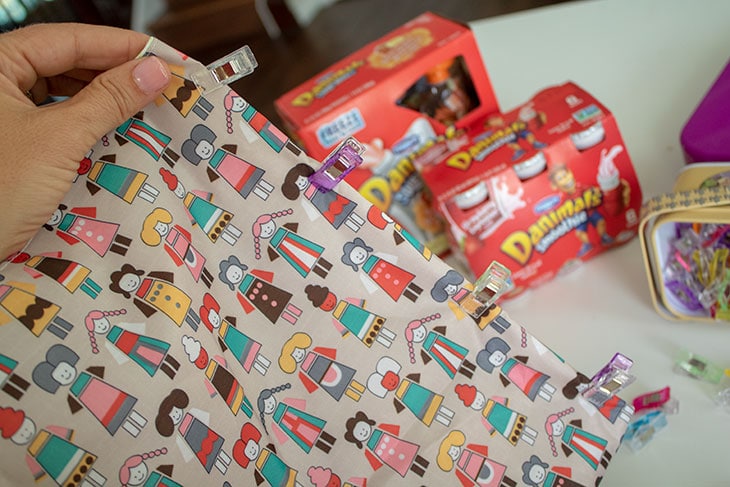
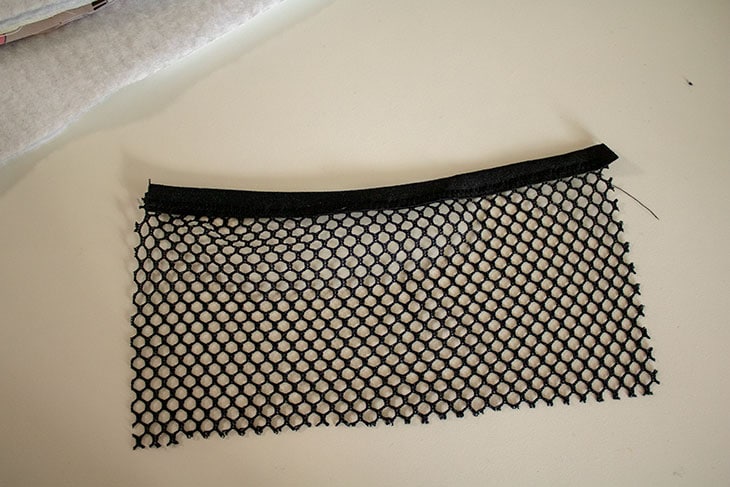
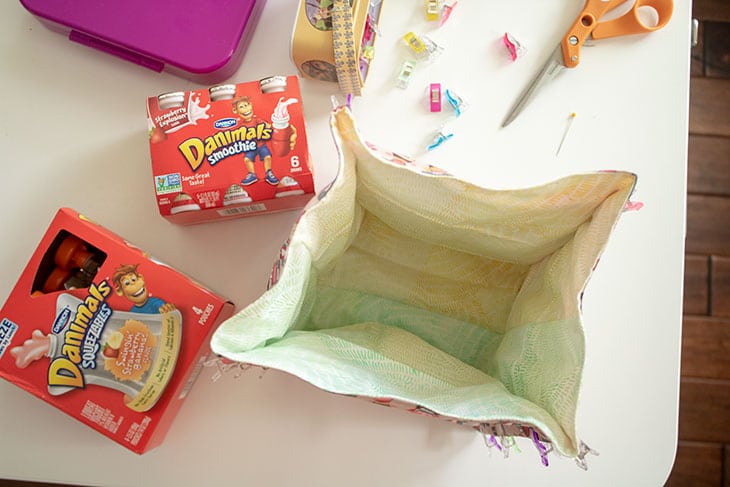
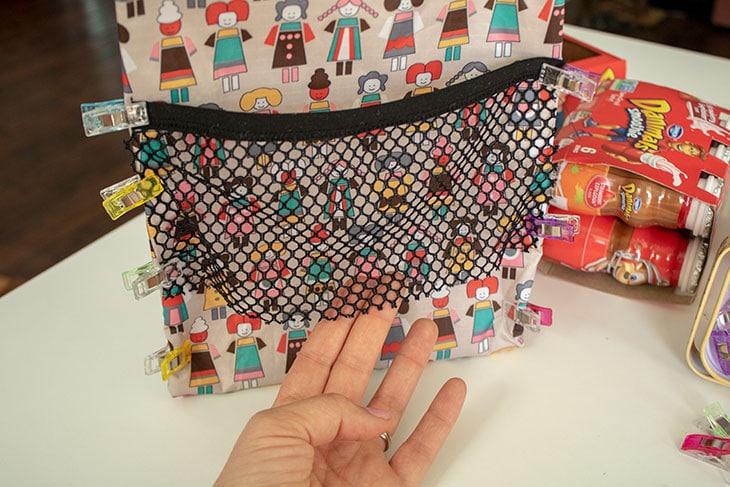
If you want an outside mesh pocket, now is the time to prepare it. Cut a pocket 8 x 4″ and finish the top edge with fold over elastic. Clip to the folded corners. You will leave the bottom open for now.
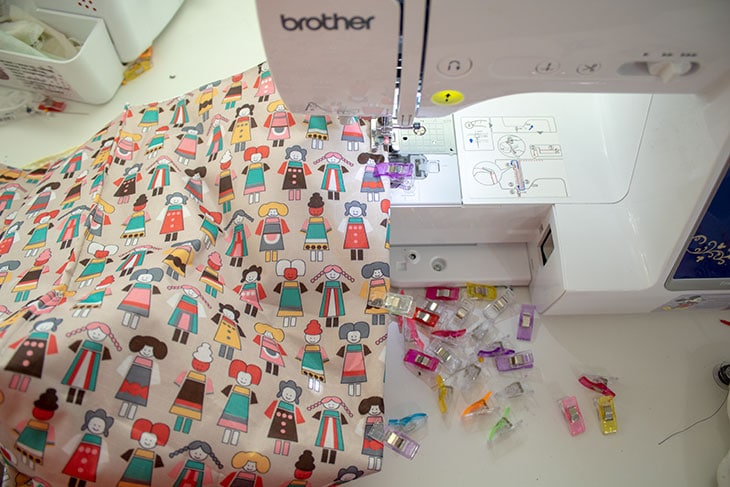
Sew down the four corners with a 1/4″ seam allowance. Try to catch the outer fabric, the insulated interfacing and the lining all in the stitching. Now the bag fold on the sides like a paper bag.
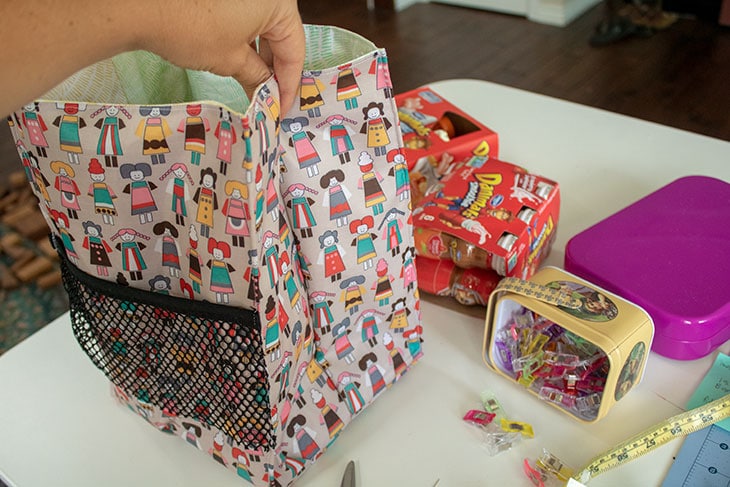
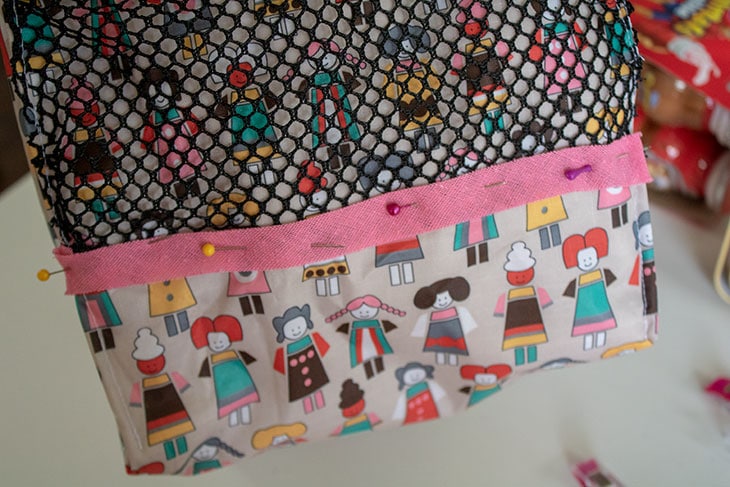
After you have sewn the corners, place a ribbon or bias tape on the bottom of the pocket and stitch to close the pocket.
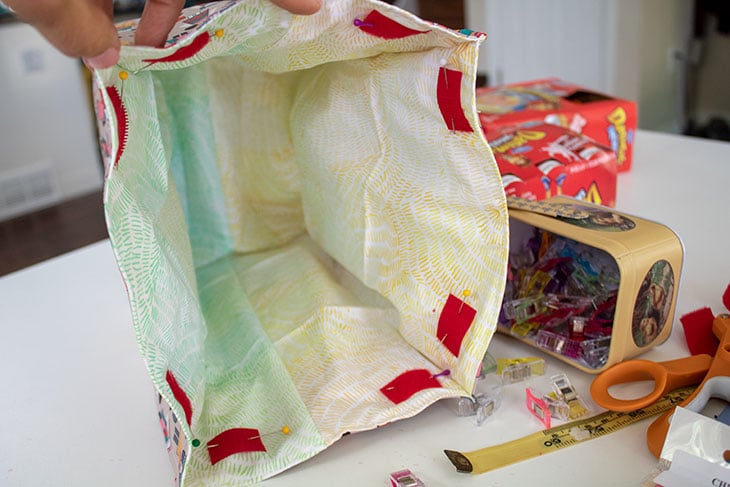
Cut 1.5″ pieces of velcro and place the corresponding pieces in each corner. Sew. I stitched on the right side of the bag – two parallel lines on each piece of velcro.
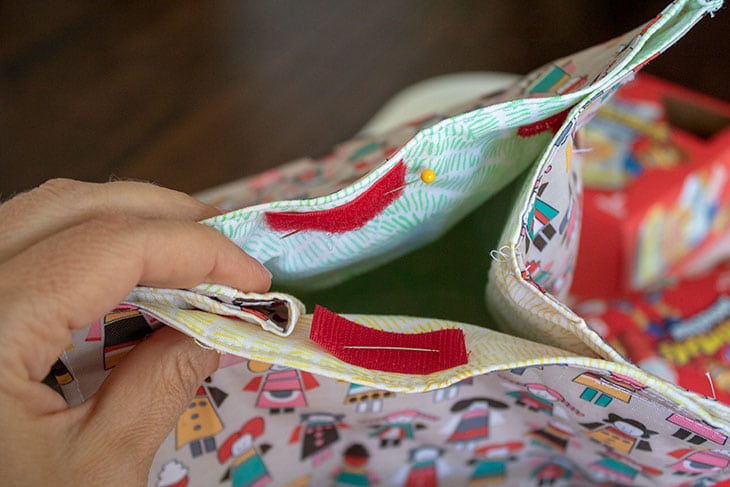
Add 2″ pieces of velcro to the center of the bag opening. The top should now completely close with velrco.. the center and all four corners.
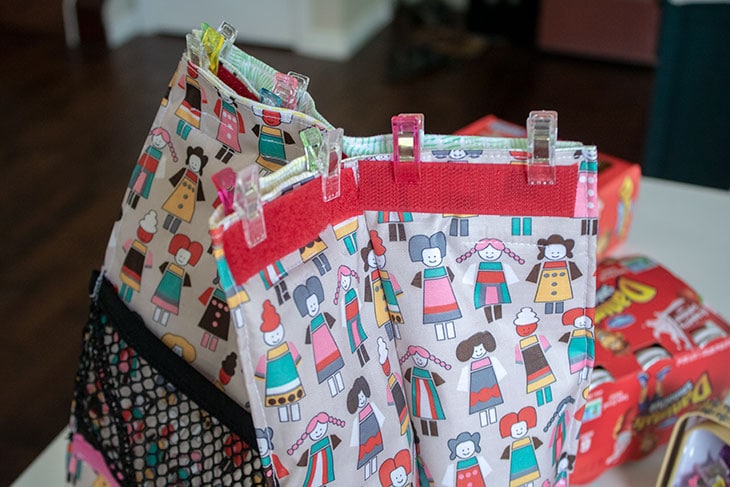
If you want the top to stay closed more securely, add long pieces of velcro to both side folds… Now you have a cute little insulated lunch bag, ready for school. Make in any color and size to personalize for your kids. Enjoy Danimals with your lunches for a great start to the school year.




Daniele simmons says
Thank you for posting this. I have a child on a feeding pump and want to make a Insulated bag for her feeds. I just adapt bags now but this is a huge help to making some of the issues I have with regular bags. The mesh could hold the pump for easy access and if I add straps or elastic to hold the feeding bag up, I could fit a large bag in there. Then have room for a container on the go. A few curtin circles( the type that just pop in to make cutting easy ) add holes for the cords. And a strap. This seems like a lot of adding in but to see a bag bigger. Or how to is so huge. It opens so many doors to washable or easy to clean bags. Food that is cold and one bag not 2. Thank you for all you do. Hugs.
Emily says
yeah!! thanks!
Michelle says
this is so cute!! I’m definitely trying this soon!!
Michelle says
I have a question – where did you purchase wipe-able fabric from and does it have another name? I’m trying to find it at the fabric store.
thank you!
Emily says
Vinyl is a great thing to look for. Also rip stop fabric.