inside: a free pattern to make a little explorers vest for kids. The pdf pattern works for both boys and girls and come in sizes that will fit kids 3-7 years old {approximately}
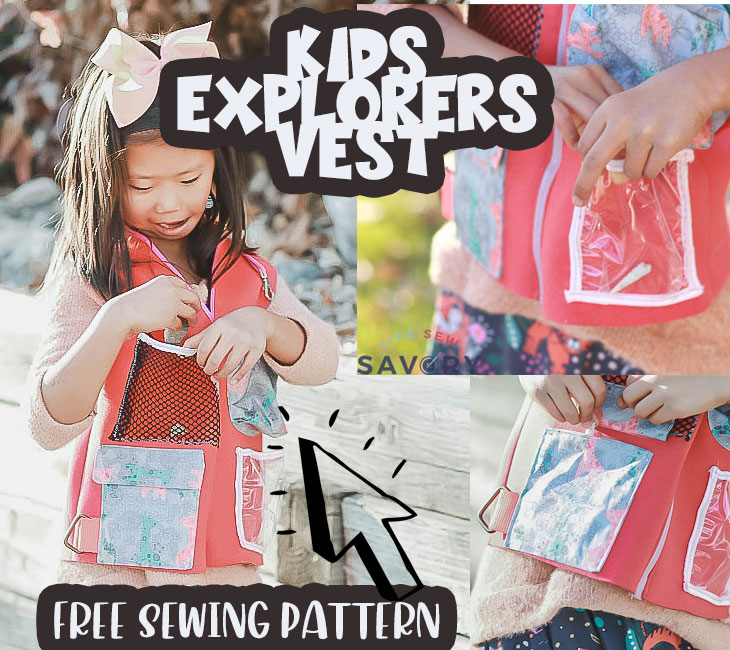
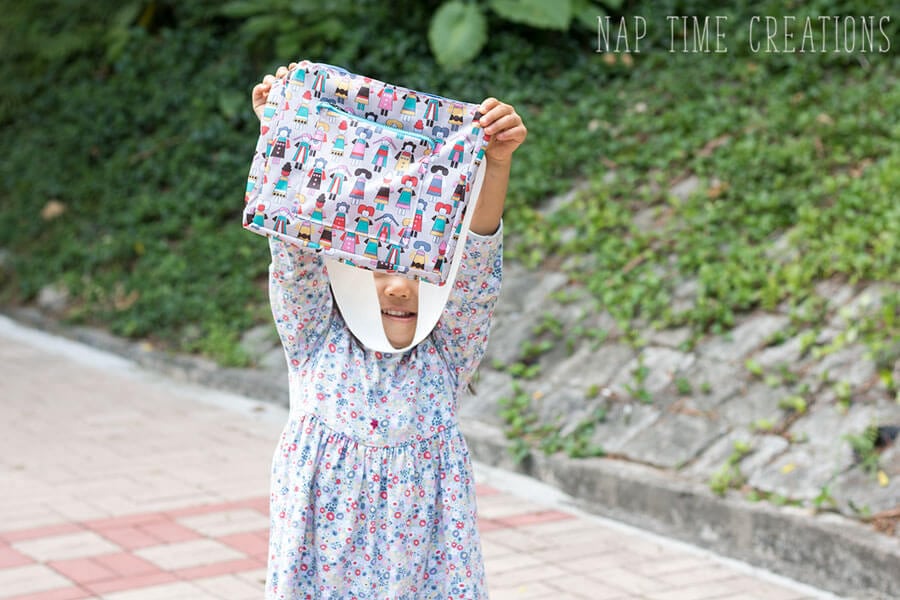
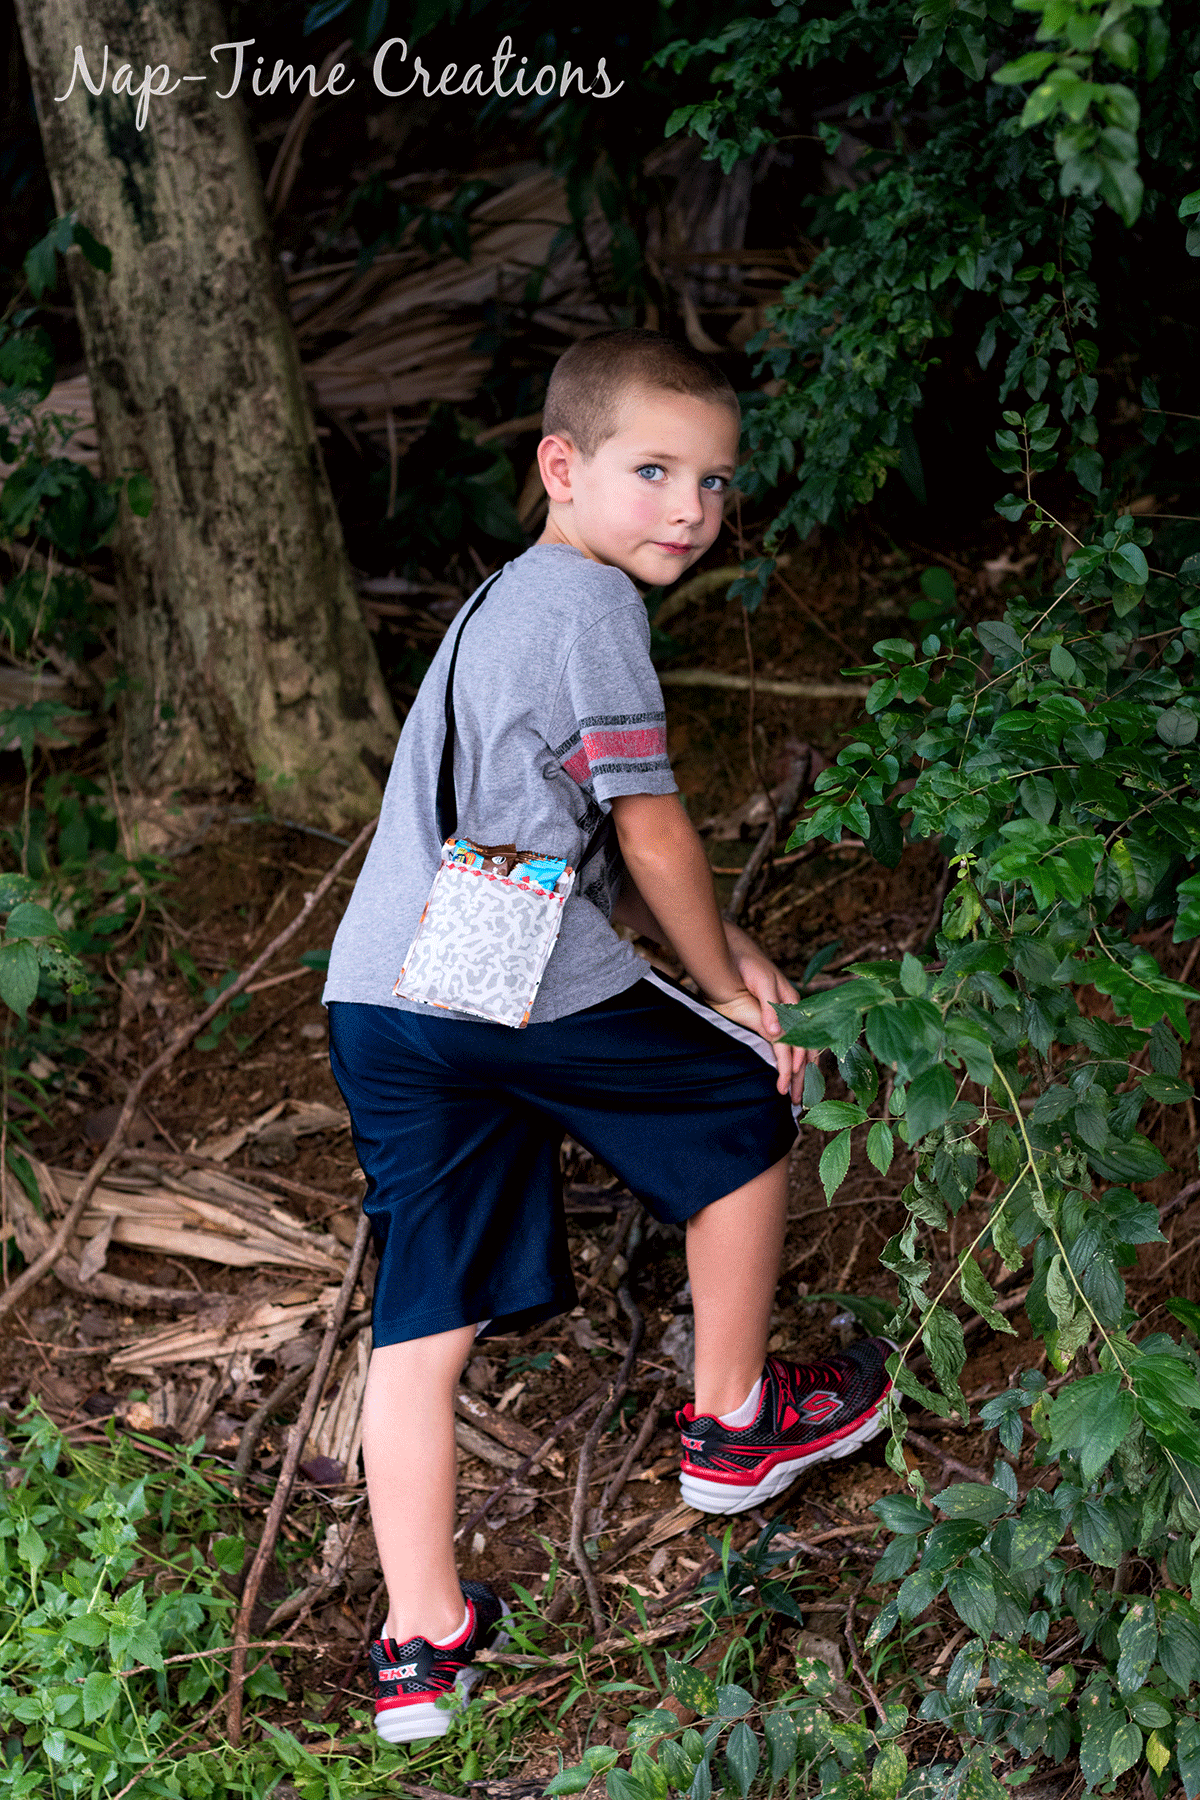
So excited to share another free pattern today. I’ve got a fun little explorers vest free pattern for you. I was asked recently to copy a explorers vest that a friend had. Her daughter wanted one just like her brother, only a girly version. This was a fun project to take on and I came up with my own pattern during the process so I could share it with you all. It comes in two sizes 3-5, and 6-7, and works for boys and girls, just check out all the photos!
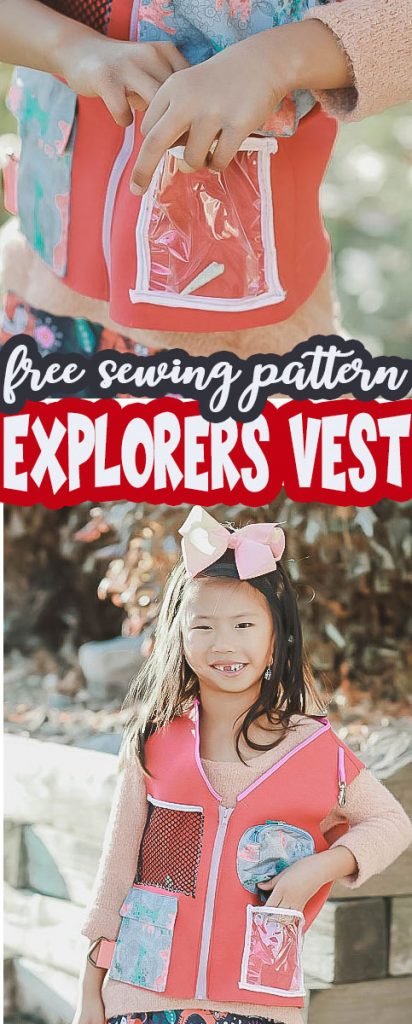
Sew a Kids Explorer Vest –
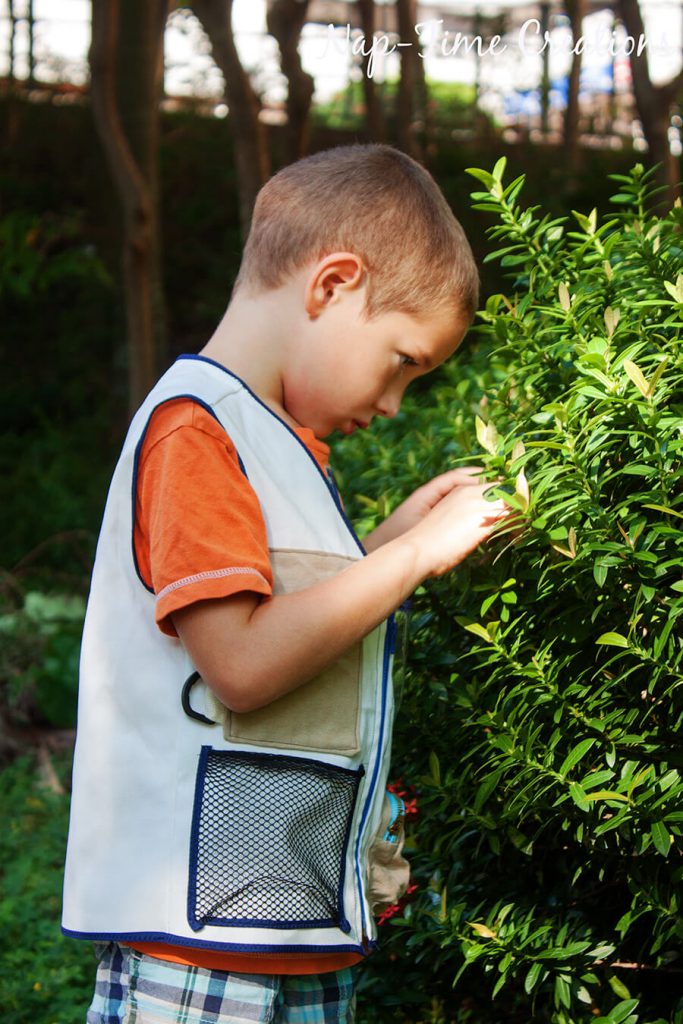
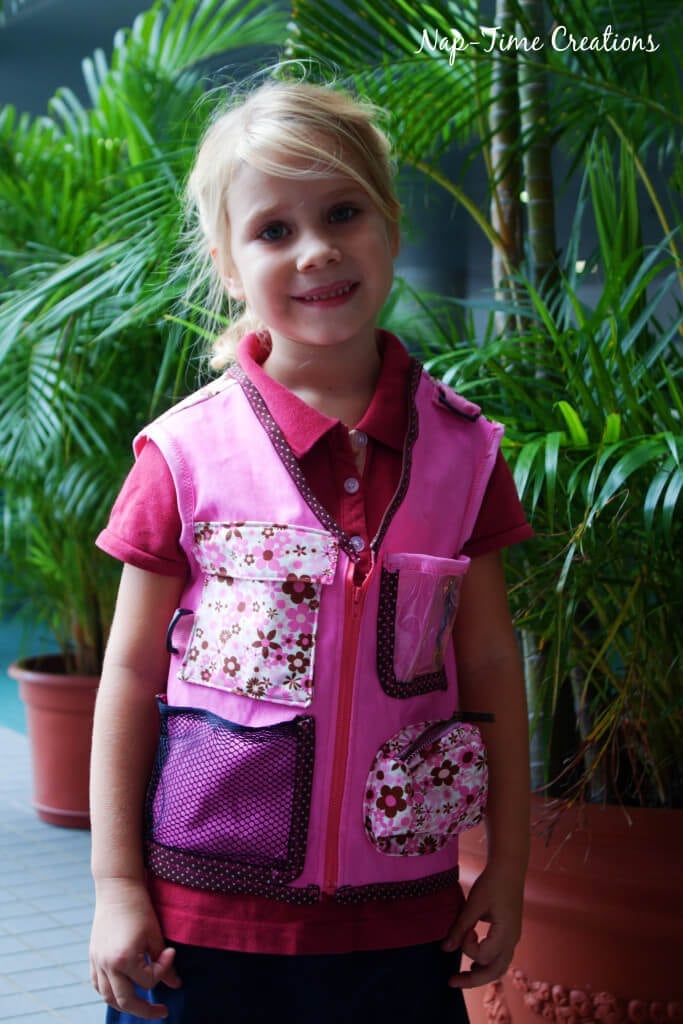
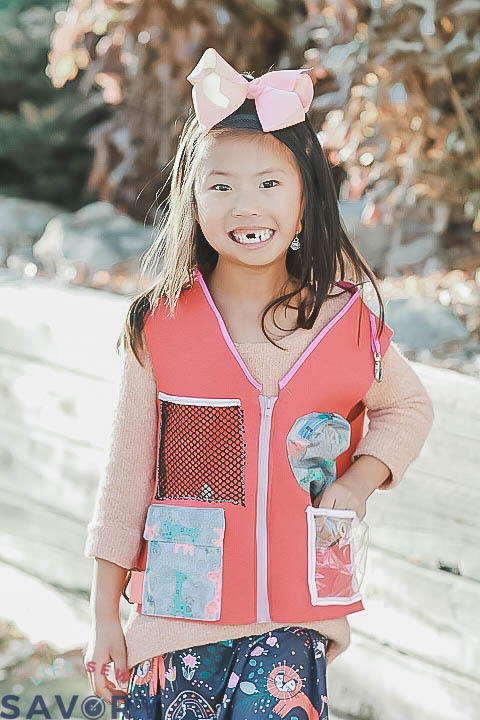
Loads of pockets for finding, collecting and storing all kinds of treasures!
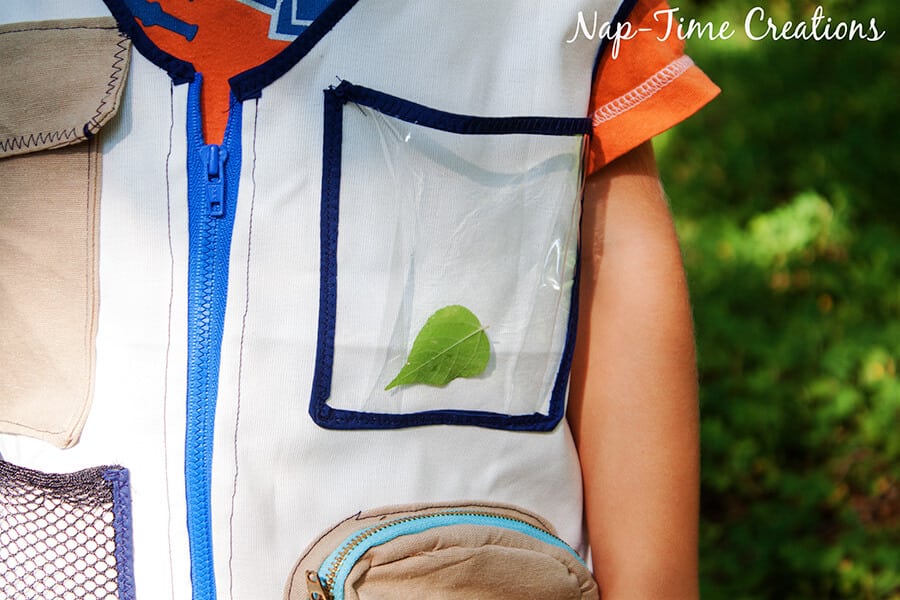
Have you joined the FB group? Get all the updates on my free pattern, support if needed and show off you finished projects in the Life Sew Savory Pattern group.
Let’s get sewing! Download the free pattern using the button below.
You will need 1/2 yard of fabric or a mix of two fabrics. You will also need:
1 – 6″ zipper
2 – plastic D Rings
Clear vinyl, mesh, 5 yards of 1″ FOE or bias tape, 6″ strapping. I used a bias tape bind foot to put on the bias tape
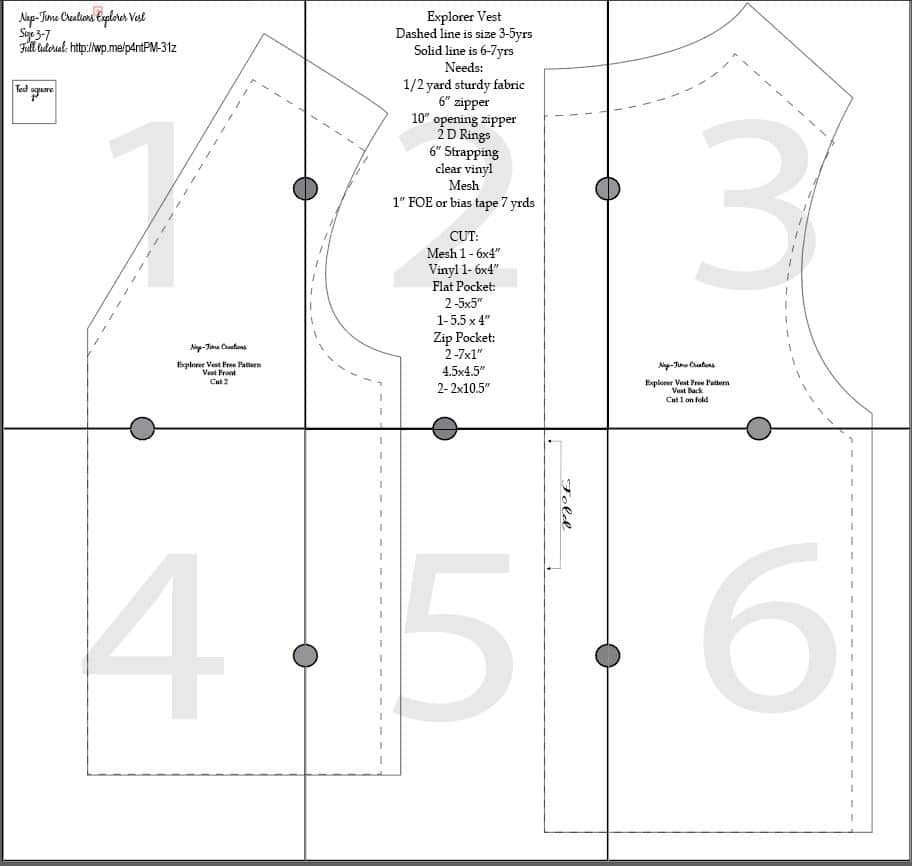
Print out the pattern and assemble as shown here. Need help downloading/printing/assembling? See my All About PDF Patterns Post here.
vest sewing tutorial-
Cut out the printed pattern piece as well as all the pieces given as dimensions. We will begin by putting together the pockets, then sewing them to the vest front before finally putting the vest together.
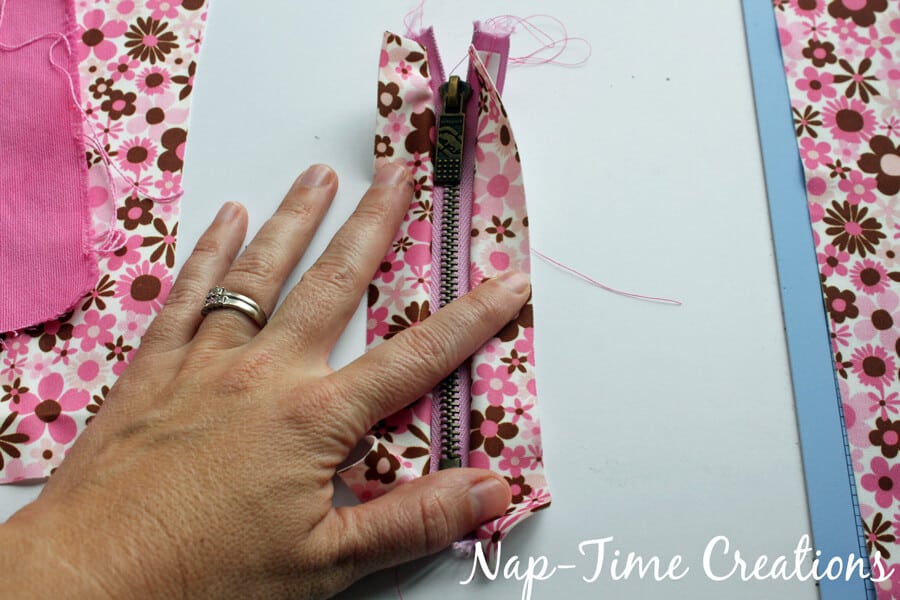
Begin with the 6″ zipper and the 1 x 7″ pieces of pocket. Sew right sides together to both sides of the zipper. If your fabric can fray, finish the edges.
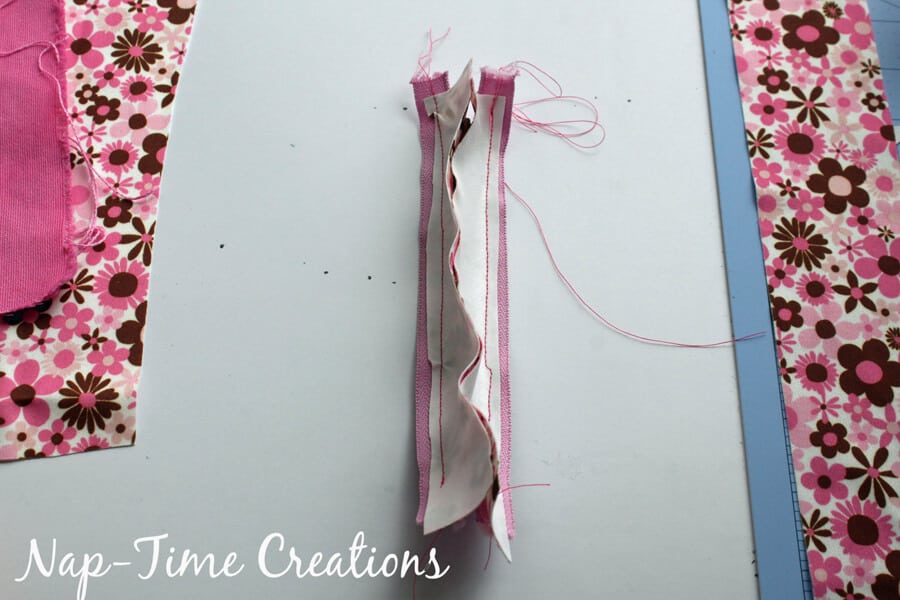
When opened it should look like this.
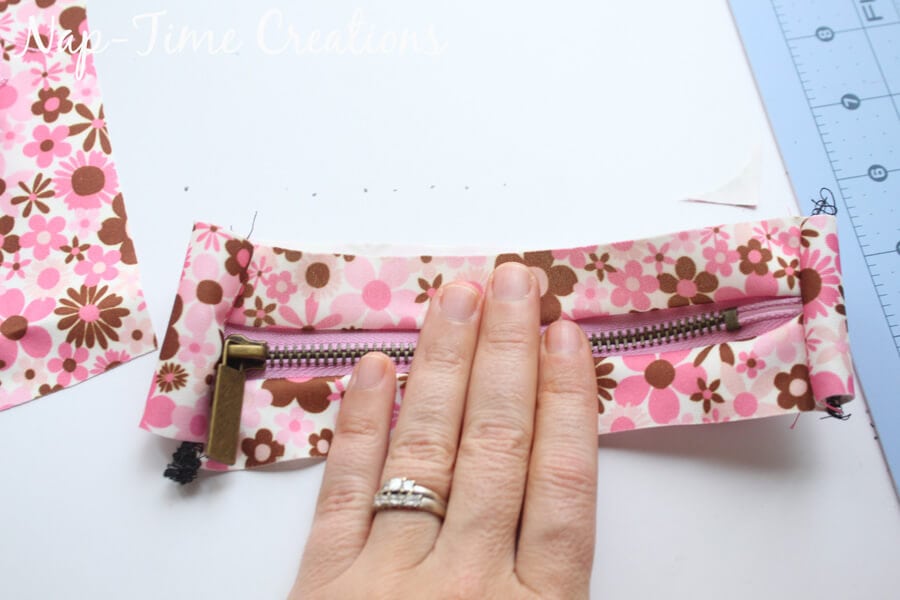
Take the 2 x 10.5 piece and sew it t the ends of the zipper. Even if the fabric extends past the zipper, sew close to the end of the zipper teeth.
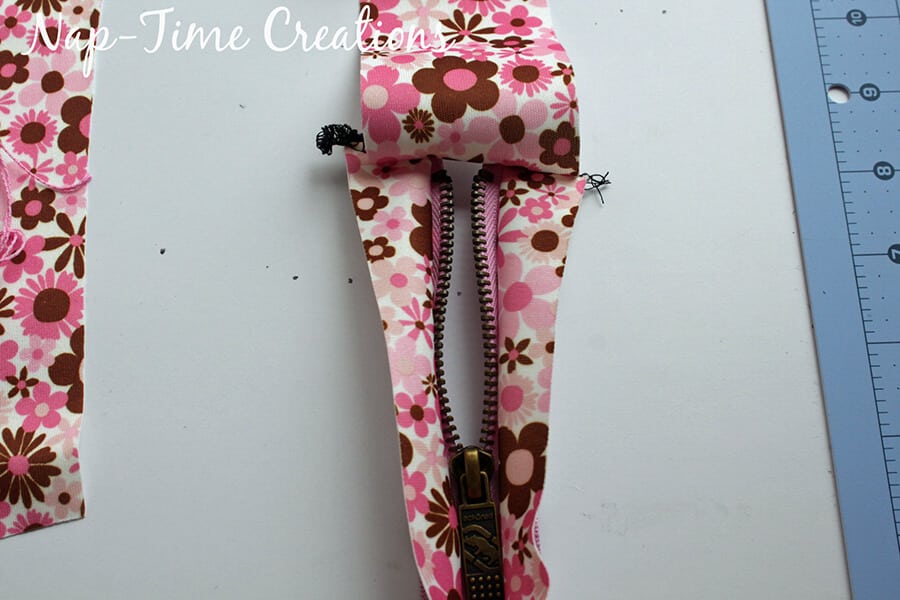
Then sew it right sides together to the other end of the zipper and now you should have a circle with the zipper in the middle.
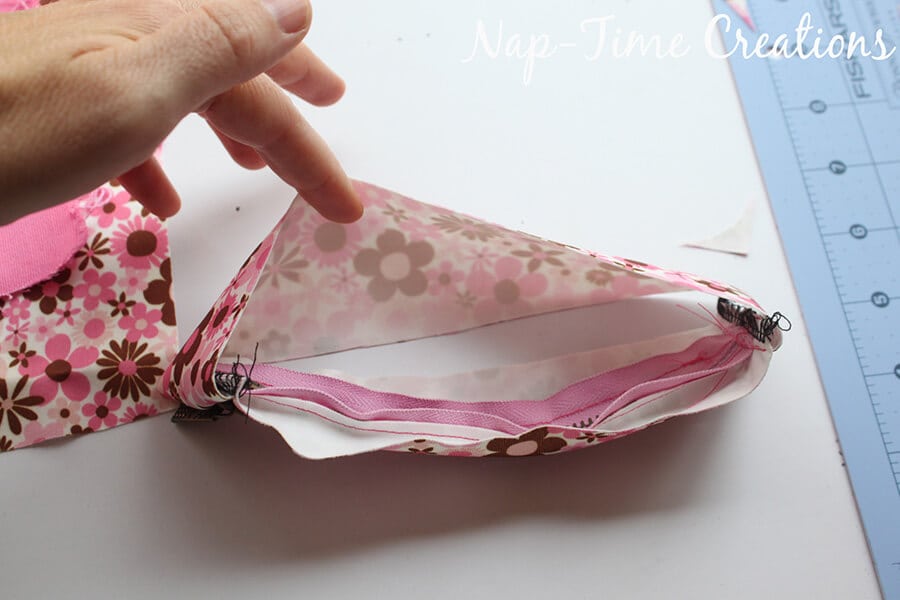
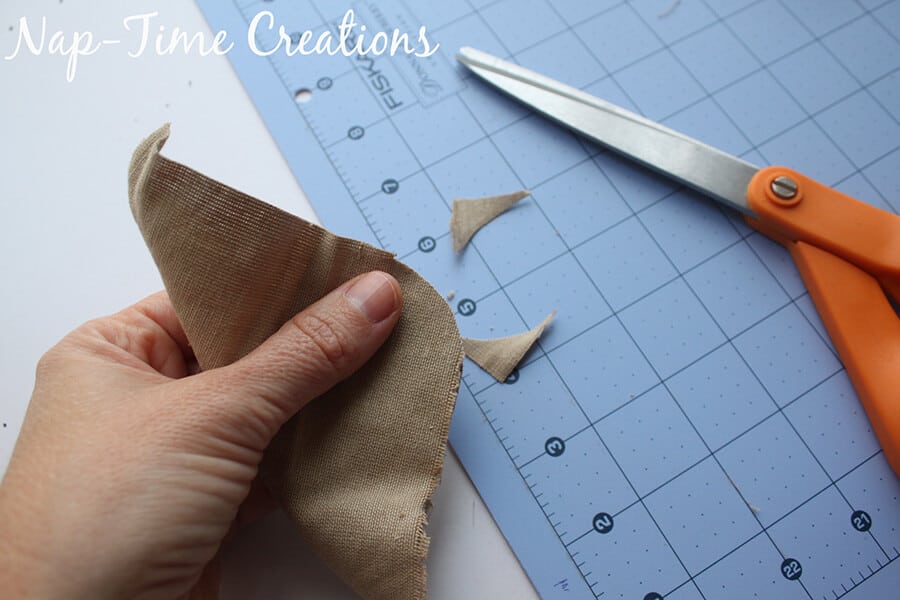
Round the corners of the 4.5 x 4.5″ pocket piece.
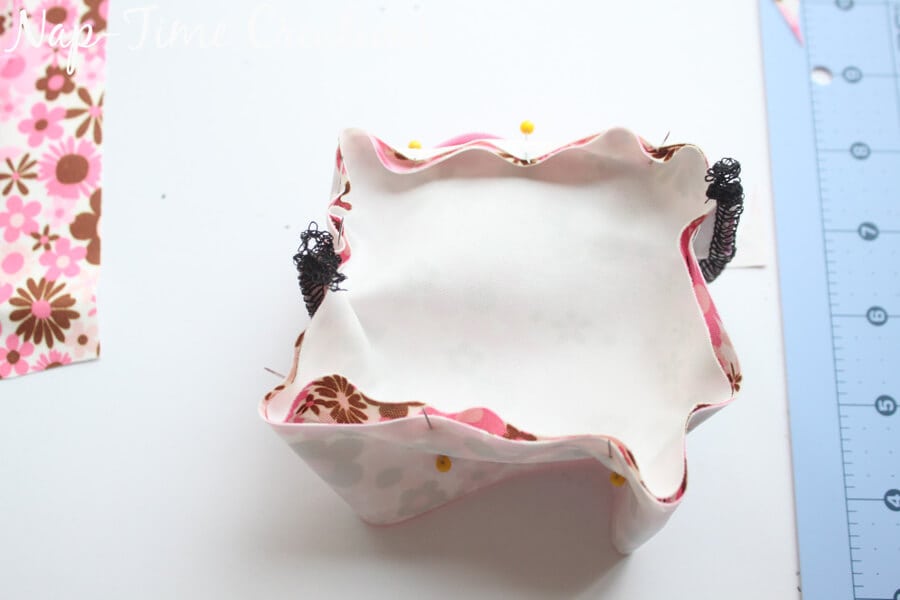
Pin right sides together to the rounded packet piece. If your zipper piece is too long you will have tucks at the corners, it works with the pocket. Sew… finish the edges if needed.
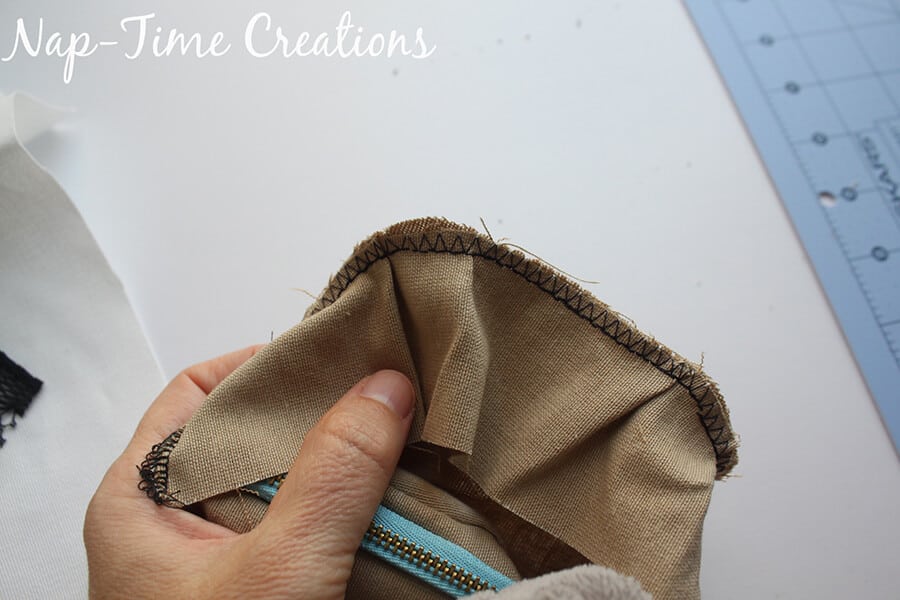
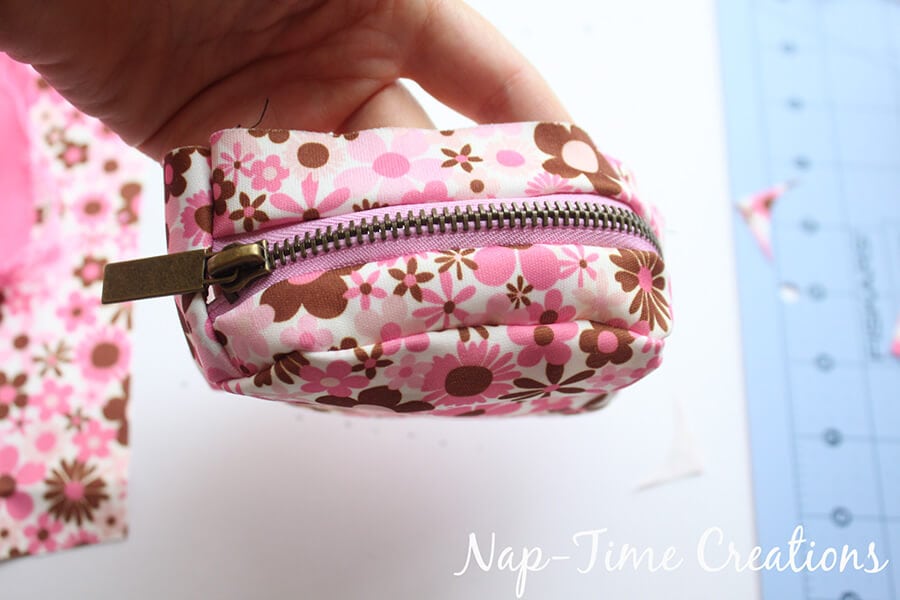
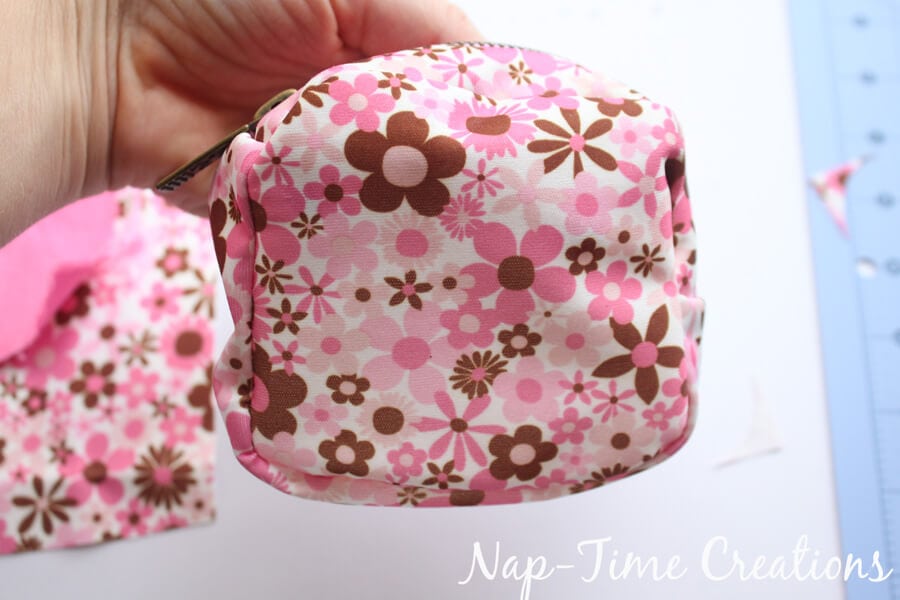
Here’s the pocket from the outside.
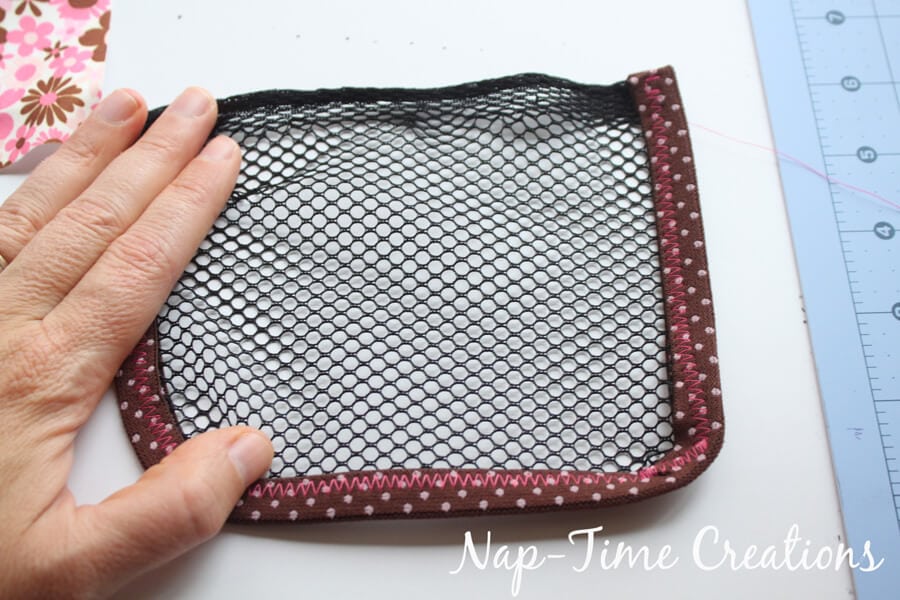
Now onto the mesh pocket. Finish the cut edges with FOE or bias tape. The longer sides are the top and bottom.
Put 2 1/2″ tucks in the bottom {the 6″ side} of the vinyl pocket, then edge with FOE or bias tape.
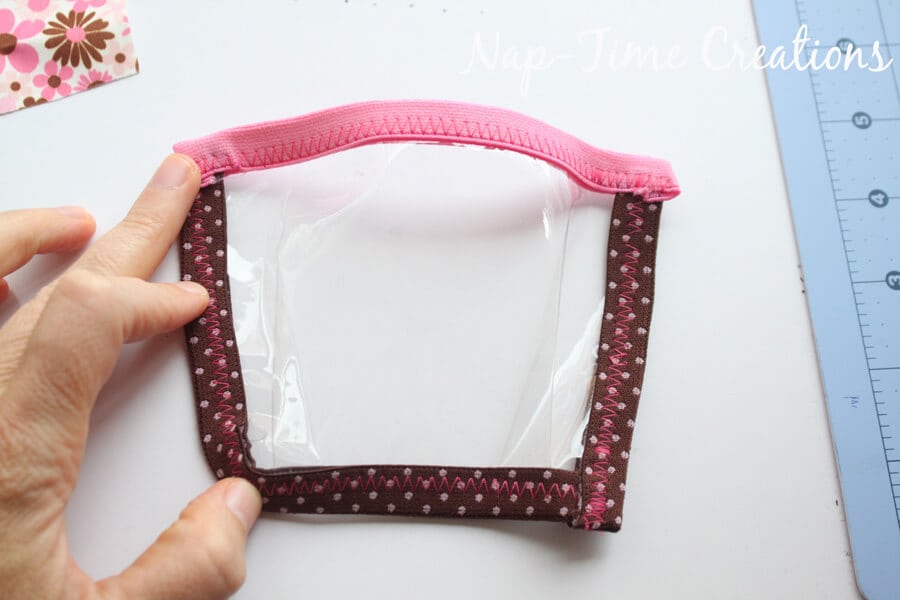
For the final pocket with a flap sew the two pocket pieces together on three sides. Fold the flap together right sides touching and sew leaving one small side open. Turn using the opening in each piece.
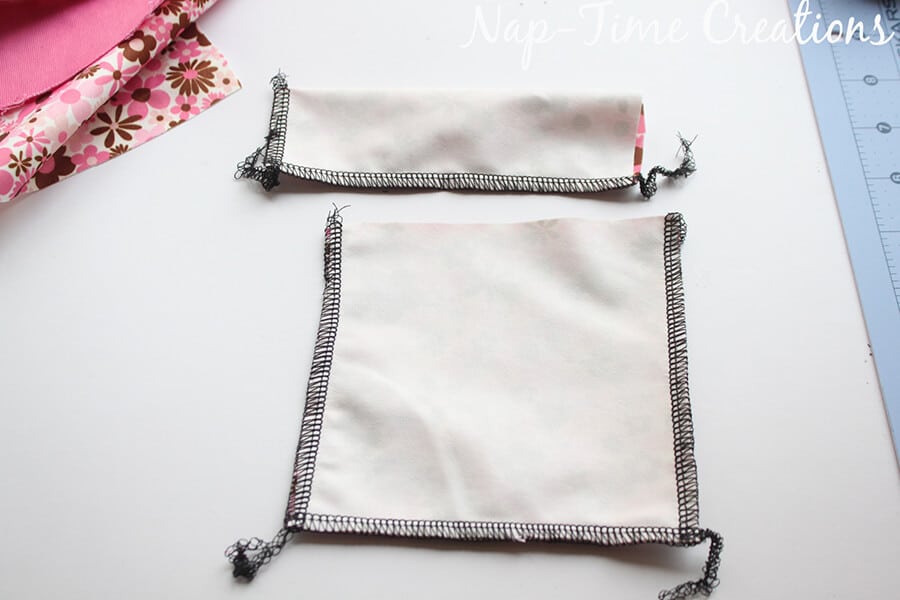
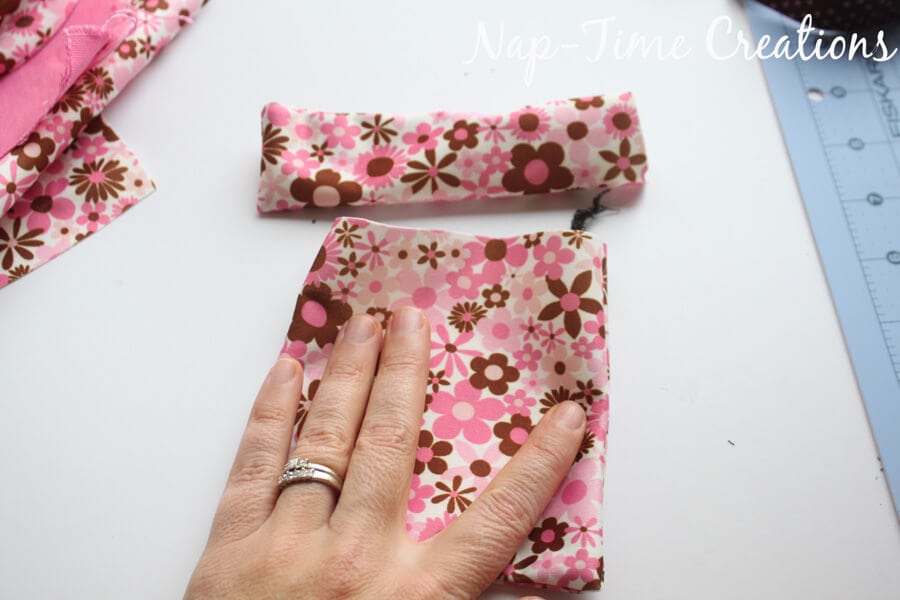
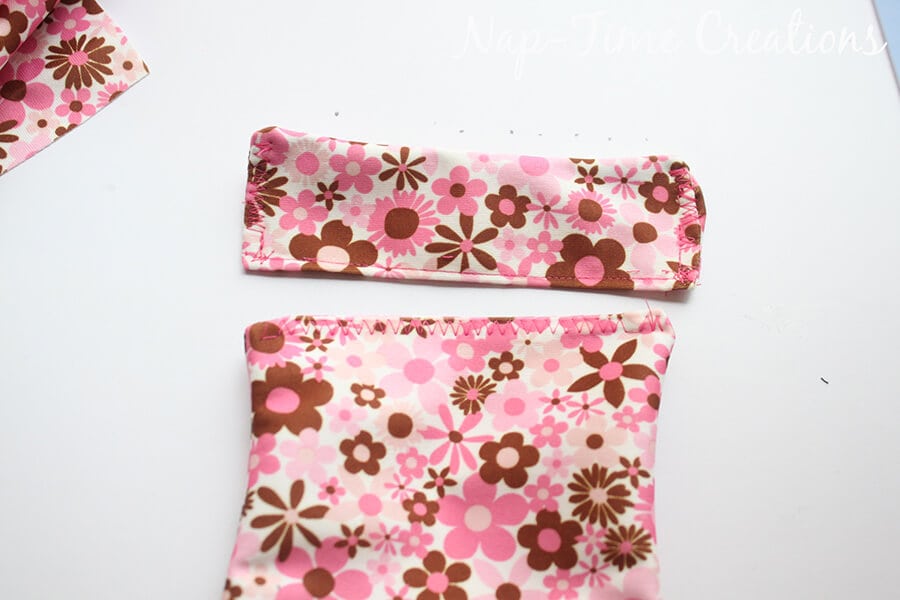
Top-stitch the flap on three sides and the main pocket piece along the top.
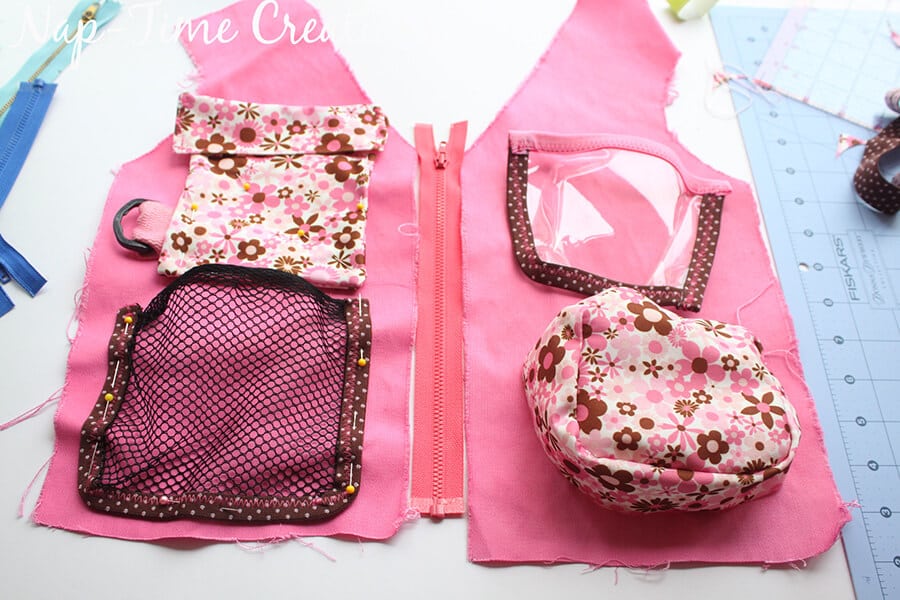
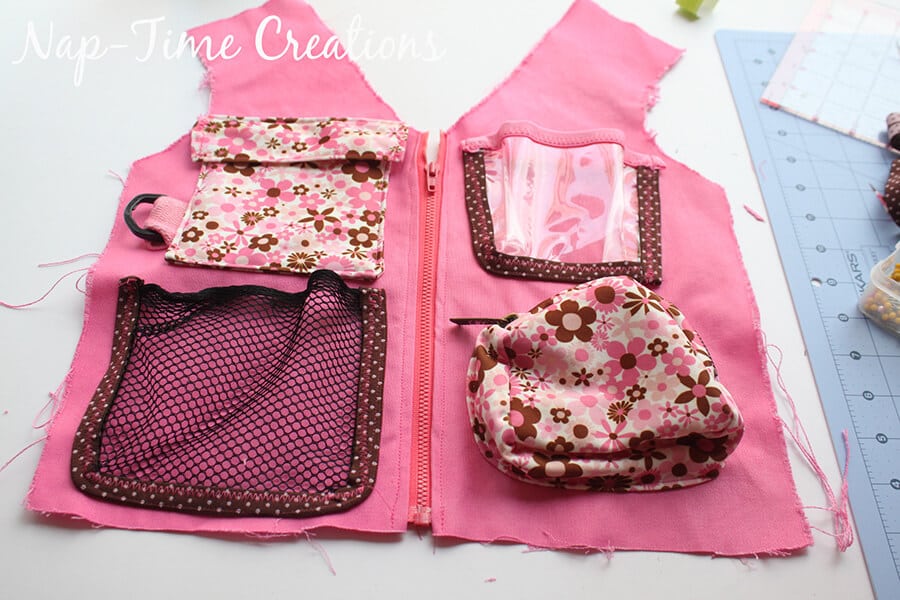
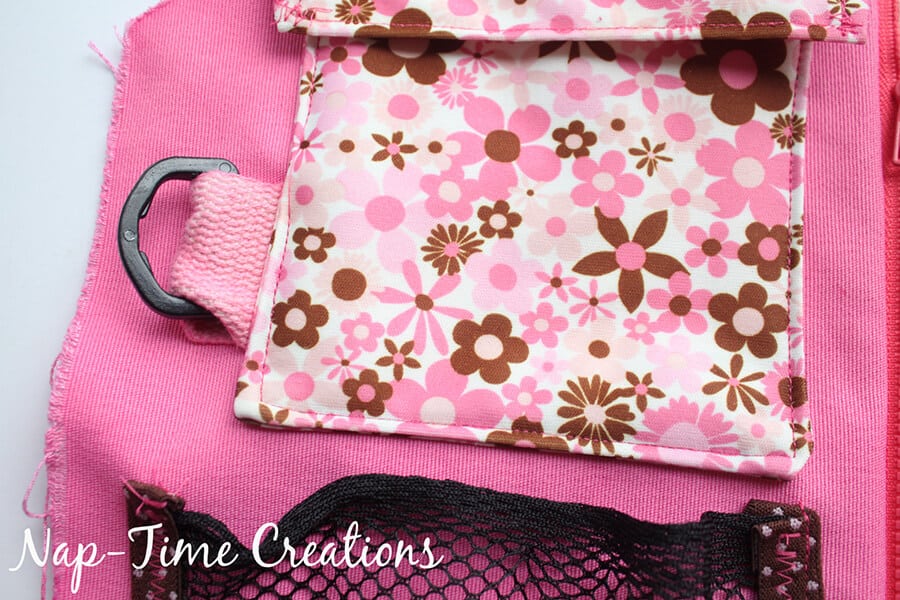
Lay out the pockets on the front vest pieces. I also used a piece of strapping to add a D ring on the flap pocket. Pin and sew the pockets to the vest.
Fold over the edge of the zipper pocket as you pin to the vest.
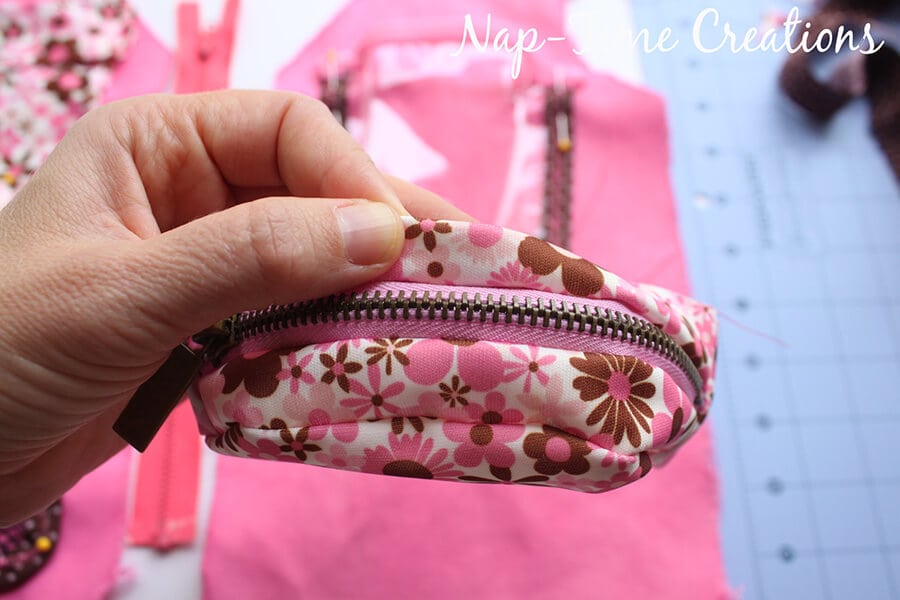
Sew around the pocket, close to the edge.
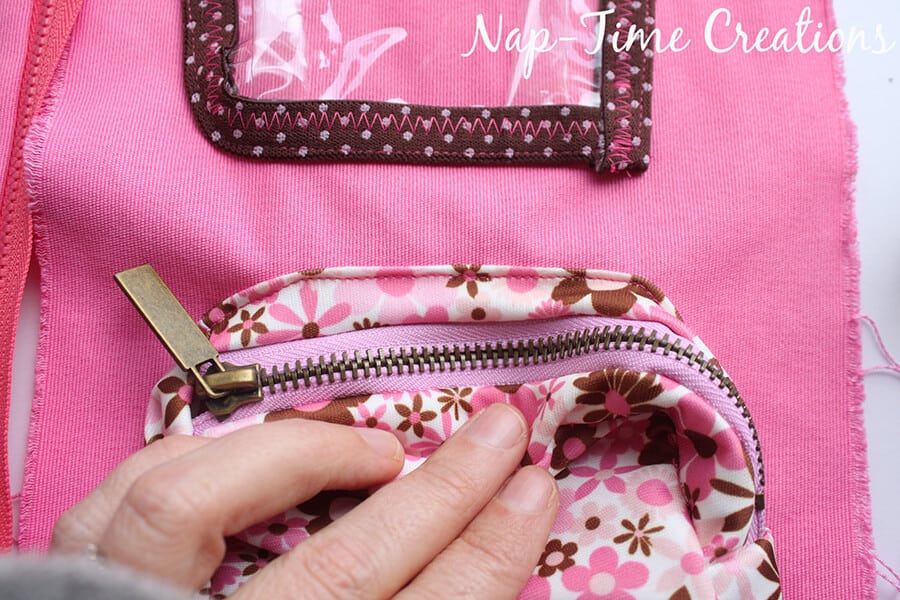
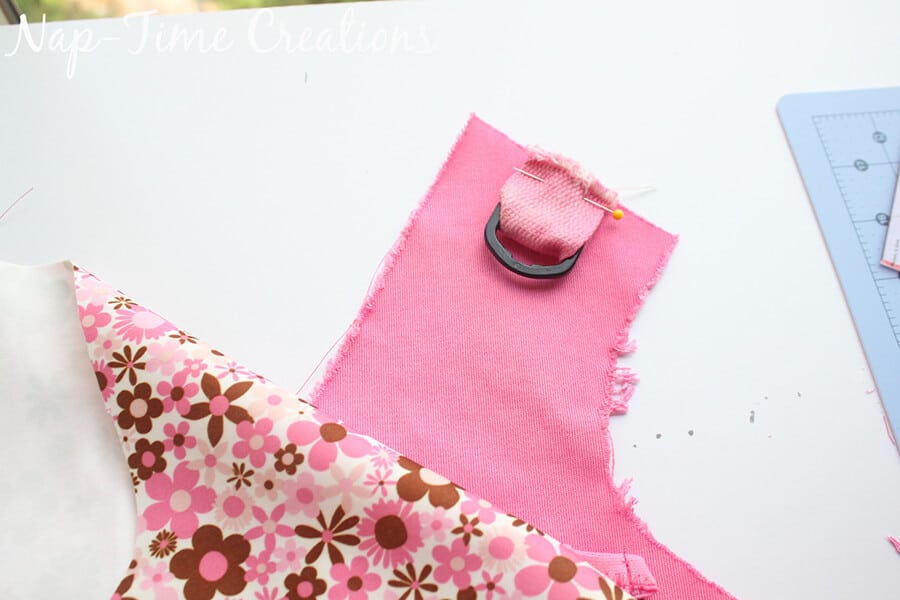
Close up of the strap and D ring sewn into the pocket. Sew the flap 1/2″ above the top of the pocket.
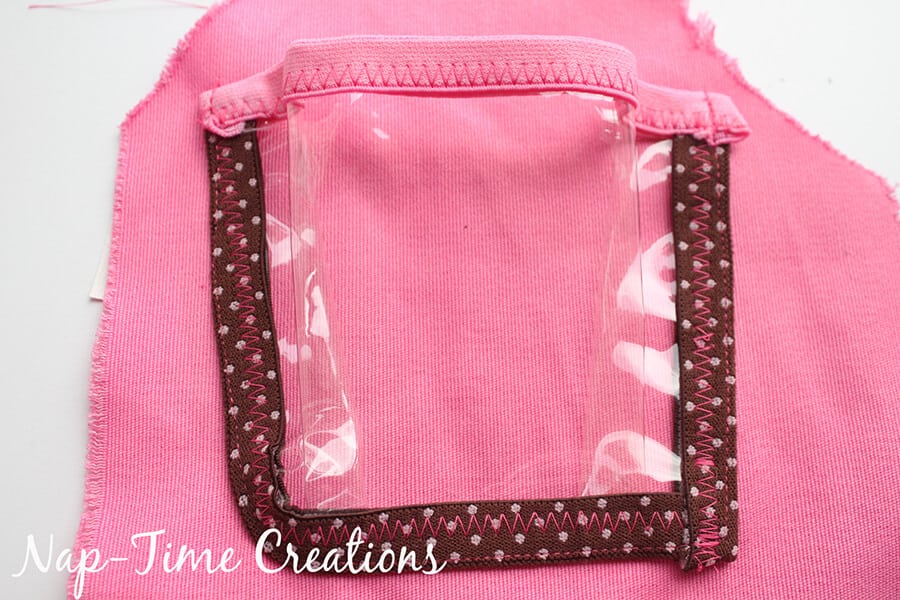
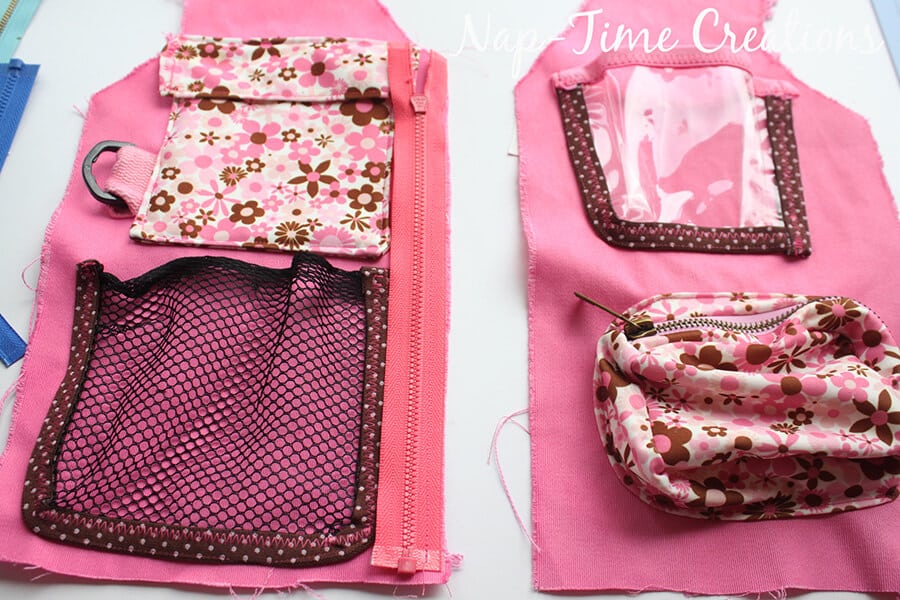
The mesh pockets and the vinyl pocket should be sewn on the vest on the edge of the FOE or bias tape.
When all the pockets are sewn on, sew the 10″ zipper right sides together to one side of the vest. On the larger size the zipper will not reach the entire vest front length.
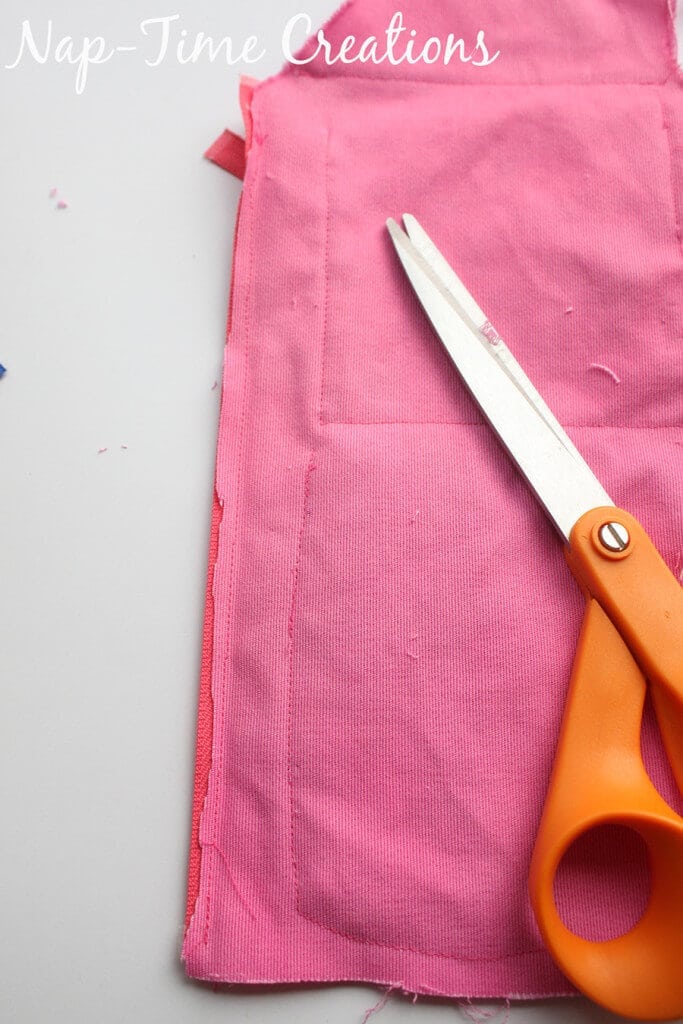
Trim the seam allowance to less than the zipper.
Open up the zipper and topsitch the edge to finish that edge. This also encloses the back seam allowance of the zipper.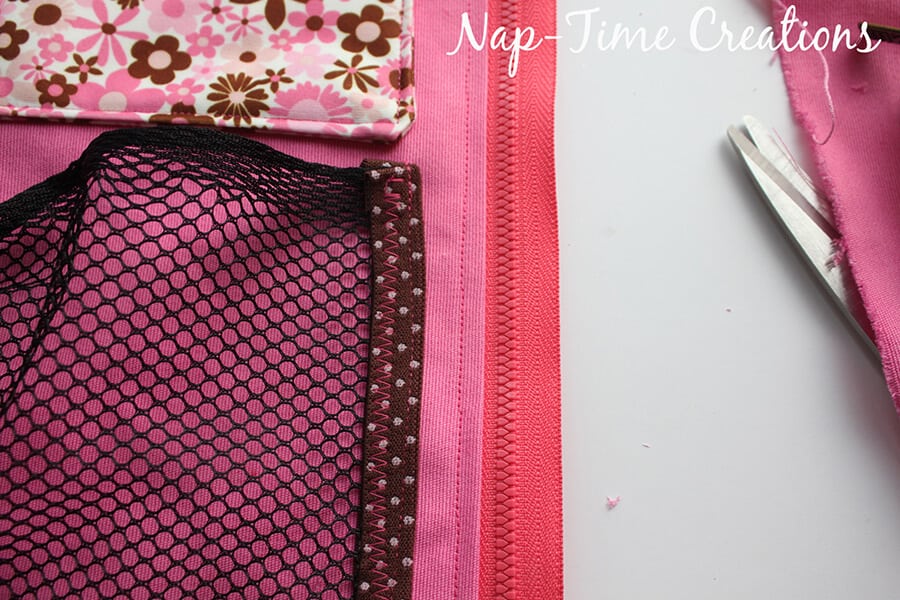
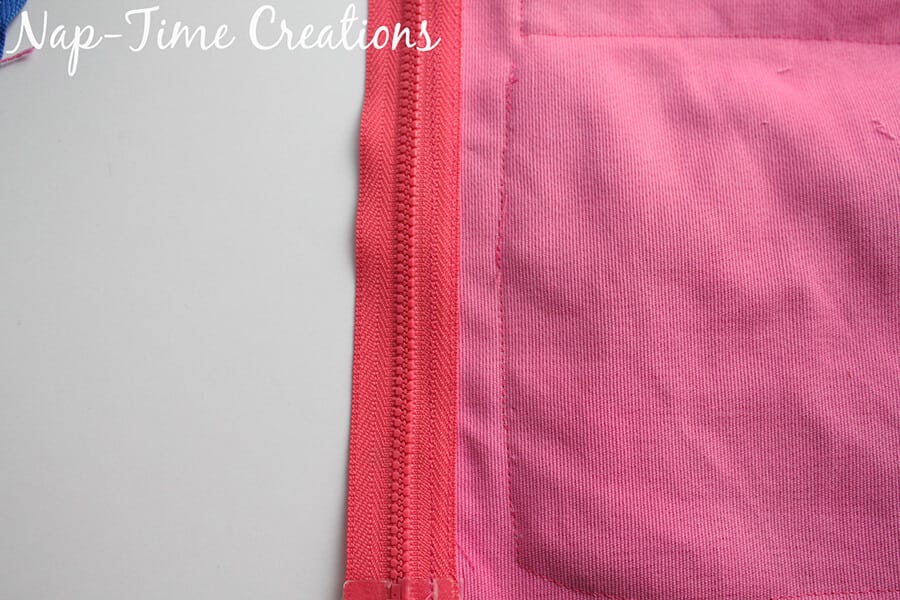
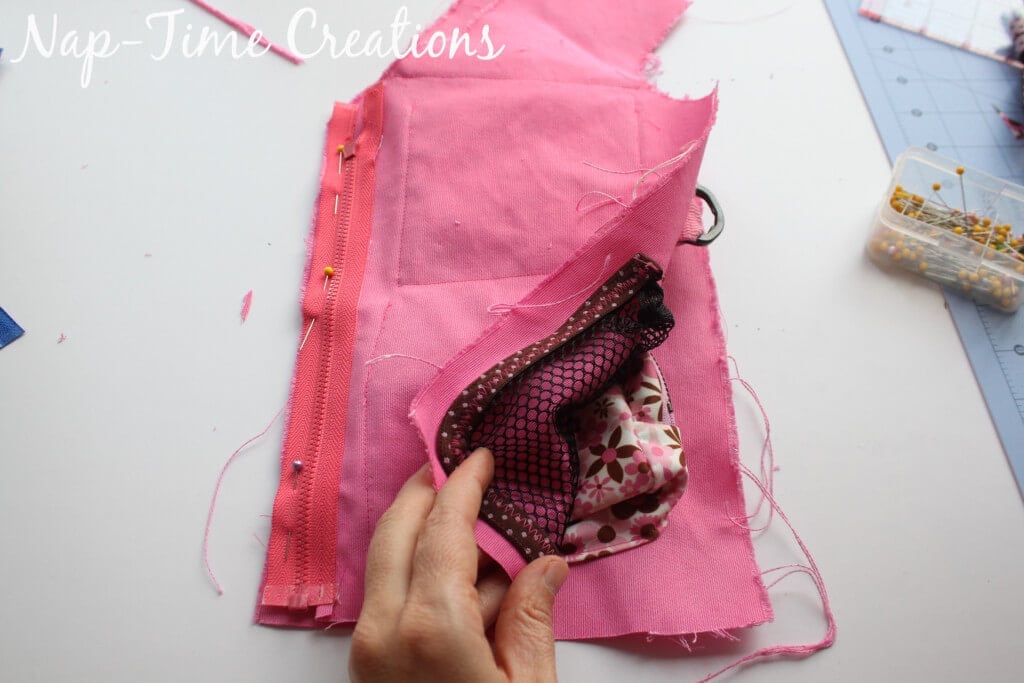
Put the vest right sides together and sew the zipper to the opposite side of the vest. Finish the seam allowance as you did the other side.
Open up the vest and you have a finished front.
Pin the second D ring on strapping to the front shoulder seam.
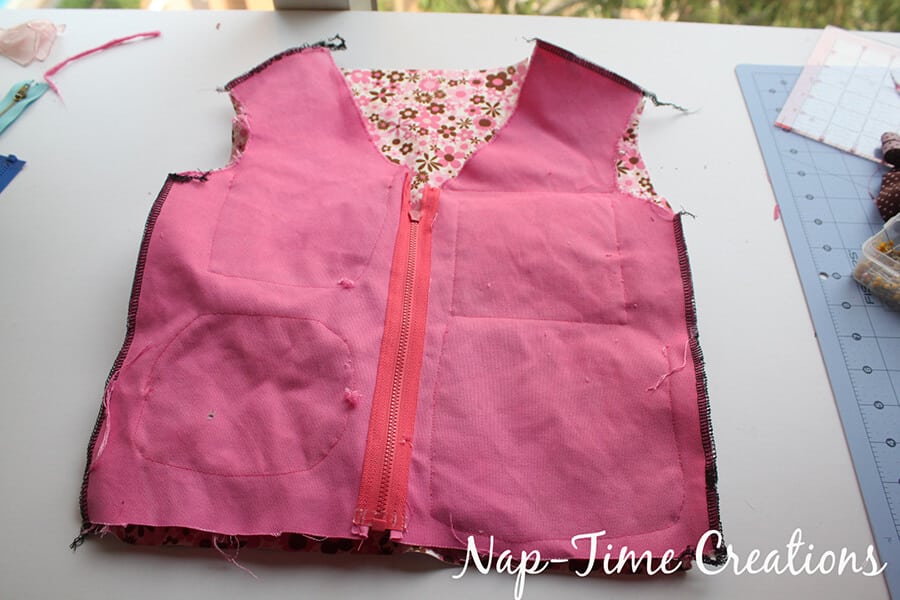
Pin and sew the shoulder seams and side seams together.
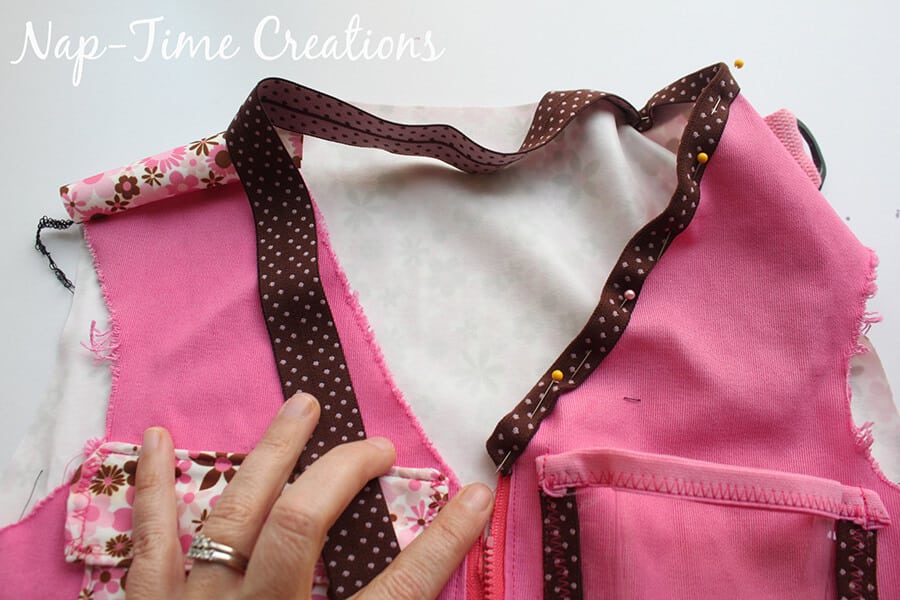
Finish the neck, arm holes and bottom of vest with FOE or bias tape.
ALL DONE! Yeah! get out there and fill all these great pockets with fun “stuff”.
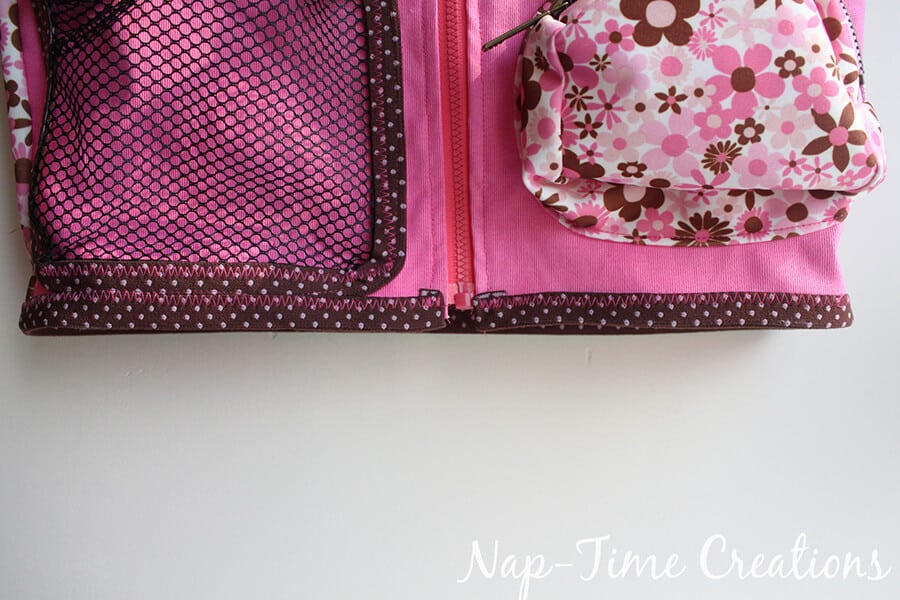
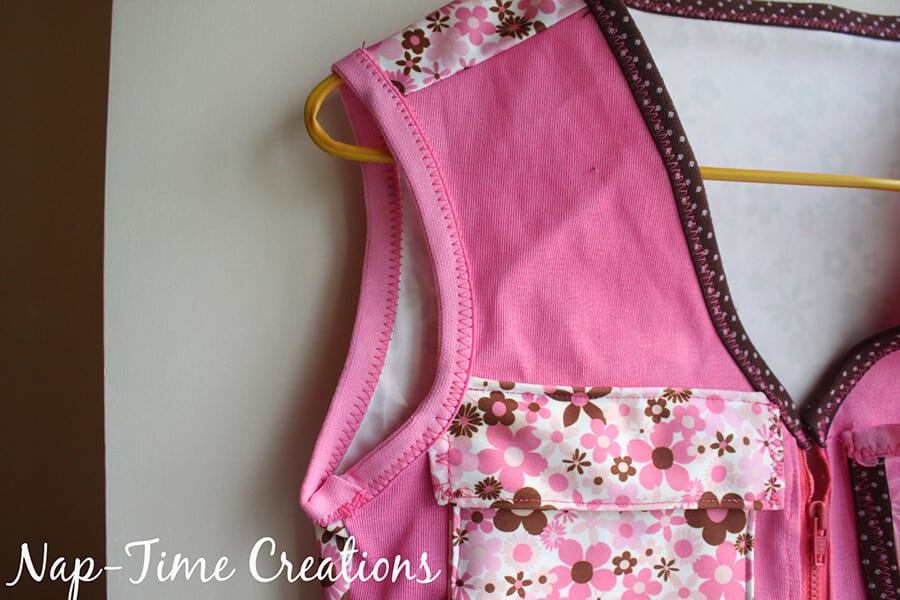
The Bias tape version..
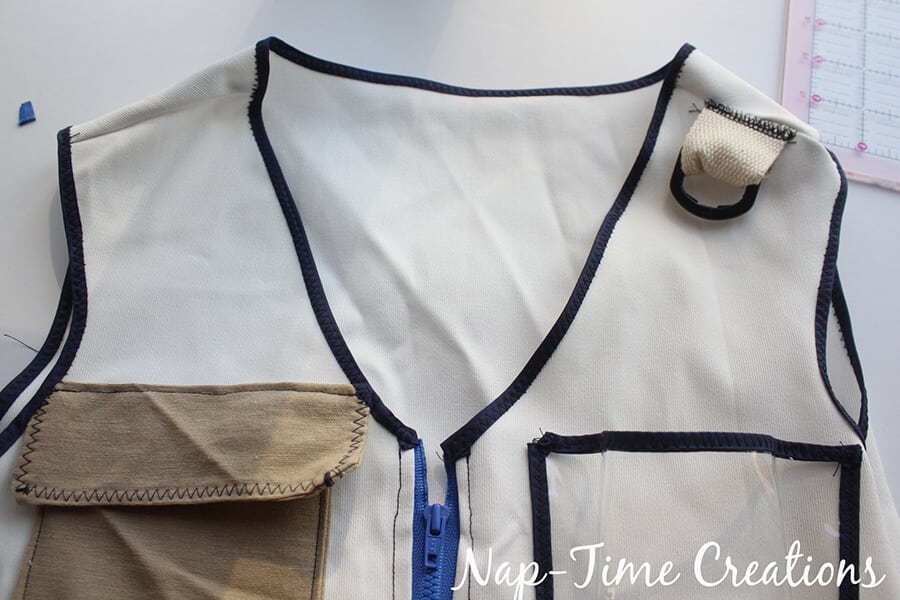
Okay, that’s it! Let me know if you have questions! Here’s one more LINK to the Explorers Vest Free Pattern. I’d love for you to show off you finished pictures in the Pattern group!

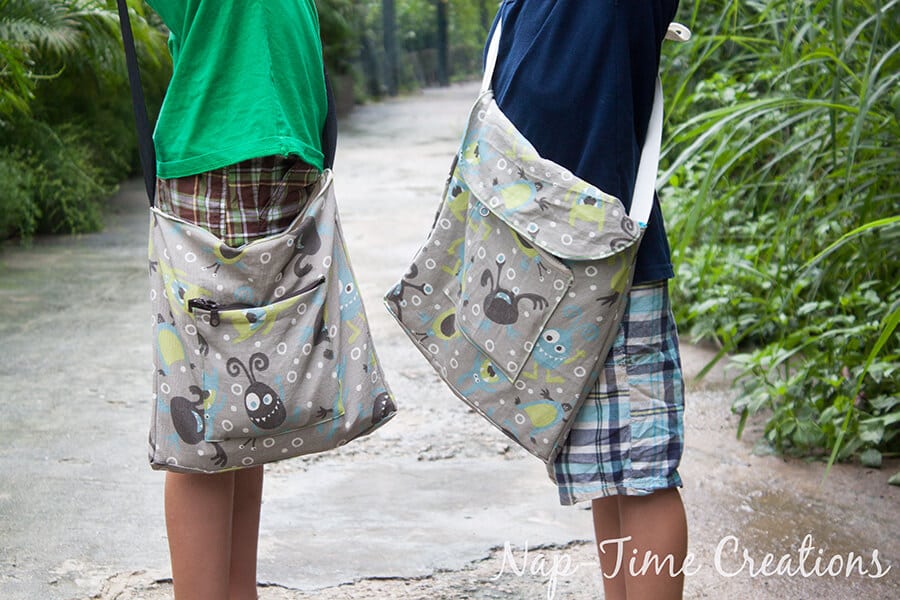
Here are a couple other fun patterns for little explorers –








creativejewishmom/sara says
Fabulous project, thanks for sharing on craft schooling Sunday!
Kristina & Millie says
love this kid’s explorer vest! would be great for Halloween or a Christmas gift and they can wear and explore year round! Thanks for sharing the pattern and tute!
Emma says
This is adorable! My daughter would love it – she was less than thrilled with the paper bag version I tried to make for her, lol! I’ve got to learn how to sew! 😉
Emily says
ha! yes this is better than a paper bag, although I’ve totally done that before too ;o)
Quinn Caudill says
Hi Emily these are Very cute.. Thanks for sharing with us at #Throwback Thursday link party. Hope you join us again tonight.
Kiss Marianne says
Love your pretty and practical things for kids – I’m a grandmother, translator and make patchworks, and congratulation for your thousand profession! When my grandchildren were little ones, I has made them many little dresses. Today they are grown-ups and now I make the patchwork and sometimes a little crochet.
Thank you very much your letter and the beautiful photos!
Have a nice day!
Marianne
Emily says
thank you so much for your kind words!