inside: Make a padded laptop sleeve to protect your computer while traveling. This padded sleeve is perfect for on the go or just a safe place to keep your laptop.
My last laptop fell apart – literally. It was being held together with duct tape at the end. So my Christmas present to myself was a new laptop, and it’s a different size so I needed a new case. I made this fun quilted laptop case with a zipper for my last computer, but today’s padded laptop sleeve sewing tutorial made a great sleeve for my new one.
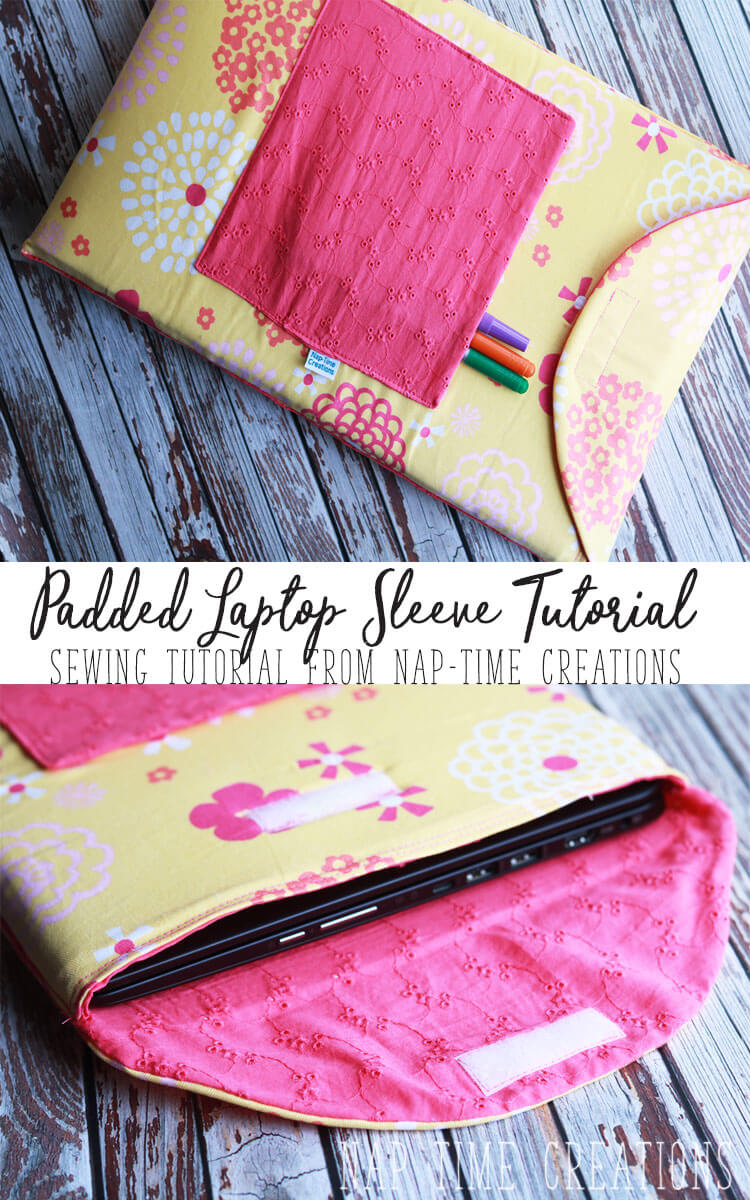
Padded Laptop sleeve tutorial –
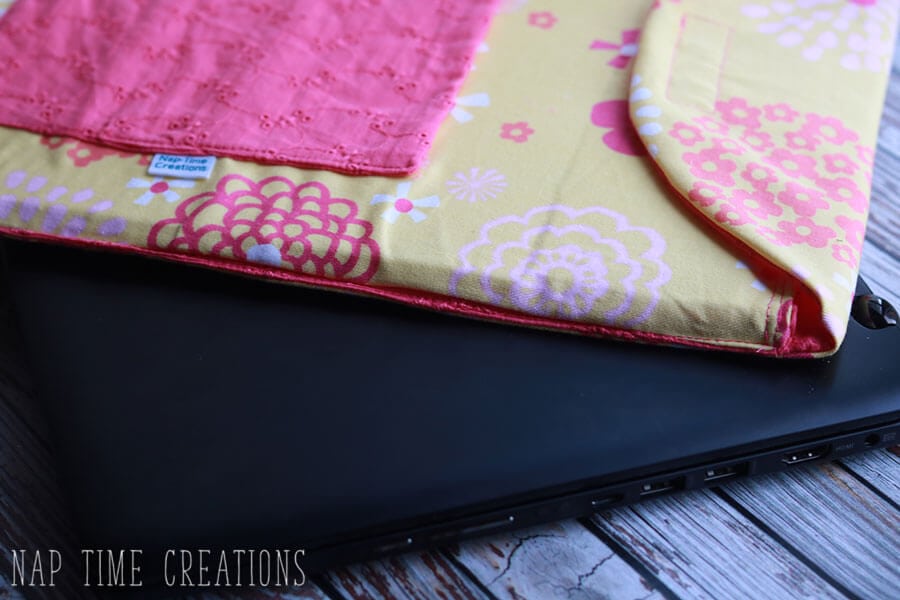
This padded laptop sleeve is made with iron on foam interfacing and two layers of fabric. It has just a simple velcro closure. I also added a simple pocket to the outside to hold my pens and post-its that I like to have handy when I’m working.
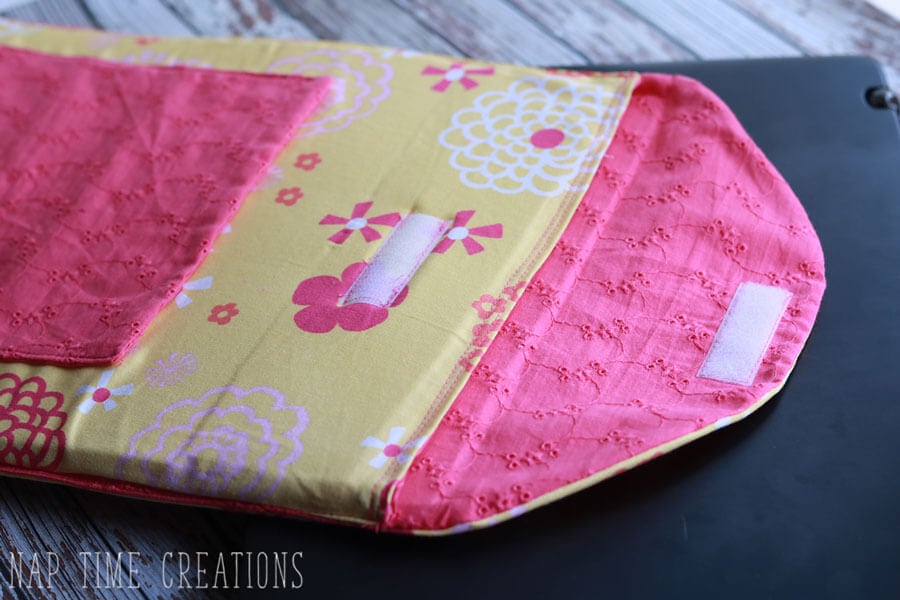
If you don’t have the iron on foam, you could use quilt batting, but you would to sew it in. I find the iron in foam so easy and it ends up with a really nice smooth finished look.
Okay… let’s get started! I’ll give you the dimensions I used and if your laptop is a different size I’ll also give suggestions for adapting. I used two different fabrics {need 1 yard each for the length} and Pellon Iron-on foam {you can buy it here on Amazon} I used the 2-sided fusible kind. Cut your fabrics in a rectangle. My computer is 10 x 15, so I cut my fabric 12.5 x 36″.
You need extra for the closure flap on the end and on the sides you need the 2.5″ seam allowance because of the computer height.. The foam i cut 11 x 31 {laptop dimensions + 1″}. If you want a pocket you can make in any size, but mine was cut 7 x 16″ the 16″ being folded in half for a 7 x 8″ pocket. Begin my cutting a rounded corner, start about 4″ from the short end and round to the middle of that short end. Do this on ONE end of both fabrics.
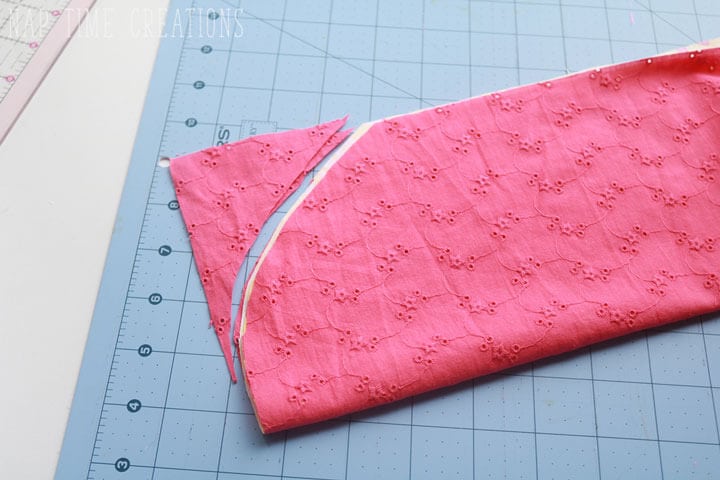
Lay the two pieces right sides together.
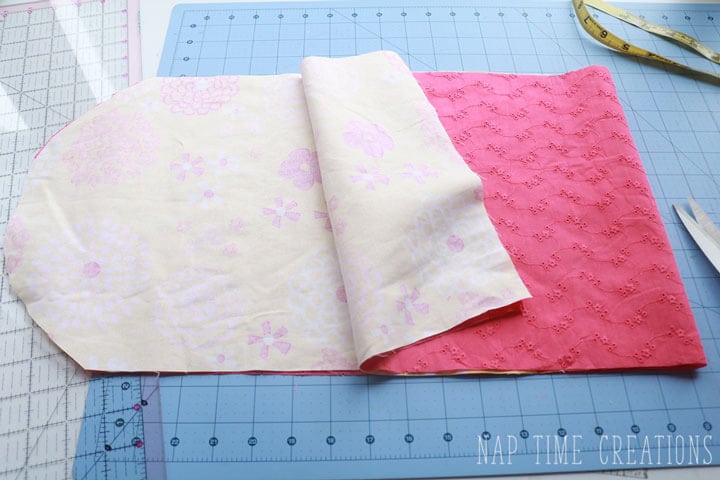
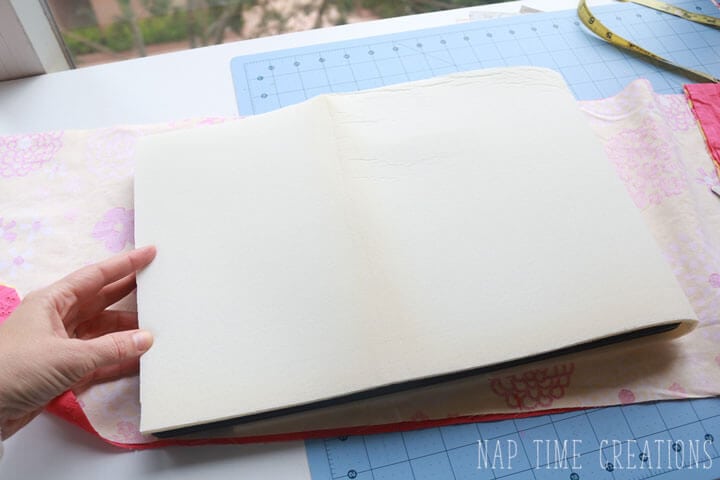
Measure your foam by placing your laptop on one side, then fold the foam over. It should full cover your computer. Trim the length as needed.
If adding a pocket, fold with right sides together and sew around. Leave a 2″ opening to turn right side out. 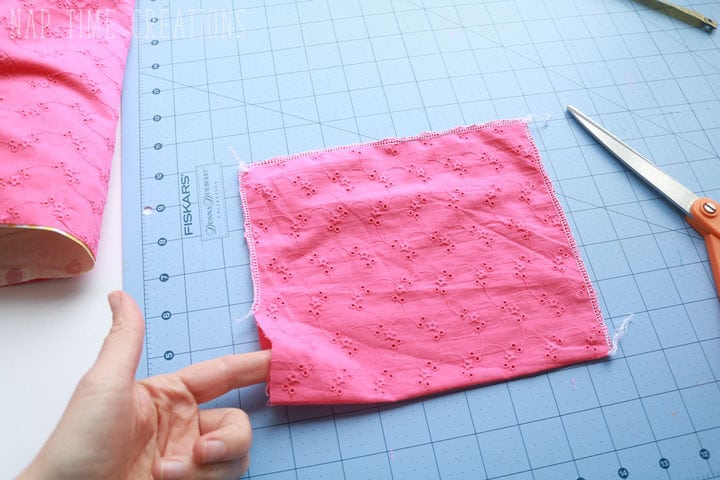
Pin opening closed and pin 6″ down from flat short edge of fabric. I sewed only to the outside fabric.
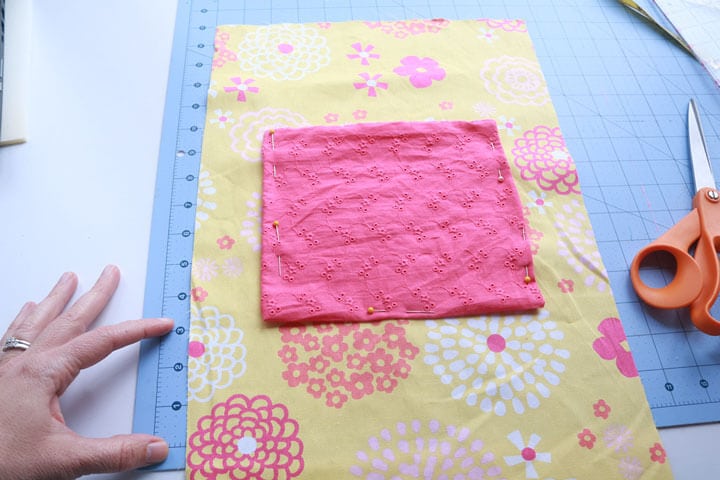
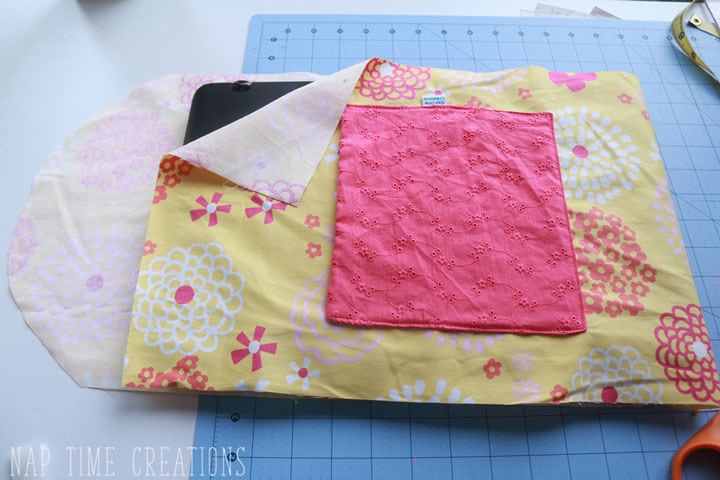
Find the center of the closure flap and place a pin. You can pin the velcro now, or just put the pin for placement.
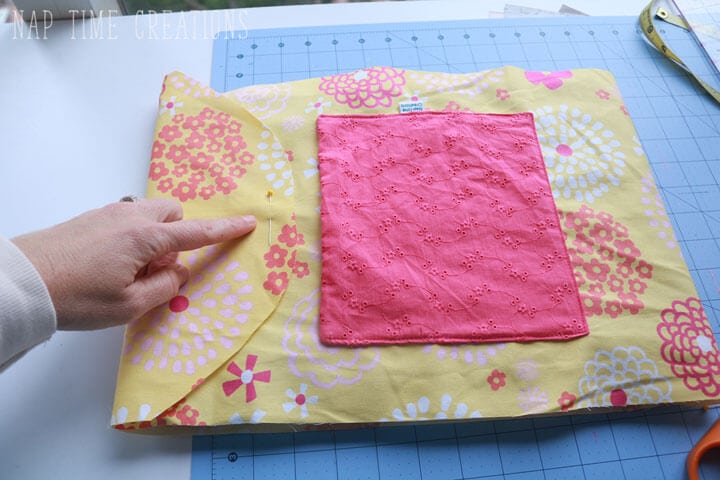
I pinned the velcro to both sides. Do not sew yet, but pinning will help with placement later.
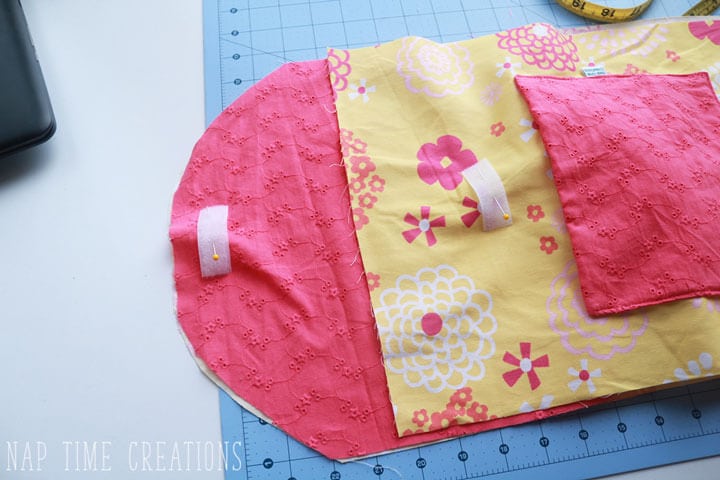
Place the fabrics right side together and sew around the entire outside, leave the short straight edge open for turning.
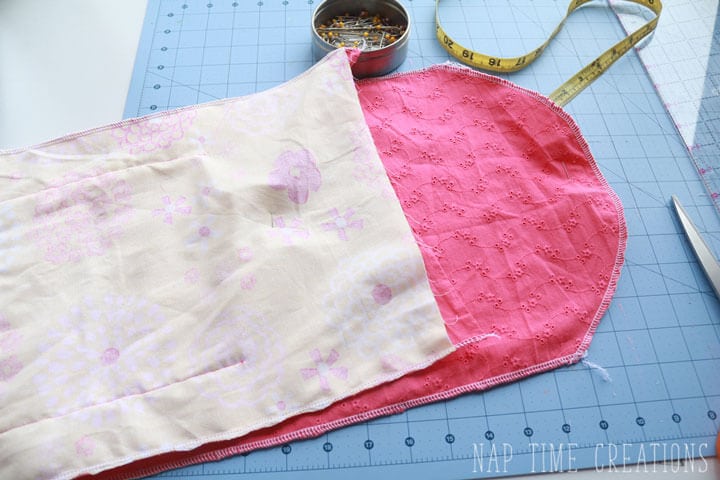
Slide the foam in through the short straight edge.
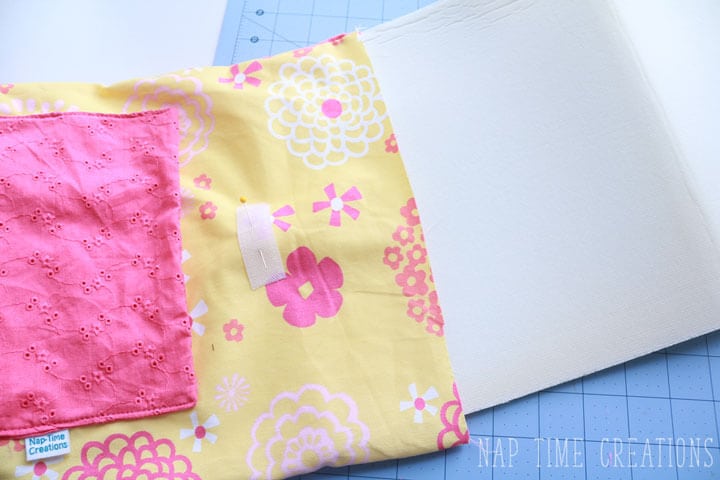
Slide it all the way, it should finish 1/2″ from open end. The rounded flap will not have foam in it.
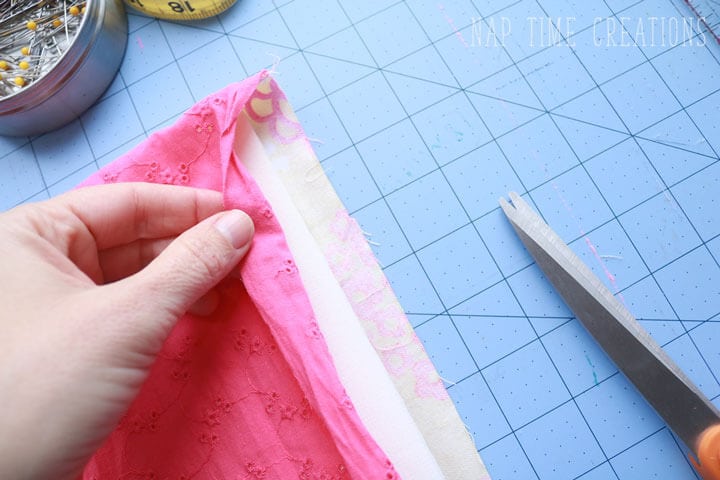
You will have extra fabric on both sides of the foam. Place pins on both side to center the foam and hold in place.
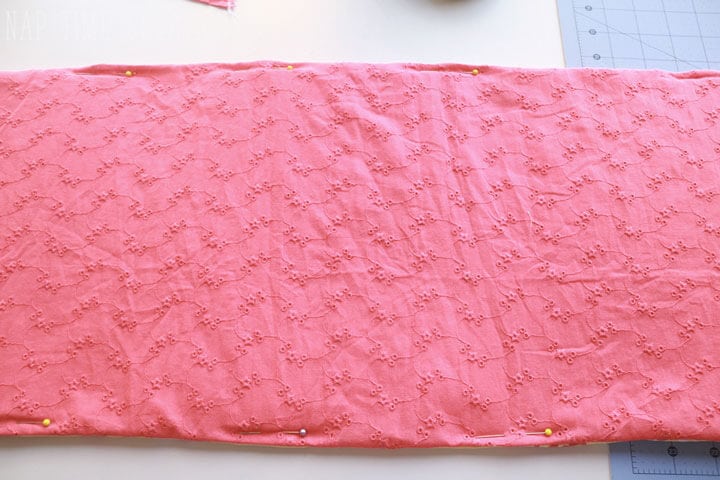
Fold the seam allowance in and pin the short open end closed.
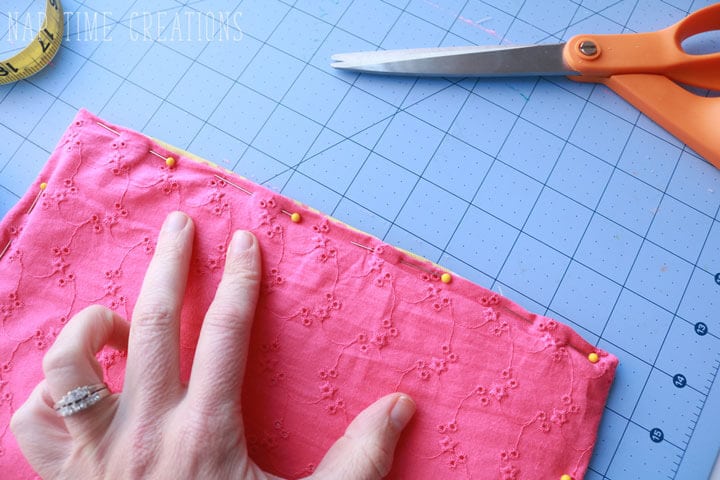
I sewed two seams to close.
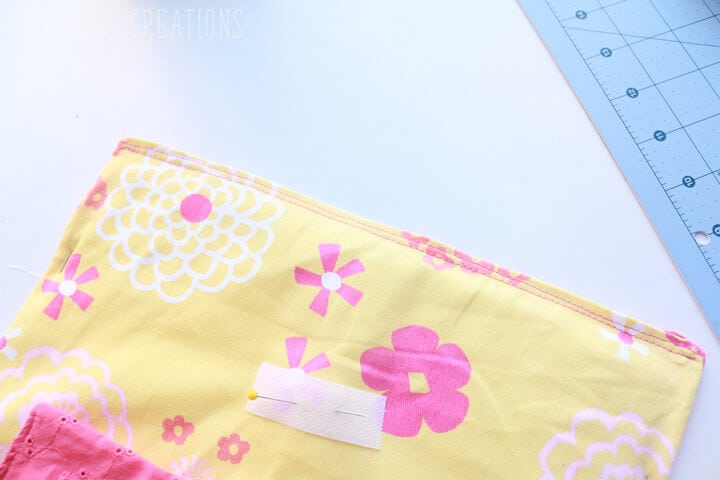
Now press the foam {follow package directions} to stick the fabric to the foam. Smoother out all the wrinkles and keep the pins on both sides to center foam.
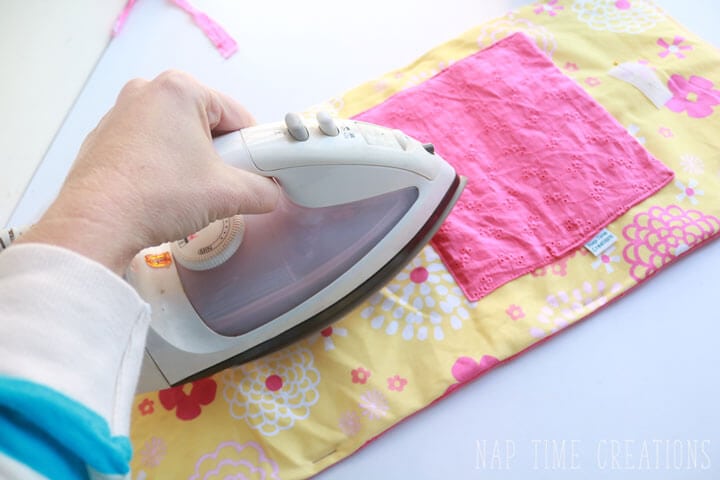
See how smooth my fabric looks now {pins are sill on the sides!} Bother fabrics are now stuck to the foam.
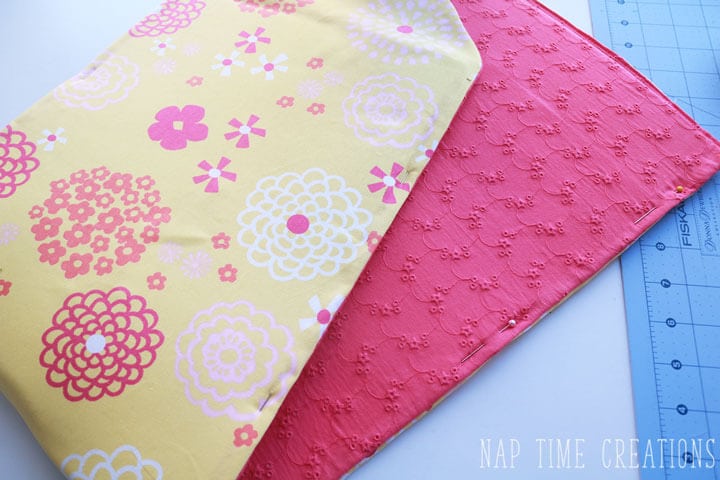
Place you computer inside the fabric and double check your velcro placement. Sew in place.
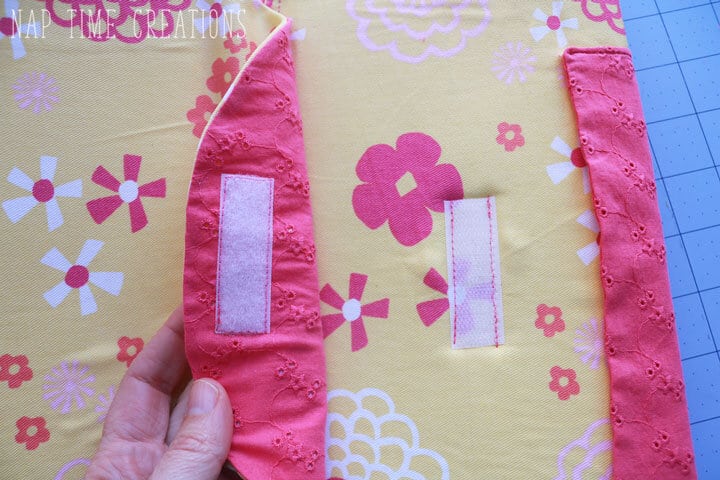
These stitches go through both fabrics AND the foam.
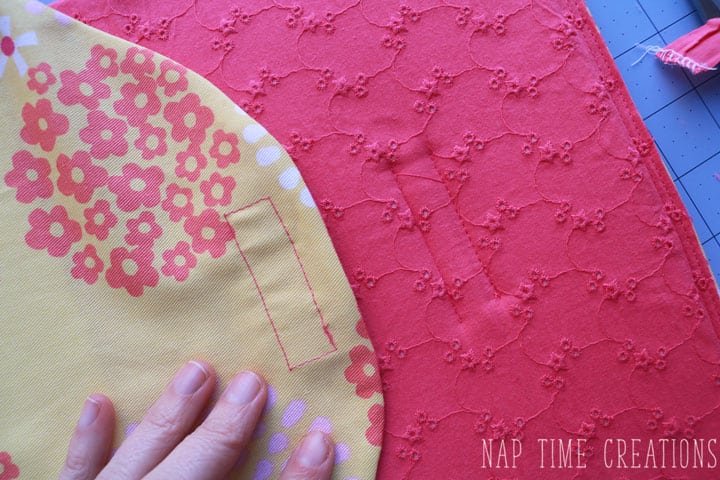
You should now have something that looks like this.. Mark where the straight short end meets at the bottom of the curved flap. You want the computer to slide completely in.
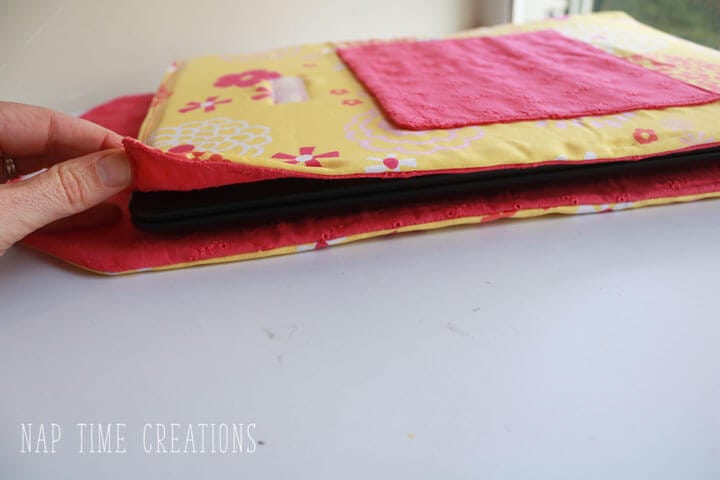
Pin the sides together, you will have 4 layers of fabric. You will NOT be sewing through the foam. Sew a 1/4″ narrow seam allowance.
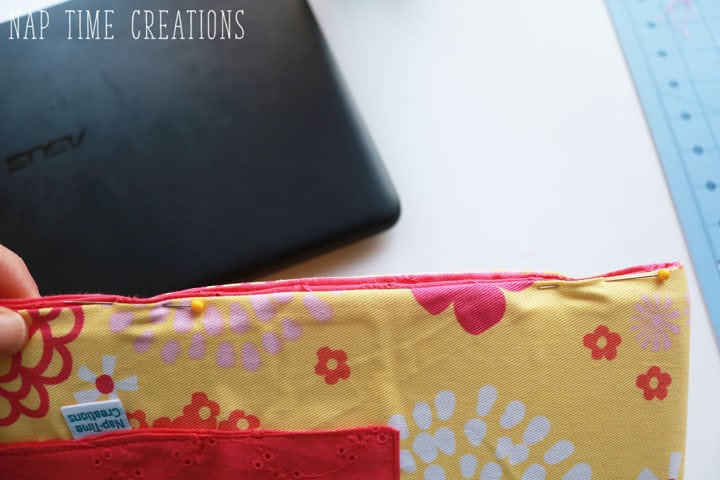
And you are finished! Super cute right! Made in any fabric you like for a personalized laptop sleeve! I feel my laptop is very protected in this new case with the foam and its a lot like one my husband paid for {mine is WAY cuter though!} Let me know how yours turns out. I’d love for you to show off photos in our Life Sew SavoryFacebook group!

Here are some other great tutorials for your electronics..



Helen at Pleasures of the NW says
I love this idea! I would be thrilled if you would share it at the Pleasures of the NW’s DIY link up!
http://www.pleasuresofthenw.com/diy-craft-link-up-44/
Anne says
That’s a great little case for a laptop! I’ve got a Craft Gossip post scheduled for later this morning that features your tutorial: http://sewing.craftgossip.com/?p=91697 –Anne
Lori says
Great alternative to those bulky ones. Thank you for sharing at DI&DI 🙂
Lillian Stevens says
This is super cute and I absolutely love the bright color of fabric choices! Beautiful!
Grandmas House DIY says
So cute and great! We would love to have you at our To Grandma’s house we go link party that opened this Wednesday morning and lasts all week!
Beverly says
Your laptop sleeve looks great, Emily. I love the fabric. Thanks for sharing at Snickerdoodle. I’ll be featuring this at today’s party. Hope to see you there!
Angie Rose says
Hi Emily! This is so cute, you did such a great job 🙂 Thank you so much for sharing with us at Dishing It & Digging It & congratulations on being featured this week!
Judy says
What a great idea!! I will be featuring this at my Winter Blues Wednesday party that opens on Tuesday evening at 8pm EST. Please stop by and pick up an I’ve Been Featured button. Thanks. http://diybydesign.blogspot.com
Lara says
Thank you, I used this as my start. I did it with a complete liner and the foam. I used a magnetic closure and a welted pocket. Your dimensions were exactly what I needed. One for me and one for my daughter. Her’s I added some nice sides and a small handle. They turned out awesome
Emily says
yeah!!! glad you were able to use it!!
Claudia says
What is the seam allowance you used?
Lisa says
I just made this yesterday. Came out great! Thanks for the instructions!