Inside: Try this free quilted Christmas stocking pattern for a fun new addition to your Christmas decor. Using paper piecing quilting technique, then free stocking pattern is a fun project to sew.
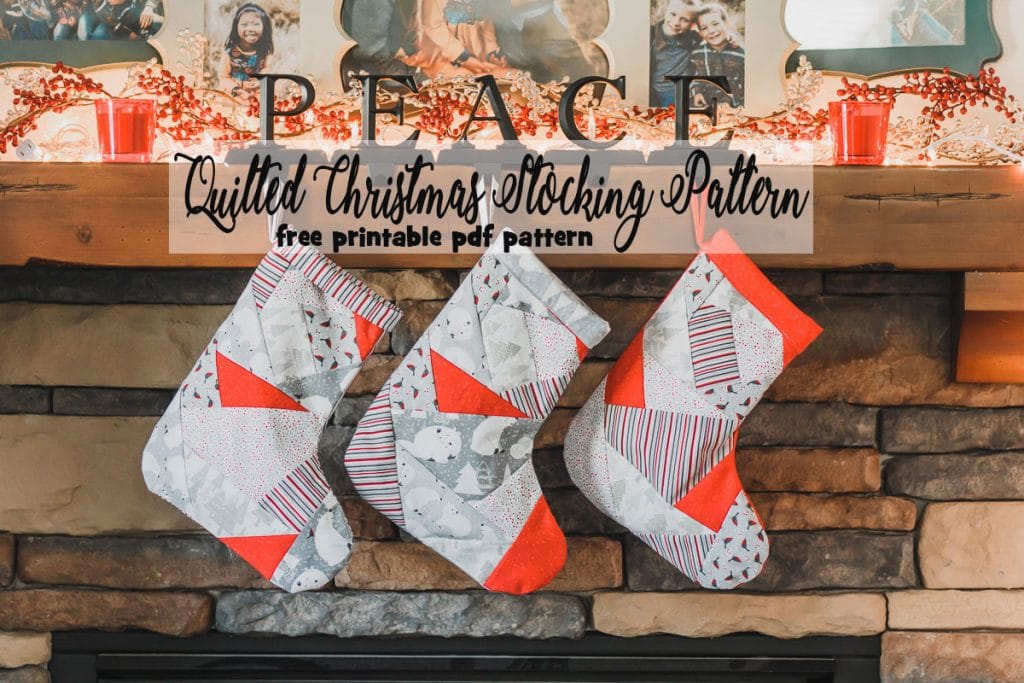
I’m super excited to be participating in another group sewing post with several of my sewing friends today. We are all sharing Christmas stocking patterns and tutorials just for you! I’ve got a super cute {and free!!} quilted Christmas stocking pattern to share. Be inspired to add to your Christmas decor with some super fun stocking sewing patterns and tutorials today.
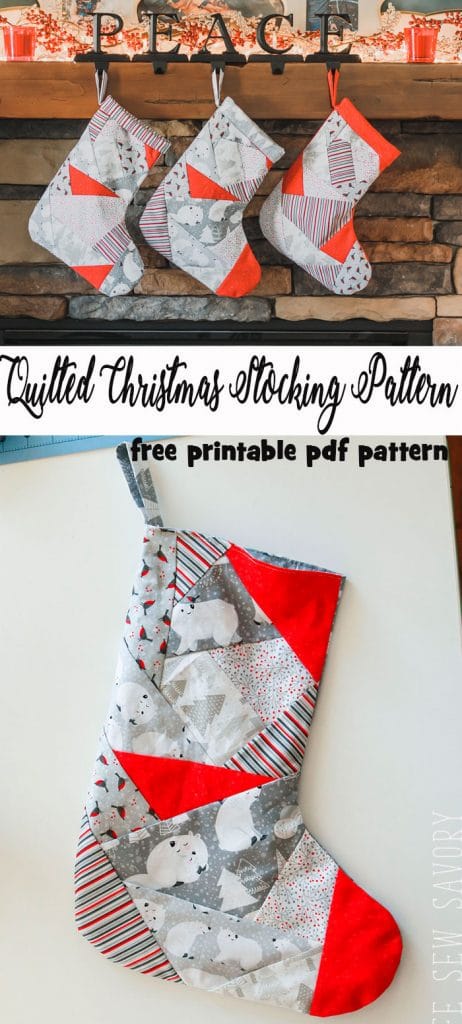
Quilted Christmas Stocking Pattern –
Several years ago I share this paper pieces Christmas tree skirt pattern {and it’s been a huge hit with your all!} and today I’m sharing the free stocking pattern that matches.
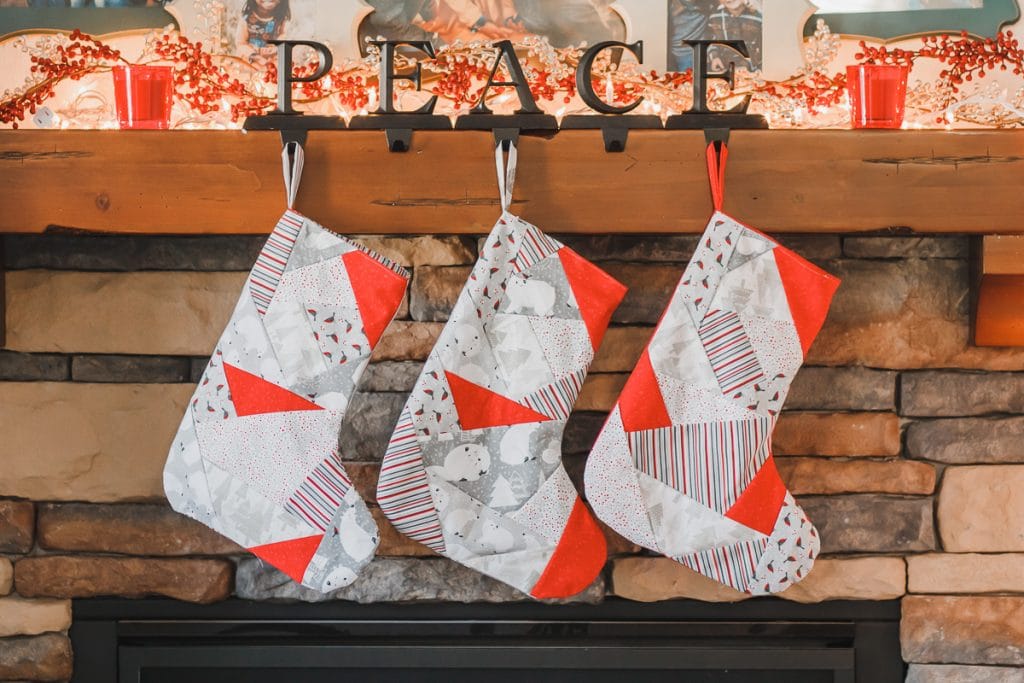
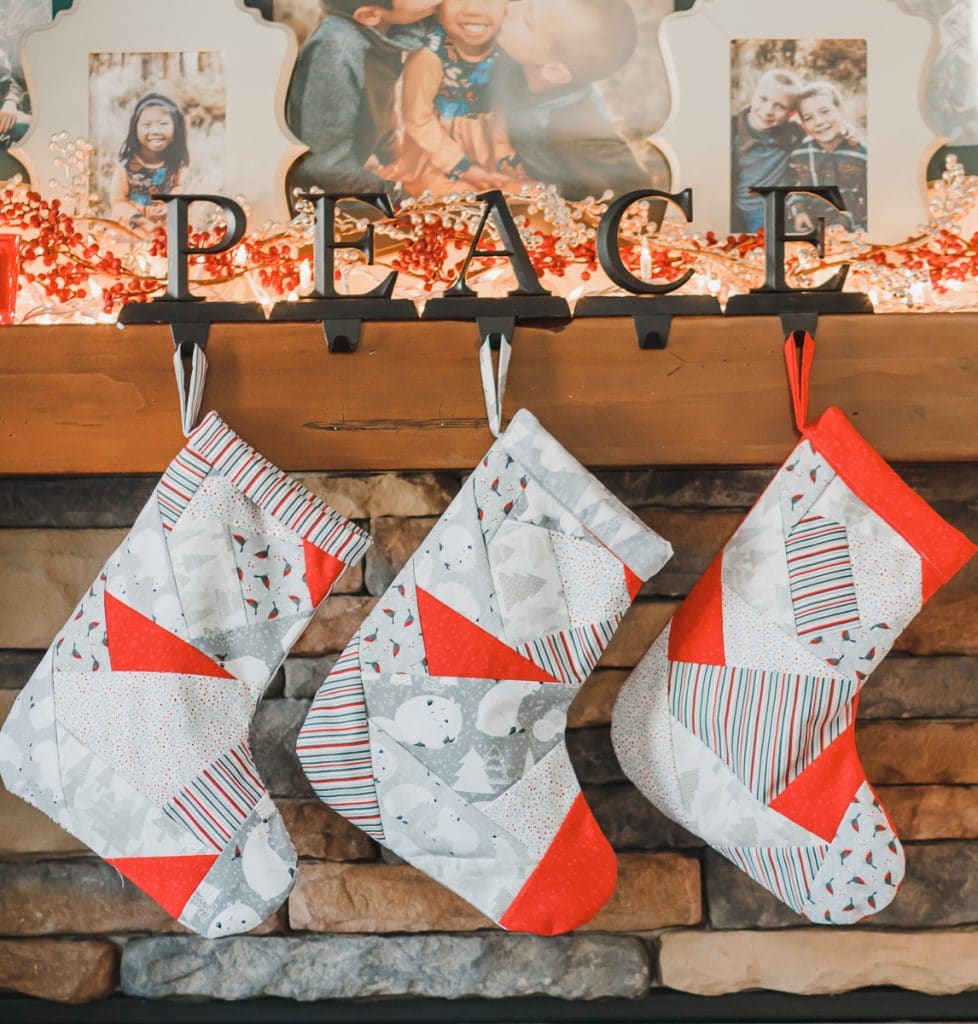
Aren’t these so cute! I love that you can personalize them with your fabric choice AND you can make a matching tree skirt with my other pattern. Before we get to the sewing I wanted to mentioned that I got all my fabric for these stockings on Fabric dot com. A fun tip is to shop AFTER Christmas sales and then sew up new stockings and a tree skirt for the next Christmas.
Okay… are you ready to sew a Christmas Stocking?
Free Christmas Stocking Pattern
Gather your supplies…. {The video in this post gives a more detailed look at how to put this all together. If you have an AD blocker enabled you will have to disable to see the video}
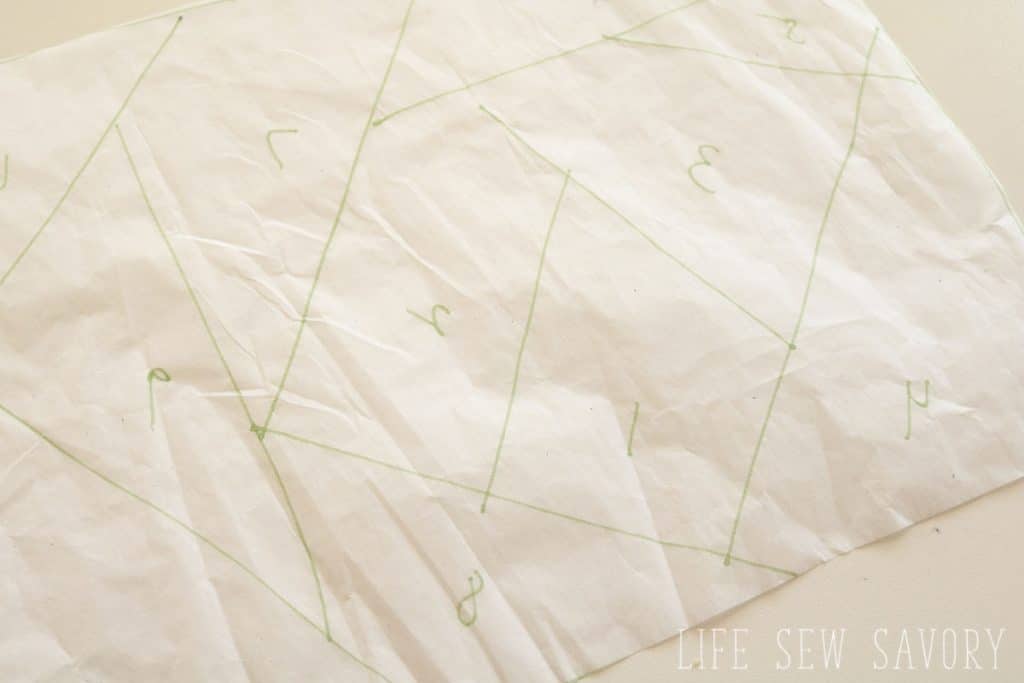
- Printable free pattern – trace onto tissue paper {one copy for each stocking you will make}
- 1/3 yard of SIX different fabrics will make you around four stockings fronts. So that’s about 2 yards of fabric for four stocking fronts.
- you will need another 1/2 yard of fabric for each stocking back and linking.
- Prep the fabric by cutting some fabric strips of 3 and 4″ widths. Cut 1 5.5″ strip. Cut a few from each fabric to start, but do not cut up all the fabric. You can always cut more if you need, so I start with just a few of each.
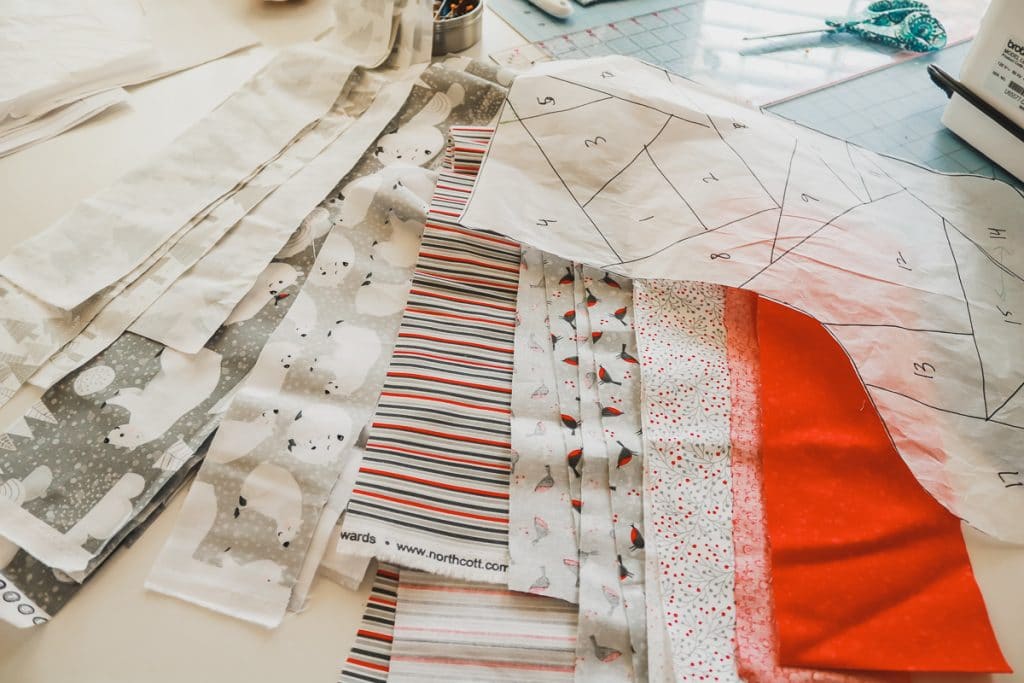
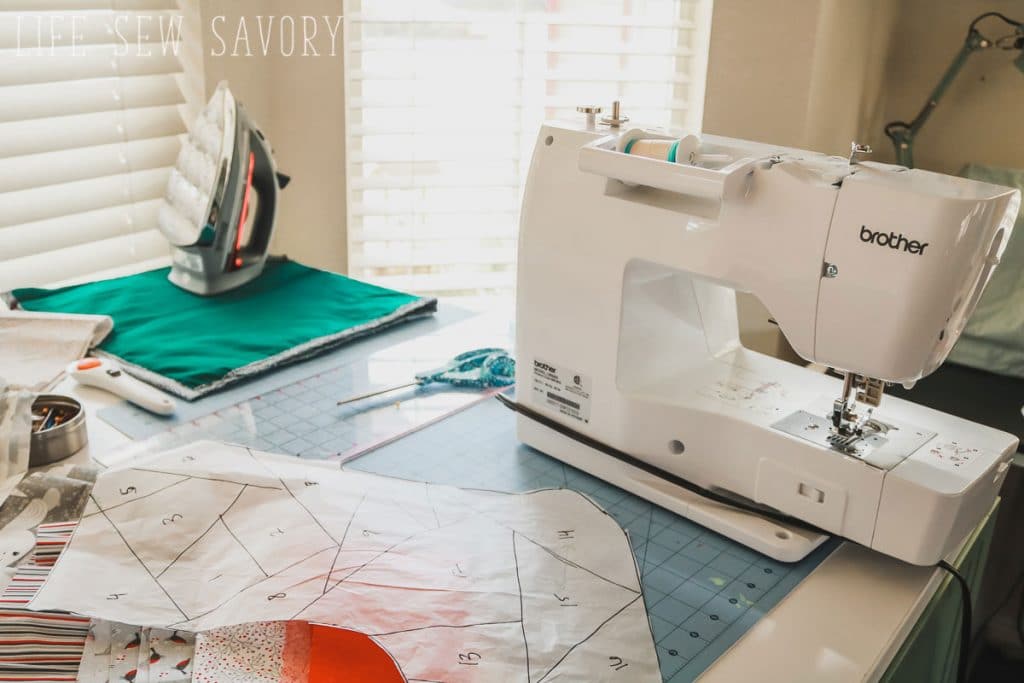
Set up your work station.. You will be sewing, pressing and cutting A LOT… I recommend setting up a work space so that you can do all three without moving too much.
- flip the tissue pattern you traced over to the back side so the numbers are backwards.
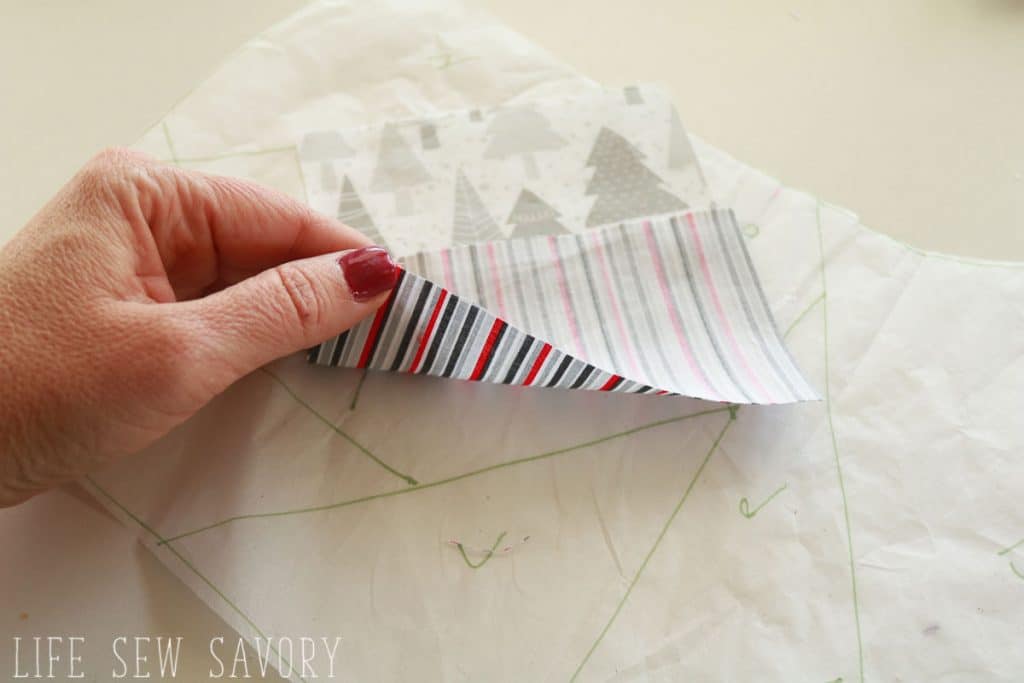
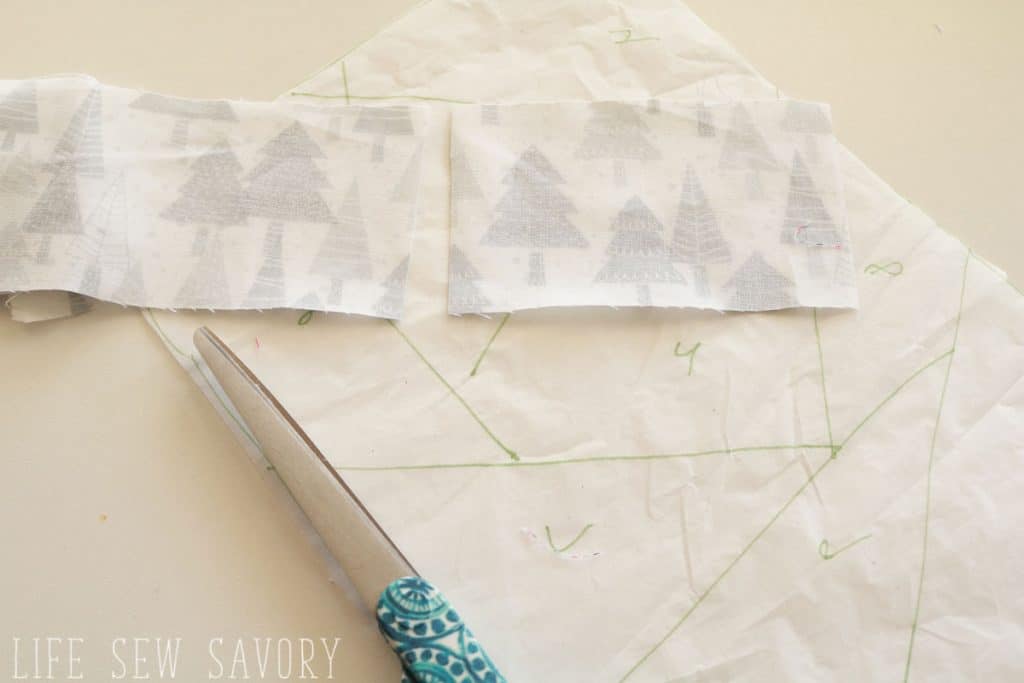
2. Take one strip of fabric and cut a piece long enough to fully cover the number 1 space. You need at least a 1/4″ seam allowance on all sides.
3. cut a piece of fabric to cover space 2.
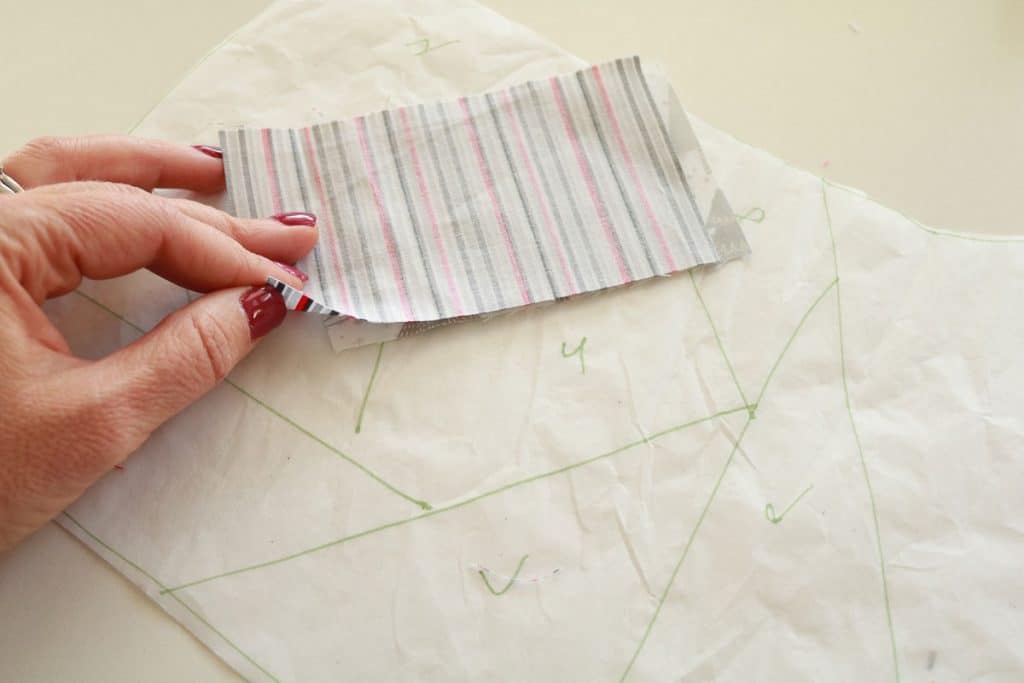
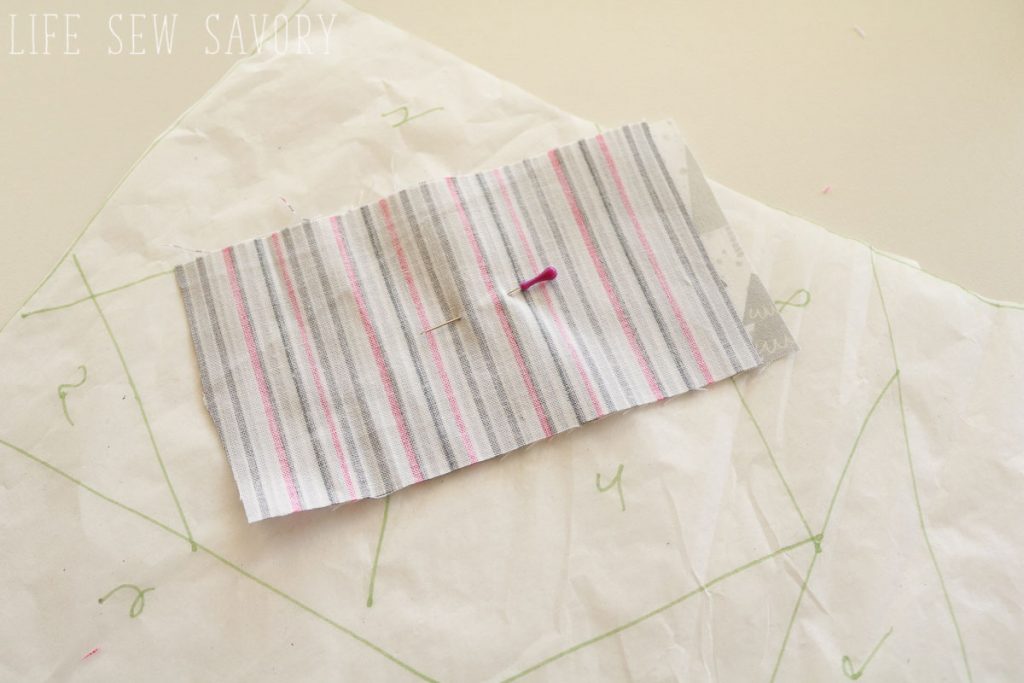
4. place the fabric for space 2 on top of 1 with right sides together and pin both fabrics to the tissue.
5. flip over and sew on the line between 1 and 2.
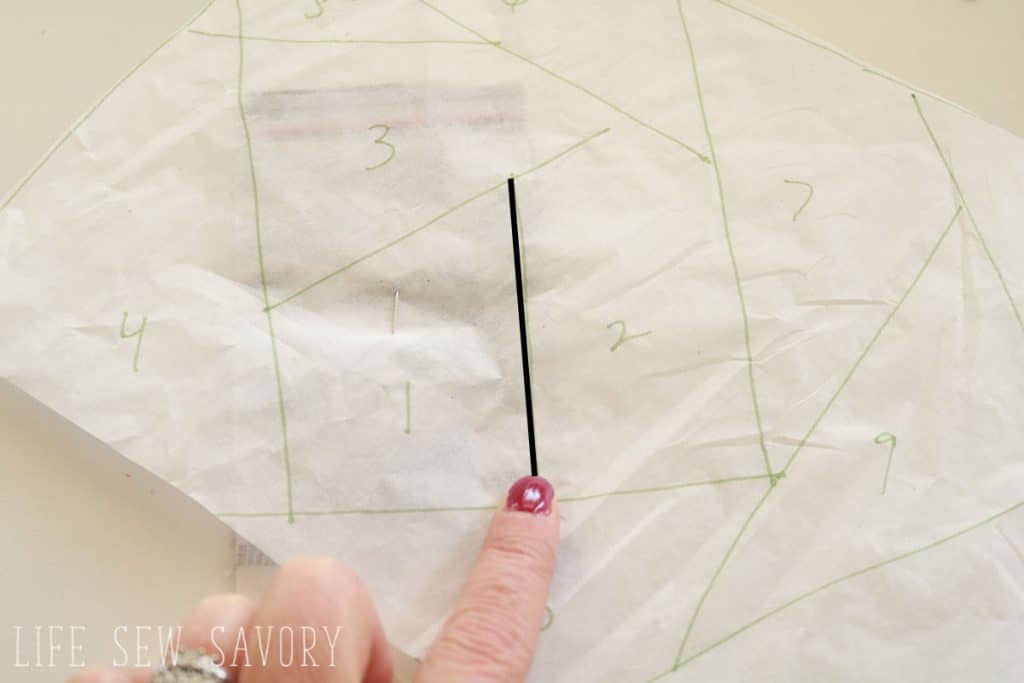
6. turn back over and press this seam open. You will be looking at the right side of the fabric.
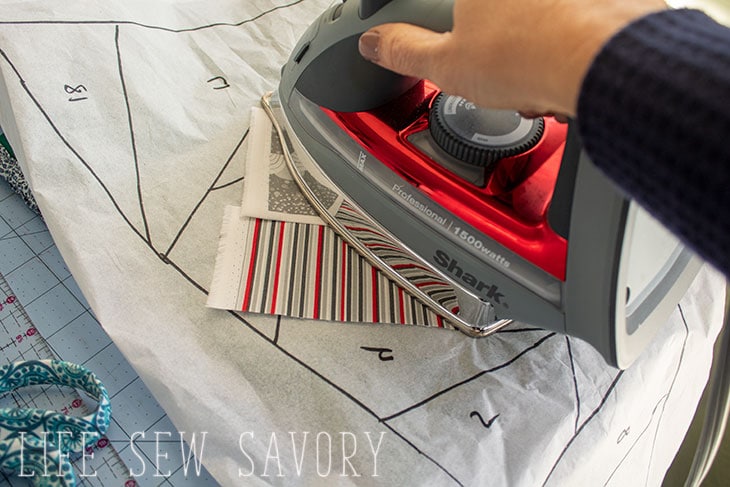
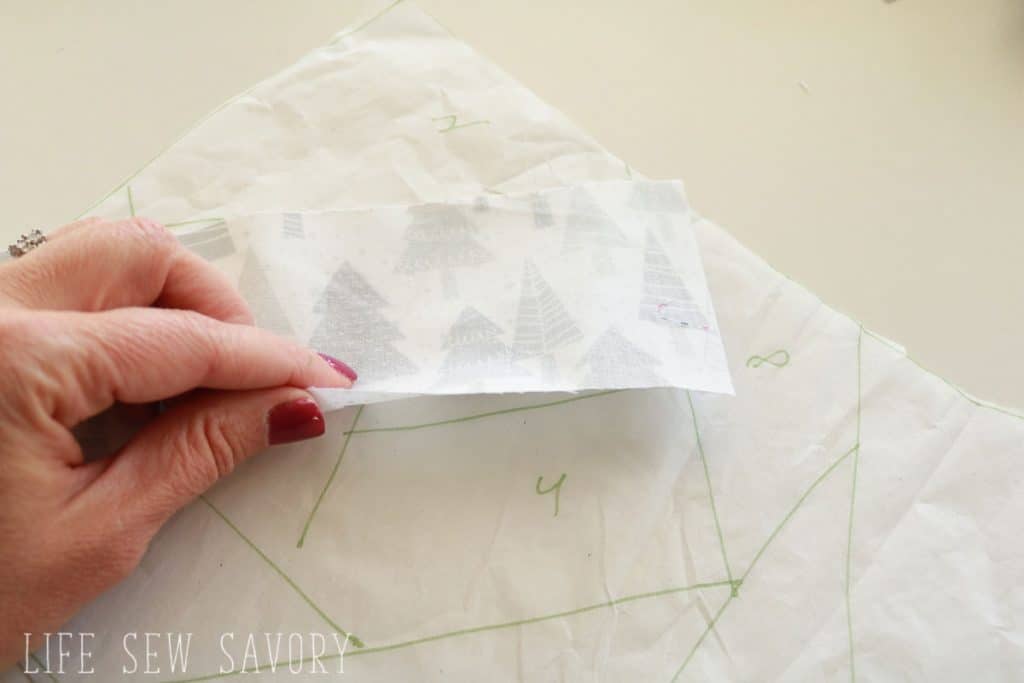
7. again flip the tissue and find where 1 and 2 meet the next number {3} this meeting line is where you will want to trim the seam allowance. Place a piece of cardboard or metal hem tool on this line.
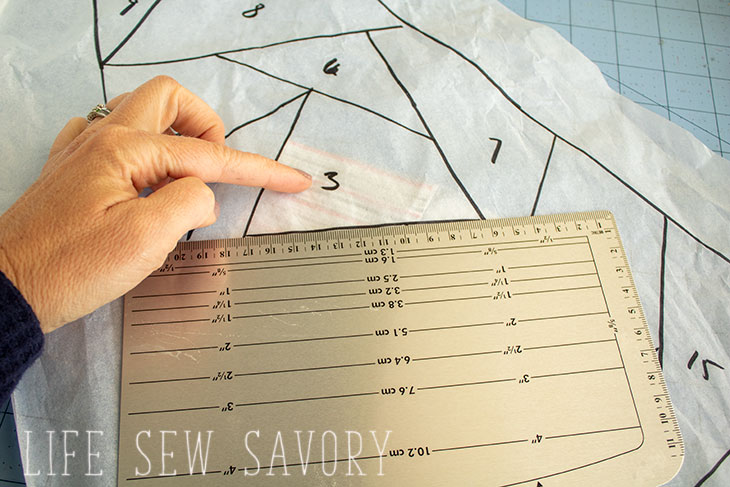
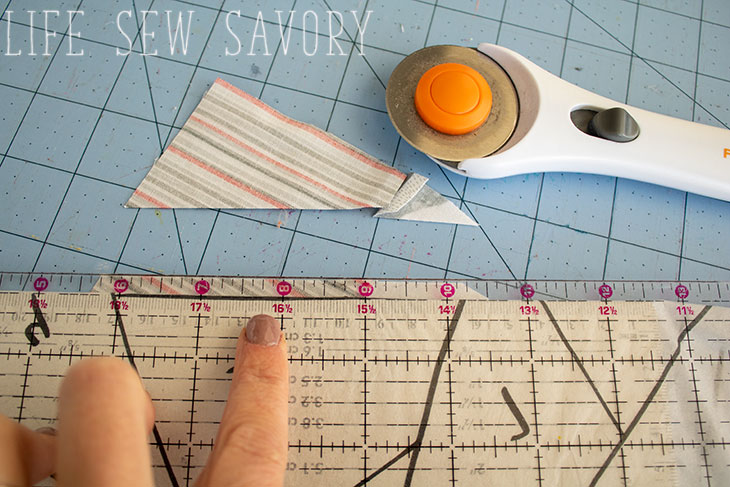
8. Fold the tissue paper back over the ruler or cardboard and then use a clear ruler to add 1/4″ seam allowance. Trim any extra fabric.
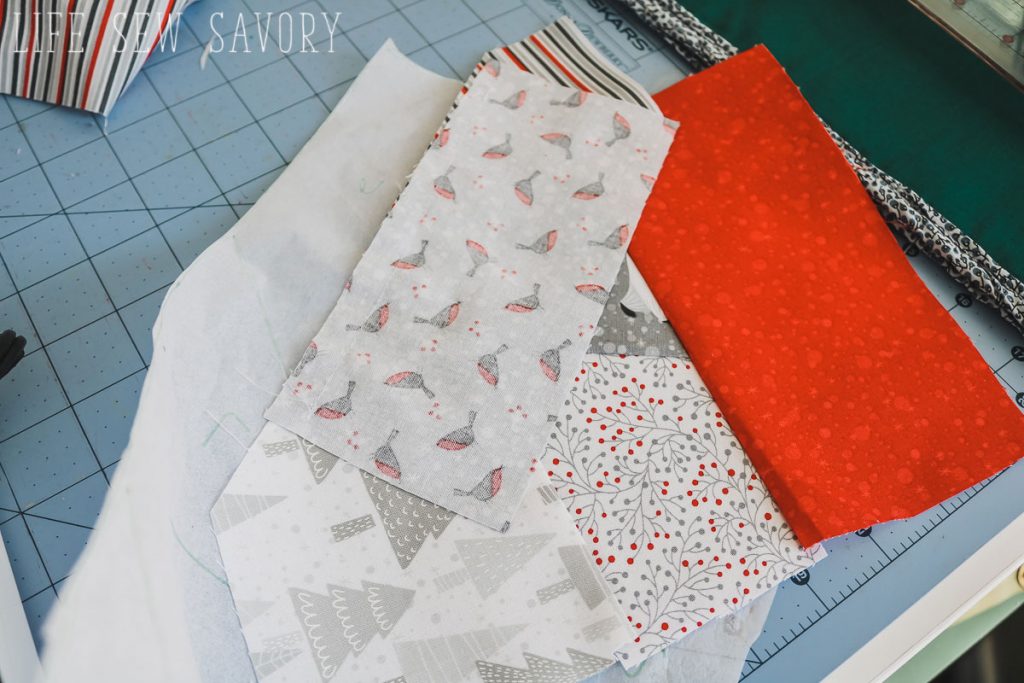
9.Open tissue and turn back to fabric side. **Repeat from step one again with a fabric strip to cover space number 3… continue working in numerical order.
Do you best to coordinate the fabric so it appears random and same fabrics are not together.
For more details on sewing the paper piecing quilt method you can check out the Christmas Tree Skirt post for a much more detailed version of how to sew all the parts of this stocking.
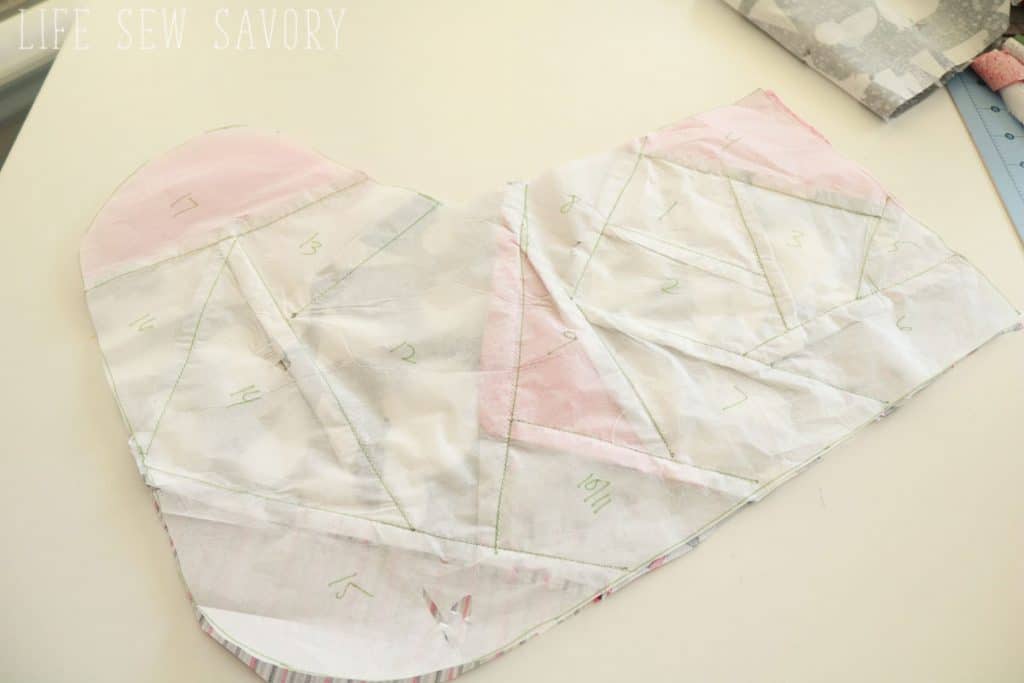
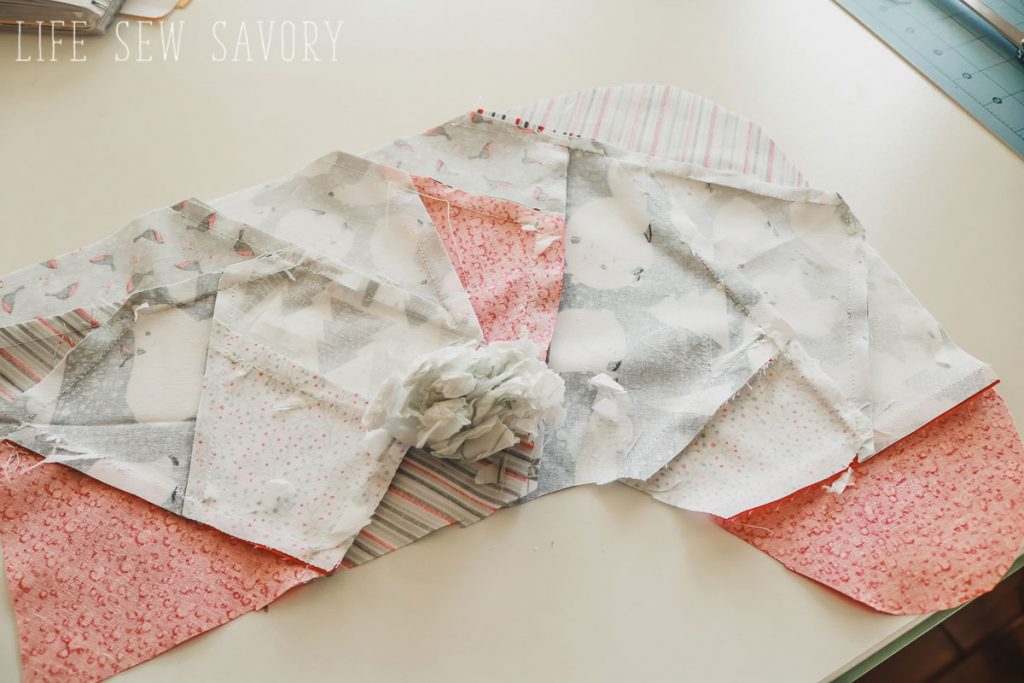
10. Continue until you have sewn all the numbers, then trim around the edge of the tissue pattern to create the stocking.
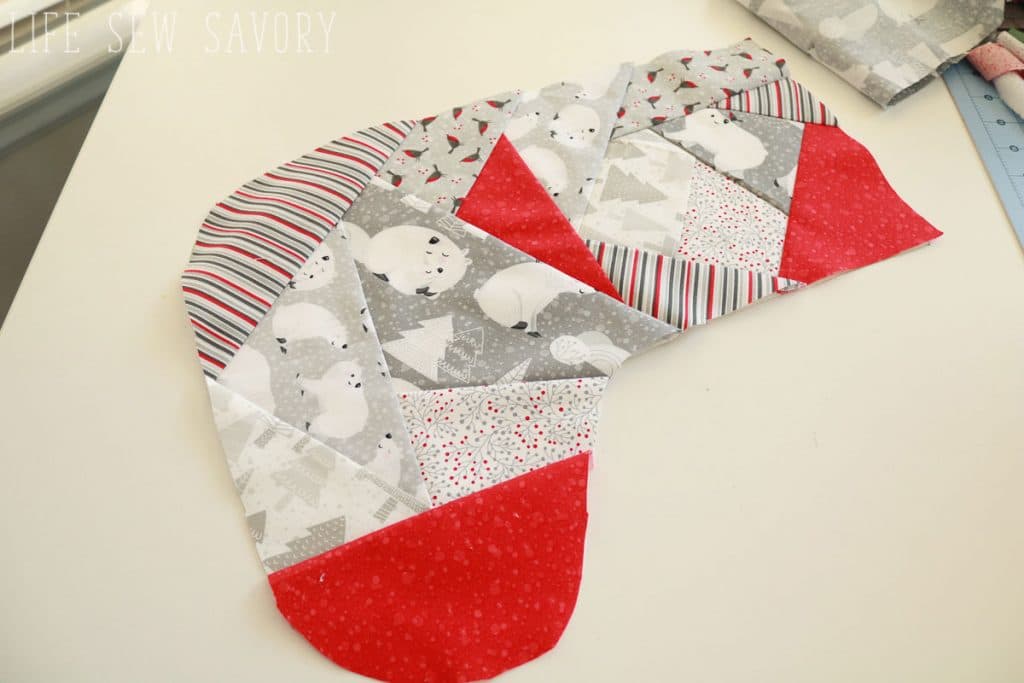
11. remove the tissue from the back of the stocking.
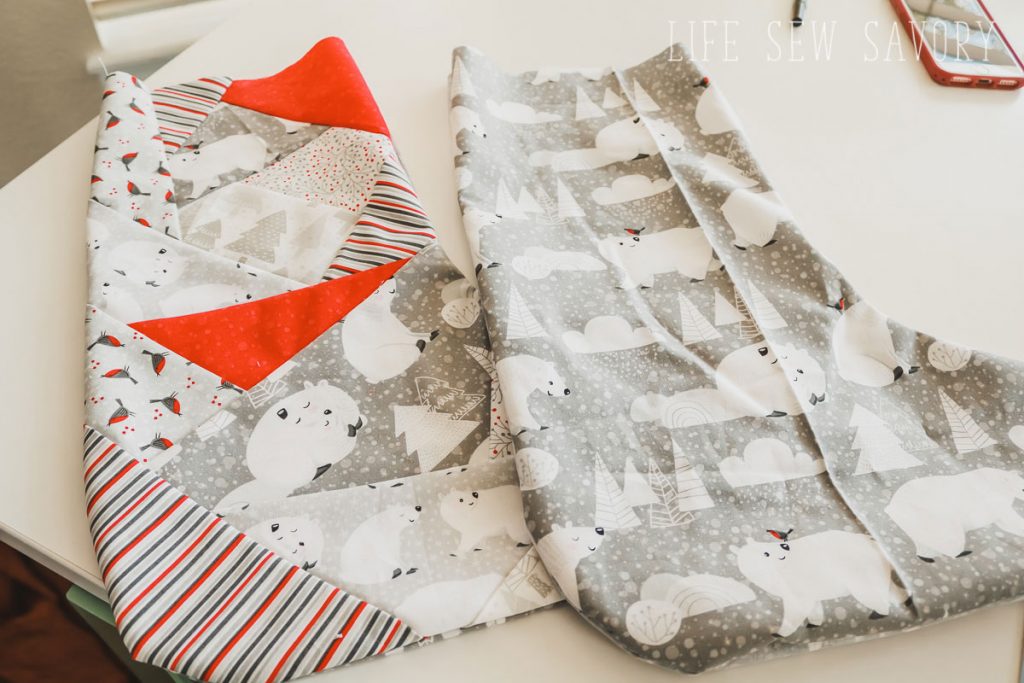
12. Using the stocking front as a template, cut a stocking back and stocking lining {front and back} make sure you are aware of cutting a left and right piece for the lining. Just flip the stocking front to cut a reverse.
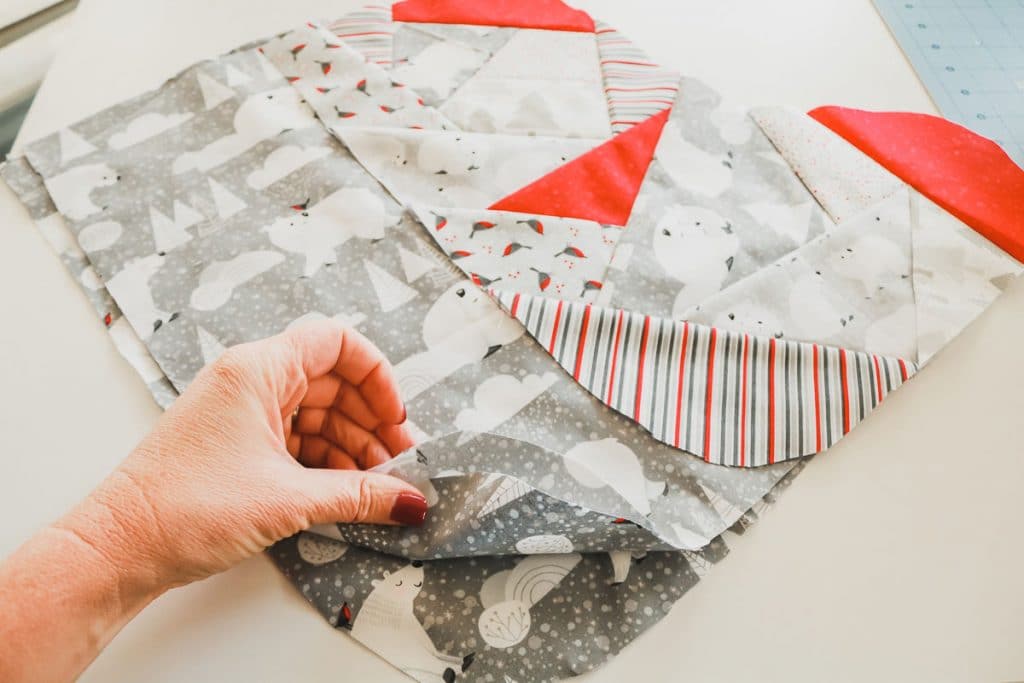
13. Sew the stocking front to back and the two lining pieces to each other with right sides of fabric together. I used a narrow seam allowance of about 1/4″. Clip the corners.
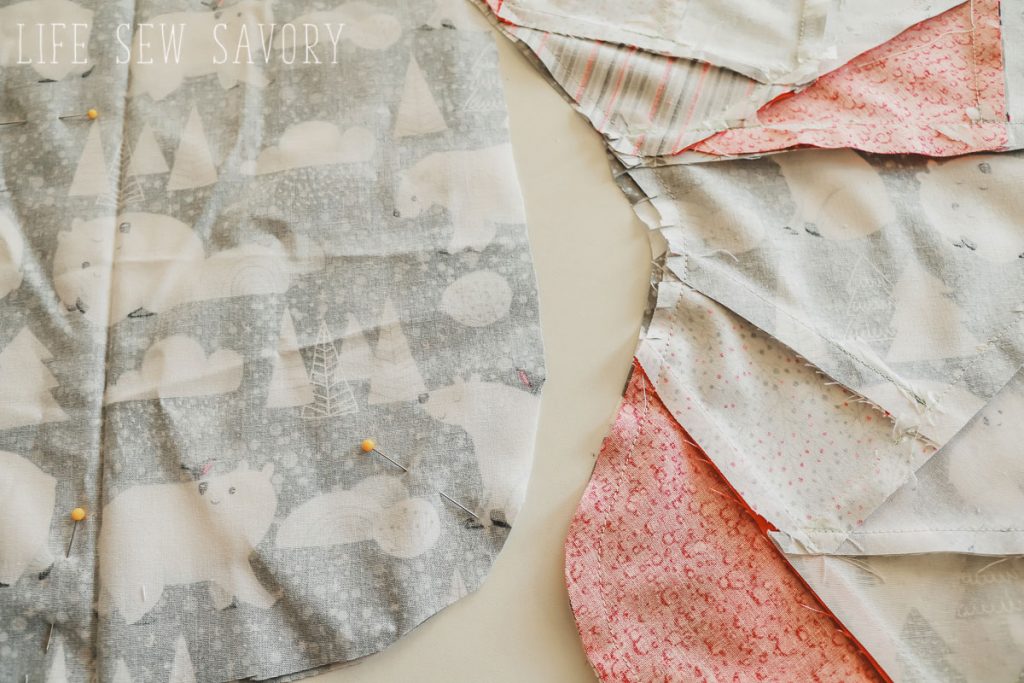
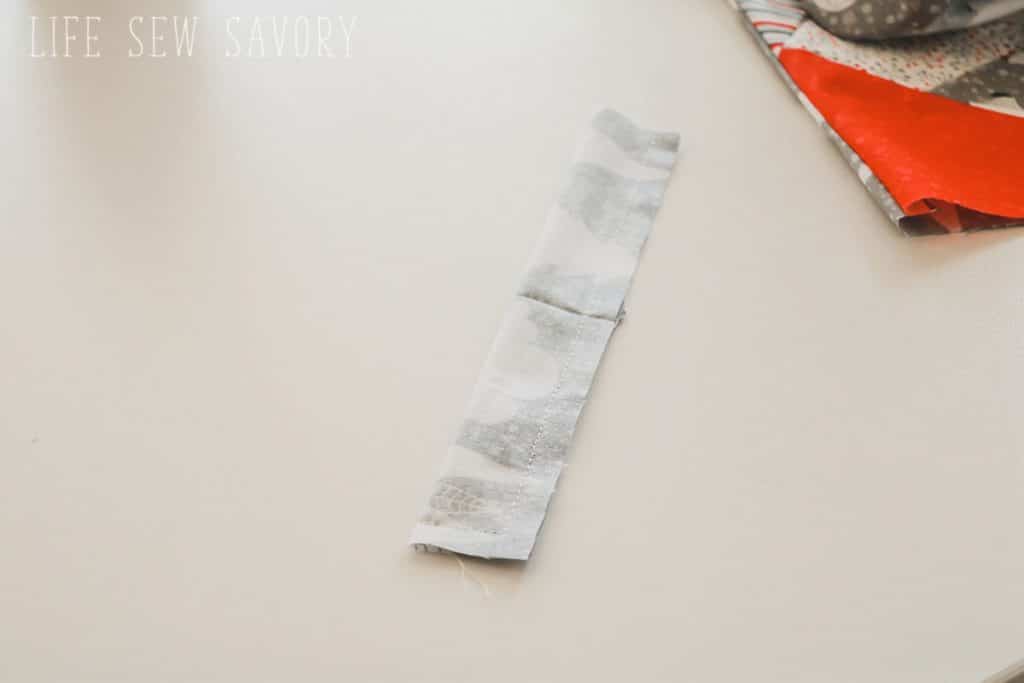
14. Turn the two stockings right side out and press. Create a hanger. Cut a piece 2.5″ x 8″ and fold with long sides together. Sew the long side and turn right side out. Press.
15. Fold this rectangle in have to create the hanging loop and pin to the stocking lining right side. Pin on the outside of the stocking { so it will hang}
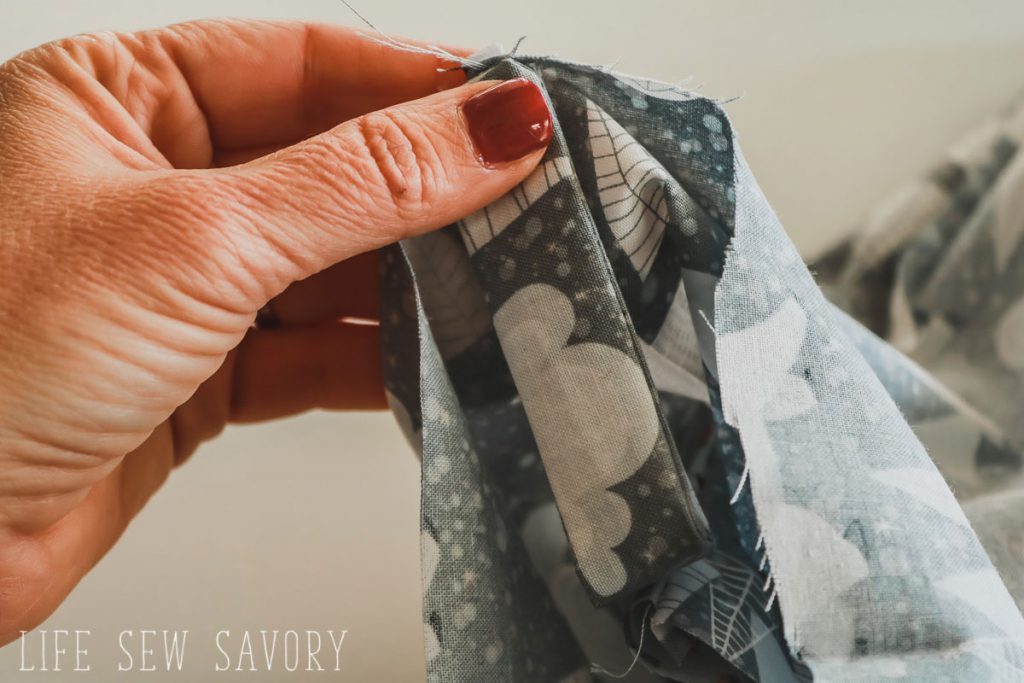
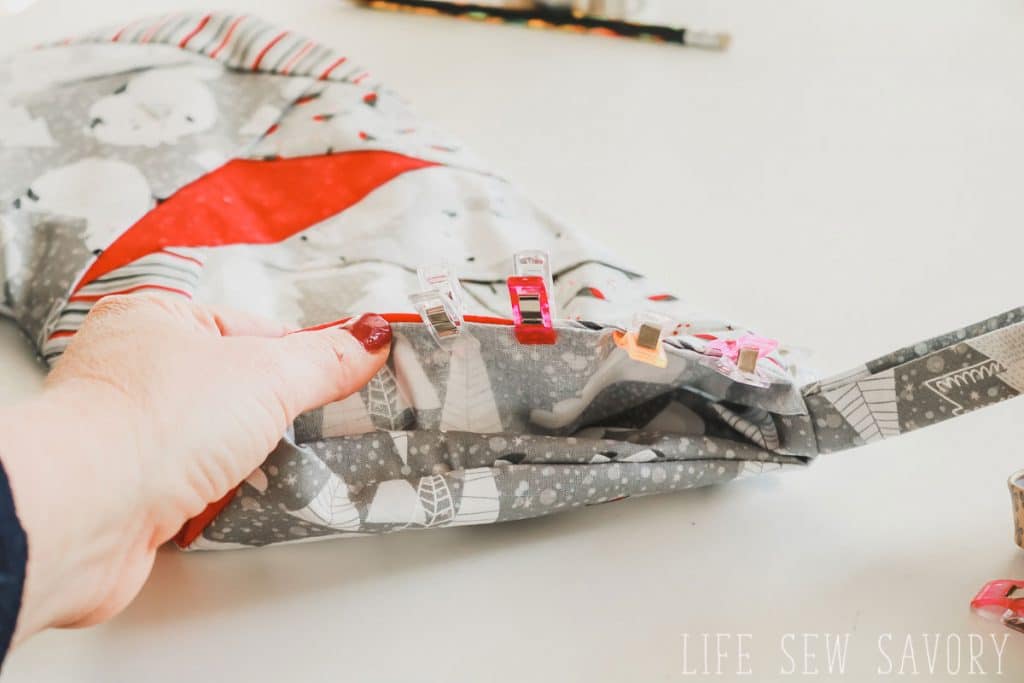
16. With right sides together, stick the main stocking inside the lining and match up the side seams. Sew around the top, leaving an opening to turn. Make sure to catching the hanging loop in your stitching.
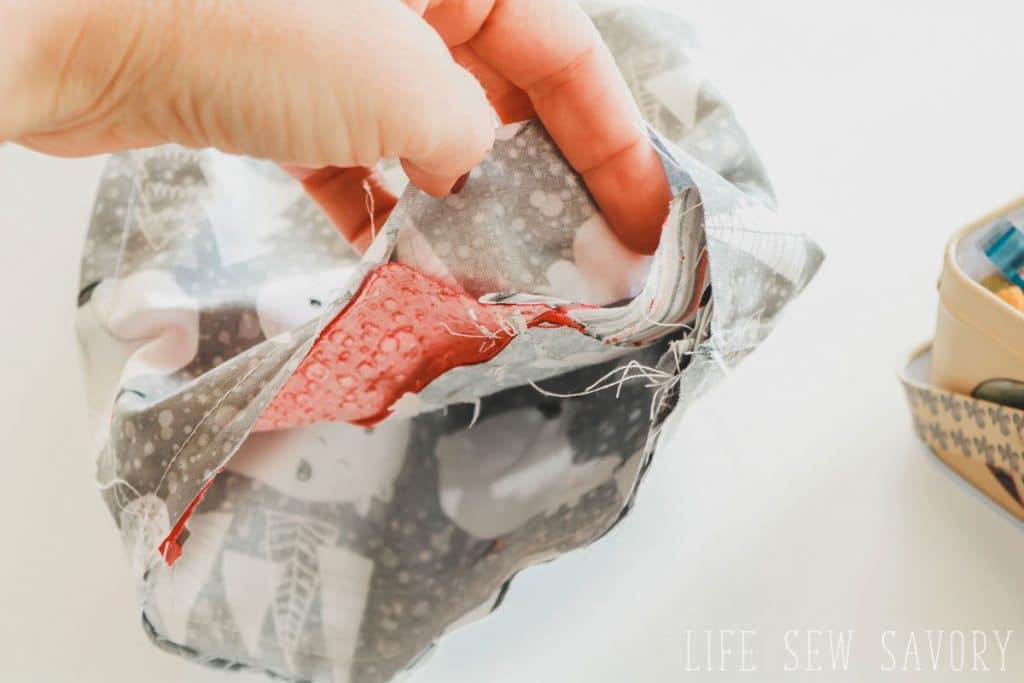
17. Turn right side out and close the opening. Top stitch around the top of the stocking close to the edge to secure all together.
You did it!! Now you just have to repeat these steps until you have enough stockings for everyone in your family. I still have two to make at the writing of this post! Want a simpler stocking pattern? Try this simple stocking pattern and tutorial here.
More super fun Stockings to sew..
Pin this collage to save all these beautiful stockings for later…

DIY Christmas Stockings
A super fun list of Christmas stocking patterns and tutorials to make.








Chelsea says
I am loving this! I’ve been doing a lot of paper piecing and this is going on my list to try.
Damjana says
These stockings look like a perfect project for me – a fun stash-busting project, too!
Heather says
Those fabrics are just gorgeous! I love the idea of stockings matching the tree skirt!
Karen Hough says
I keep tapping on the free download for the paper piecing Christmas stocking pattern PDF, but can not get the pattern pieces to come up. Please help.
Karen Hough
kat.dickinson says
Me too. I have downloaded the file but when I print I get the original “blueprint” of the pattern – Emily’s rough copy and not an actual pattern I can stick together and cut out.
Emily says
Hi! You have to go to my “shop” and add the item to your cart.. Once you checkout {for free} you will be able to download..
Emily says
Kat, I just downloaded it from my shop and the pieces are fine.. you have to trim the edges and tape together.. it’s perfectly fine..
Glynda Meyerholtz says
Very clear instructions; love the video!
kat.dickinson says
Emily, I have done that but it’s not the pattern pieces that come up. Is there an email address or any way I can show you what is printing, please?
Michele C. says
I’m new here, and rather a novice at paper piecing, but these stockings are just the new challenge I was looking for — thank you for sharing your pattern and such a detailed tutorial!