
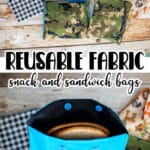

Inside: Learn how to sew reusable fabric snack bags, perfect for summer snacking, or school lunch packing. Simple sewing tutorial to make in any size with these instructions. Two options for closures and lots of variations.
I was looking through my previous posts on this topic and I was noticing that I had several posts on this topic, but were all basically similar. So I’ve redirected all former Reusable Fabric Snack Bag posts to this one, and now this will be the go-to post for my Fabric Snack Bag tutorial.
Reusable Fabric Snack Bags
I’ve been making bags like this since my boys were little. Originally I used some cotton on the outside, and clear vinyl on the inside, but since then I’ve refined my fabric choices and the size and shape of my reusable snack bags.

Today I’m going to be sharing my favorite fabrics as well as the two styles I think work the best. I use both KAM snaps and Velcro as closure, but you can use just one of these if that works better for you.
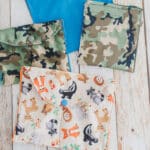
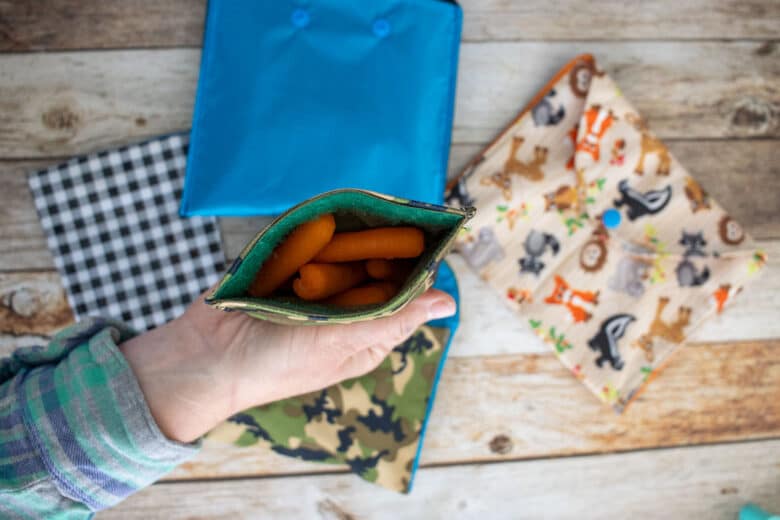
I like to make different sizes of snack baggies. Small enough for just a few carrots, and large enough for a sandwich. My favorite fabrics are rip-stop and PUL fabric. Links below.
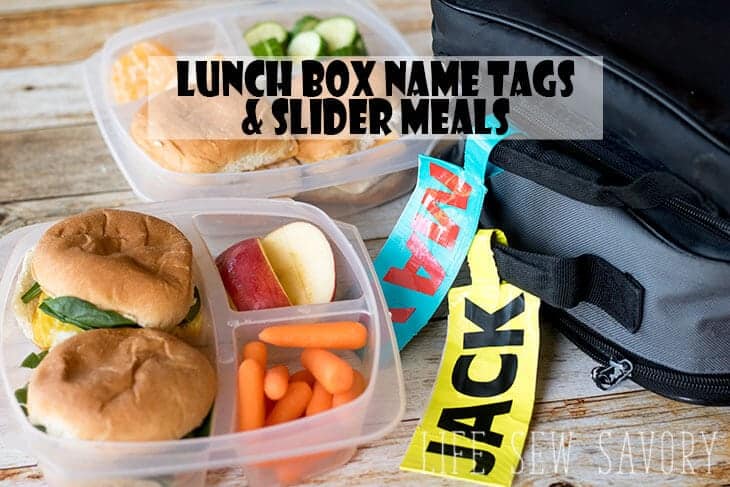
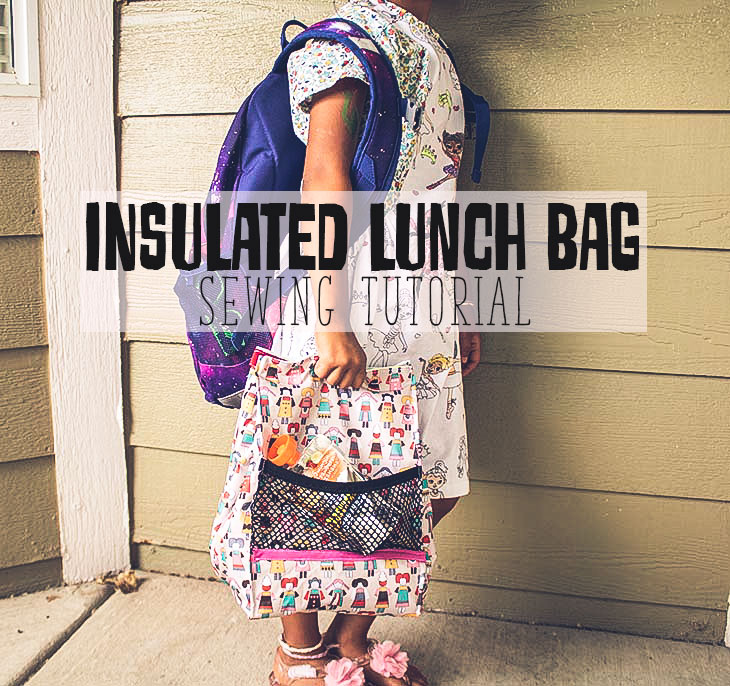
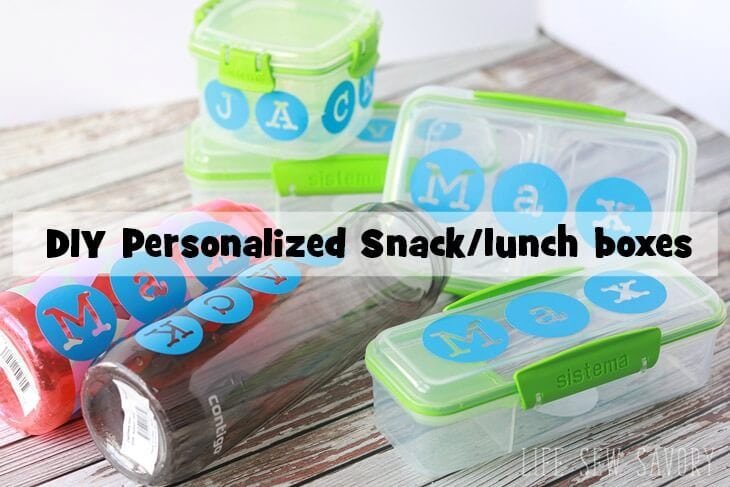
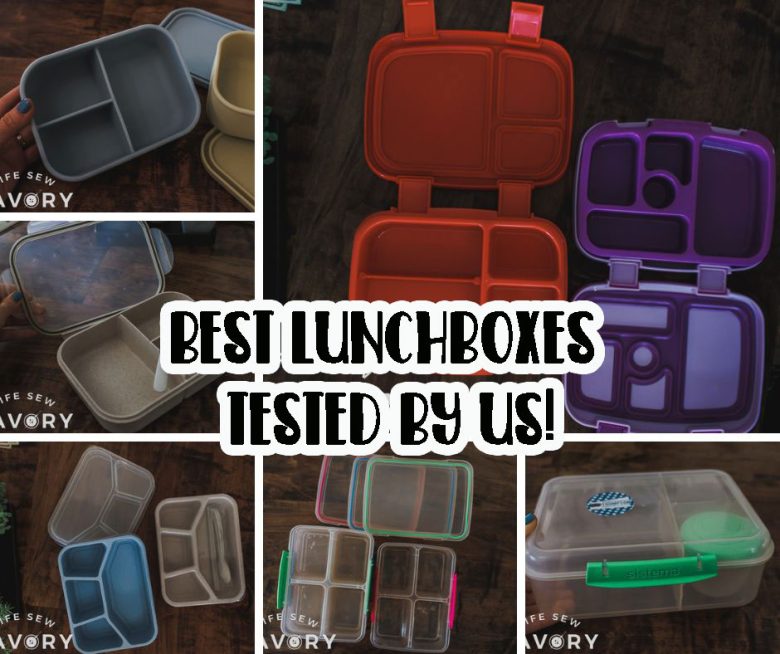
Other lunch tutorials
Reusable snack bag tutorials
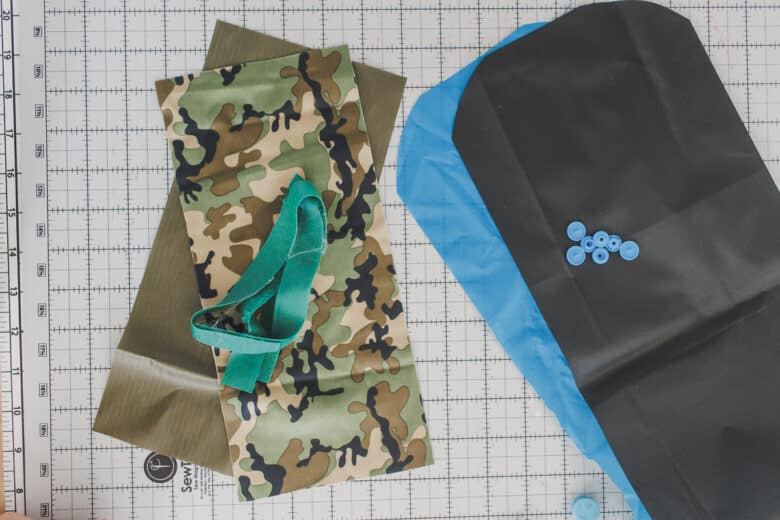
Fabric and supplies to make reusable snack bags:
- Rip Stop Nylon fabric {slippery fabric with the little squares… like kite fabric}
- I recently purchased on Amazon
- PUL {Polyurethane Laminate} This is a water proof fabric often used for cloth diapers
- I have bought here on Amazon or here on Etsy
- KAM Snaps
- Velcro
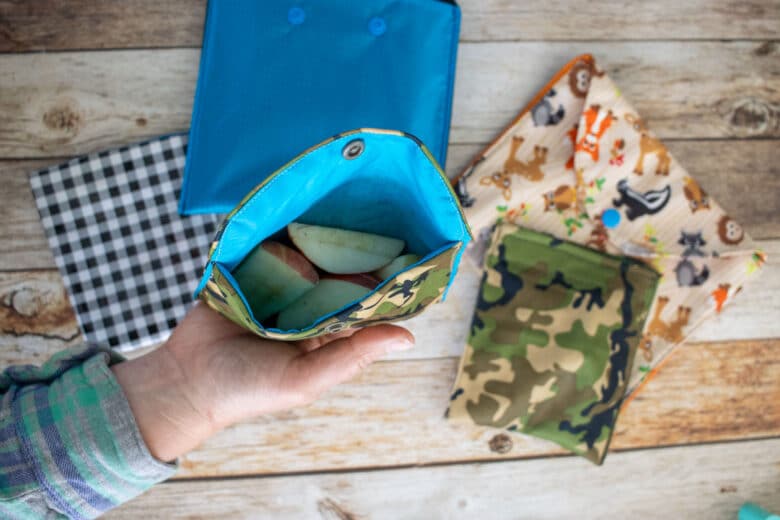
The Ripstop fabric makes the perfect lining for your snack bags, if I’m also using the PUL fabric I will put that on the outside as a leak proof layer {so apple juice doesn’t leak}. You can also use two layers of Ripstop. I will show both options.
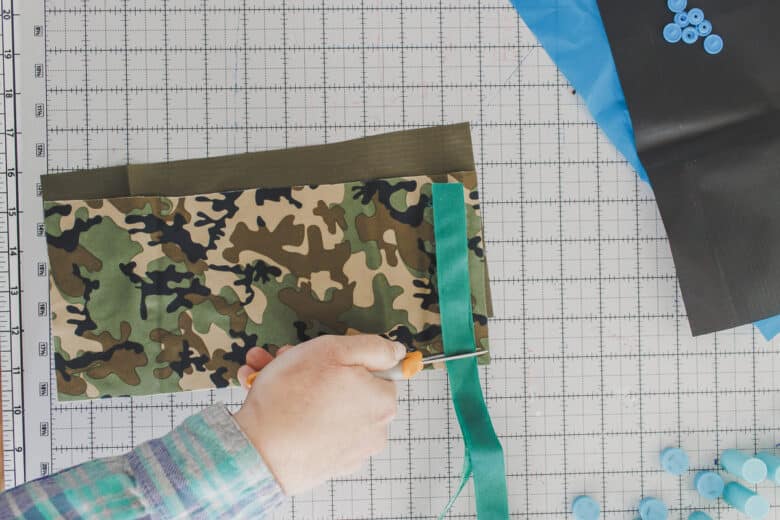
My smaller bag is 5 x 10″, cut two pieces of fabric {I used on ripstop and one PUL}. Cut velcro just a bit shorter than the width of one short end. {approx 4″}
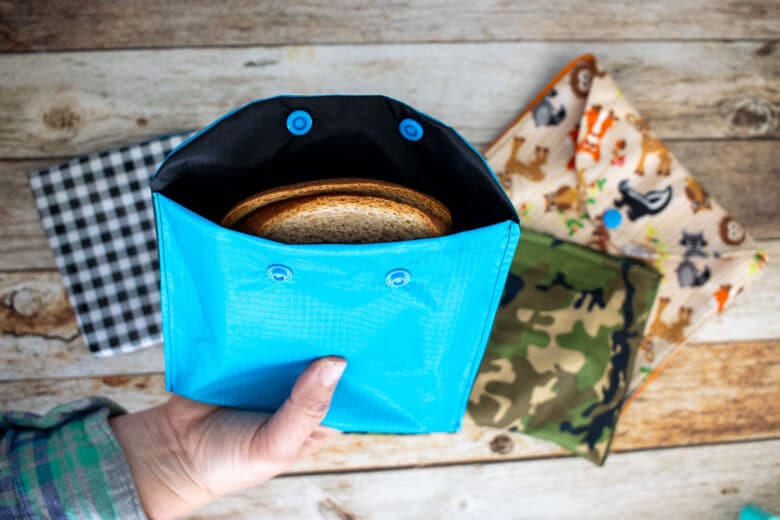
The larger sandwich size is 7 x 13/14″ – cut a rectangle, then round two corners on one short end.
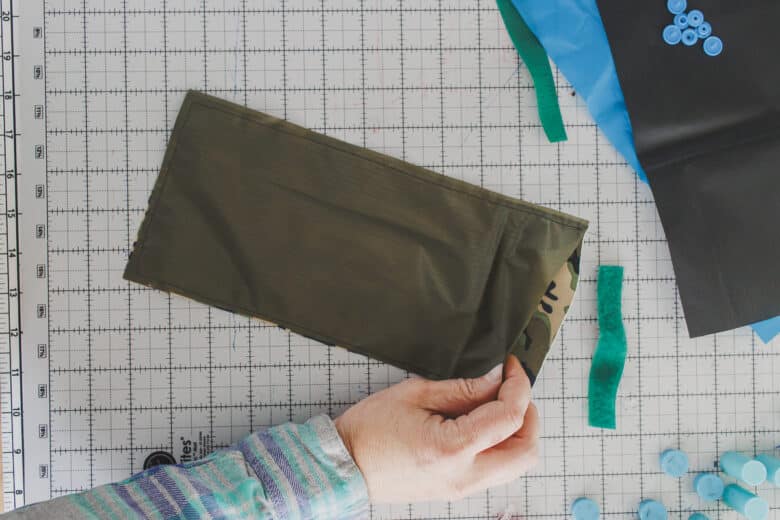
For the smaller pouch I start with sewing the two rectangles together, right sides facing. Leave one short end open for turning. Sew with a 1/4″ seam allowance.
After sewing, clip the sewn corners, then turn right side out. You may need to use a blunt point to poke out the corners. Fold in the top seam allowance and sew shut.
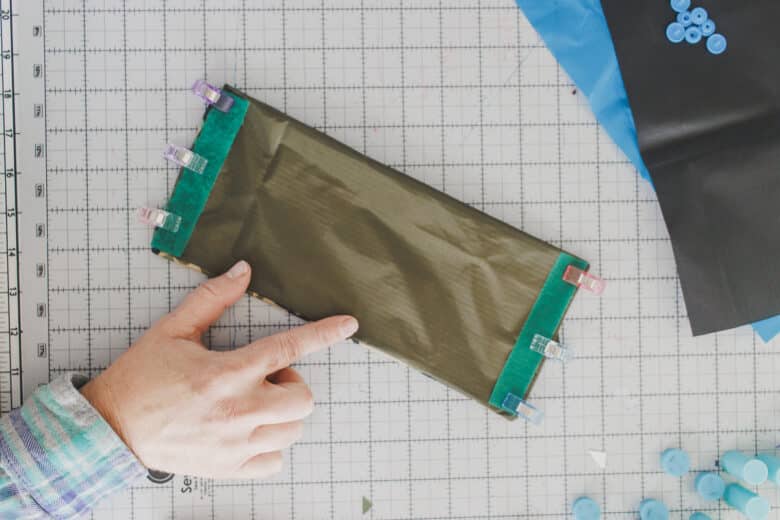
On the lining side of the snack bag, place the two strips of velcro and sew around the edges.
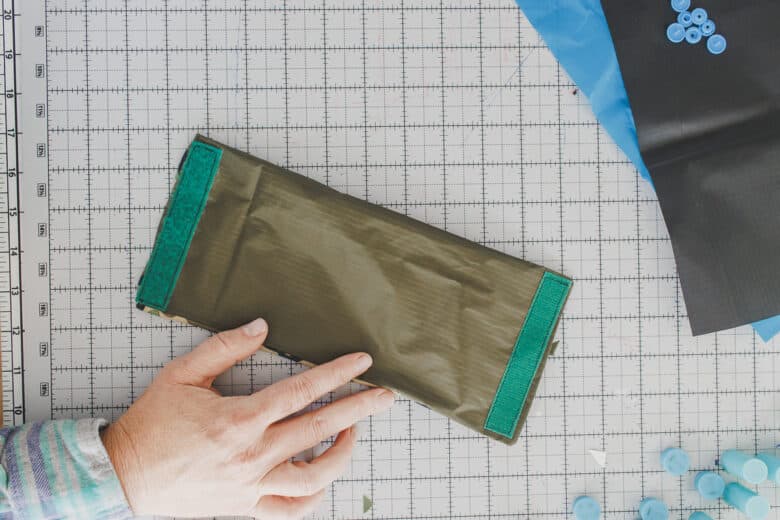
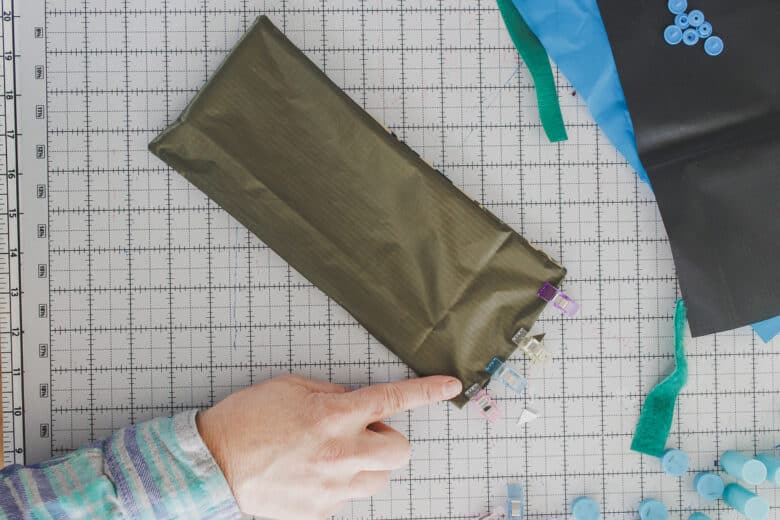
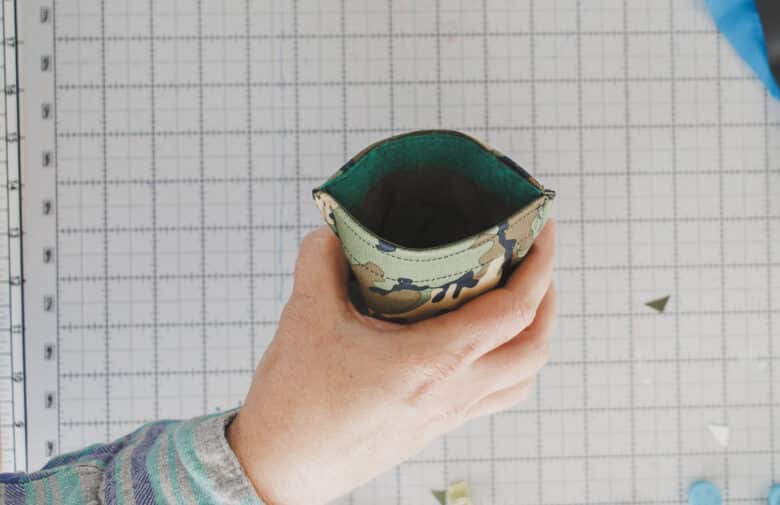
Fold the ends together and pin or clip the side. Sew down the two sides, stitch as close as you can to the edge, still catching all four layers. Around 1/8″. Now you have a cute and secure snack bag.
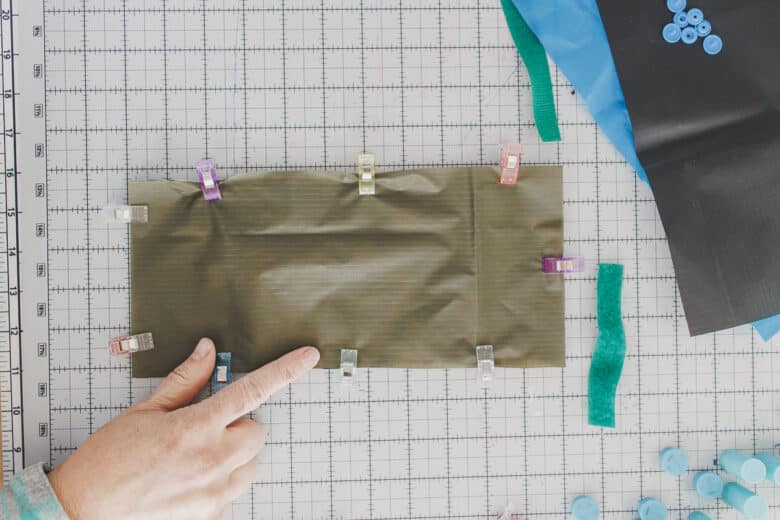
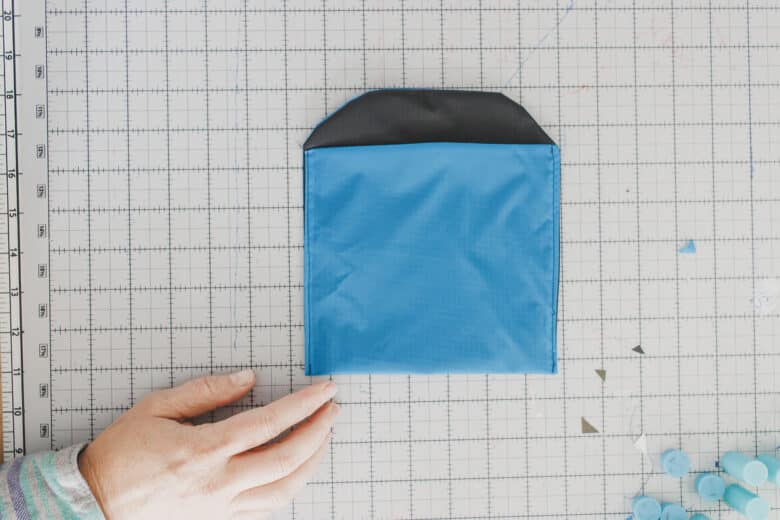
For my larger sandwich bag made with two layers of Ripstop, there isn’t really a wrong or right side of the fabric. But sew bother layers together and leave a 2″ opening on one long side to turn.
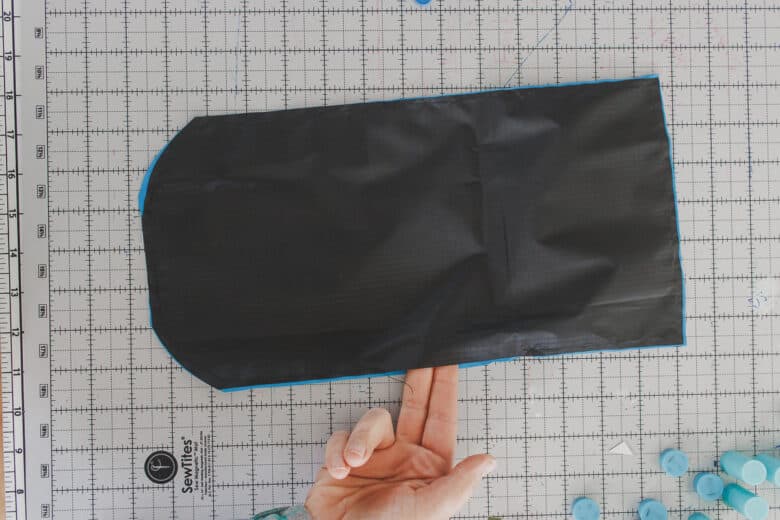
Clip the bottom corners and turn right side out. You may need to use a blunt point to poke out the corners. Fold in the seam allowance on the turning hole.

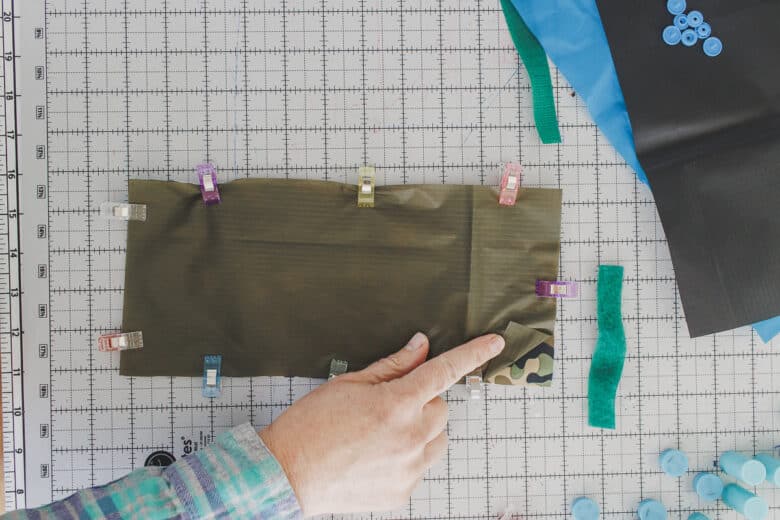
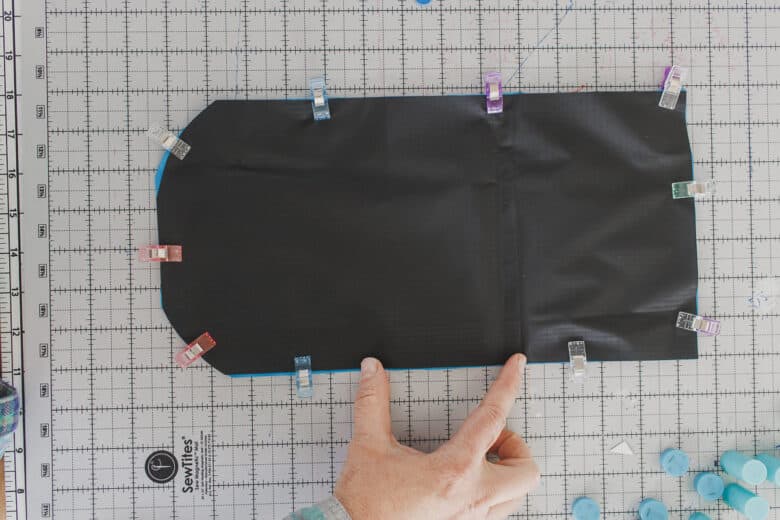
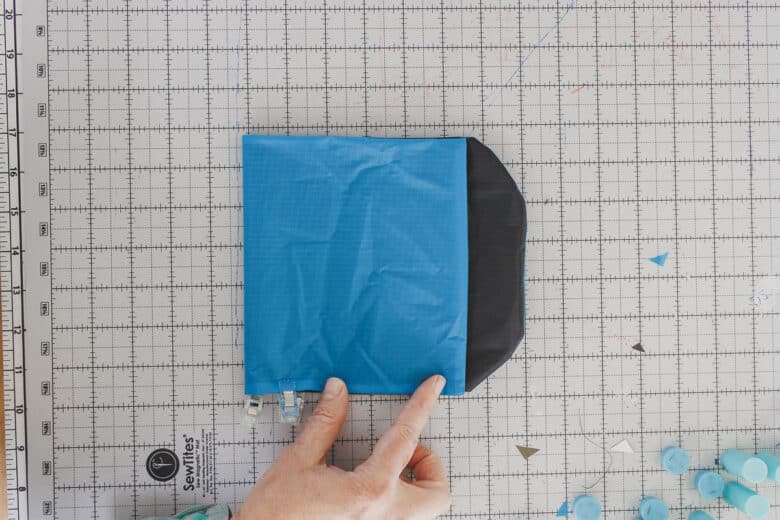
Fold the bottom up to match the straight sides. Pin or clip to hold in place.

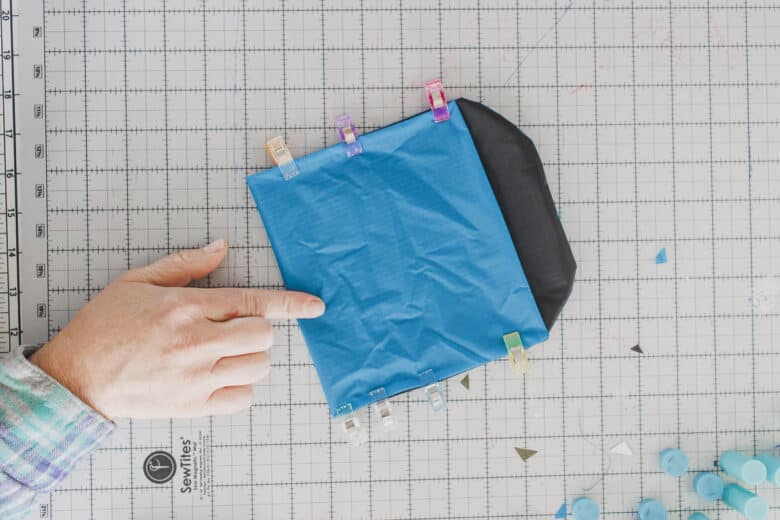
Carefully transfer your pins of clip from the turning opening to the side, keeping the seam allowance turned in. This way you can sew only once and close the hole and sew the sides.
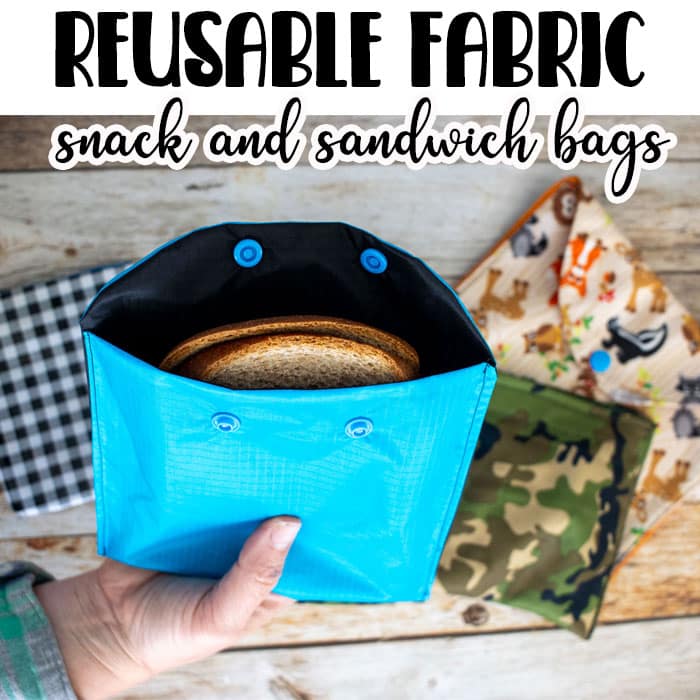
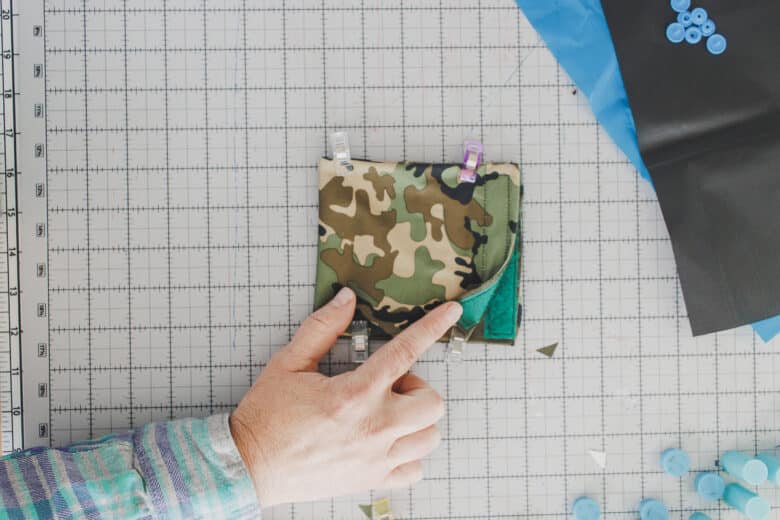
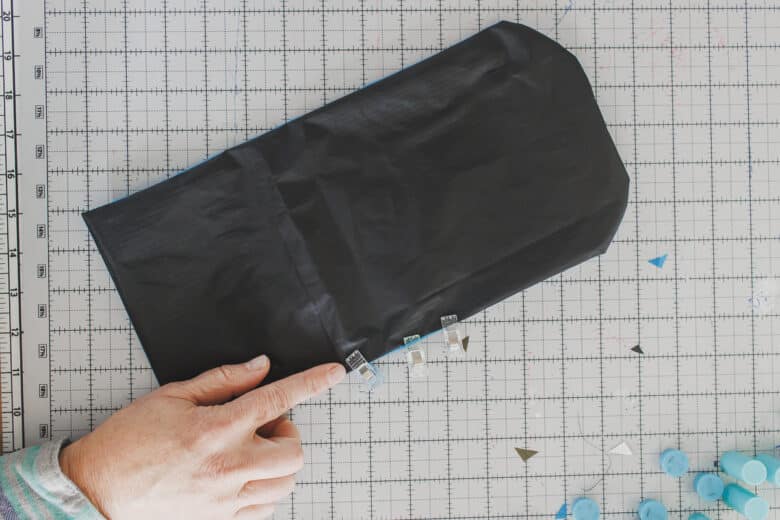
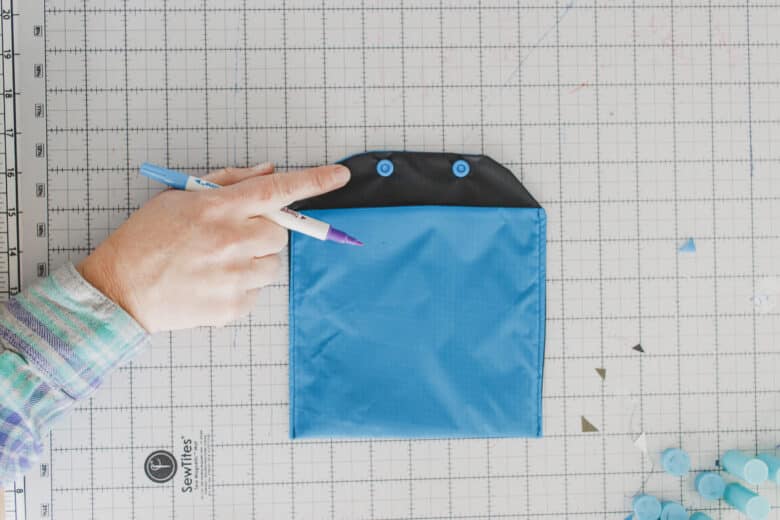
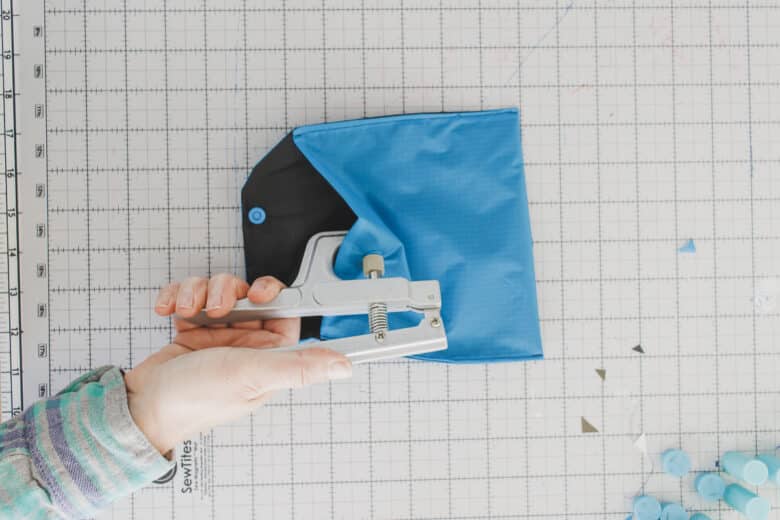
Add snaps or velcro for closure. I added two snaps just off the center. Use a fabric pen to rub on the inside of the snap, then when you fold it over it will mark where the other side should be placed.

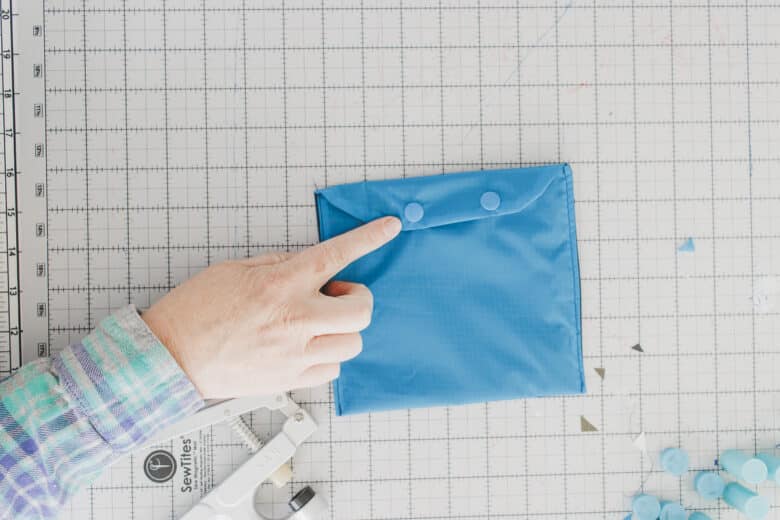
Place the snaps on the front of the pouch.
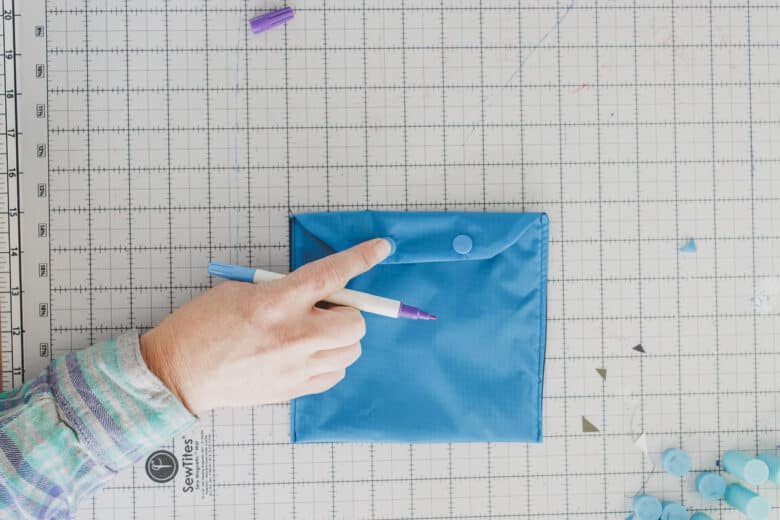
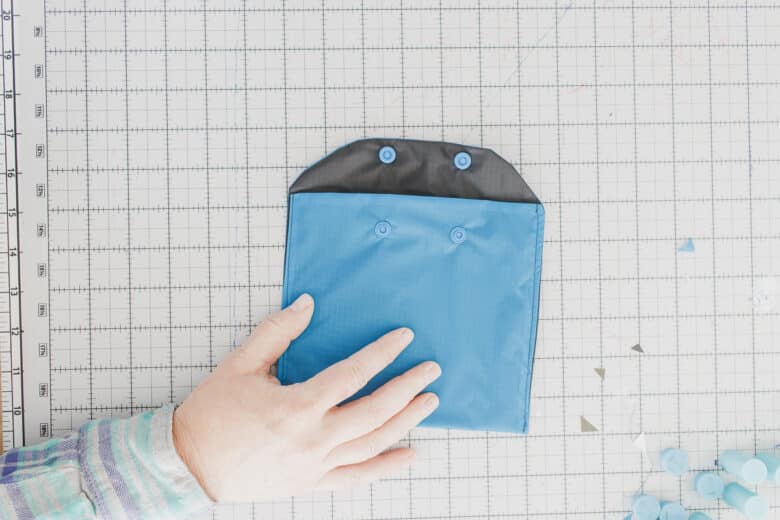
These two snaps will match with the flap snaps.

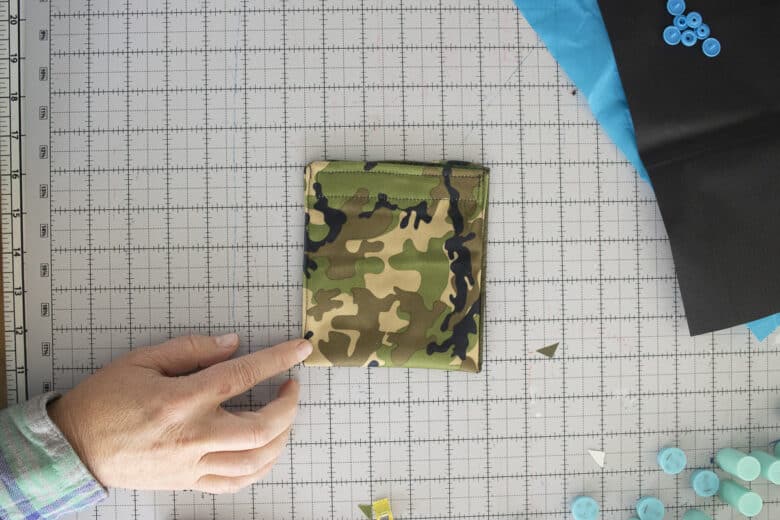
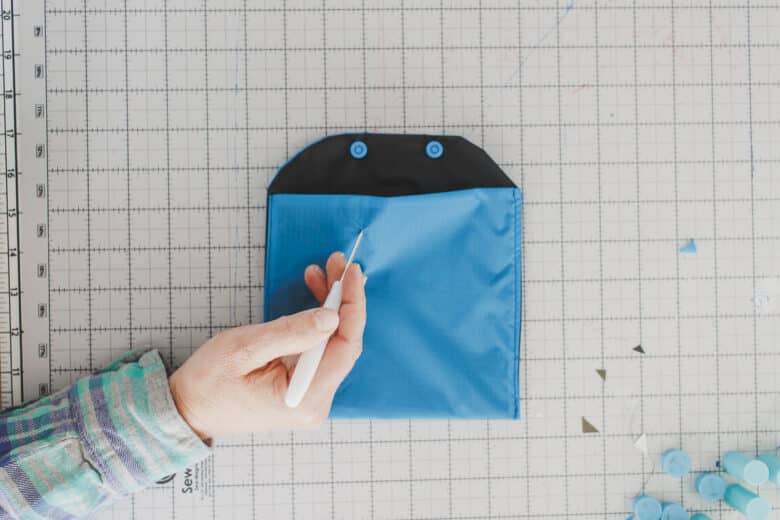
Now you have a finished sandwich size bag. You can also make this smaller for snacks.
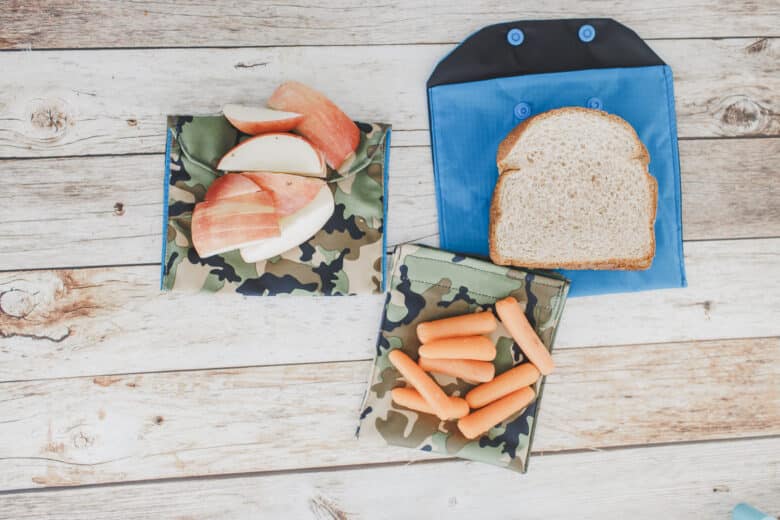
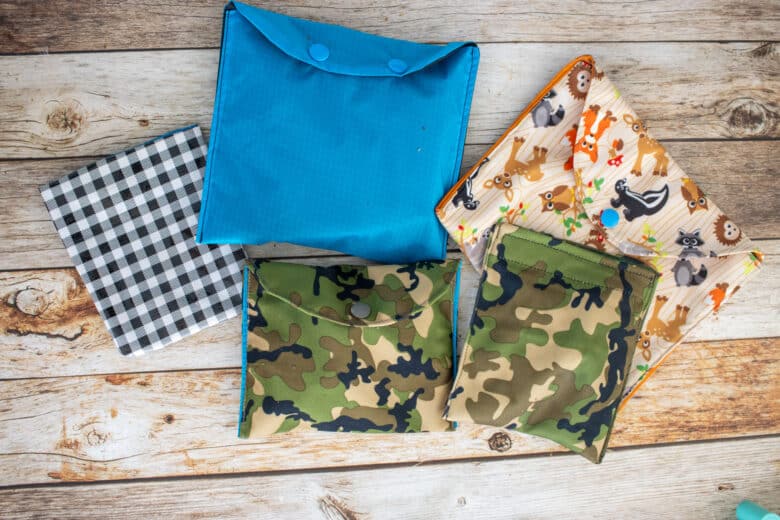
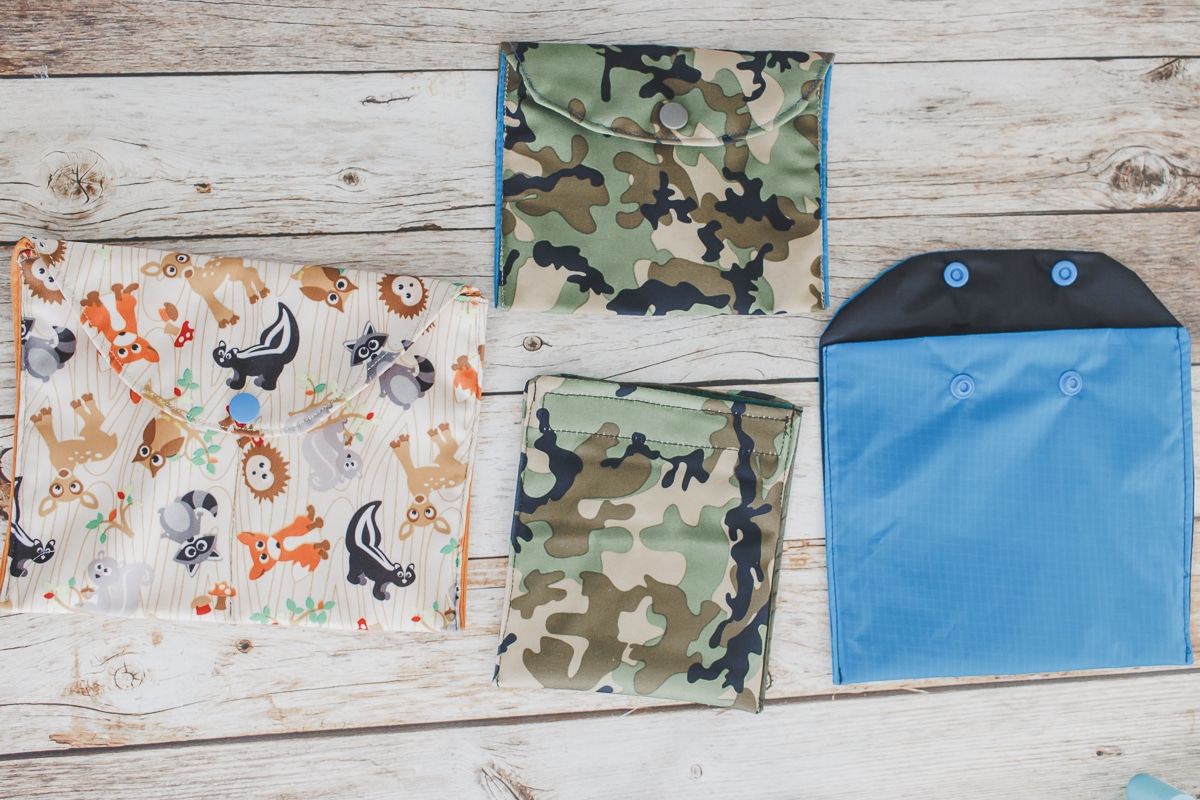
Here are some examples of the sizes and shapes I have sewn. The animal pouch on the left is a larger snack bag, with a seam down the middle to hold two different snacks.


Sewing Reader says
Love the reusable snack bag idea. Thanks for the detailed sewing steps!
5 letter words says
I absolutely love this idea of reusable fabric snack bags! Such a great way to cut down on waste while being stylish.