Inside: Make a cute winter welcome sign with this Scan N Cut Vinyl Project. Free cut/svg files for you to use.
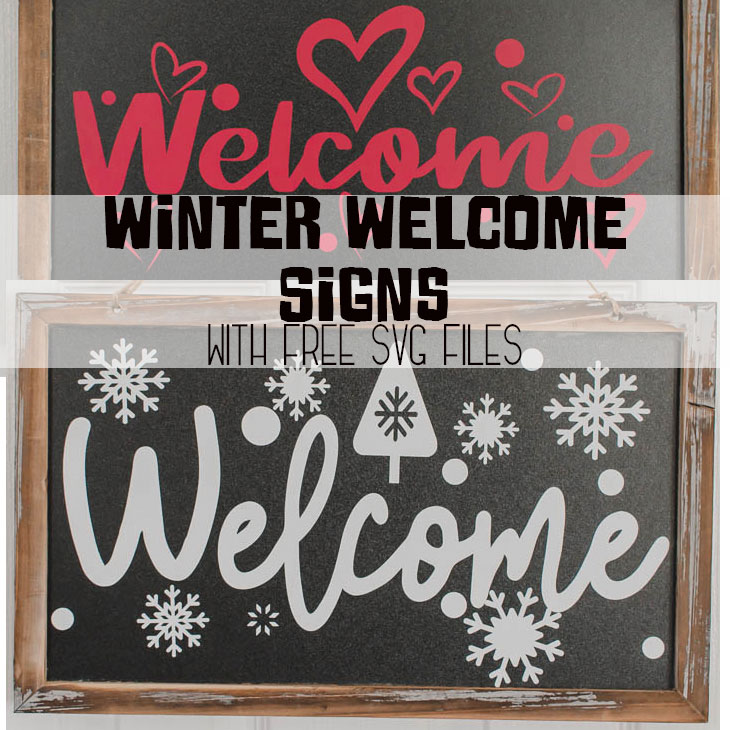
Whew! It’s January! When all the Christmas decor comes down the house feels fresh and clean, but I also have a few areas that feel bare. Last week I felt like I needed just a few wintery decorations so I’ve got Scan N Cut vinyl projects for these cute winter welcome signs {and free cut files to use with any cutting machine!}
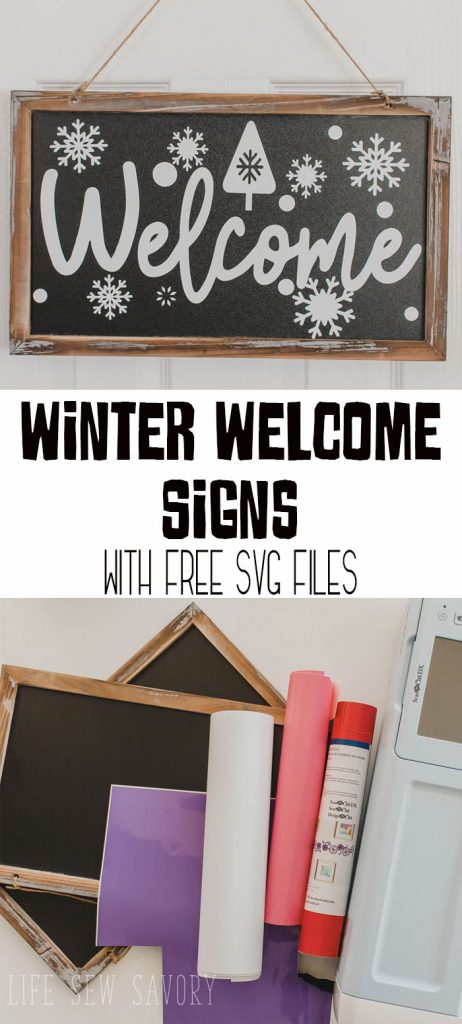
Scan N Cut Vinyl Project –
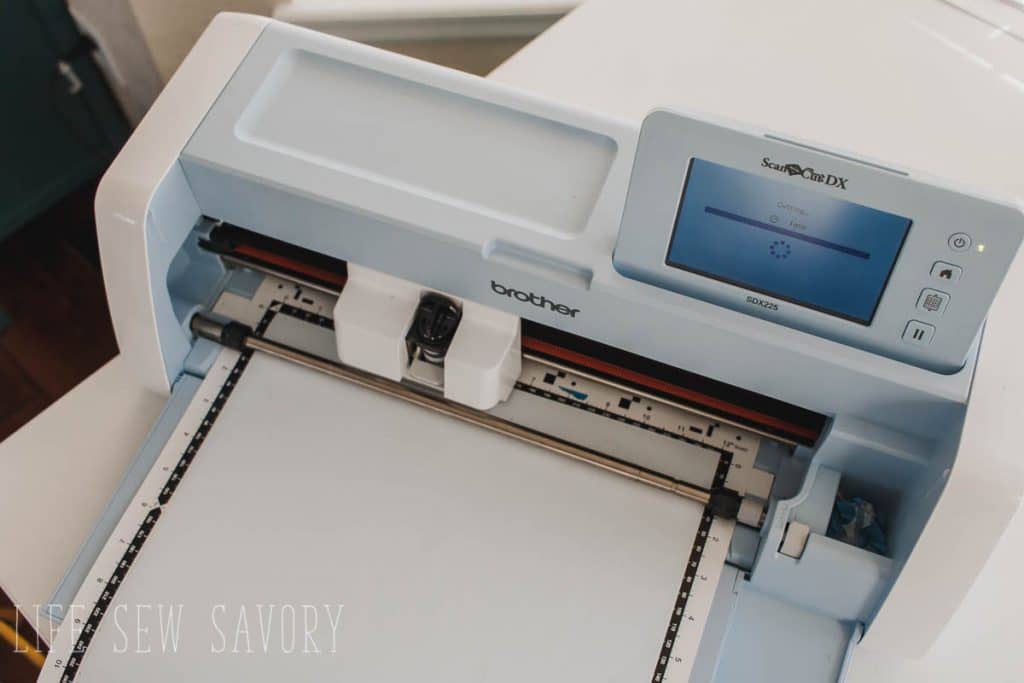
I used the Brother Scan N Cut to make my cute winter welcome signs, but the free svg files included can be used with any cutting machines. I’ve also included the PDF file in case that works better for you. Lot’s of options!
Want more fun vinyl and Scan N Cut Projects? Check them all out HERE.

As I mentioned after Christmas decor was packed away I had some empty spaces in my home. The front door was one of those spots. I made two new welcome signs and they look totally fantastic.
Winter Welcome Sign tutorial supplies-
- Brother Scan N Cut or other cutting machine
- Download the free svg files for Scan N Cut HERE {svg files work on other machines too}
- Chalkboard signs {these are the same ones I ordered}
- Sticky craft vinyl
- Transfer tape
The link above for the free cut files will take you to my shop where you can download the files to make this Scan N Cut project. You can also click the button below.
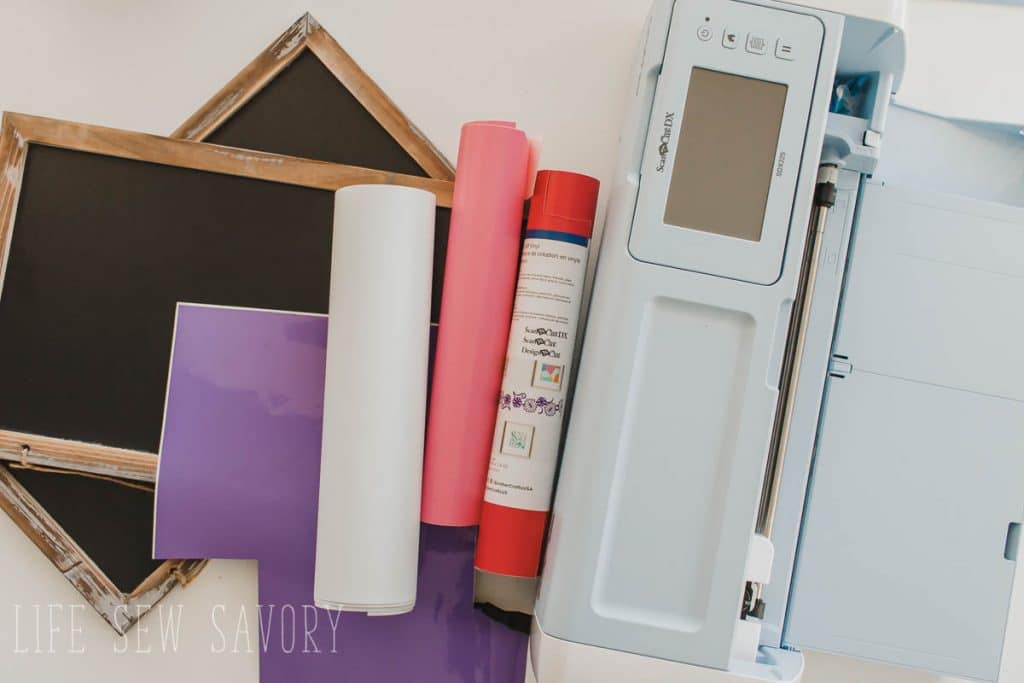
Ready to make a cute cutting machine project? Grab your supplies and your Scan N Cut, Cricut or Silhouette and let’s get started.
Begin by importing the svg files to your cutting machine software. There are two files for each design. If you only have 12×12 mat cutting you will have to cut the two separate. If you have a longer mat or rolling function you can merge the files in your software then transfer to your machine.
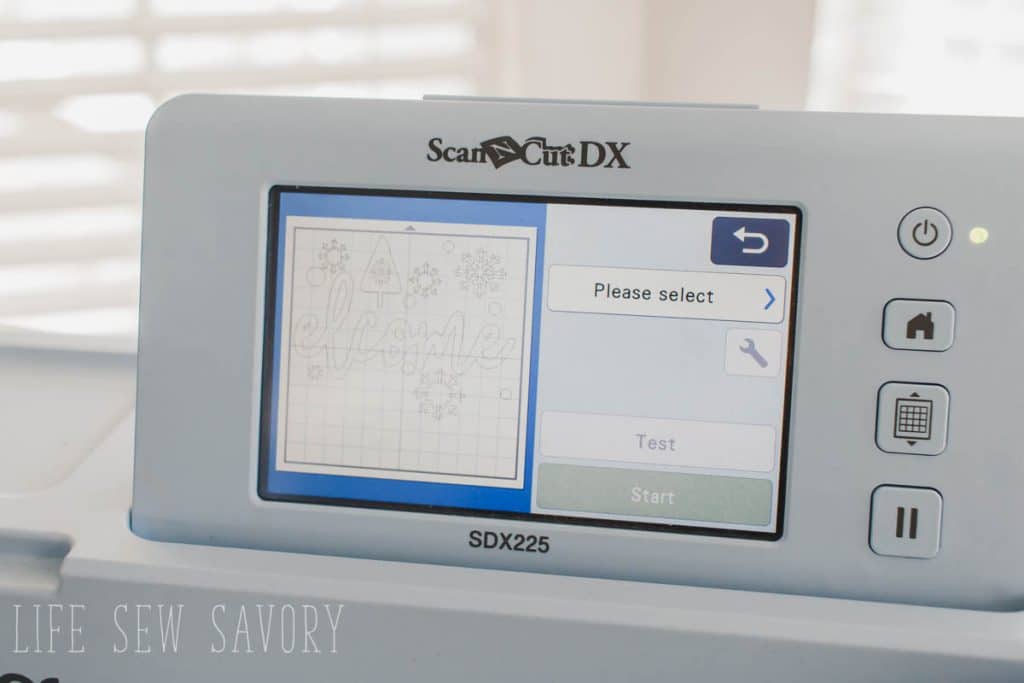
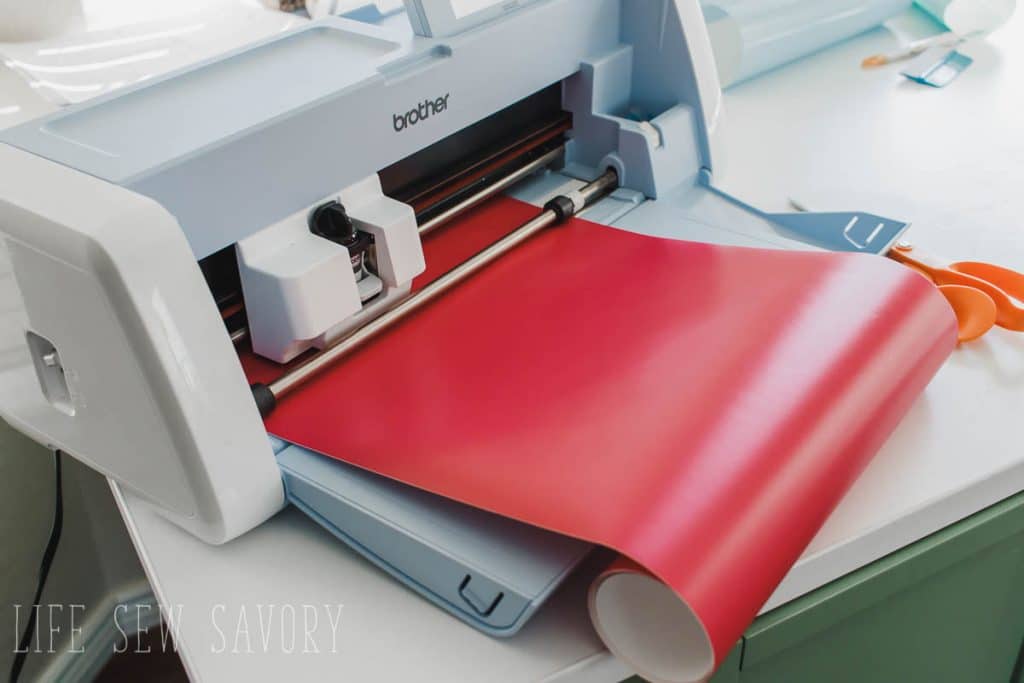
I cut the white sign as two files and the red one with a roll feeder setting. {the Scan N Cut can cut vinyl up to 6″ long! I love it} HERE is a full tutorial for the roll feeder.
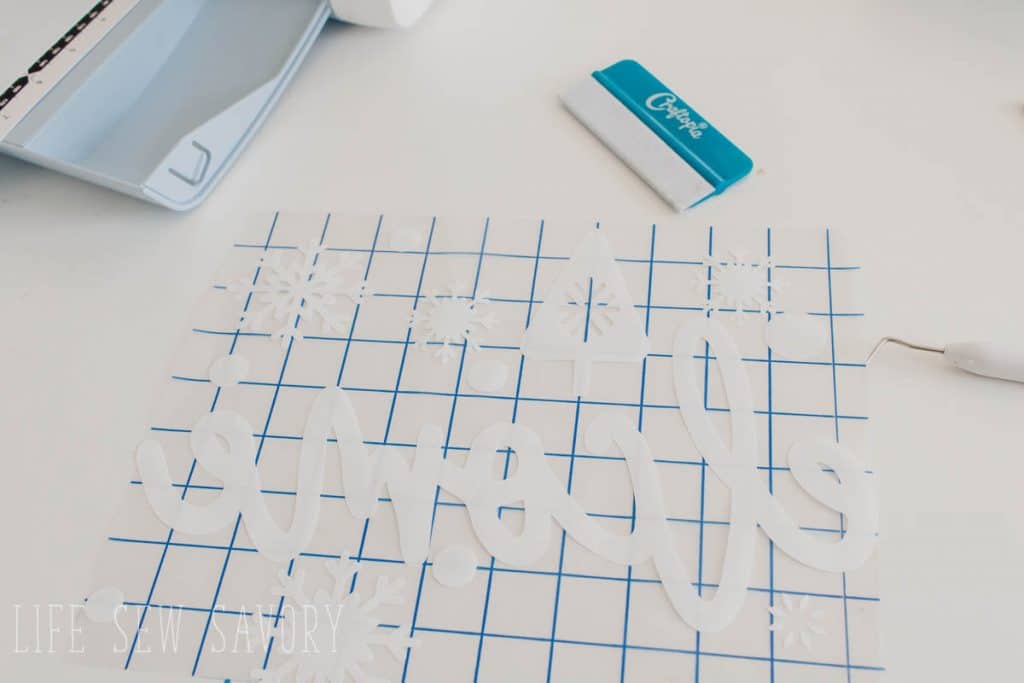
Weed the vinyl to reveal your design.
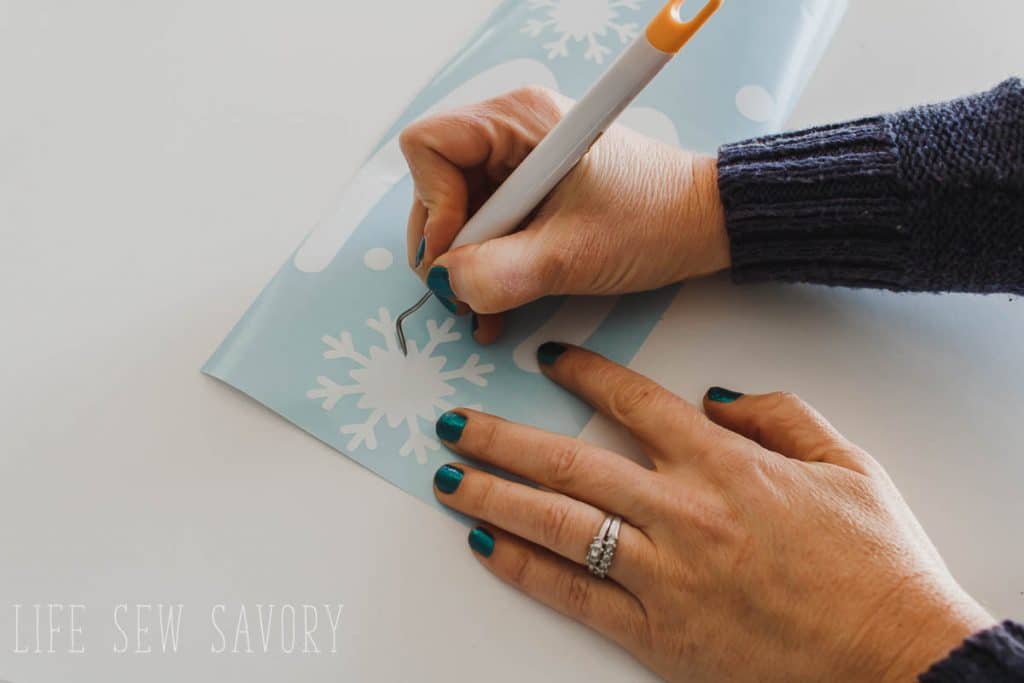
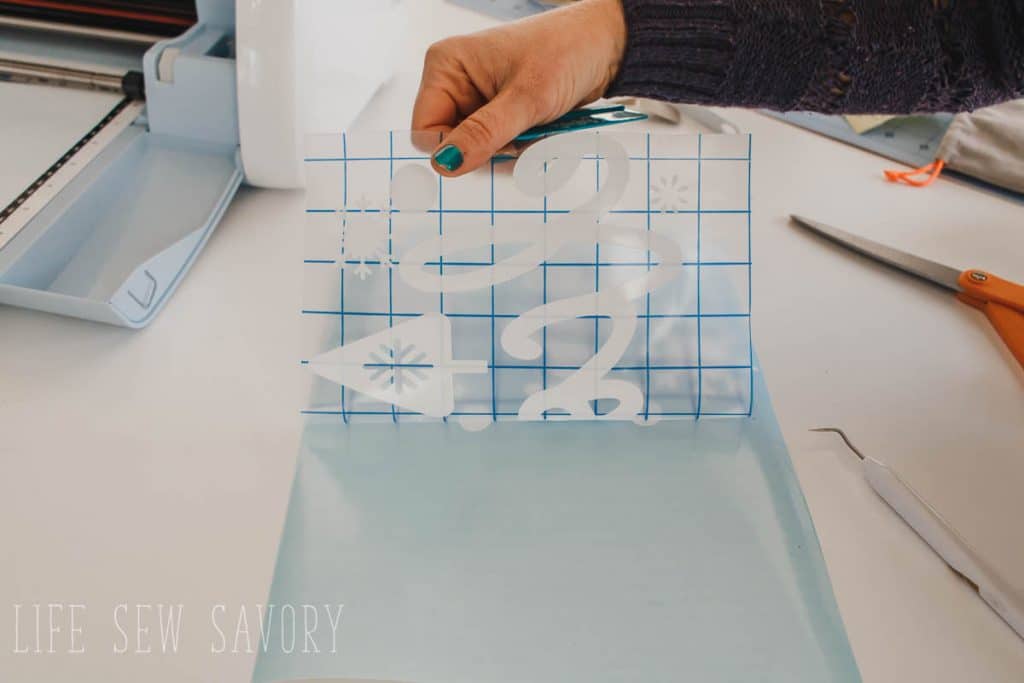
Use transfer tape to pull your design up from the vinyl backing. I like the grid paper as it’s easier to get things straight {although I still mess up!
Place the vinyl side down onto your chalkboard and arrange as desired. The bottom snowflake was off the board, so I had to cut it and place separate. Burnish {rub} the vinyl with a tool or credit card like piece. Rub until the vinyl sticks to the board and comes off the transfer tape.
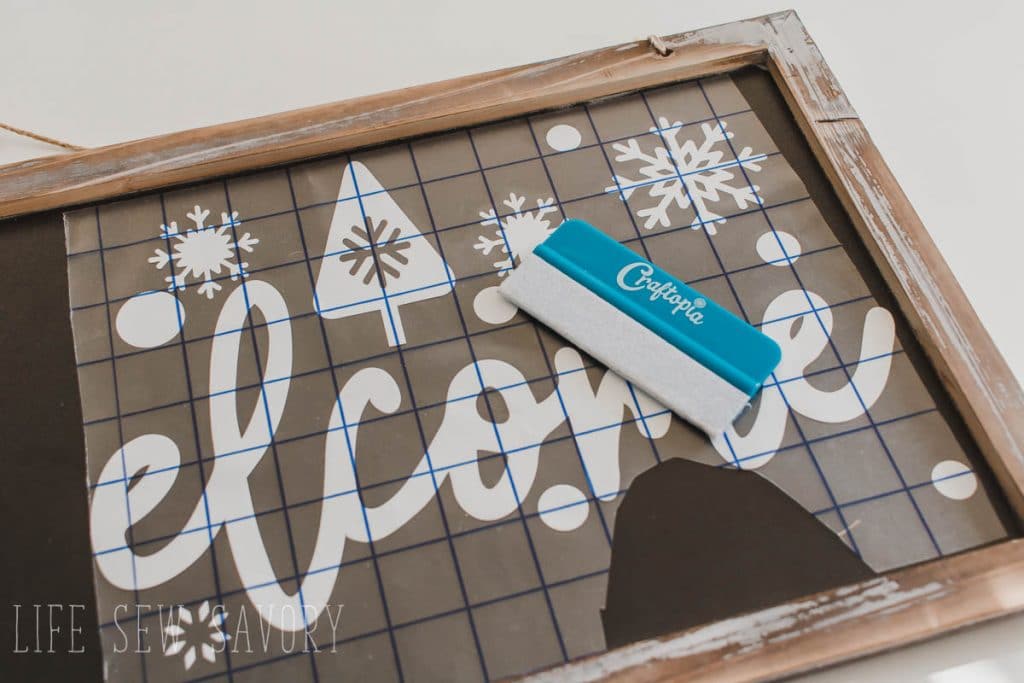
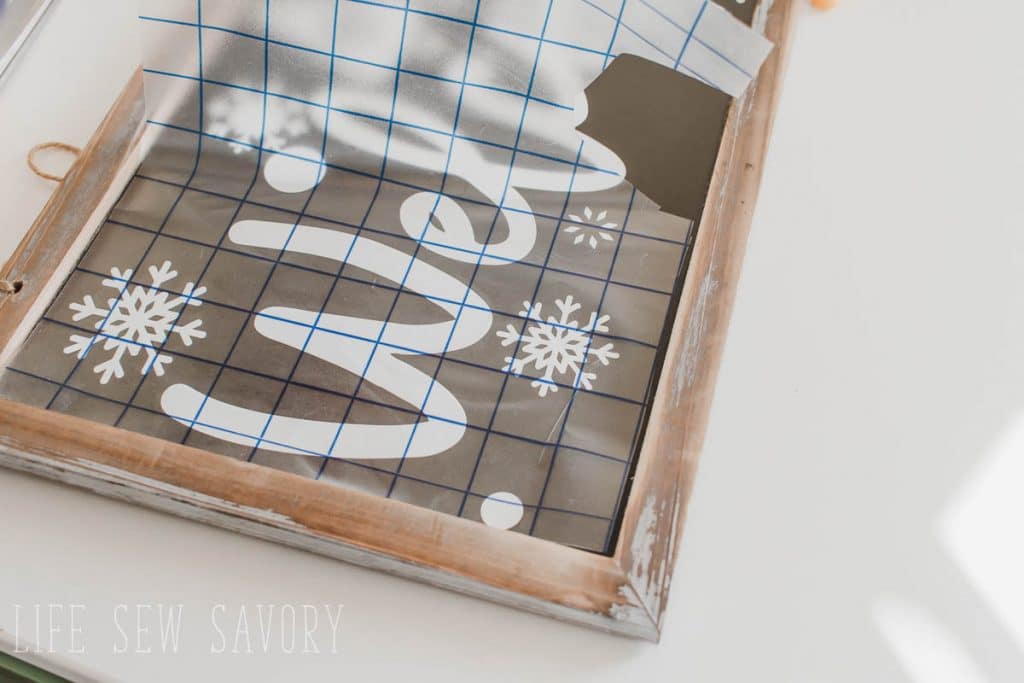
I did the white sign in two pieces so I added the W second.
And there you have it! A beautiful sign to hang in your home or on your front door. I made both versions so I have winter welcome signs for Jan AND Feb ready to go! I was thinking it would be cute to have a different one for each month/season, but so far I have two!
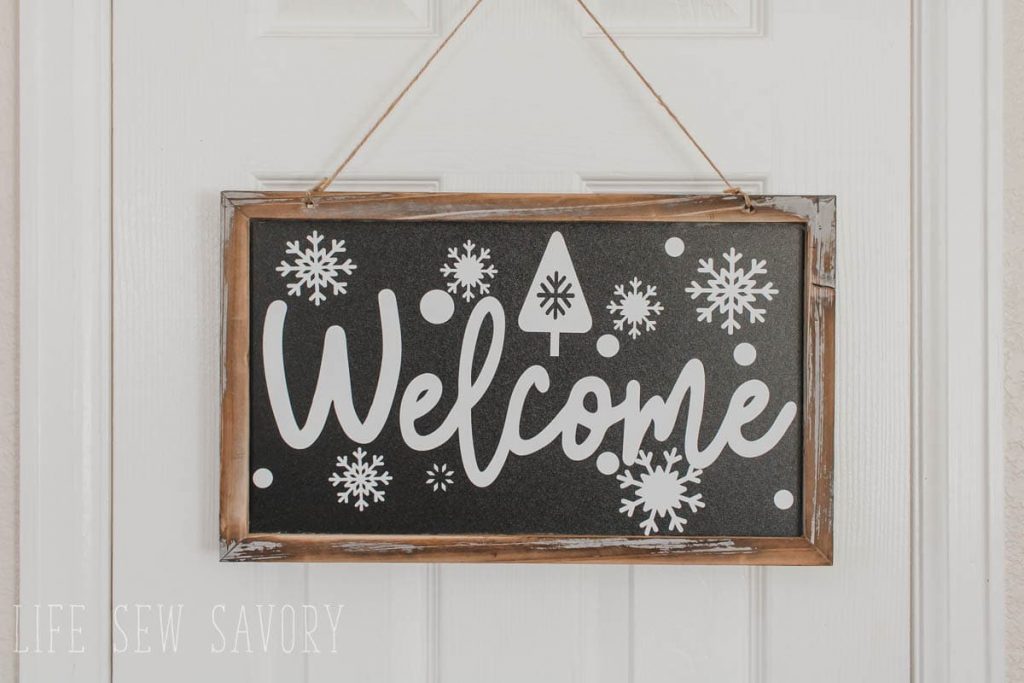
Vinyl Winter Welcome Sign
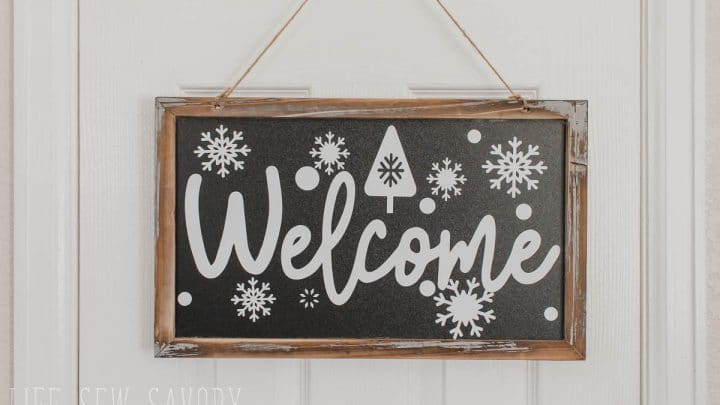
Make a cute winter welcome sign to decorate your home this winter. PLUS free cut files.
Materials
- Brother Scan N Cut or other cutting machine
- Download the free svg files for Scan N Cut HERE {svg files work on other machines too}
- Chalkboard signs {these are the same ones I ordered}
- Sticky craft vinyl
- Transfer tape
Instructions
- Download and unzip the file to access the free cut files. Import the desired file to your cutting machine software.
- Cut in two 12 x 12 file or on a roll. Weed the design of the svg file.
- Use Transfer tape to lift the design from the backing then place on the chalkboard. Place the vinyl side down, then rub to transfer the design to the board.
- Life the transfer tape and smooth and bumpy vinyl to complete the project.












Leave a Reply