inside: Sew a school supplies tote with this free pattern. Who wants a plastic pencil box when you can organize your desk with this amazing school tote.
{Originally posted 1/2016}
It’s always a bit hard to go back to school. Ok.. who am I kidding? It’s really hard to go back! We just about get fully relaxed and the kids actually start sleeping in, and then it’s time to head back to school! It’s as hard for me as it is for the kids. {ha!} I decided to make my son a new school supplies tote to kick off the new semester. I’m sharing a free printable pattern for this school supplies tote and the full tutorial is below.
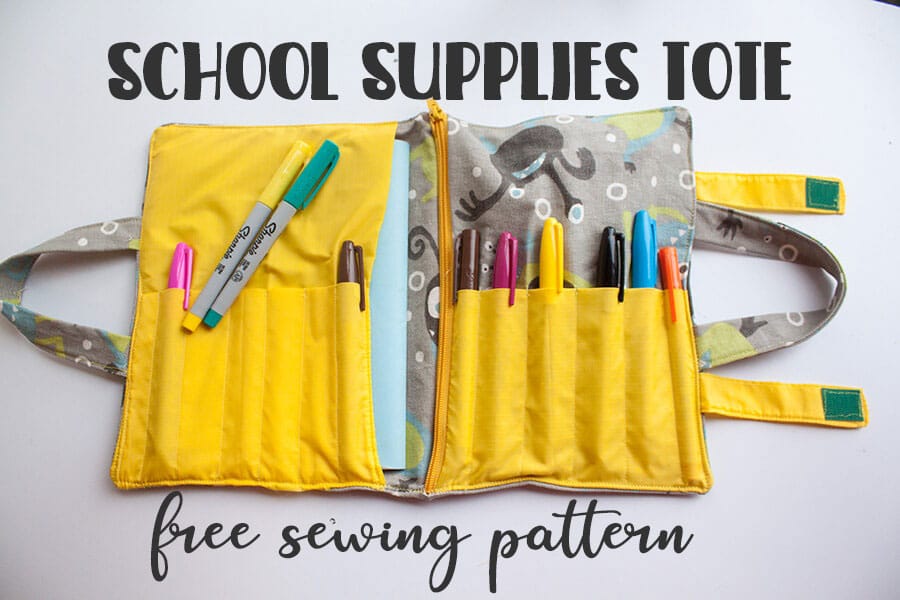
Free sewing pattern: School Supplies Tote!
Let’s talk more about this fab tote! My kids are like me, they love having bags and organizers with lots of pockets and different areas to organize and separate our stuff. I kept that in mind when I was designing this school supplies tote. This one has lots of slots for markers/pencils/pens, one zipper pocket and one open pocket, plenty of room for all your school basics.

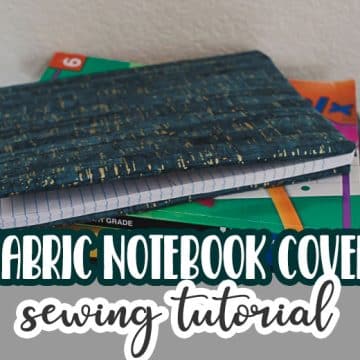
A couple of years ago I made a bit fancier version of this tote with a cork school supplies tote. Check it out here. I love it with the more structured outside fabric {the cork}
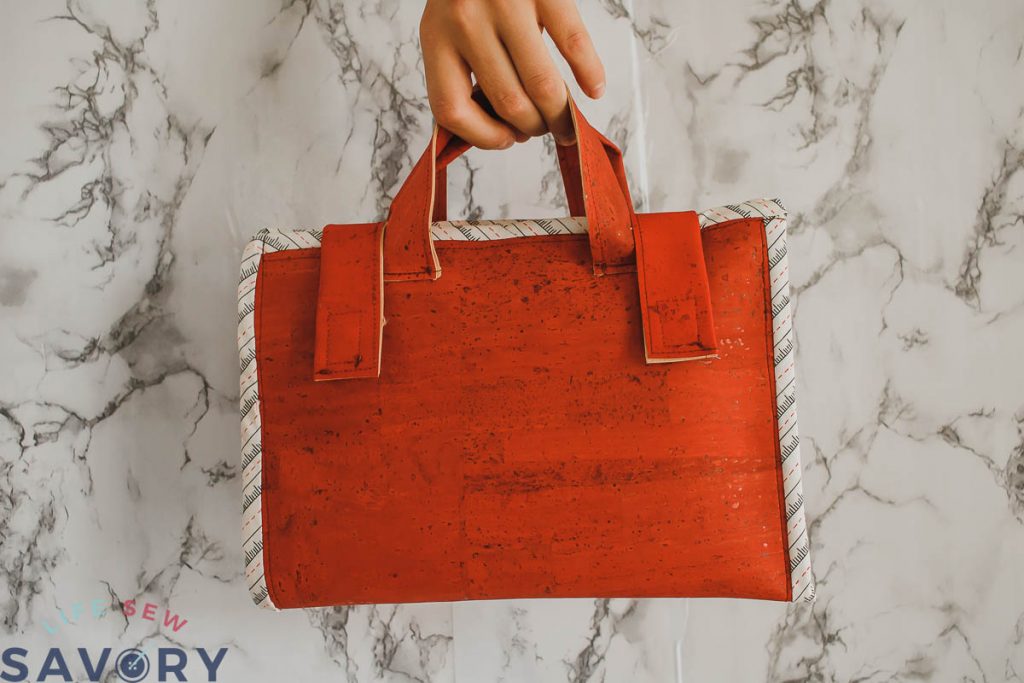
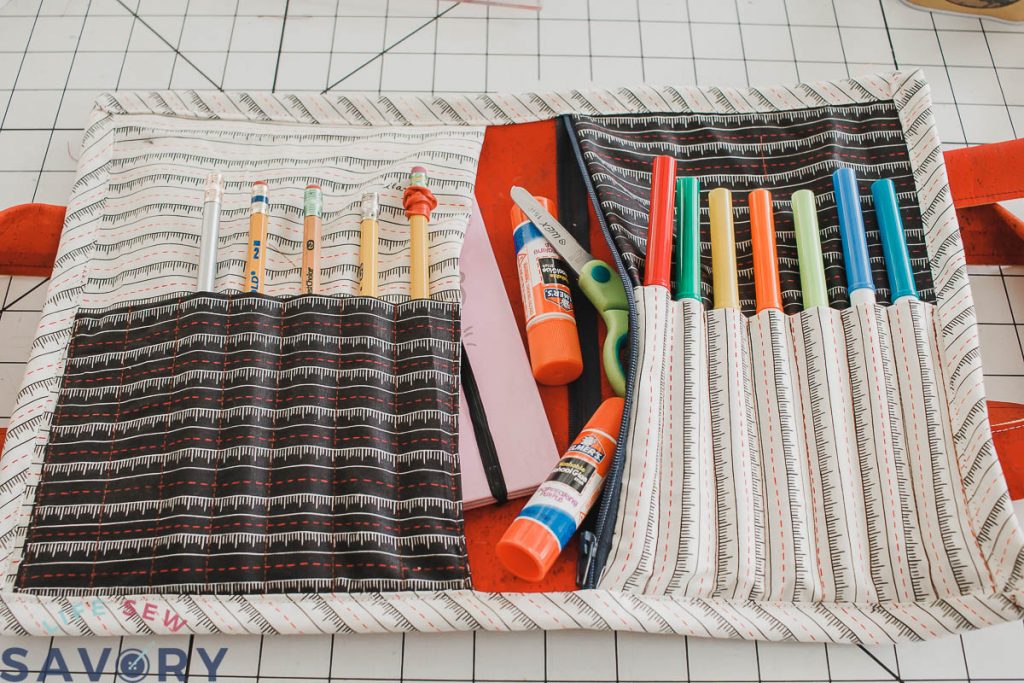
Any way you sew this it this tote is a great way to keep your desk or school area clean. Your child can keep school supplies in a plastic pencil case OR this awesome tote bag. Personalize with fun fabric and get sewing. The free pattern can be downloaded using the link below in the sewing tutorial.
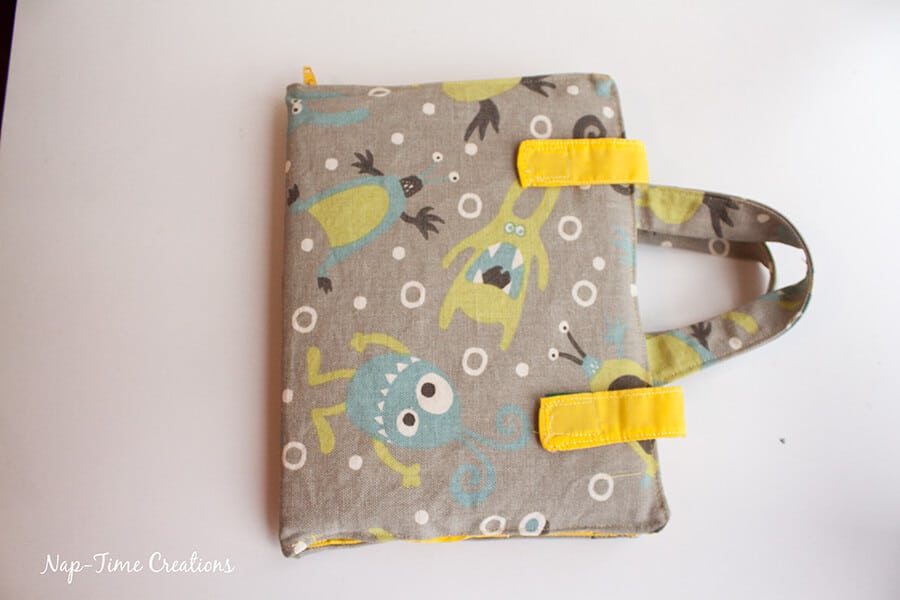
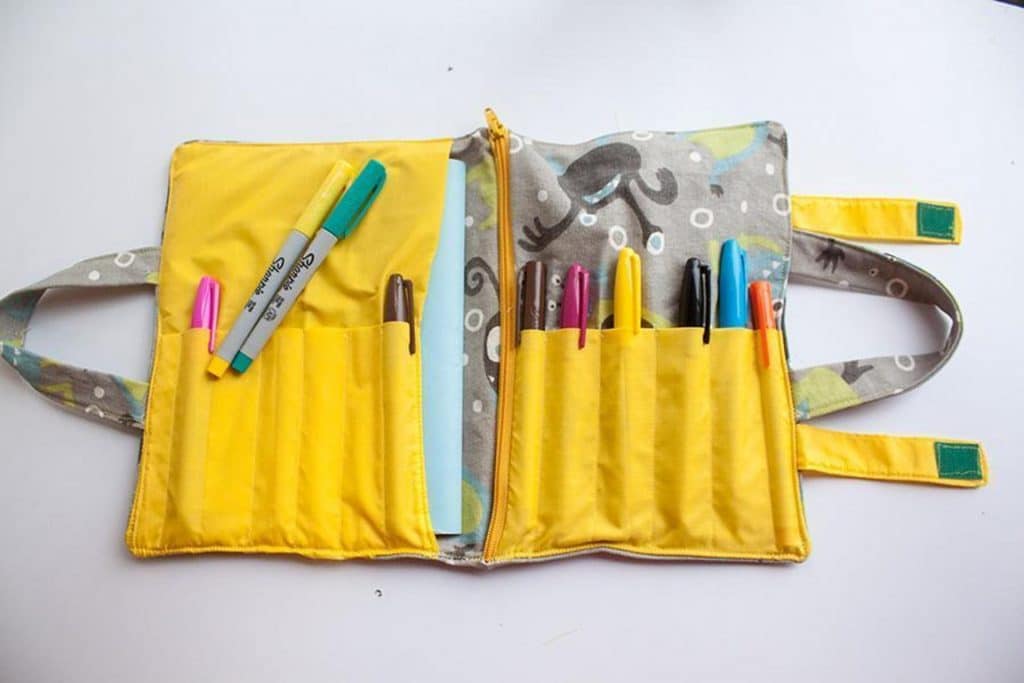
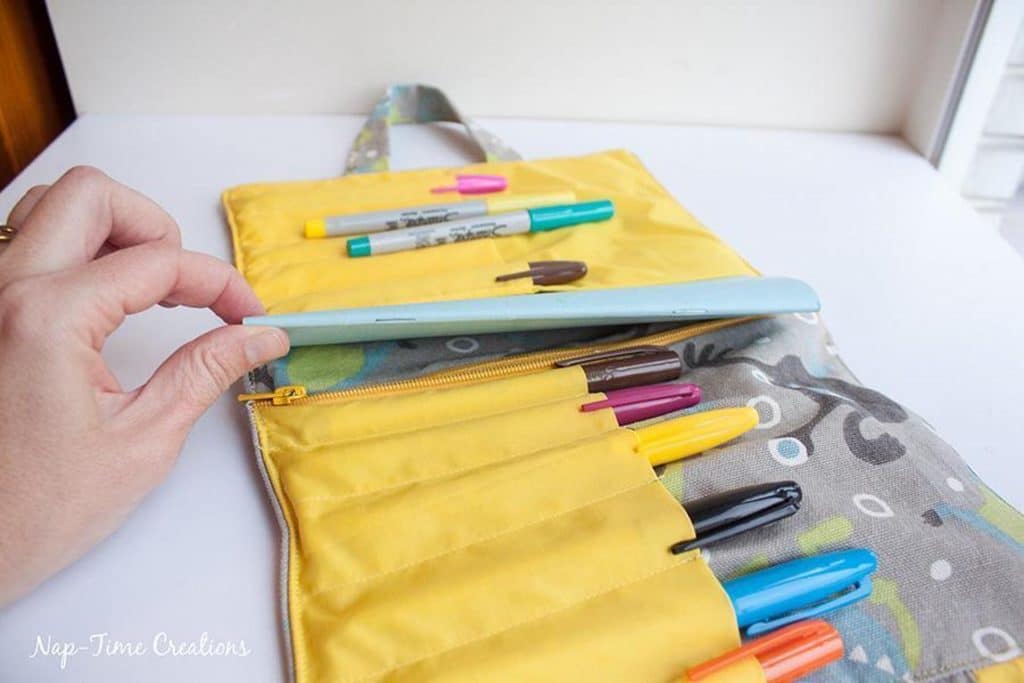
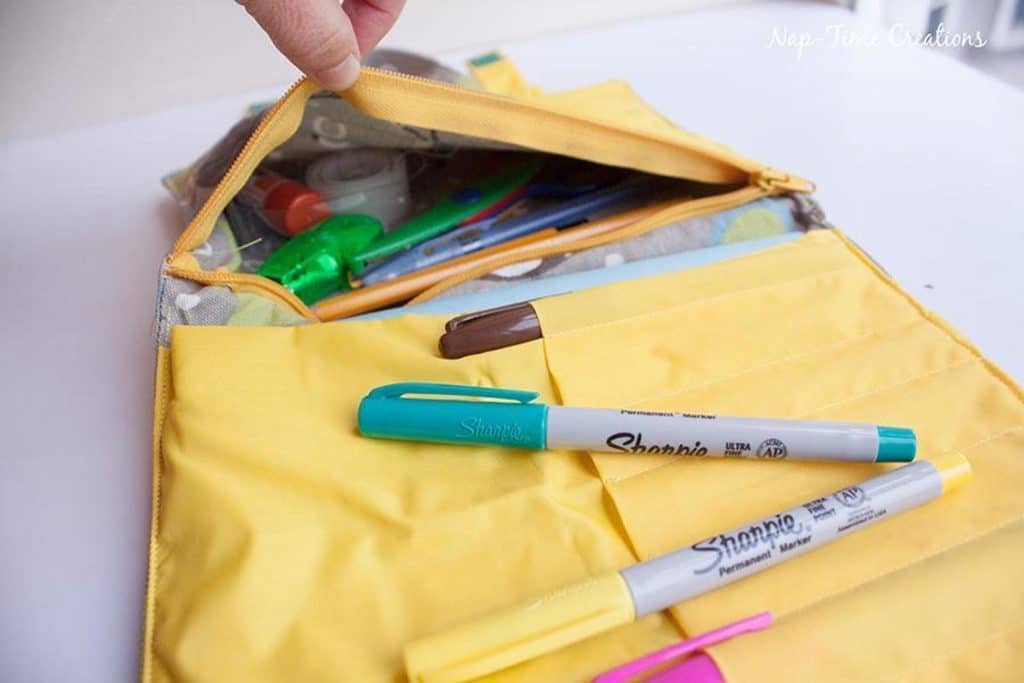
This supplies tote has SO much storage space. Individual spaced for markers or pencils and a big zipper compartment for larger items. It even fits a small composition notebook!
More amazing things to sew for school
- Binder pencil pouch
- messenger Bag free sewing pattern
- Back to school shirt free SVG
- Duct tape crafts for back to school
- Simple Tote bag
- Zipper pouch
How to sew a school supplies tote
Want to make one? here are the supplies you need:
- 1/2 yard of fabric {cork or canvas make a more structured tote}
- a 10″ zipper
- velcro {hook and loop}
I used two different fabrics, but it could all be made from one. Print pattern {at 100% or actual size} and tape pieces together. Cut fabric as directed on each piece. I will refer to piece by name in this tutorial.
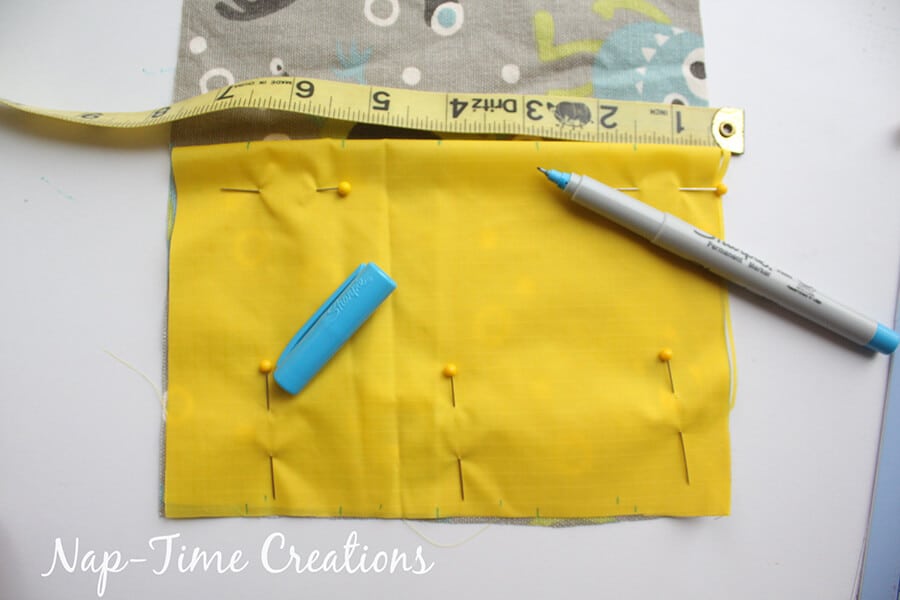
Ok, we will start by making marker slots on the zippered pocket. These two are the same pattern piece, but the yellow {on mine} is folded in half so the top is a folded edge as shown. Pin to the bottom edge of the zip pocket.
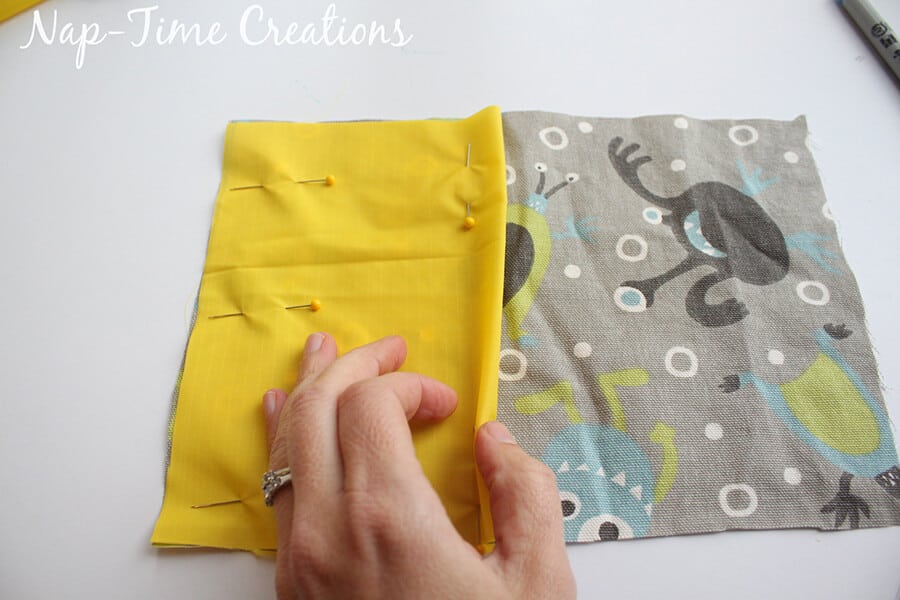
Use a ruler to mark the top and bottom edge for the marker slots. I made one side with 1″ slots and one side with 3/4″ slots for the different marker sizes. You can do as you like. Sew from top mark to bottom mark to create the slots.
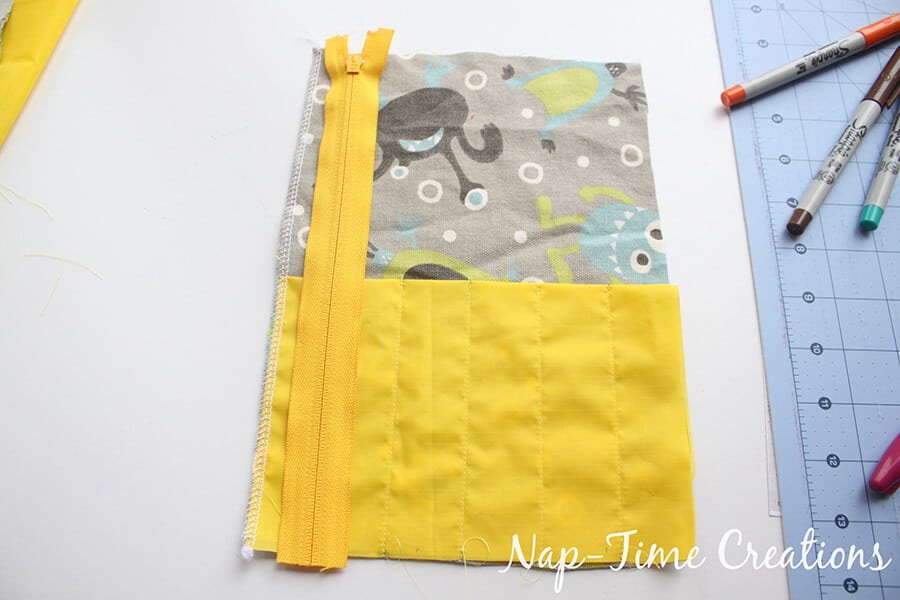
Finish the left long edge of the pocket with a serger or zig-zag. Now, on the left side of the piece place your 10″ zipper face down. Sew the zipper in place along the edge.
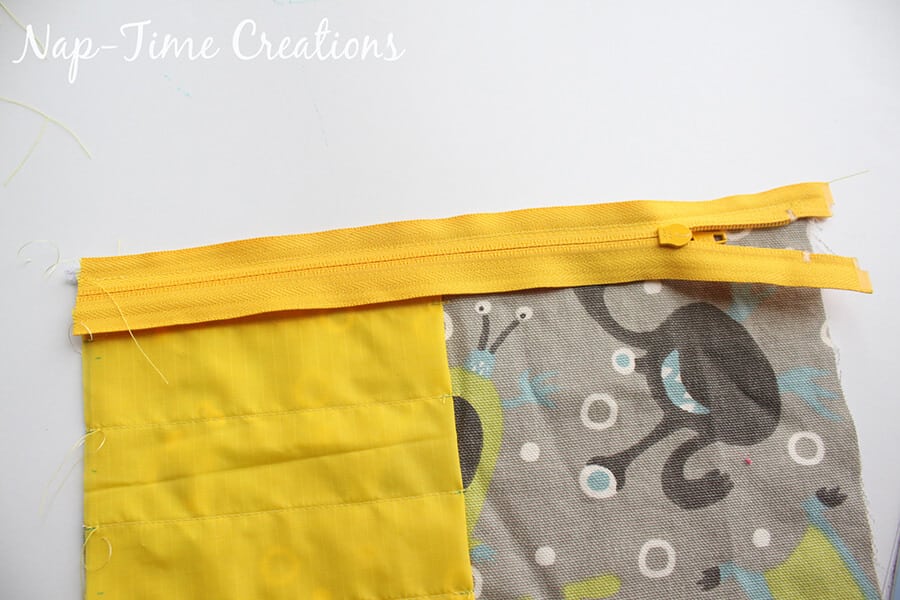
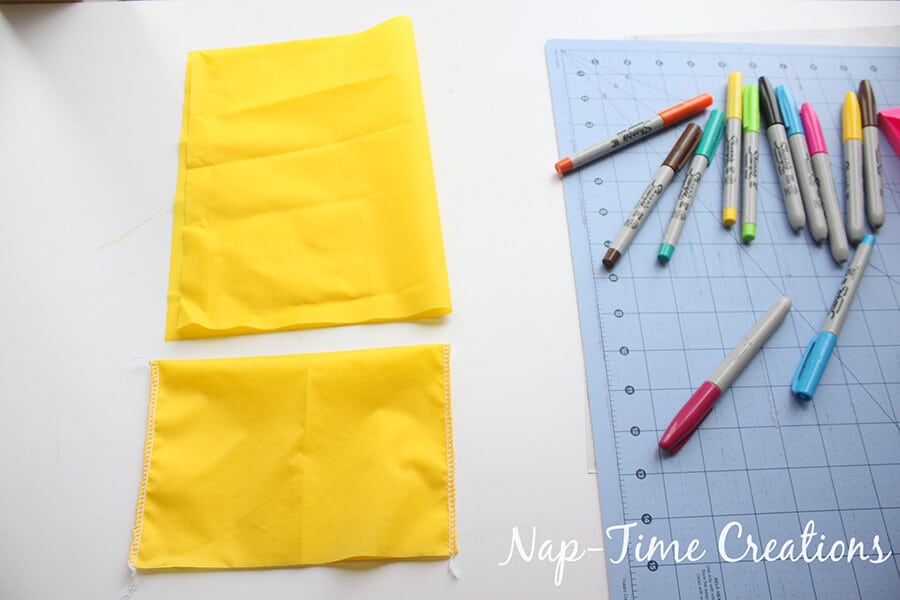
Now take pocket 1 {as noted on pattern} and the final marker slot piece. Fold the pocket over so the short sides touch {like picture}. The slot piece should be folded right sides together and sew the two short sides as shown.
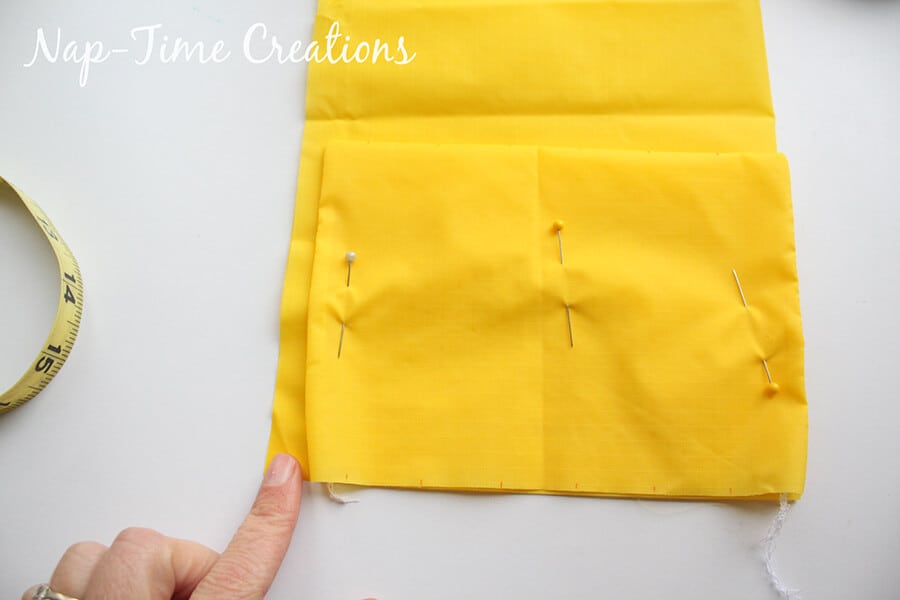
Turn the sew piece right side out and pin to the bottom of the folded pocket 1. Line up bottom and right side. You will have space on the left. Mark and sew your marker slots as desired now.
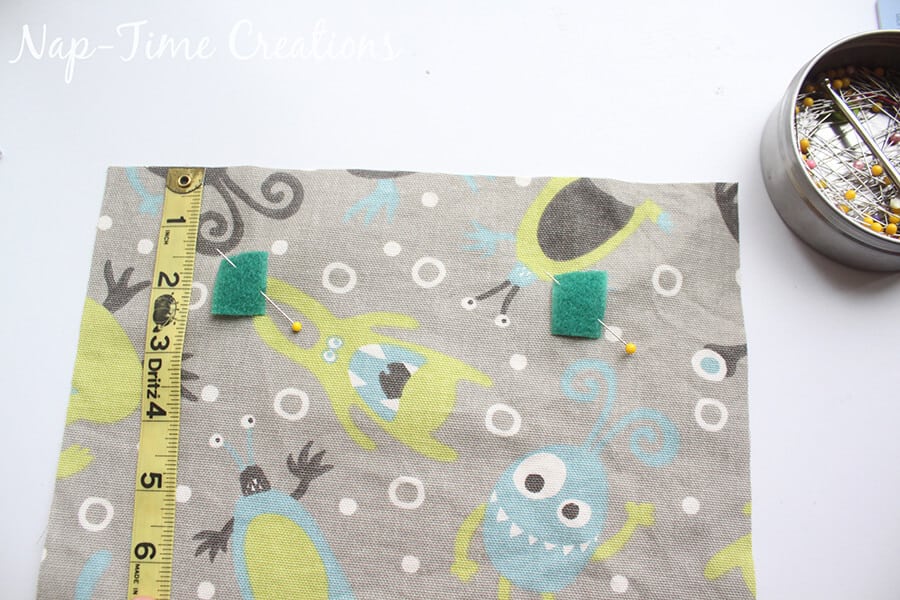
Take one of the tote main body pieces and sew the vecro along one short side. I placed it a couple inches in from the side and 1 -2 inches down. sew.
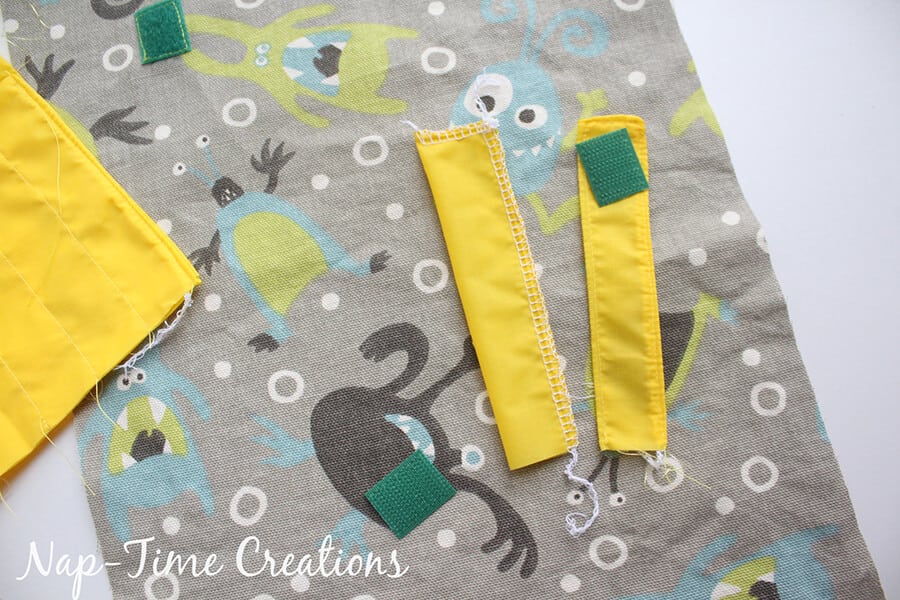
Make closure straps by sewing right sides together, turning and top-stitching. Sew the other side of velcro to one end.
Sew the handles on the long side folded, then turn and top-stitch.
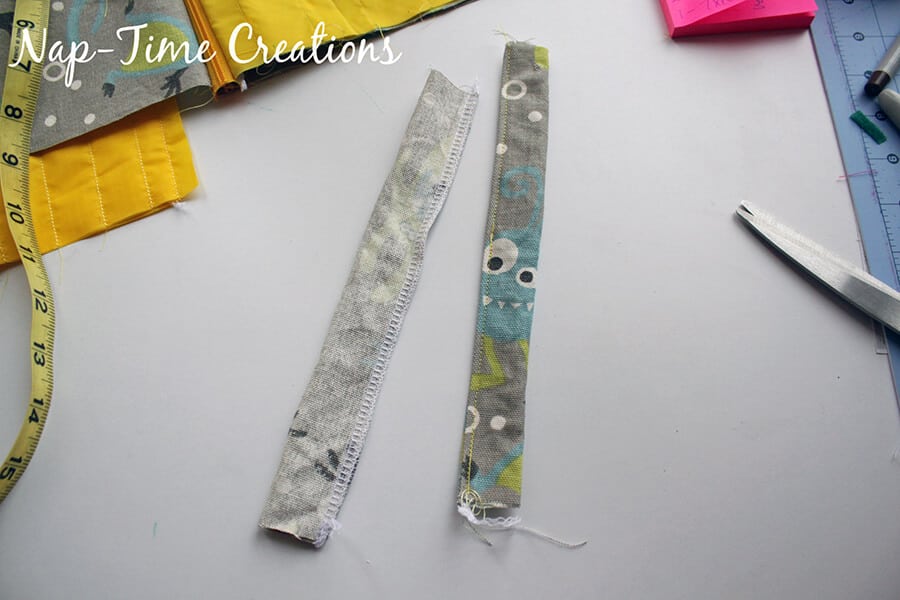
On the main piece with the velcro, pin the closures on the opposite side from the velro, and then the handles between the closures. Just pin all in place.
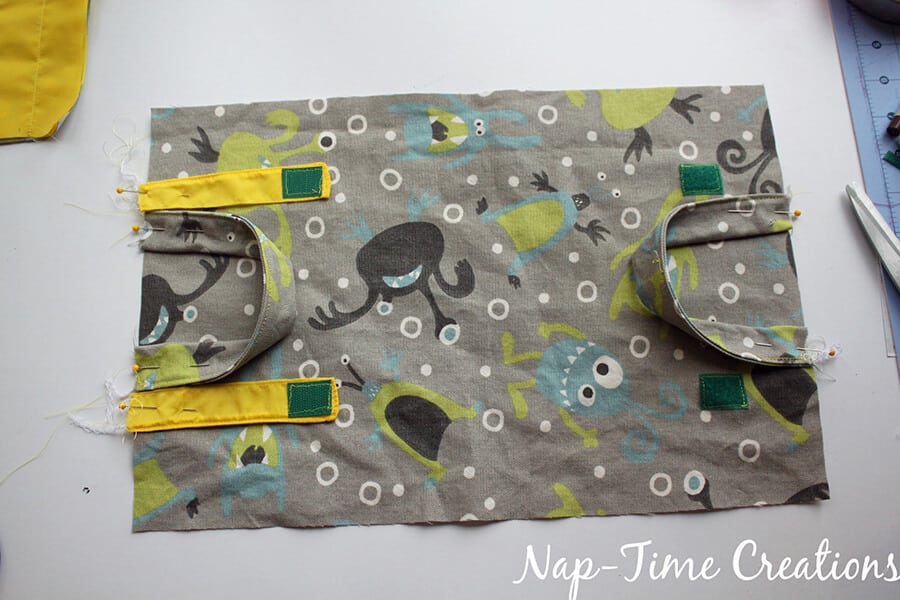
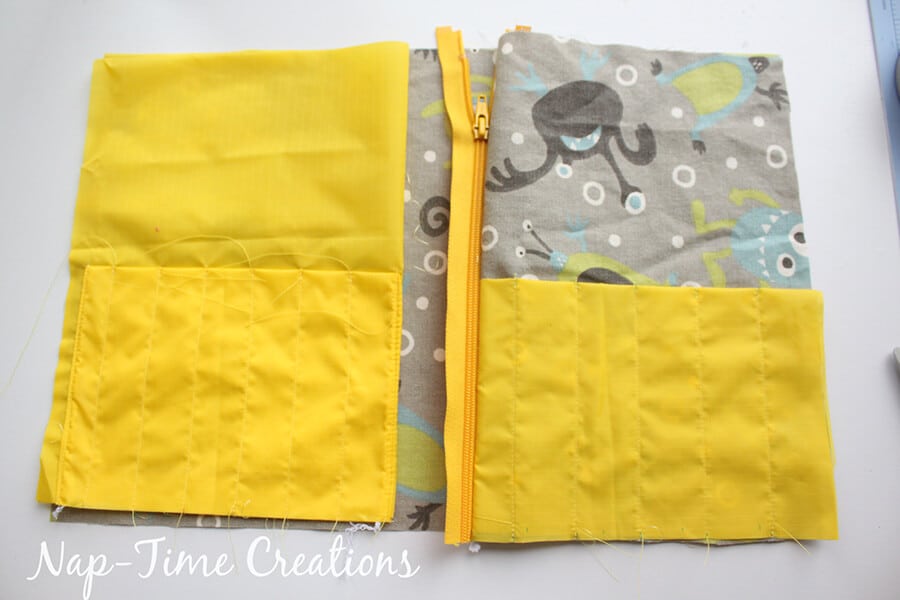
Time to put it all together! With the other tote main body {NOT the one with velrco on it} Place it face up in front of you. The open pocket goes on the left and the zipper on the right. Layout like this.
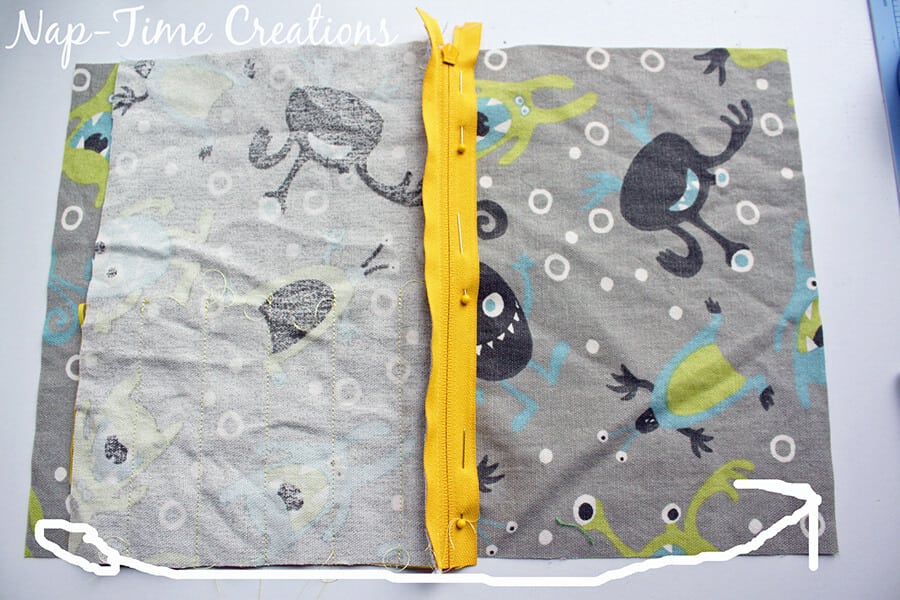
Pin the zipper pocket so the that right edges line up when the pocket is folded back. Pin like this.. then sew zipper to main fabric.
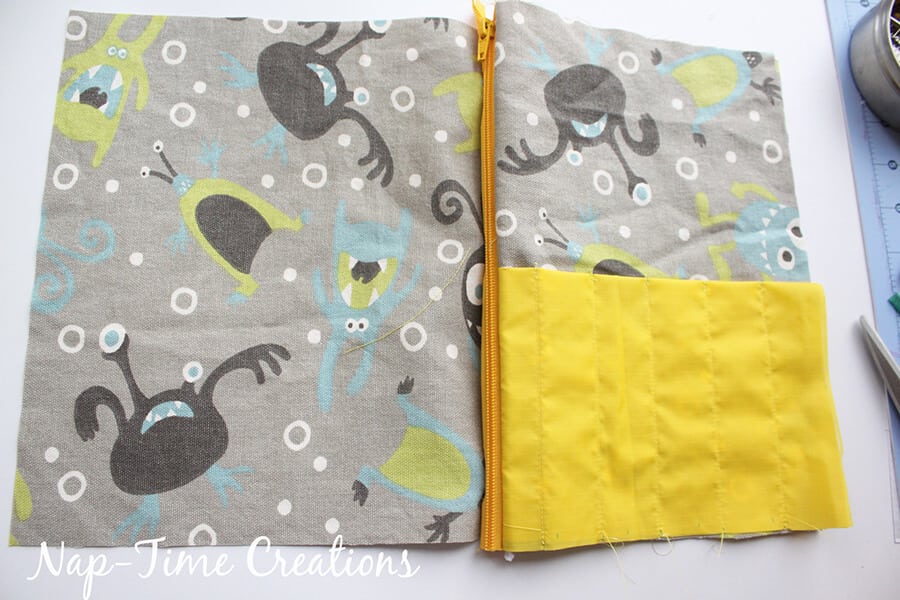
Then fold pocket closed and pin top, bottom and right sides to keep in place.
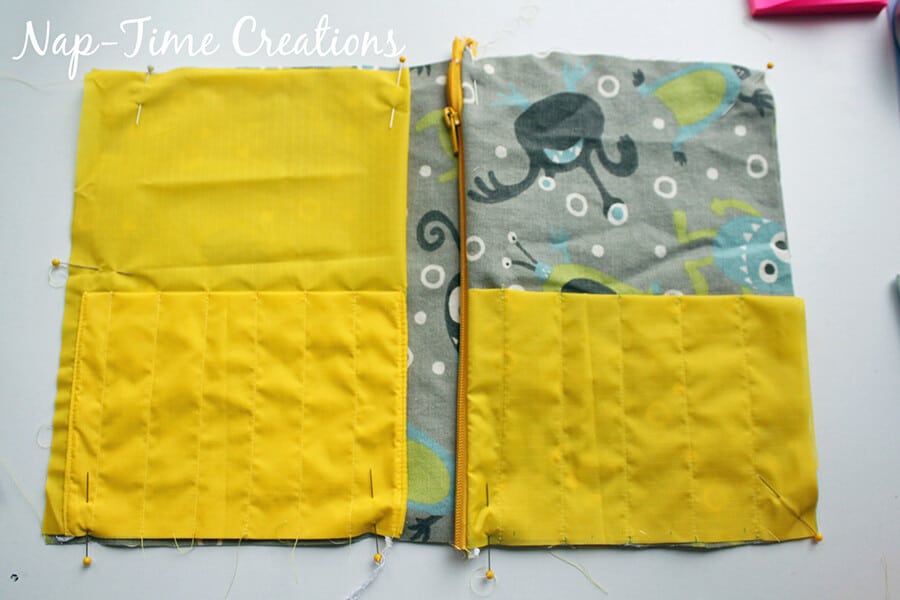
Now add the other pocket on the left. Pin in place as well.
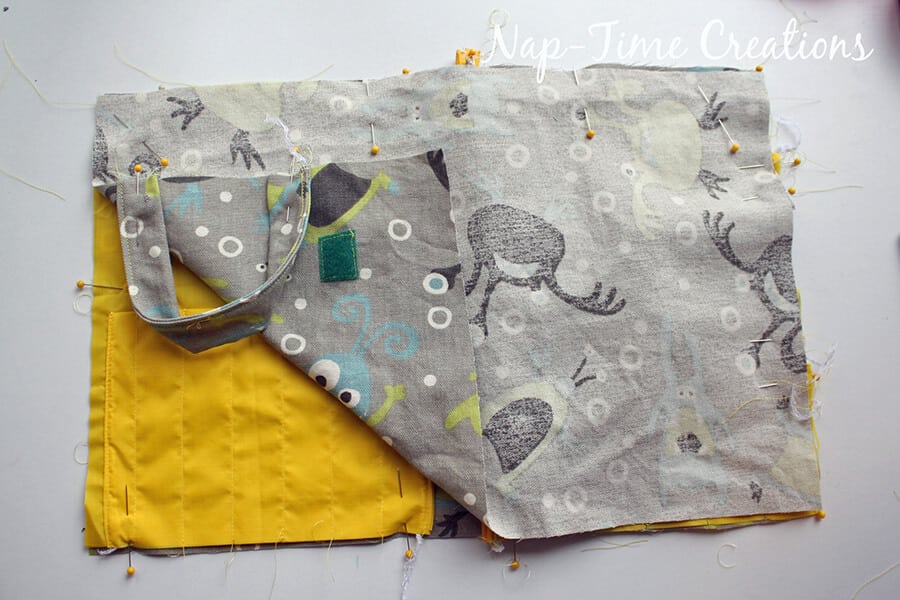
Place the other main tote piece face down on top of the pocket piece. Pin all around. {yes, lots of pins here} Mark an opening to leave not sewn {you need a place to turn}
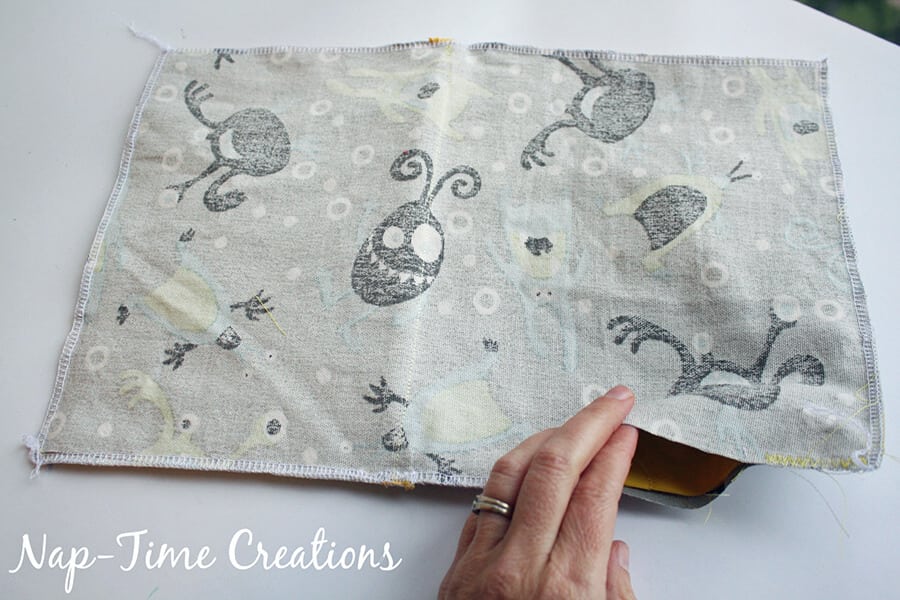
Sew around with a serger or regular stitch.
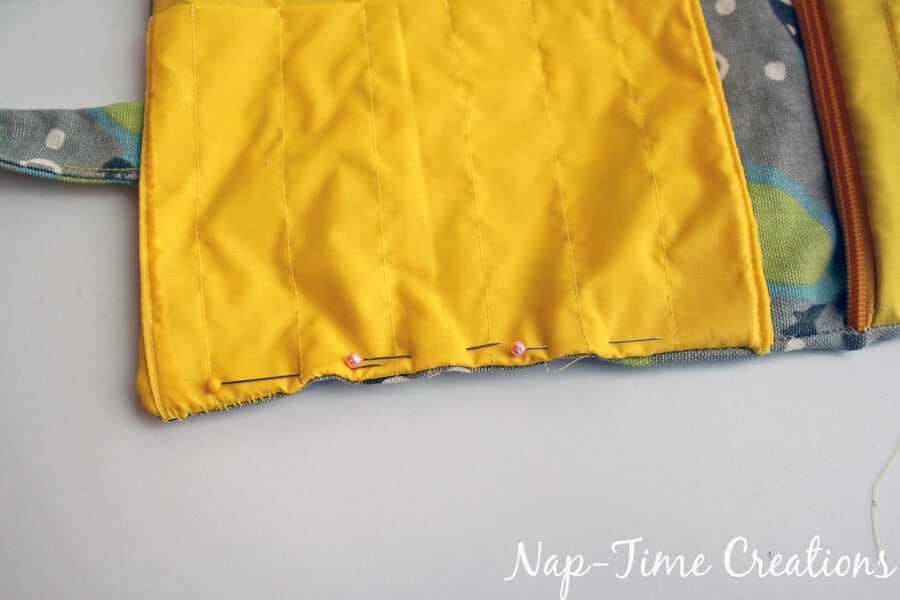
Turn through the hole. Fold the edges of the opening in and pin. Sew this closed and around the whole tote. Sew very close to the edge, but this gives the tote more structure.
Fill with all your school supplies and enjoy! You can make larger or smaller based on your needs… This would look cute in girly fabric too!
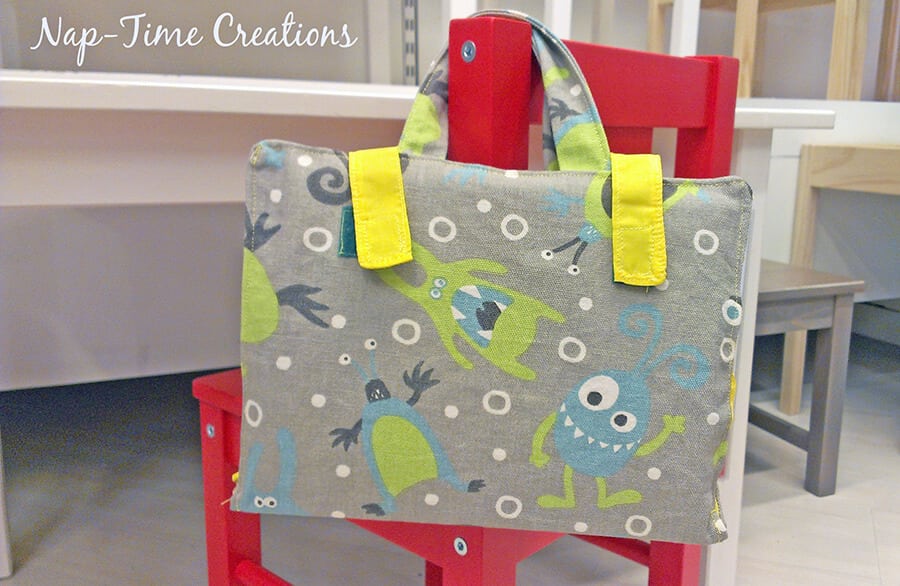
Here’s one last link to grab your free pattern. Take to school and get organized!






Cheyanne says
This wesibte makes things hella easy.
Angela says
This pattern was incredible! My kids are in love with their new totes!!! I used buttons instead of Velcro, but other than that I followed the instructions, which were super intuitive!!!
Sara Brennan says
What fun to put this together, and how well it turned out! Great instructions – thank you. I fused interfacing to each piece to give it a bit more structure, and I couldn’t be more pleased with the whole thing.
slope says
Thank you for providing this information. I am delighted to come on this fantastic article.