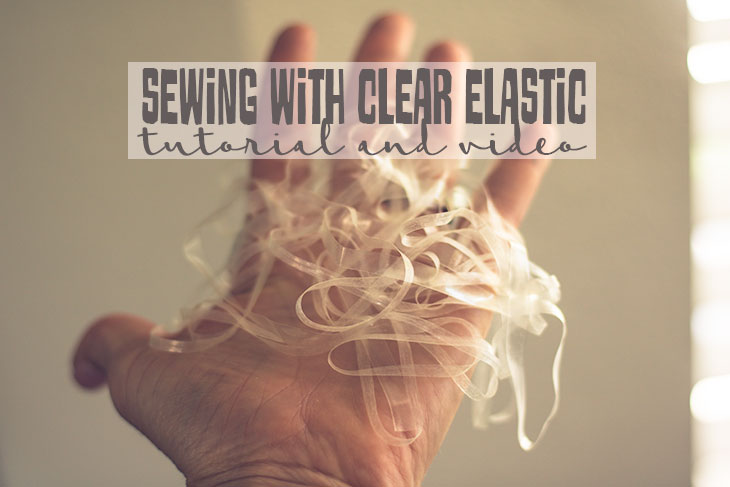
inside: find an easy hack for sewing clear elastic with your serger. Simple and easy sewing tutorial.
Ok, so I will admit the above photo has me thinking creepy thoughts {tape worms, cobwebs…. what do you see?} But really, it’s my attempt and photographing clear elastic {haha} In reality I am SO excited to share this tutorial on how to sew clear elastic as it’s the only way that has ever worked for me.
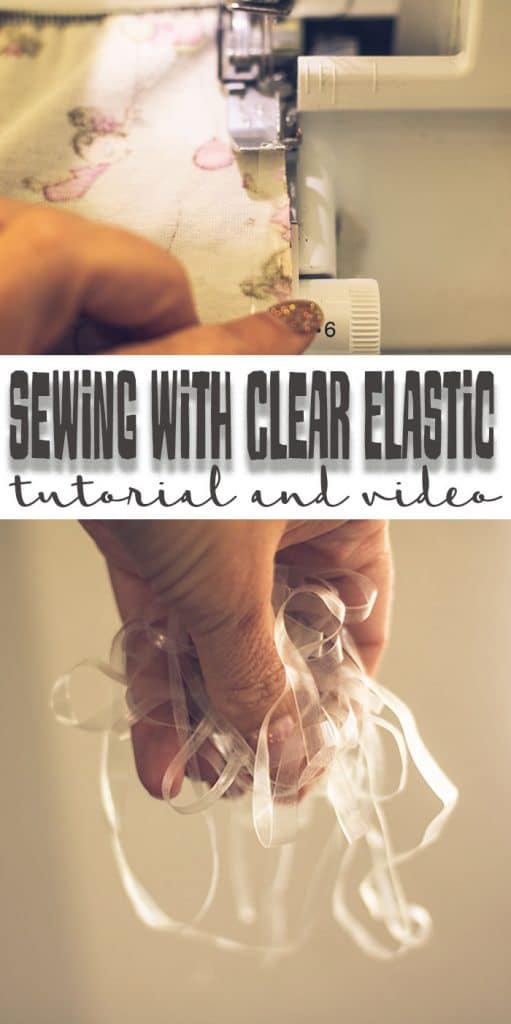
Clear Elastic for Sewing
Raise your hand if you have attempted sewing with clear elastic? I used it in this Twirly Dress Pattern and hated every second of using it… It slipped and slid and stretched and generally drove me crazy.
I saw a you tube hack for using your serger for sewing clear elastic and it worked perfectly the first time I tried it! What? Nothing works perfectly the first time… but this totally did! Check out this video {disable your ad blocker if you are running one to see it} and then scroll down to see my photos and other tips.
Why should you use clear elastic –
- Knit fabric seams to keep fabric from stretching out
- to gather fabric
- waist seams on dresses to maintain the stretch and shape
Buying Clear Elastic –
You can pick up the little bundles from Dritz at Hobby Lobby or Joann Fabric or you can order from amazon by clicking the photo below…
I really like the 3/8 width as it fits perfectly in my serger seam allowance.
How to Sew with Clear Elastic
I recently shared this free dress pattern, and I needed to use clear elastic to maintain the waist seam. For the reasons I mentioned above, I was not looking forward to this… But then I tried sewing the elastic and the seam at the same time on my serger and my live was forever changed!
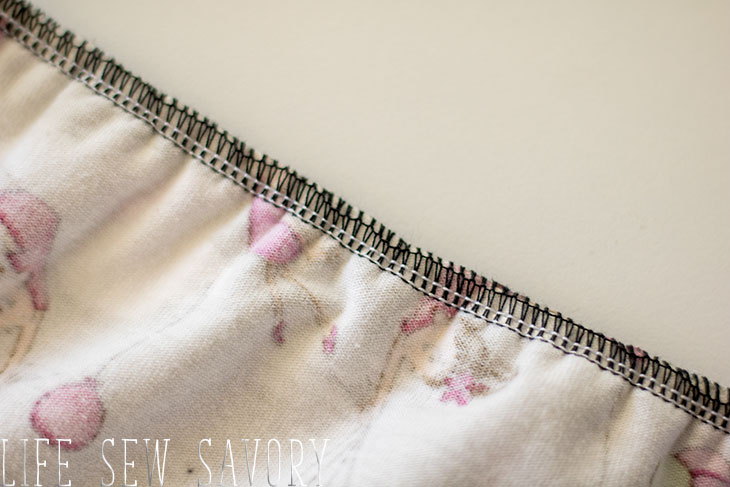
I know my looper thread tension is a bit off, but there is elastic INSIDE that seam and you can’t even tell! Brilliant!
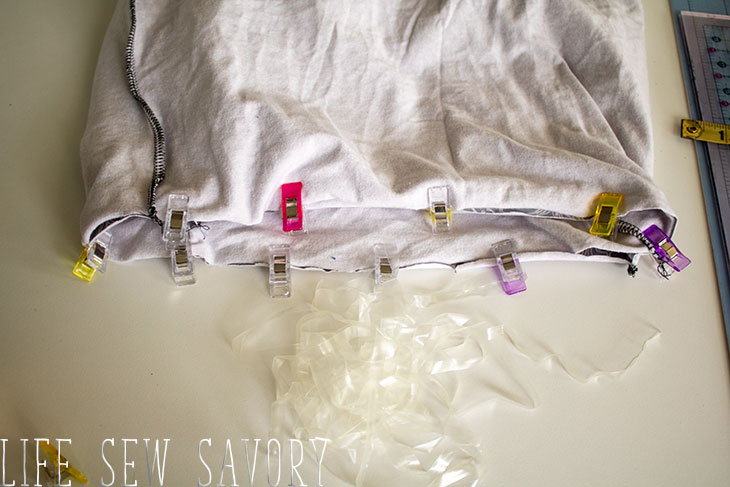
Here is the waist I wanted to sew the elastic into. I knew if I just sewed it there was a good chance it would end up stretched out. I wanted to make sure the seam would retain its shape and stretch. Clear elastic is perfect for this.
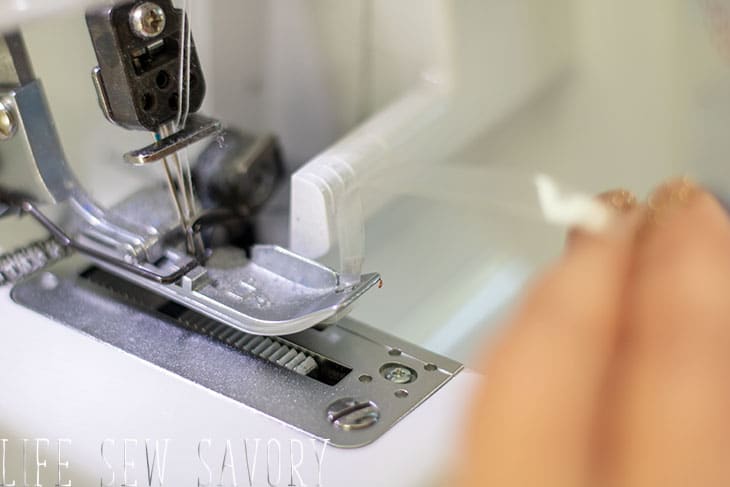
This should work on any serger/overlocker machine {have one and don’t know how to use it? Check out my serger basics course.} Push the elastic down through the hole in the top of your presser foot. Some are square and some are round. Mine was round, so I had to force the elastic through but it worked the same.
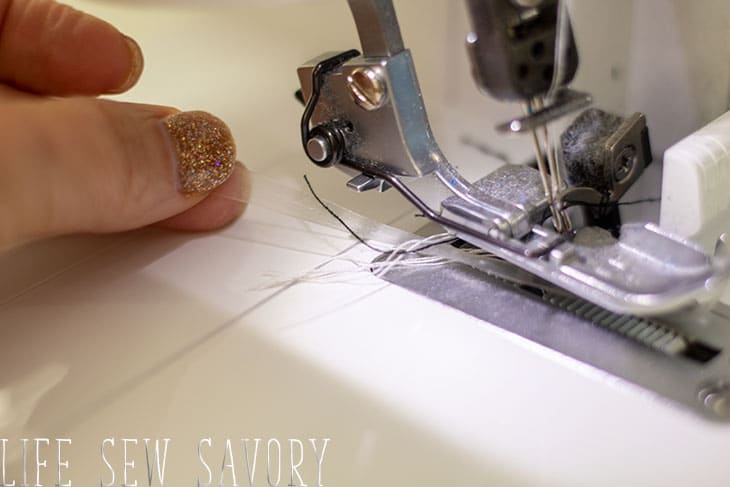
After it goes through the hole, pull several inches through and under and to the back of the foot.
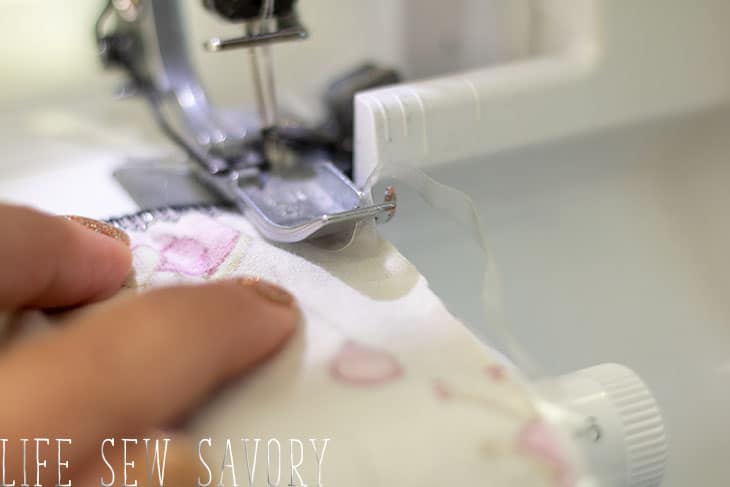
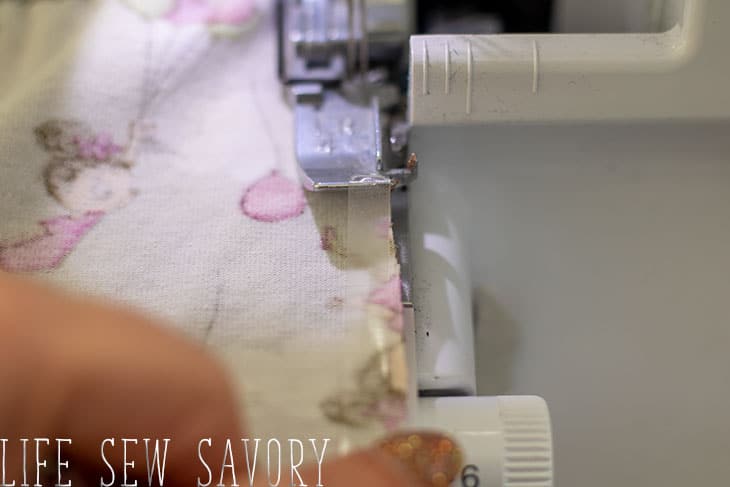
Add the layers of fabric under the foot and under the elastic. The clear elastic is between the fabric and the foot. You need to make sure the elastic doesn’t twist as you sew. Only pull /add tension if you want it to gather. If you just want it to stabilize, let the machine self-feed.




Kris says
Thanks, Emily, for this tutorial! I saw a video on how to use the clear elastic on sleeve caps in place of gathering, and this tip about the elastic placement will make it even easier! Can’t wait to try it out 🙂
laura says
Thank you for the heads up on the elastic, I immediately bought a roll. I have always serged elastic on but when it is narrow I have a hard time. So thank you again!
Caroline Turner says
Wow, just discovered this tutorial, I hate clear elastic normally, but I’m actually excited.to try this out after my sample worked perfectly first attempt 😲 Thanks so much!
Christina McMahon says
Thanks for this tutorial, Emily! Can’t wait to try it out:)