inside: Learn how to create a beautiful button neckline with this sewing hack. Perfect for any drop shoulder pattern or use my free sewing pattern to create this button neckline look.
I’m always looking for ways to create new looks from patterns I already have. My slouchy sweatshirt is one I have hacked several times and today I’ve got another fun hack for you to try. This fun sewing hack is to create a button neckline.
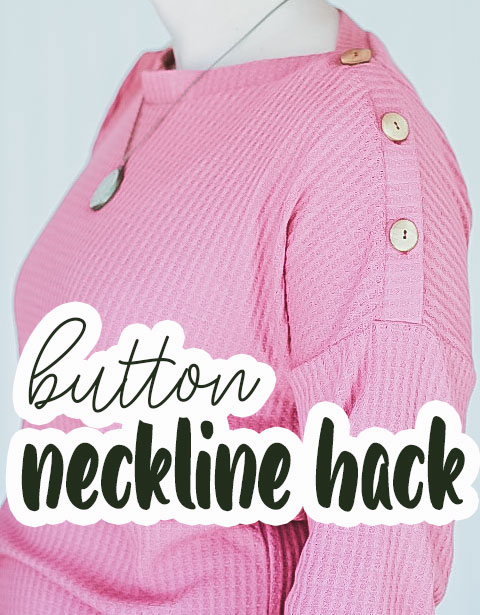
Sewing hack – button neckline
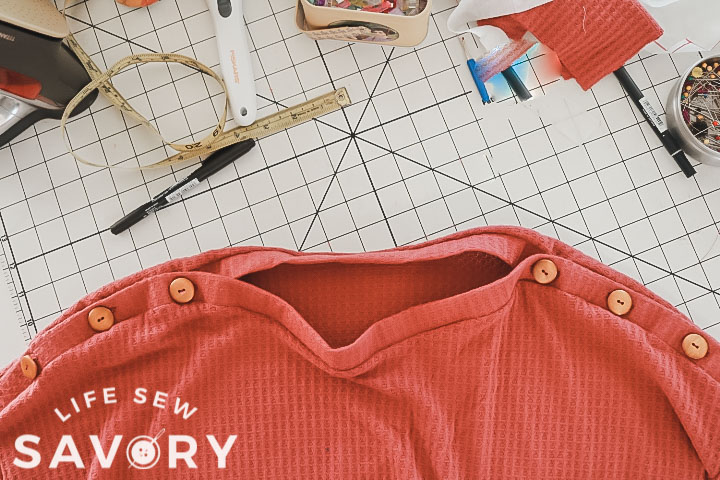
So cute right? I think this looks so cute AND I think this would also be awesome for nursing moms.
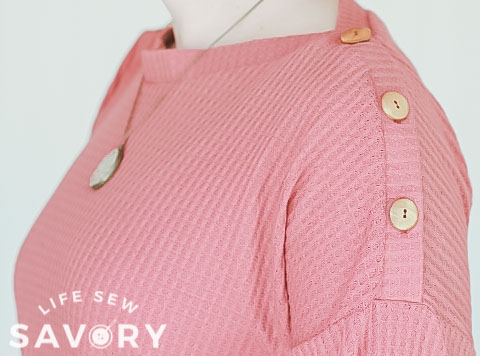
While this neckline can be cute and fun, it also can be functional as you can alter the neckline opening with the buttons.
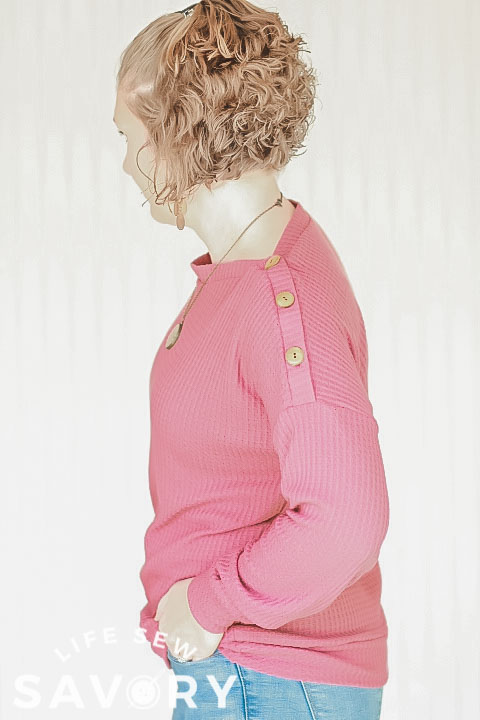
Other Slouchy Sweatshirt hacks
How to sew a button neckline
Ready to sew something awesome! Grab a drop shoulder pattern of your choice OR grab my sewing pattern with the link below.
- Drop Shoulder Pattern {get the slouchy sweatshirt here}
- Stretch Interfacing
- Buttons 1″ 6-8
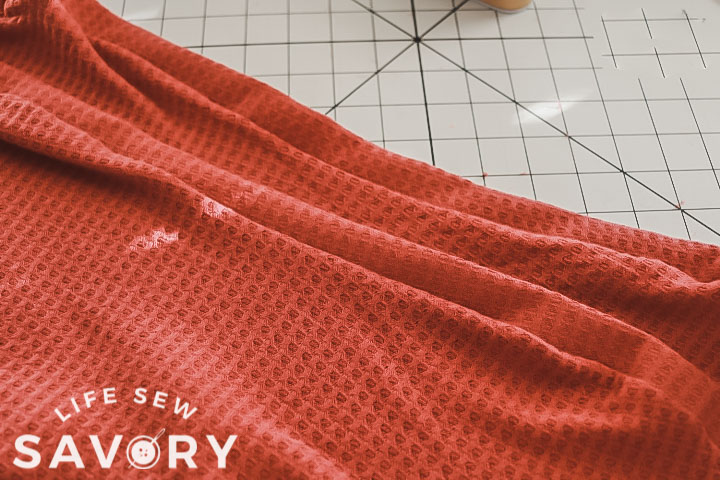
- Fabric for your shirt {I used waffle knit for this shirt}
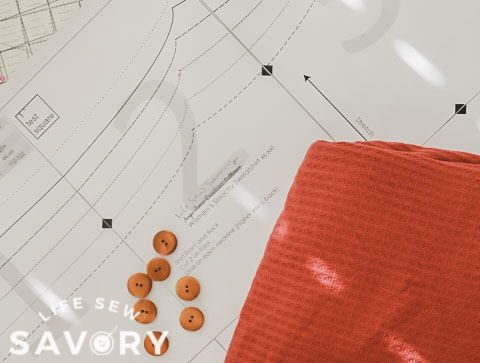
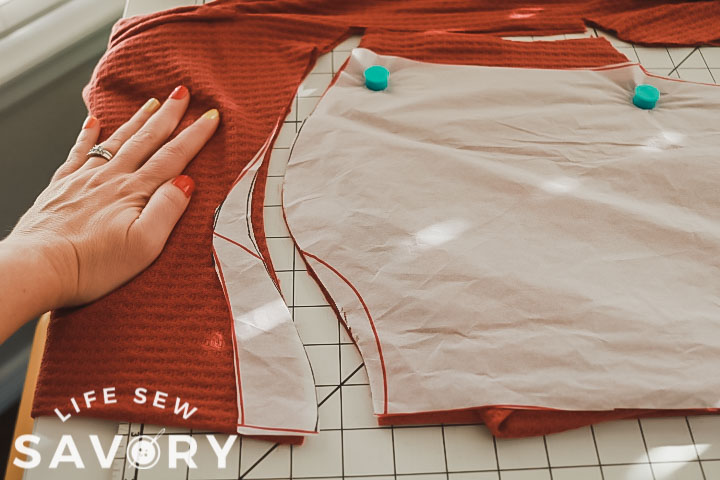
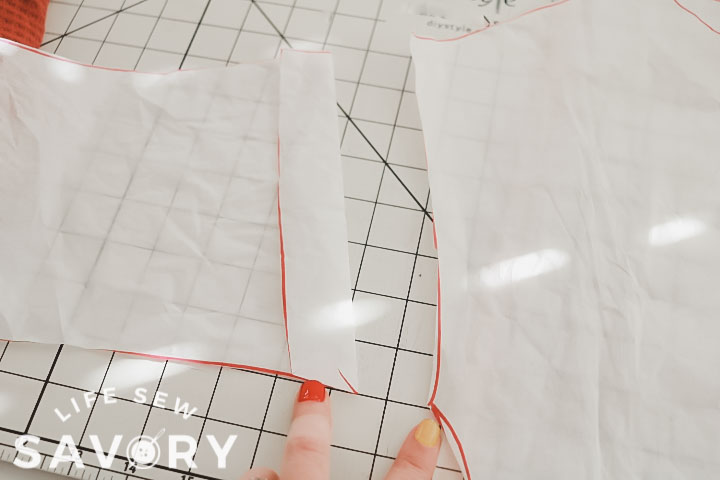
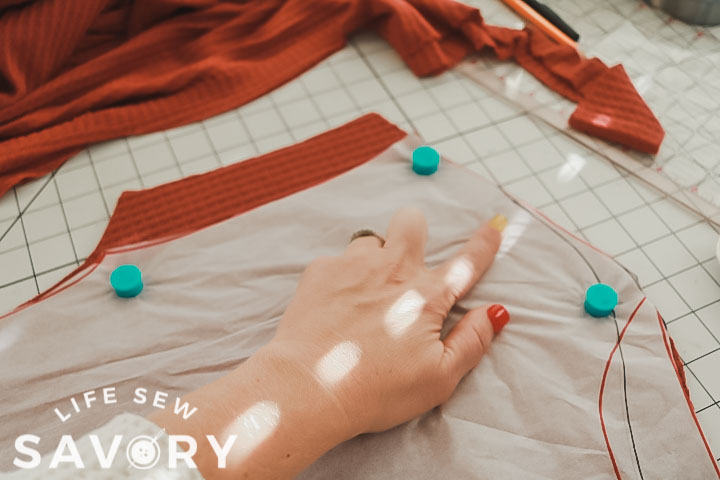
Ok! Let’s get started on this sewing hack for a button neckline. The photo on the left shows the original shoulder. I wanted to make the shoulder even longer {more drop} so I had more space to add additional buttons. I took a inch off the sleeve top and then added an inch to the shoulder when I cut the fabric.
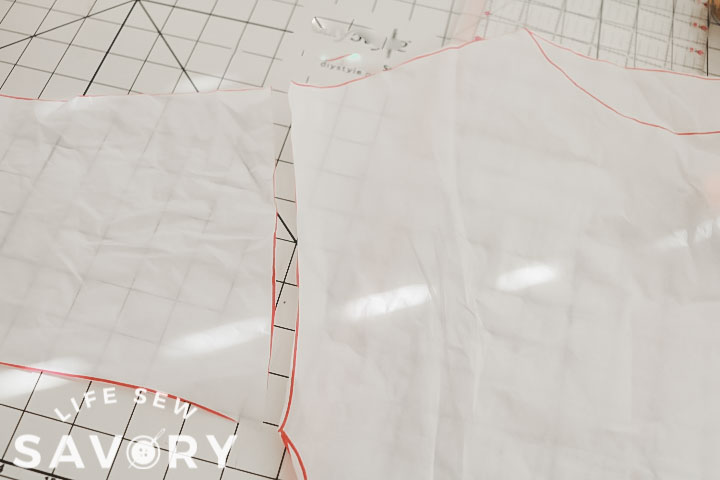
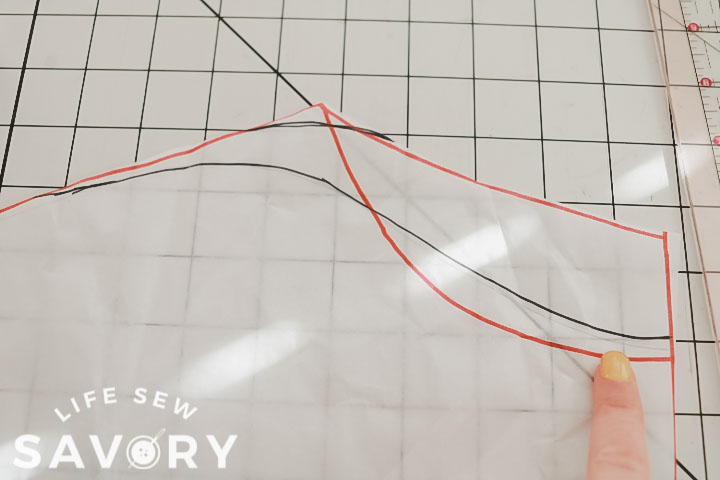
You can see here the additional inch I added to the shoulder. On the right you can see the original neckline in red and then the black line I created to SMOOTH out the sharp edges. We want our button facing to lay nicely so it requires a curved edge.
The back neckline is still higher than the front, but still smoothed out on the angles.
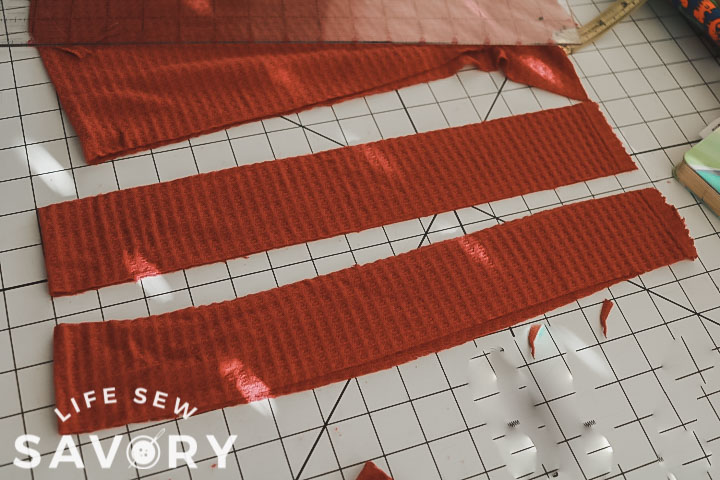
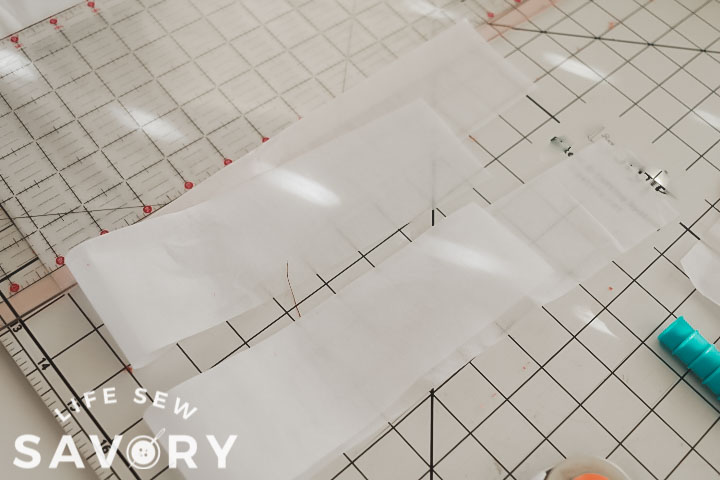
Cut strips of fabric 2.5″ wide and at least the length of each the front and the back.
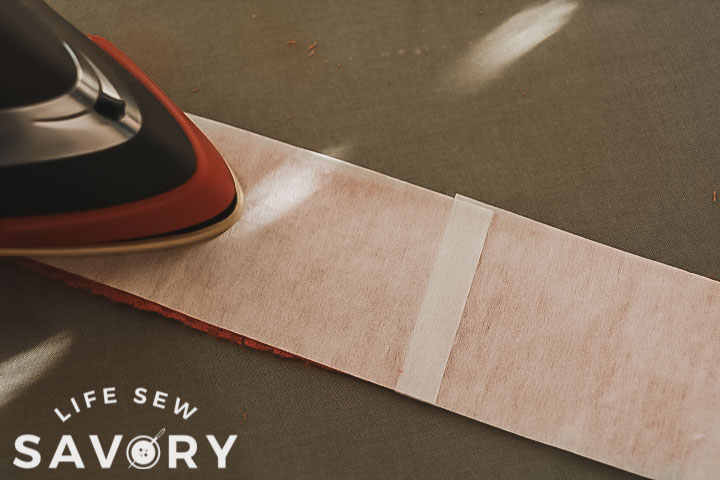
Cut knit interfacing the same length and width and fuse it to the back side of the fabric. Make sure the stretch goes side to side.
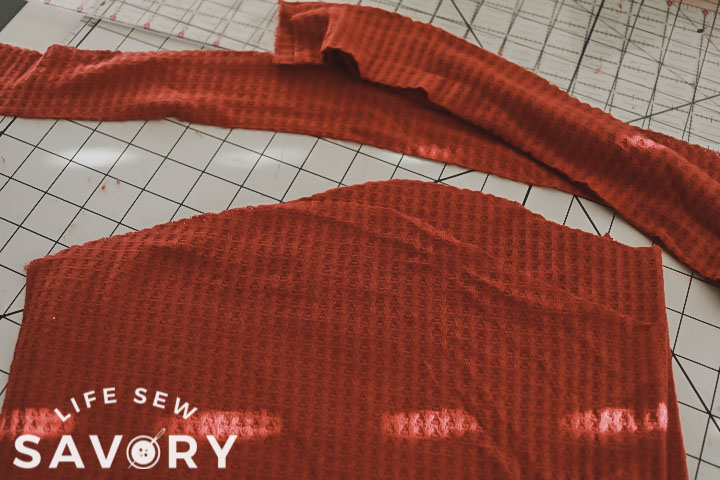
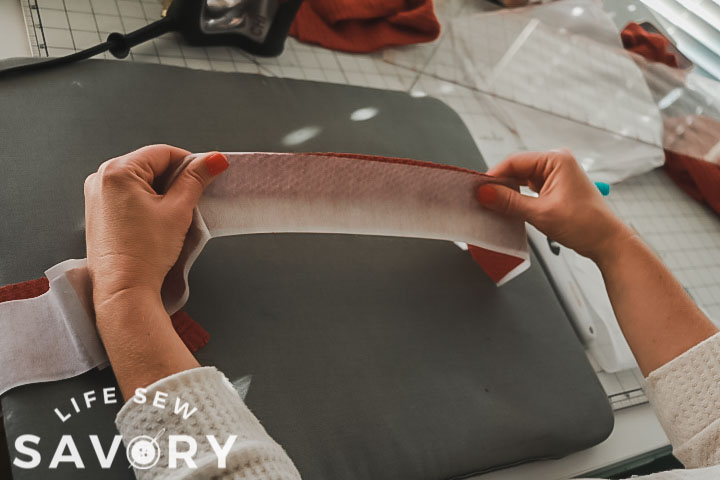
Fold in half with the wrong side in and place the raw edges along the edge of the top back or front.
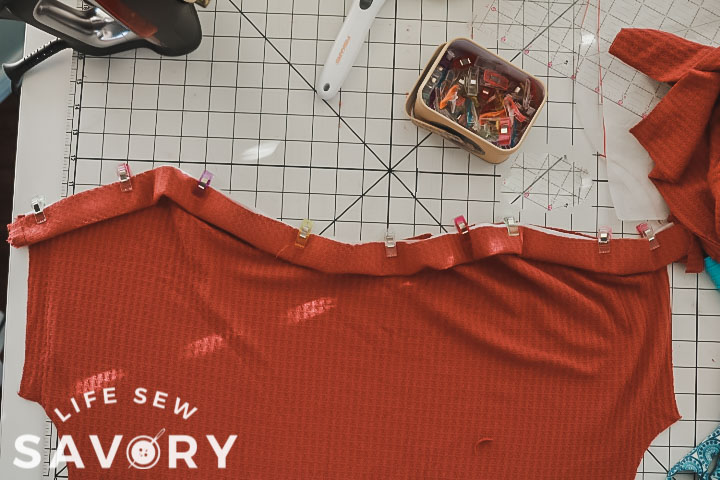
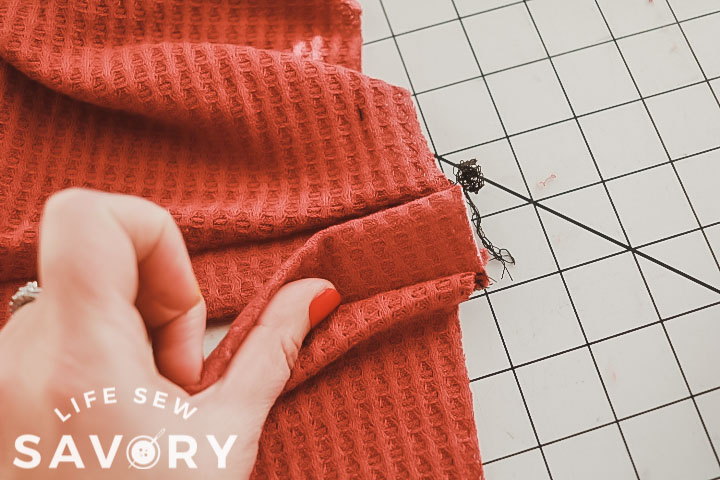
Sew the facing to your shirt with a serger or knit stitch. Repeat with the other side of the shirt. Overlap the front and back of the shirt. The front of the shirt is on top. Baste this overlap.
Place the sleeve on top of this with shoulder edge with right sides together. Sew both sleeves to the shirt.
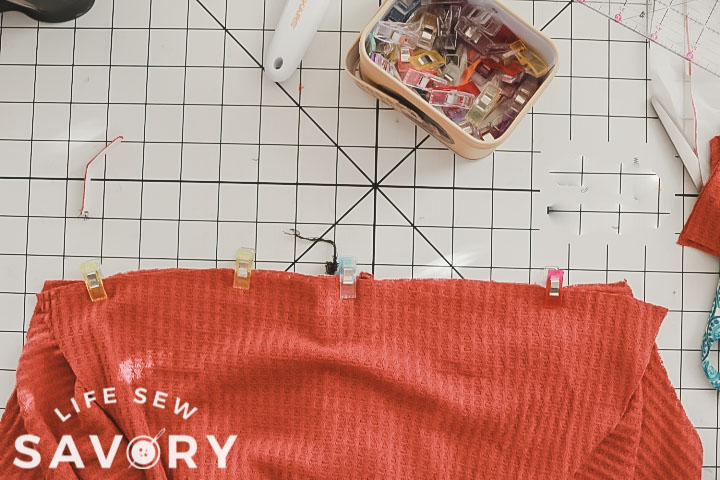
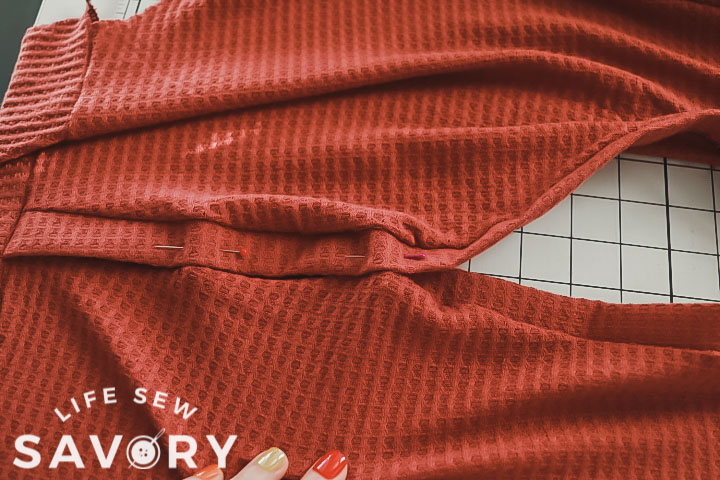
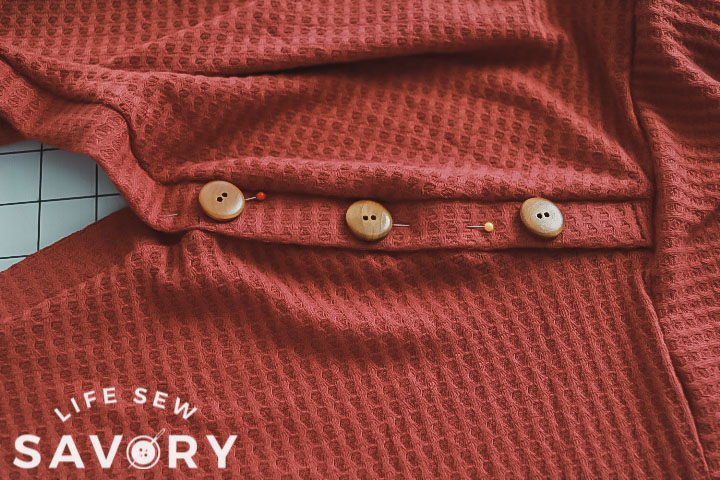
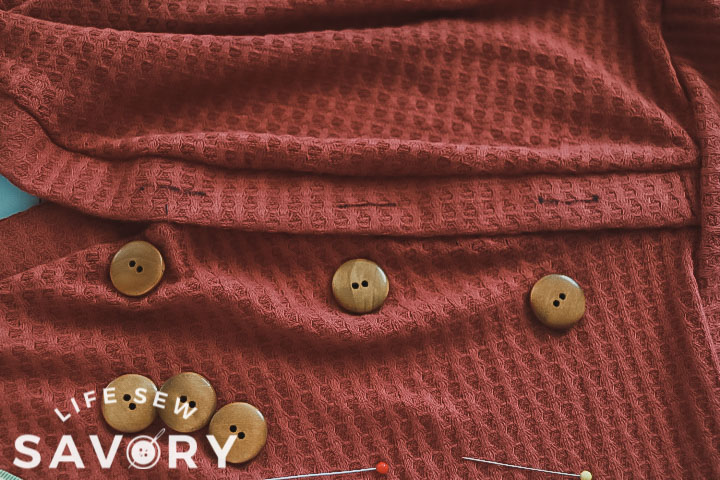
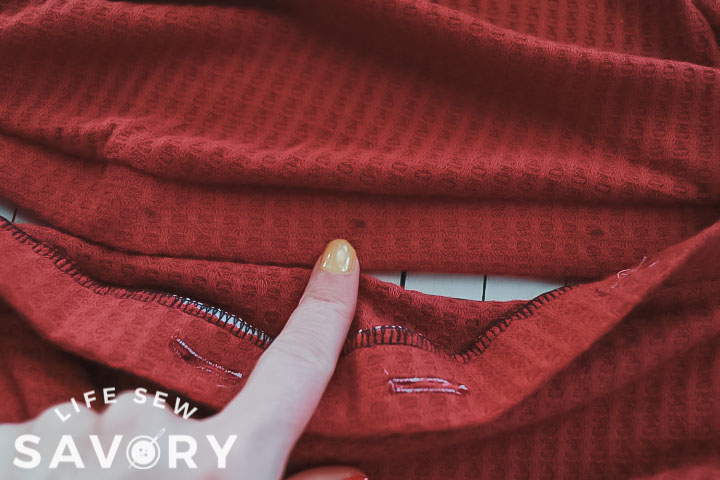
Pin the facing together from the shoulder towards the center neck. You can put in over your head to see how large you want the opening in the middle. Place the buttons on top to create spacing. Mark from edge to edge of the button for button hole placement. Sew button holes on these marks. Take a marker and put it through the middle of each button hole to mark where to sew the button.
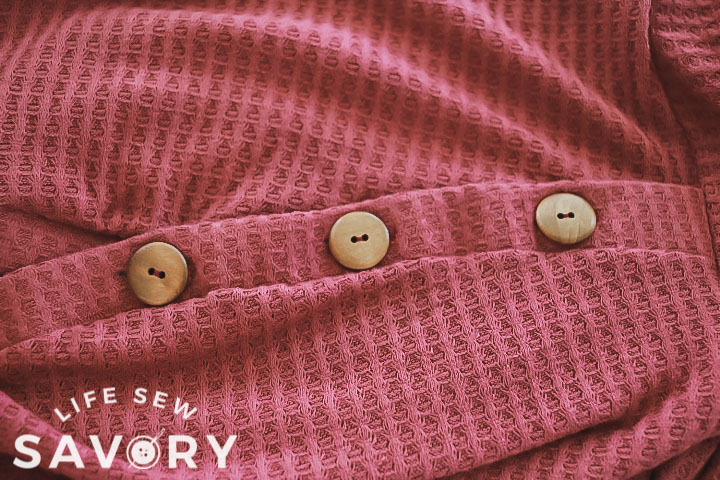
Sew on the buttons and enjoy your new shirt!! Love this version!!






Gail says
This lovely! The waffle knit is perfect. Is it possible to leave the sleeve off? Floridian here.