I do love making Pajamas… and usually I whip up Easy Pajamas…So today’s super easy pajama tutorial is perfect for me.
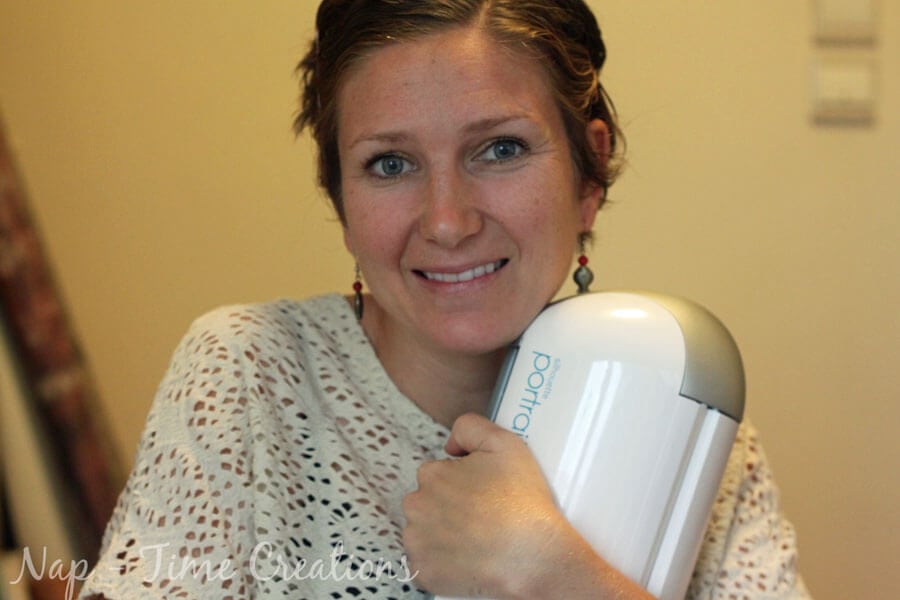
I recently received this in the mail!!!!! {I’m pretty excited, can you tell?}
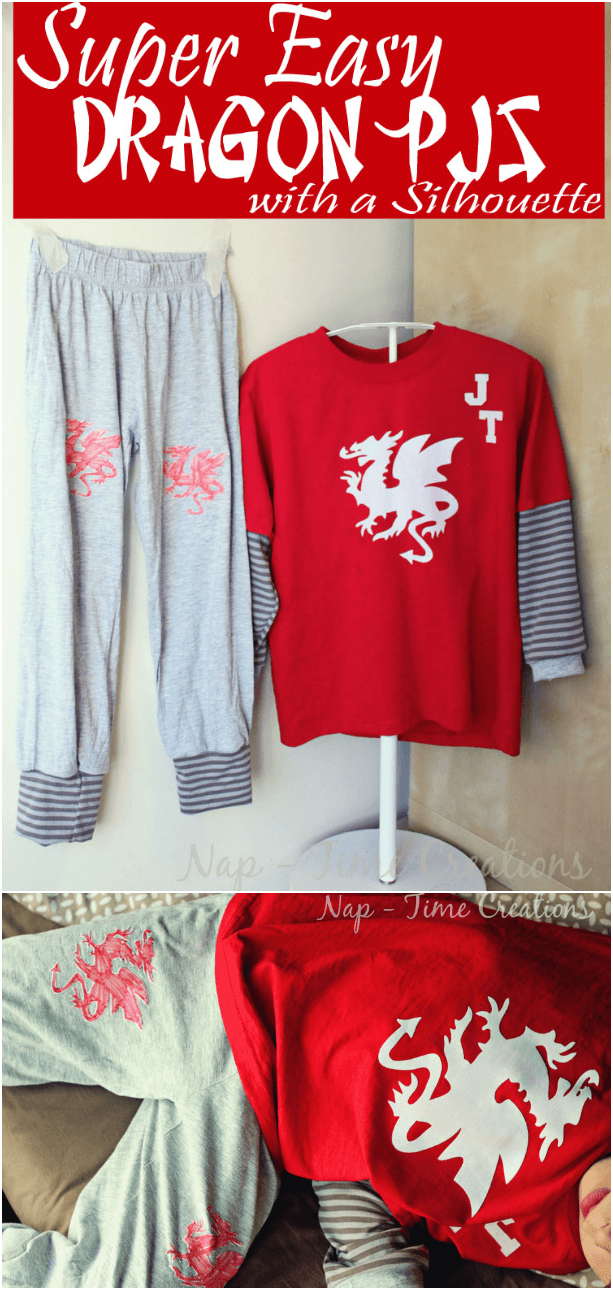
My boys are always asking me to add graphics to the clothes I sew… and the results aren’t always what the boys want. {see these robot Pjs} So now to have a craft cutter that can CUT OUT so many incredible shapes and I just iron them on… SO exciting!! For this project I started with a shirt from summer that was pretty plain and some pants that had been given to us. I always try to make pajamas coordinating… ‘cuase I like matching things like that… {see all my matchy matchy cousin clothes} I also used a 1/2 yard of extra striped knit that I had on hand… so you need: t-shirt, sweat pants, 1/2 yard knit fabric, Silhouette {if you have!}
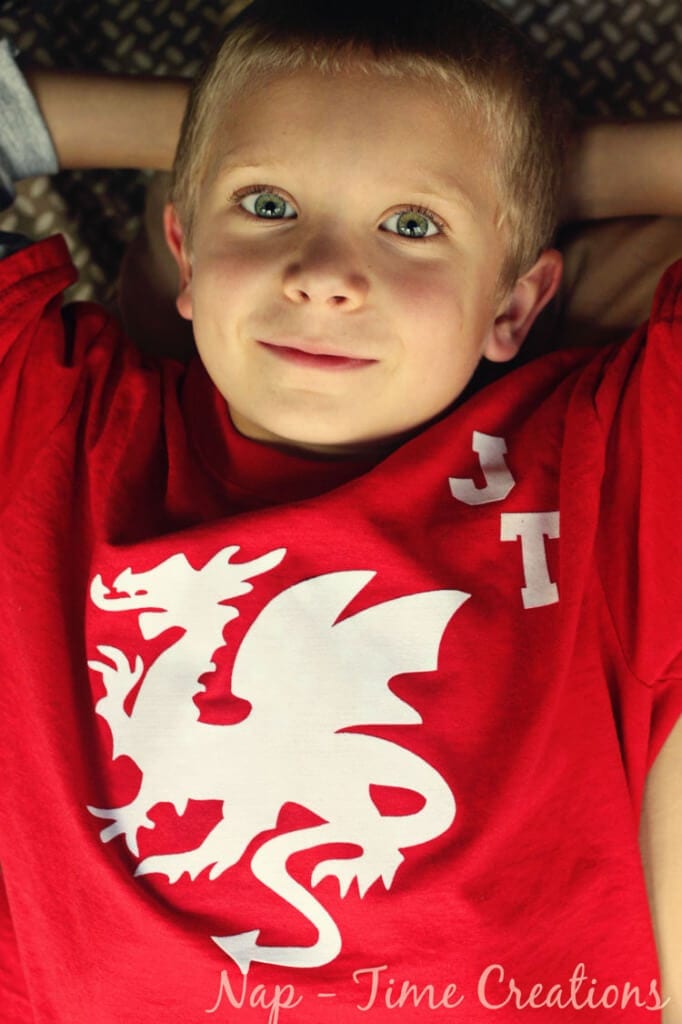
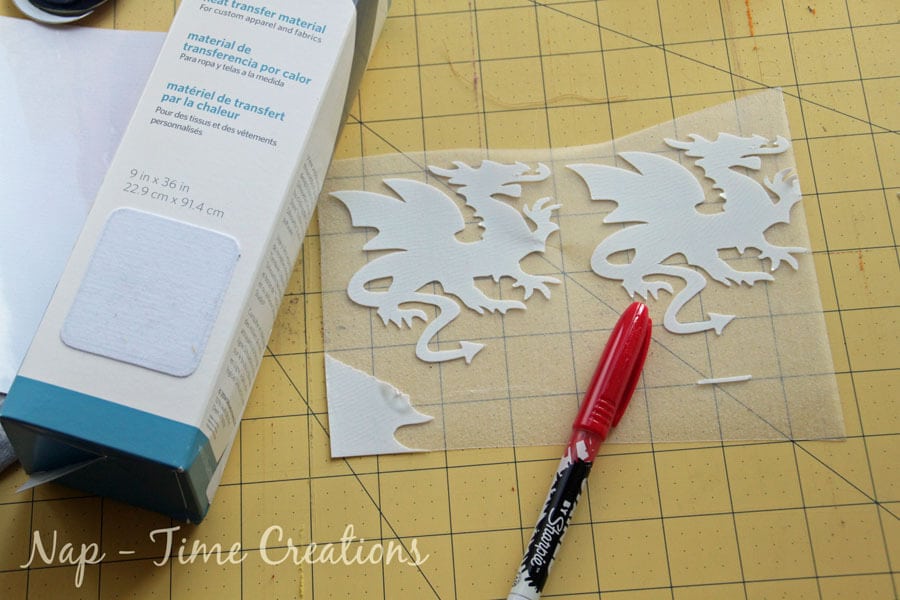
I asked my son what he wanted me to put on the front of these Pj’s…. A three-headed red dragon was the answer.. he even drew me a picture of what he wanted… I went to the Silhouette store {affiliate link} and brought up all the dragons… We decided on three dragons {some of them red} as a compromise! I think we are both pretty pleased!
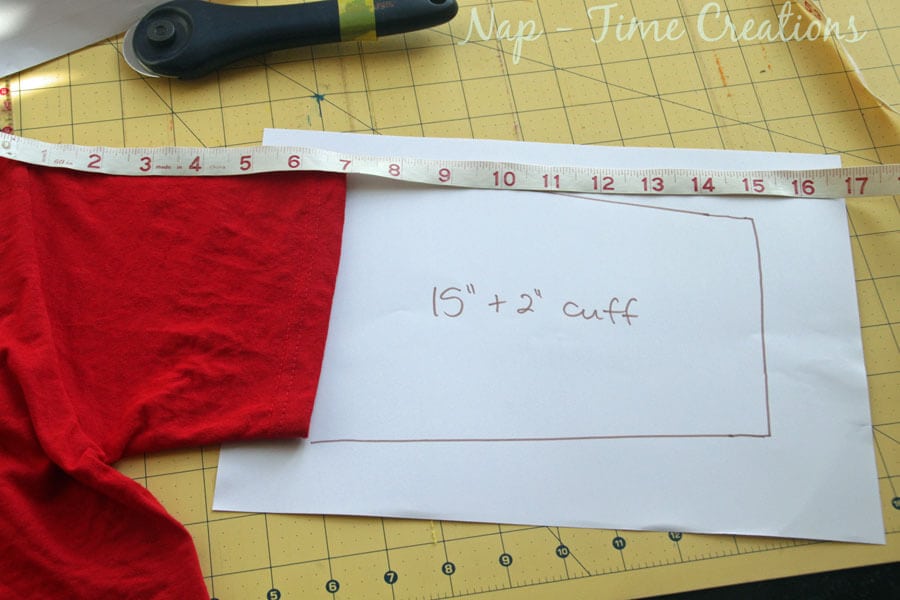
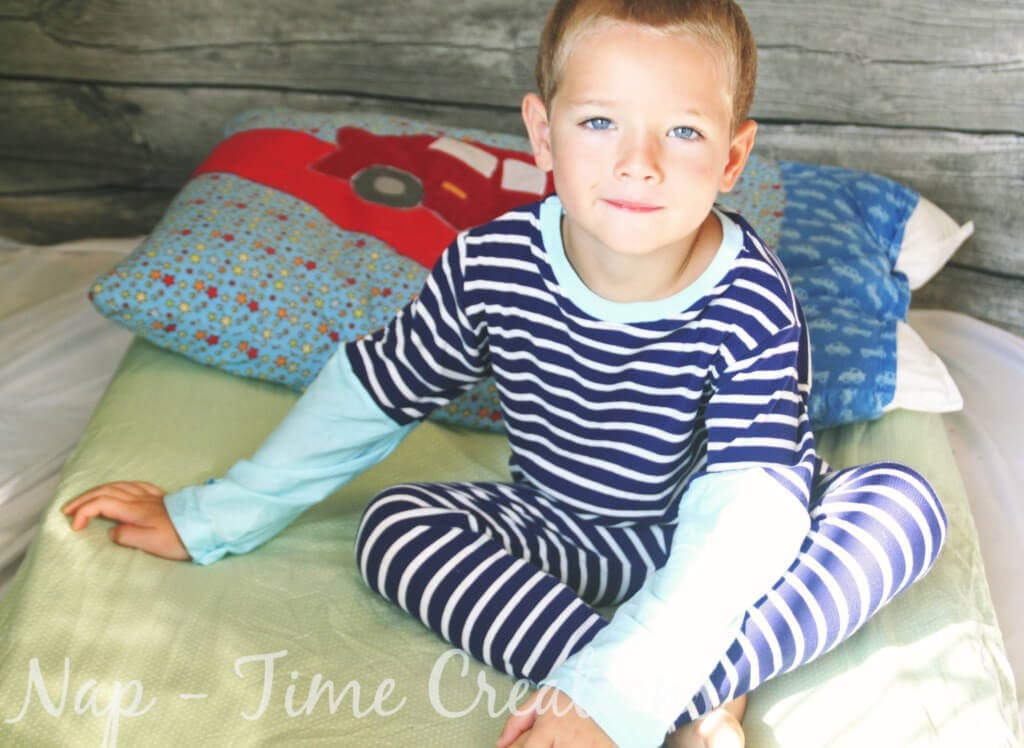
Now, let’s take a look at how I turned the separates into these coordinating pajamas. First, I wanted to make the shirt long sleeved for winter. Measure you child from shoulder to wrist. Then measure the short sleeve and add the difference. I also wanted a cuff {optional} so I added that in as well. Sketch out the rest of the sleeve starting from the short sleeve. You can also trace a long sleeve shirt.
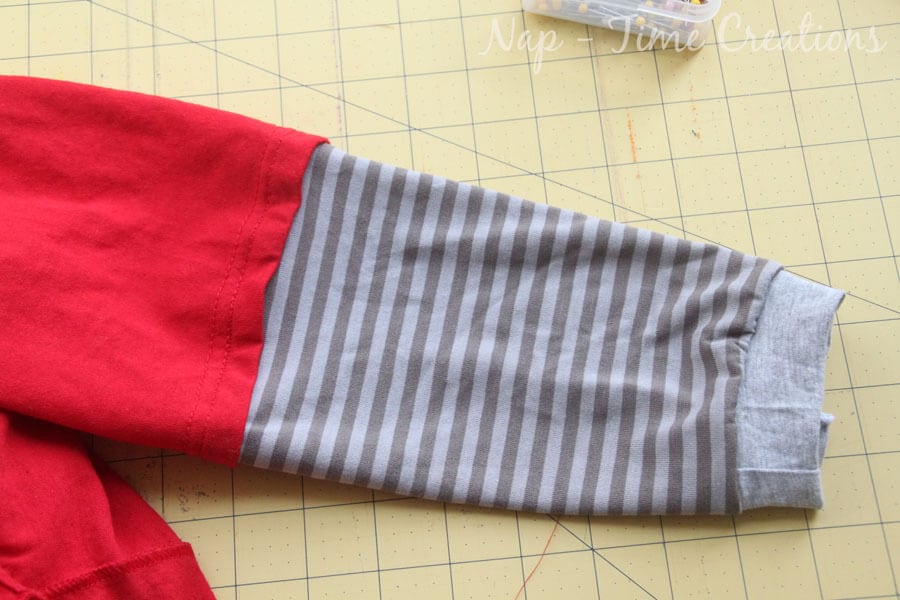
Use the pattern you made to cut out ON THE FOLD, two sleeves. I added a cuff, then sewed up the long side.
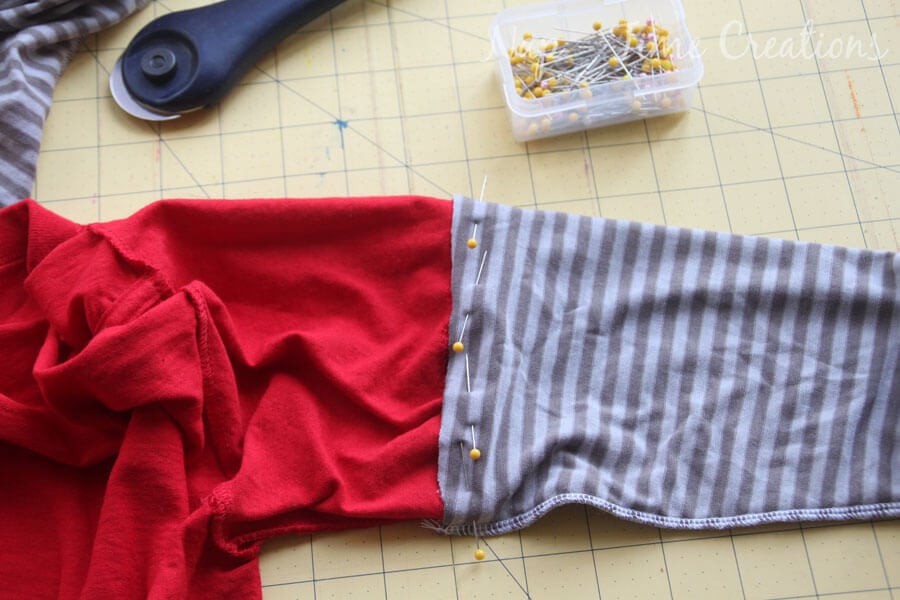
Turn the shirt inside out and pin the right side of the new sleeve to the wrong side of the shirt.
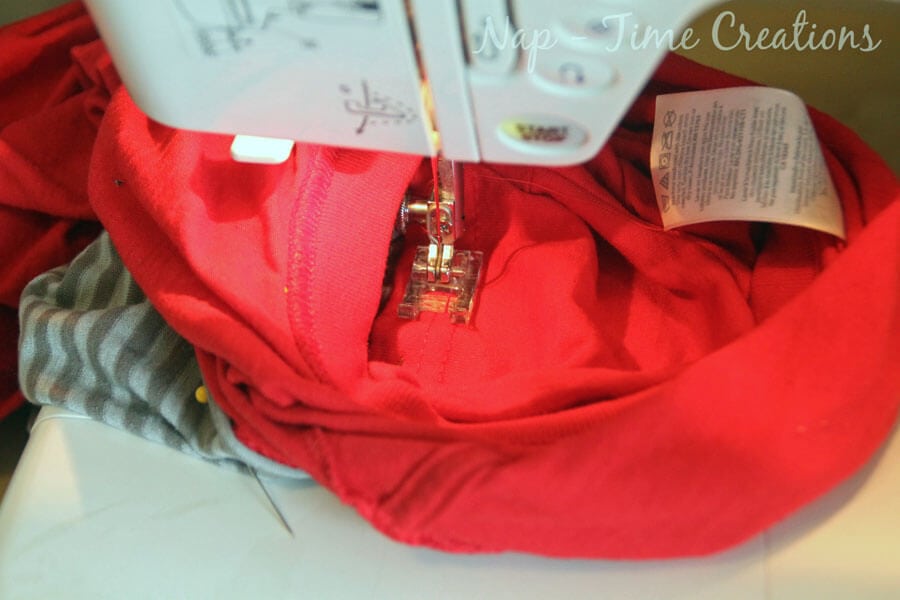
I sewed in through the neck to follow the original stitching lines on the red shirt right side… I know my pins were on the other side, but I just lifted the shirt to removed them every few inches.
Now you have a cute long sleeve T-shirt!
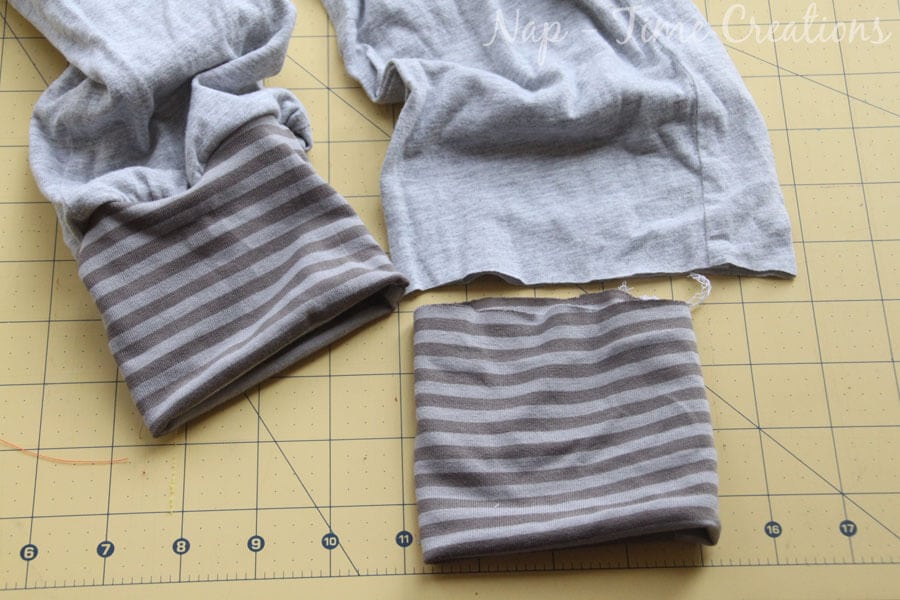
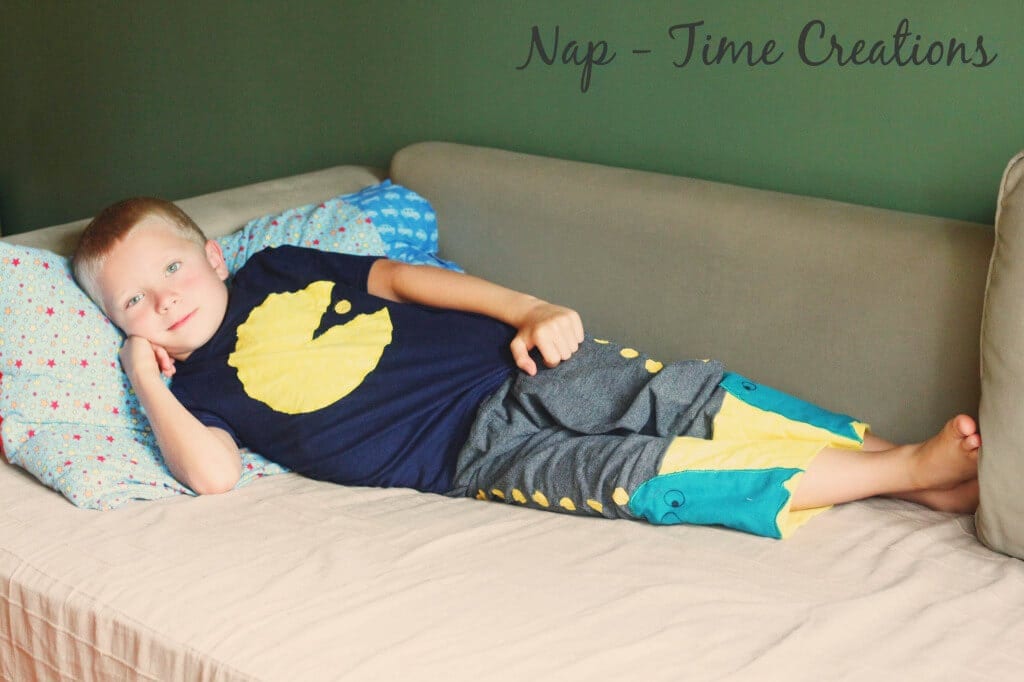
I chopped off the bottom of the pant legs and added a cuff of the matching material from the shirt.
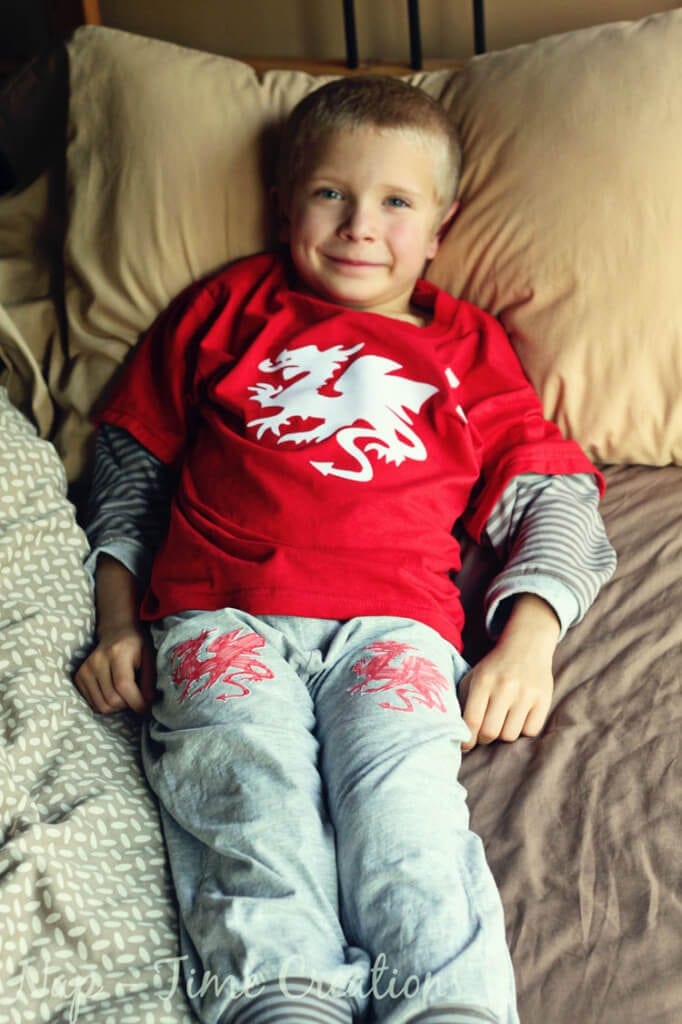
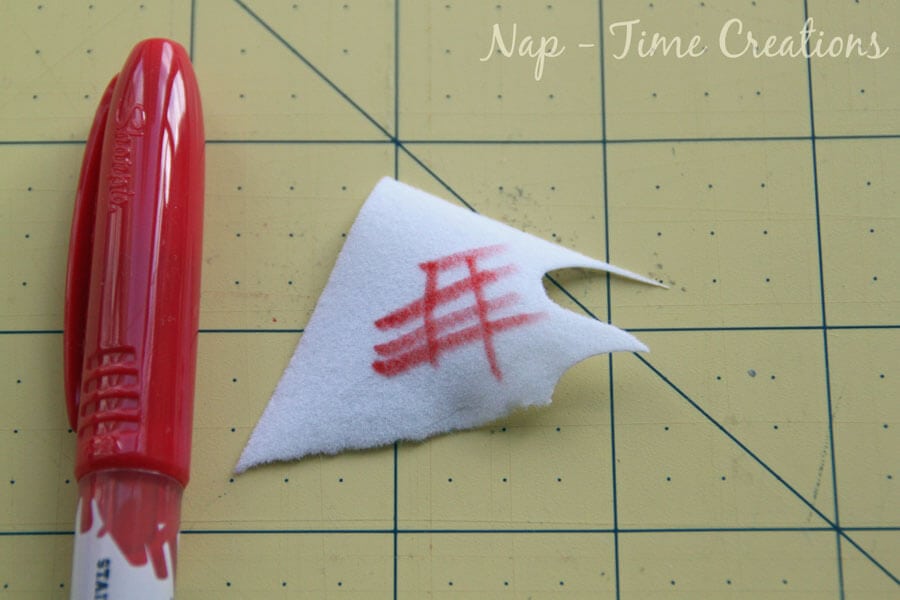
To bring it all together we added three dragons! I colored the two small ones with a fabric marker to give my son his requested red dragon, even though it doesn’t have three heads!
With the Flocked transfer material, the color went on great!
there you have it!
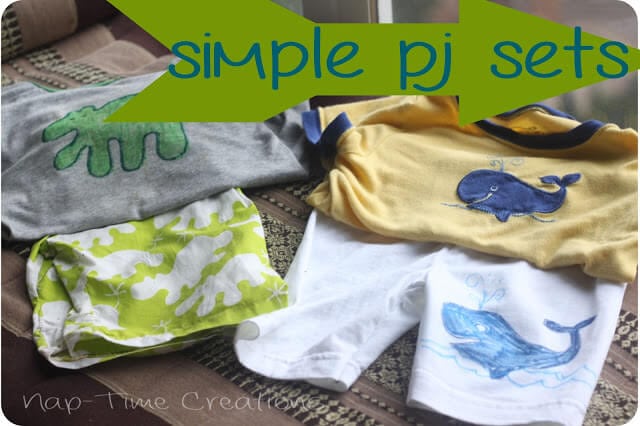
Here are few other Pj tutorials too!









Penny D says
Thank you so much for sharing, I raised 3 boys and I so miss those ages, they may give you gray hair at times, but enjoy the time you have while there young, I miss all the excitement at Christmas and other holidays. You did a great job. Thank you for sharing. GOD bless
Emily says
thank you for your kind words!! Boys are fun!!