


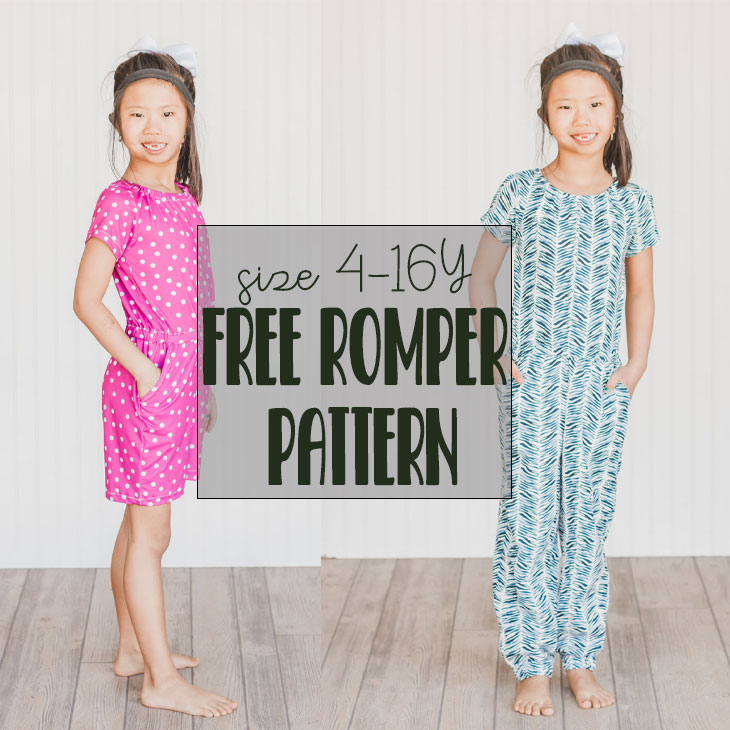
inside: sew a tank romper for kids from a free sewing pattern. This tank romper free pattern is so cute and perfect for summer, grab the free pdf and get sewing.
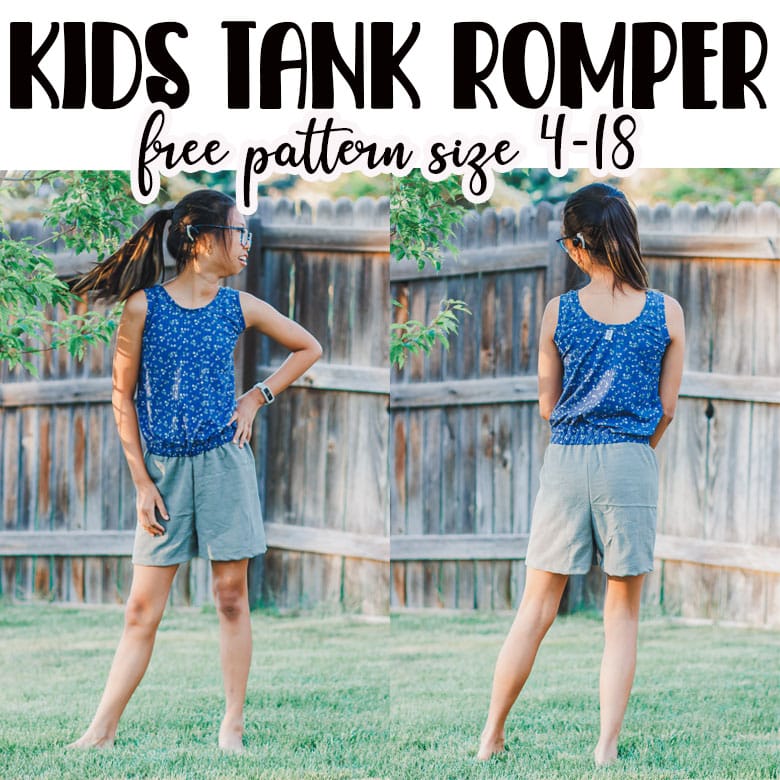
Tank romper free sewing pattern
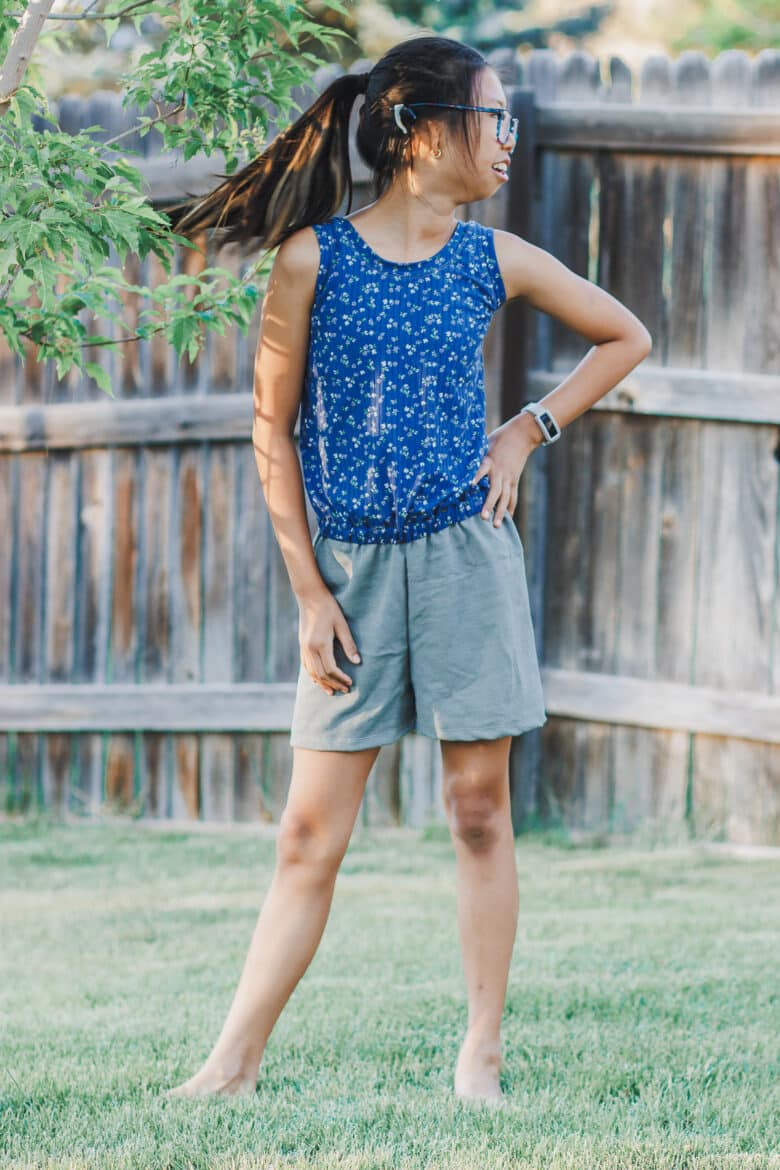
I love rompers!! They are so comfy. I just sewed myself a new one last week, so now it was Rose’s turn.
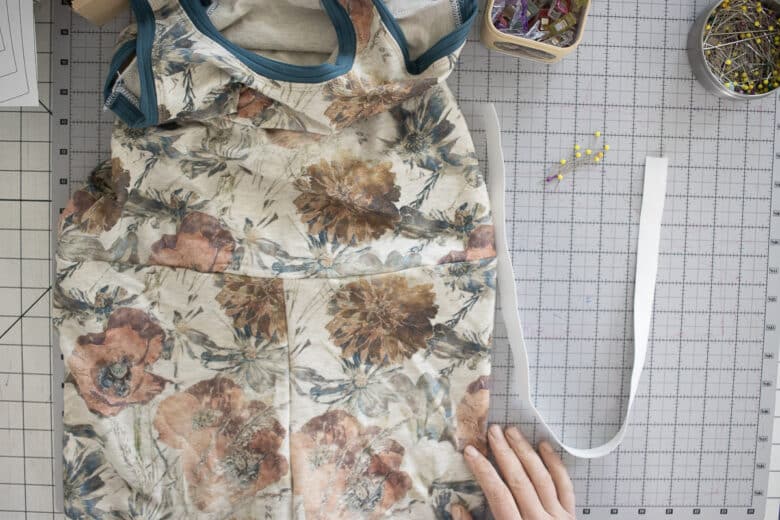
We both love how this tank romper turned out. I made two versions for this tutorial. The first was all knit – you can see my review and ideas below. This version here is a thin rib knit for the tank, and a beautiful linen for the shorts.
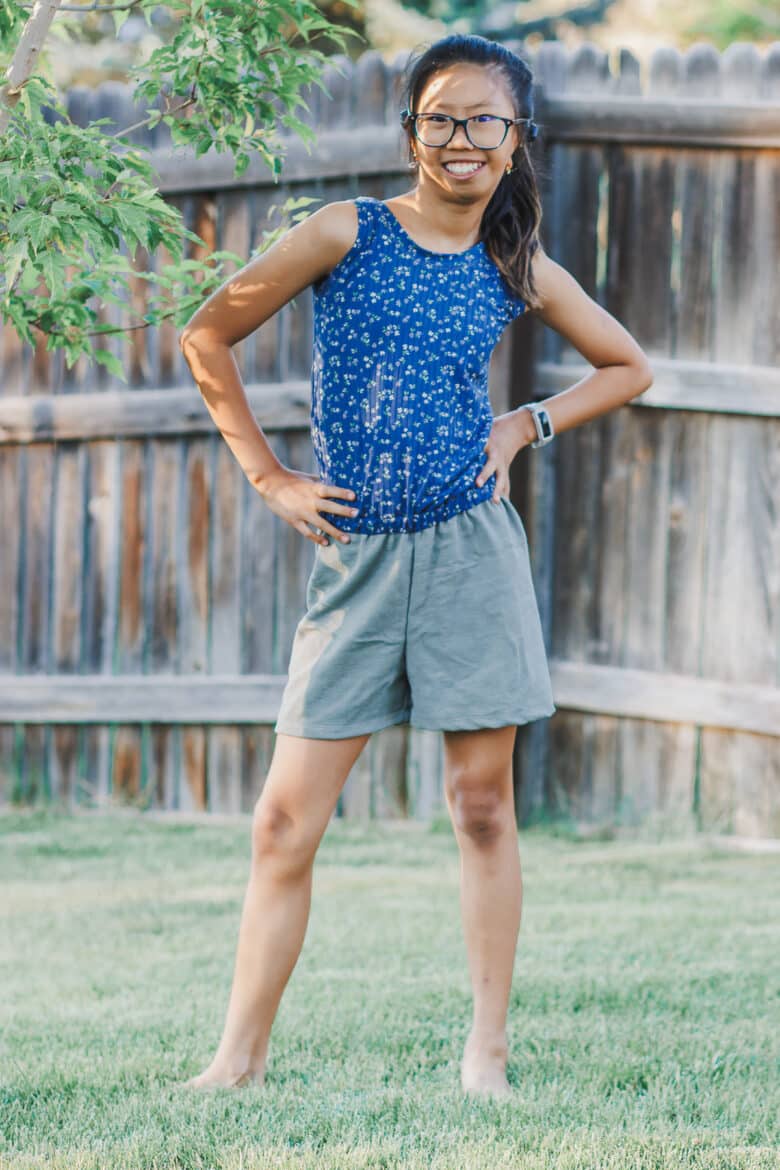
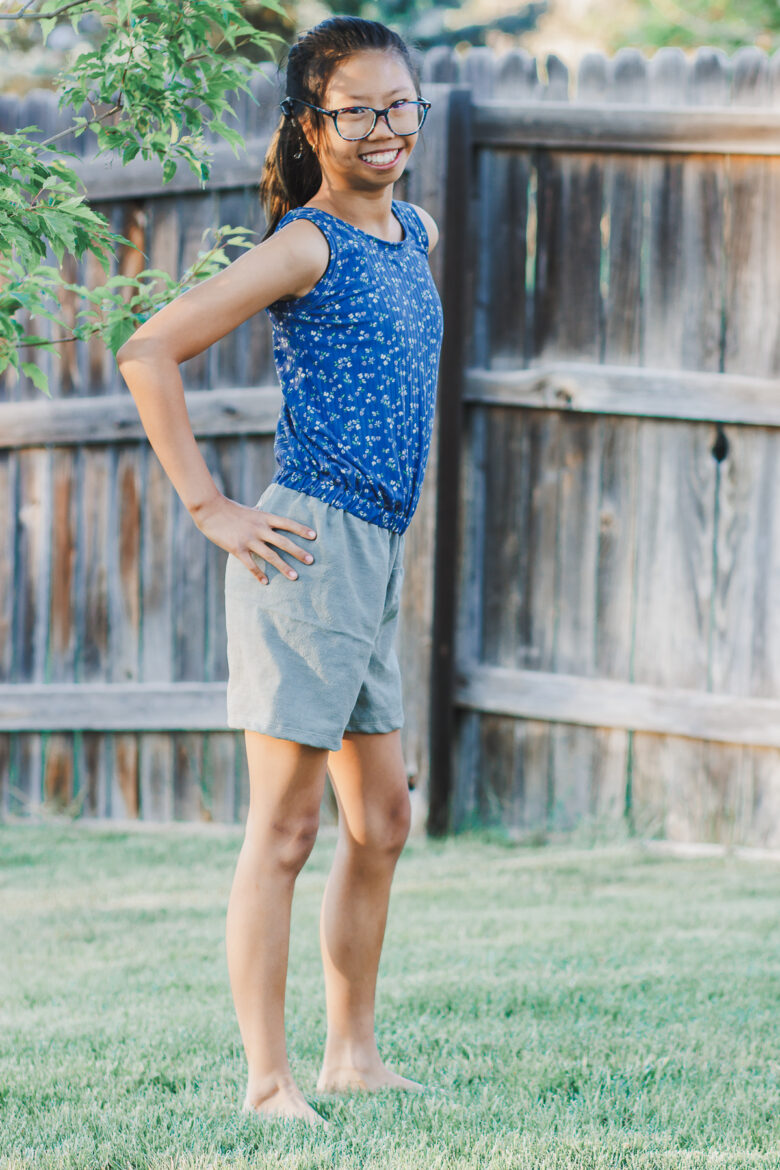
I took in the side seams a bit under the arms {which is why they are pretty fitted there} because my first try was too loose there. I didn’t want to size down the whole tank.

The only thing this romper is missing is pockets! I’ll have to work on that for the next time I sew this tank romper.

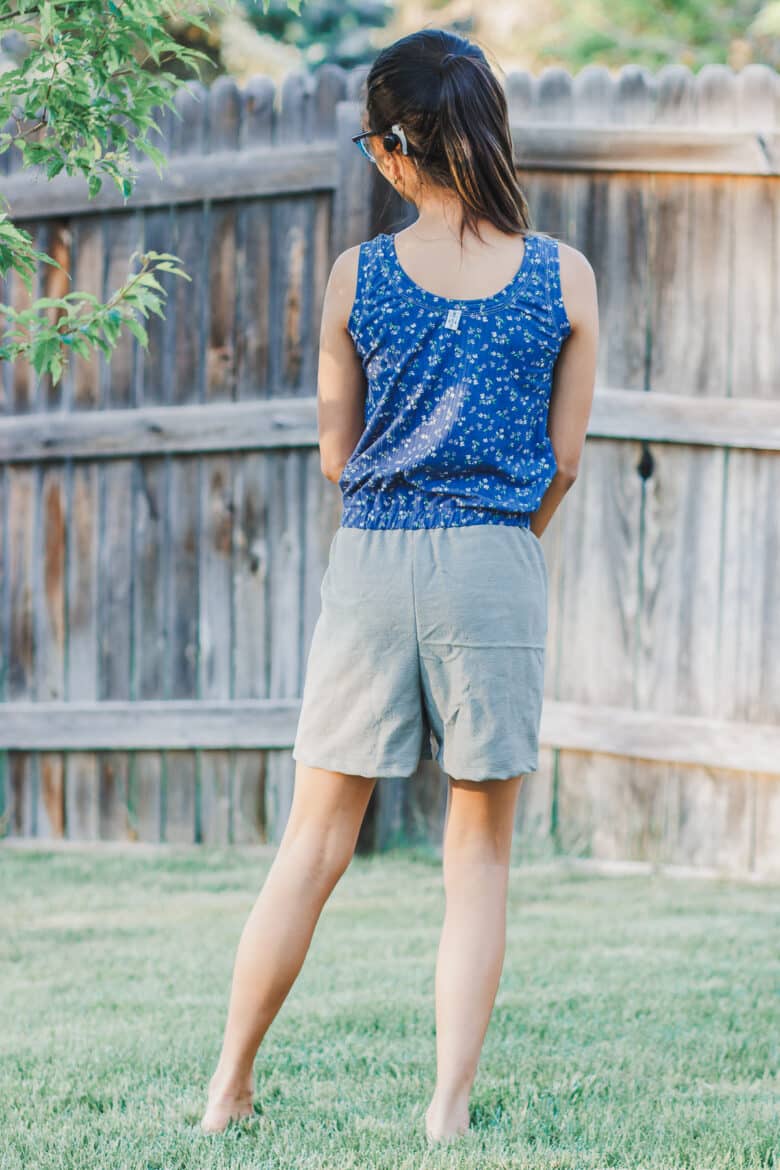
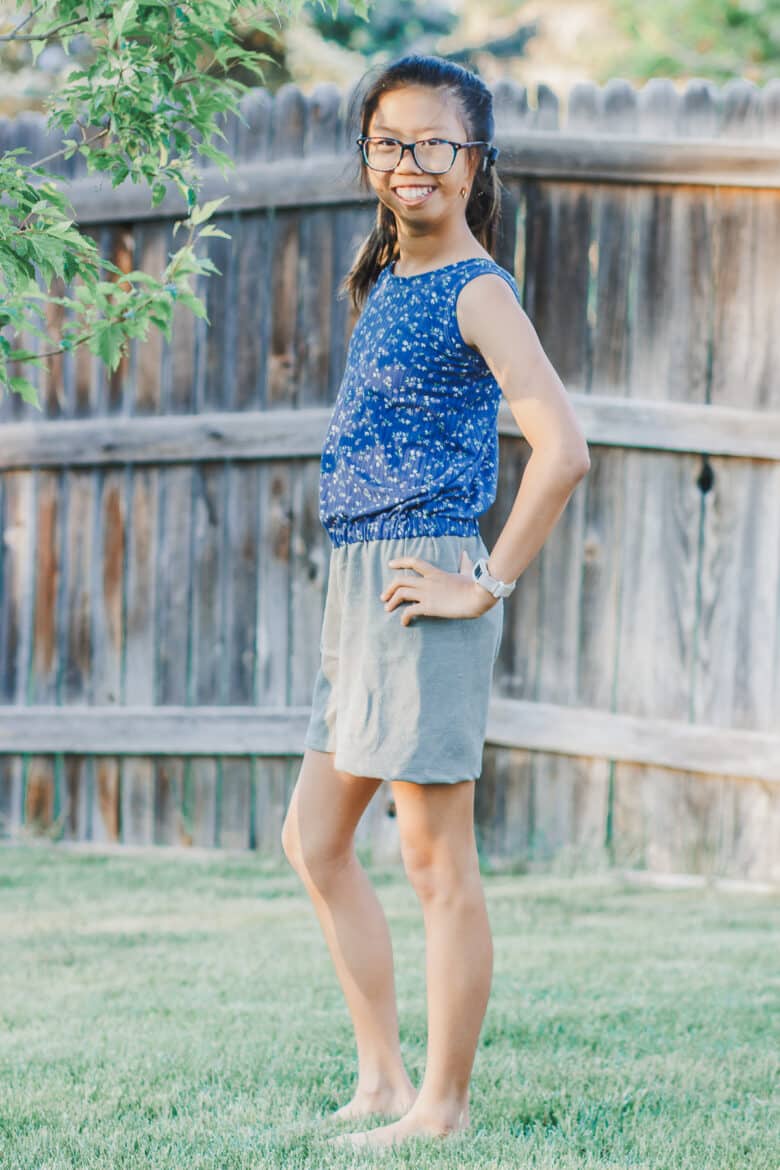
I thought maybe a longer tank would look cute and could slouch over the elastic. Rose however, just kept pulling it down so it looks huge and sloppy. After these photos I took out the waistband, and cut off the extra fabric, then put it back together. I also shortened the shorts as we didn’t like the longer version. All of these were things I had lengthened from the original… But as printed, the tank will not have extra fabric and the shorts are not this long. Just and idea….


Other free rompers to make
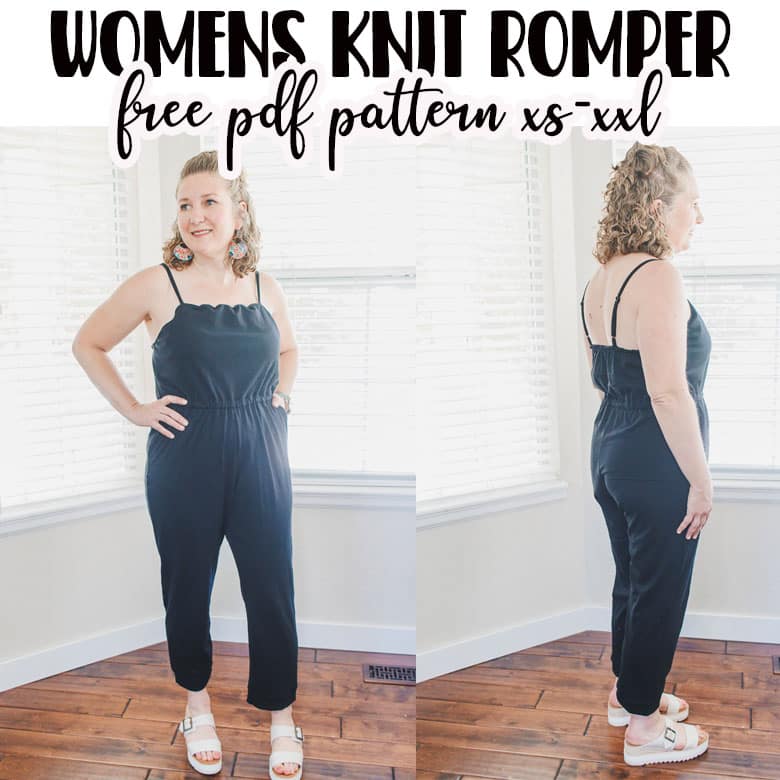
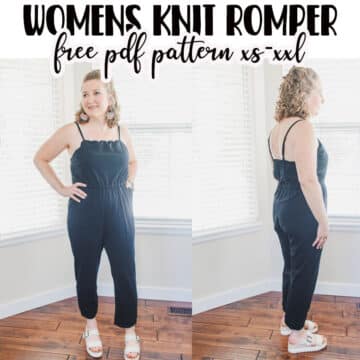
- Womens knit Romper
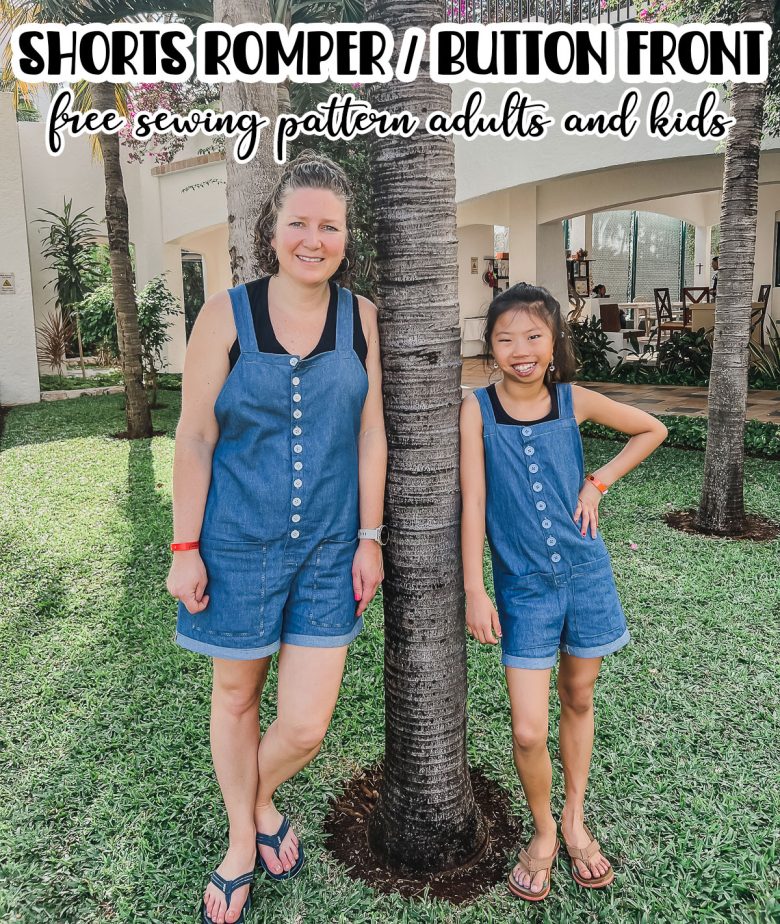
- Button front romper
- Slouchy knit romper
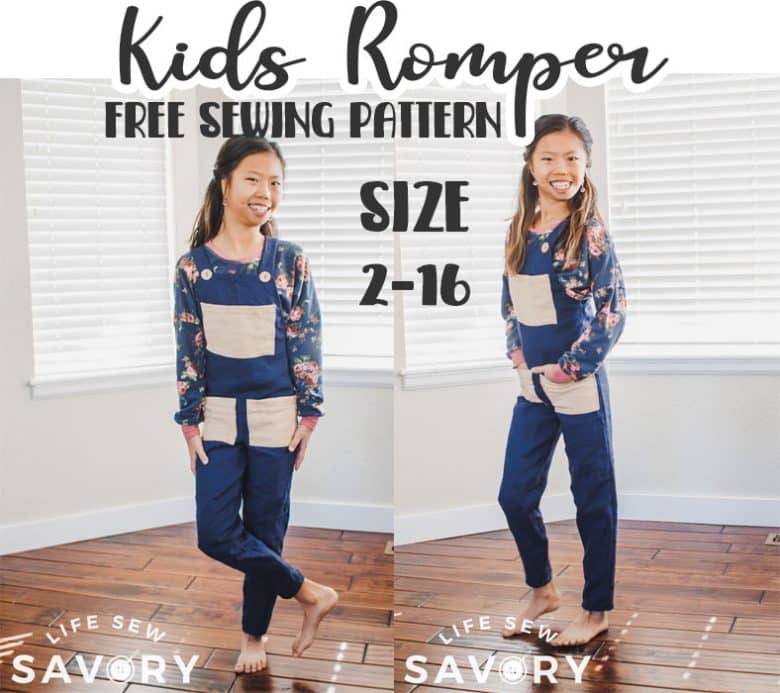
- Kids overall rompers
- Womens tank romper
- T-shirt romper for kids


Supplies for romper sewing
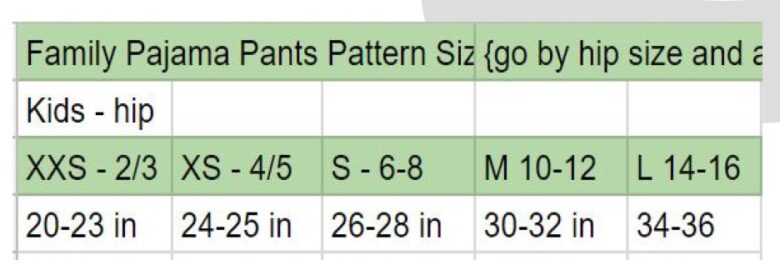
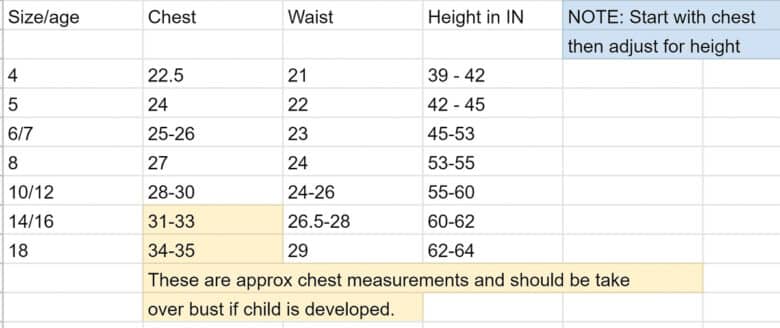
Here is what you will need to sew this cute kids tank romper. Check out the size chart{s} here and on the pdf pattern to determine which size to sew. There are two size charts as I combined/hacked two free patterns to create this tank romper. The shorts are from the family pjs, shortened, and the tank is adapted from one of my tank patterns.
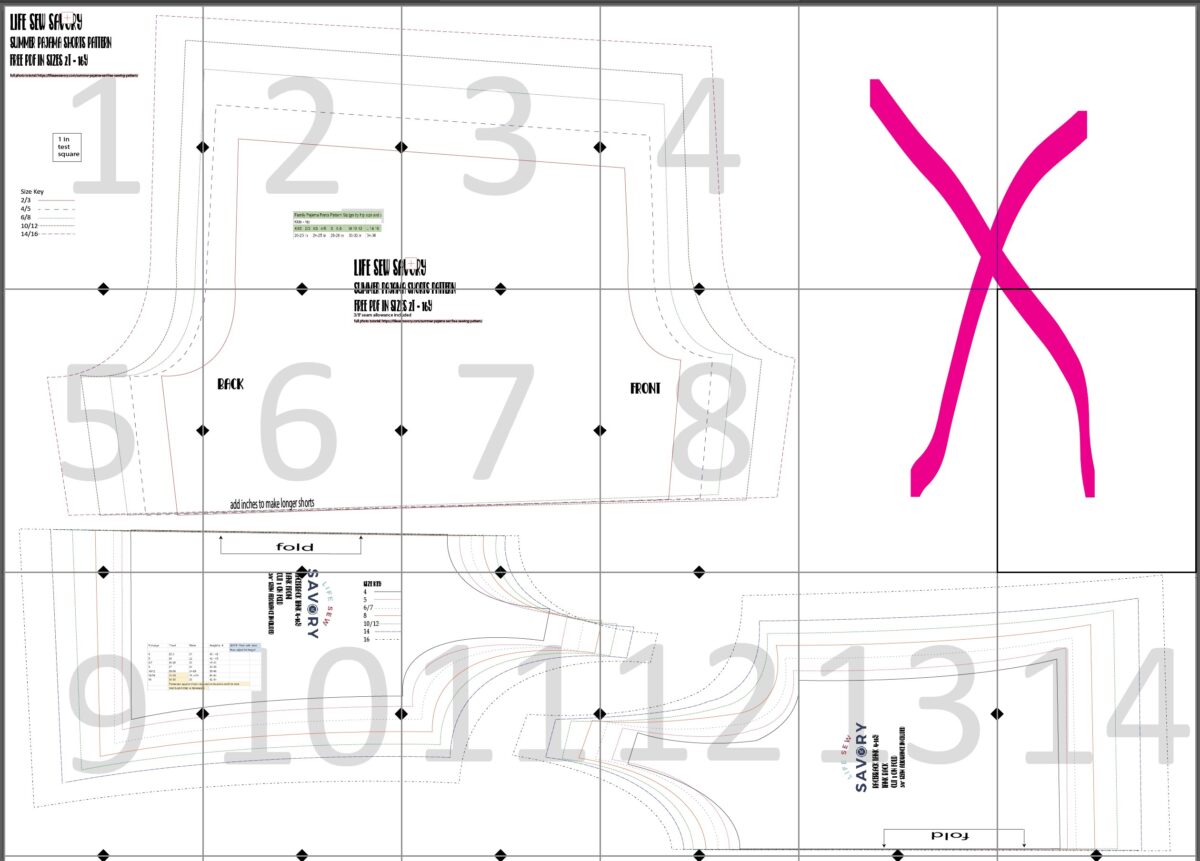
Once you download the print the pattern you can assemble it as shown. {need help? see this post} There are 14 pages in this pattern.
Click the button below to head to my shop and download the free pattern.
- Knit fabric {at least two way stretch} for the tank 1/2-3/4 yard
- knit fabric for tank bands {if using four way stretch for tank you can use the same}
- Knit or woven fabric for shorts 1/2-3/4 yard
- 3/4″ elastic for waistband
How to sew a tank romper free pattern
This project is very much like sewing any tank top and simple shorts. All seam allowance is 3/8″ and a stretch stitch or serger should be used on all knit fabric seams. NOTE: the tank shown here is a bit more of a racer back tank style, I changed it up for the second one and the pdf you have.
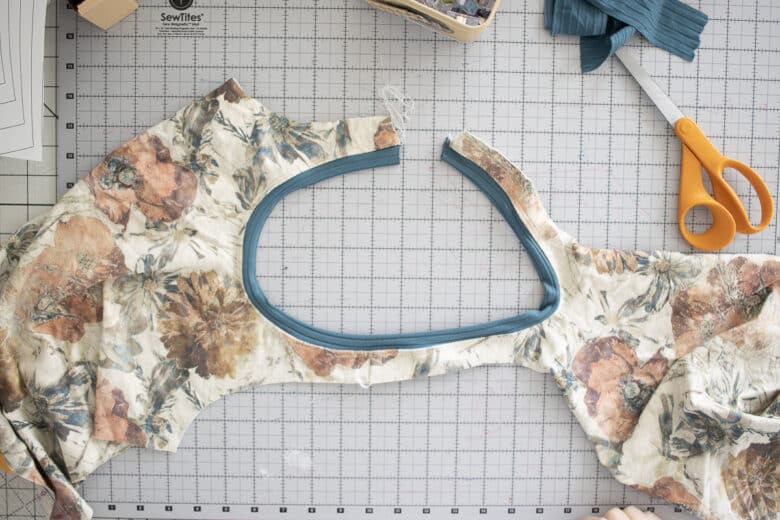
Cut your own neck and arm bands. I cut mine 1/75″ wide and then just a couple long strips. I cut the strips to size as I went.
Sew one should seam. Stretch the band for for the neck 10% along the neckline. {need help with your band? Get the full tutorial here.}
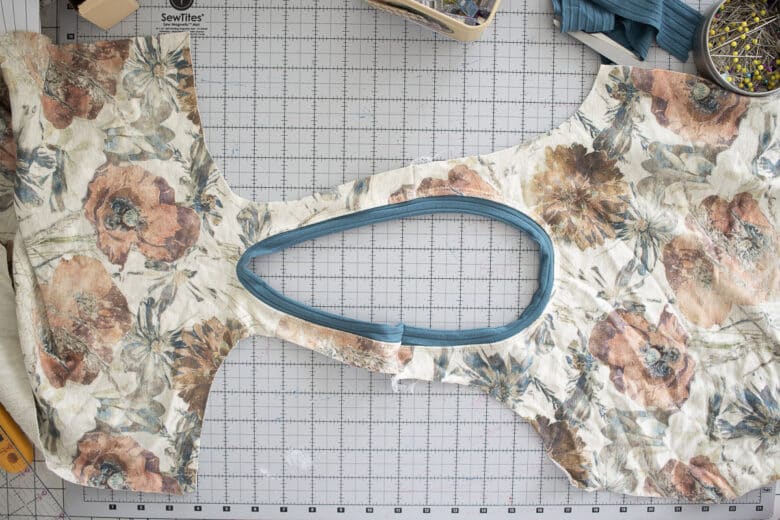
Sew and top-stitch the neckband. Sew the other shoulder seam.
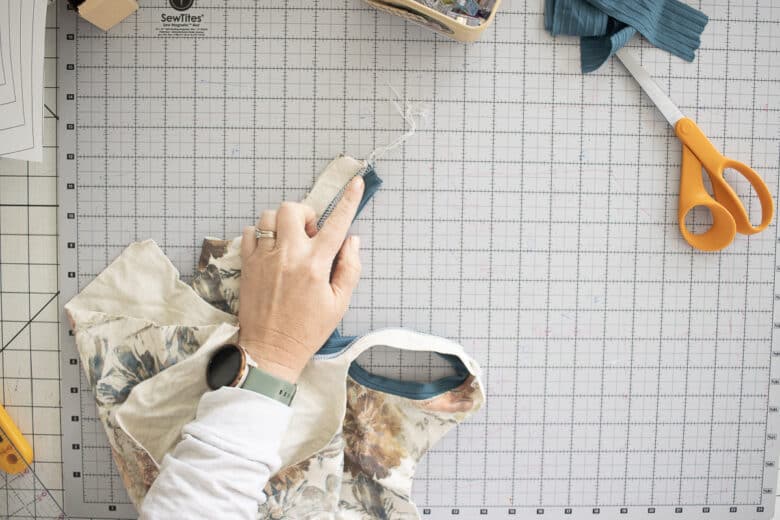
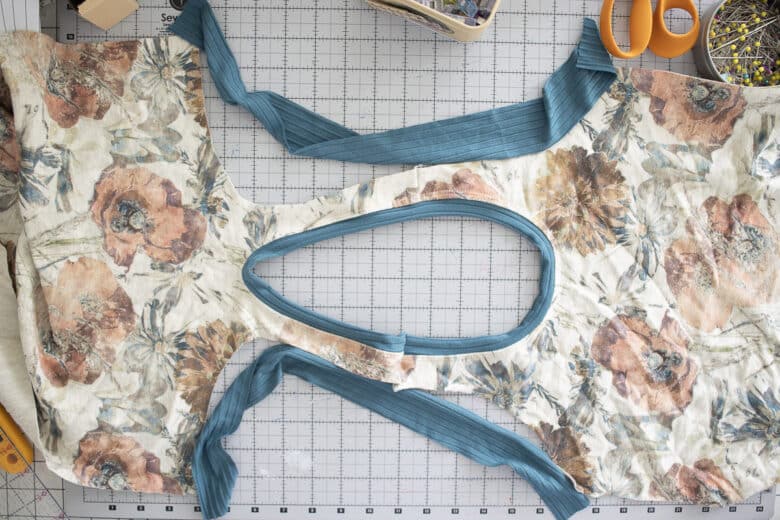
Stretch the arm bands on the shoulders. Sew and top-stitch.
For the shorts, sew the curved crotch seams first. Sew the front and back seam with right sides of fabric together. Open up the shorts and sew the inseam. Then hem the shorts.
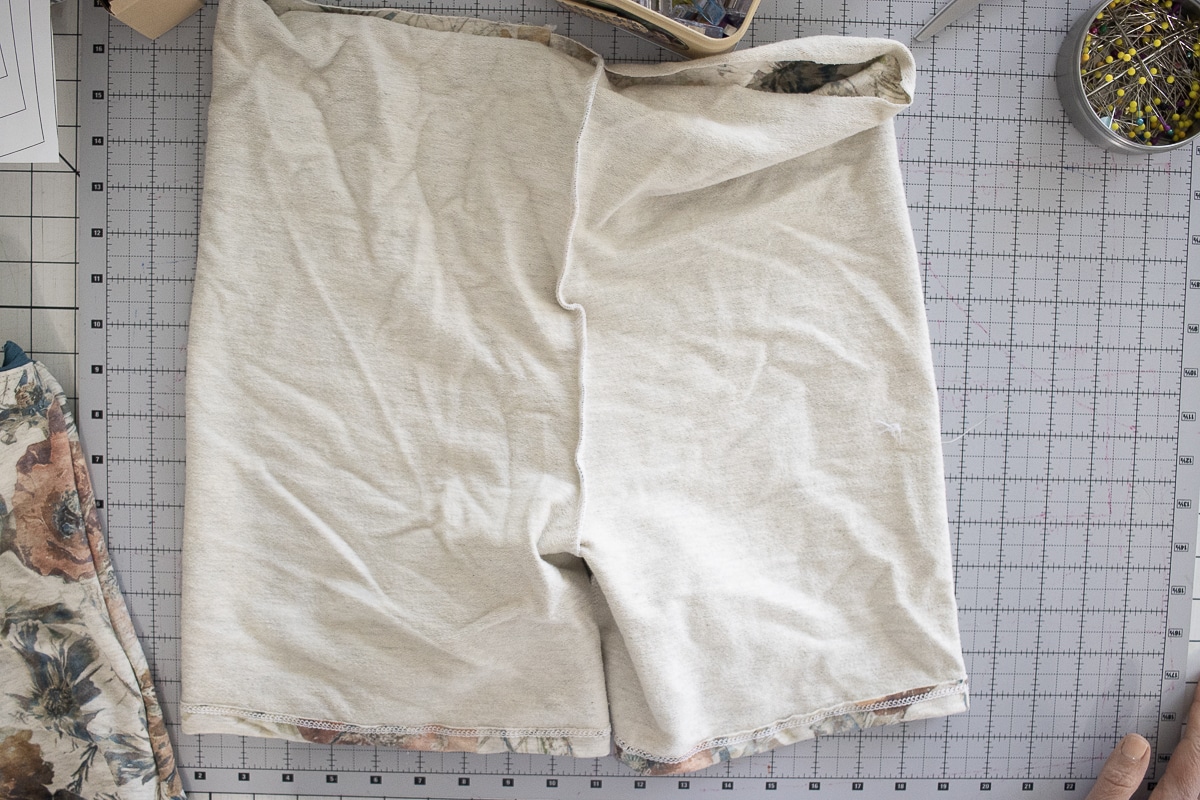
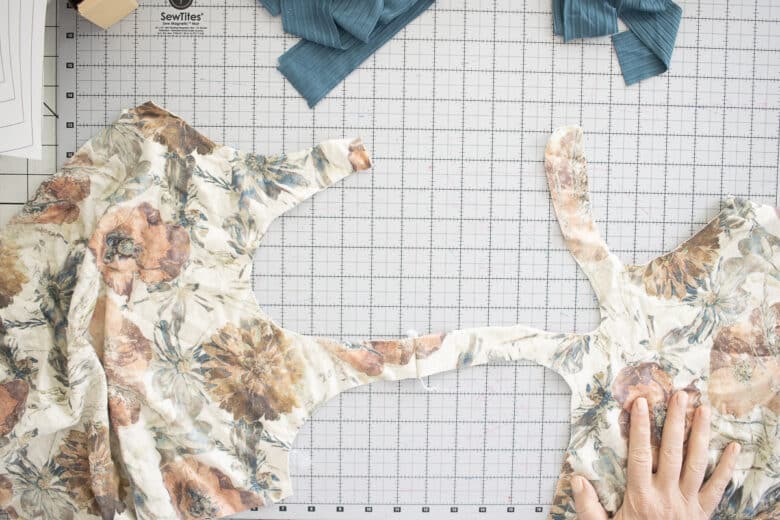
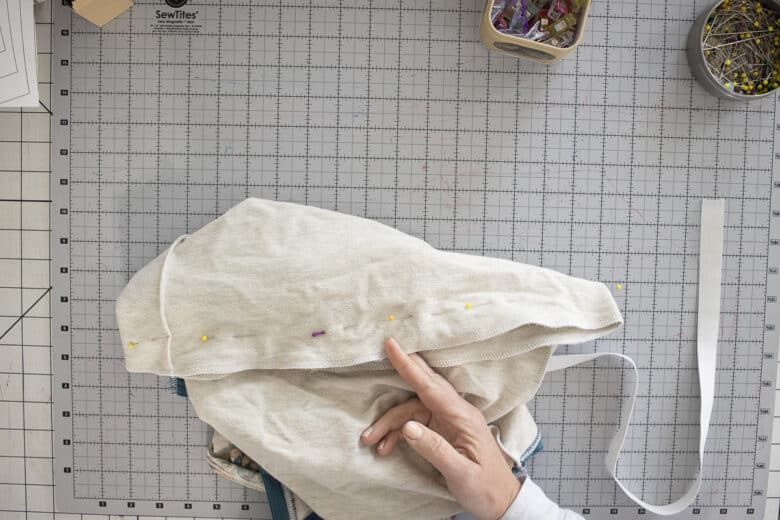
Now it’s time to sew the top and bottom together. Match the fronts and backs. Find the center front and back of the tank top.
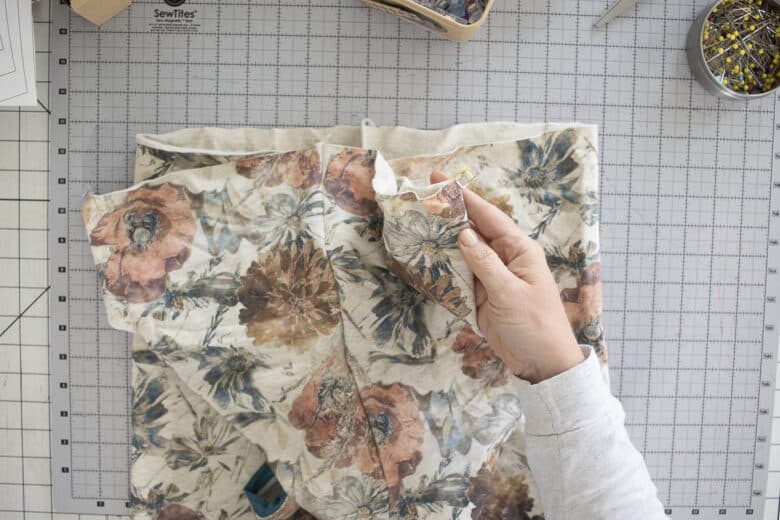
Match the front and back center with the front and back center seam on the shorts. You may need to stretch the tank or shorts a bit fit the other. Pin or clip all the way around.
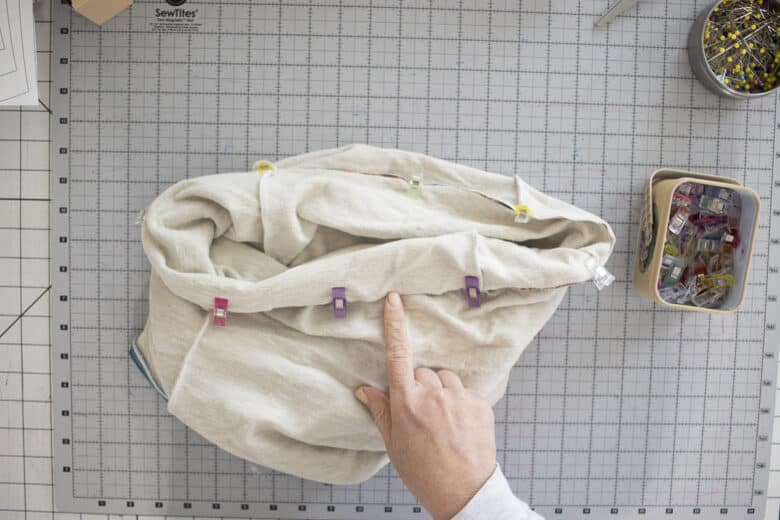
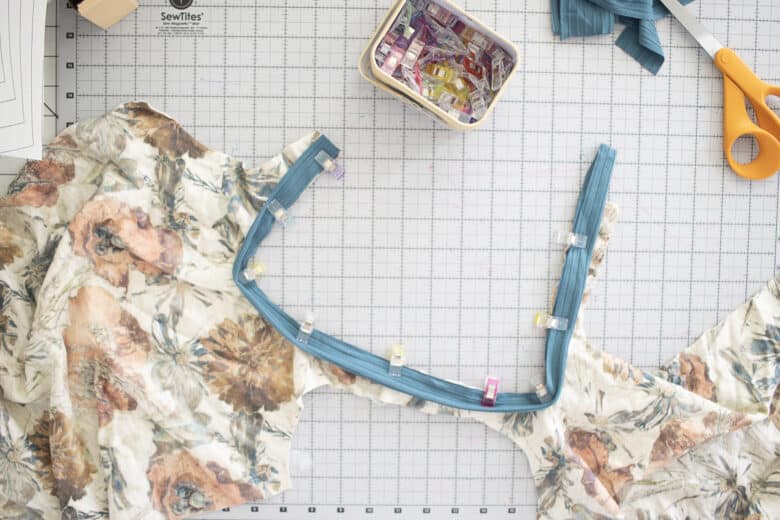
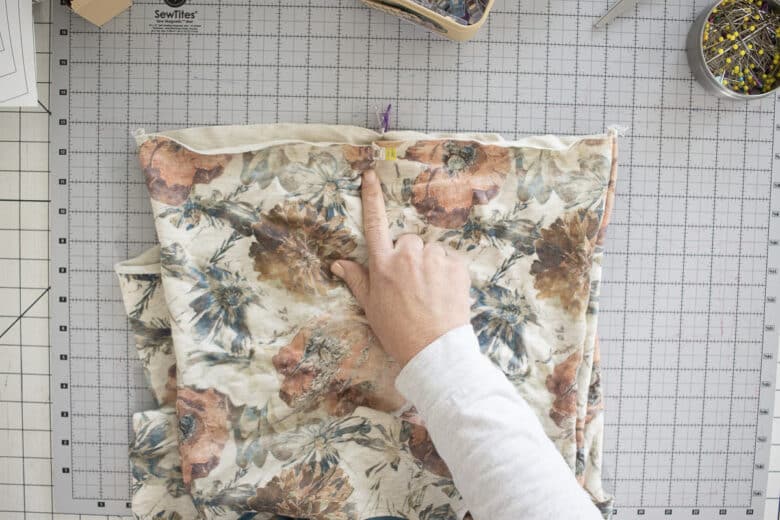
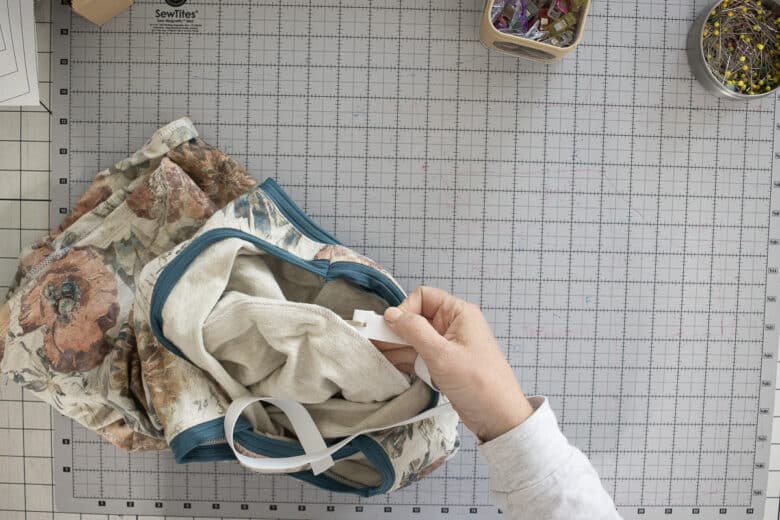
Sew the edge to join. Leave the romper inside out with the waist seam up at the top. Measure 1″ from the seam you just sewed and mark with a pin. Do this all the way around. This will be wide enough to fit your 3/4″ elastic for the waist.
Here you can see my pins all the way around. Make sure they are through both layers of fabric and that it lays smooth {not wrinkled}
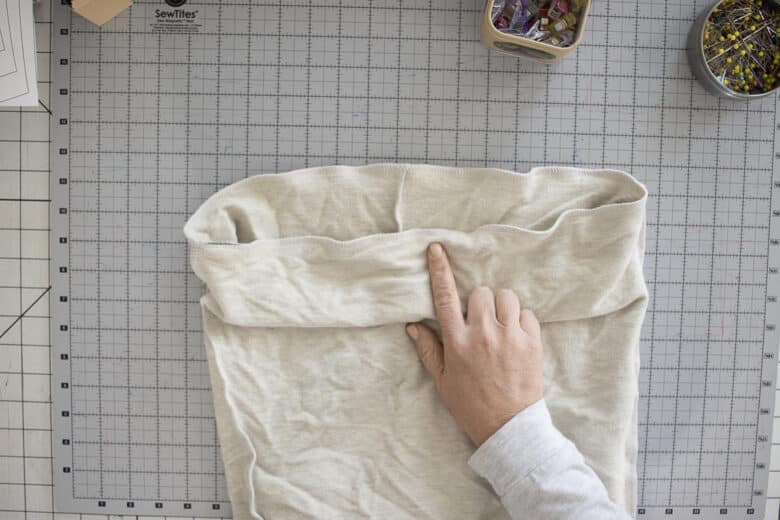
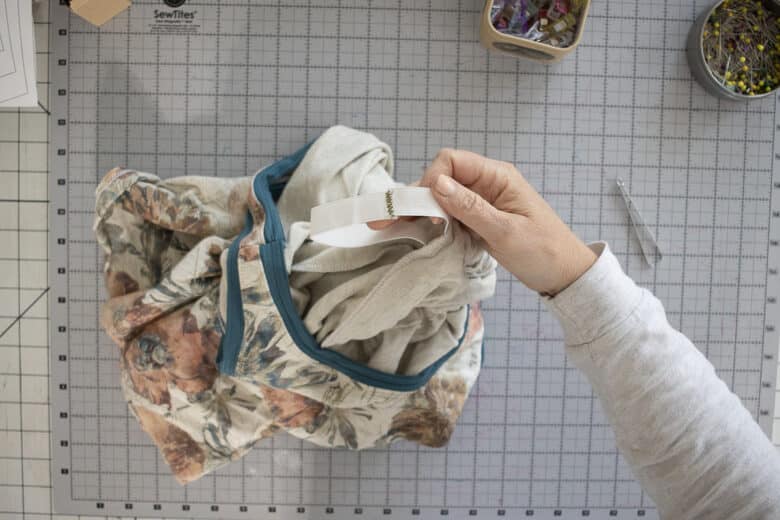
Sew a straight stitch on the pin marked line. Turn to the front and make sure it all lays nicely.
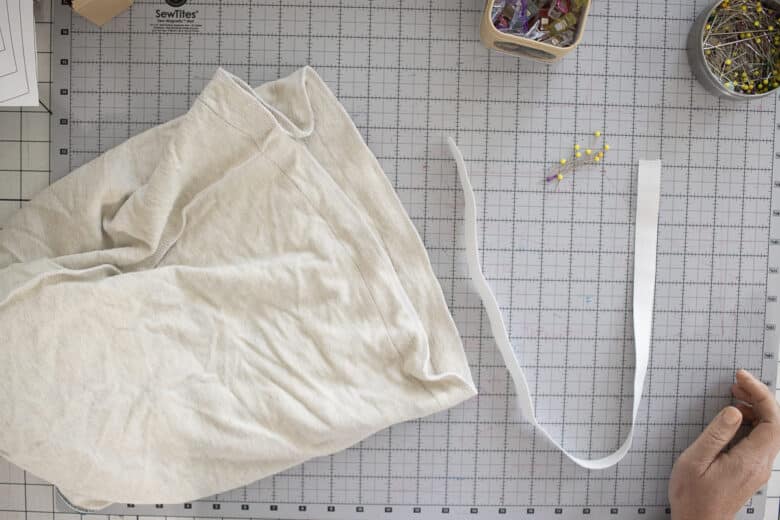
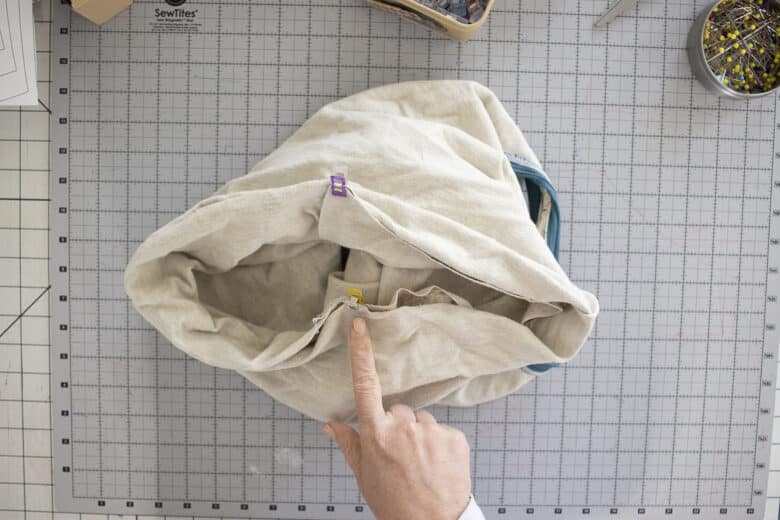
now you will push that 1″ piece we just sewed UP towards the tank and pin the edge {this is creating the casing} Pin all the way around {I like to pin from the front side} Sew with another straight stitch, sew on the front of the romper, use your finger to feel the top edge of the casing and sew along it. Leave a 2″ opening for the elastic.
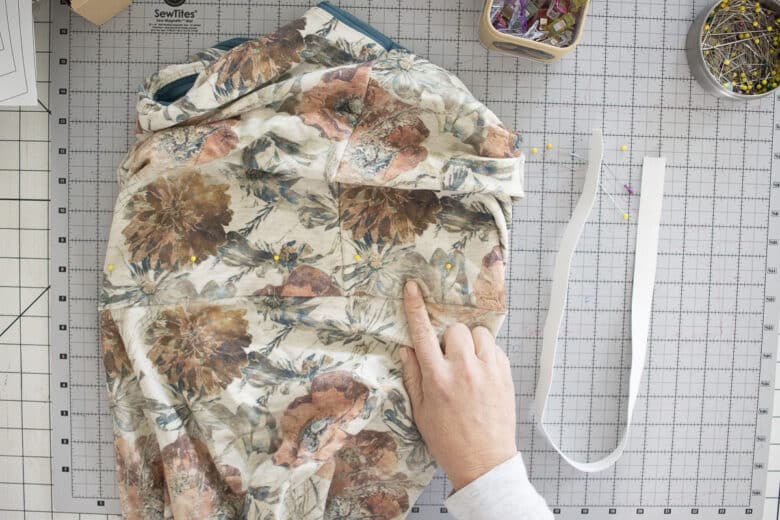
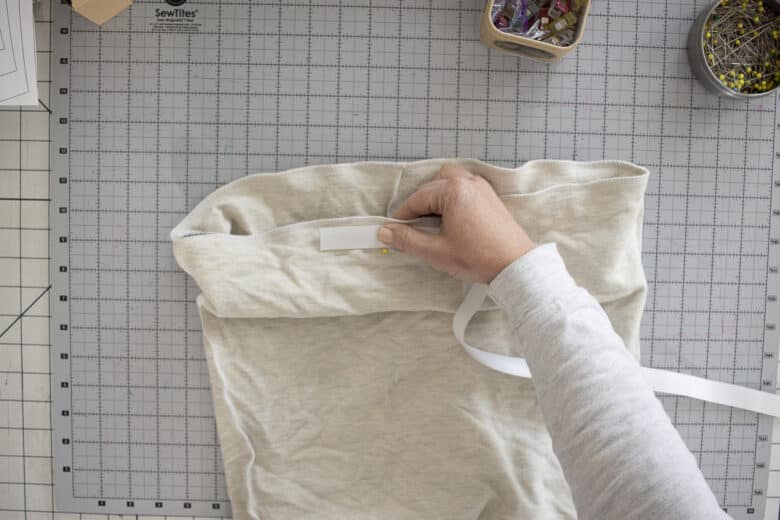
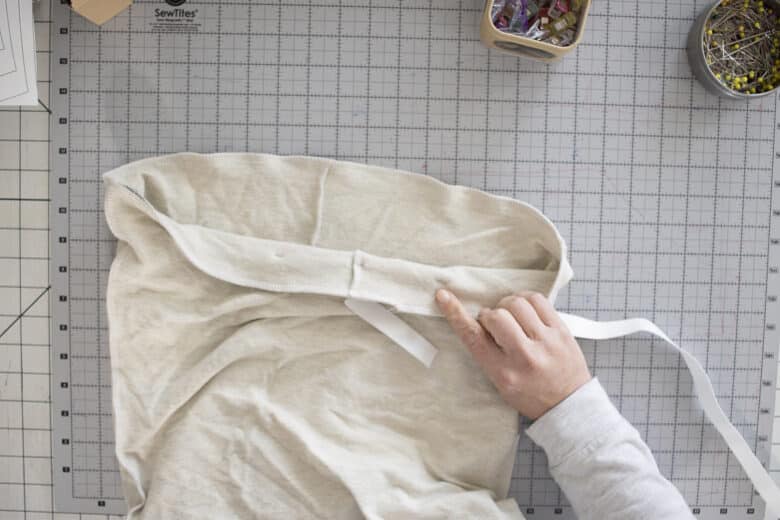
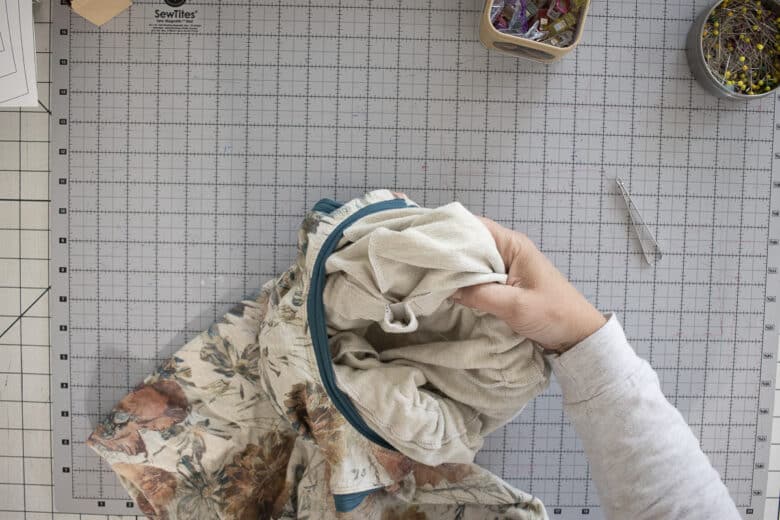
Thread the elastic through, sew the ends together, then sew closed the opening of the casing. Smooth the elastic all around the waistband, then tank the elastic in a few places with some stitches. I sewed on both side seams to keep the elastic from twisting.
You did it!! Share on social and tag me @lifesewsavory, I’d love to see what you make. Email me lifesewsavory@gmail.com with any questions you have on this pattern. Enjoy!!


Charlotte Montgomery says
Clarification please. In the instructions for the arm and neck bands it says “Cut your own neck and arm bands. I cut mine 1/75″ wide and then just a couple long strips. I cut the strips to size as I went.” 1/75″ should be what measurement?
Thank you. My granddaughter loves rompers! Can’t wait to sew this one for her.