


inside: Sew up a quick and easy tote bag with sweatshirt fleece. This tote bag tutorial is a perfect first sewing project and also has a cute border detail. Add sublimation for a quick decoration.
I love making tote bags. I’ve sewn many many over the years and often try to find a slightly new and different way to sew a tote each time. Today my tote bag is made of sweatshirt fleece {soft and cozy!} and it has a fun little border on the top for a pop of color.

Sweatshirt fleece tote bag
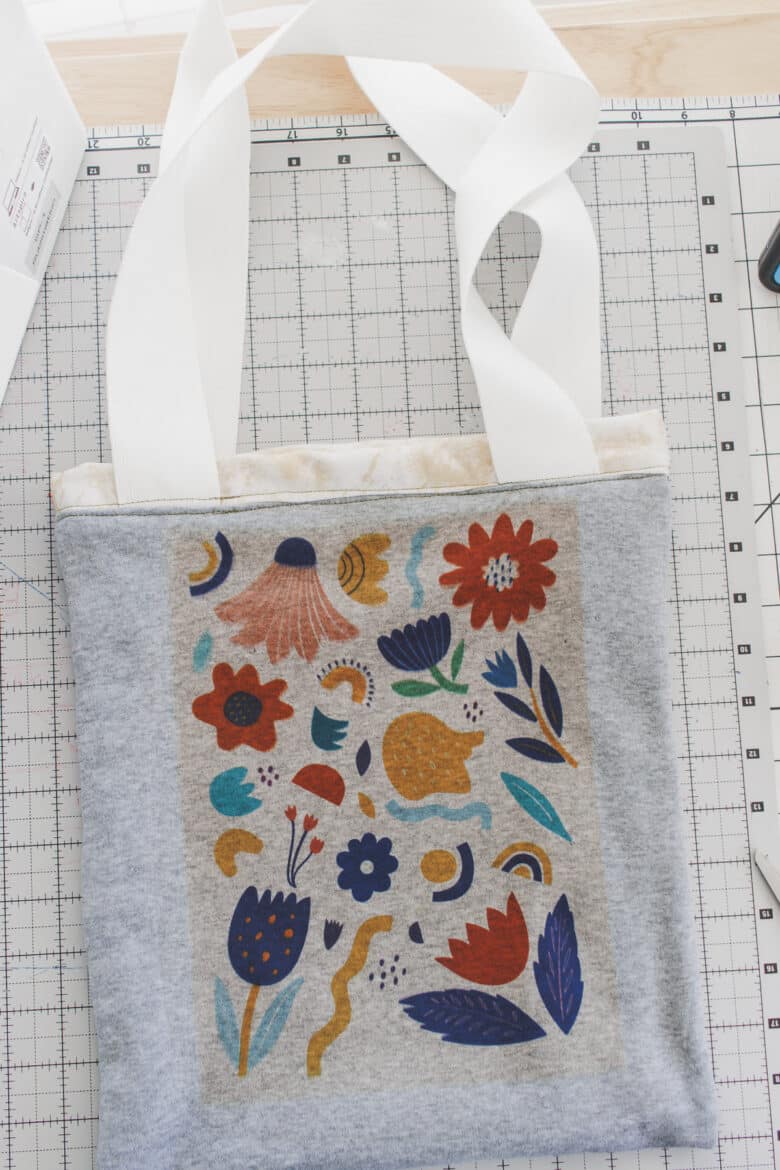
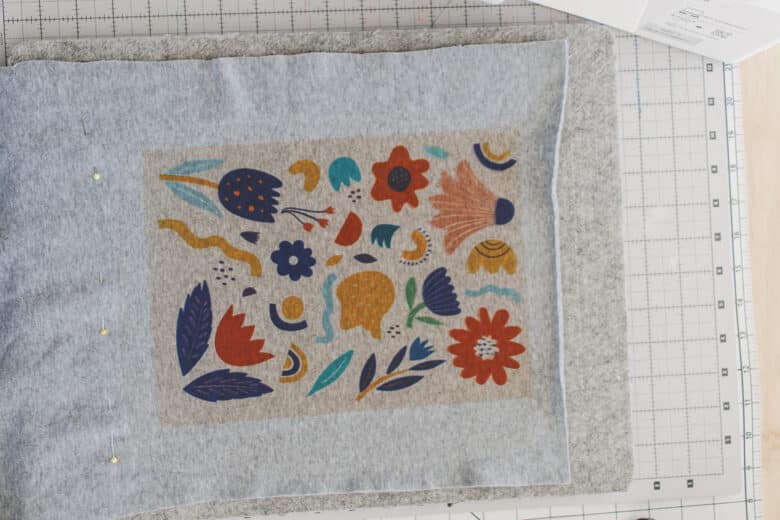
I had these scraps of sweatshirt fleece in my stash and wanted to try making a tote, and adding sublimation to to the grey fleece. I wasn’t sure how the sublimation would stand out on the grey, but it worked perfectly and I will be making a grey sweatshirt with sublimation soon! The colors are still so vibrant.
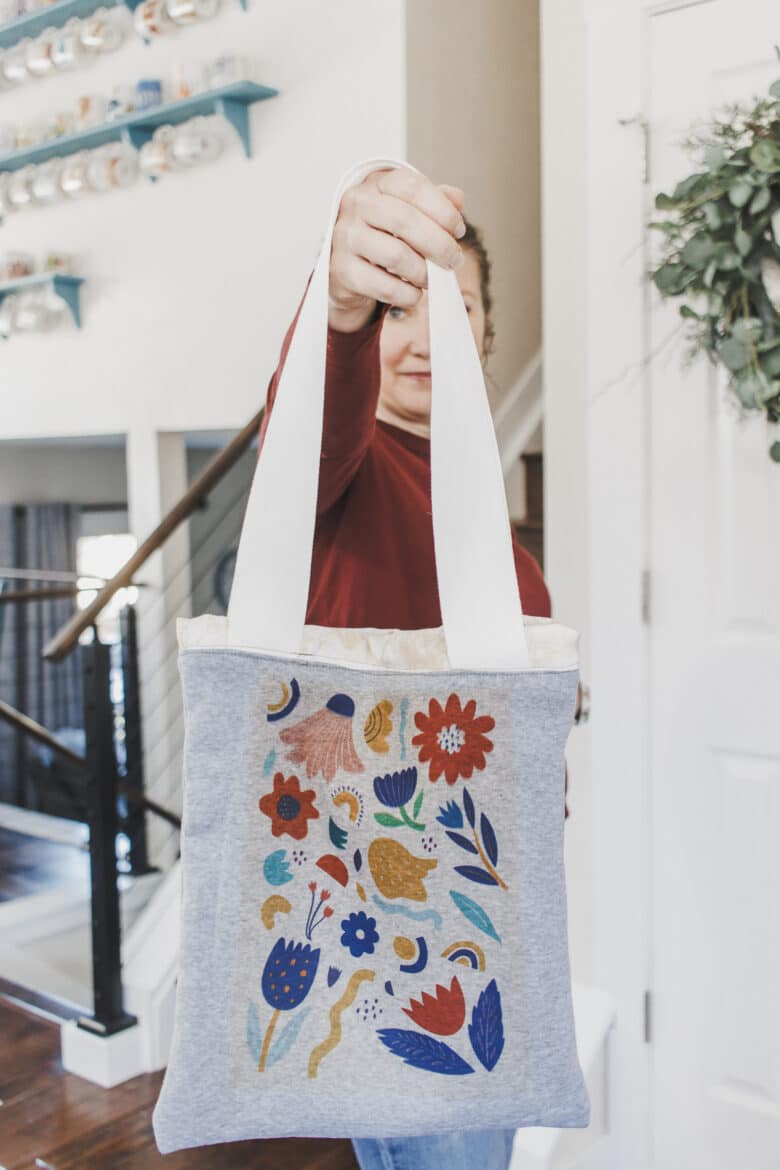

I also added a small border on the top of the tote for another pop of color. The finished tote is fabulous and I’m very pleased with the result. Below you will find the tutorial to sew this tote yourself.

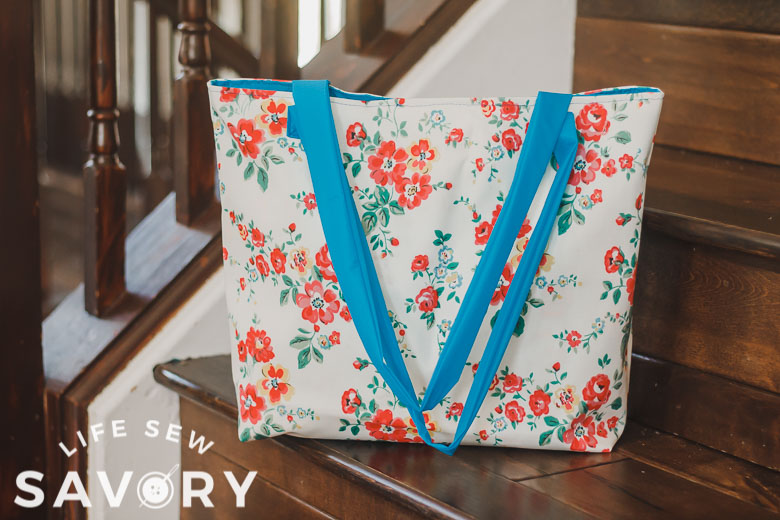
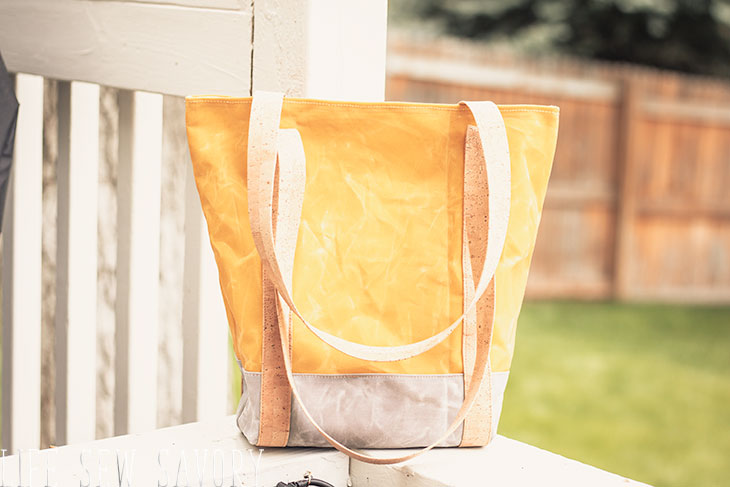
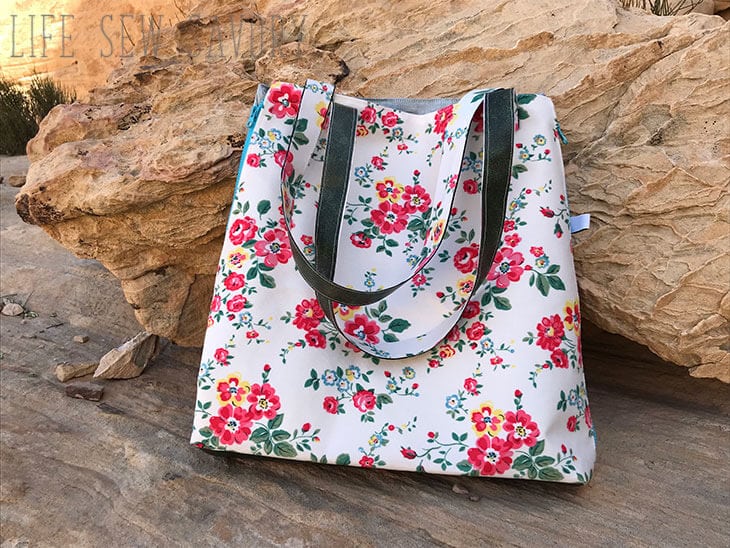
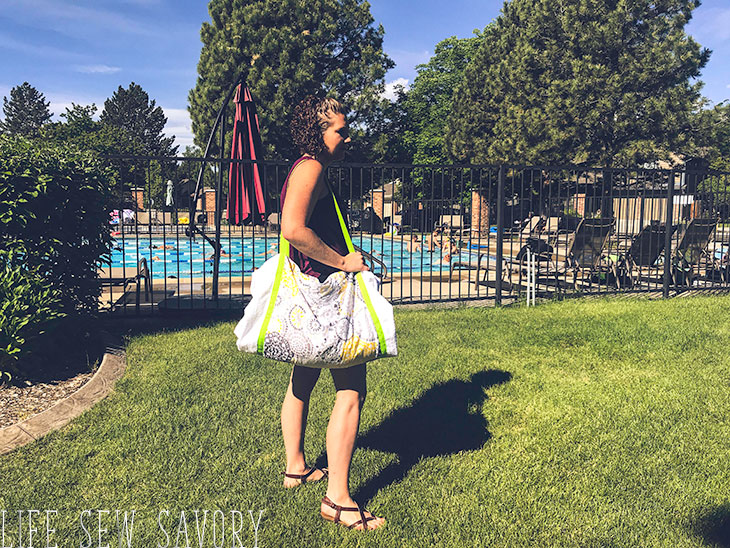
Other fun tote tutorials to try
Here are several other tote bags I’ve sewn over the years and the tutorial that goes with them. Enjoy!
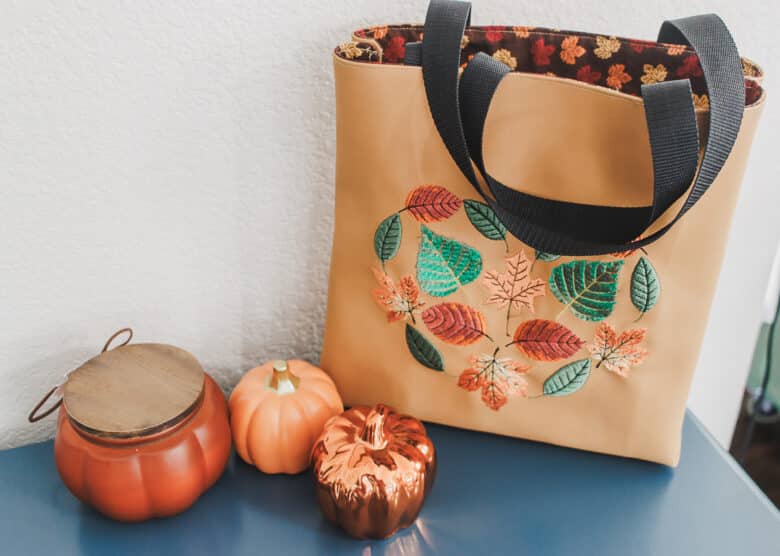
- Leaf embroidery box side tote
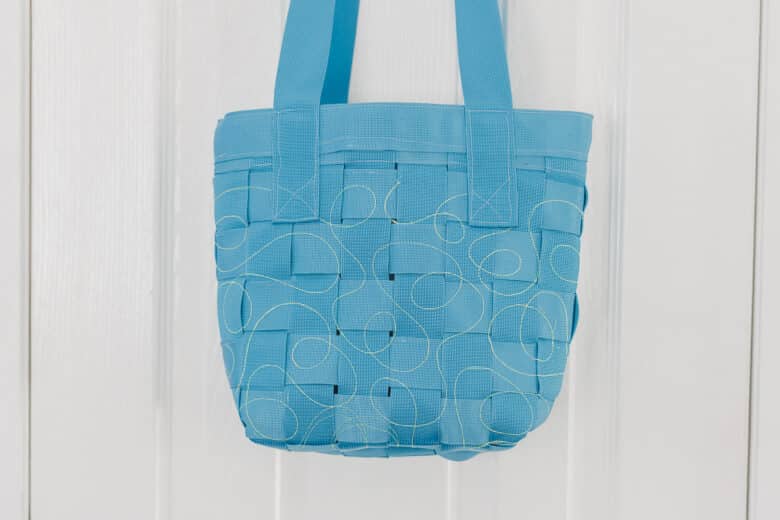
- Woven webbing tote
- Simple Summer tote
- Canvas and cork tutorial
- Zip-side tote
- Pool towel/blanket tote
How to sew a sweatshirt tote bag tutorial
Ok! Let’s jump into making this bag. Of course you can use this type of fabric with another method of tote bag making, but I’m going to show you how I made this one. Here is what you will need:
Cut two rectangles. You can adjust the size as needed, but I cut mine:
- 12.5″ x 26
- 12.5″ x 29 {this is the lining piece}
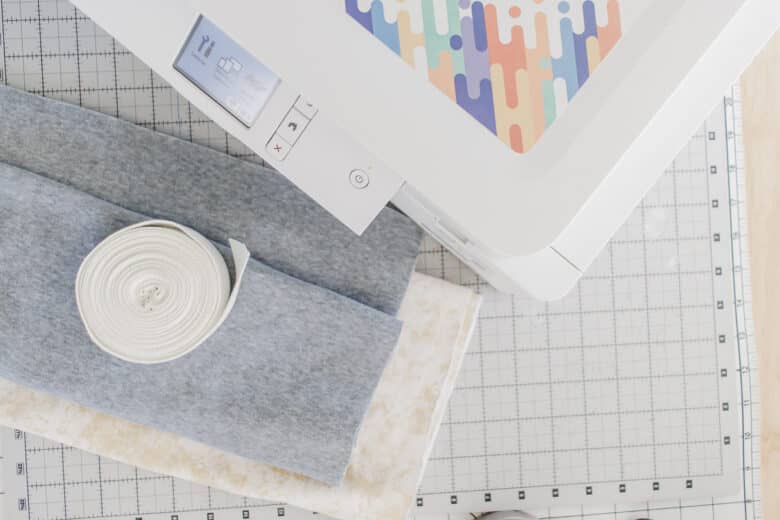
- Strapping 27″ – cut 2
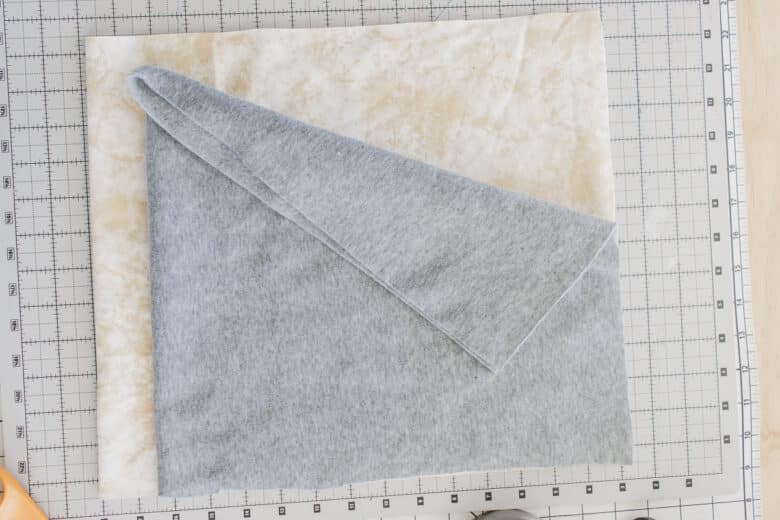
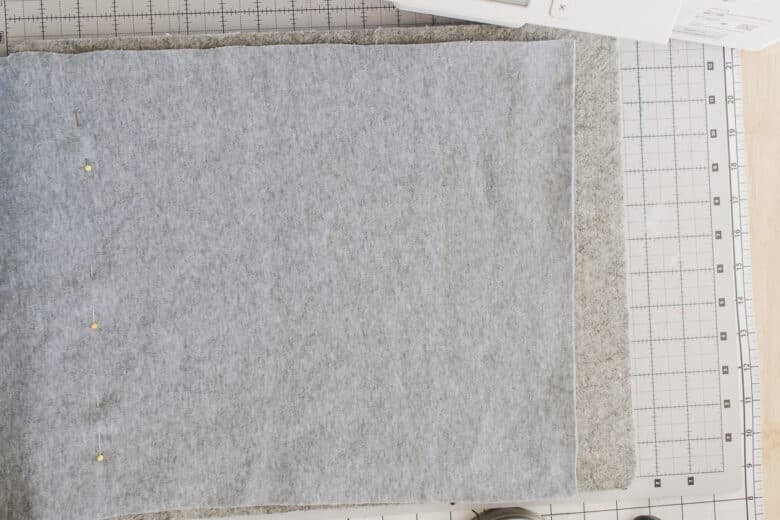
You will cut long rectangles for the main and lining piece. The fold of this rectangle becomes the bottom of the bag. The pieces should be the same width {narrow side} and different lengths.
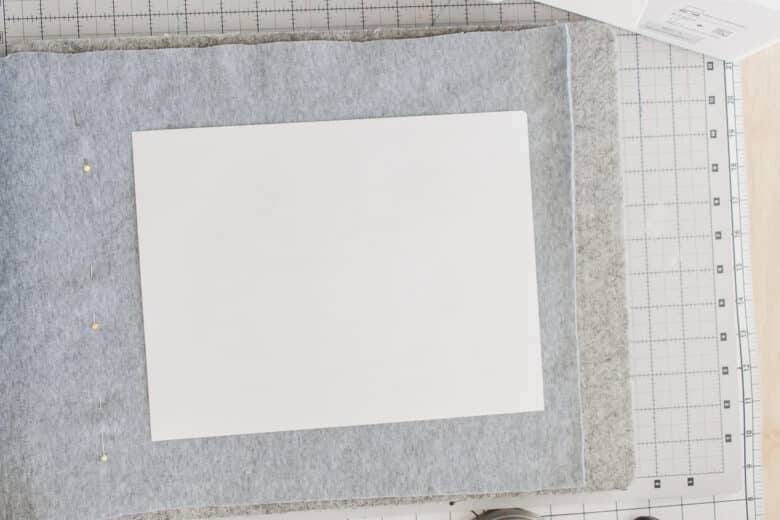
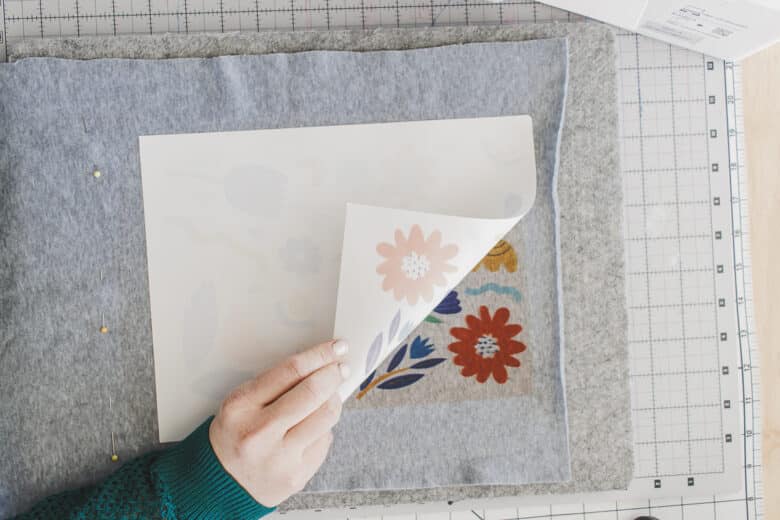
Find the center of the outer piece and mark. If you are adding sublimation to the front {or vinyl or any other decoration}, print that design now.
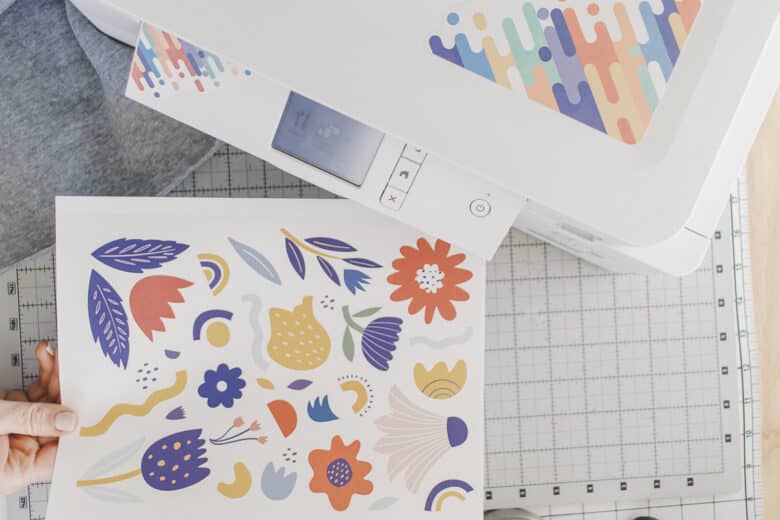
Place the front of the bag on a pressing pad or ironing board. Center the printed sublimation on this front section.
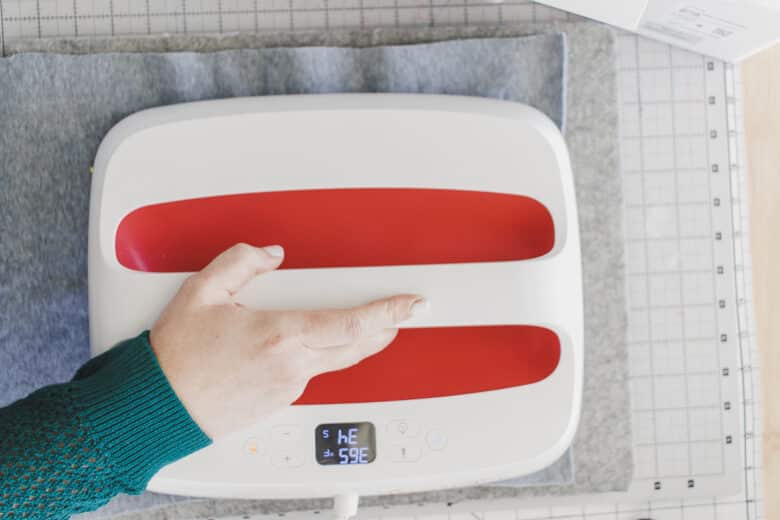
I pressed for 40 seconds at 365 degrees, but check the directions with your printer. I like to peel back just a corner to check the transfer before completely lifting. If it seems the ink has not transferred all the way, you can press again.
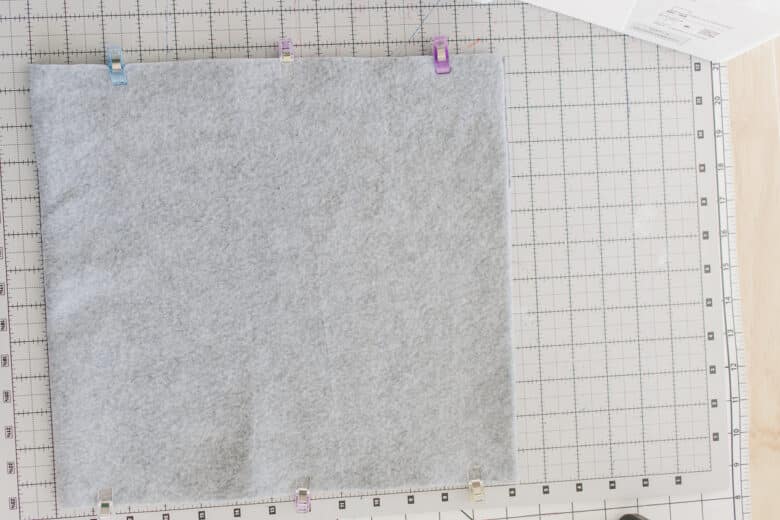
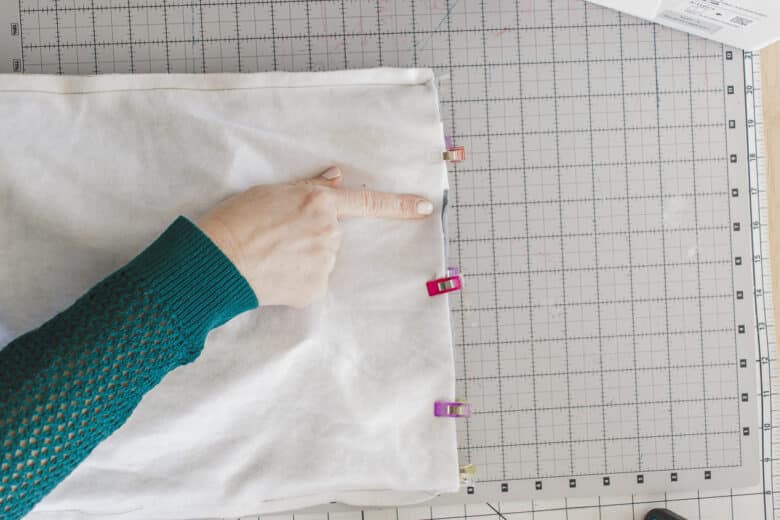
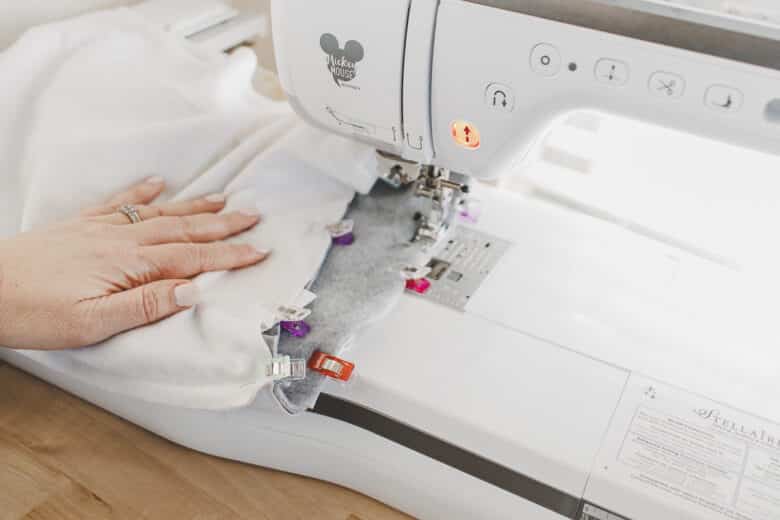
Fold this piece in half with right sides together and pin or clip the sides. Sew both sides with a 3/8″ seam allowance.
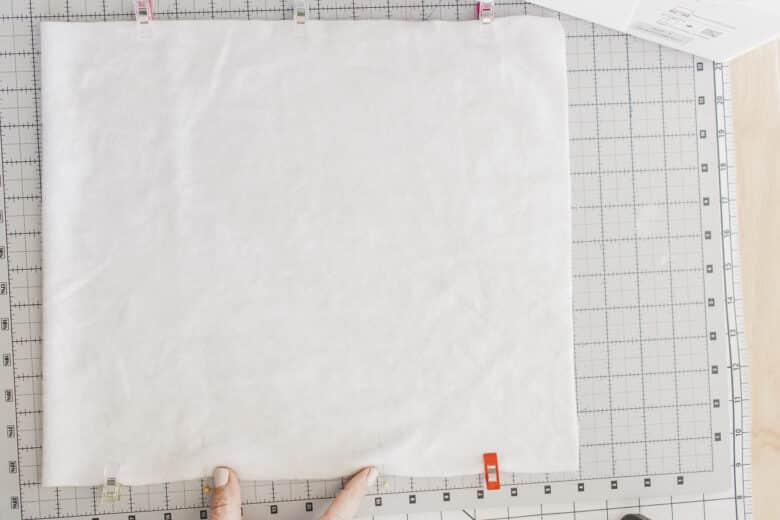
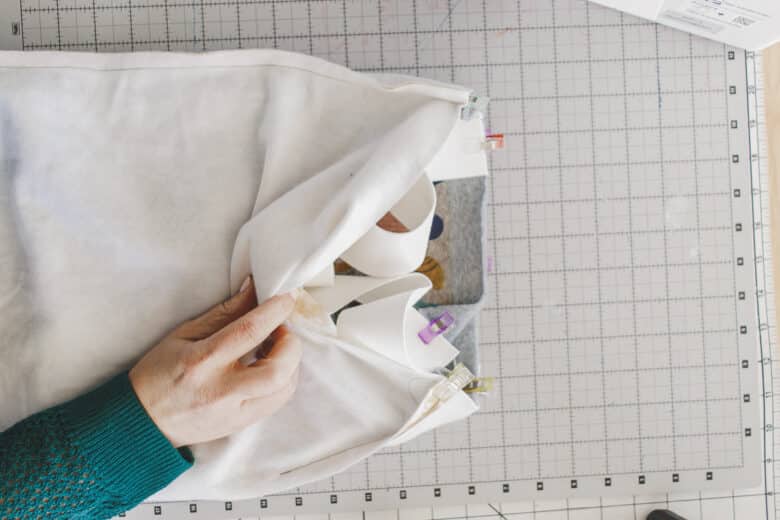
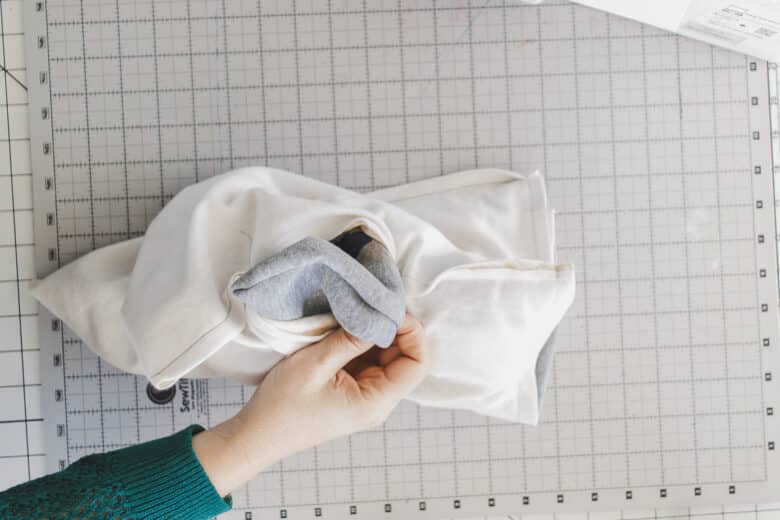
Do the same with the lining piece, but leave a 4″ opening on one side. See where my fingers are pointing below. This will be the hole where you turn the bag right side out. Sew the side seams of the lining.

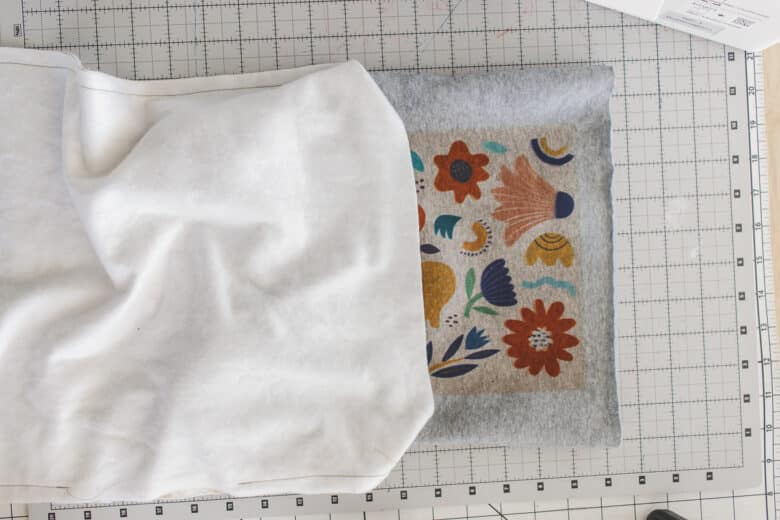
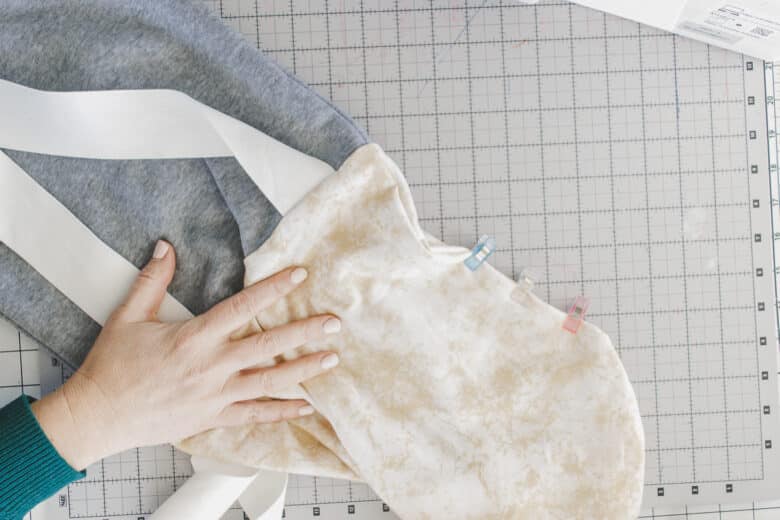
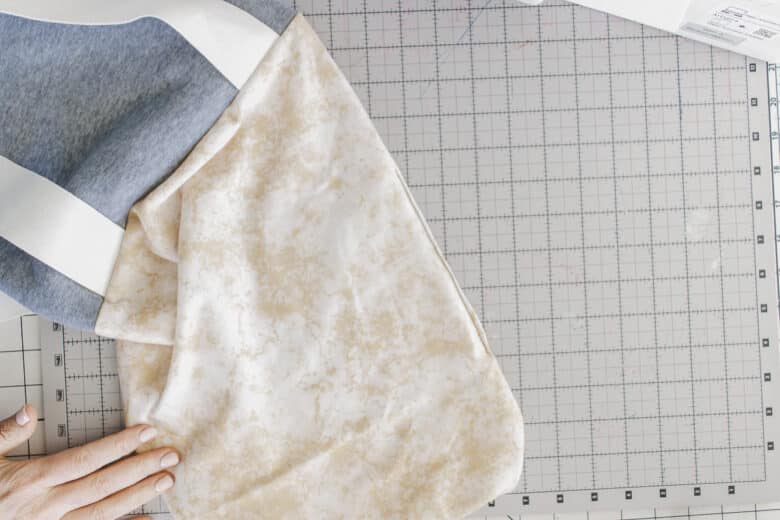
Turn the outer piece right side out and slide it inside the lining piece.

Take your pieces of strapping and place the straps about 1-2″ from the side seams. Pin or clip the straps in place, then tuck the straps between the two layers of sweatshirt fleece. Repeat with the other side of the bag.
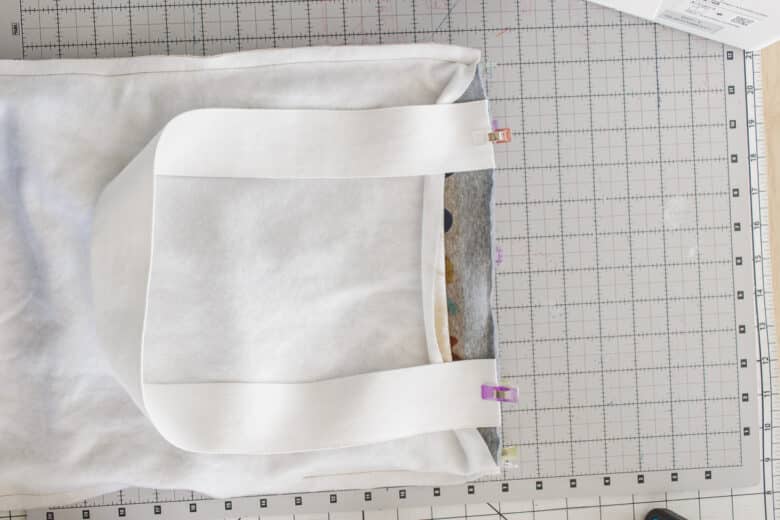
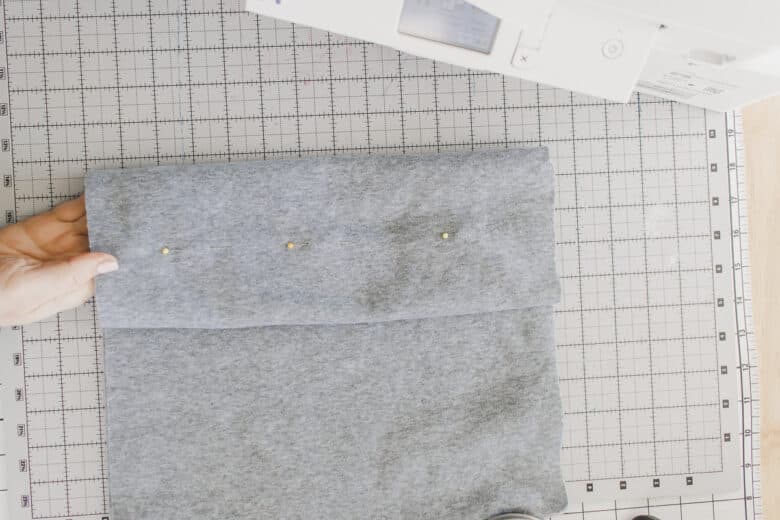
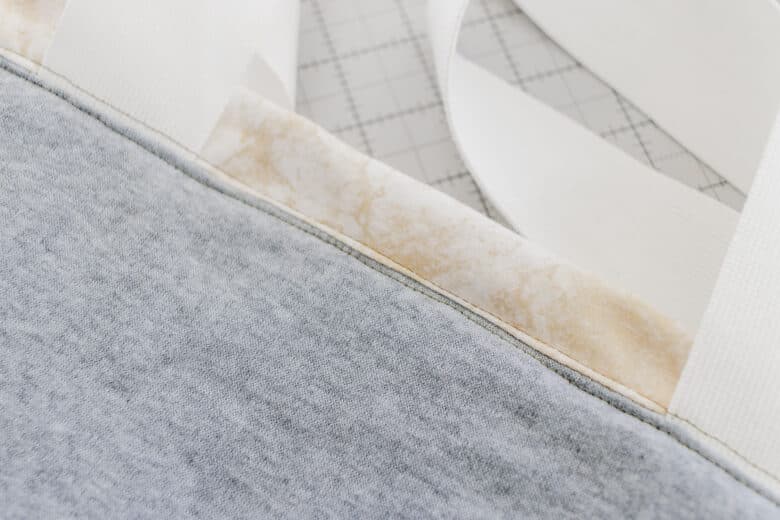
Add more clips to secure the layers of fleece together and hold the straps in place where they are. Sew with about a 1/2″ seam allowance around the top of the bag. I backstitched over the placed where the straps were to reinforce. Sew all the way around.
Pull the bag out through the hole int he lining. Turn the seam allowance in and pin or clip. Sew close to the edge and close the hole.
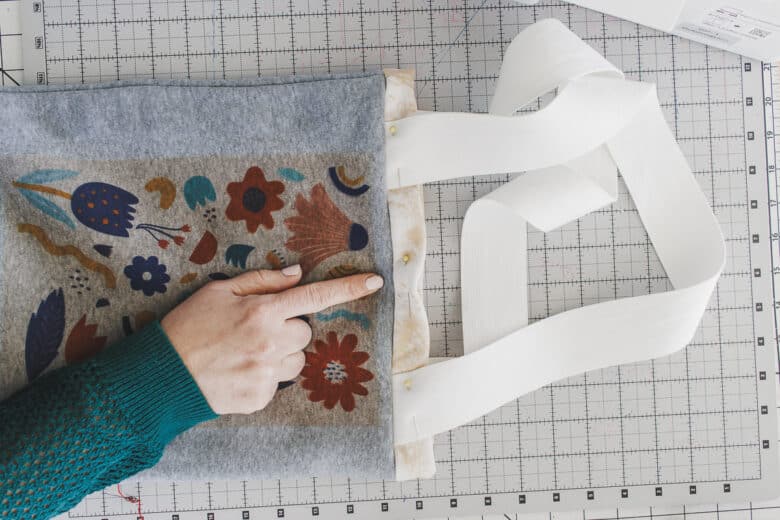
Push the lining inside the bag, but leave the fold about 1″ above the outside fabric. This will add the color of the lining fabric at the top of the bag and add a nice top. Pin this 1″ fold, making sure the seams allowance is folding down towards the bag. Sew a close top stitch on either side of the seam to finish the bag. Now you can fill, use and enjoy!!


Leave a Reply