inside: Learn how to make your very own viral knit romper DIY version with this free sewing pattern and tutorial. Sew your very own super comfy knit romper with this printable sewing pattern and hack.
Lately I’ve been seeing a super cheap knit romper everywhere on social media. I’m sure I see it even more because I may have clicked on an ad to look more closely at the outfit. So now of course I see the ads everywhere. It was time to create my own viral knit romper! This DIY tutorial will use my romper pattern to show you how to create your own adorable {and super comfy} romper outfit.
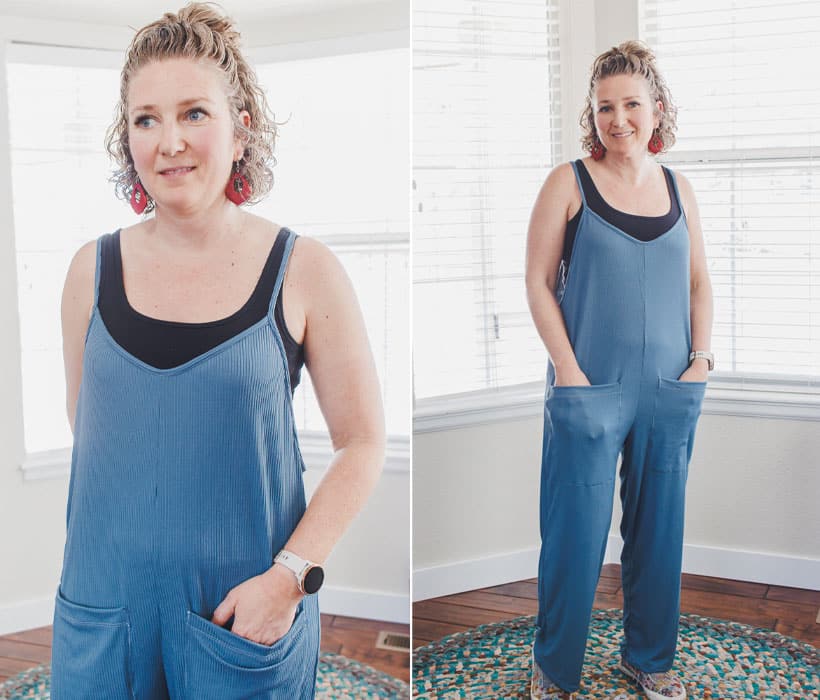
Viral Knit Romper DIY version
As soon as I saw these photos I knew that I wanted to adjust the neckline. Also, my strap ended up too short and this made my romper a bit tight in rear area {haha} SO.. I made a few adjustments and am still going to share both version here. You may like the one with more coverage {just make sure your straps are long enough!}
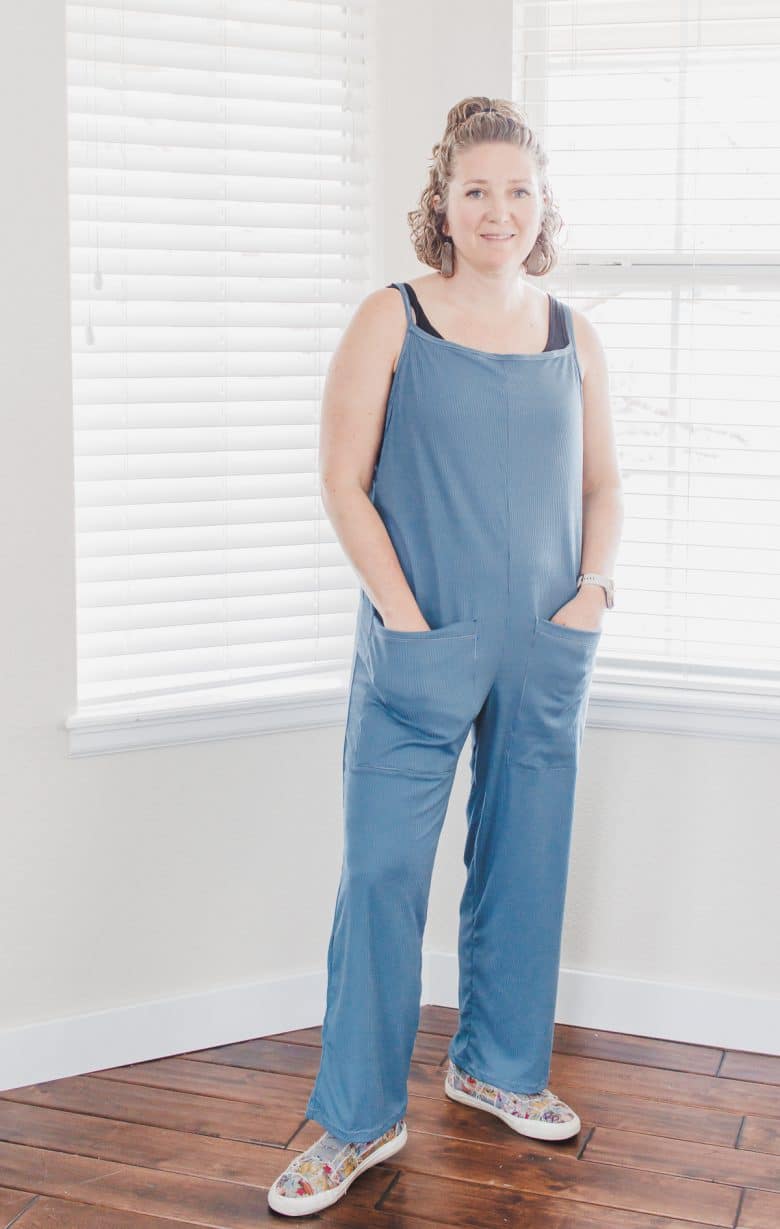
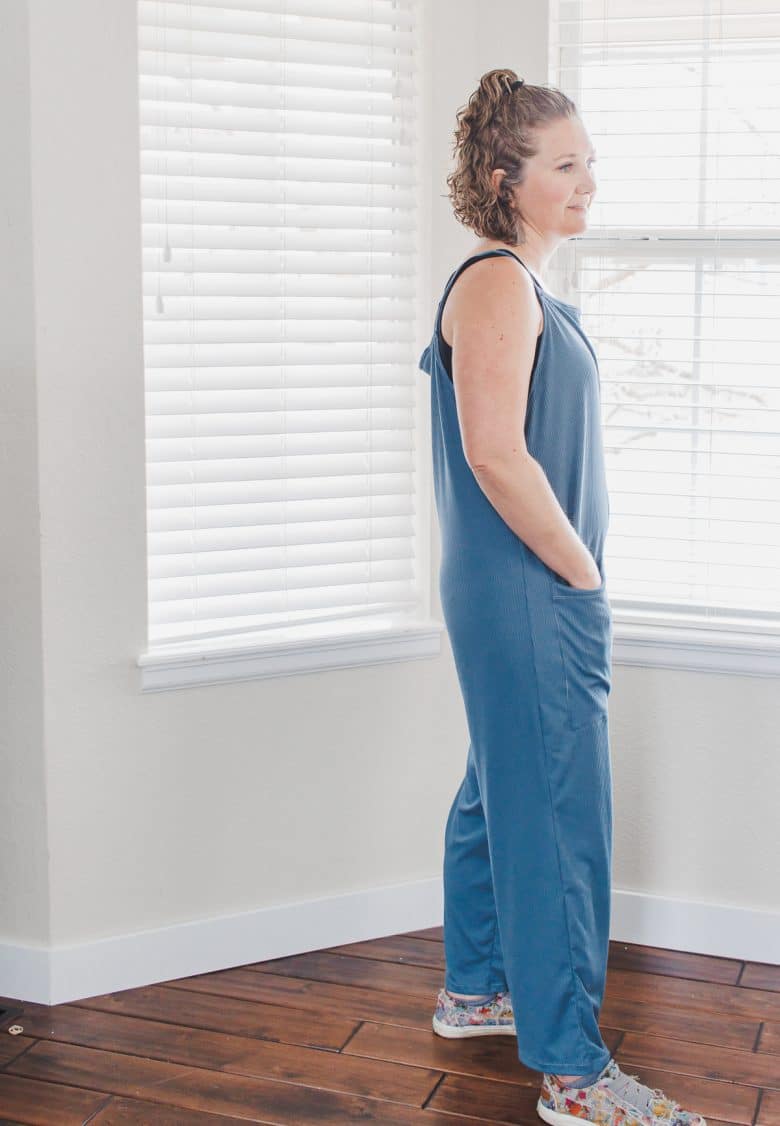
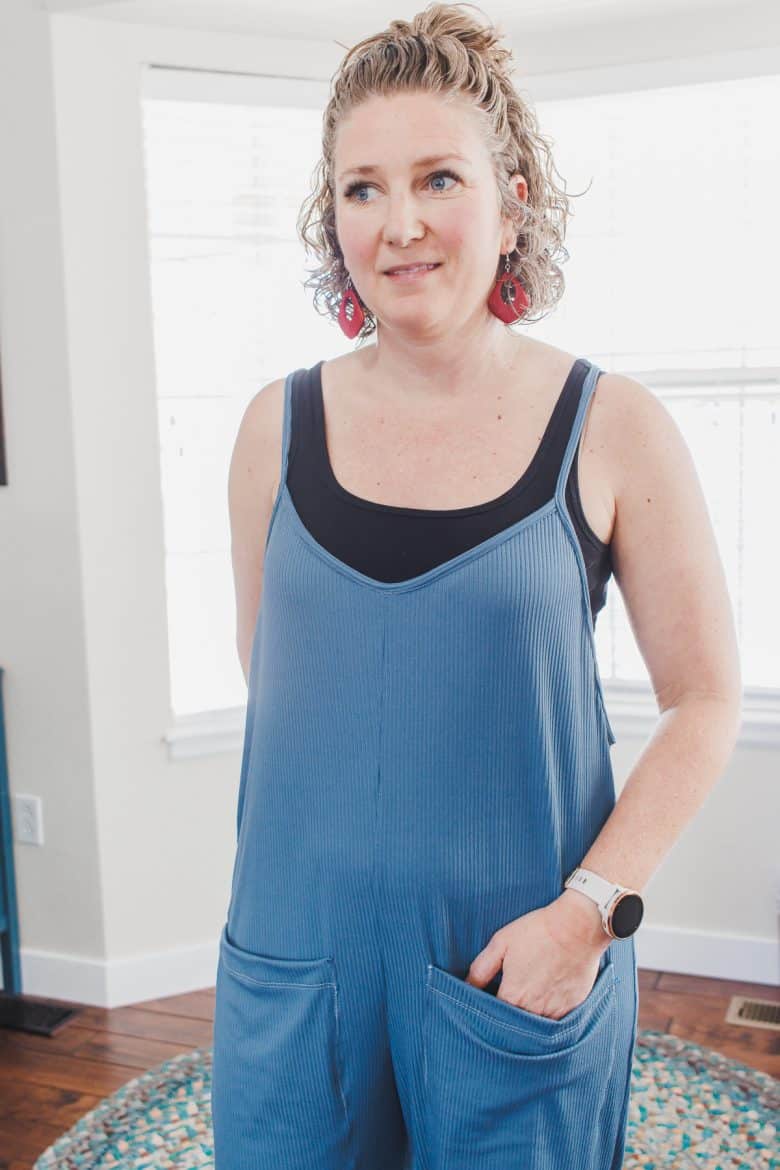
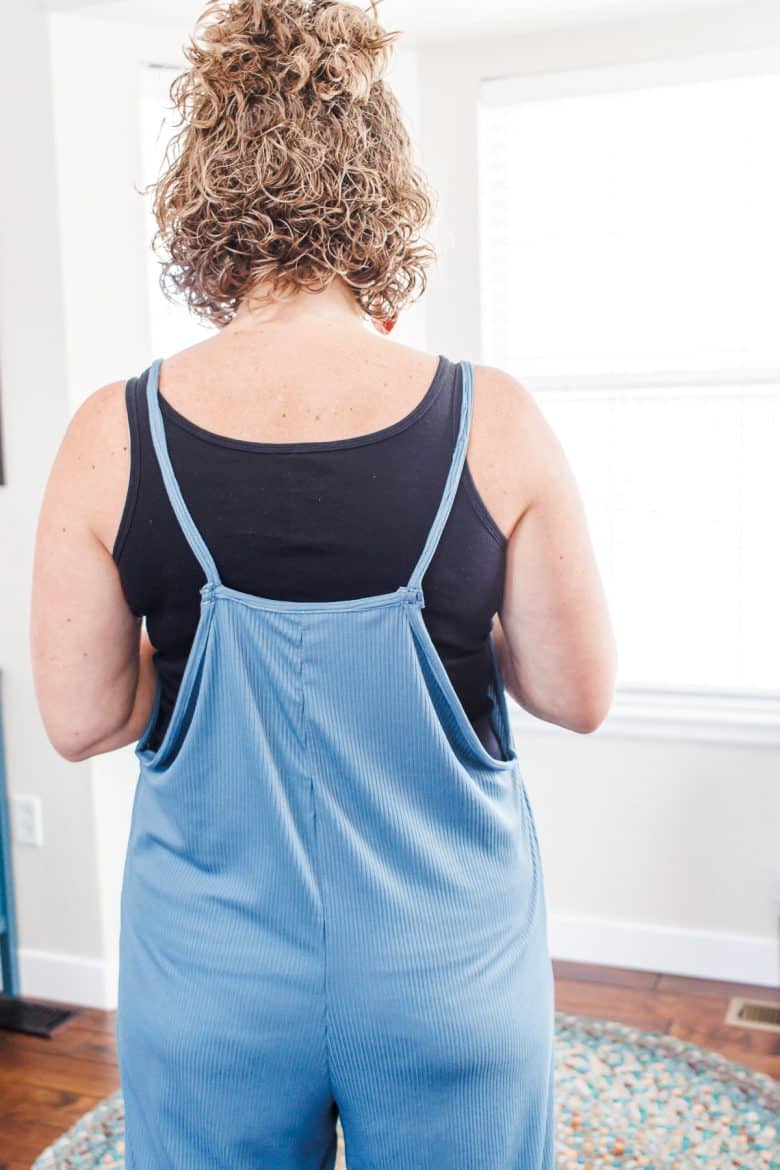
And here is my updated version. Narrower across the chest with a bit of a scoop. You can make this however you want across the front. I cut off all my binding to make the top more narrow on both the front and back and add a scoop on the front.
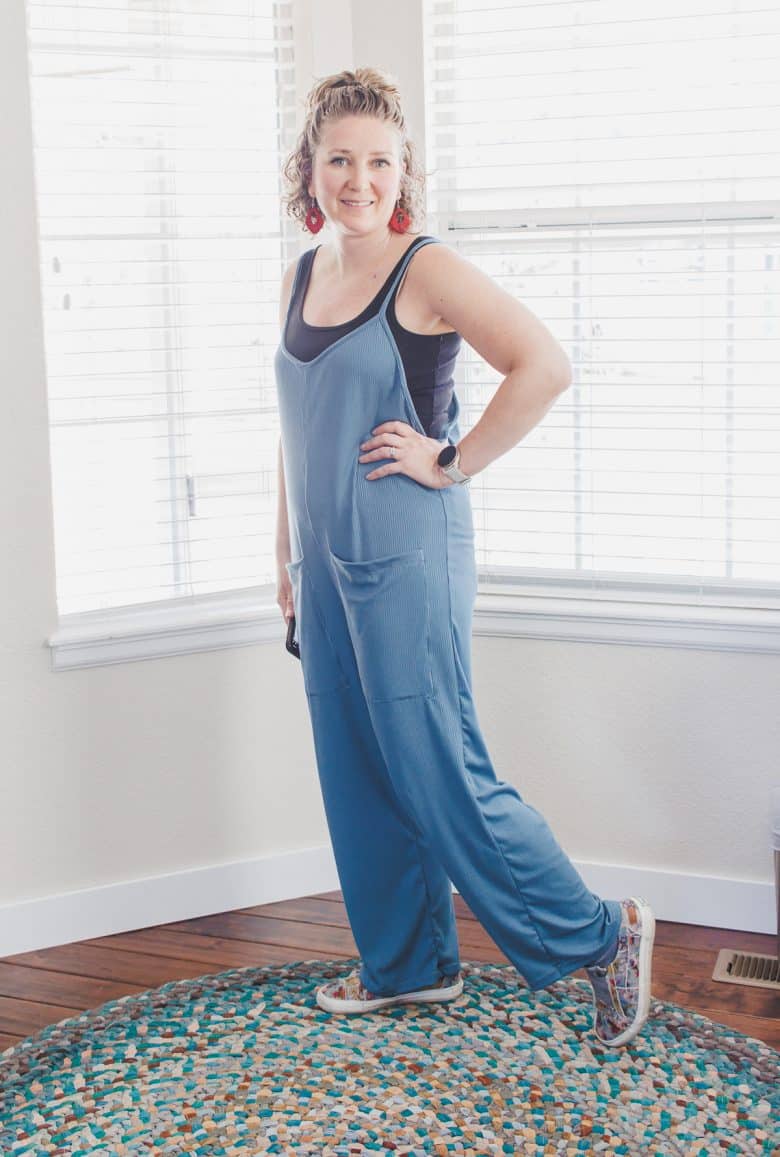
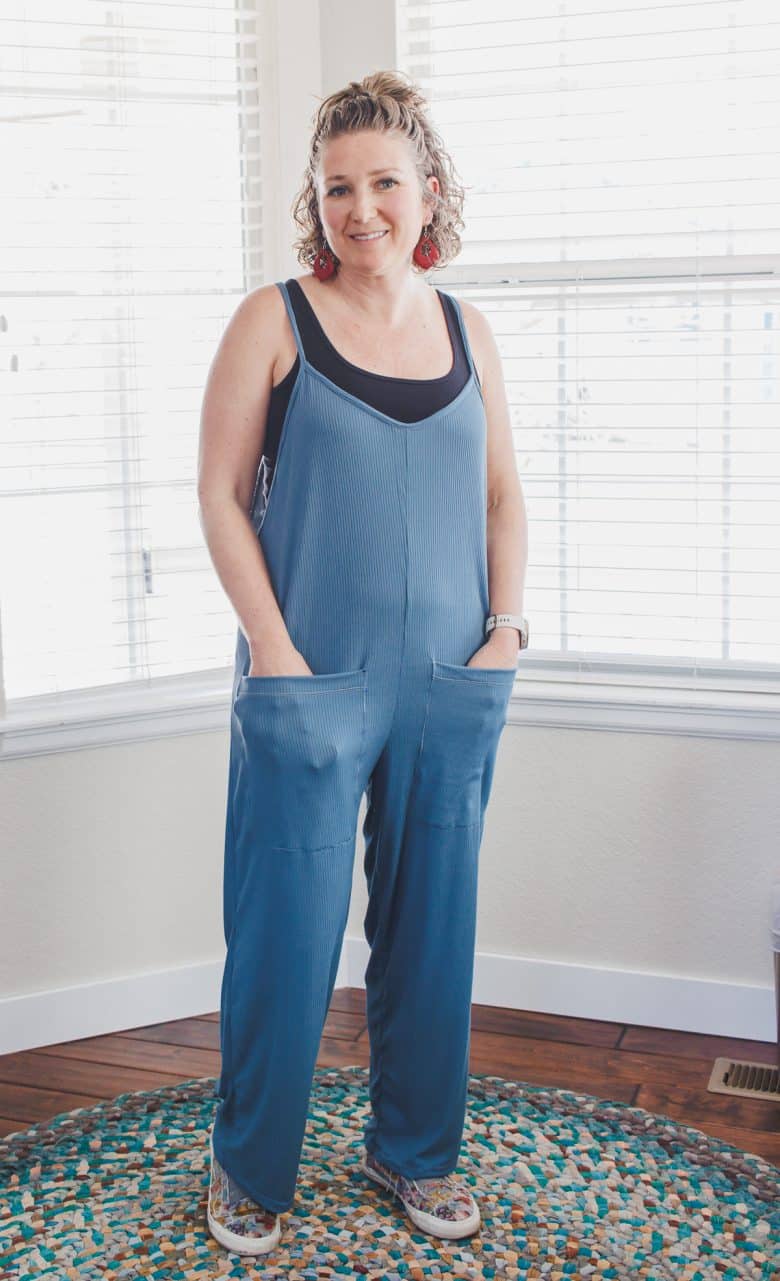
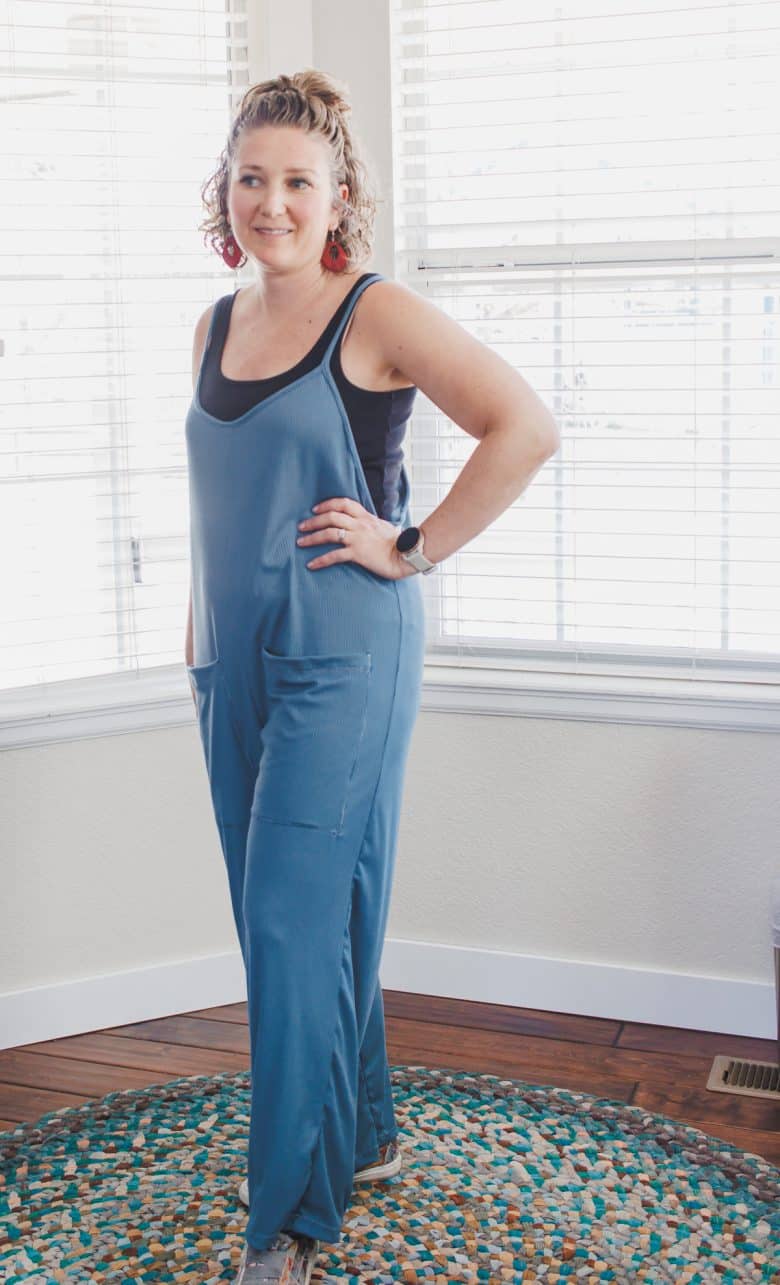
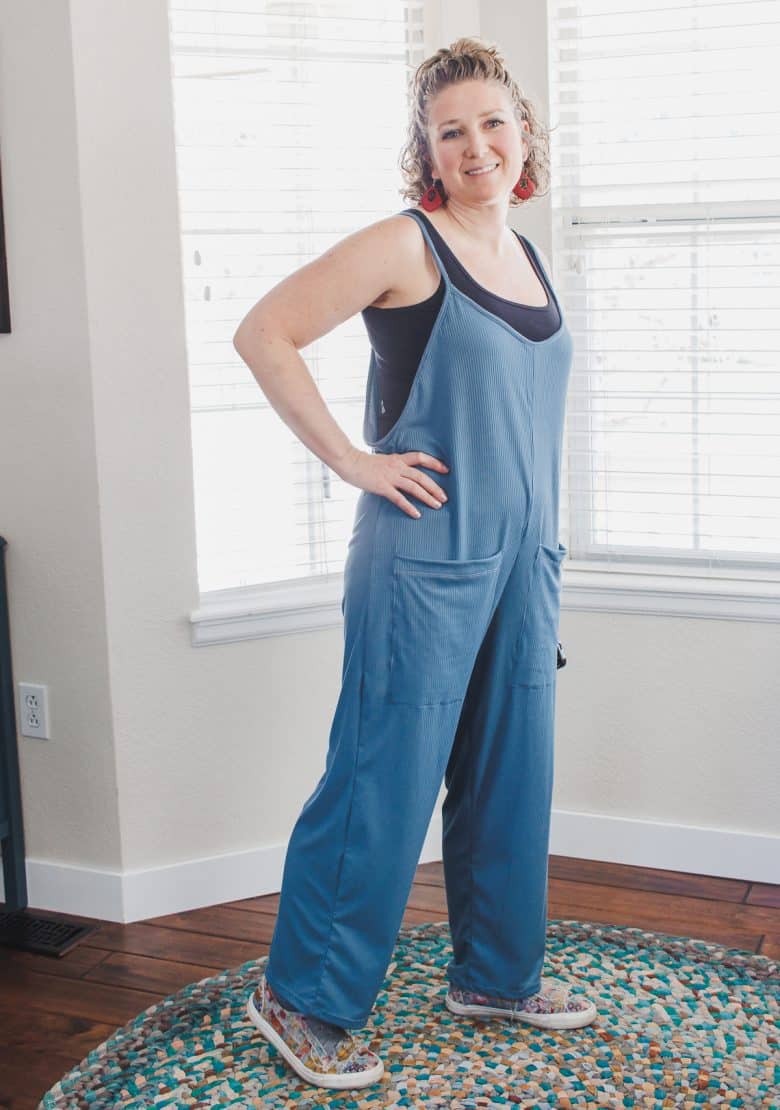
I also lengthened the straps so it’s nice and loose on the back, just like the rest of the romper. With this adjustments this may be my new favorite lounge wear!!! I think this DIY version of the romper is maybe better than the photos online since I like how the crotch isn’t quite so low.
Other super comfy free patterns to sew:
How to sew a comfy knit romper
Ok! Grab some comfy knit fabric and let’s get sewing. I used dreamy rib knit for this tutorial. Any fabric with good stretch both ways is great though. I used 3 yards for the M, but I have enough fabric left over to make something for my daughter. You need the three yards for the length, but you will have some left. 3 yards should be good for all sizes.
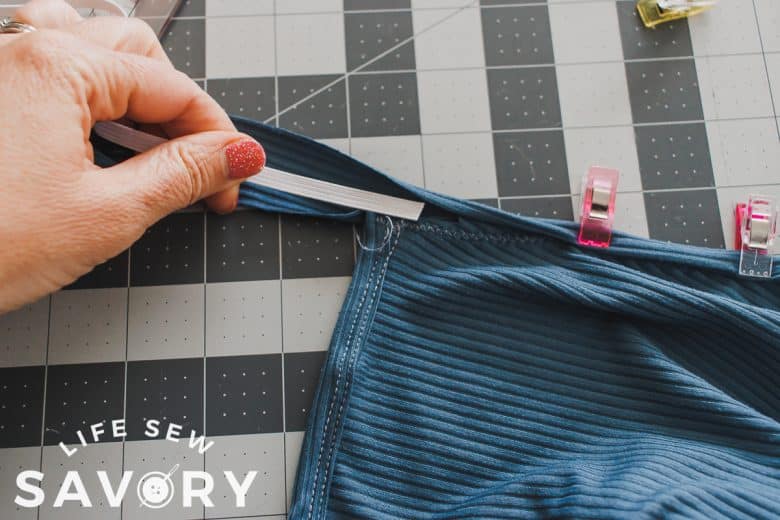
Optional – add thin elastic to the straps if you want.
First up let’s talk about modifying the romper pattern. Download and assemble the womens romper/jumper pattern. The only adjustments I made were how I cut the top of the front and back.
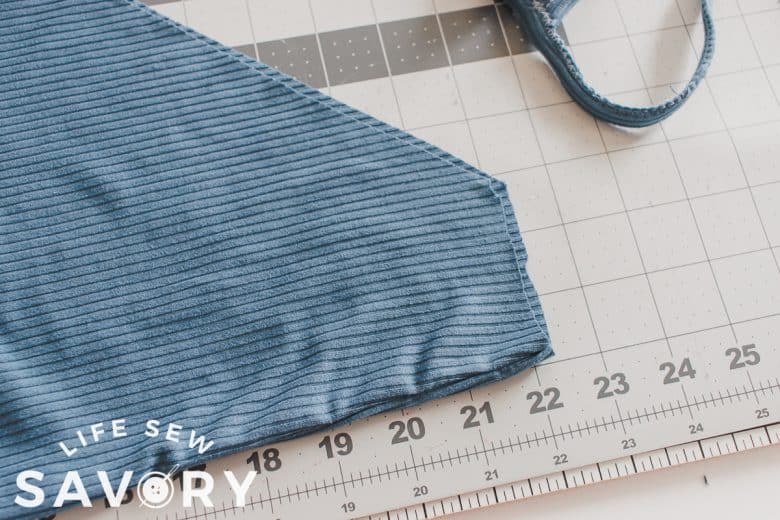
On the back I folded over about 3 inches to make it shorter and I also {in the second attempt} Trimmed the angled sides so the top was only about 3″ wide on each piece. For the front I trimmed 1″ from the angled sides then added a scoop neck. Make sure the scoop meets the center at 90 degree angle so it’s smooth across the front when you sew the center seam. You can make this scoop as high or low as you want.
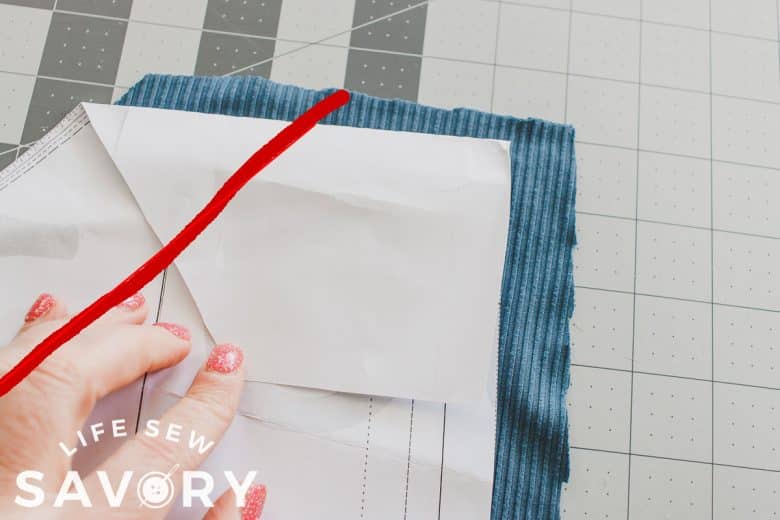
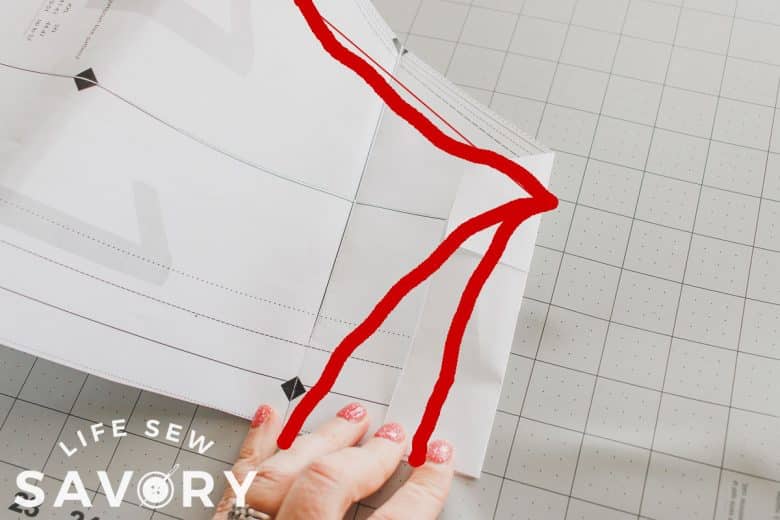
Here’s how my fabric looks with the center seam sewn and before adding the bindings.
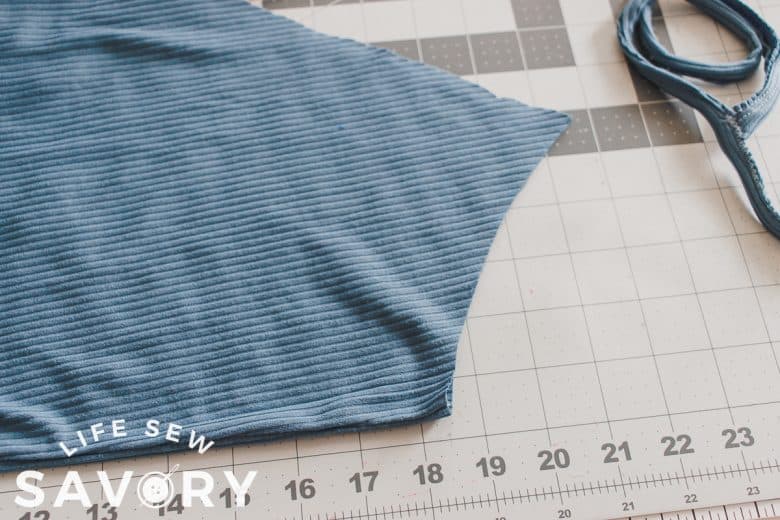
Sew up the romper using the original jumpsuit tutorial or here is the quick version.
- Sew front and back center seams with two fronts, then two backs, right sides together.
- Add pockets to the front if desired. {see below for pocket sewing}
- Sew side seams with right sides together
- Sew inseam
- try on, then hem legs
Ok, so let’s just quick talk about the pockets on this knit version. I folded over the top for a hem, but I did not fold under a seam allowance for the sides as I did on the woven version. I pinned the pockets in place and then sewed with a wide/long zig zag to hold in place. I was simple! {not sure why my color is so off on these two photos}
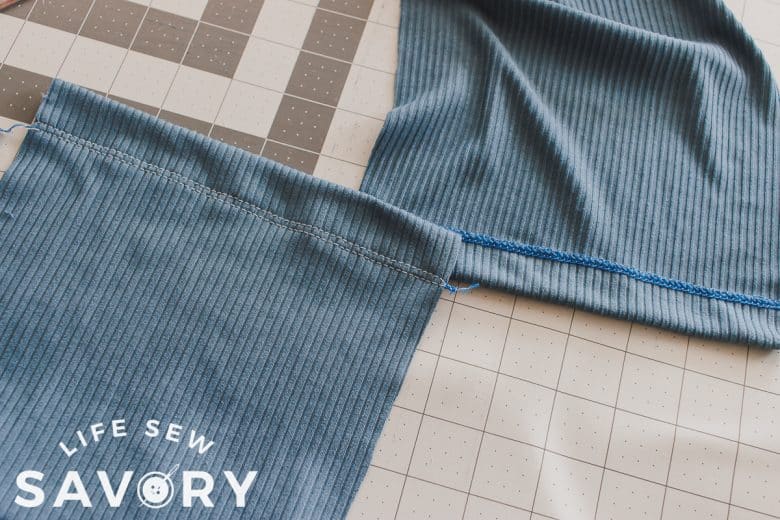
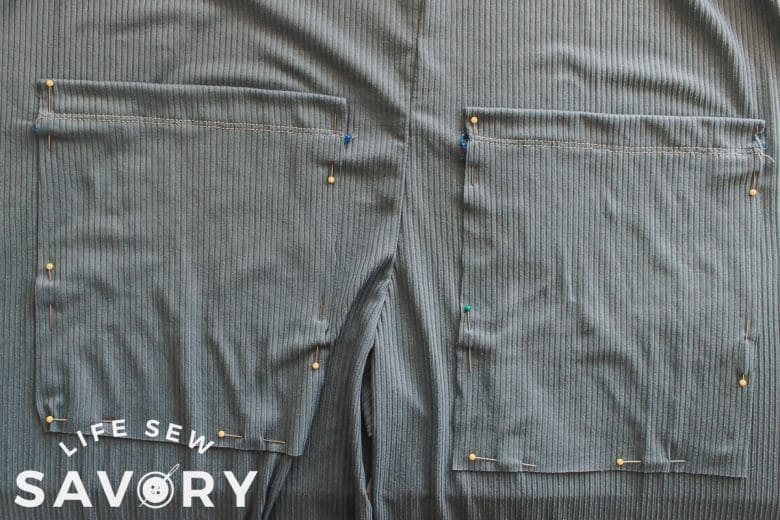
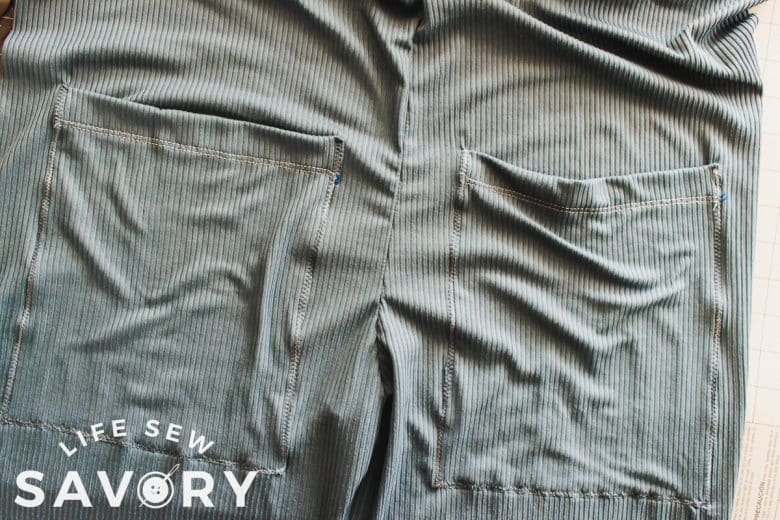
After you’ve added the pockets and sewn up the other seams it’s time to bind the top and finish the outfit. If you have a coverstitch machine I love my binding attachment. {Buy on Amazon}. Use this to bind the top of the front and back, then the sides. My binding is 1.25″ wide, cut from the same rib knit.
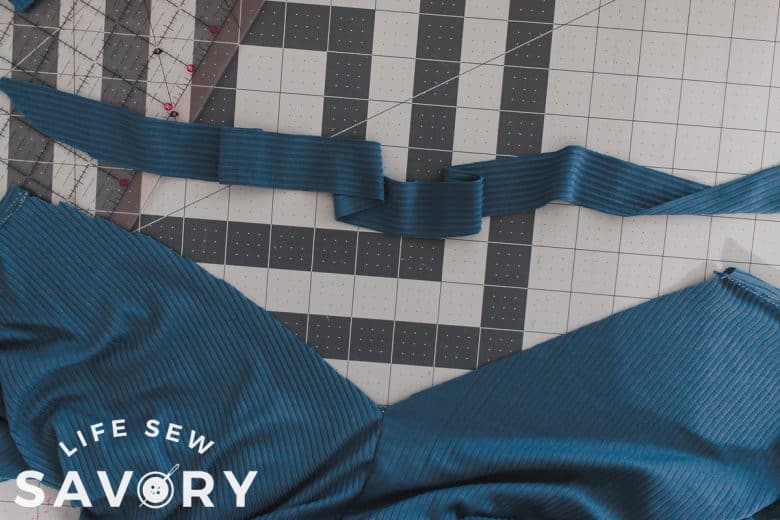
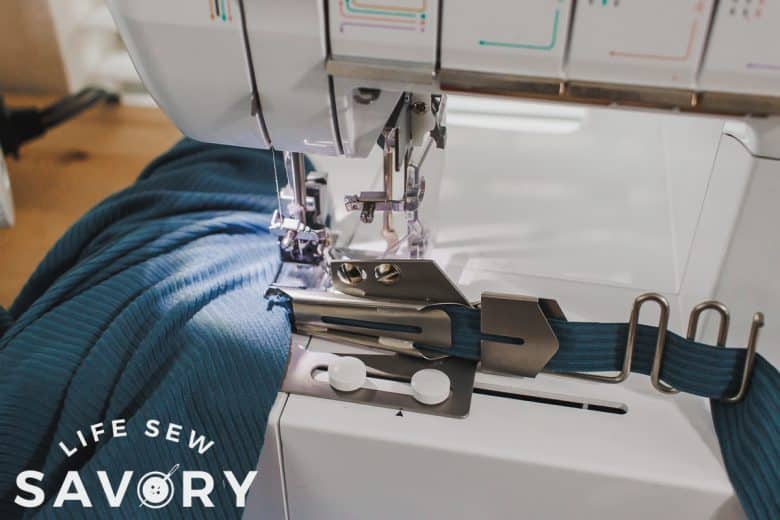
You can also just bind the fabric with a sewing machine. Here’s a quick tutorial on how to bind the top/arms and straps of this romper. My binding is all 1.25″ wide. Place the right side of the binding on the wrong side of the jumper. Stretch the binding slightly as you pin it in place. Sew this edge with a stretchy stitch {zig-zag} right on the edge.
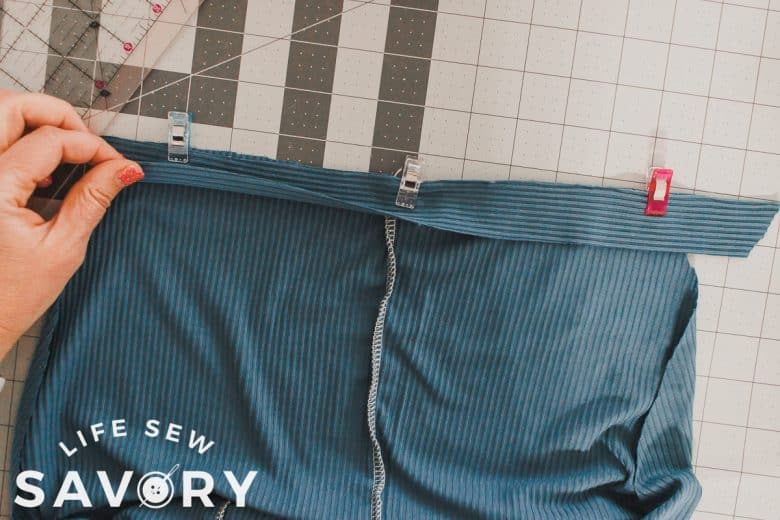
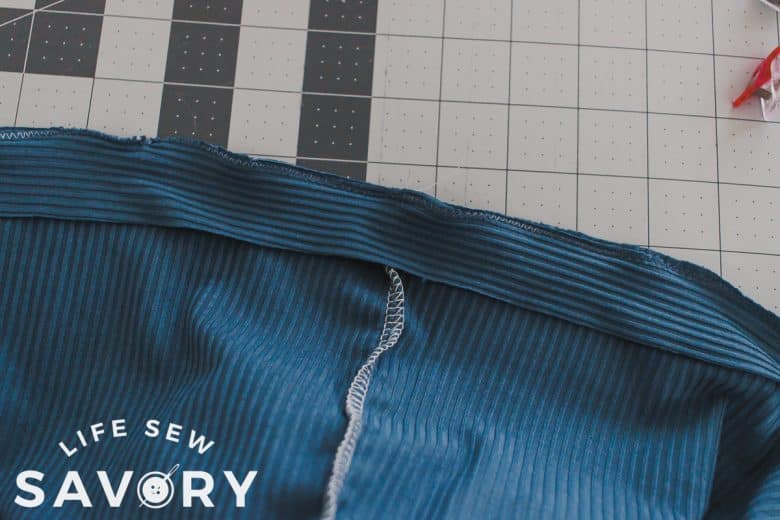
Turn the fabric over to the romper right side and push the seam allowance up towards the binding.
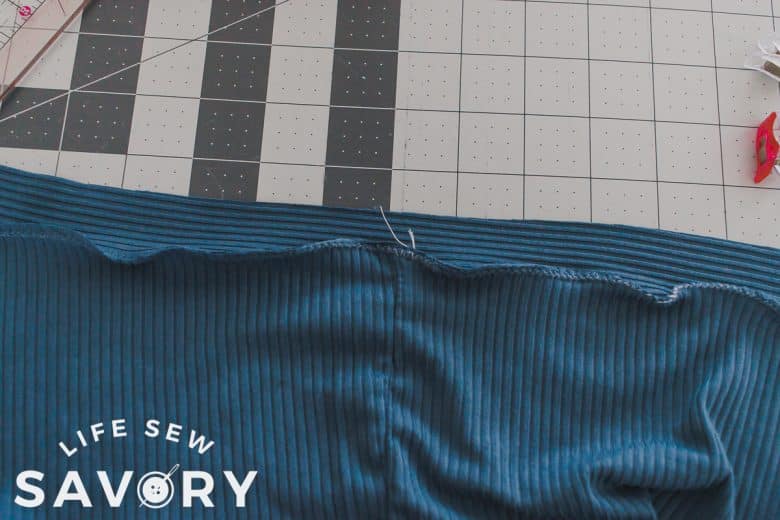
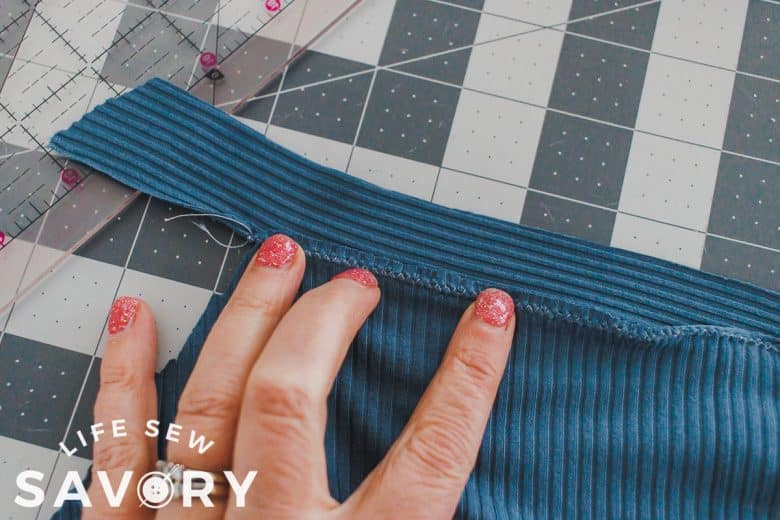
Fold the binding over in half, then fold over again over the seam allowance. Clip in place as you fold.
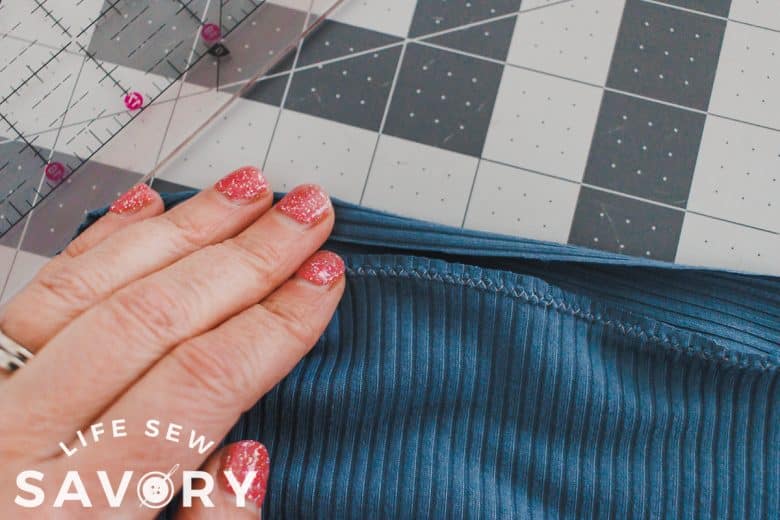
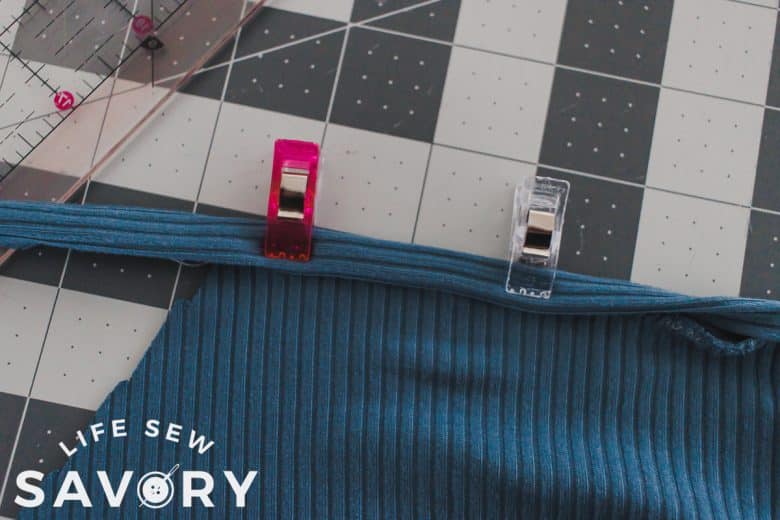
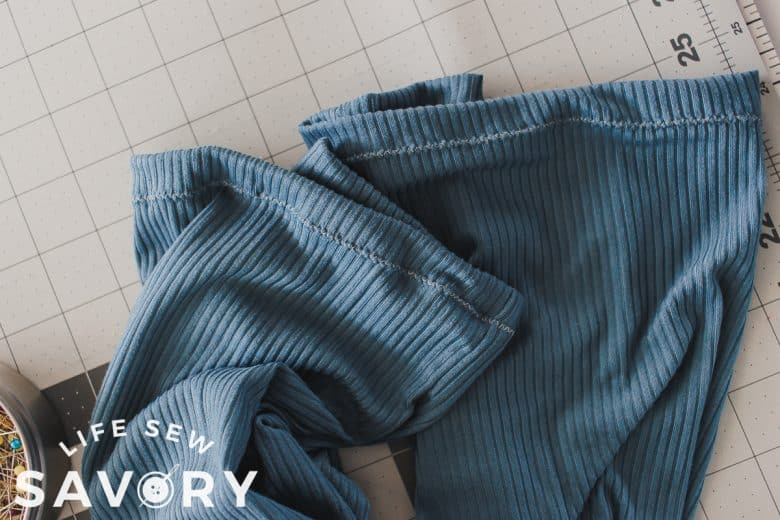
I sewed the top of the front and back with a straight stitch, but I used a zig zag for the sides and the straps.
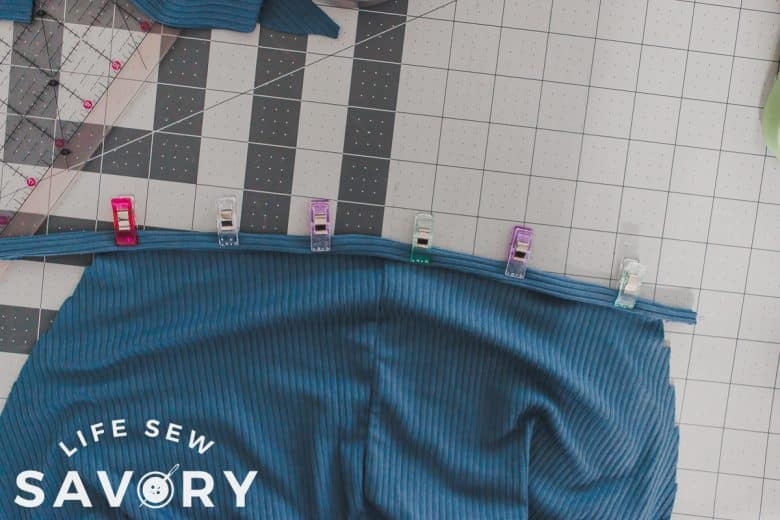
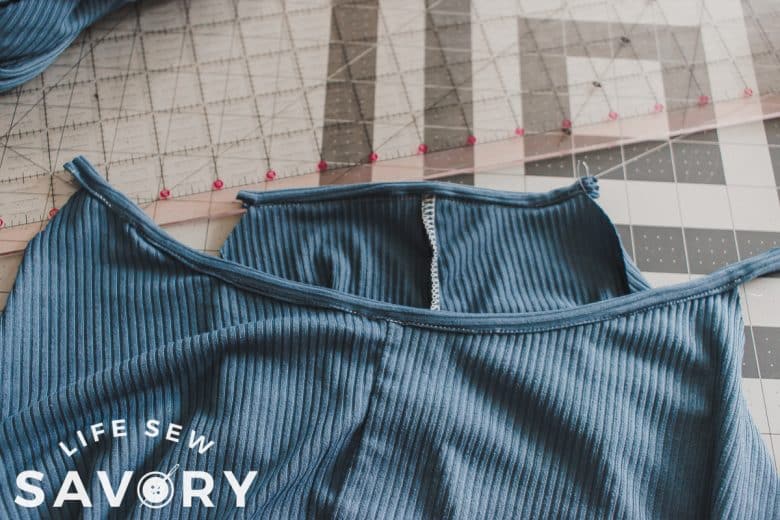
For the side and strap binding you may need to join two pieces. It needs to be long enough for the side opening AND the over shoulder strap. I like piecing together before attaching anything so I have lots of fabric to work with.
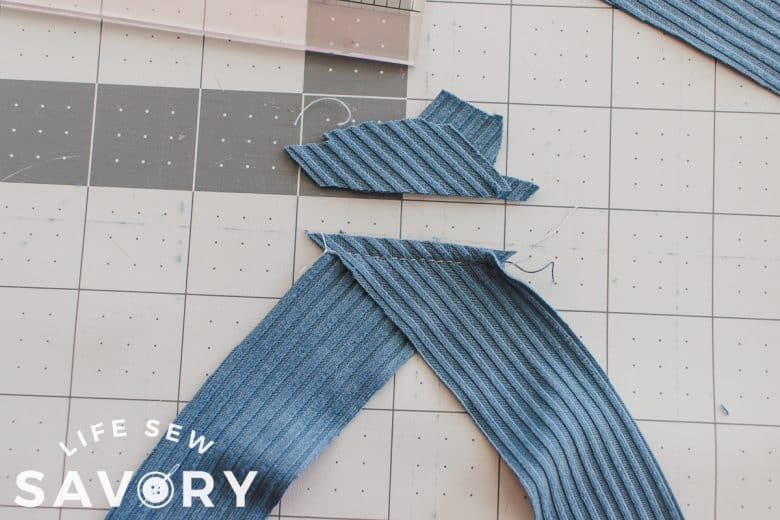
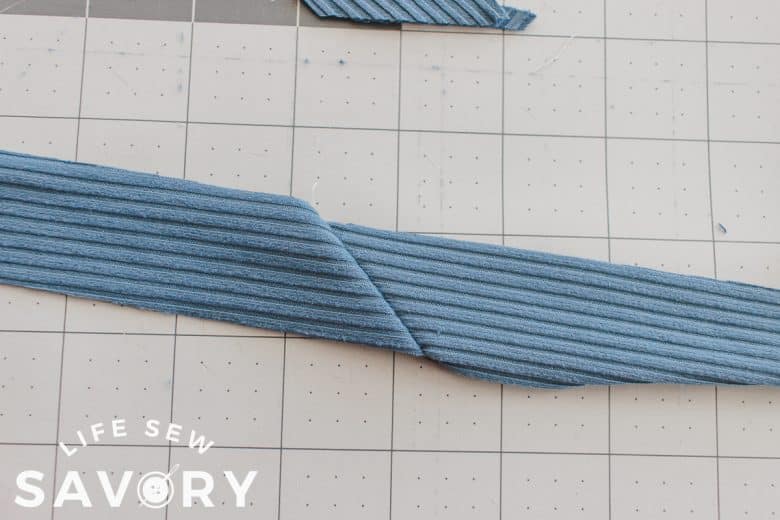
After you bind the front and back top, bind the sides. Leave a LONG piece of binding fabric extending from the top front side. Try on to measure how long the straps should be, then pin to the back.
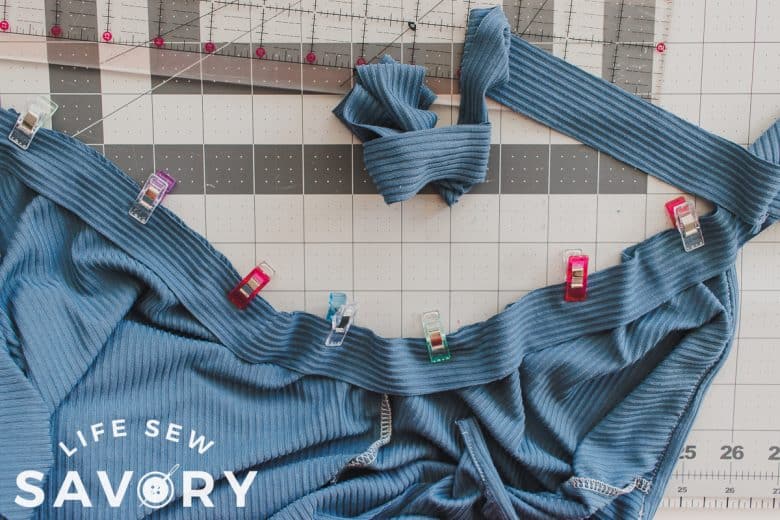
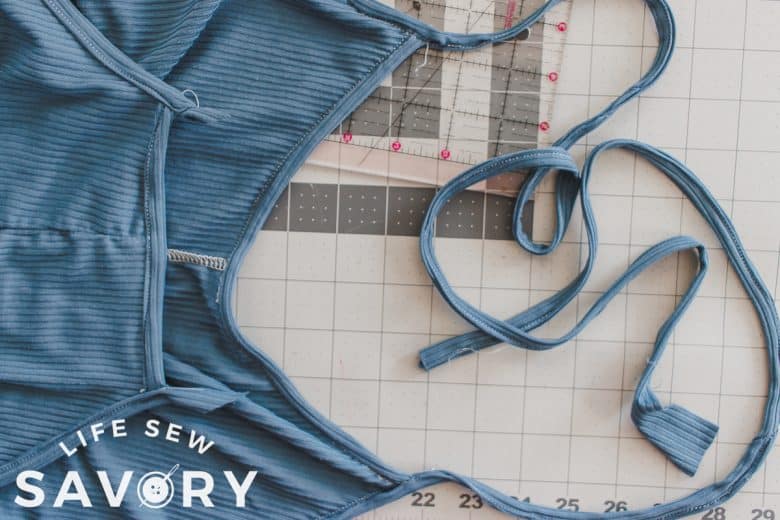
To make the straps that extend past the fabric I simply folding the raw edges into the middle, then folded the fabric again. Pin/clip to hold in place before sewing. If you think your straps need more reinforcement you can always put 1/4″ elastic into this double fold.
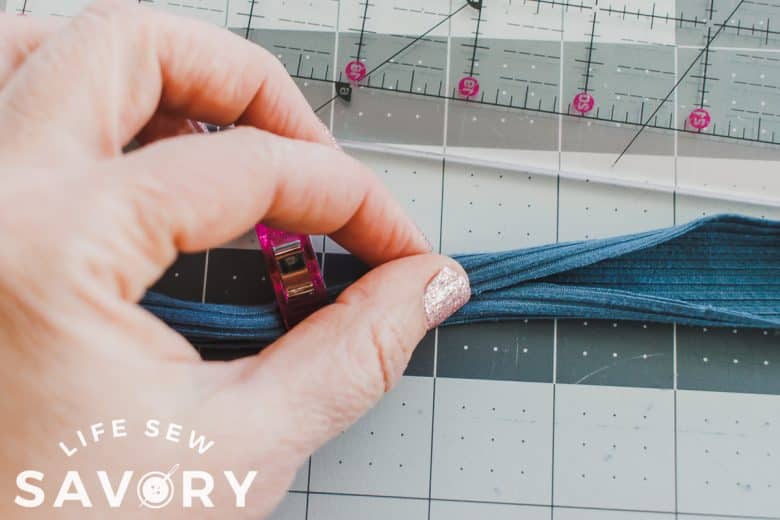
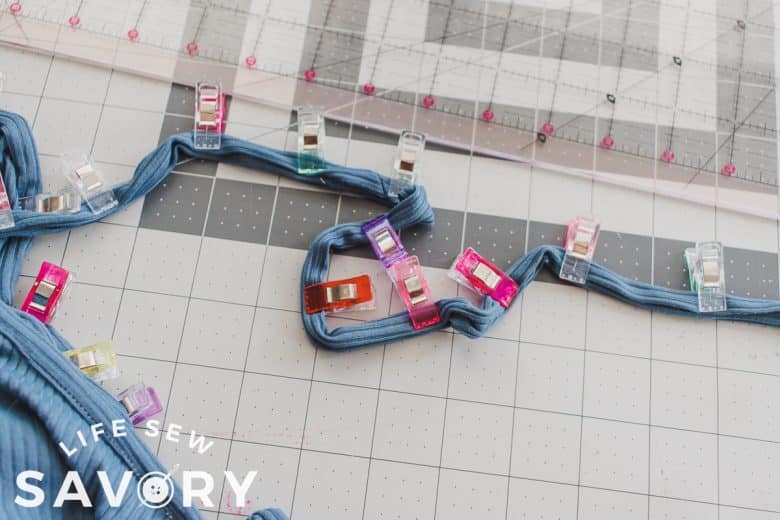
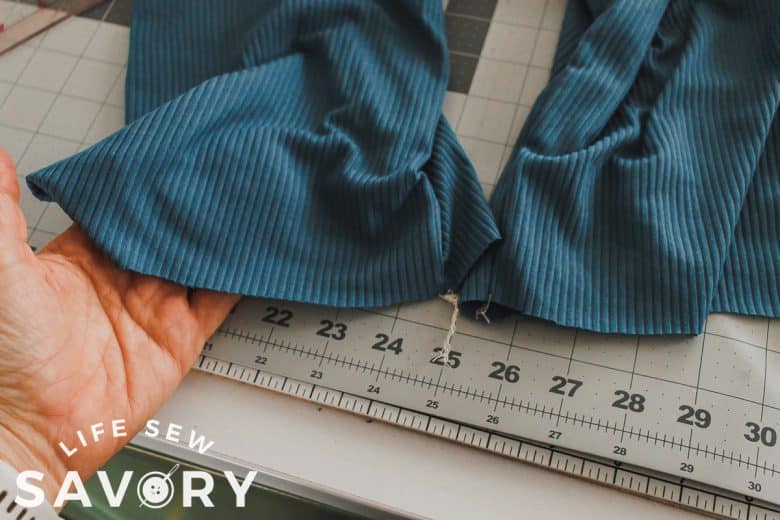
After the top is all finished, try on and mark the hem length. Hem with a zig-zag or coverstitch with a 1/2″ hem.
Now you get to be soooo comfy and enjoy your new romper!!





Ann says
This is so cute and looks comfy and adorable on you.
Violeta says
Your DIY romper is seriously adorable and looks so comfy! You’ve nailed it with this pattern hack! Also, I wanted to drop a quick message to let you know that I featured your tutorial on Crafts on Display, a growing community of crafting enthusiasts. You can check it out here – https://craftsondisplay.com/sewing/comfy-knit-romper-free-pattern-32468/
cuphead online says
Simple but quite beautiful, your work reminds me of my first works for the princess that I love so much.