Inside: A Long Sleeve T-Shirt Pattern free pdf pattern to sew a fitted tee. Designed for a fitted look this t-shirt is perfect for layers or wearing along. Add cuffs or hem to complete the look.
I’m so excited to have another free pattern ready to share… A womens long sleeve t-shirt pattern! I cannot believe how well received my classic, yet simple free patterns have been. Almost 9,000 free patterns of mine have been downloaded already in 2015… WOW!! I love seeing photos of what you create too, so keep them coming. This pattern comes at the perfect time because its #selfishsewingweek ! This one is perfect for selfish sewing as its a womens t-shirt pattern FREE -the free being the best part! I’ve already sewn up to, and I’ve got visions of many more! Make sure to check out all my Free sewing patterns here.
Join the LifeSewSavory Pattern Group for support on this pattern!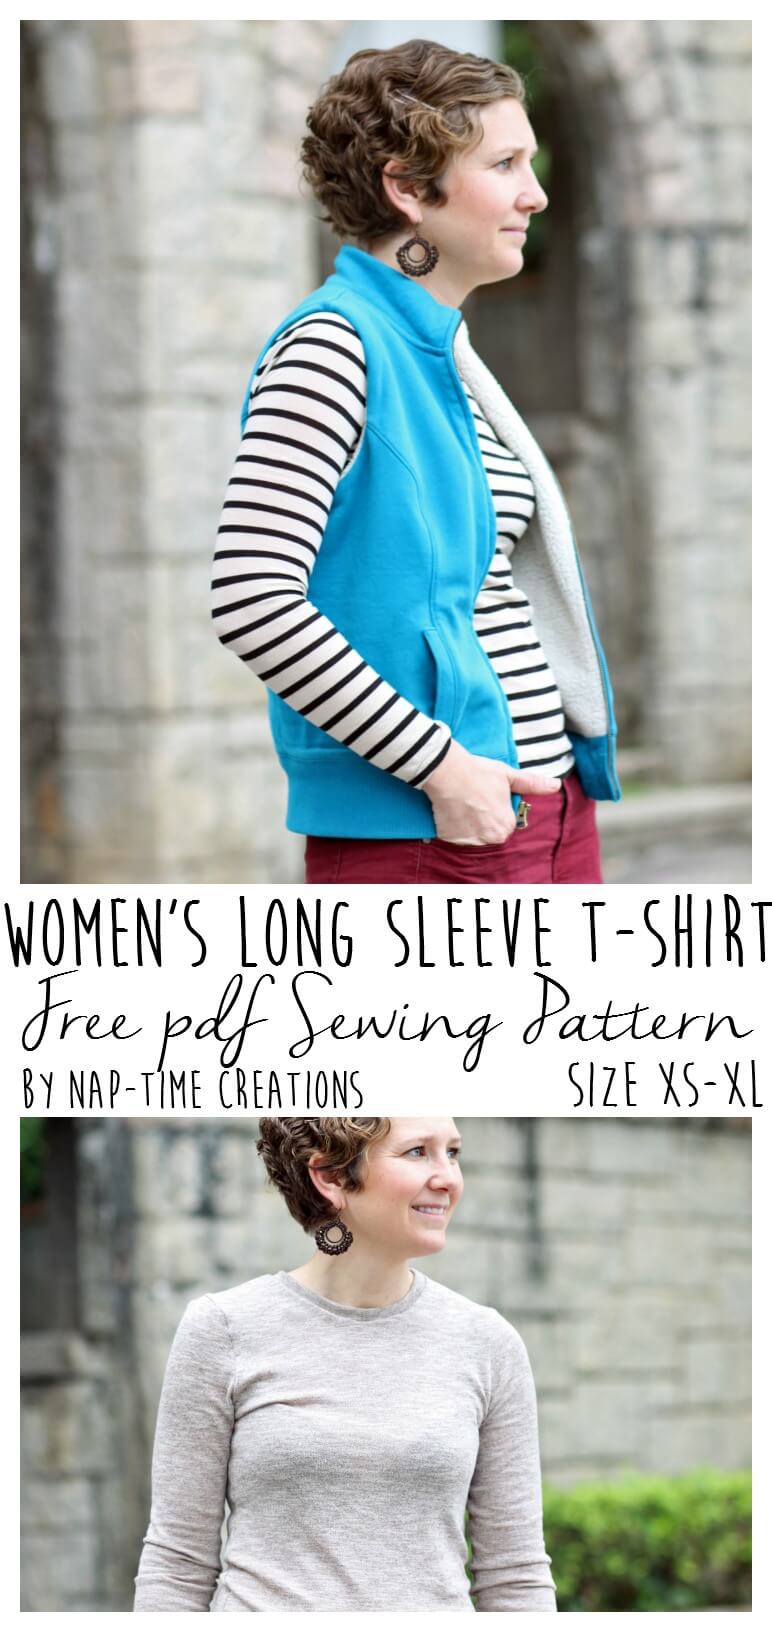
This long sleeve shirt pattern will soon become a favorite!
This t-shirt is a classic close fitting shirt. It was based off a favorite of mine from Old Navy… so if you know your size from there you will know your size with this t-shirt… otherwise you can use the chart below. Size up if you want a looser fit shirt. I am sometimes a XS at Old Navy and sometimes a S in shirt sizes… so I sewed up one of each… Here’s the XS… a bit tight for my liking, so I put on a vest as a distraction {ha!} If you want a looser fit shirt try the Free Boyfriend Tee!
This second one is a size S and a bit thicker fabric.. I think it may be my new favorite shirt. I also added cuffs {I’ll show you how in the tutorial} and I didn’t top-stitch the neckline…
Here is the Womens long sleeve t-shirt pattern tutorial:
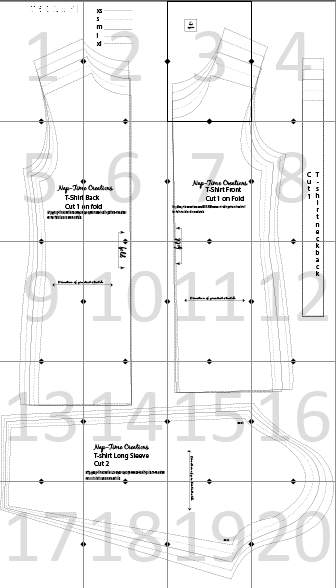
Okay, let’s jump into the sewing! You can download the Womens T-Shirt Pattern FREE here from my shop. And they let’s get sewing! There is a size chart on the pattern, and I’m also including it here. Also, the taping guide for putting the pdf pattern together.
For the two shirts I made I used the same knit for the neck ribbing you can do this or use actual ribbing fabric. Size XS and S can be cut from 1 yard if it is 60 wide. You will need 1 1/2 – 2 yards for the other sizes. Seam allowance is 3/8 ” for all seams except for hems.
Make sure to print at 100% or ACTUAL SIZE.
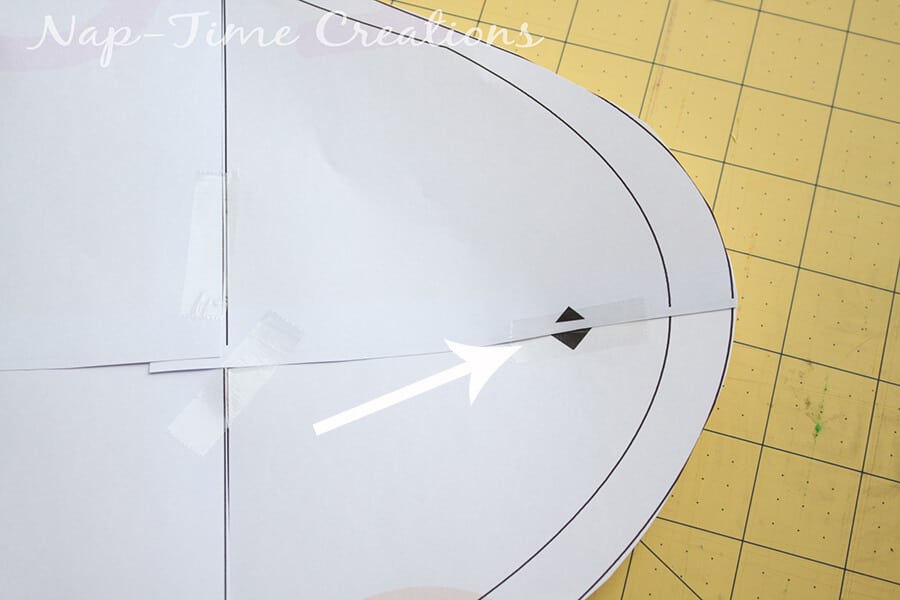
My printer seems to always leave off one side of my pdf pattern. It happens for my patterns and for ones I print from other designers. If this happens with your printer I trim the edges and just tape like this… with a small gap.
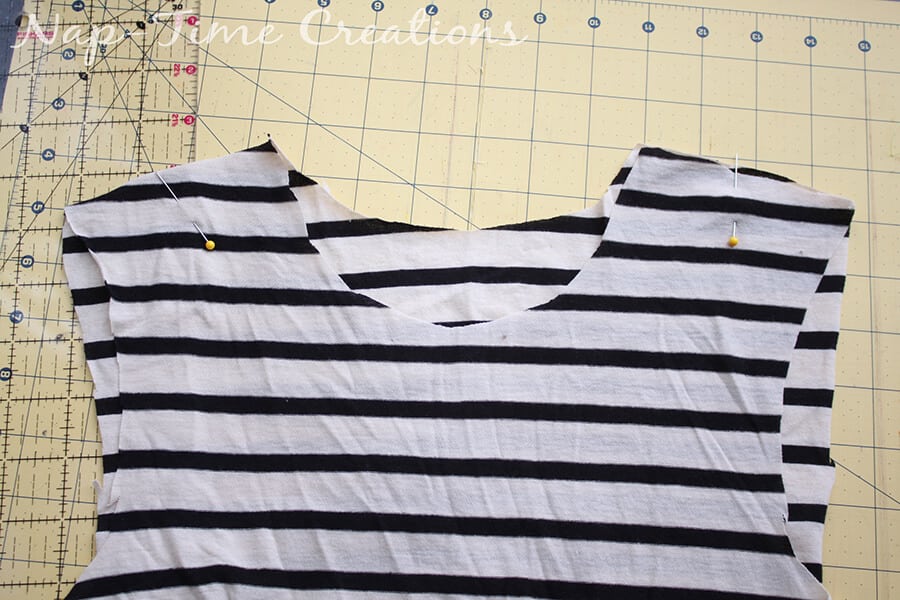
With right sides together {RST} pin and sew the shoulder seam. If making a cuff on the sleeve, scroll to the end now.
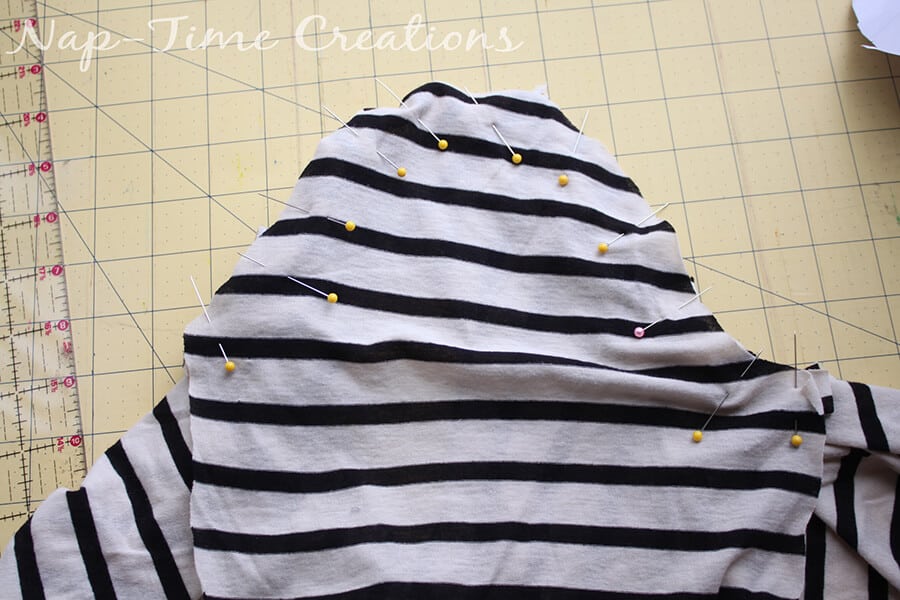
Pin and sew the sleeves {RST} Starting on the outside pin both sides then work towards the center, easing any extra fabric you may have. Make sure the BACK and FRONT and matched up. This sleeve does have a difference for each side.
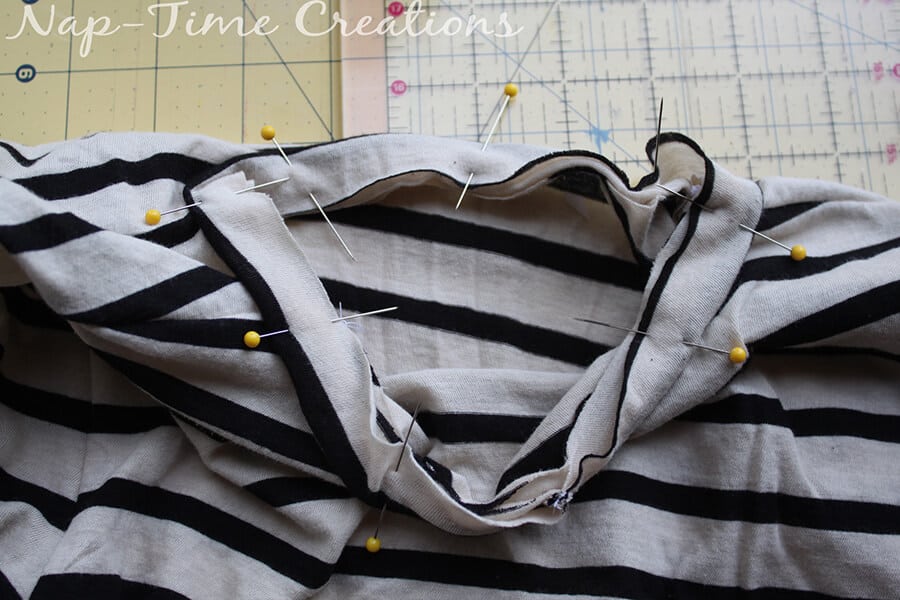
Now to create the neckline. Use ribbing or the same fabric from the shirt. Sew the short ends of the ribbing piece together, then fold in half wrong sides together to create a thin circle. Pin that circle {RST} to neckline of the shirt. You will need to stretch the ribbing piece to fit. If it doesn’t need to stretch, it’s too big, make smaller and try again. DO NOT stretch the shirt during this step. You only want to stretch the neck ribbing piece. Sew.
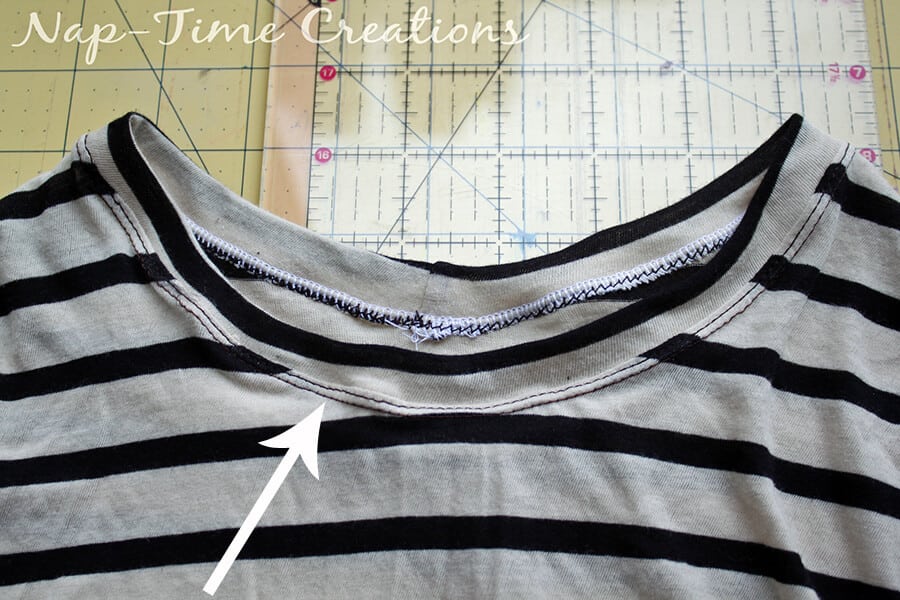
At this time you can top-stitch around sewing the seam allowance to the main shirt body, or you can skip it. I did one of each and they both look and work great. It may also depend on your fabric to see if this is needed. I use a double needle with woolly nylon in the bobbin for all my top-stitching.
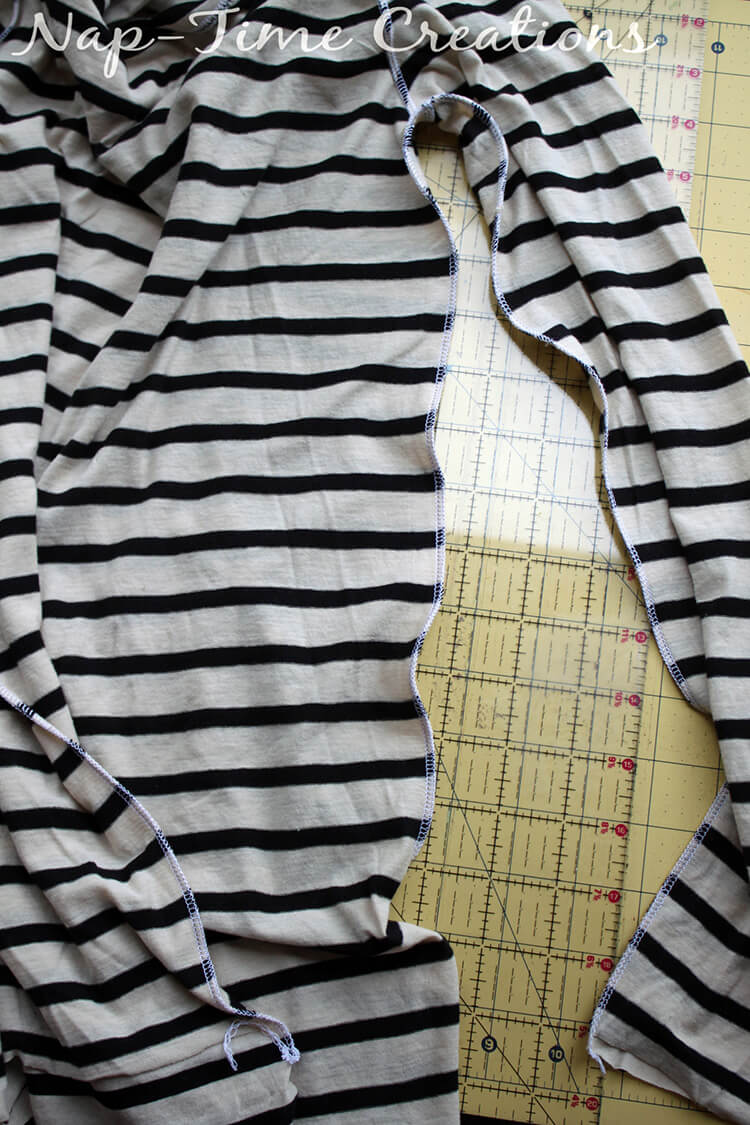
Turn shirt RST and sew up the arm and side, matching the underarm seam.
If you need to, even out the hem.
Turn and hem 1″ on the bottom and .5″ on the sleeve. I used my same double needle technique for these. You can also zig-zag or use a knit stitch on your machine. Do not just use a regular straight stitch, you will break the threads as you wear the shirt.
***If you want to add a cuff***
{ignore my terribly taped together pattern piece}
1. Extend the sleeve by three inches when you cut your sleeve.
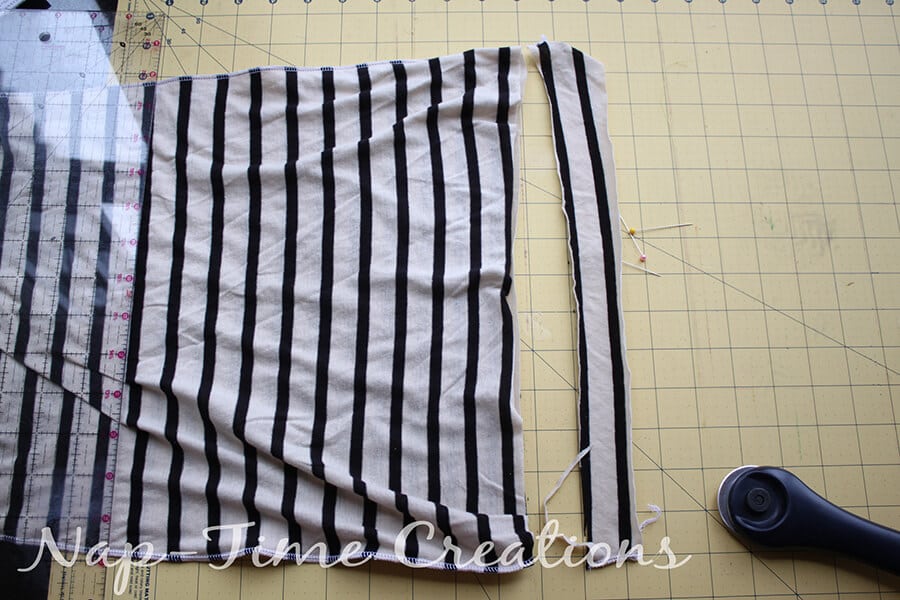
2. Cut off four inched of fabric. 3 that you added and 1 from the sleeve.
4. fold in half and square up the sides.
5. un fold and fold the other way.
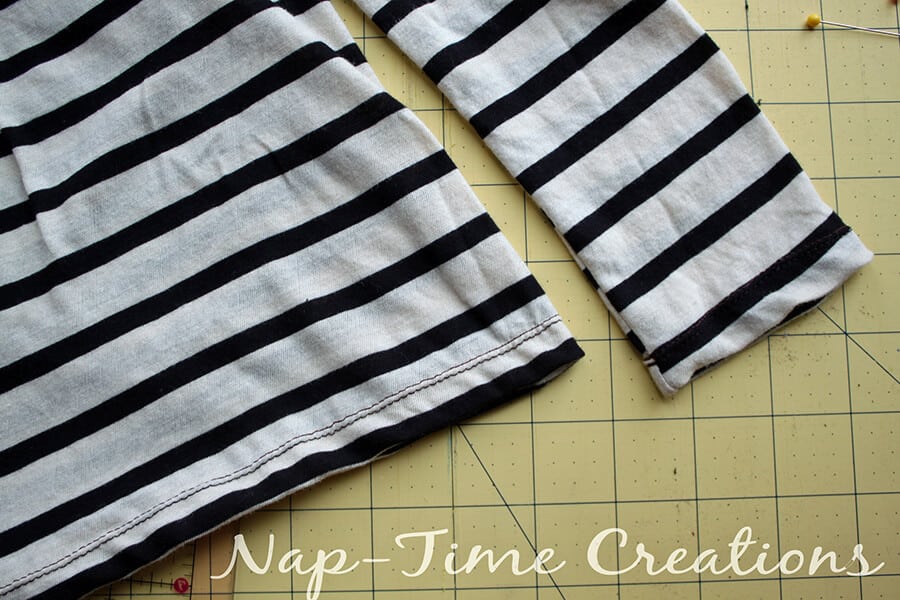
6. Stretch and pin RST to the end of the sleeve, sew
7. Turn and top-stitch if you want. Sew the sleeve as directed above.
So there you go! I hope you make one, or two, or a few for yourself! I’m already planning to release a version with short sleeves soon! Here’s another link to the free t-shirt pattern.
What are you sewing this week for yourself?












Marilyn says
This is such a wonderful pattern…thanks for sharing!
Emily says
you are welcome!!
Michelle says
Hi, I’m about to buy this lovely pattern (thanks for making it!), but before I do, I want to check, is the final product going to bunch up with a few creases between the armpit and chest on everyone, like your taupe color shirt in the picture, or is that just the way you had it on? I assume it is just how you were wearing it but I’d like to hear that confirmed. Is there a way to see other examples? It’s a lovely shirt and all the criteria I have been looking for!!
Also do you have tips on buying cotton stretch fabric? Where do you buy yours?
Thank you!
lizzy says
Is it possible to add cotton fabric with a t-shirt? In other words can you add cotton fabric to the bottom of a t-shirt to make it into a summer dress for a child/adult.
Emily says
Yes, you can make a t-shirt dress… here is a tutorial for a kids dress, you can use the same technique for an adult dress. I would make the shirt first to check the size, then you could add the skirt. http://lifesewsavory.com/2013/07/how-to-sew-shirt-dress-sibling-outfits.html http://lifesewsavory.com/2015/02/raglan-dress-tutorial-free-pattern.html
Cathy says
I love this, what a great style and pattern to have! I would love for you to share this over at my new link party Making Memories Mondays going on now!
Cathy
Julie says
Looks great and I love how clear your instructions are.
Emily says
thank you so much!! I had fun with the pattern and hope others can use it!!
Toni says
Thank you for sharing this pattern! I need to dig my sewing machine back out of the closet…it got put in there about a year ago when we had guest and it hasn’t found it’s way back out 🙁
Emily says
this would be a great place to start again!! it’s pretty simple!
Mandi says
I have been looking for a basic long sleeve t-shirt pattern for so long! I can’t wait to make this!
Kimberly says
So cute! I wish i could sew. Pinned and tweeted. We are so thrilled to have you at our party. Please stop by on Monday at 7, so we can see your amazing projects. Lou Lou Girls
Erica says
This is an awesome tutorial! Thanks for linking up to Wordless Wednesday! Hope to see you next week! xoxo
Theresa @DearCreatives says
Such a cute idea. Great pattern I hope to get to make a few sometime. Pinned, shared…Thanks for sharing at the Inspiration Spotlight Party @DearCreatives hope to see you again soon!
Sewing Shop says
Thanks for sharing this pattern and tutorial! Everyone should have a basic long sleeve T-shirt and by making it yourself you can even choose your own fabric, which is great 🙂
I put a link on my blog to this tutorial, you can see it here.
Thomas says
Wow such a beautiful designs i love it…:)custom sweaters online
Federico says
Thanks for sharing your thoughts about online t shirt printing.
Regards
Emory says
Thank you SO much!!!
tee shirt designs says
I am regular reader, how are you everybody? This paragraph posted at this web page is truly
good.
Mrs. P says
Which way does the stretch go? I have fabric with one way stretch and I don’t see mention in the instructions…
Emily says
stretch will go from side to side! sorry about not having that in there… thanks for noticing!