I don’t know about you, but when my husband and I first got married we didn’t take any electronics with us when we traveled… maybe a camera battery charger… now with technology, blogging, work and kids we have an million cords, chargers and adapters when we go anywhere….
This week is spring break for my kids and we are away at the beach for a relaxing holiday… I originally shared this post over at the all free sewing blog Seams and Scissors and am re-sharing it here today.
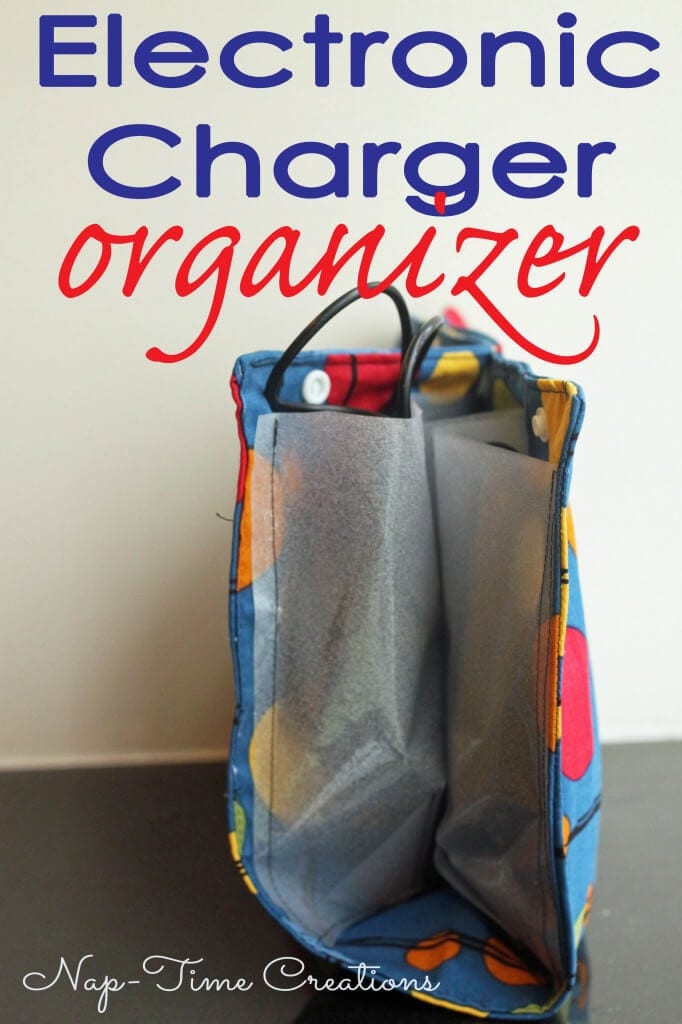
This tutorial was inspired by one of those shopping magazines on an airplane. Last summer when I flew from Chicago to Hong Kong, I had a LONG time to look through the plane magazines… when I saw this electronic charger organizer I was inspired… So, today’s tutorial is a charger organizer for travelling.
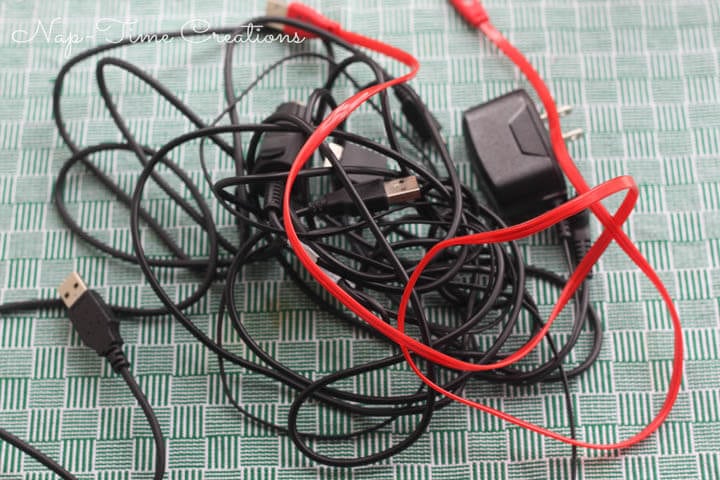
The reason I need this… I usually shove this wad of chargers into my suitcase… what a mess!
When I saw the ad in the magazine I knew this was something I need to make. This electronic charger organizer will hold up to six charger cords and keep them organized and ready to use… no more mess, no more tangles… just chargers ready to use while on the go, no matter how big or small your travels are.
You will need:
3/4 Yard Fabric
3/4 yard fusible interfacing
3 snaps, or velcro
1/2 yard clear or frosted vinyl, the vinyl I used in this tutorial was actually pretty stiff, and I didn’t like it. I would use a very soft vinyl in the future…
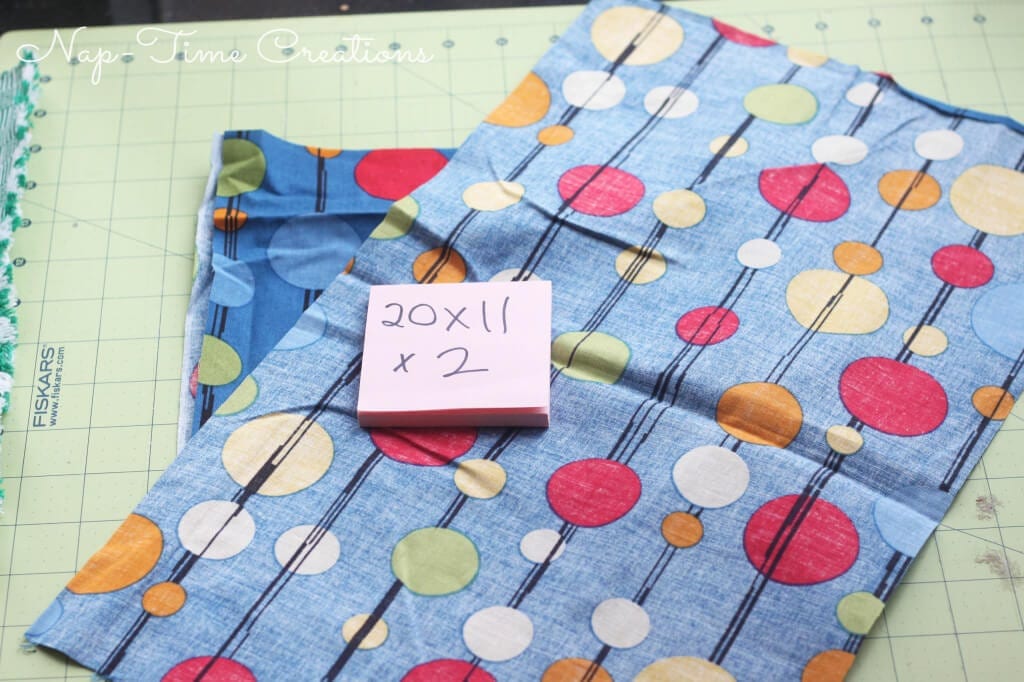
Cut two rectangle of the fabric and the same of interfacing. Mine were 20 x 11″.
Iron the interfacing to the wrong side of the fabric.
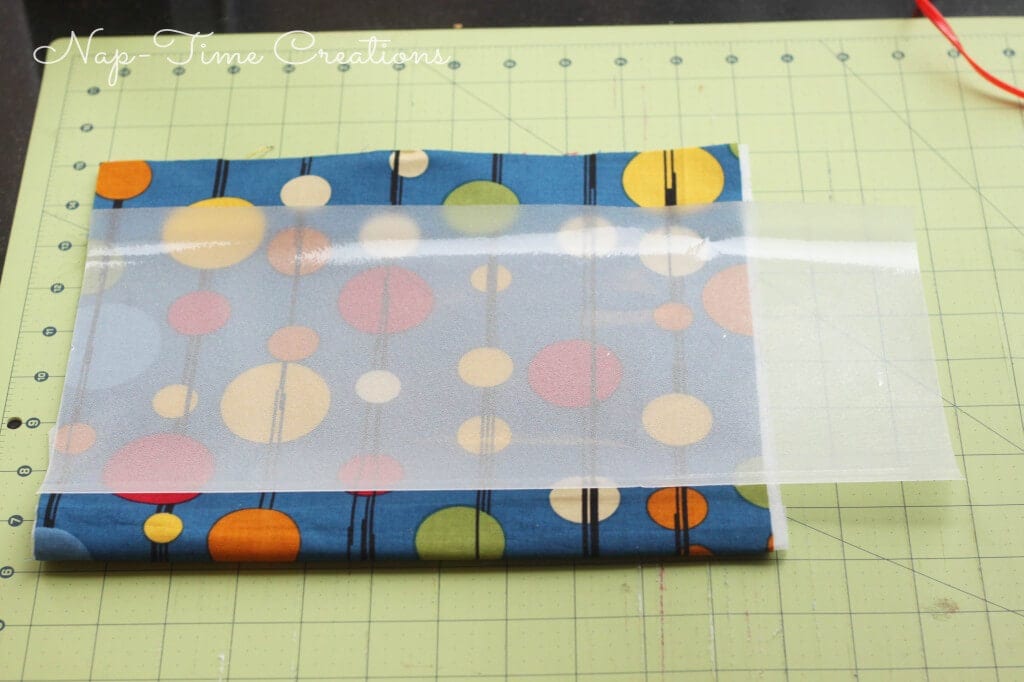
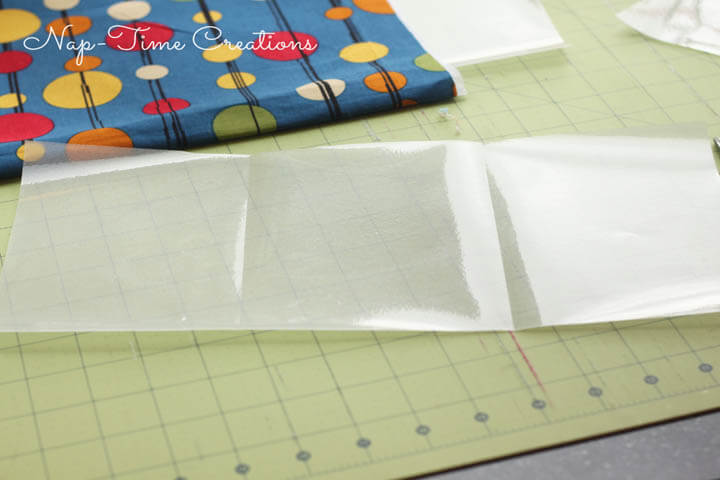
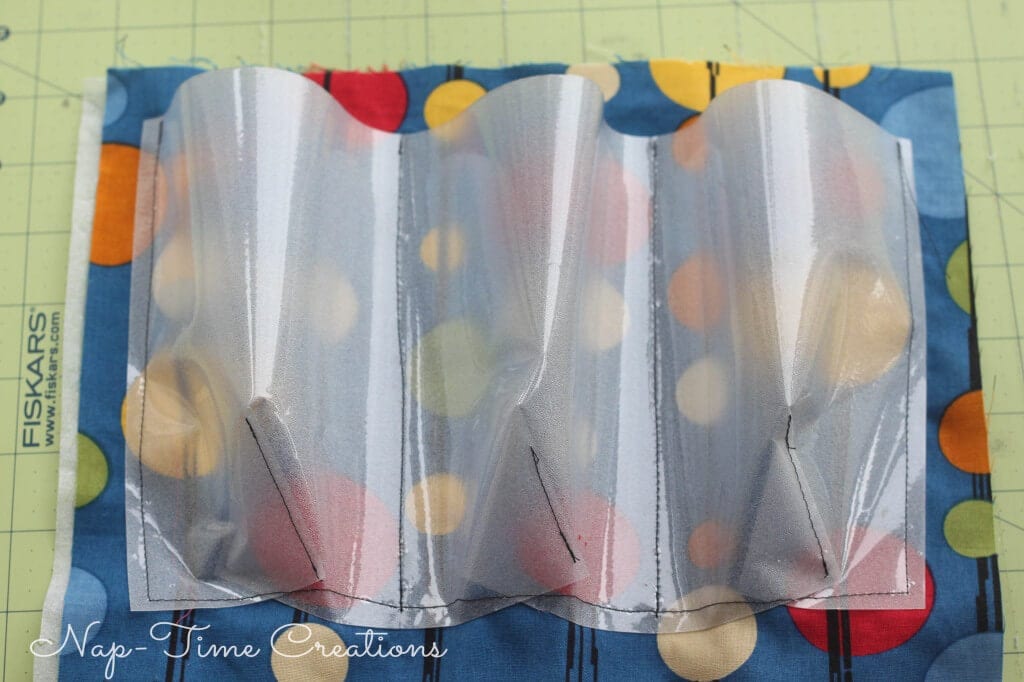
Cut the vinyl about 6 x 14″… it should fit on half the fabric and extend out about 3 inches as shown in the photo. This will create 3 cord pockets, cut two.
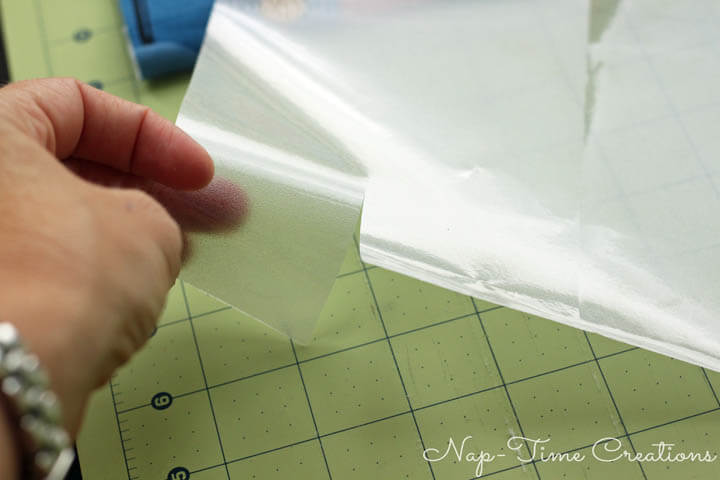
Divide the vinyl into three equal parts and press to crease.
Cut about 2 inches up from the bottom in the middle of each of the three sections. This will help to create the pocket for the cord.
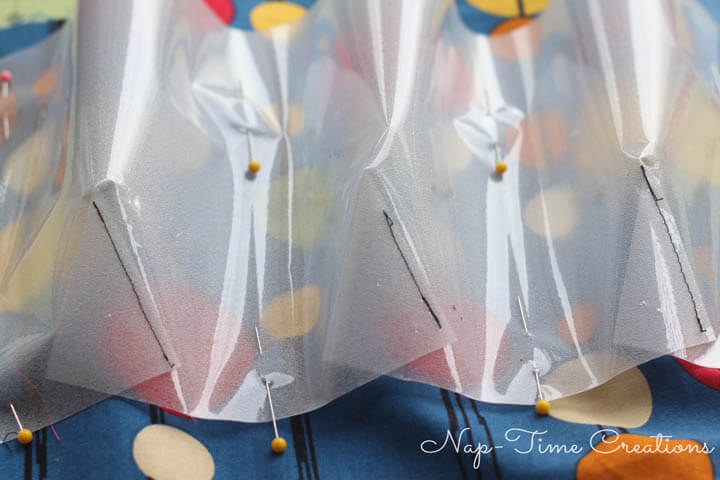
Fold each cut over and sew each one down.
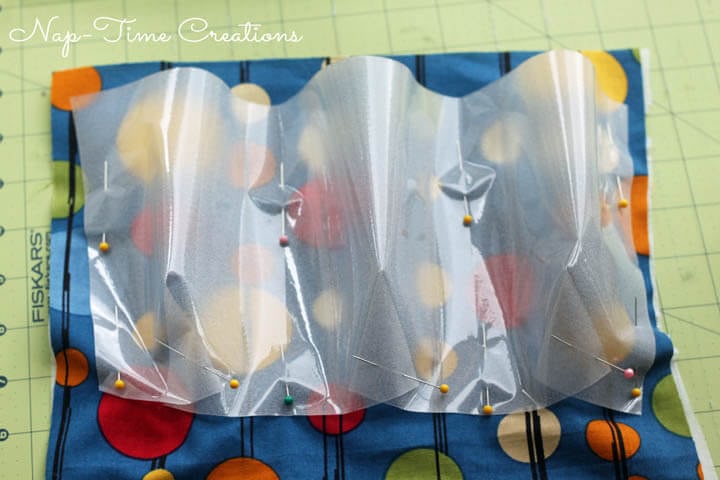
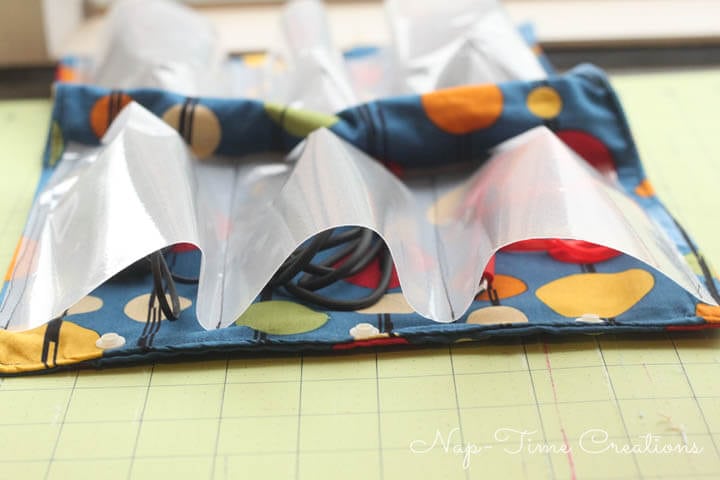
Pin to the fabric. The openings for each pocket should face the short end of the rectangle on each side. {this photo doesn’t show the slits shown} The bottoms of each pocket should be towards the center of the fabric. Pin and and shape the vinyl into three pockets as shown and sew.
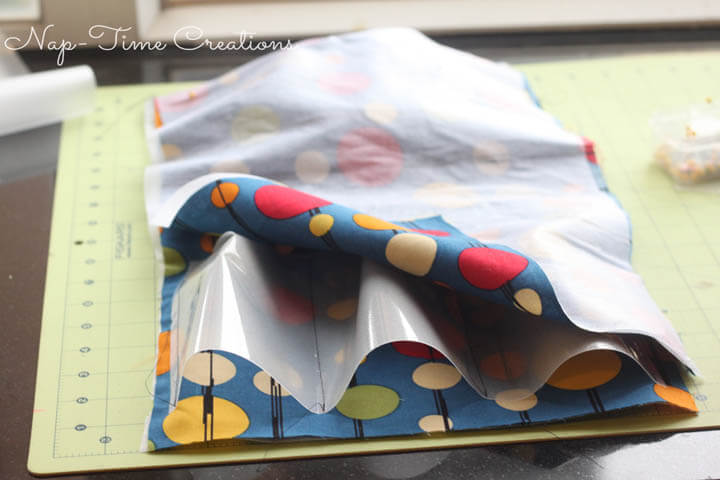
Three sewn pockets…. now, repeat with the other side… again: keep the pocket openings towards the opposite short end of the rectangle.. the pocket bottoms with be near each other.
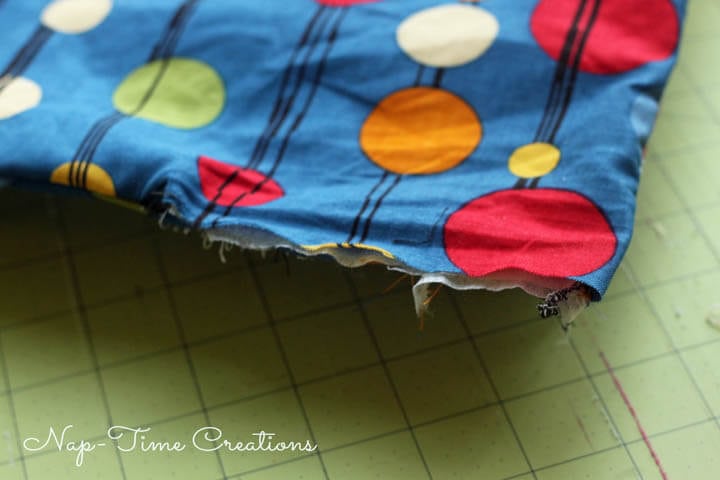
When you have all the pockets sewn, take the other rectangle and sew right sides together around the outside. Leave a six inch opening to turn.
Opening I used to turn from wrong side to right sides out.
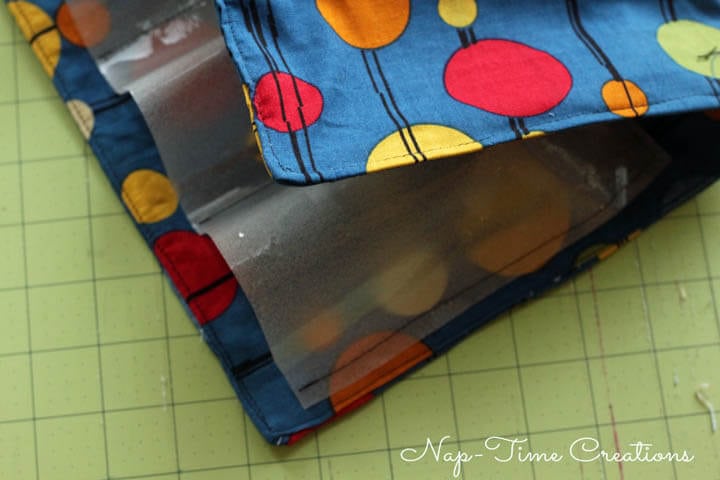
Top-stitch to close the opening and around the rest of the rectangle.
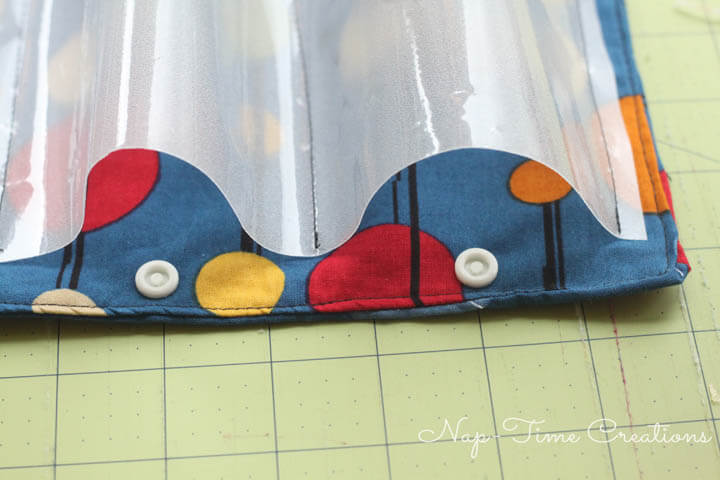
I used three snaps as the closure, but you could also use velcro. Place a snap in the center of each pocket to keep the cords in when closed.
Now! Load up your cords and get moving!
This electronic charger organizer would go great with my large travel portfolio which holds up to four large passports, plus other travel documents and cards. Check out all the details and full tutorial here.
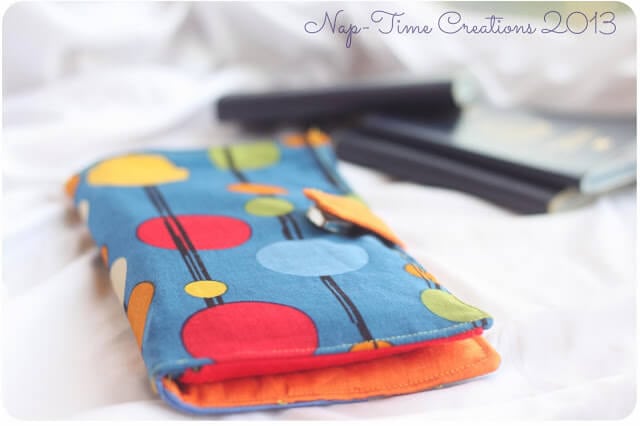
I also made this single passport portfolio as a gift for my mother. you can find the tutorial on my blog too! I guess I really like this blue dot fabric for my travel goodies!
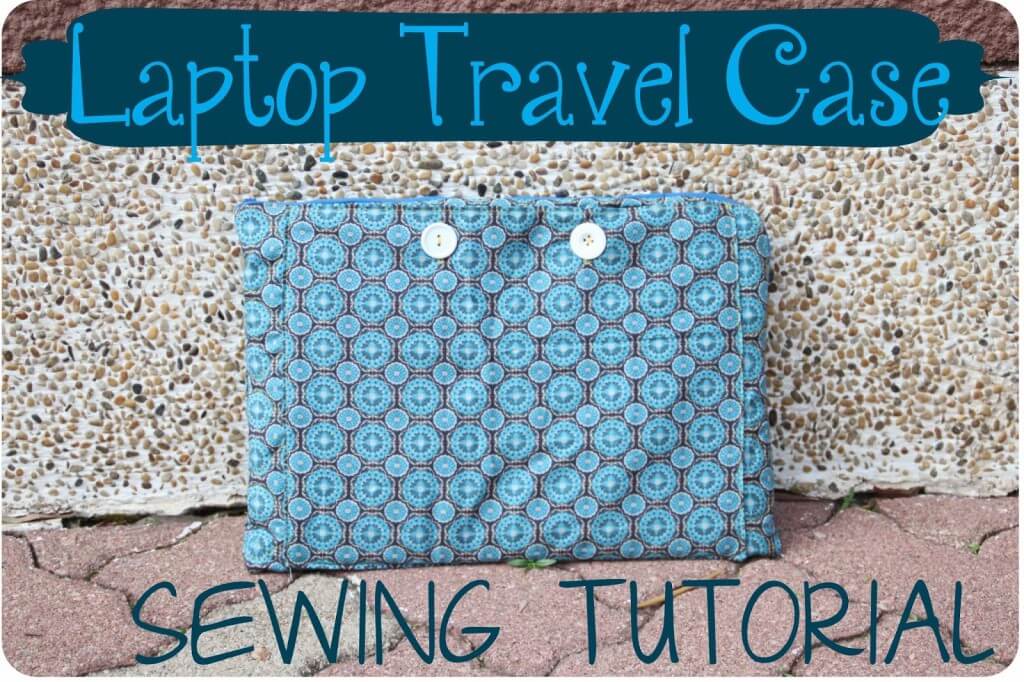
And if you really love to sew travel accessories, try this fabulous laptop cover. It’s great for protecting your computer while on the go.







Leave a Reply