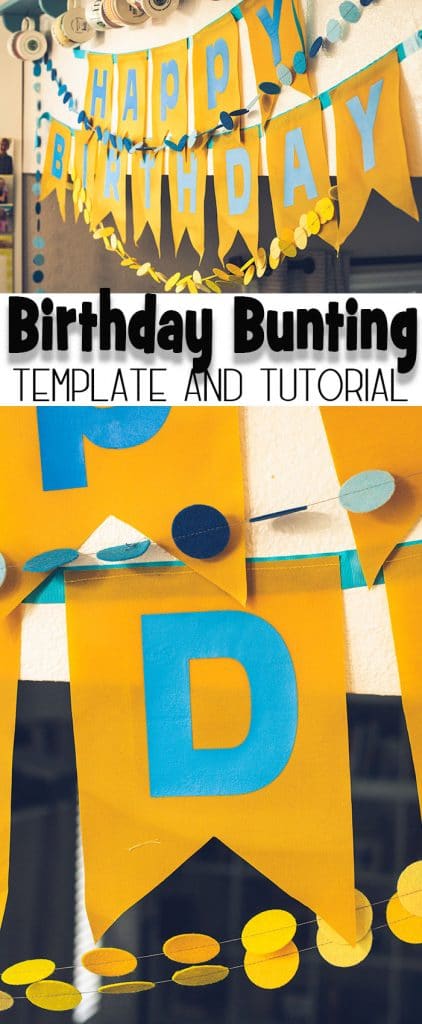
Inside: Use this Bunting template for birthday to make a cute and easy birthday sign.
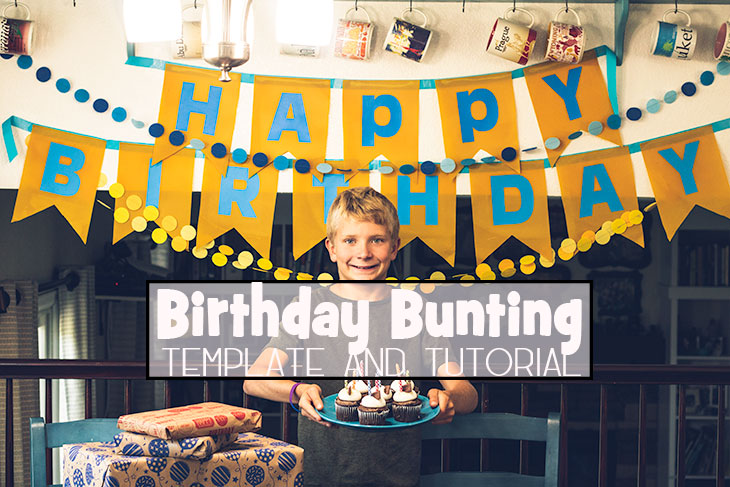
I’m not one to make a huge deal for birthdays so this birthday bunting is perfect for me! One sign, easy to use year after year… just enough to decorate a bit for each of the kids when their birthday rolls around. This tutorial includes a simple template and full tutorial to make your own Birthday Bunting.
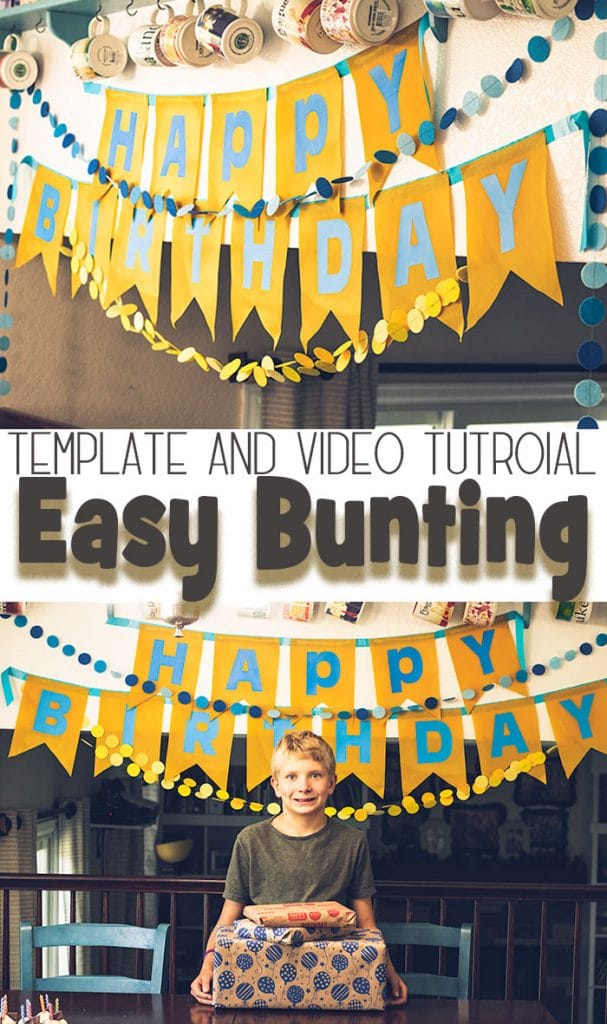
Bunting Template for Birthdays –
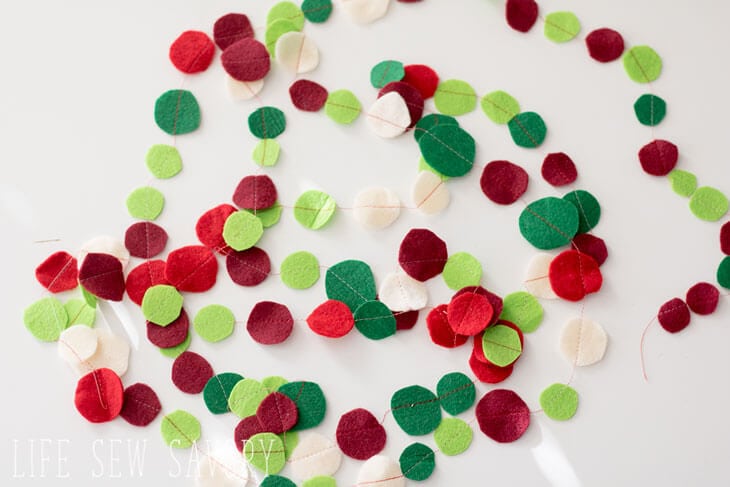
I had the opportunity to make this fun birthday bunting project for the PBS show Make it Artsy and it will air this fall {2019}. It was super fun filming the episode and now you can find all the bunting details here in this post. This cute birthday decor is even better when paired with my felt circle garland.
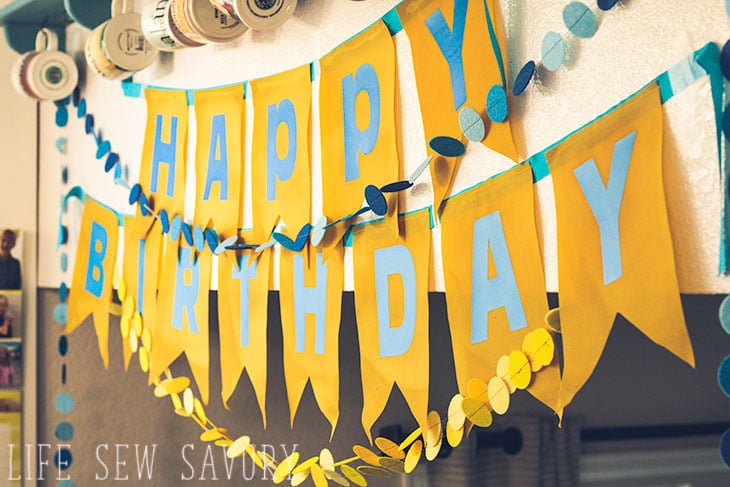
Birthday Bunting Tutorial –
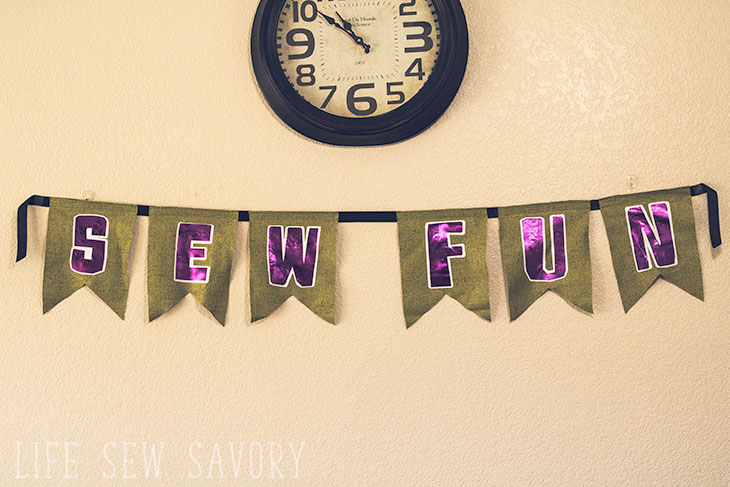
Ok! Let’s first talk about what you need for this project… I made mine two different ways… One is the Birthday bunting above and the other is this fun sewing bunting… There are a couple of differences {which I will describe} but the basic supplies are the same.
- Fabric with non-fray edges… I used {wax canvas and old blackout curtain}
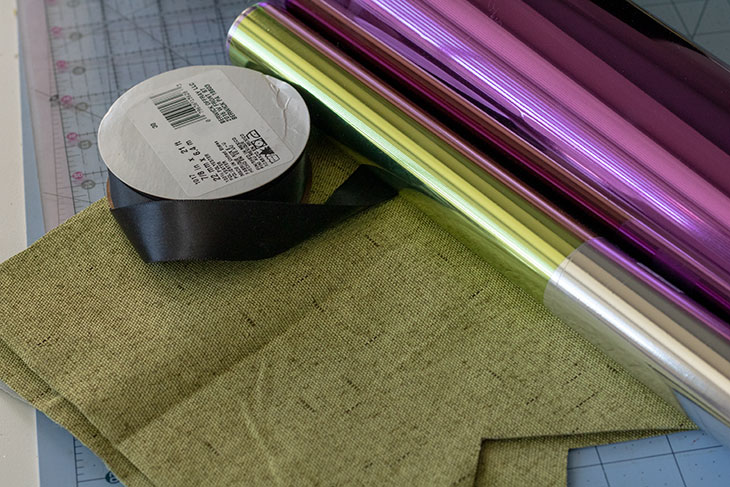
- Heat Transfer or Craft Vinyl
- Scan N Cut or other cutting machine
- 1″ ribbon
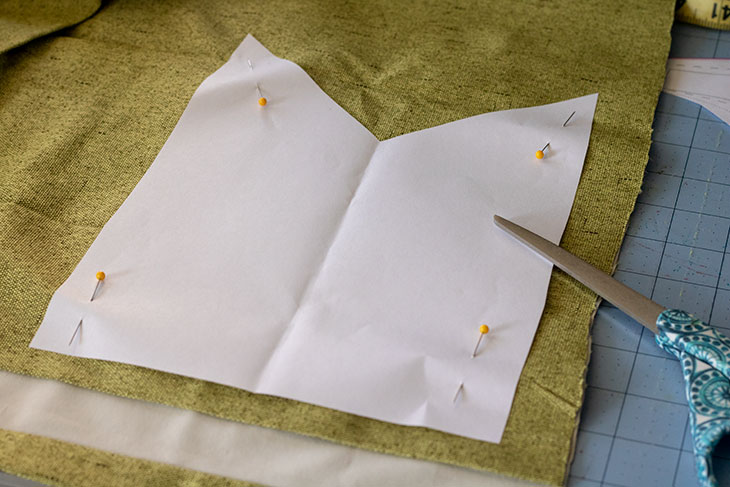
- Bunting Template
Ok! So now let’s talk about the two different buntings I’ve made. The first was a sewing bunting I made for the SNAP conference sewing room. I used some blackout curtain fabric I had trimmed with putting up curtains in our bedroom. It was a nice thick fabric with structure and edges that don’t fray.

The yellow birthday bunting is made with wax canvas {my new favorite fabric…. see the wax bag I made here}
Let’s make a fun bunting! Grab the bunting template for birthdays and let’s get started. First, decide what you are going to say on your bunting and you will need to cut as many bunting flags as letters.
Gather your vinyl, ribbon and flags that you just cut.
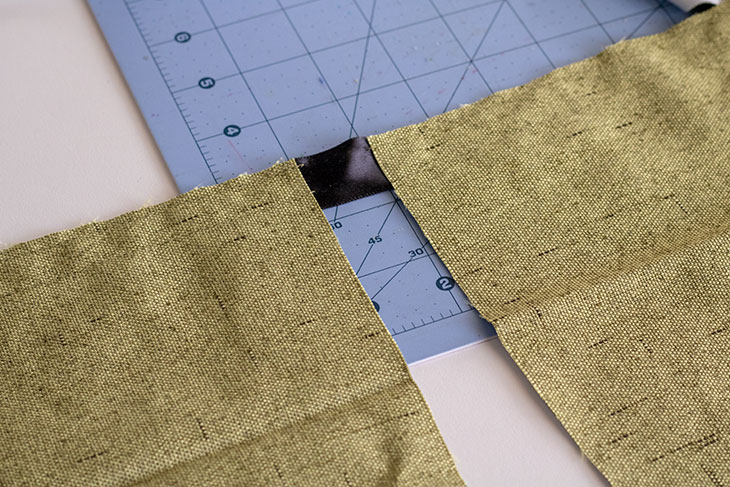
Space the flags out on your ribbon, keeping all the words on one ribbon or breaking up as I did for my Happy Birthday bunting.
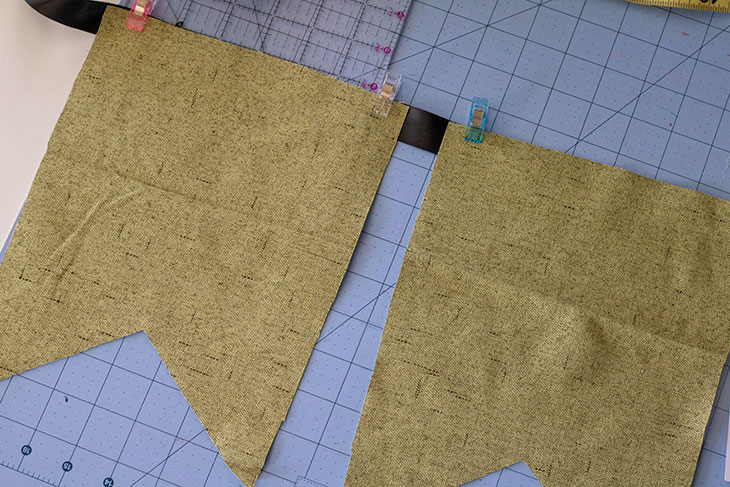
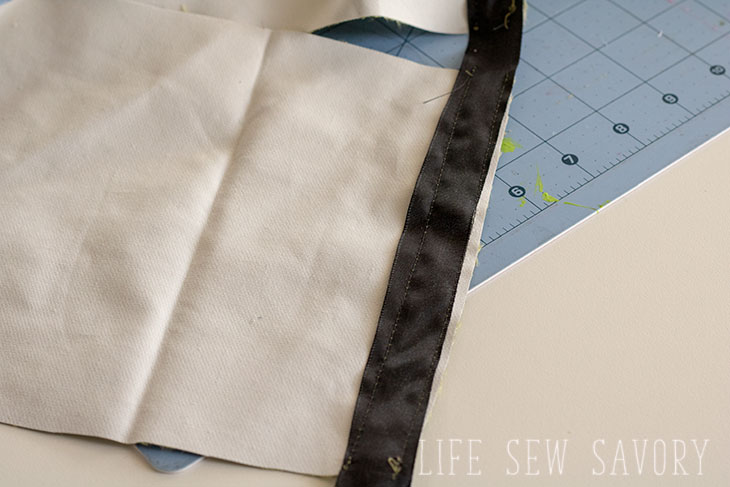
Sew or glue the bunting flags onto the ribbon.
Now, create the letters to add to the bunting. You can hand cut block letters from heat vinyl if you don’t have a electronic cutting machine, or use your machine software to design and cut letters. If you want to create offset lines like my sewing bunting see this offset lines tutorial.
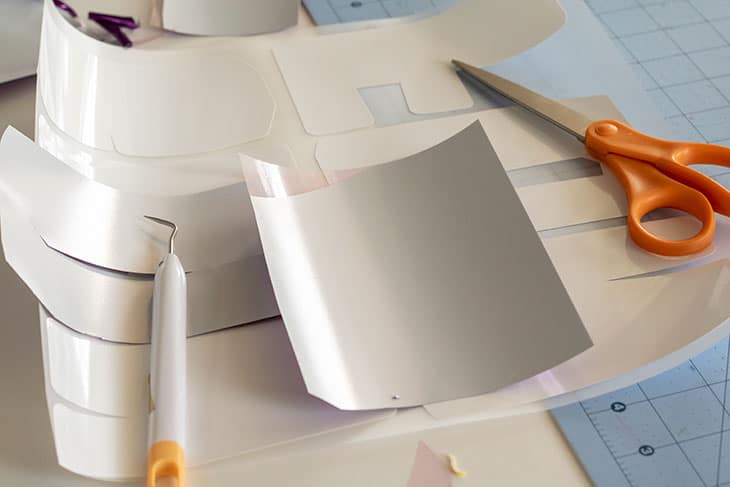
If you have a single layer of vinyl, center and iron to set to your bunting. {on the wax canvas place a paper towel between the fabric and iron to keep the wax off your iron}. For double layers of vinyl, set the first layer, peel the plastic then add the second layer of vinyl. Be sure all the layers of vinyl are covered when you iron.
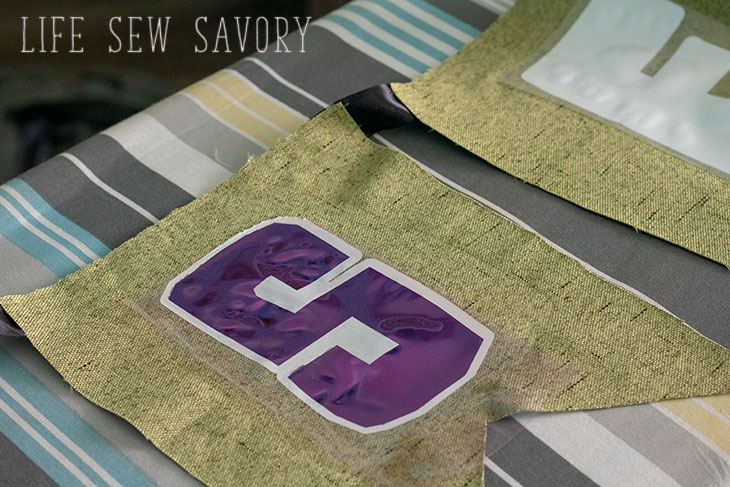
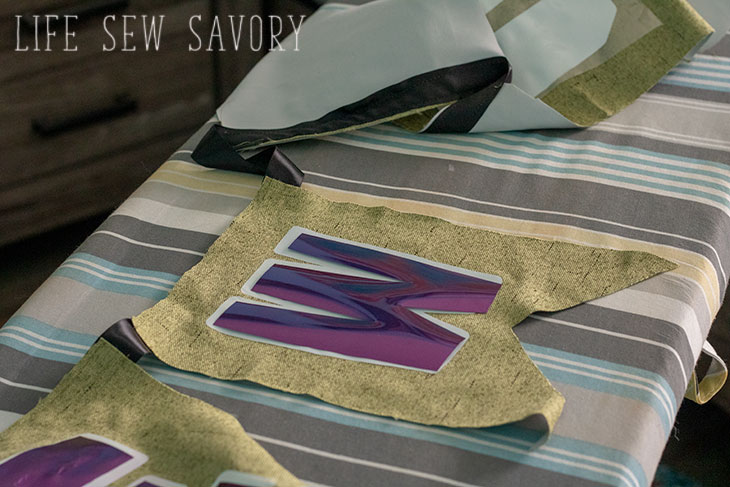
And now you have a super fun bunting to decor your new party or event I love how easy it is to store as well and I can pull out and use as each birthday comes along. I plan to use purple and red felt circles with my birthday bunting when my daughters birthday rolls around.
Other fun Party/Home Decor tutorials you may enjoy




Leave a Reply