inside: learn tips and tricks for how to use heat transfer vinyl to make your own custom shirts.
I love making custom shirts for my kids and as gifts. It’s great to have the ability to make shirts for school theme days or party favors or birthday gifts. I’ve had SO many reasons over the years for using my Scan N Cut to make amazing shirts with heat transfer vinyl. I’m excited to share some tips for how to apply heat transfer vinyl so you can make great shirts {and other projects} too!

How to Use Heat Transfer Vinyl-
I’m going to use the process of making this bug/insect shirt to show you how to apply heat transfer vinyl. I’ll walk through the whole process and then give you tips and tricks I’ve learned along the way. You can also find a concise printable version of my heat transfer vinyl tips at the bottom of this post.
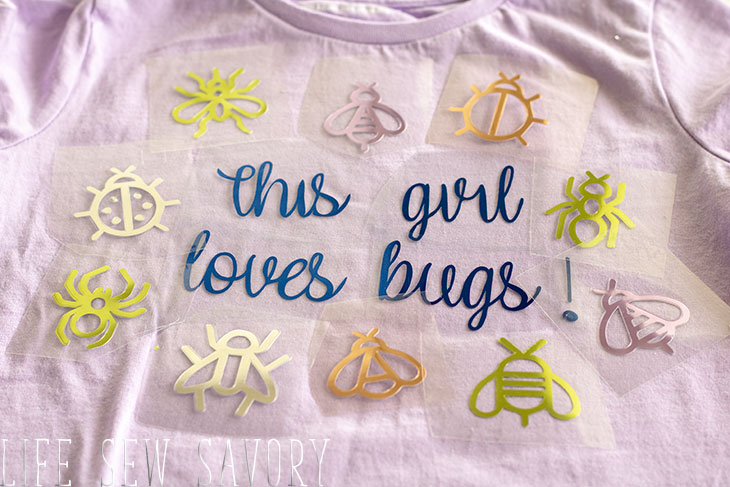
I recent made this shirt for a friend of ours who was turning 9 and is obsessed with bugs. You can download the free svg for this shirt HERE.
I was pretty excited with how it turned out. Buggy, yet very girly. Let’s walk though making this custom vinyl shirt step by step.

First let’s gather your supplies. You will need –
- Electronic Cutting Machine
- Shirt, bag or other “thing” to vinyl
- Heat Transfer Vinyl
I used the provided bug SVG but wanted to cut it out of lots of colors. You can also cut the design out of one color. Check out the video that is attached to this post for this tutorial in action. If you have an ad blocker you will need to disable in order to see the video.

I divided up my design by color. The words were cut first out of the blue vinyl.
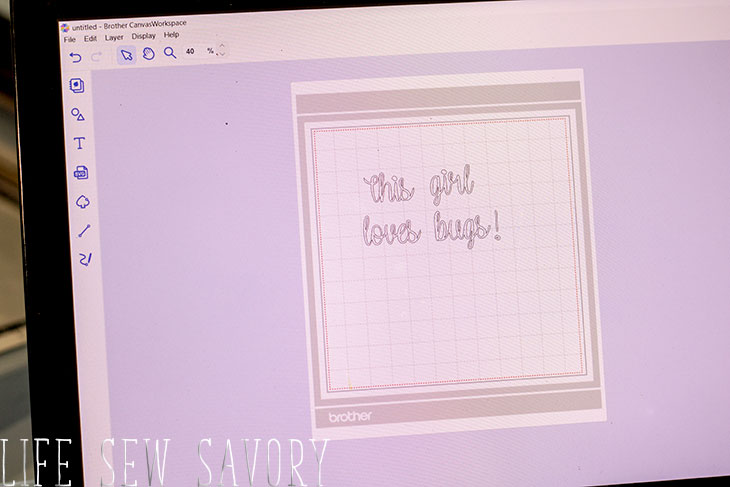
Use any electronic cutting machine to cut your design. Cut each color/design separately.
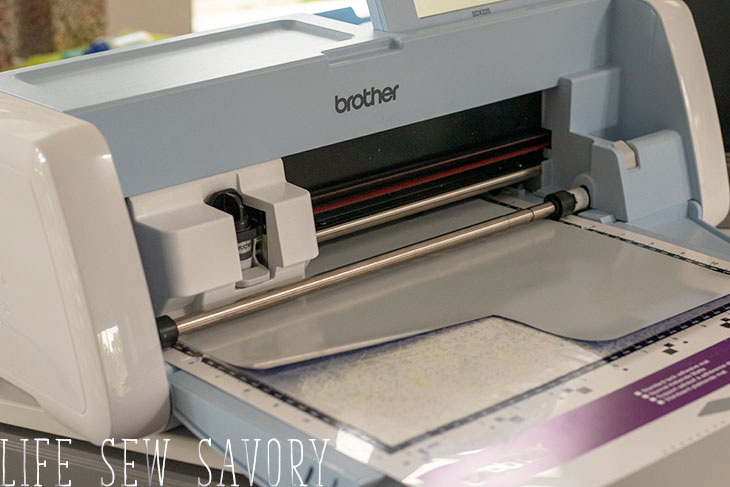
how to heat transfer vinyl-
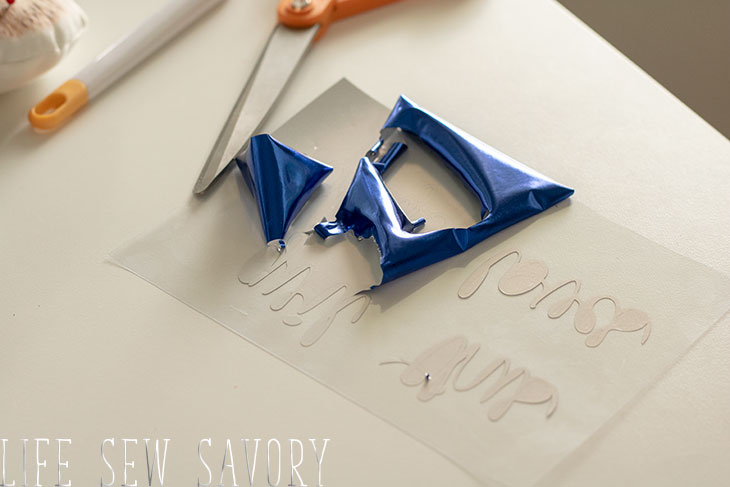
Next you will “weed” your designs. This refers to picking the extra vinyl from around the designs that you cut. I love these tools for weeding.
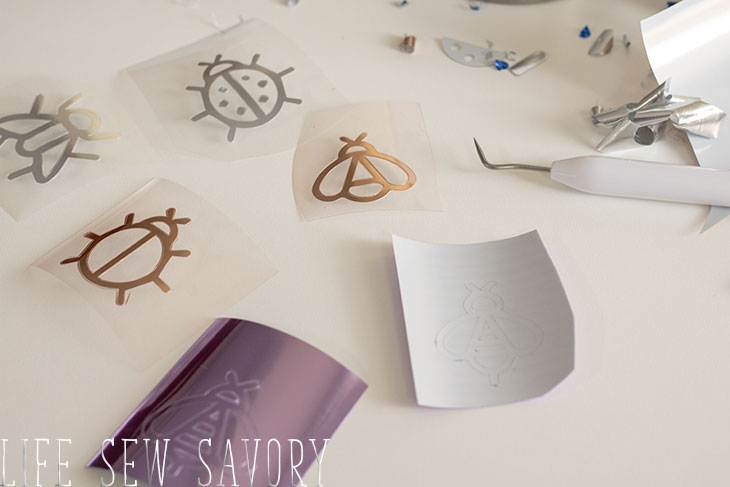
This design had a lot of different pieces due to the colors. I have five colors of vinyl in this design.
After you have all your vinyl ready to cut, trim any extra clear plastic. You want to leave a bit extra, but not too much as it will keep you from laying out your design. Layout the design to your liking. After you have it arranged… remove the vinyl and then HEAT your fabric. Before you iron the vinyl to the shirt, make sure to prep by heating the fabric. Then, put the design back in place and follow the below tips for applying.
how to apply heat transfer vinyl-
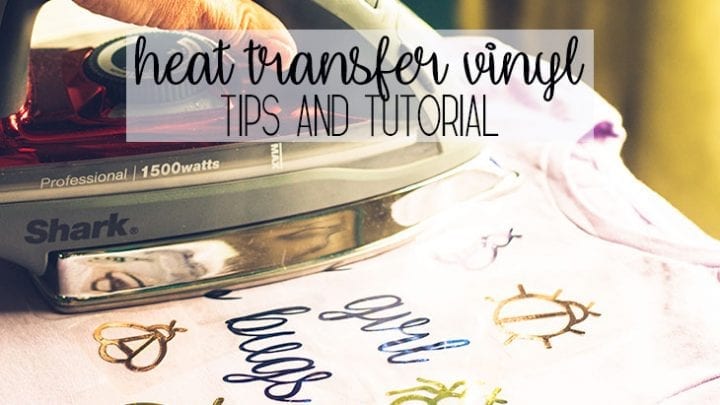
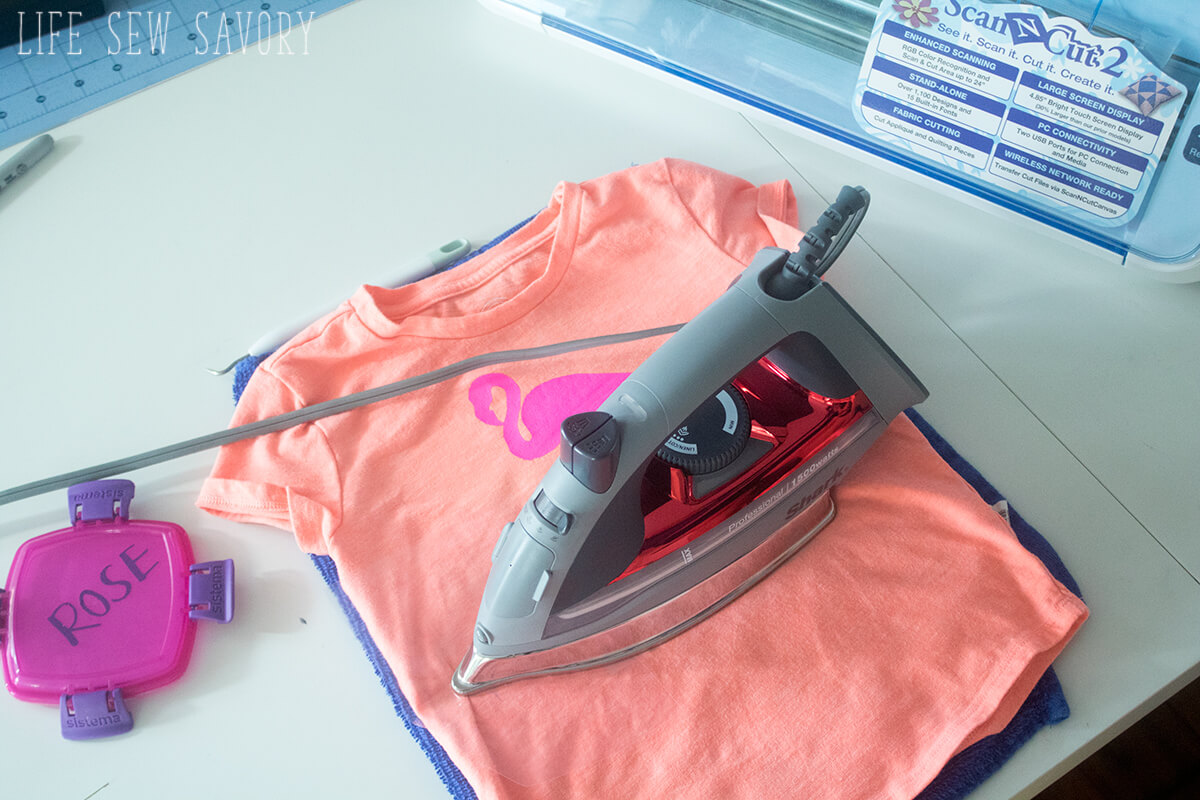
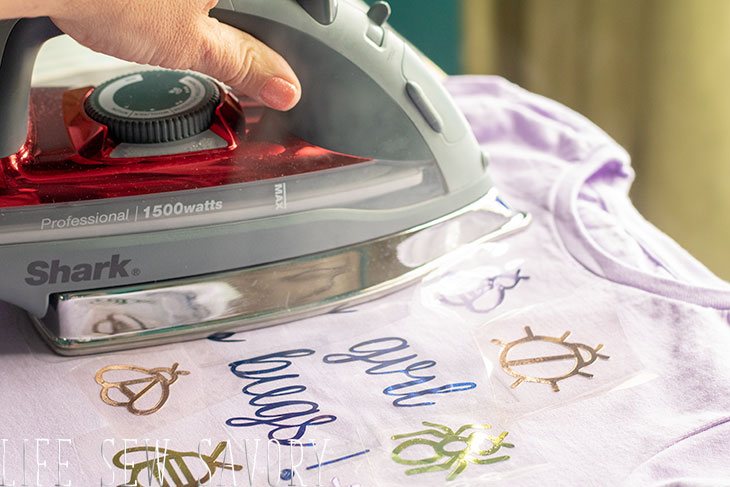
Use PRESSURE! This is my top tip. If you don’t have a heat press… {and most of us don’t} you will really need to lean on your iron while applying vinyl.
Here’s a close up of how the vinyl has fused into the fabric. You want to see this in the vinyl to make sure it won’t peel later.
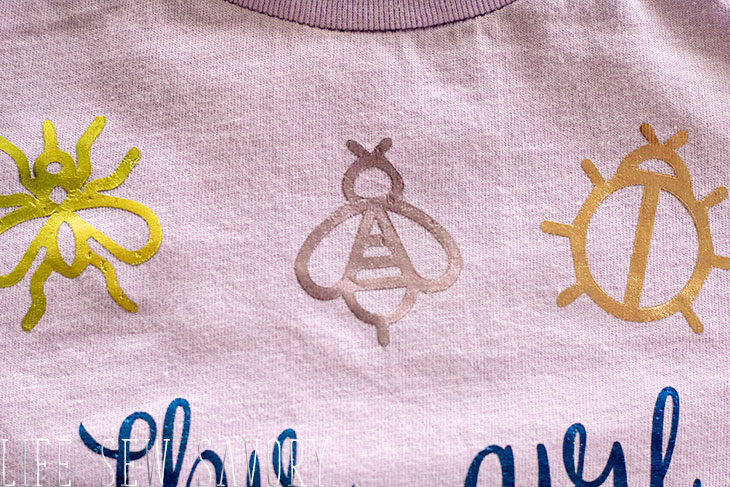
And you did it!! Gorgeous custom vinyl shirts in no time! Use a design from online or one you design and use this tutorial to create your own shirts with heat transfer vinyl.

make your own custom shirts with heat transfer vinyl. Leave how to use heat transfer vinyl to create amazing projects.heat transfer vinyl tips
Materials
Tools
Instructions




Julie Zurcher says
HI Emily,
I bought a used Cricut Expressions that didn’t have instructions. The cables are there, but is there computer software I need in order to print downloaded files? How would I go about downloading cut files?
Thank you!
Julie
Melisa says
Can I cut the files myself or do I absolutely need a cutting machine to do this?