inside: learn how to sew a DIY kids toiletry bag with this tutorial. Create a travel toiletry bag to hold all your kids needed items for travel or overnights away. Sewing tutorial for a simple kids toiletry bag.
The kids and I took a trip last month and as I threw all their things in a bag, I realized it was time to make each of them their own toiletry bag. I finally got to this on my todo list, so this week I’m sharing a fun and easy DIY kids toiletry bag tutorial.
The best part is that you can customize this bag to whatever shape and size you need for your kids.
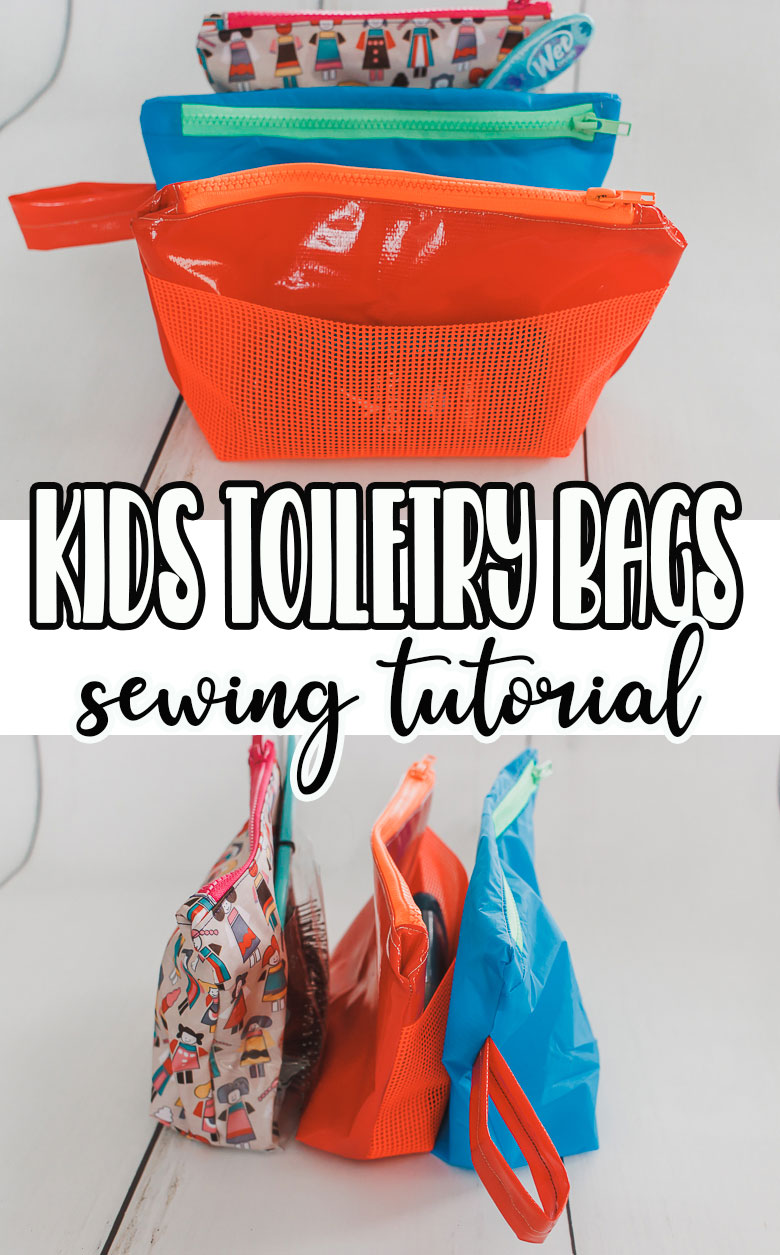
DIY Kids toiletry bags
So when were in the Dominican last month this is the scene I saw on the bathroom counter in the room we were staying.
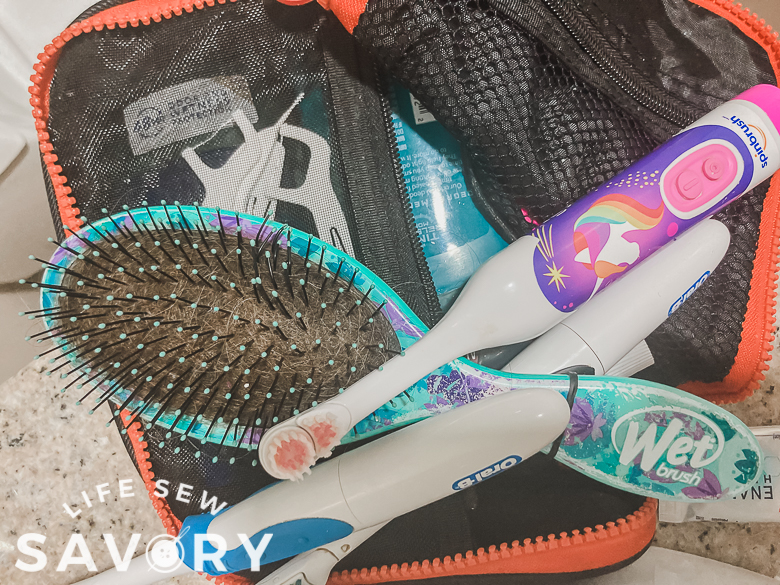
All toothbrushes together and mixed with everything else. While I was staring at this mess on the counter I thought it was time to sew some travel bags for my kids. I put it on my todo list when we got home and this week I got to sewing some toiletry bags.
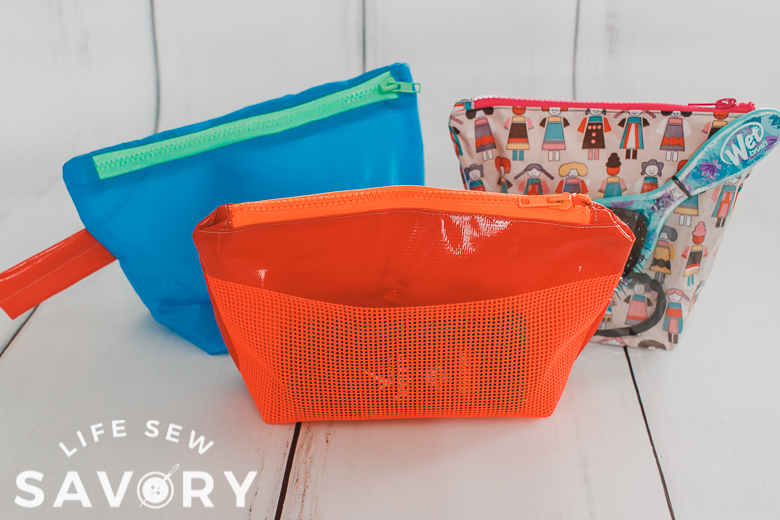
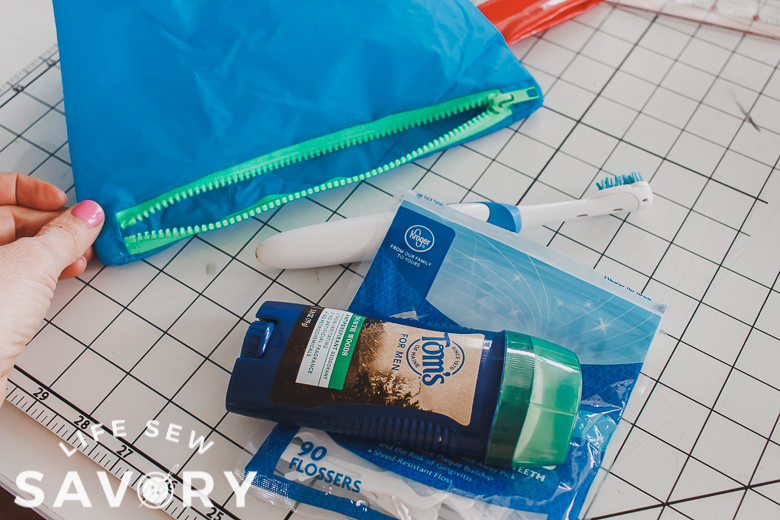
I kept each bag small and simple, but each is big enough for the basics that the kids need. Each kid has an electric toothbrush, toothpaste, flossers, deodorant for the boys, and hair things for the boys.
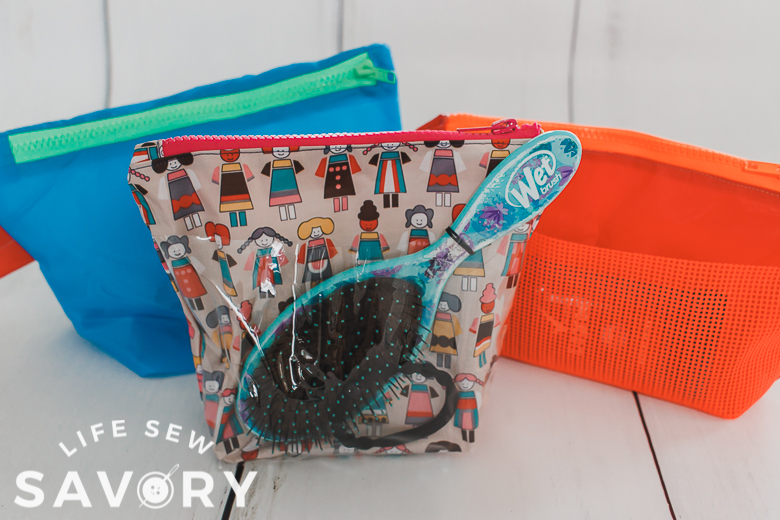
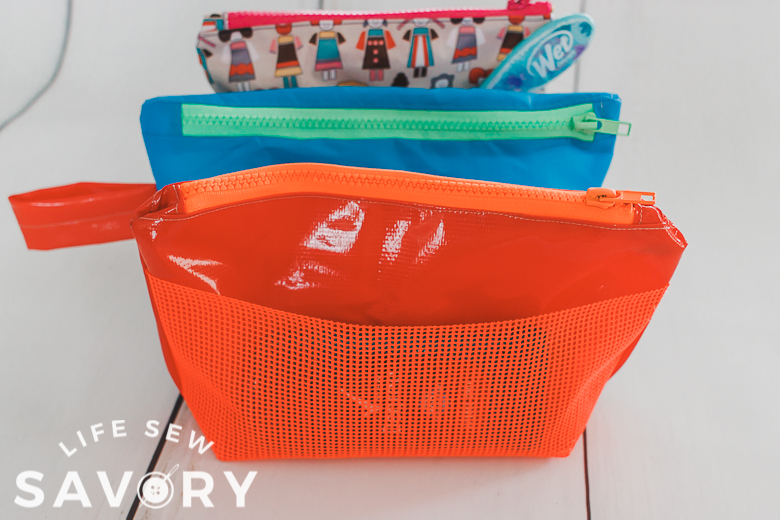
As you can see each bag is slightly different, size, outside pocket and handle, each bag has a few unique features.
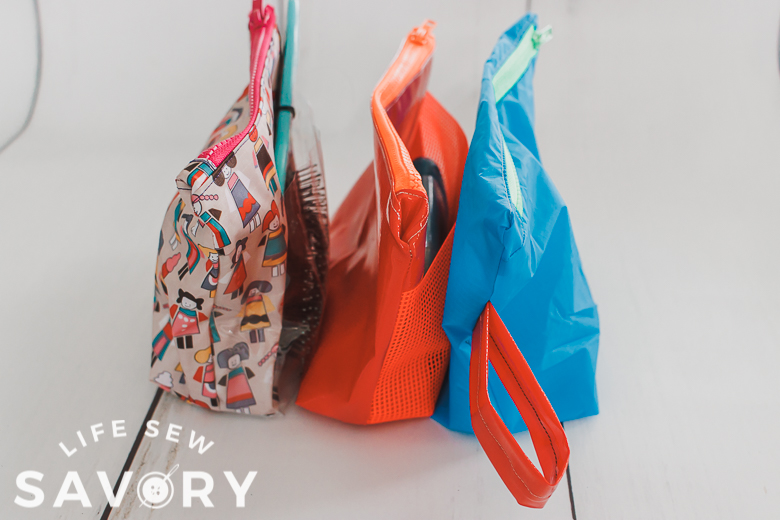
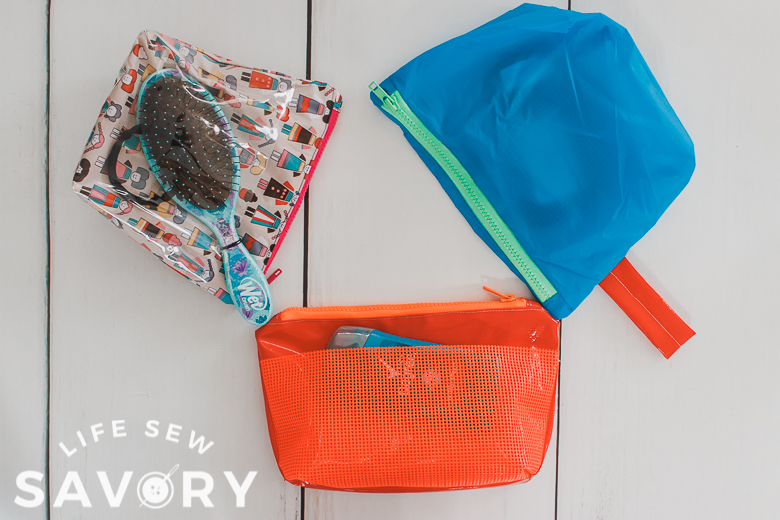
I just used fabrics I had on hand and you can do the same. Sports mesh? vinyl mesh? Rip stop? clear vinyl? Use what you have… I was just looking for fabric that I can wipe clean or easily clean. So grab some easy to clean fabric and think about what style features you want and let’s get sewing.
Other fun travel items to sew:
How to make a travel bag for kids toiletries
Ready to get sewing? Lets talk about supplies…
- Any easy to clean fabrics that you have or that you can buy
You can cut your two main pieces pretty much any size you want. I made one bag 9 x 9″, on 10 x 10″ and one 8 x 11″. Experiment with sizes to see what you need. in addition to the two main pieces, I also cut an outside pocket with the mesh. You will also need zipper tabs for the side of the zipper. Cut two pieces 2 x 4″ for the zipper tabs.
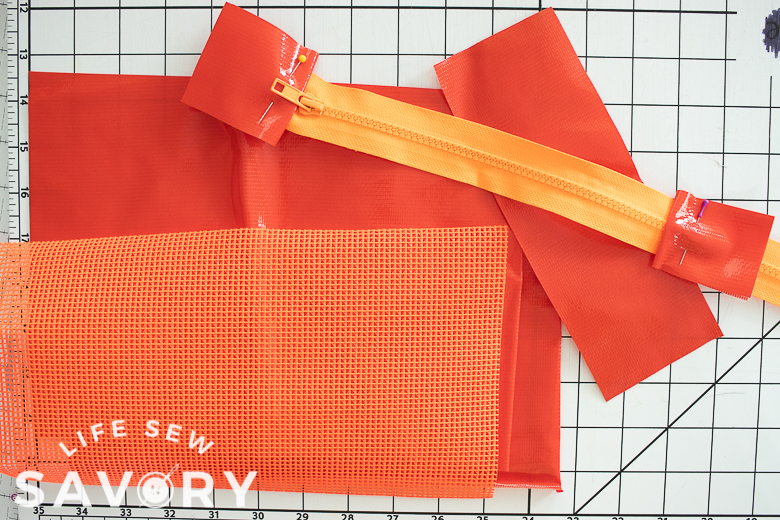
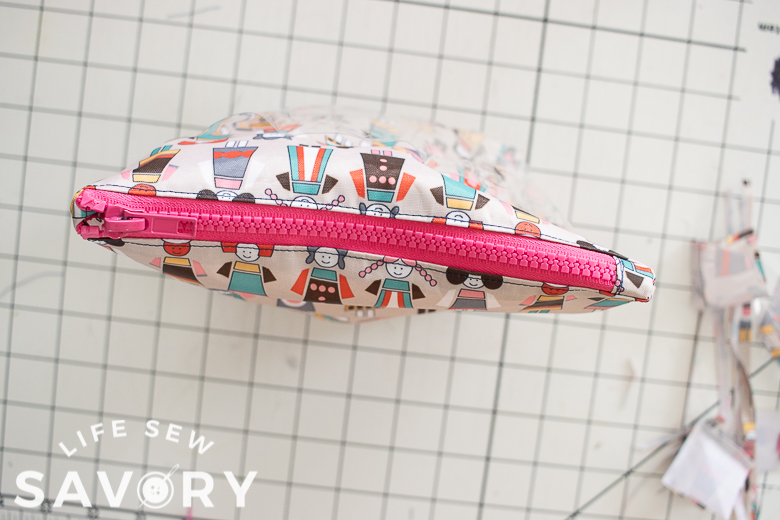
Create zipper tabs by folding the small pieces of fabric in half and placing the folded edge near the zipper tab on one end and with the fold toward the middle on the other side. You want about 1/2″-1″ of tab inside the bag size. {see photo}. Sew the zipper tabs in place. When sewing over the teeth go very slow, sometimes I just turn the hand wheel a few times.
Center the zipper and then pin/clip the zipper with right sides together along the top edge of the bag.
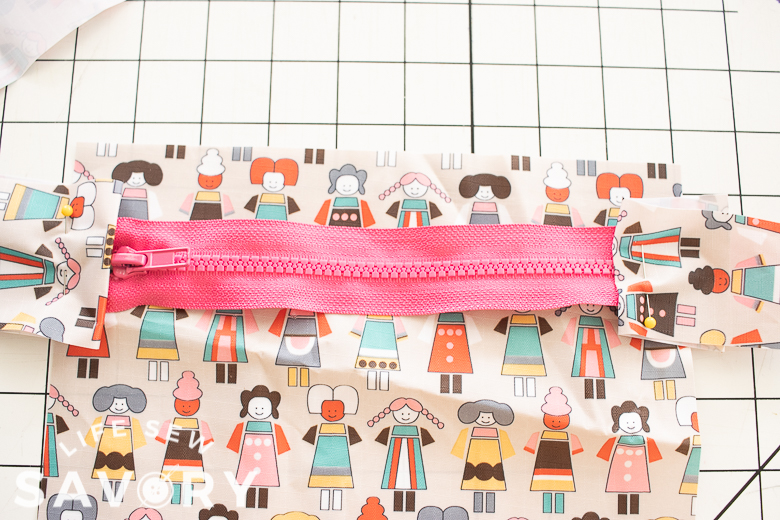
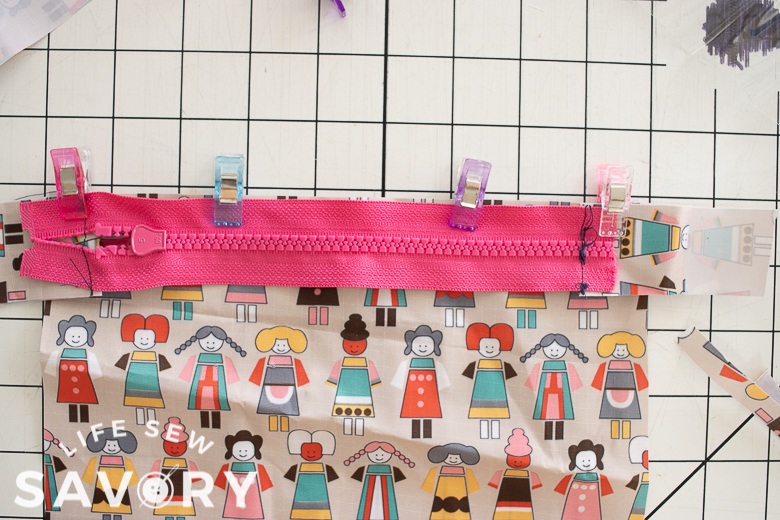
Sew the zipper in place with a zipper foot on your sewing machine. Open up the zipper and then top-stitch the seam allowance to finish seam.
Repeat this process to attach the other side of the bag to the zipper. {need help? watch the video in this post or check out this zipper pouch tutorial.}
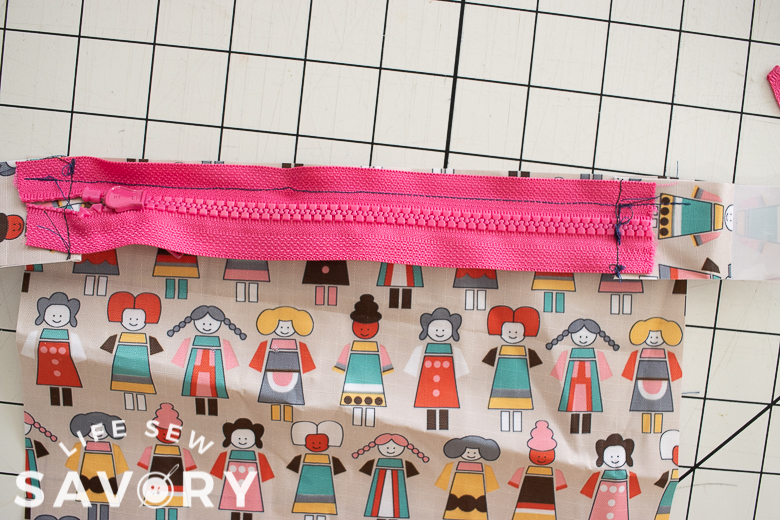
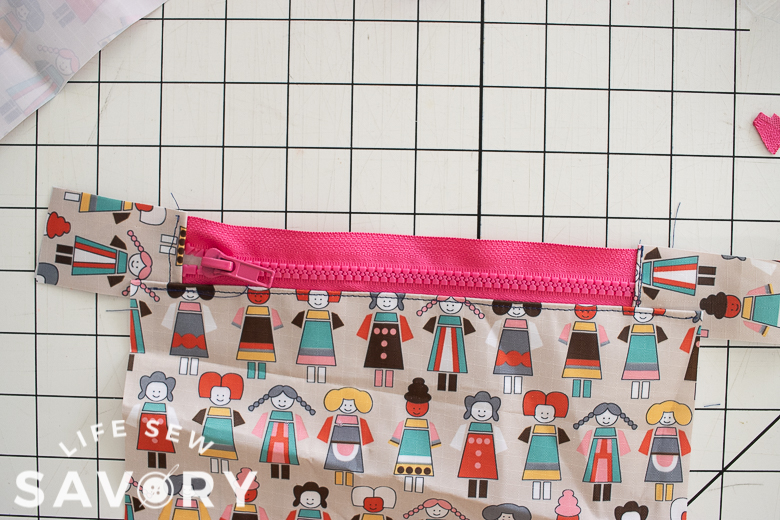
If you are adding a side pocket, now is the time to clip it in place. It’s hard to see in the photo, but I added a clear vinyl pocket here. Fold the bag over so the two main sides of the bag are together. Repin the sides and bottom and sew all three sides.
Make sure to have the zipper open at least half way do you can turn it right side out.
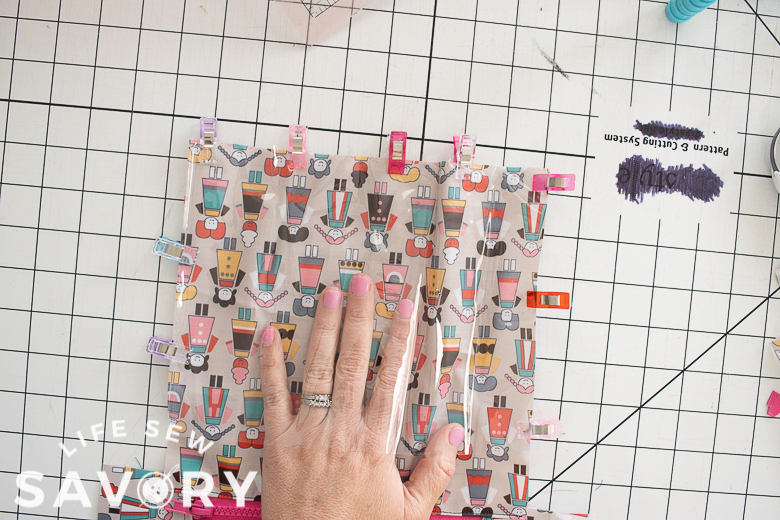
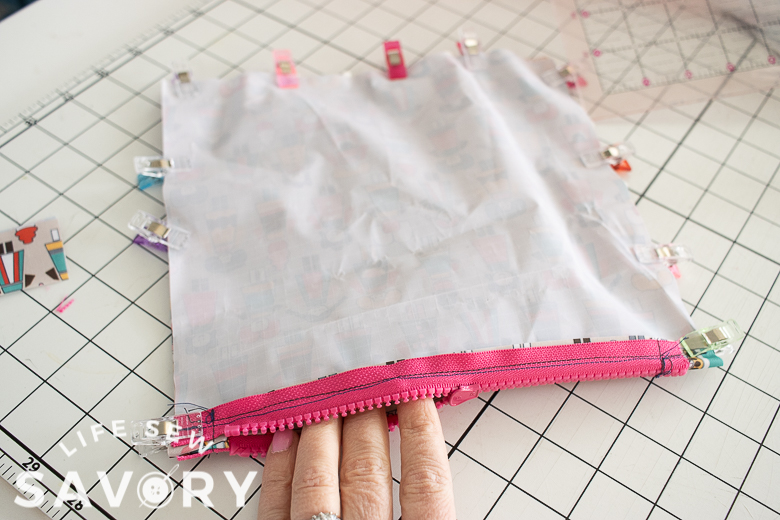
Here are the three sides sewn. Trim any excess seam allowance.
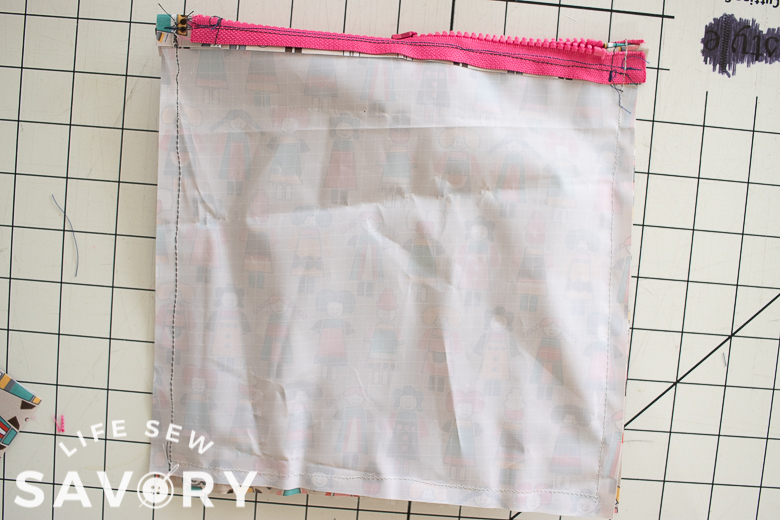
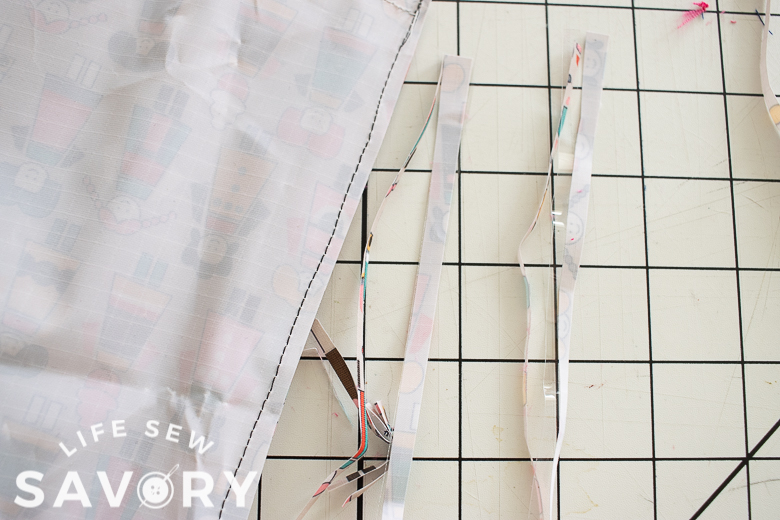
Now we will add the box corners to the bottom of the bag. You can also see this step in action in the video of this post. Take one bottom corner and press it so the side seam and bottom seam are smashed together. Press this corner flat and pin 1.5″ from the corner point. Sew this pin line and then cut off the seam allowance.
repeat with other corner, and turn the bag right side out.
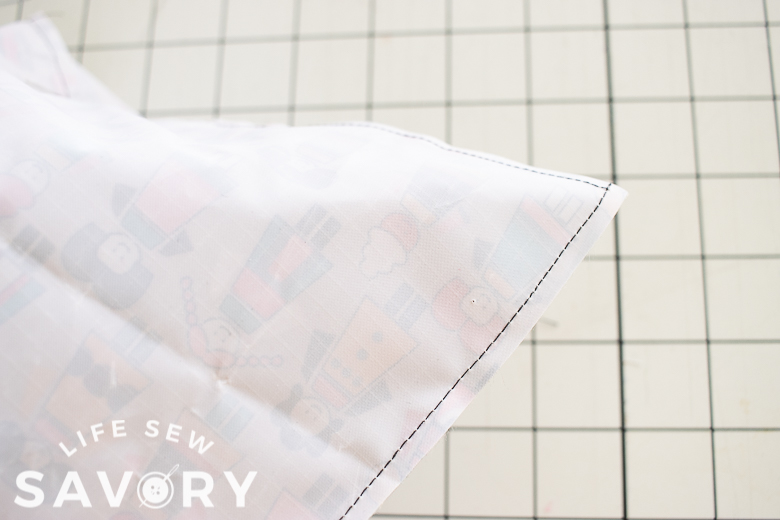
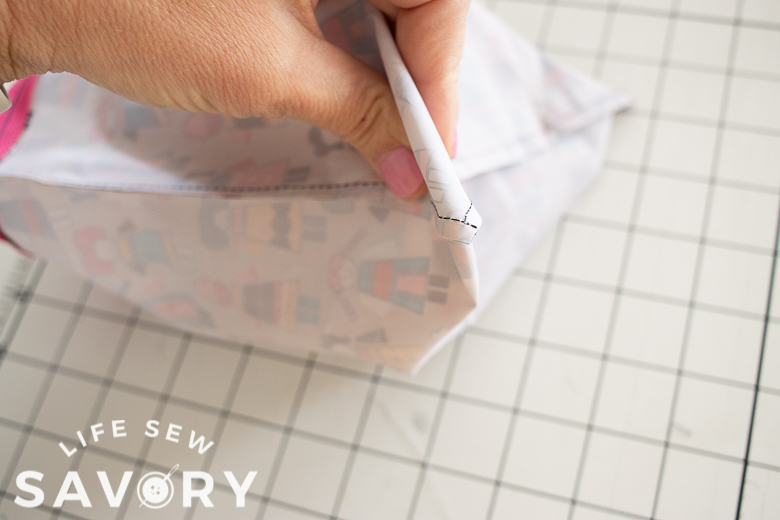
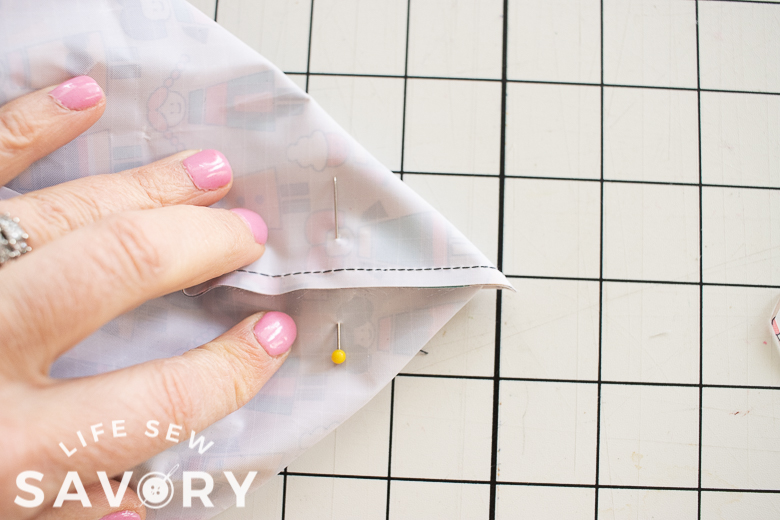
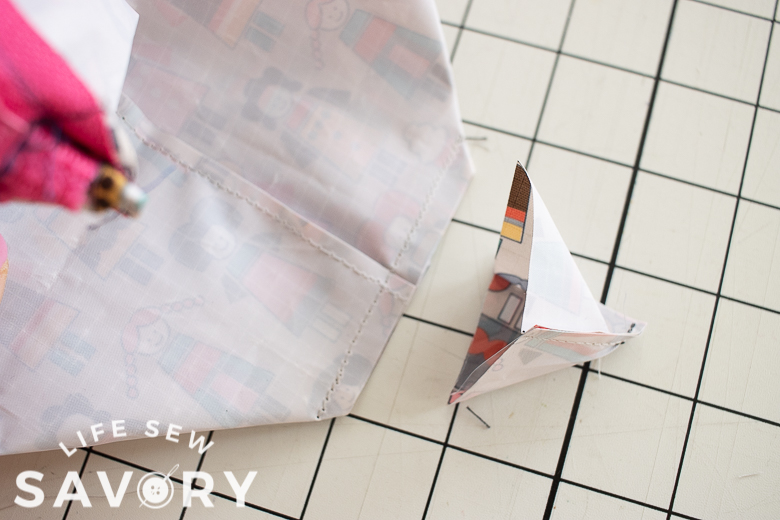
Now you have corners that will give the bottom shape and also allow the bag to stand up. If you added a side pocket this will also be folded and cut when you create the bottom corner.
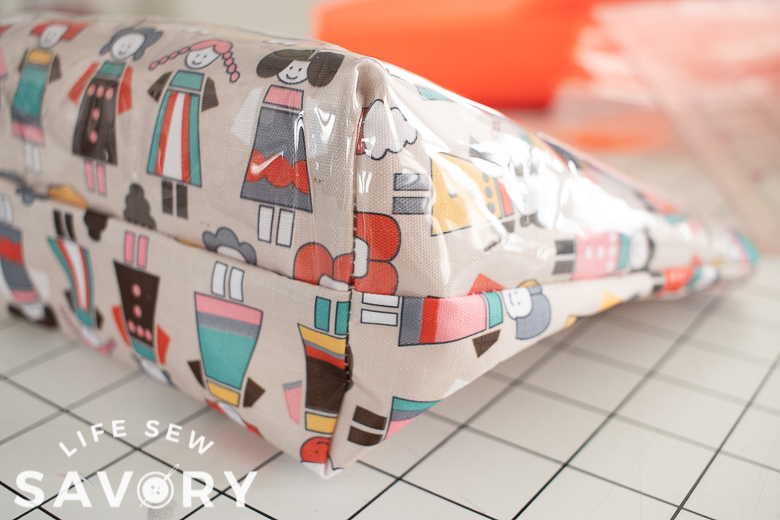
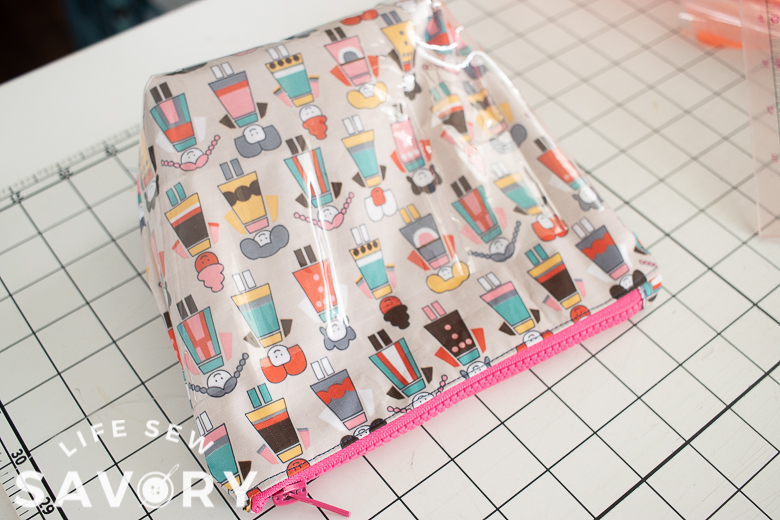
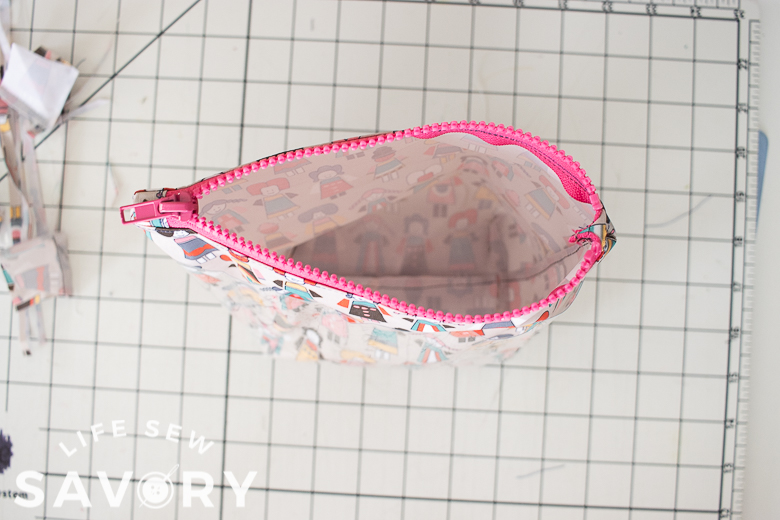
Now you can fill this fun toiletry bag with all your necessities. My kids were very excited to come home from school and find a travel bag for each of them waiting.






Kathy says
This is great! Going to make one for my grandson to take to camp this summer. I’ll had a loop handle on one end with his name embroidered on it so when he leaves it in the bathroom (you KNOW he will) everyone will know who it belongs to. Thanks for the inspiration.