inside: Learn how to sew a sweatshirt with this free sewing pattern. This free sweatshirt pattern for kids is simple and easy and so comfy to wear. Download the pdf pattern and get sewing today.
I’ve been sewing all kinds of sweatshirt dresses lately and enjoying dressing cozy for winter. I realized I haven’t shared how I’m using a free pattern to sew simple sweatshirts for Rose. So today I’m going to show you how to sew a simple sweatshirt with a free pattern I’ve shared before.
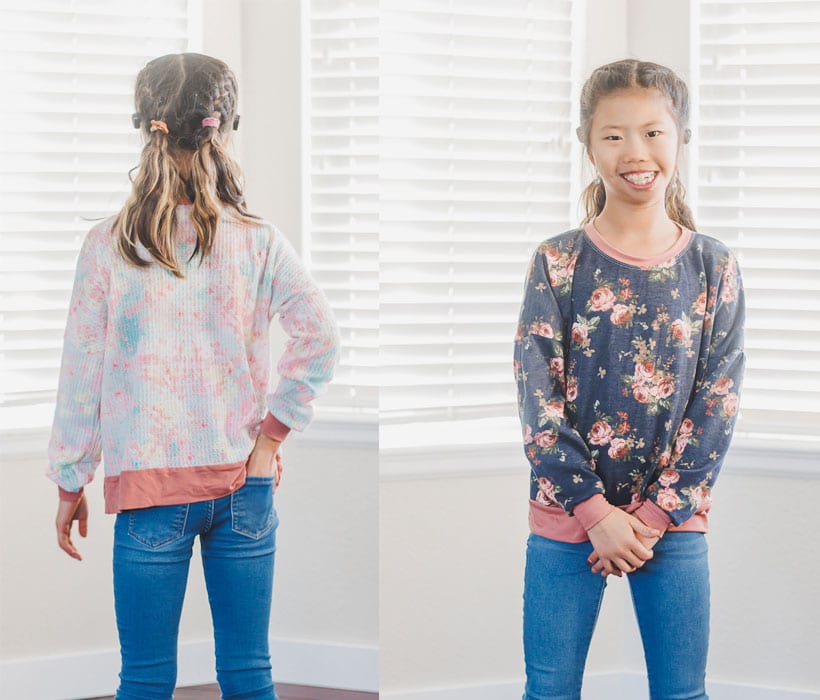
Simple kids sweatshirt pattern
In addition to the written tutorial below this post includes a full length video tutorial. You can watch each step in real time being sewn below. If you have trouble viewing the tutorial video, make sure you turn off your ad blocker or try a different browser.
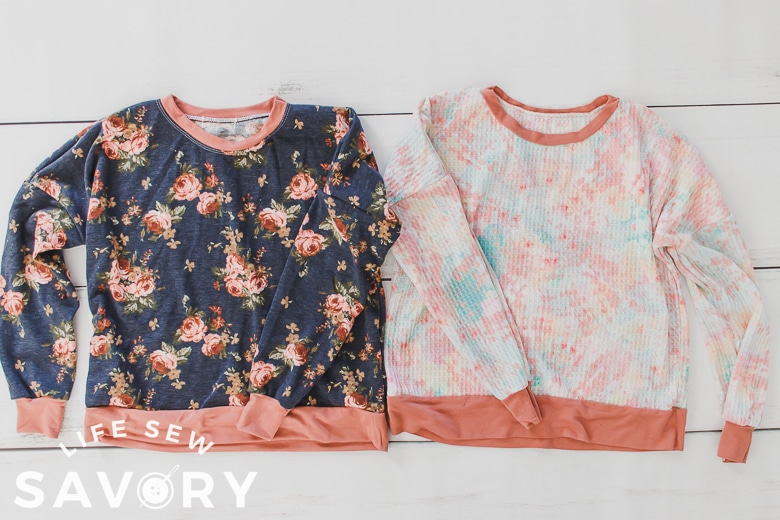
Rose has needed a few more long sleeve shirts for awhile, and I’ve had fabric… it it was time to get sewing. Last week on my live show I sewed the tie-dye version {this is the video embedded in this post} and then below you can see my photo tutorial with all the written details as well.
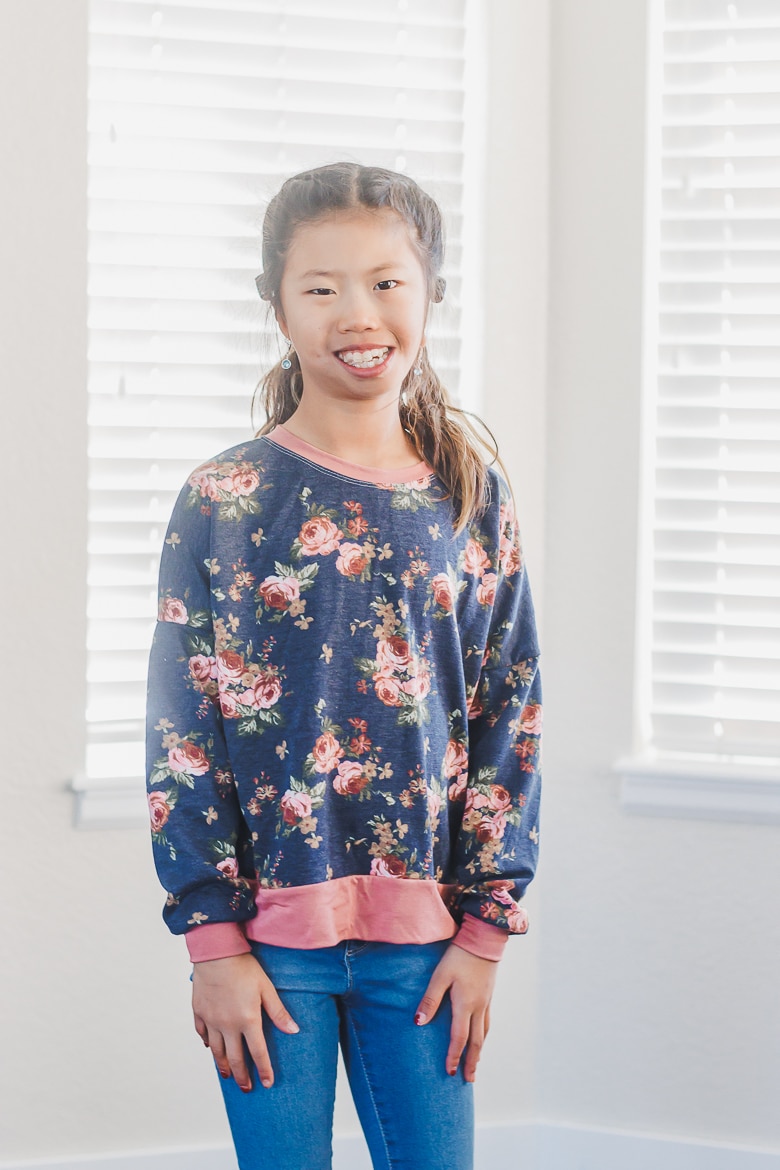
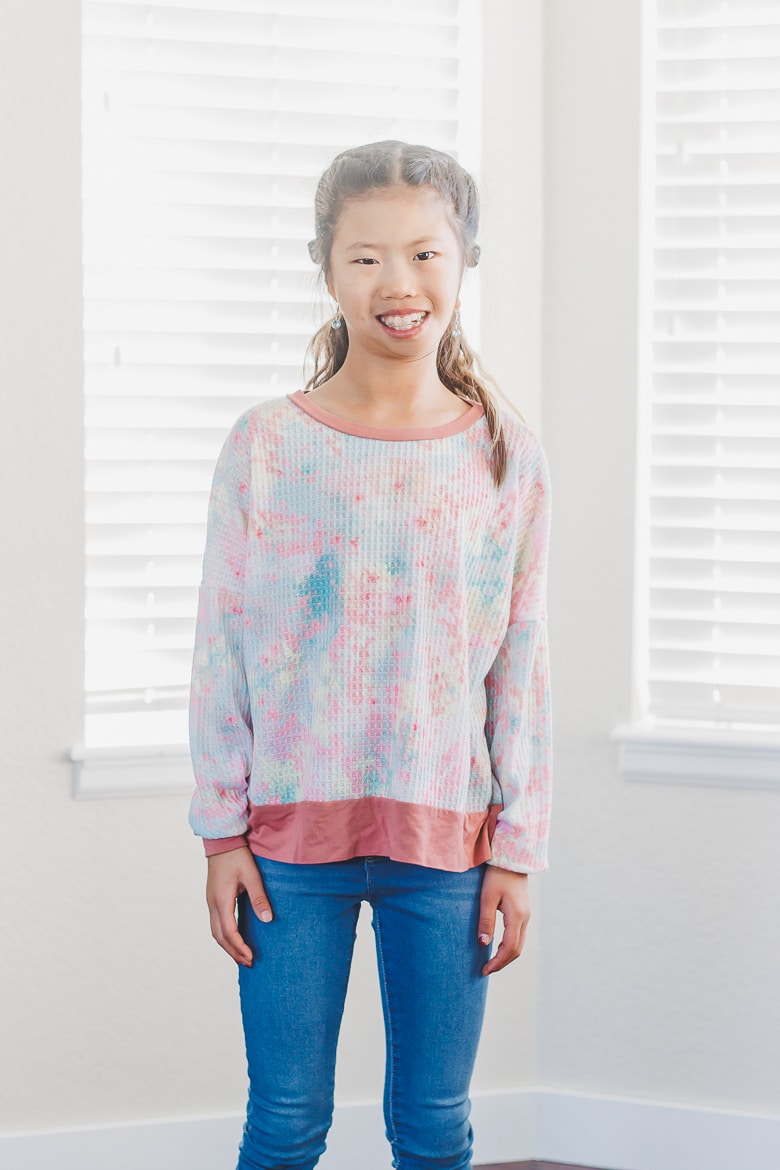
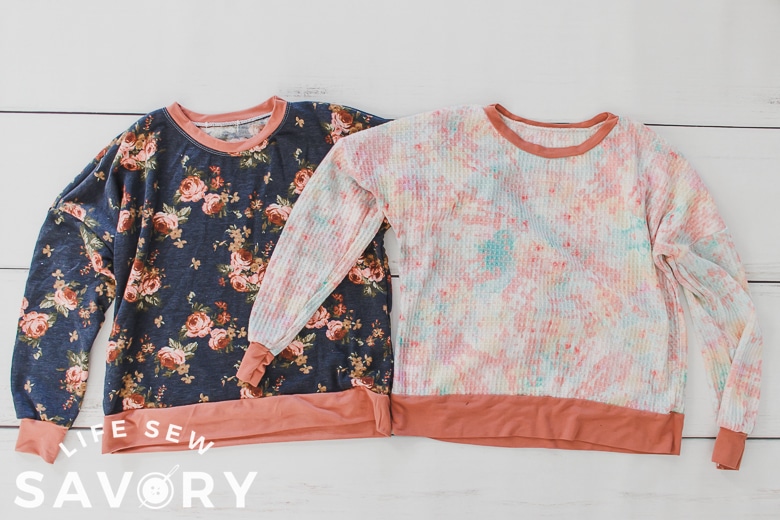
The tye-dye fabric is a waffle fabric and the floral is a thin french terry. Both work perfectly for this free sewing pattern. A thicker sweatshirt fleece {or regular fleece} would also work, it would just be more bulky.
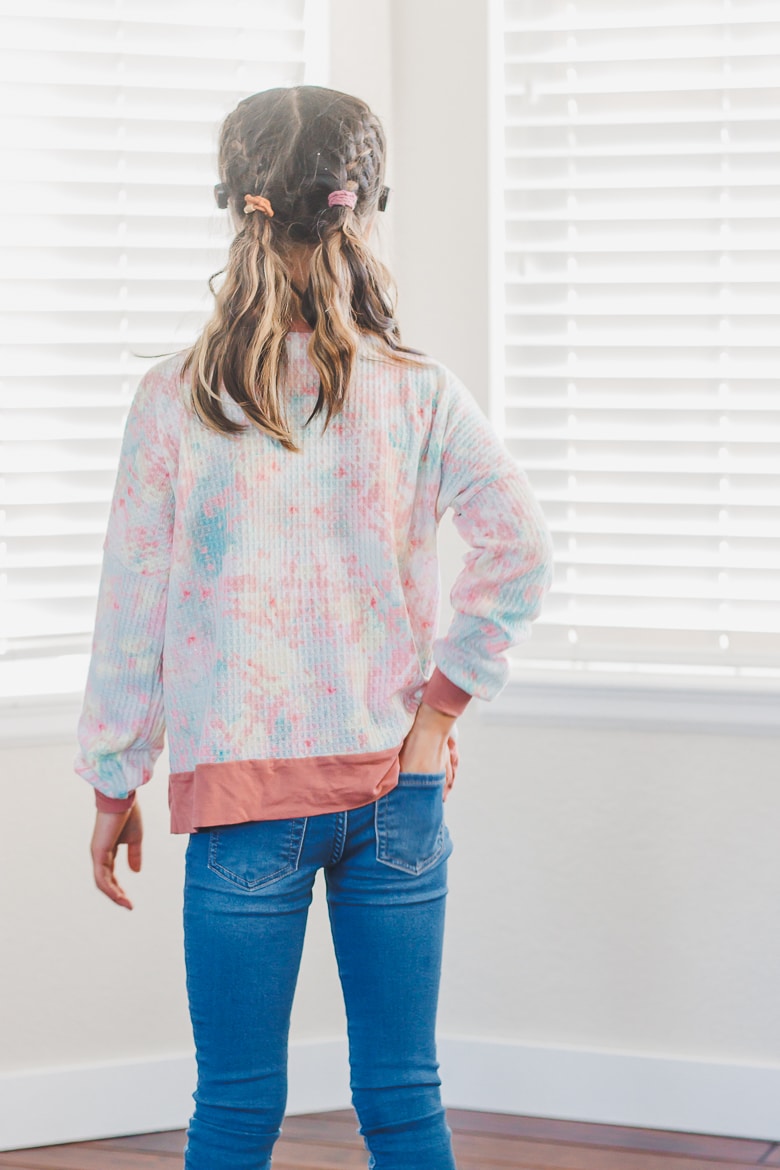
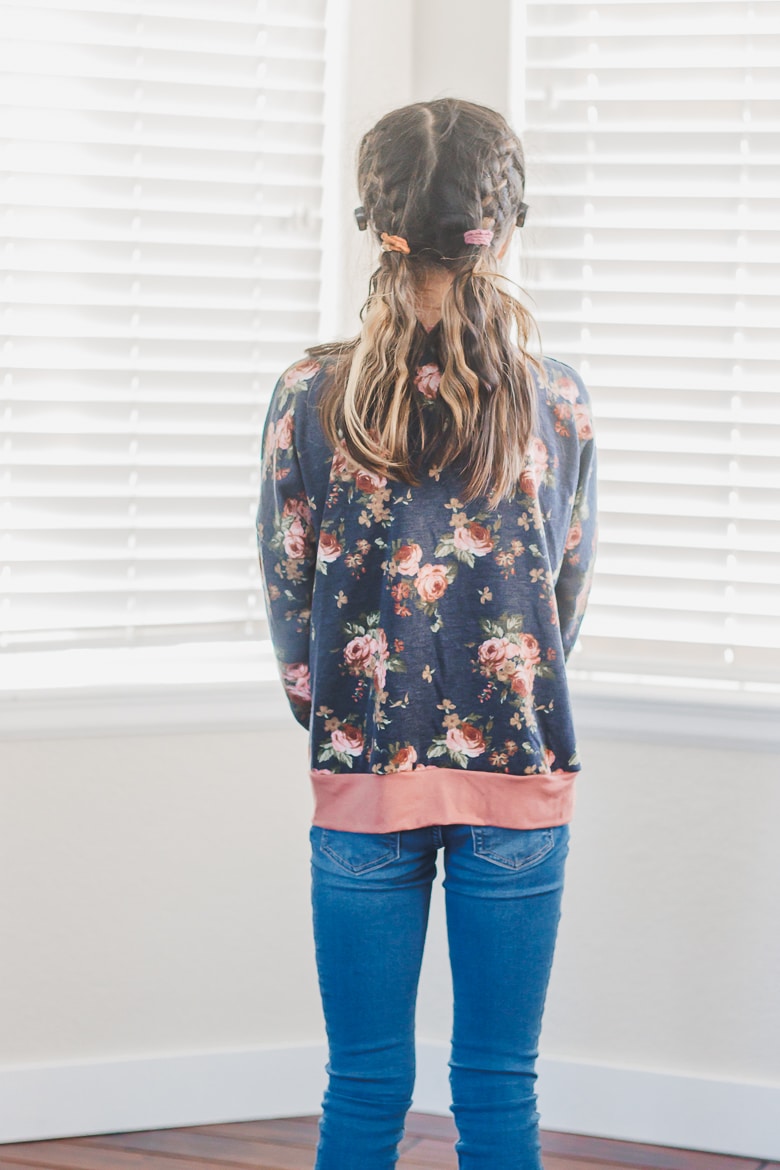
I bought both of these fabrics from Sincerely Rylee {link below} and the cuff/band fabric was from Walmart. It happens to match the colors in both of these other fabrics, so I used it for both.
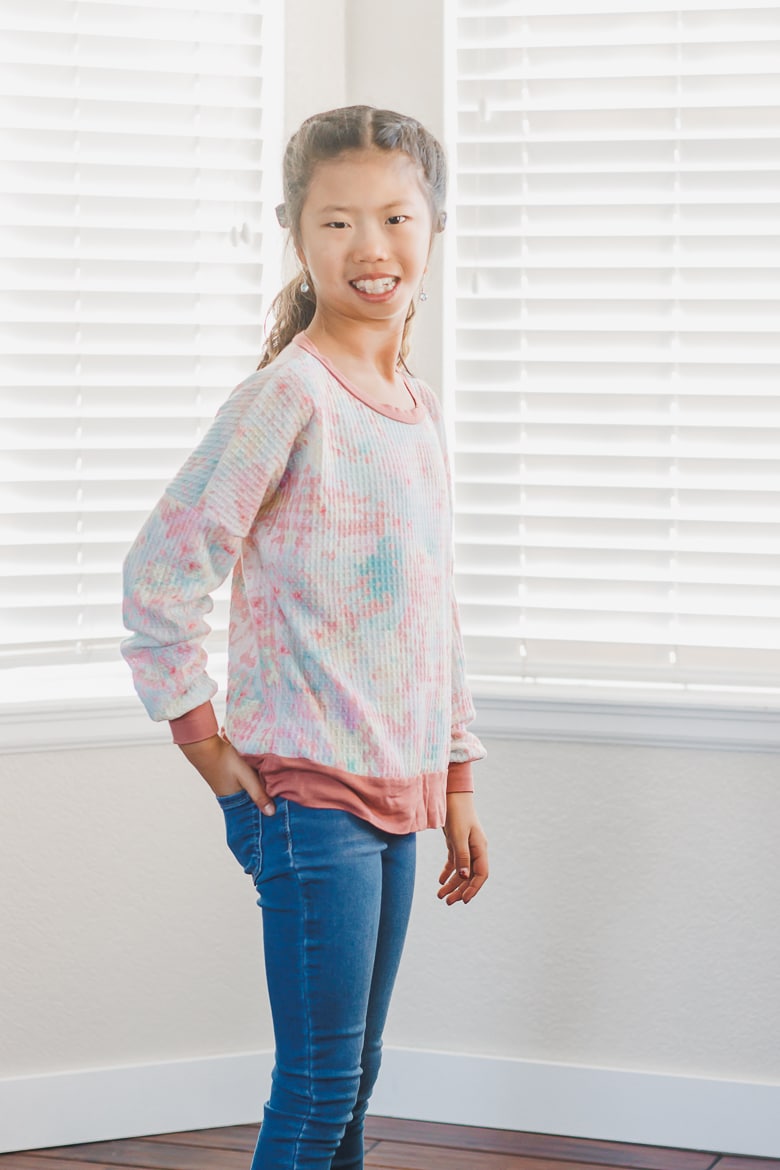
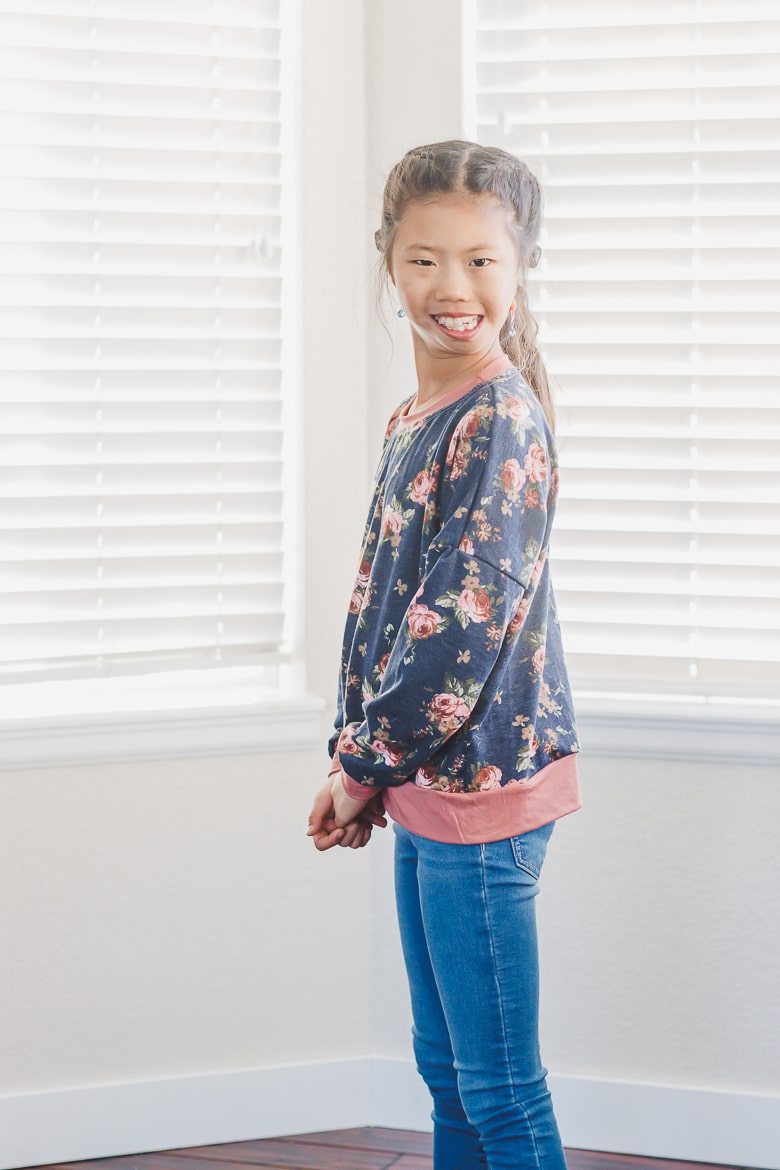
I’m sure these two shirts will get a ton of wear for the rest of the school year and my even fit next year. I could always add a peplum or longer bottom band if I need to make them longer.
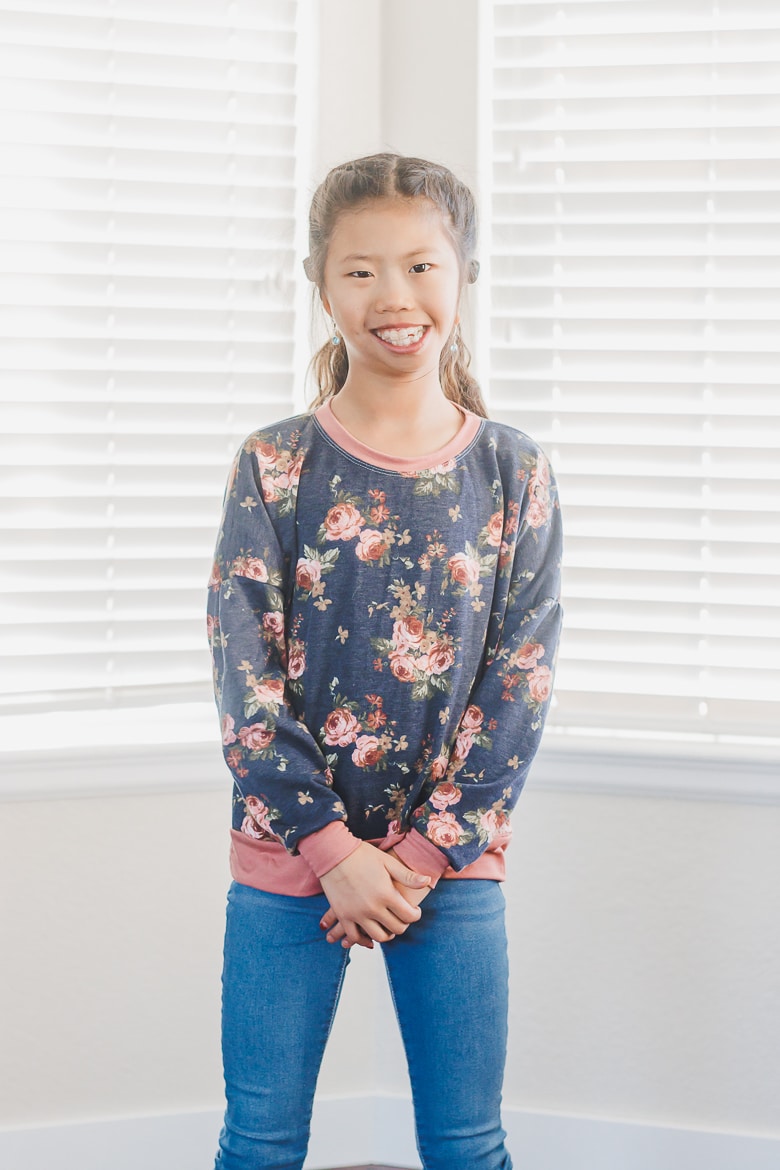

More crop top hacks –
Since releasing this pattern I have use the same top {the crop pattern} to make a few more looks. Check out these… Basic Crop Top, Easy Sweatshirt Hack, Peplum Top Hack, Gathered Sleeve Sweatshirt top and dress, Ruffled Dress {with woven fabric}, BabyDoll Dress, Ruffled knit dress/top
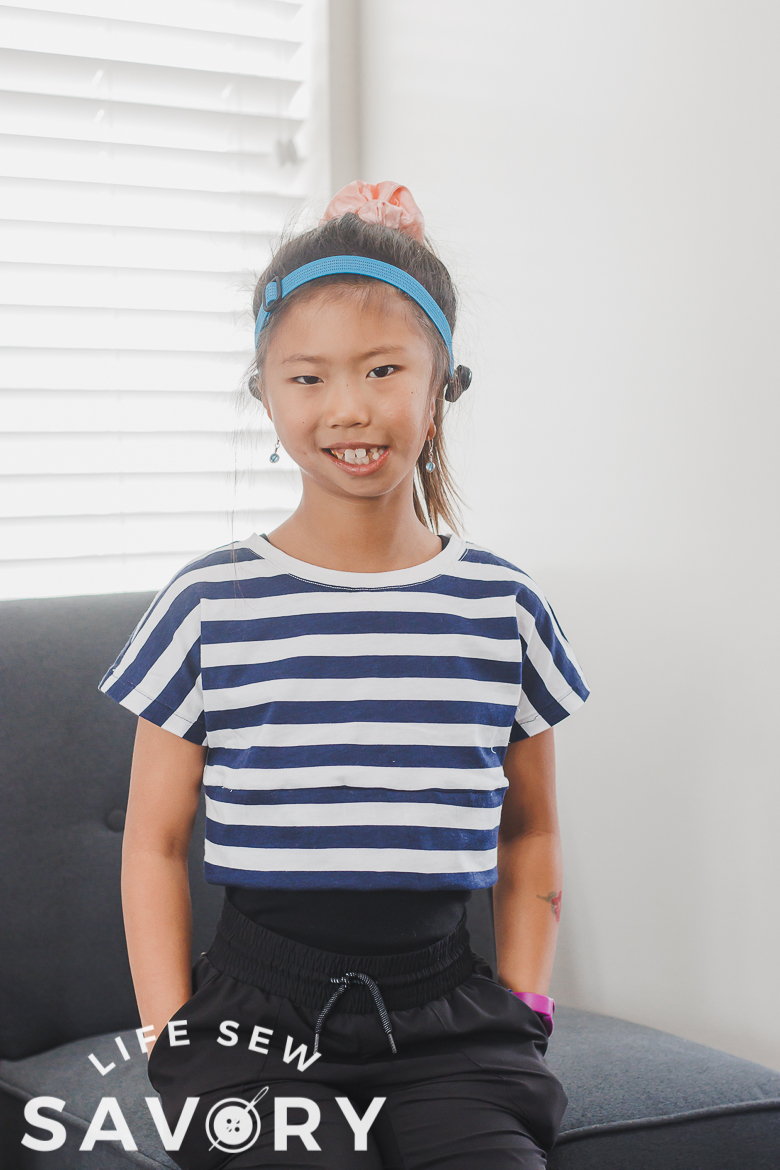

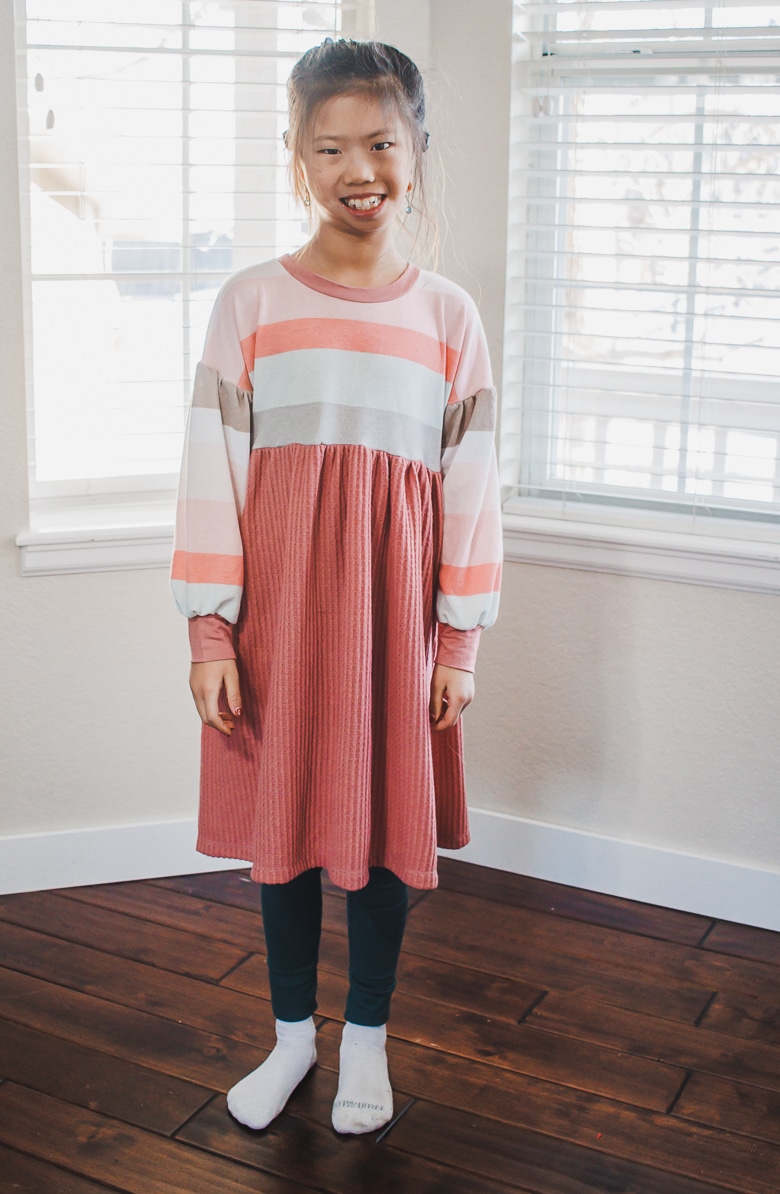
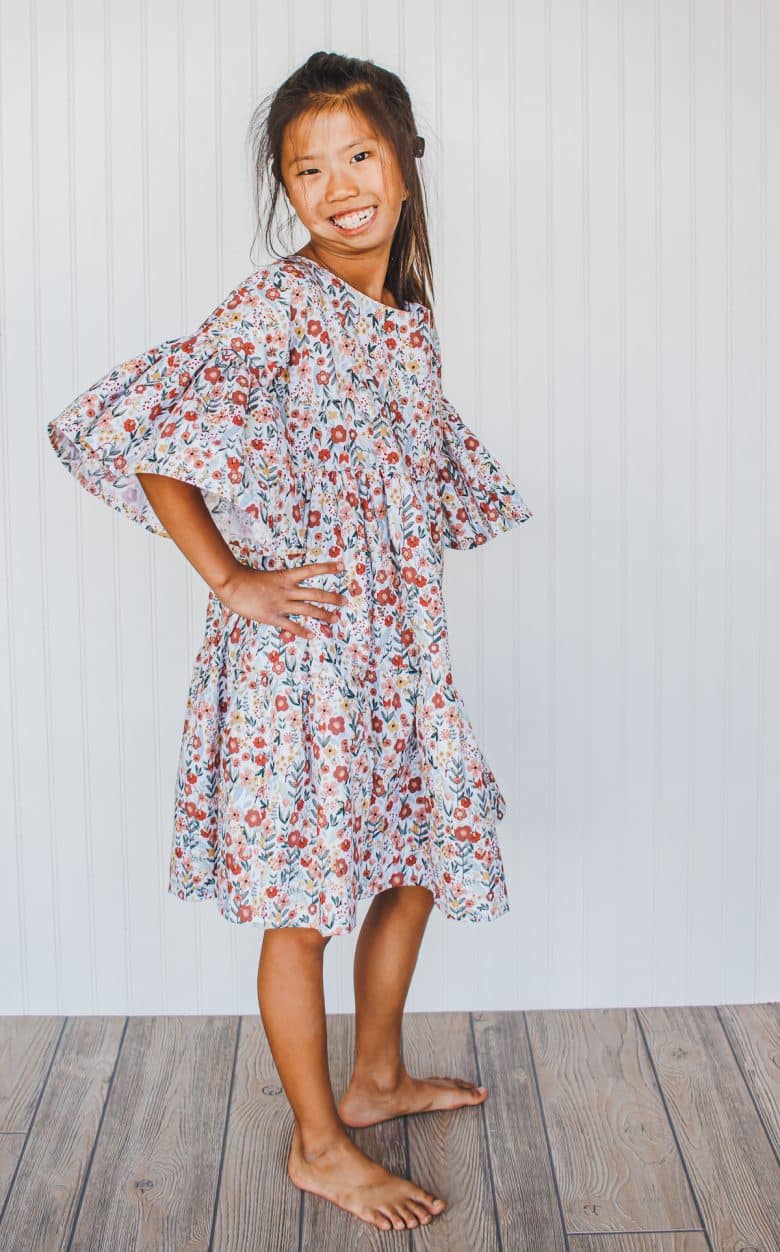
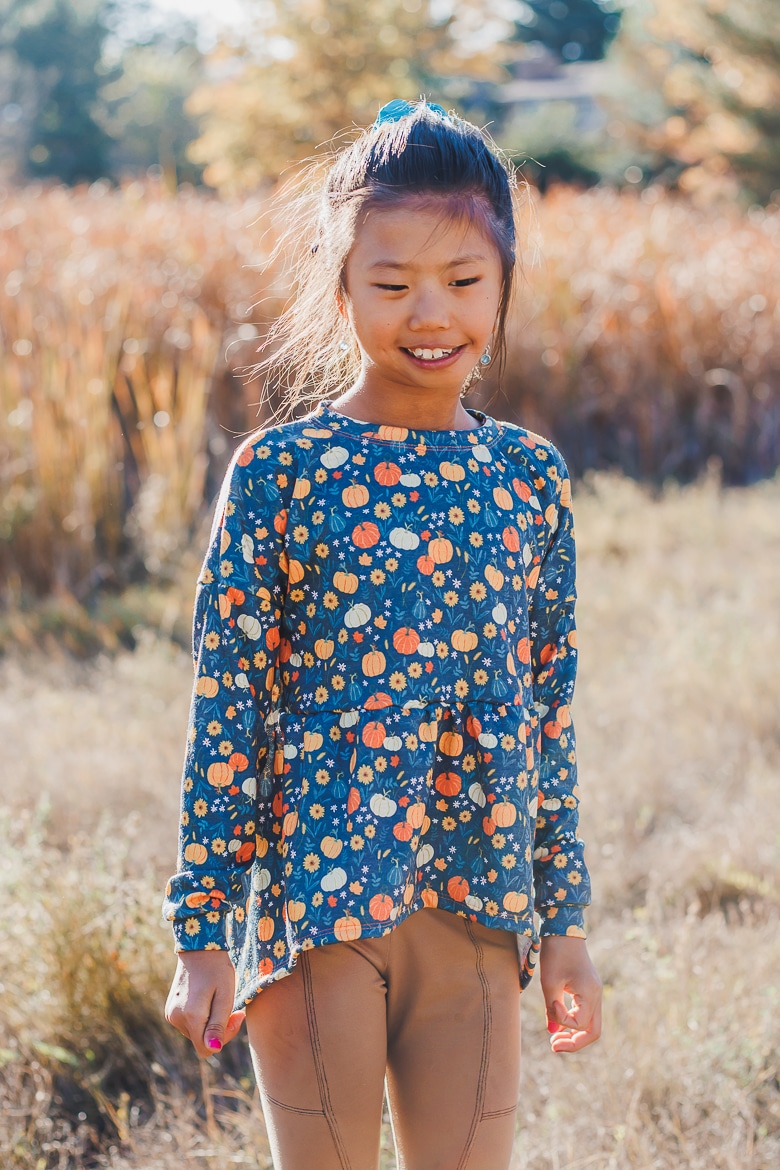
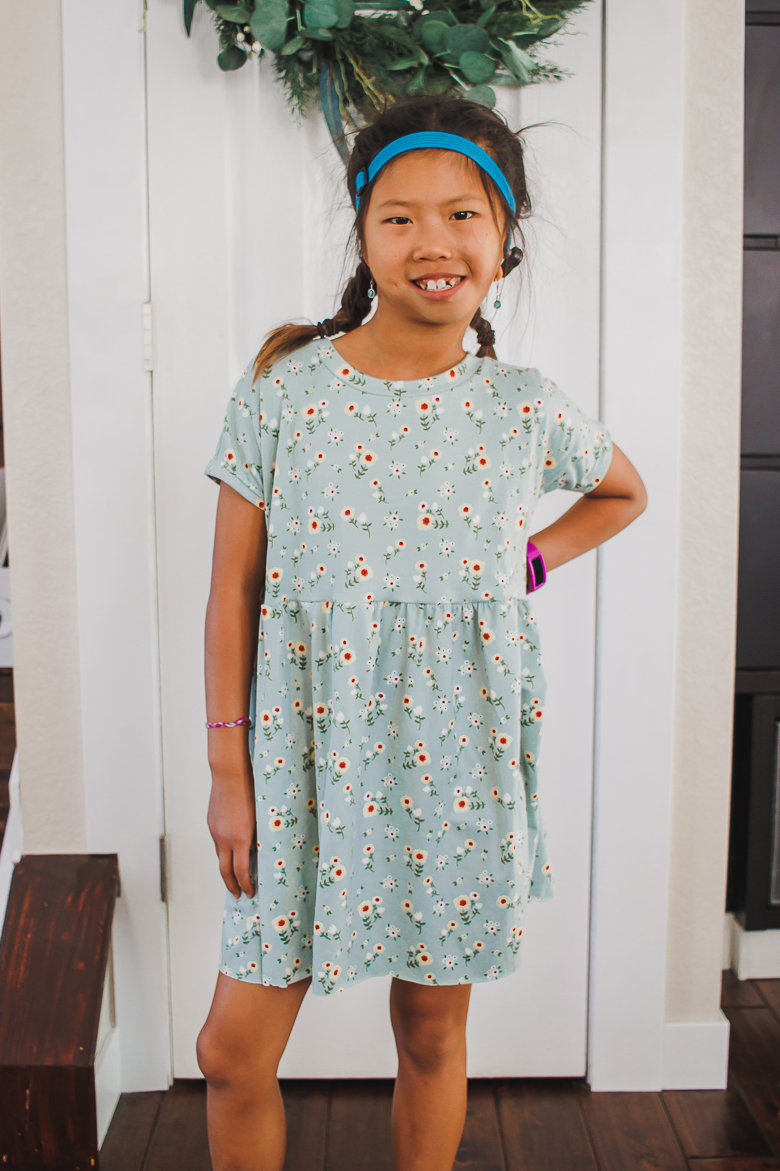
Other free shirt patterns to try
How to sew a sweatshirt
First gather your supplies. You will need the free crop top pattern {click the button below} – we are going to use this pattern as a base.
You will also need 1- 1.5 yards {for the largest sizes}
Download and print the pattern {click here for pdf pattern help} and tape the pages together. It’s not a large pattern. Use the size chart to determine the size you need. We will be cutting the pattern LONGER than it is on paper, so extra paper to add length is handy.
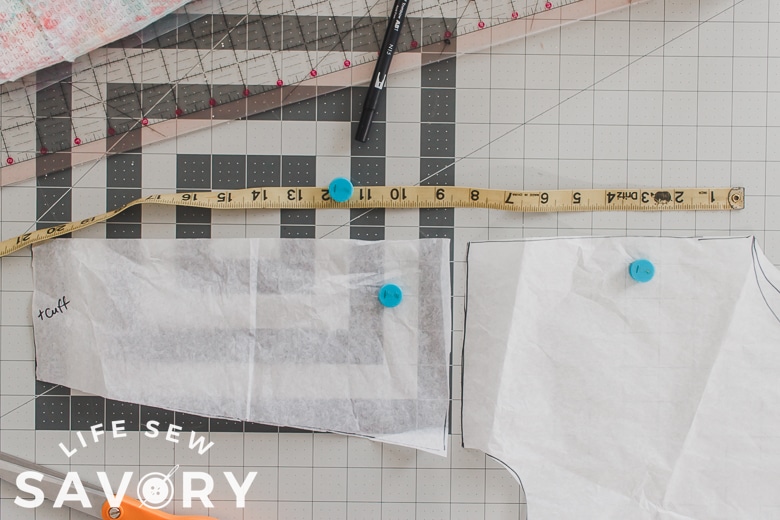
We also need to draft sleeves for this cozy sweatshirt, but its SO simple. Take your traced shirt piece in the correct size and place it on some extra paper/tissue paper. {I buy this huge tissue for tracing.} The easiest way to do this is to use a shirt that already fits well for your child. measure from neck opening to wrist {21″ in my photo} The top of the sleeve should match the shoulder on the main piece. The wrist can be wider or narrow depending on the fit you want.
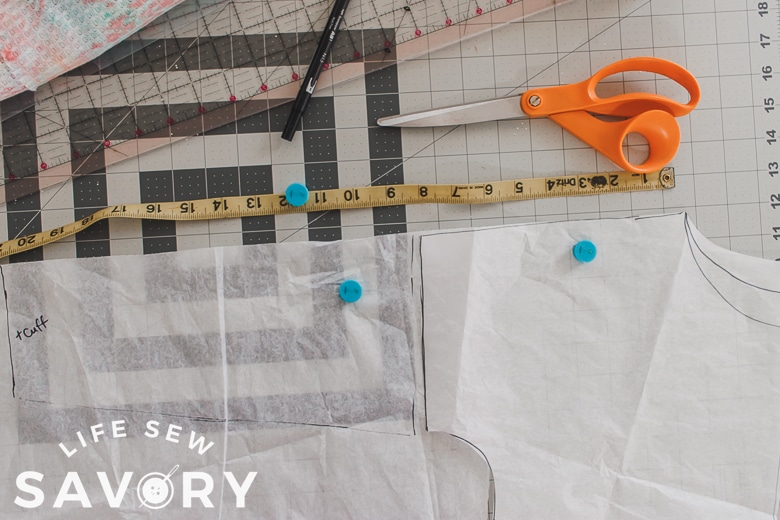
I’m going to add a cuff to the bottom of my sleeve so I left it slightly shorter than I needed and a bit looser as the cuff with pull it together. If you are just hemming you would want it a bit more fitted on the wrist. Now you have a sleeve piece to cut on the fold. You can also just measure your child from wrist to collar bone.
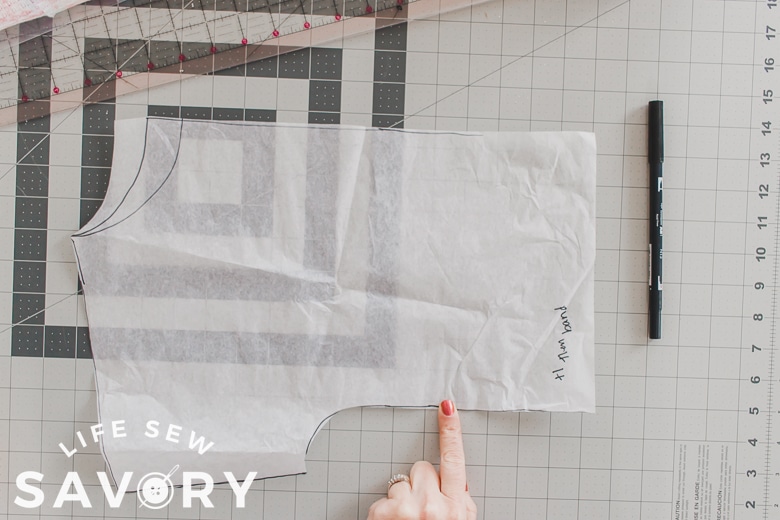
The crop top pattern normally ends where my finger is pointing in the left photo. I wanted to add 7″ to the original pattern but my paper wasn’t long enough. So when I cut my fabric I added a bit more length. I’m also adding a bottom band to this piece, so this is still shorter than I want my sweatshirt.
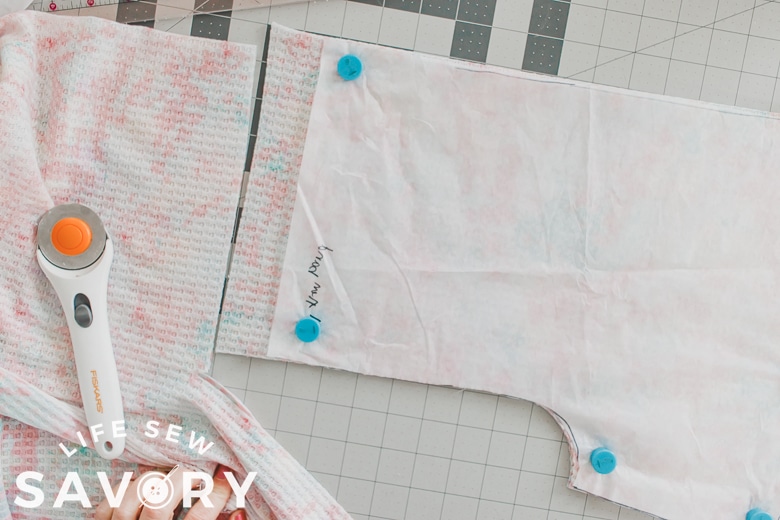
Cut two sleeves on the fold as well as a front and a back of the shirt. The neckband is cut at 1.75″ x 90% of neck length. Cut the sleeve and bottom bands to desired height. Need help with neckbands? see this neckband tutorial. You can also check out this cuff tutorial for cutting and sewing the cuffs if you need.
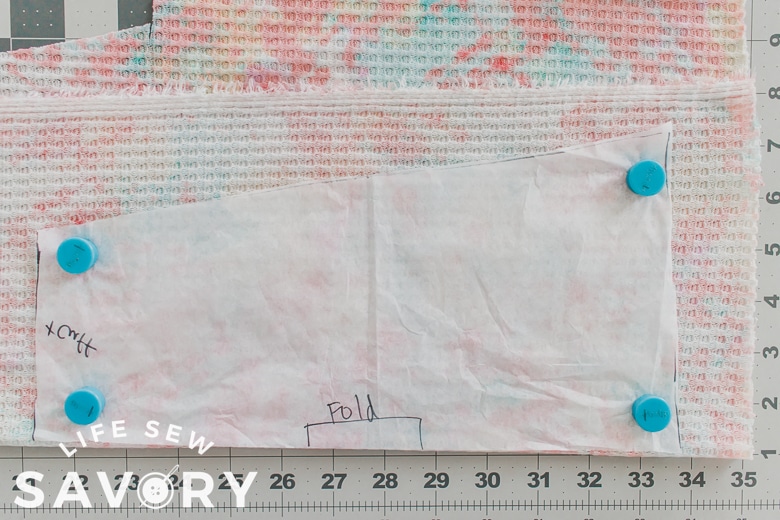
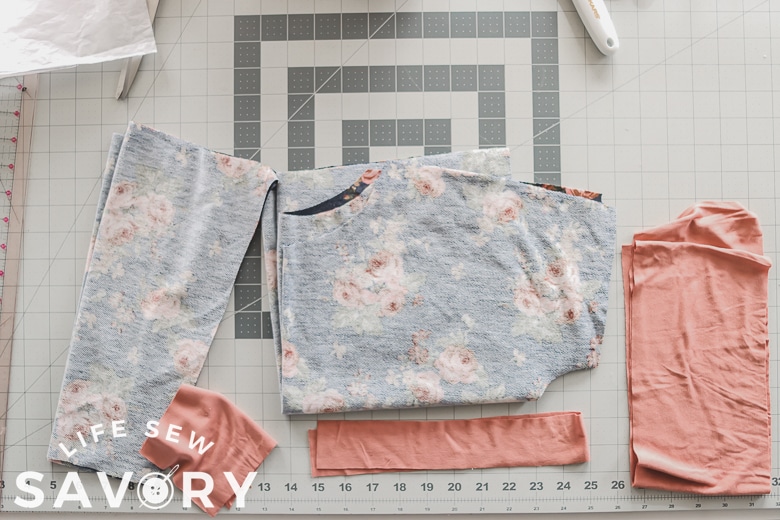
Place the front and back of the shirt with right sides together and sew one shoulder seam.
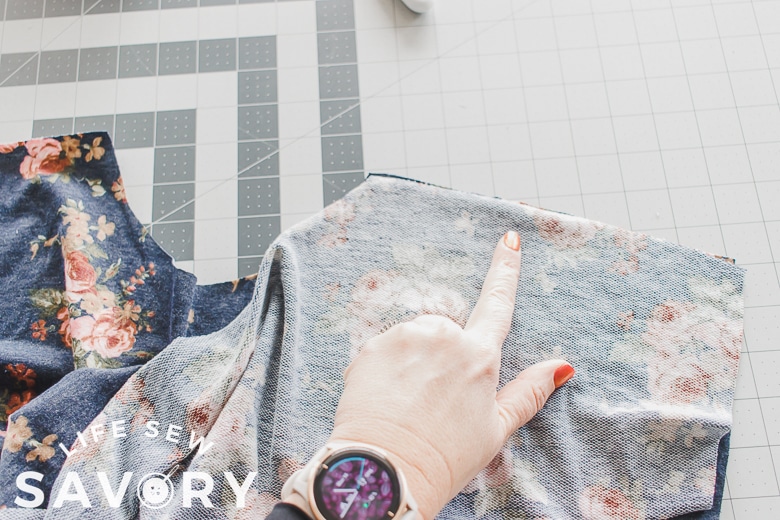
I like sewing the neckline with the neck open like this. Sew the neckband to the shirt. Again, see the tutorial above if you need specifics about sewing a neckband.
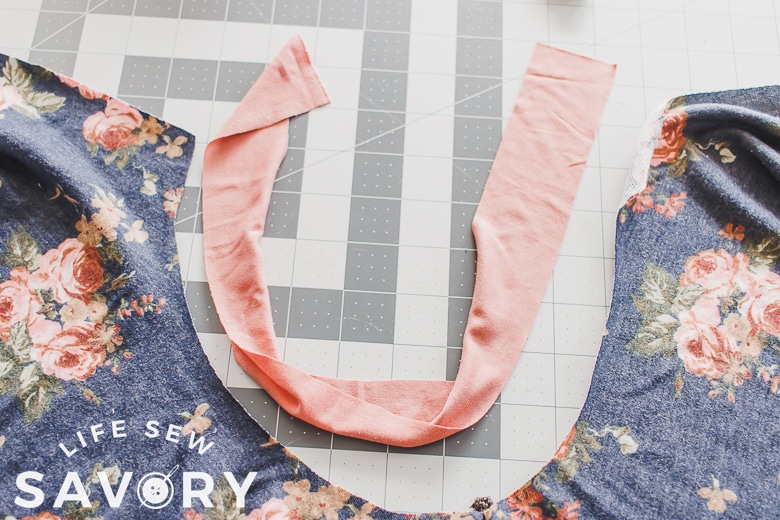
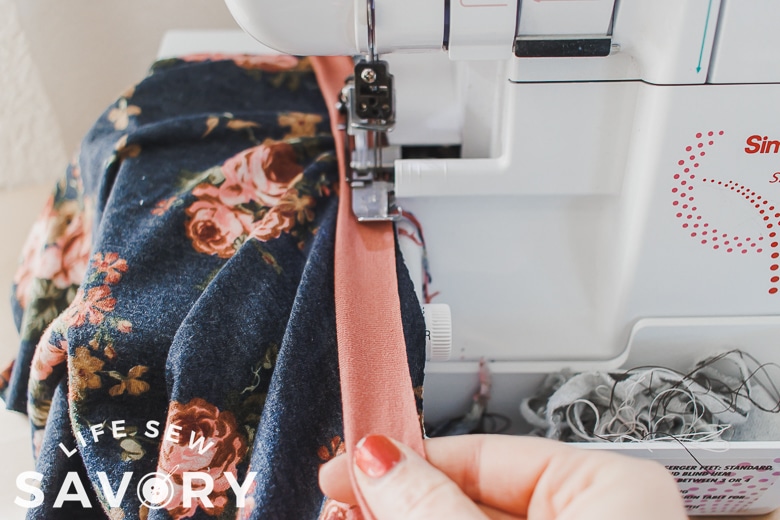
Once the neckband is on, you can top-stitch if you want. I used my coverstitch to do this, but you can also use a double needle.
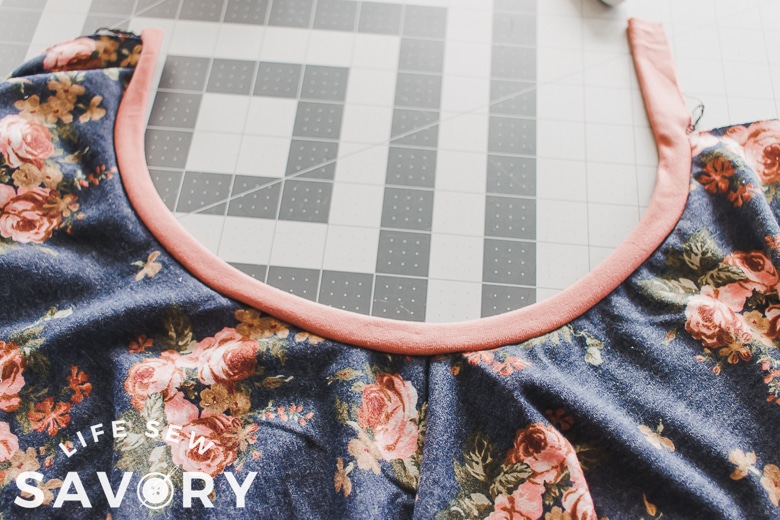
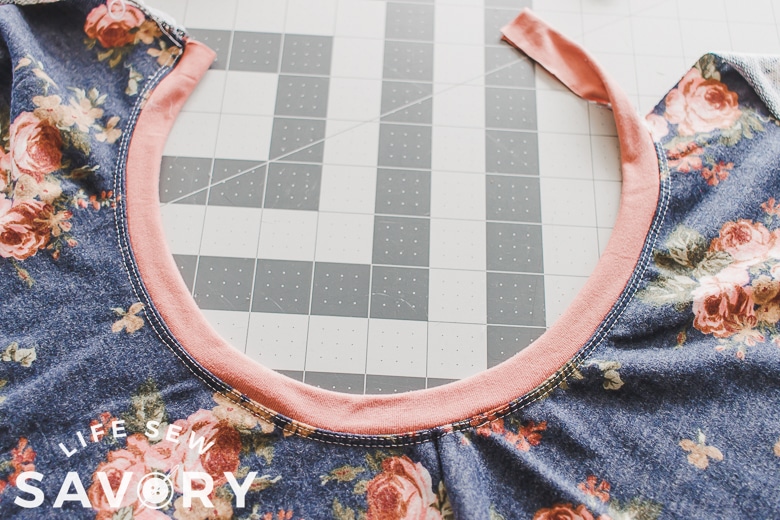
Now it’s time to sew the other shoulder seam. Make sure to match up the neckband when you sew as closely as possible.
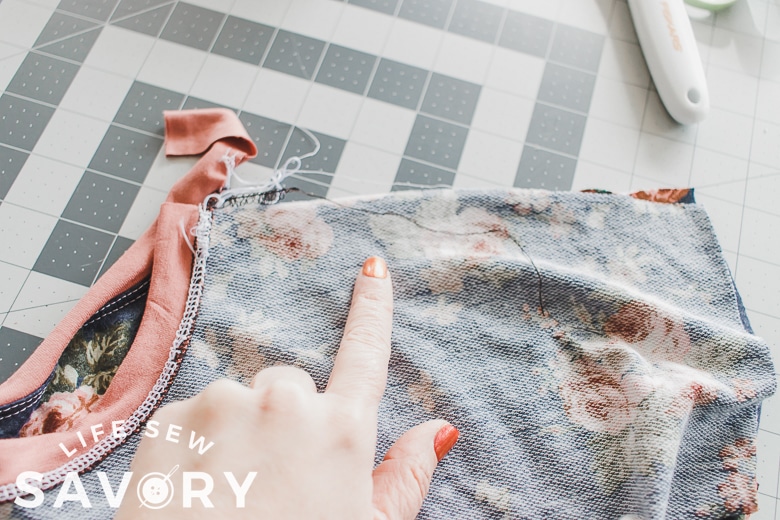
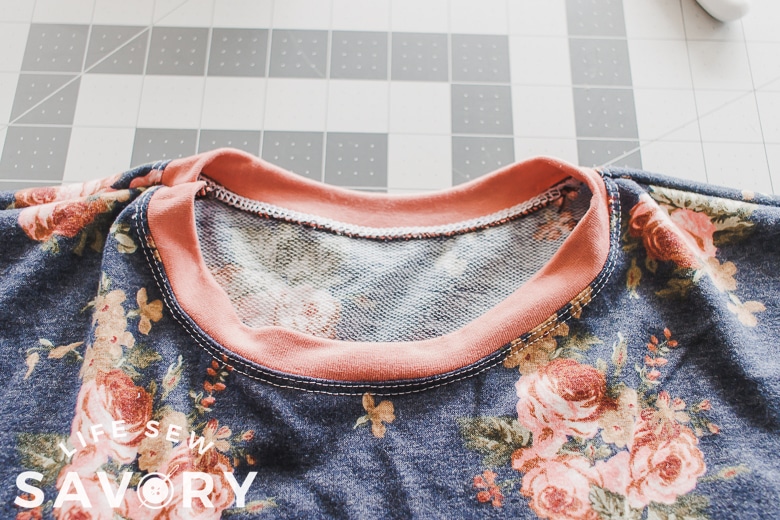
Open up the shoulder and place the wide part of the sleeve on the shoulder. Somehow I always cut the top part of my sleeve too wide.
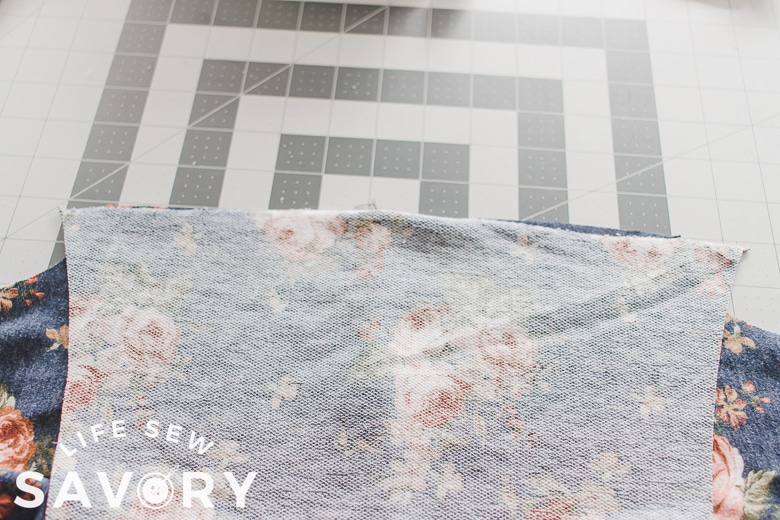
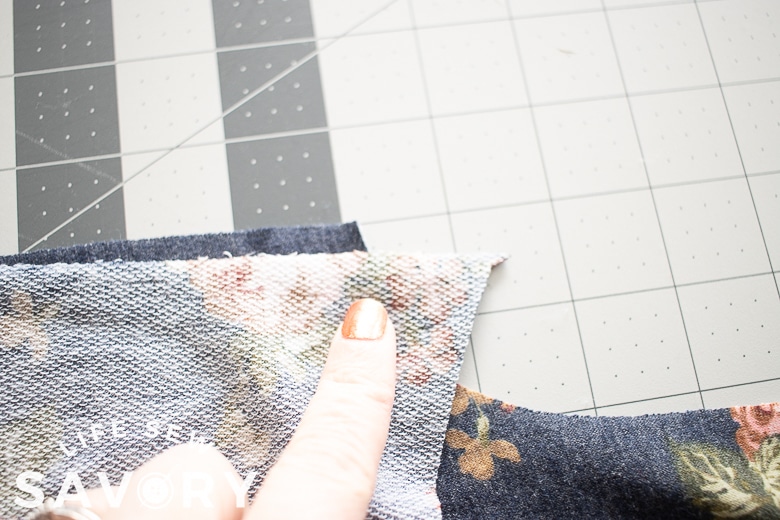
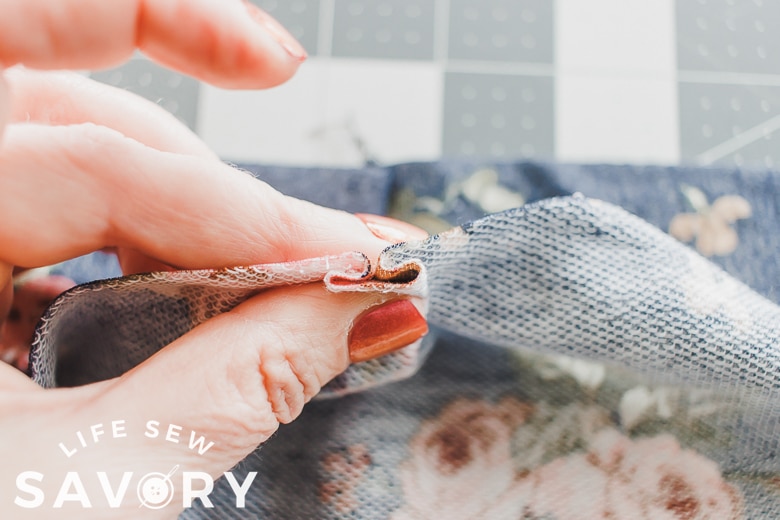
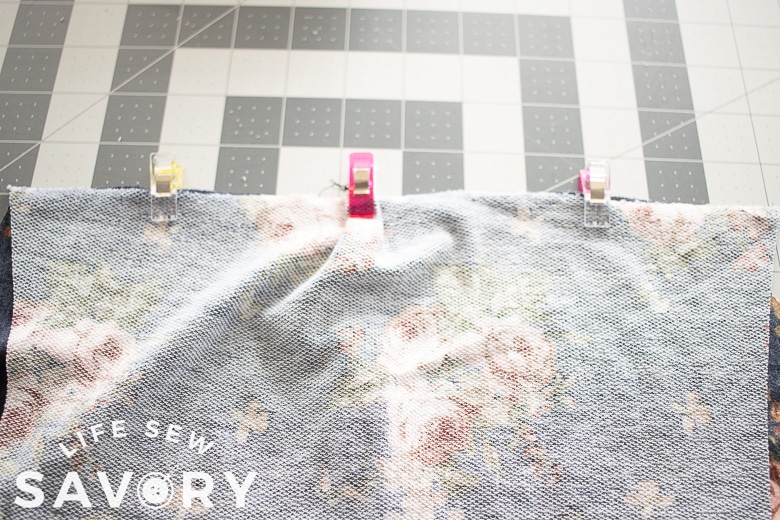
But, I actually love adding a small pleat detail, that then makes the width perfect. Line up the outer edge of the sleeve and clip towards the center. Sew each sleeve to the shoulder.
Now it’s starting to look like a shirt!
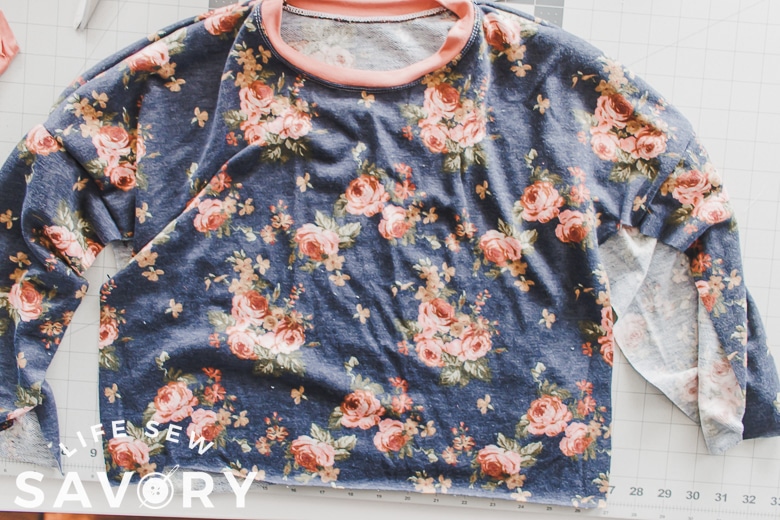
Sew cuffs on the ends of both sleeves. Refer to the cuff tutorial linked above if you need more help with your cuff sewing. Once the cuffs are sewing on the sleeves, not you can sew up the side seams. Make sure to line up the cuff ends perfectly when you sew the edges together. If you are using a serger, finish the tail before cutting.
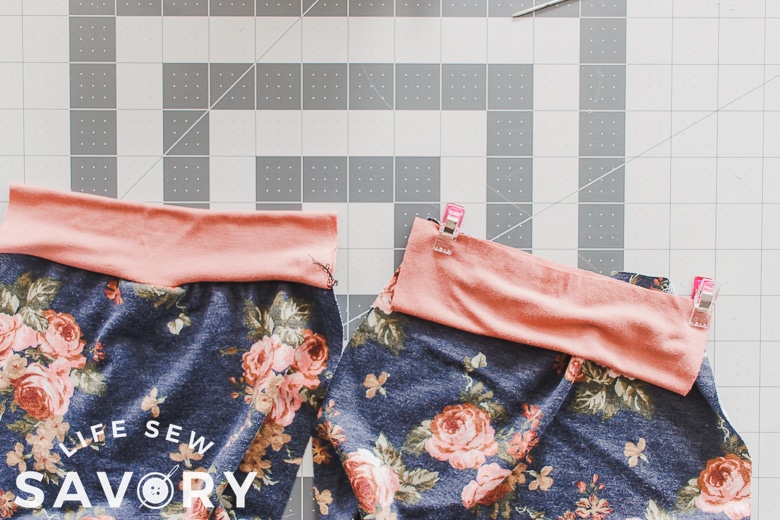
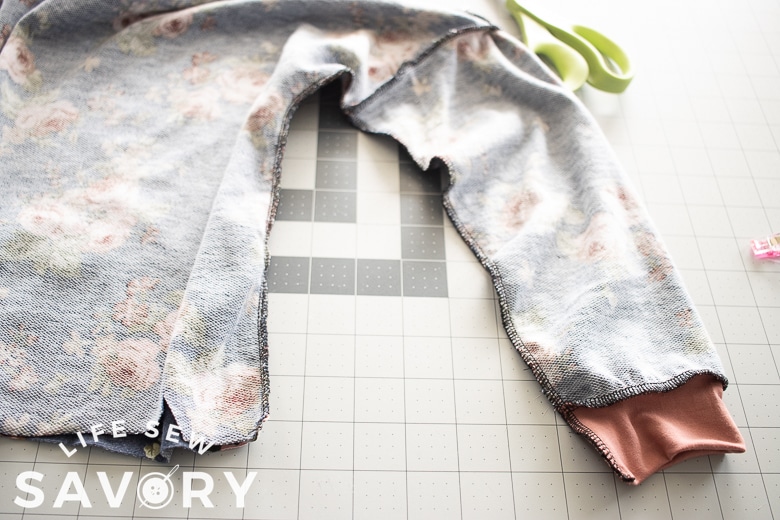
I cut my bottom band longer than I needed and 5″ tall. Place the band at the bottom of the shirt. I cut the width just over a inch smaller than the shirt so that the band will bring in the bottom just a bit.
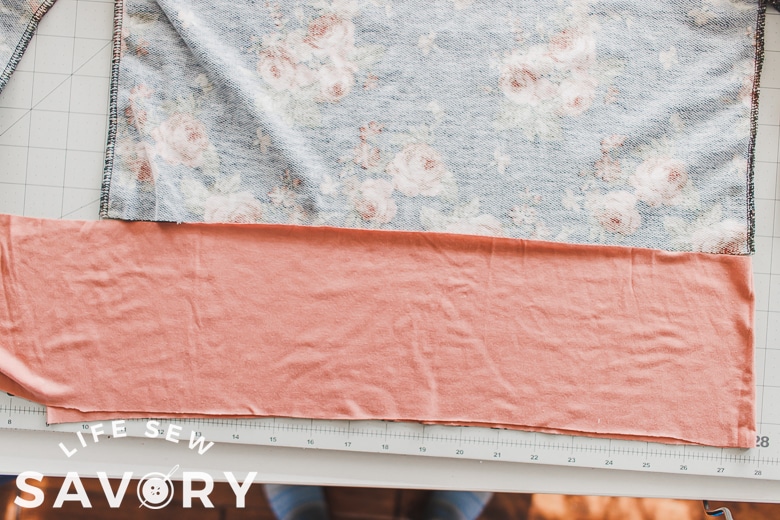
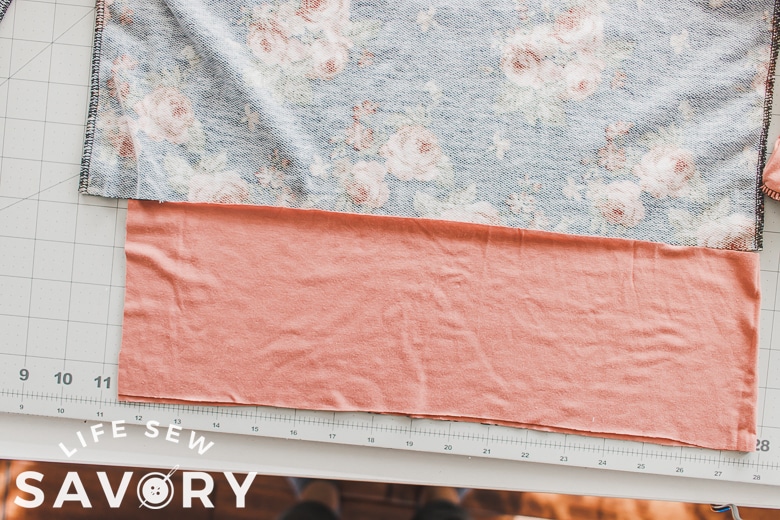
Sew the short ends of the band together. Fold the wrong sides in and match the seam with one of the side seams and the other side of the band with the other side seam.
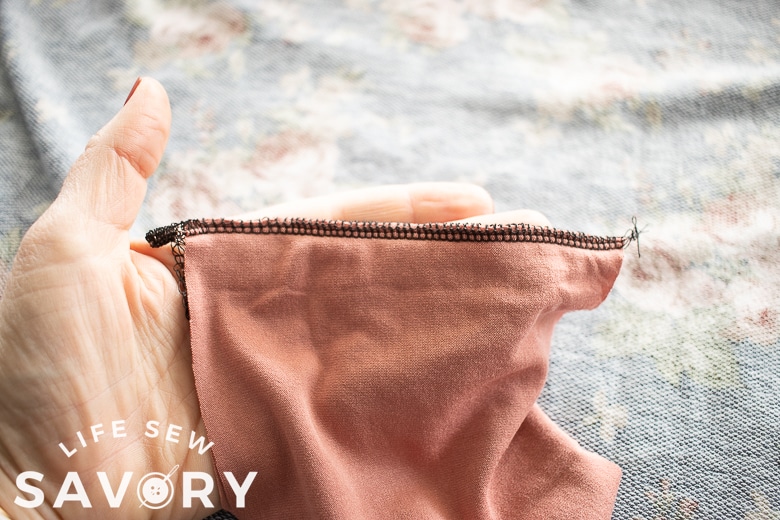
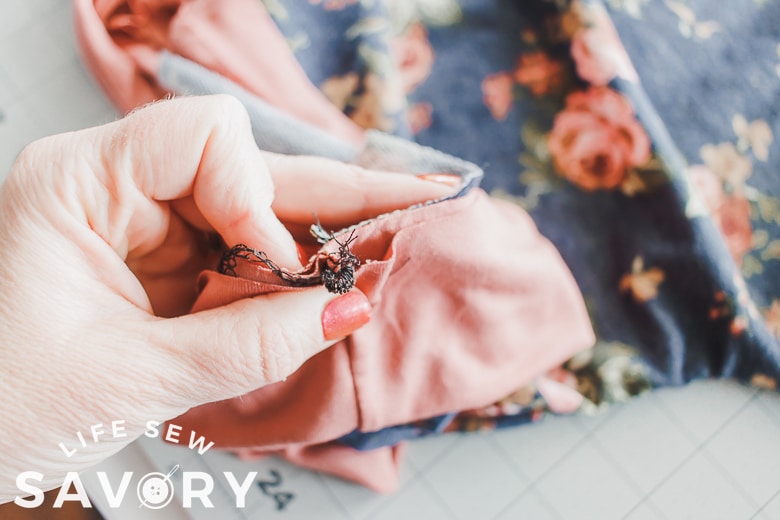
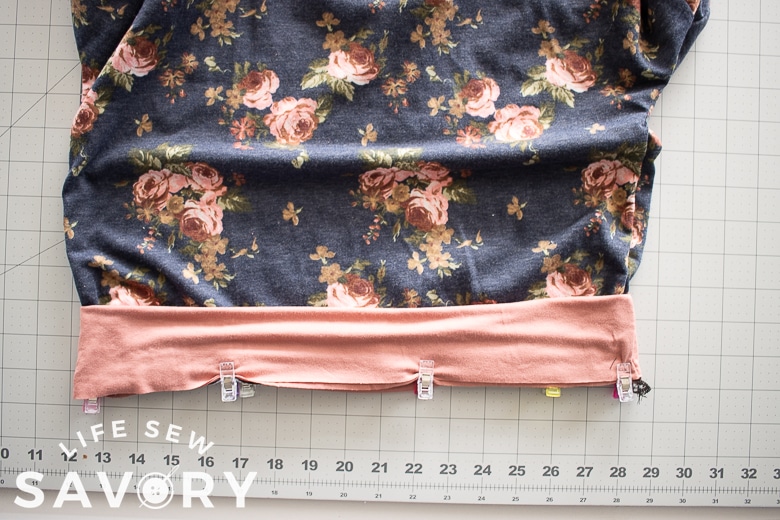
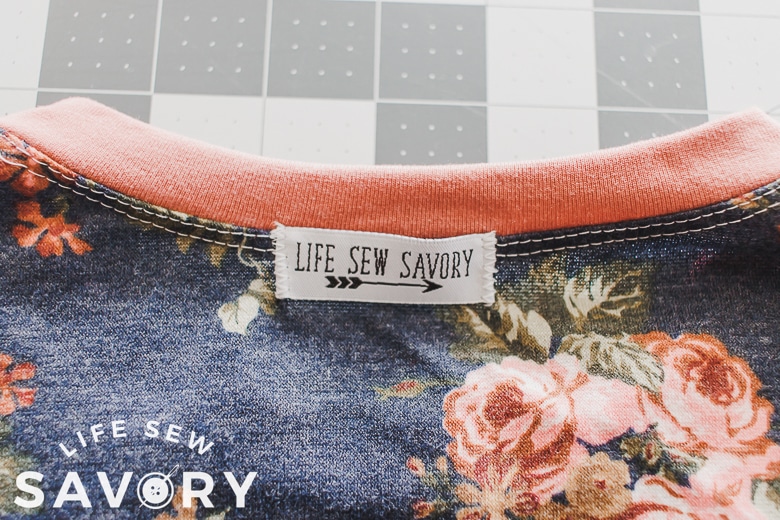
Clip the band in place then sew all three raw edges together to form the bottom band. Add a tag to the back if desired.
This shirt is so cute and cozy!! I wish I’d sewn these in Oct, but Rose will still get plenty of wear out of it.
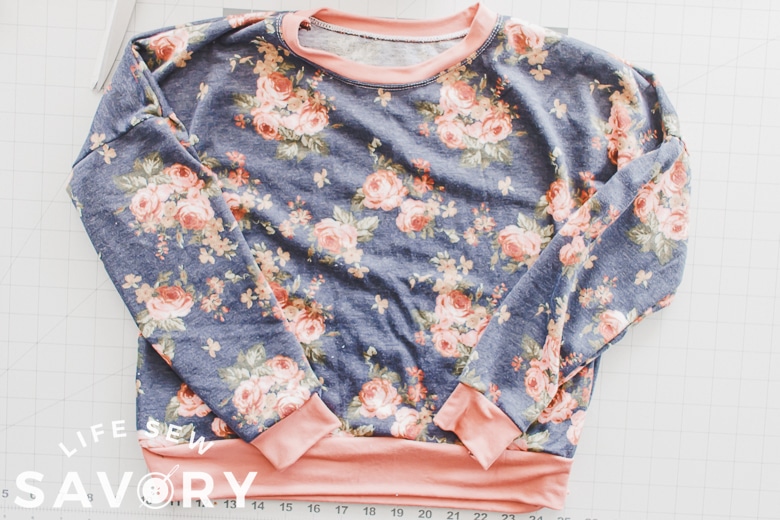
Here are the two versions I made this week. One of French Terry and one of waffle knit. Both are so soft. All fabric seen here from Sincerely Rylee fabric.





Leave a Reply