


inside: Learn how to sew a simple felt poodle skirt. Skirt sewing directions, plus a free template to cut out a cute poodle or use your electronic cutting machine to cut out a poodle with a free svg file.
Today I’m sharing a fun photo and video tutorial to sew your own poodle skirt. It’s a fun and easy quick sewing project that can be used for dress up days or Halloween, or just for fun. There is also a video tutorial included below, so please refer to that if you have questions. As always, there is also a photo tutorial, walking you through the sewing process as well. Enjoy!

Felt Poodle Skirt
This is a project I’ve been wanting to make for awhile now, so when a reader sent an email asking some questions about sewing a poodle skirt, I decided it was time to make one and write about the process. This is a felt poodle skirt and is so easy to sew!


Now why do we need a poodle skirt? Good question… we don’t really {haha} But actually I think this would make a very fun Halloween costume, it sews up quickly and doesn’t cost that much to make. It’s a fun sewing project and will be fun to have this skirt around for dress up occasions.

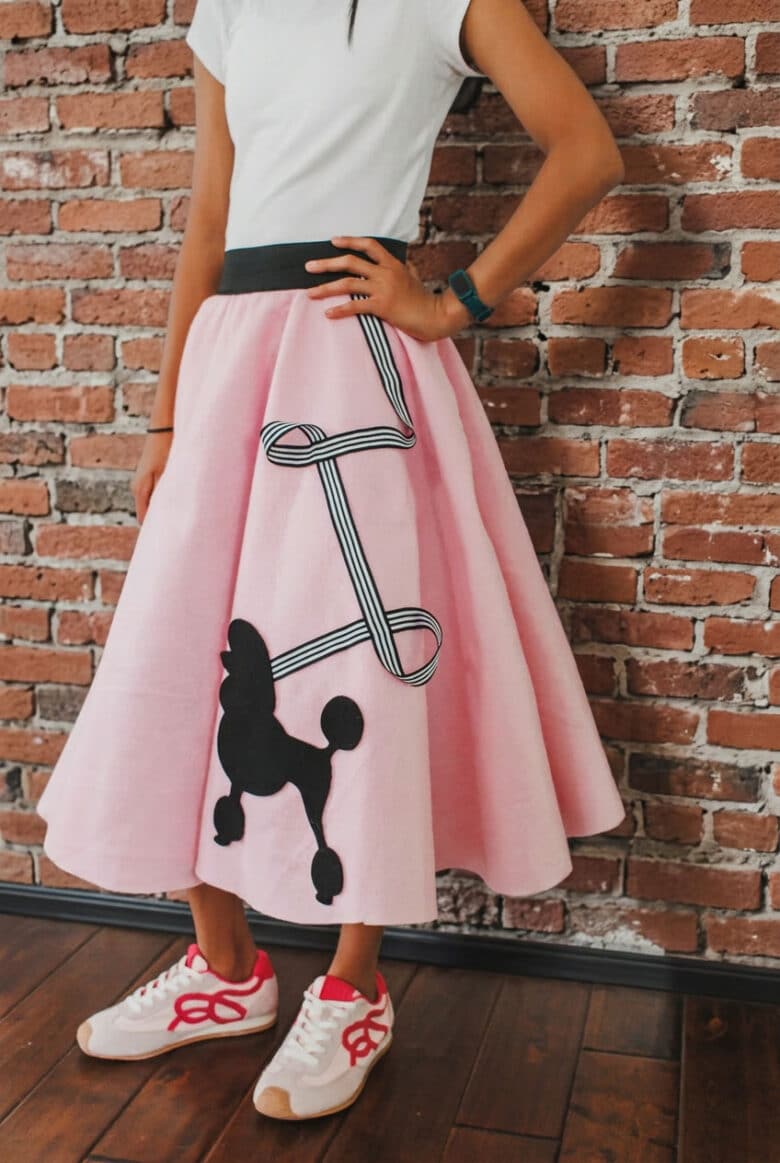
I like using felt because you don’t have to hem the bottom, and it has some body, even without an underskirt. Quick and easy! You can use this tutorial with any fabric you want {its just a circle skirt} but felt works great and is nice and wide for skirt length.


Other fun skirt projects to sew-
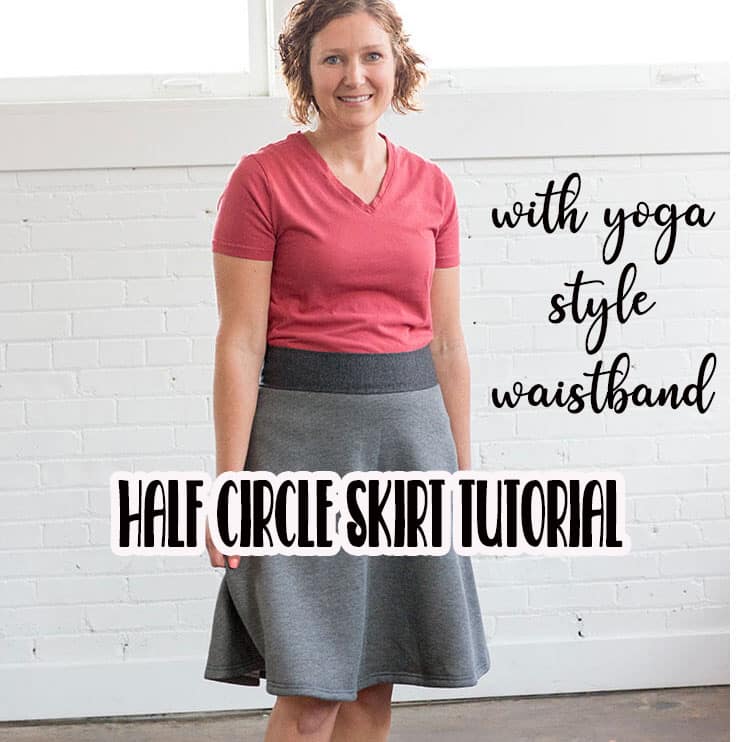
- Half Circle skirt with knit waistband
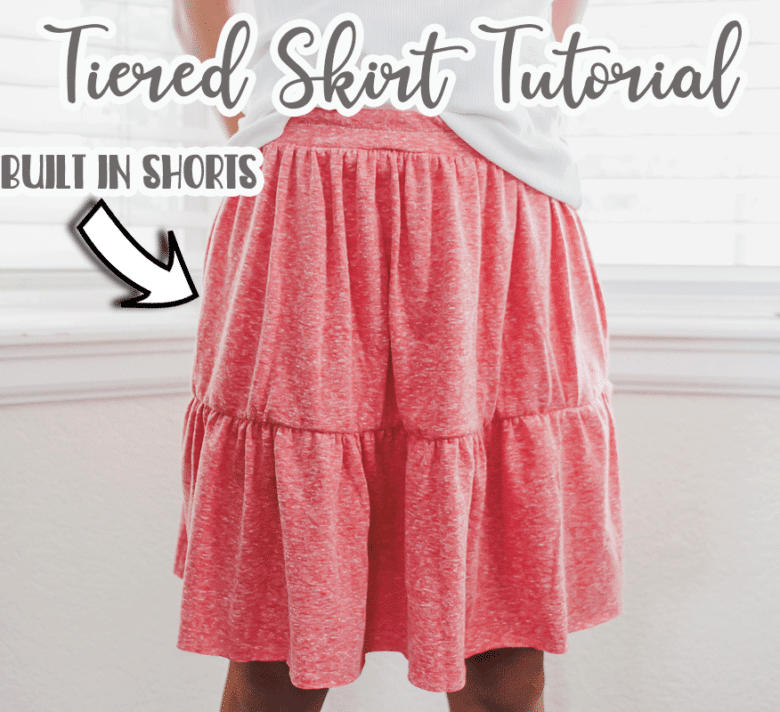
- Tiered Skirt tutorial
- Double layer skirt with undershorts
- Skirt with leggings attached
- Long skirt with pockets tutorial
- Double layer circle skirt
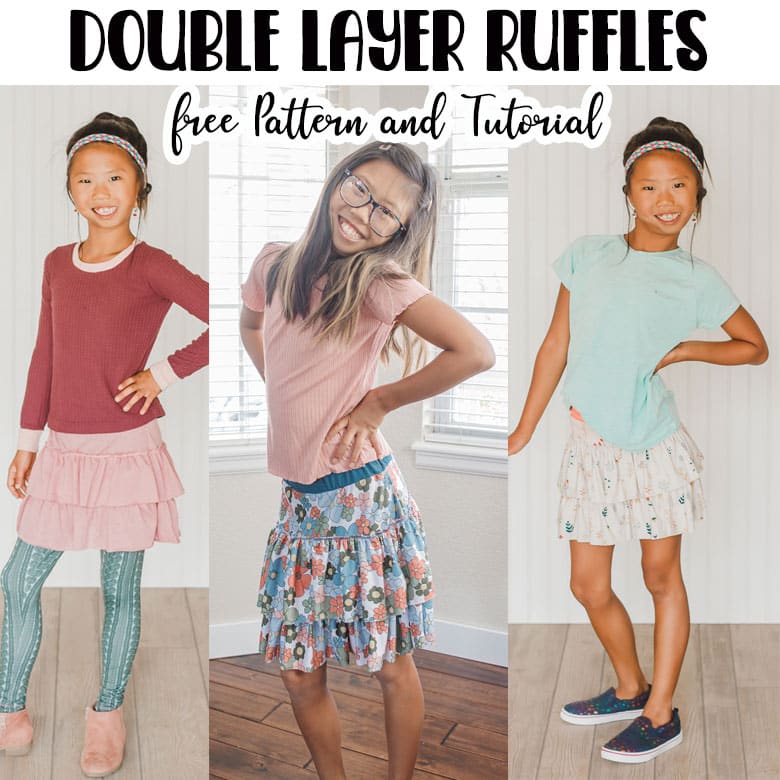
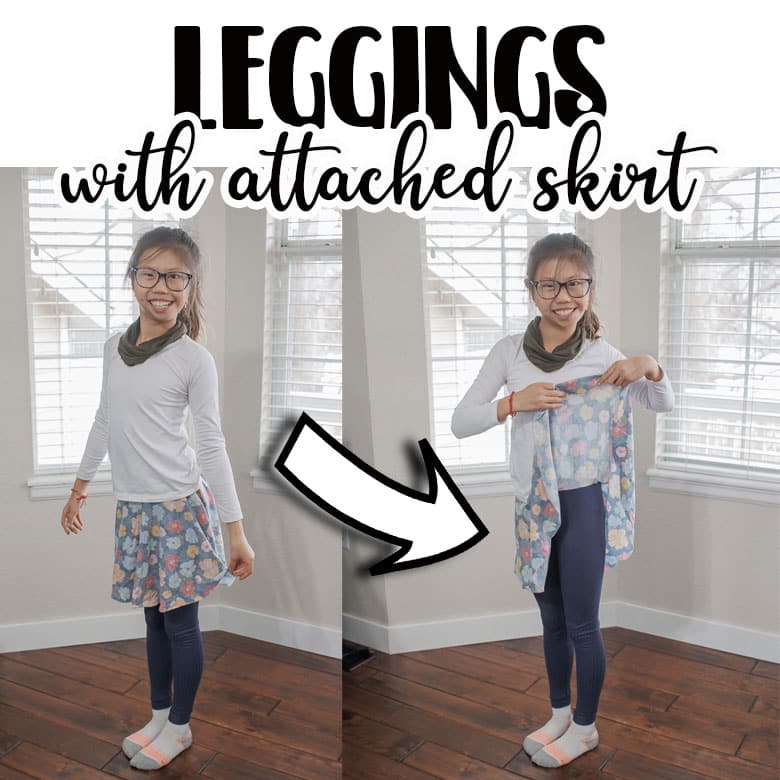
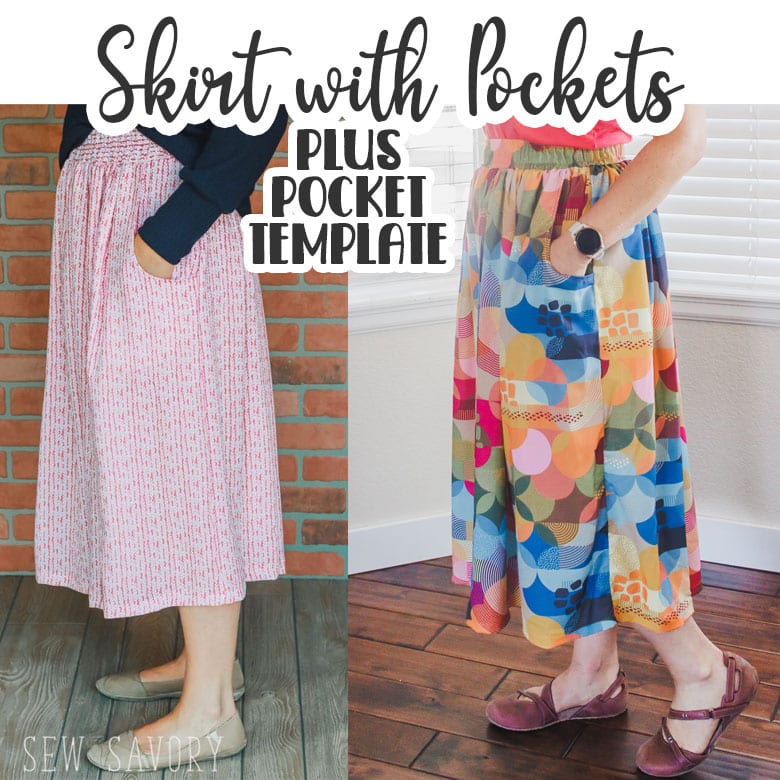
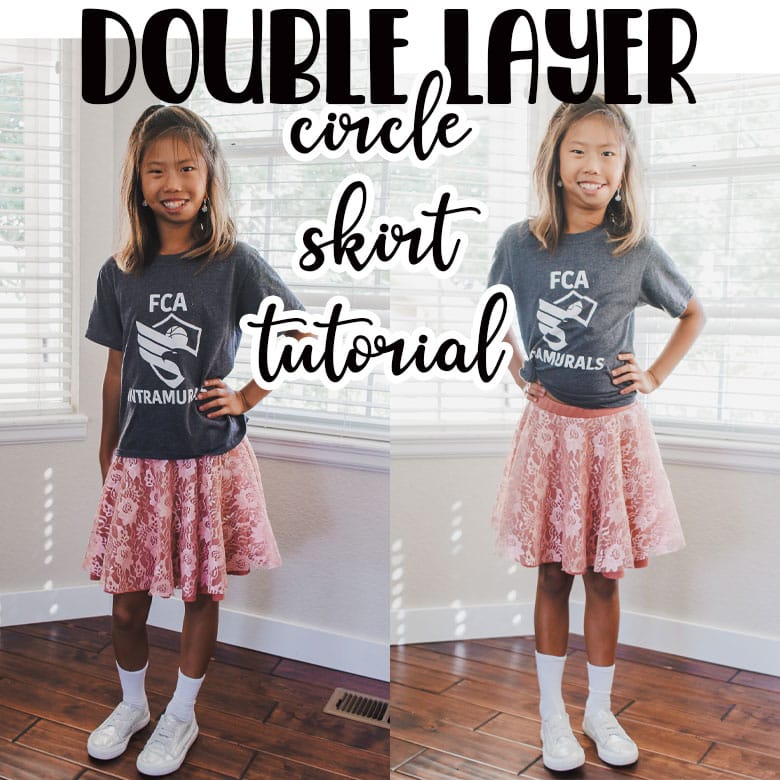
Poodle Skirt video tutorial-
The video tutorial should be here below this text. If you don’t see it, make sure you aren’t running an ad blocker or try a different browser.
How to sew a poodle skirt tutorial-
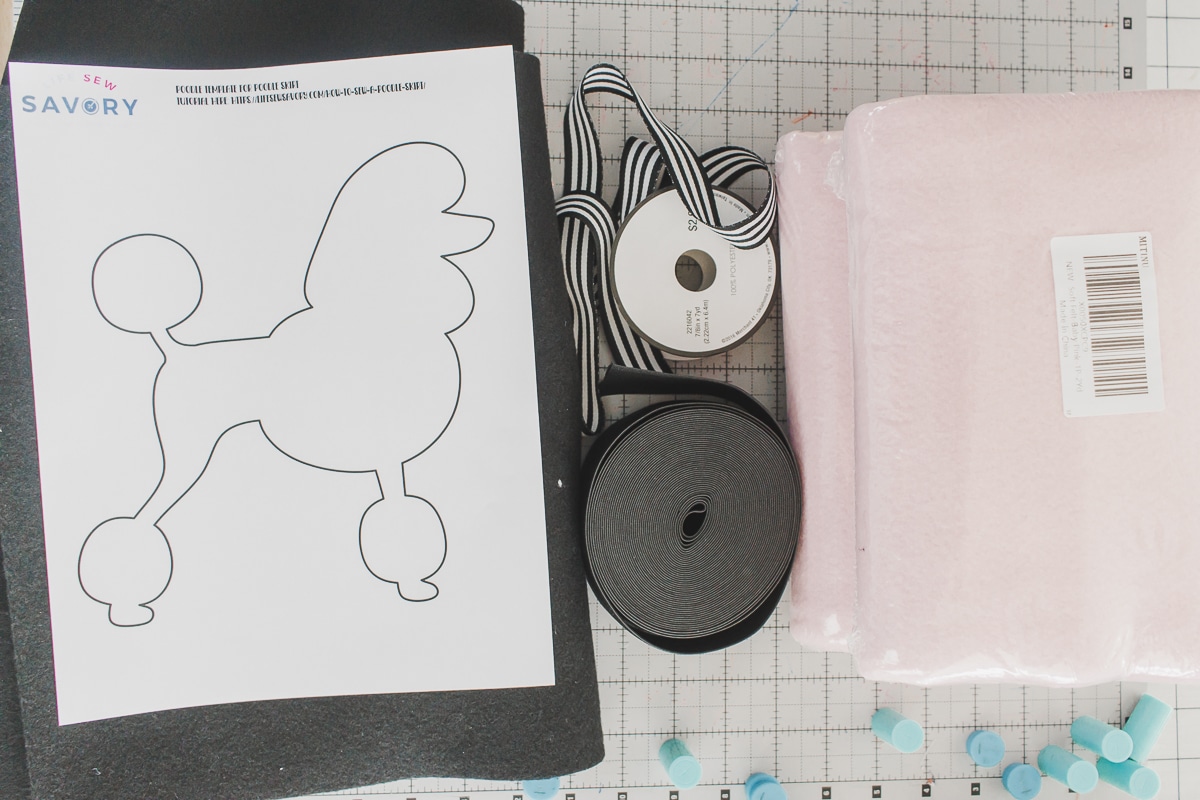
here’s what you will need to recreate this cute poodle skirt project. The directions for this skirt are below… but if you need more tips making a circle skirt you can check out my circle skirt tutorial post.
- Free poodle printable pattern {click button below to download.}
- Ribbon for leash
- 2 yards felt for skirt {for toddler, one yard is probably enough}
- scraps of felt for poodle
- Wide elastic {mine is 2″ wide}
NOTE: the free download is a .zip file. This means you will have to download and UNZIP to use it. You cannot use as is. I use a zip file so I can give you two forms of the pattern in one download. There is a PDF and SVG included.
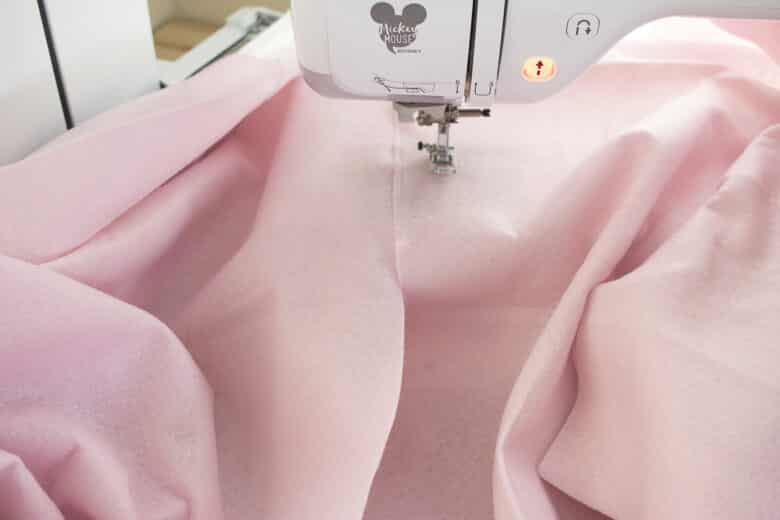
NOTE 2: the fabric I ordered from Amazon was a great price and worked fabulously for this skirt, however, the two yards came separate {I couldn’t quite tell in the listing} So below I will show how to sew together, and I still think this felt is a great option, so wide and the ability to make long skirts is perfect!
If you purchased two continuous yards of fabric you can skip this first step. Line up the long edges so after you sew you will have approx 72″ x 72″ square. I placed the edges together with just a slight overlap and then sewed it with a zig-zag to connect the edges.
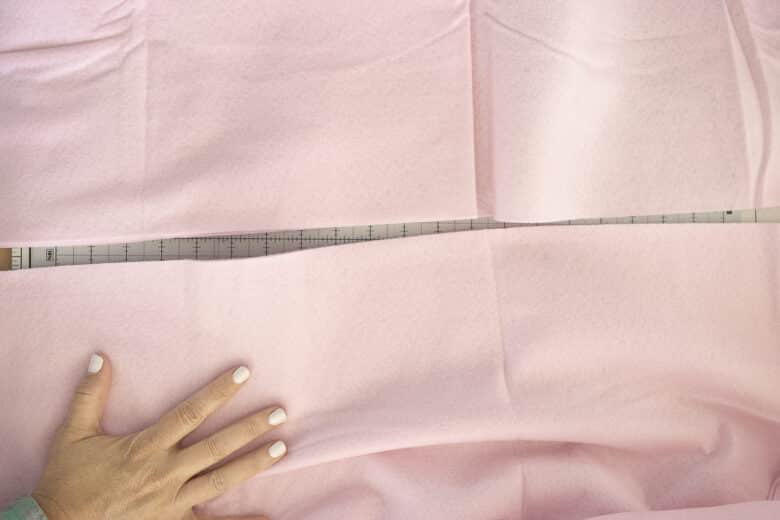
Take your large square of fabric and fold it in half, then in half again. {see video for double fold instructions if needed} Now you should have a corner of the fabric that is all folds, no edges. This corner is the center of the skirt.

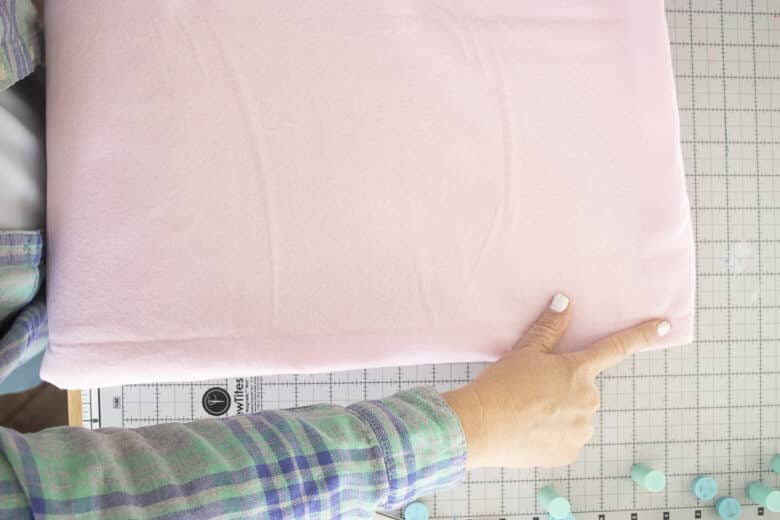
Next, figure your top circle cut by taking the hip measurement of the skirt recipient and divide it by 6.28. Use the hip measurement because the skirt will have to fit over the hips. For example, our skirt waist opening was 30″ x 6.28= 4.7″. Starting from the double fold corner. Measure and mark this to create a quarter circle from the corner.

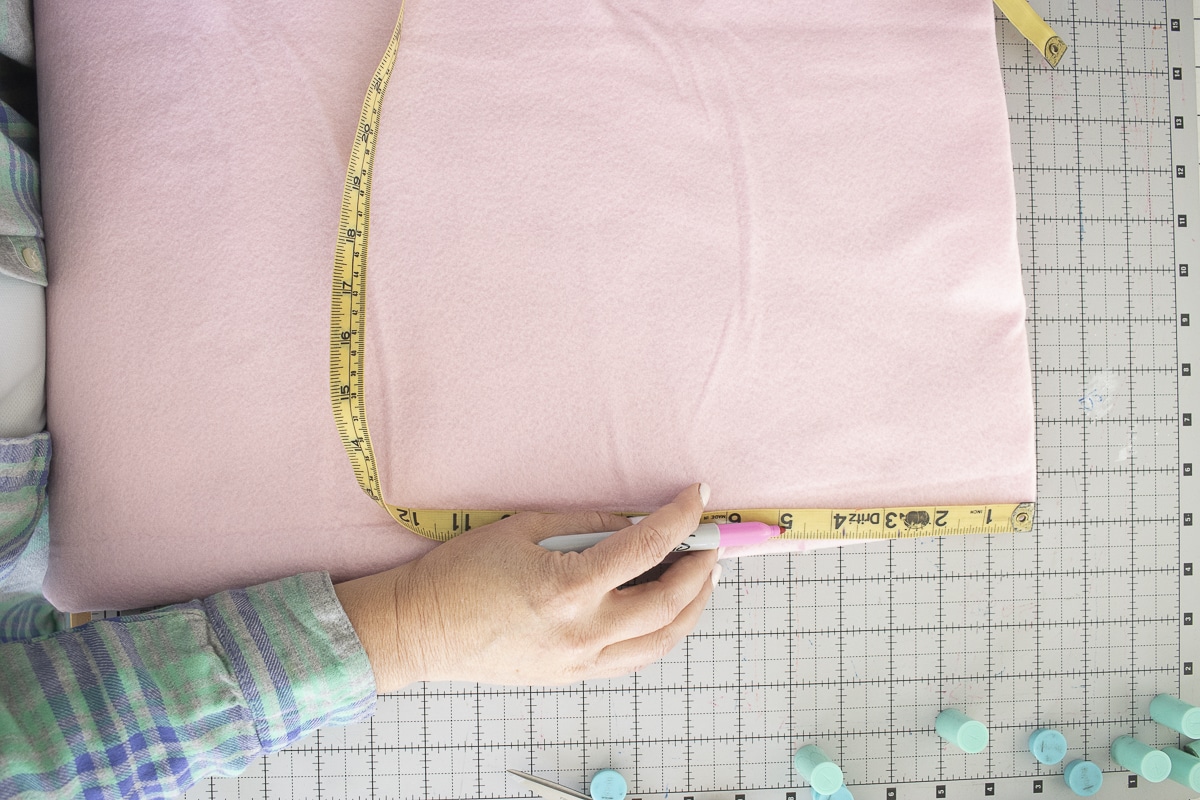
Here is the waist marking for my skirt. Measure, mark, then cut.
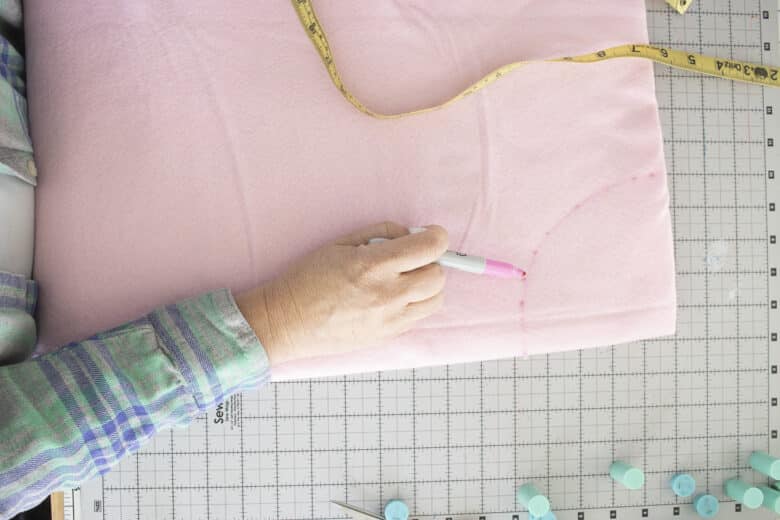
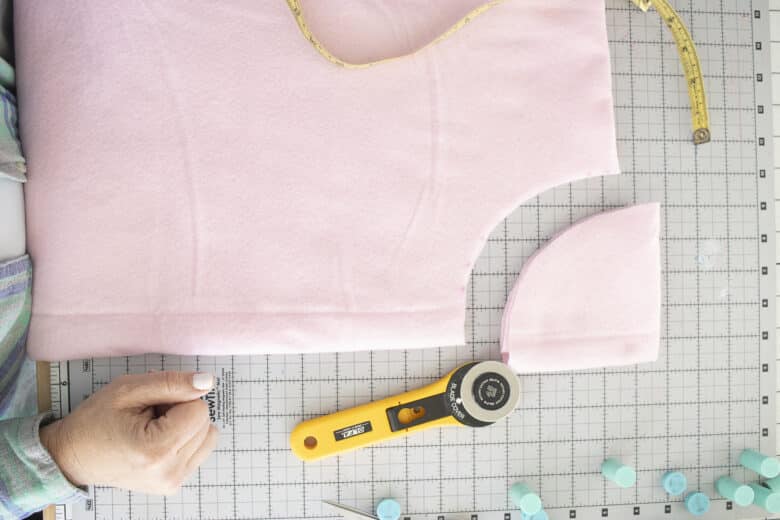
Now, from the cut waistline, measure down to the intended skirt length. Keep the fabric folded as before. My skirt was 27″ from the waist. Make sure you are measuring from the new cut waist, not the original folded corner. Mark the skirt length measurement along the whole quarter circle, then cut all four layers at once.
Becuase my skirt is felt, I didn’t finish the bottom edge, this cut was the bottom.
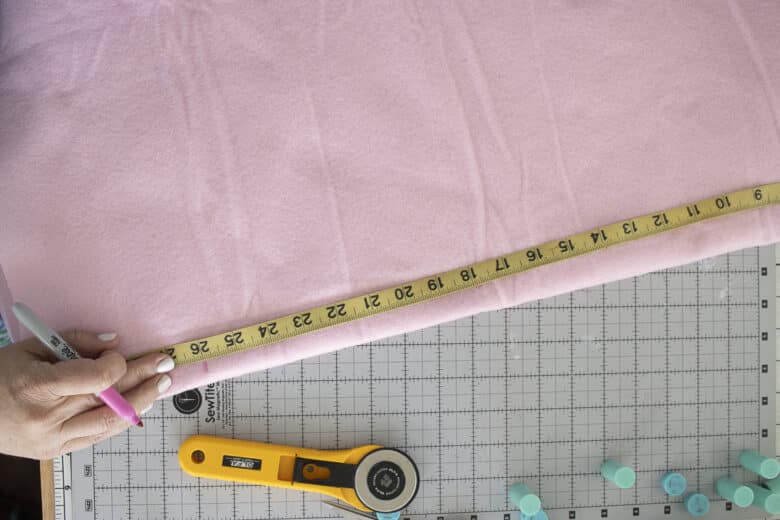
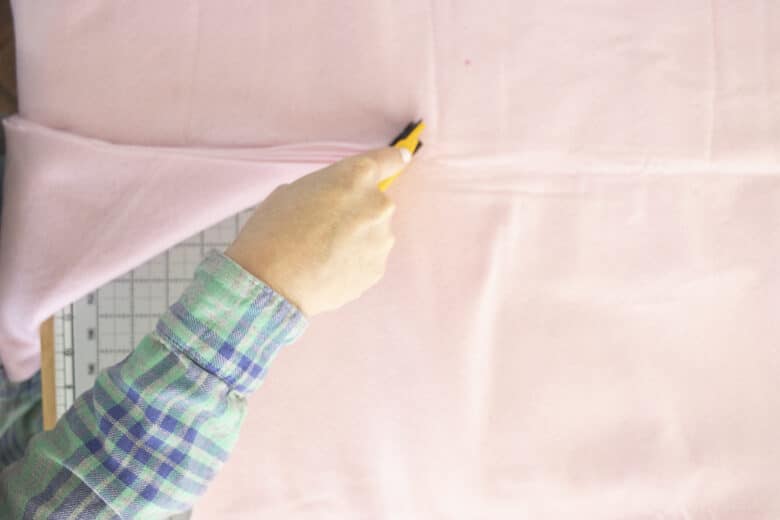
Cut the elastic based on the waist measurement. I would cut it 1-2″ smaller than the actual waist, its best if you can try on your model, but you can cut with just the measurement as well. Overlap the cut edges 1/2″ and then sew with a zig-zag over both raw edges.
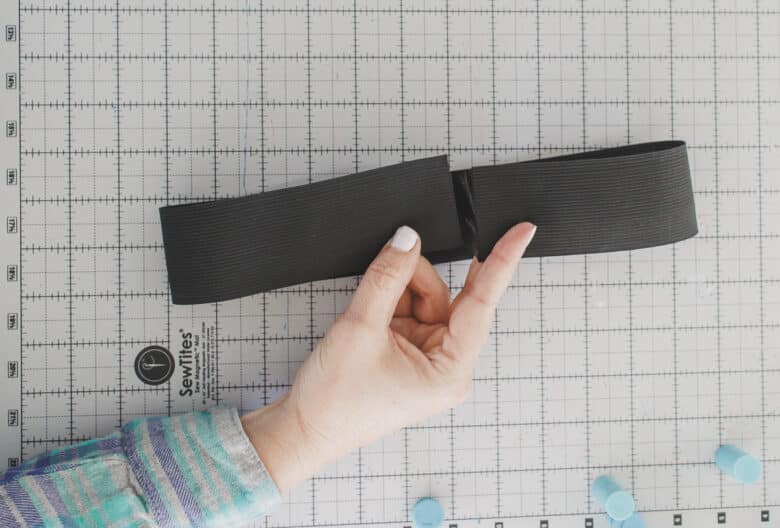
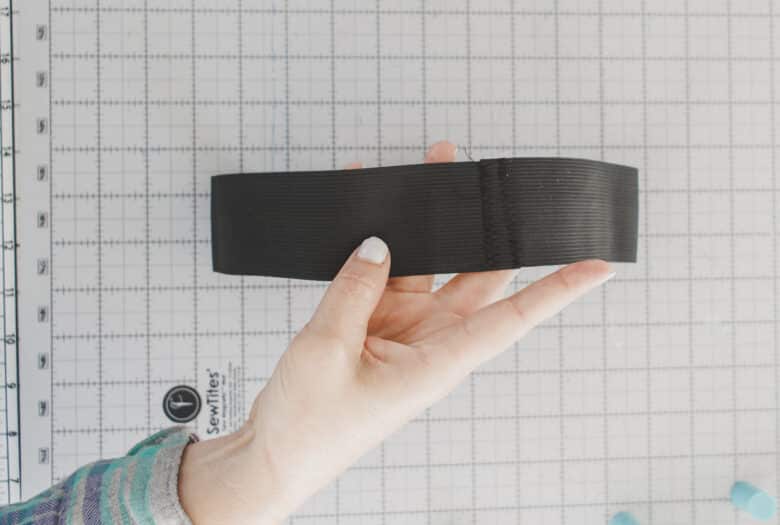
At this point if you sewed two yards of felt together, you will want to make sure that where you sewed the felt together is now on the side seams. Lay the skirt so the seams on on the sides, and the seam of the elastic is at the back. The elastic waistband should be laid over the right side of the skirt, overlapping 1/2 of the elastic and skirt. Stretch and pin the elastic to the skirt. Place pins on the right side of the elastic so you can sew from the right side.
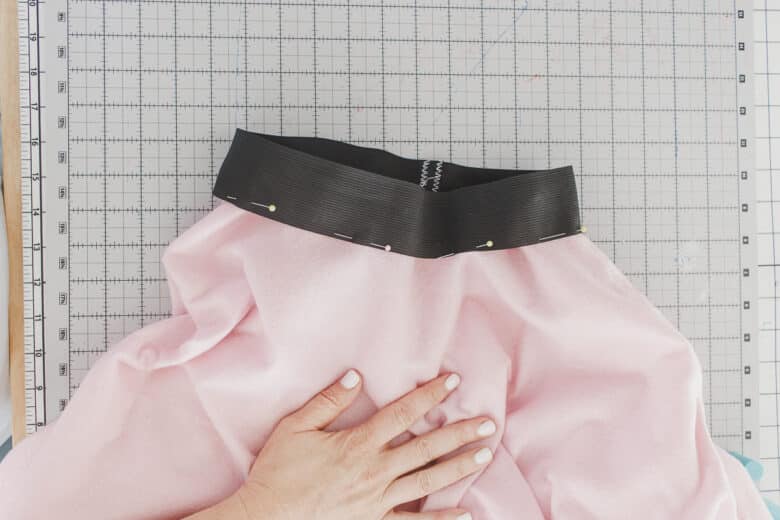
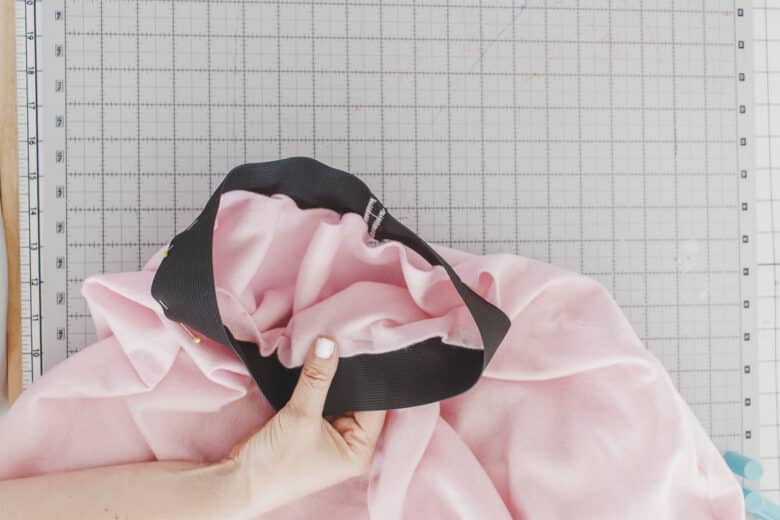
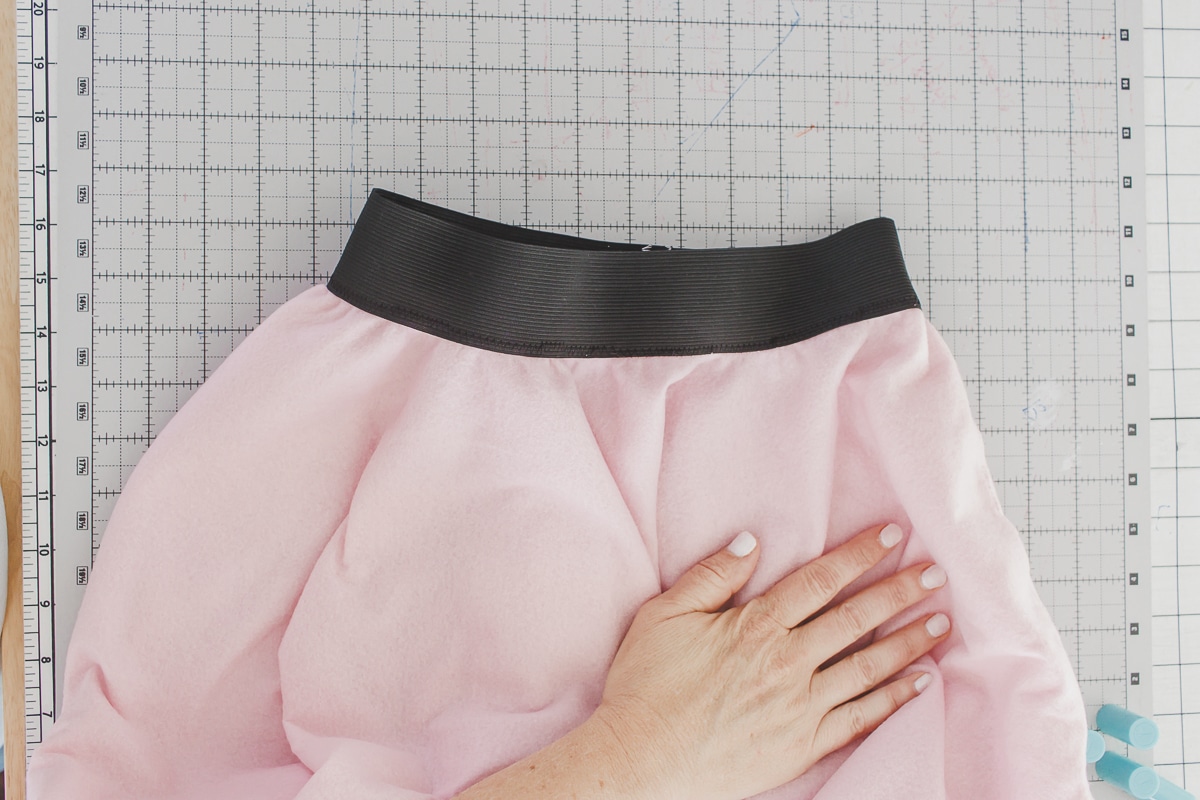
Use a zig-zag stretch in thread color that matches the elastic and stitch on the bottom edge of the elastic, making sure to catch the skirt under. You will need to stretch the elastic as you sew to match up with the skirt. When you finish, the front will look finished and the inside will have the raw edge of the felt.
Now it’s time to prepare the poodle to add to the skirt. You can download the free pattern using the button in the supply list. {see note about .zip file} You can use the pdf file to cut black felt with scissors or the svg file on your cutting machine. When you open the file there are two layers. Image and shape
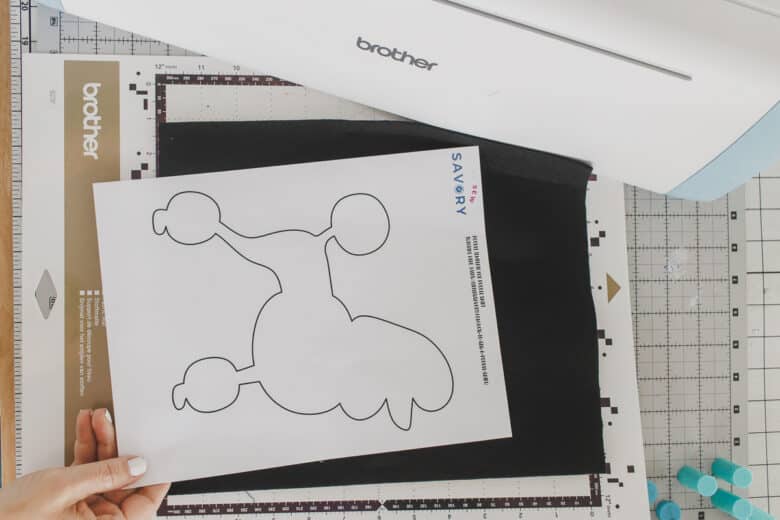
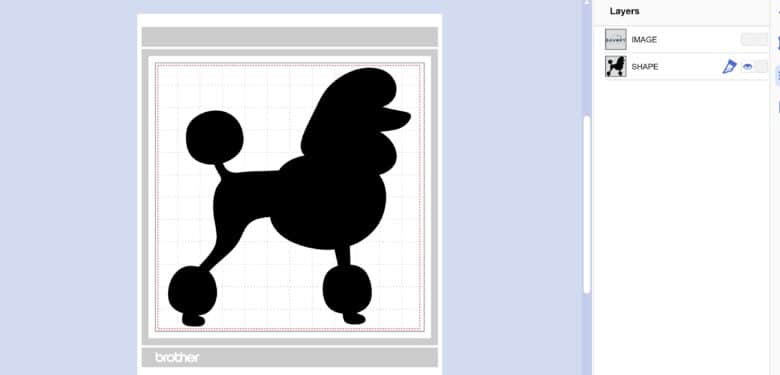
You will not cut the image layer. You can hide or delete it before cutting the shape layer.
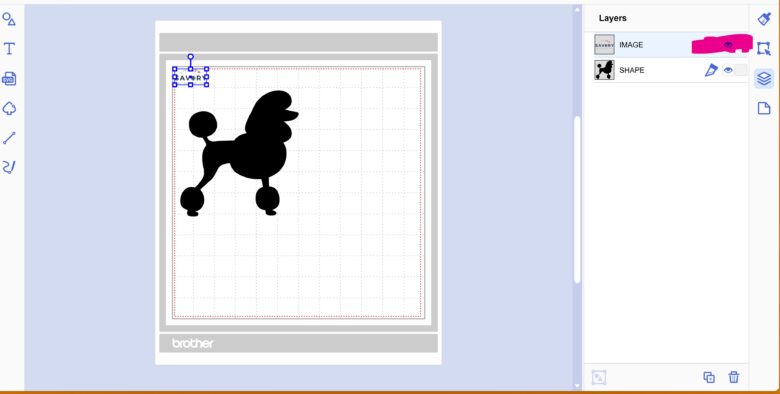
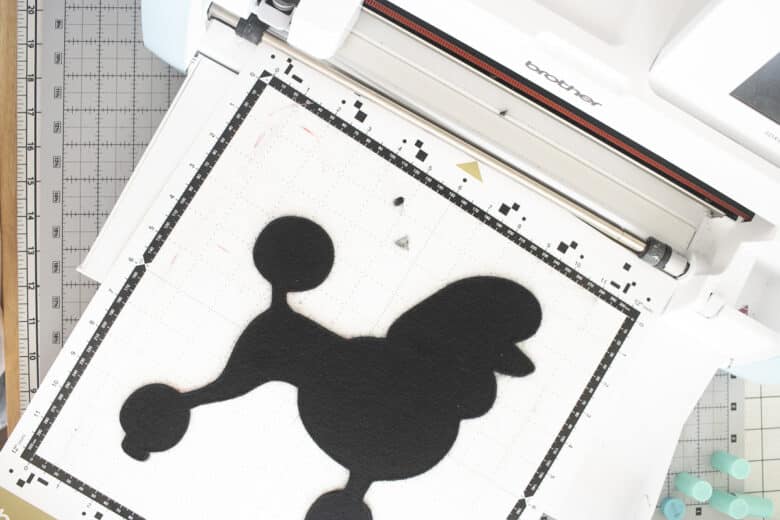
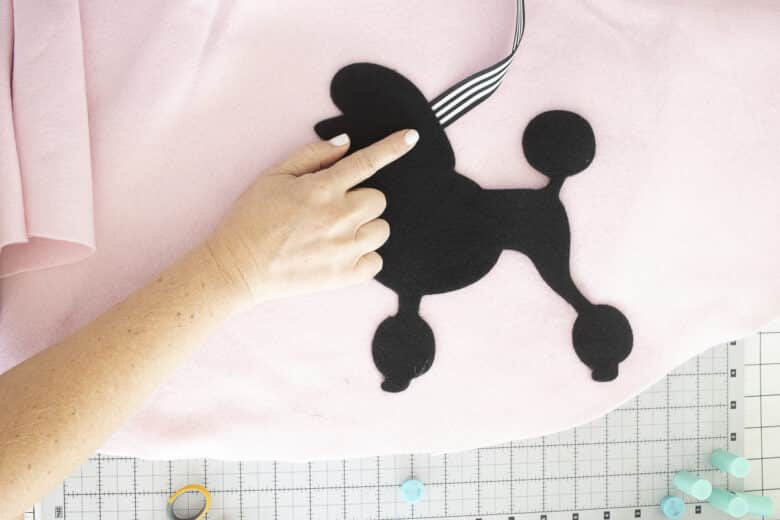
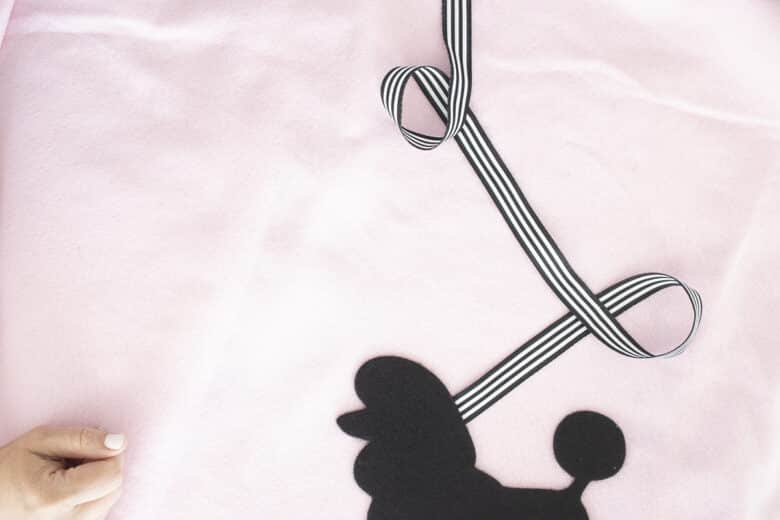
Find the front center of the skirt and place the poodle to the left or right of the center. I used hot glue to attach the poodle. You can sew or glue the poodle.
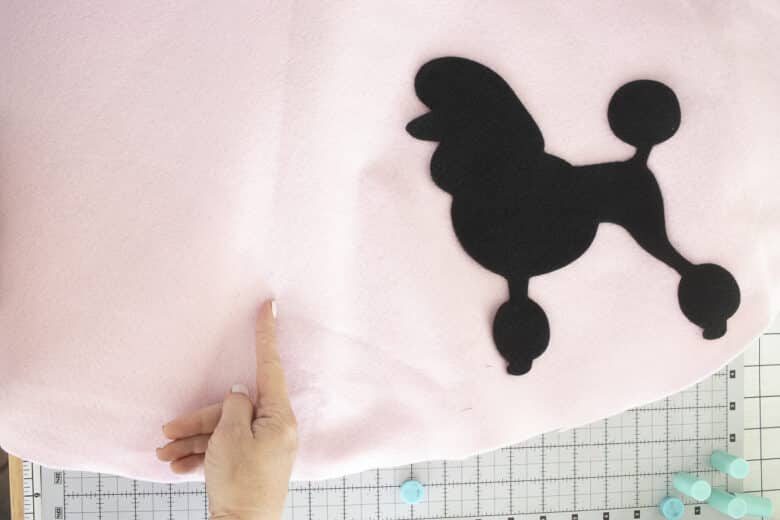
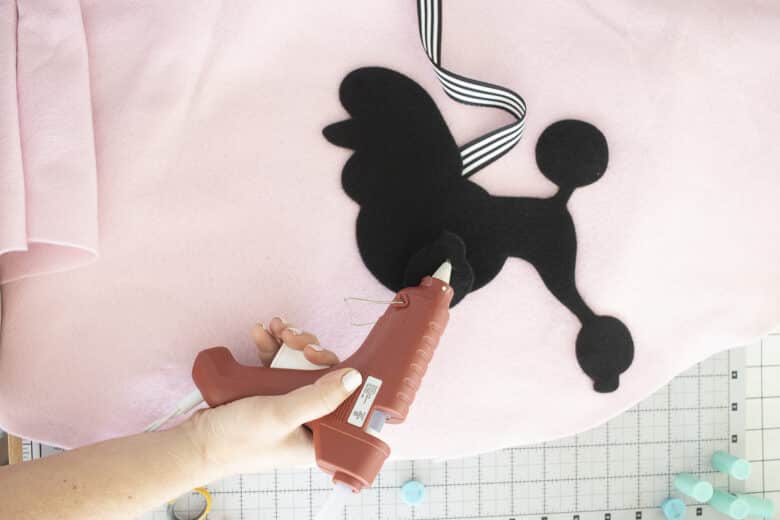
Add a leash from the poodle neck. You can create the leash using any design you want. Take the leash from the neck to the waistband. Glue the leash in place.
There you have it! A cute poodle skirt you can make in any size.





kpop heardle says
This is such a clear tutorial! I particularly appreciate the practical tip about zig-zagging two felt pieces together if continuous yardage isn’t available. That’s a common challenge, and your solution makes the project much more accessible. Using felt to avoid hemming is also a brilliant time-saver, perfect for a quick costume.