


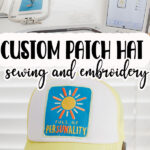
inside: Learn how to make your own DIY custom patch, then sew it on a hat. This is a fun work a round if you don’t have an embroidery machine that can embroider directly on a hat. Easy patch and sewing tutorial.
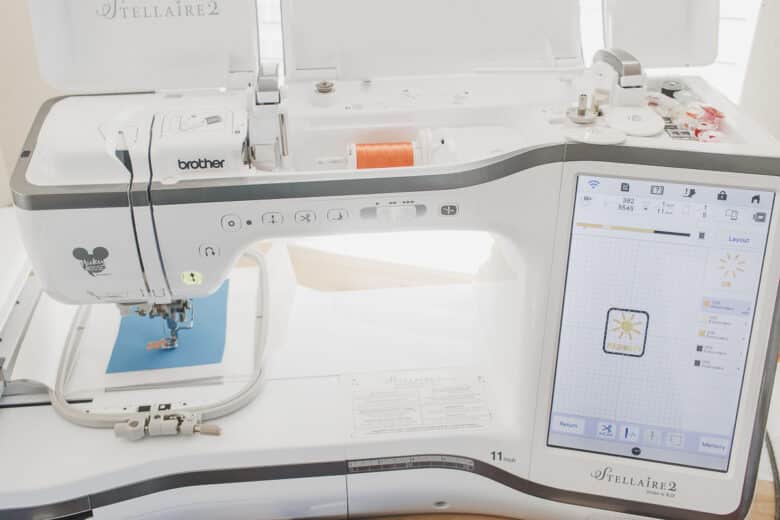
I have a couple embroidery machines, but they are all flatbed, single needle machines. This means that you use a flat hoop and your fabric/item must be flat. BUT… with the machines I do have I can still make amazing embroidery items. Here is my DIY custom patch, sewn on a hat tutorial.

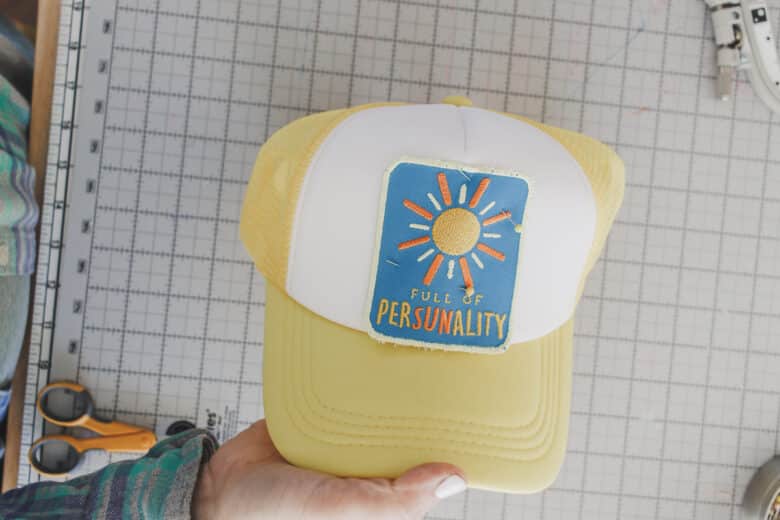
Custom Patch Hat
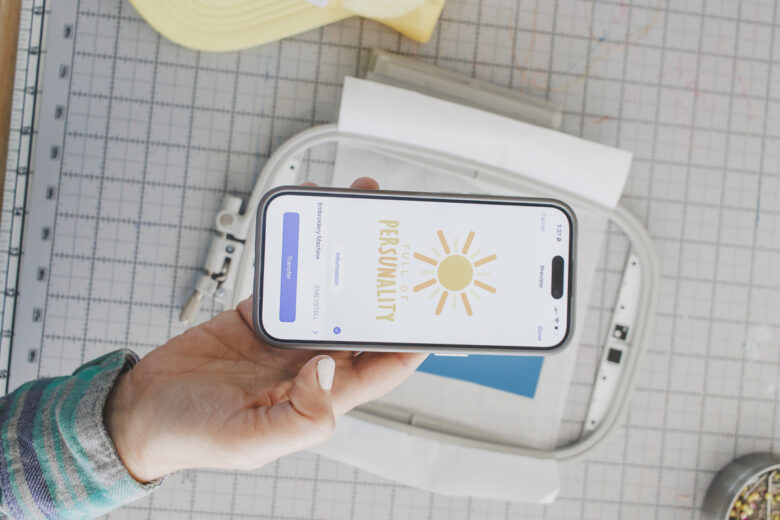
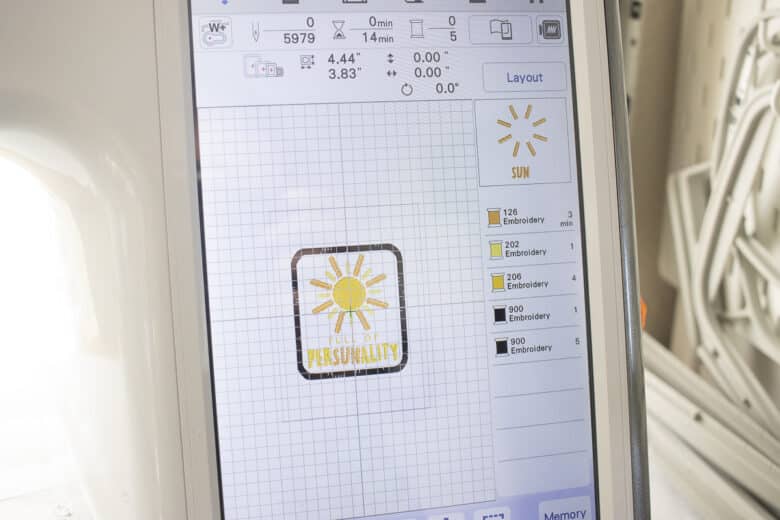
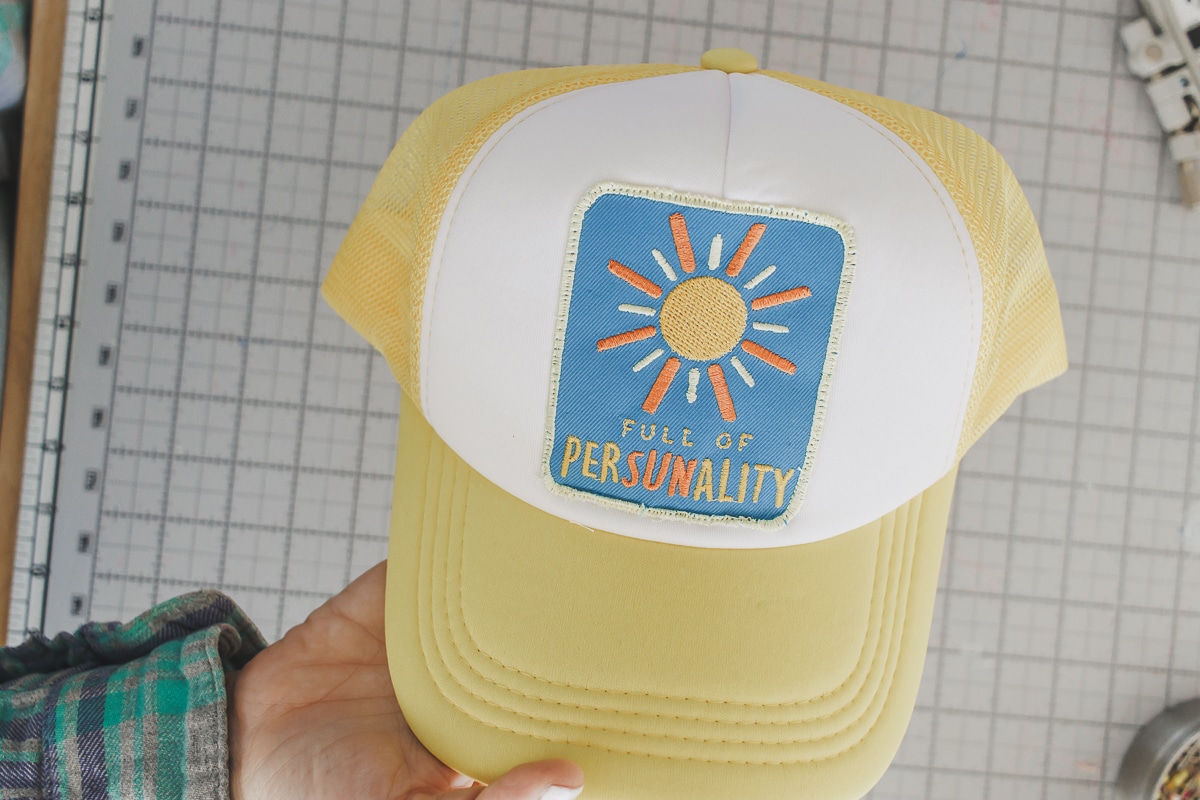
It’s SUMMMMER! Also known as hat season {haha}. I found this adorable persunality design on the Artspira App. I decided we needed it on a hat.


I love the way this looks. A truly custom hat… you can make any size or shape or design of patch and then sew it on a hat. I’ll give you a quick tutorial on how to make custom patch, then show you how to sew it on a hat.
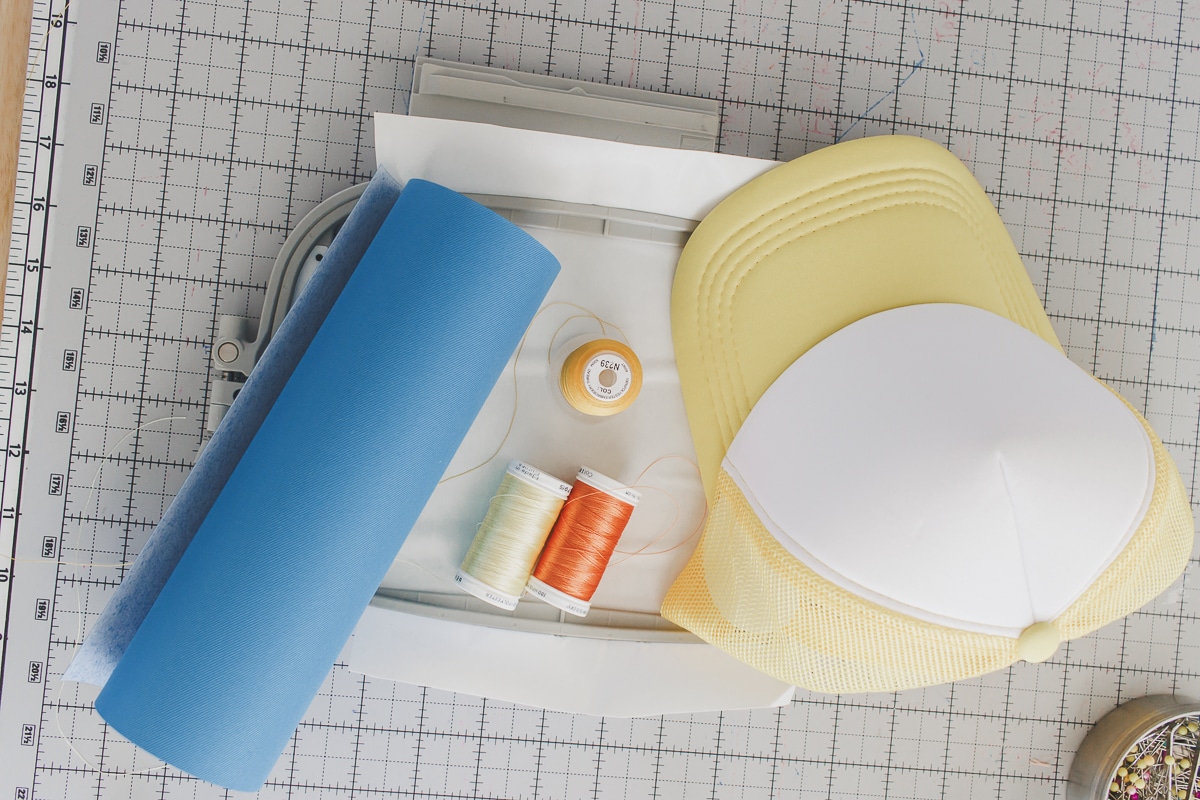
Here’s what you need to create this project…
- Adhesive stabilizer
- Twill patch fabric
- Embroidery Thread
- Simple Trucker hat {this is a link for a pack of hats like mine, I got my single hat at Hobby Lobby}
- Embroidery design {I found mine on the Artspira App}
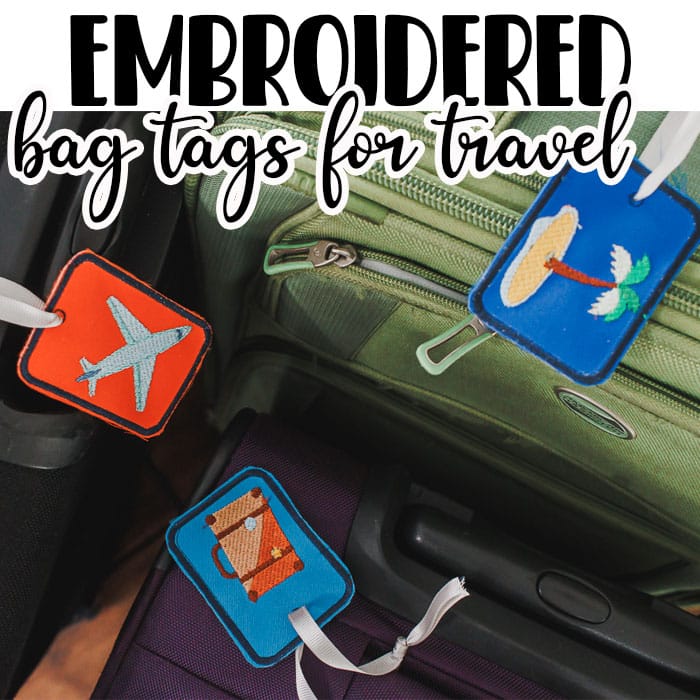
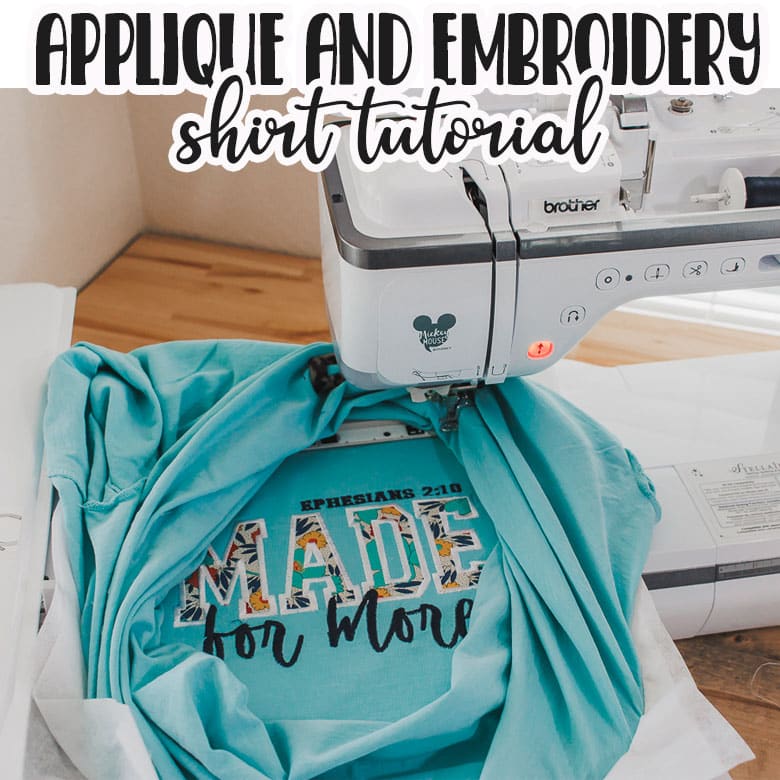
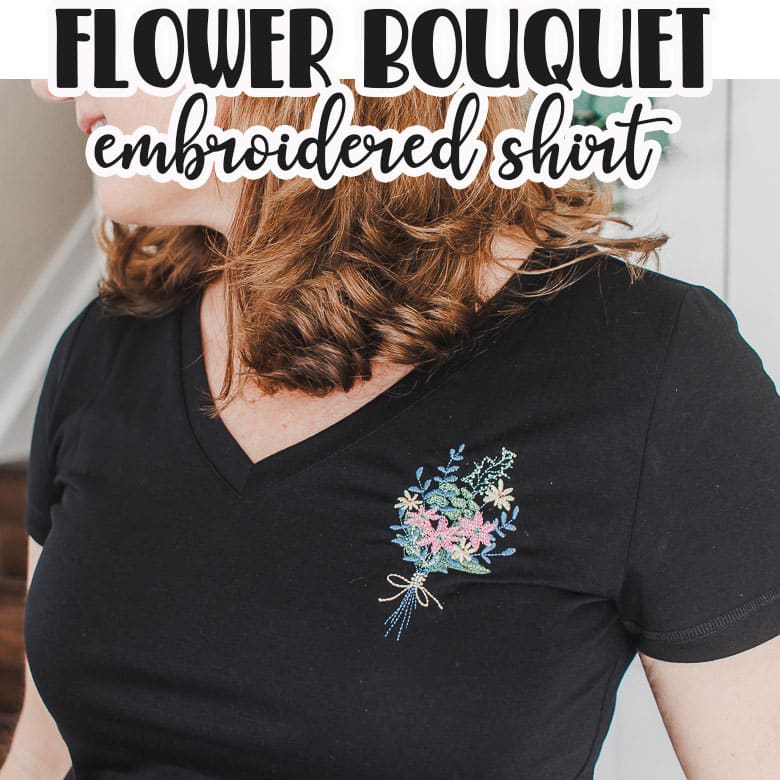
Other fun embroidery projects
- Puff Embroidery Tutorial
- Logo pocket embroidery
- Double Layer embroidery
- Couching and embroidery
- Create custom clothing
- Embroidered Bag tags
- Applique and Embroidery shirt
- Flower bouquet embroidered shirt


How to make a custom patch
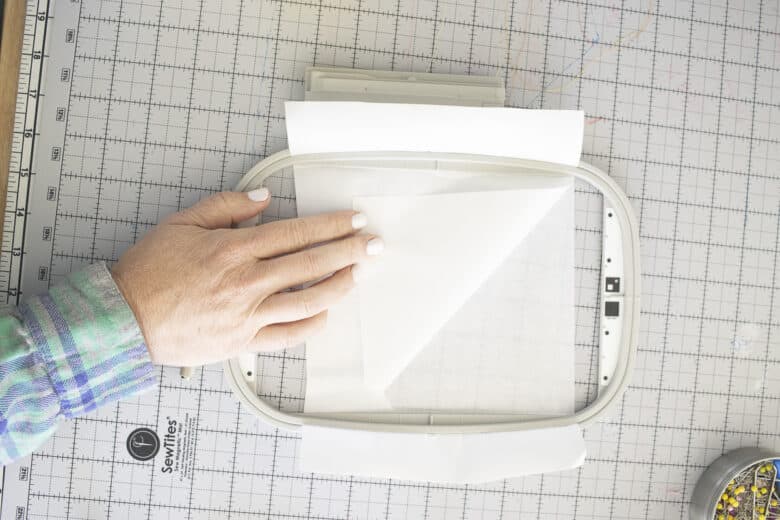
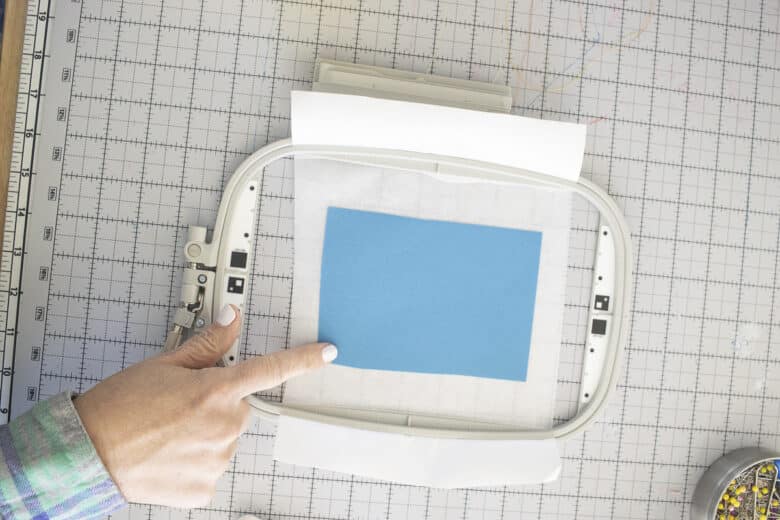
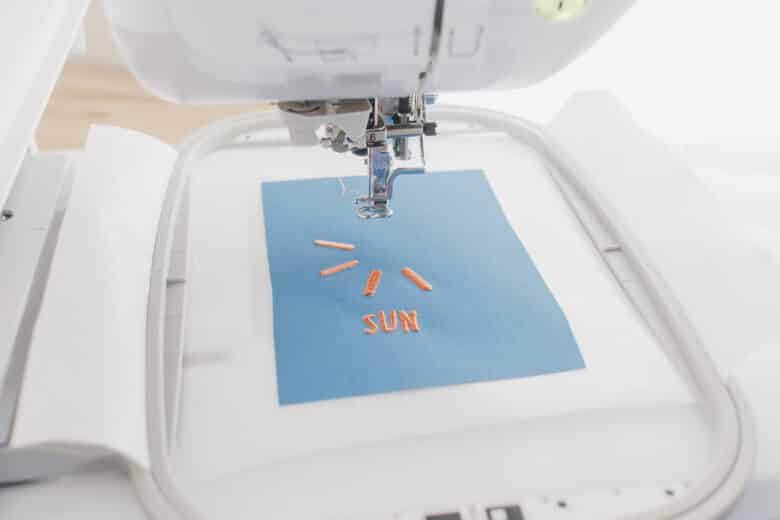
Place a piece of the stabilizer in your hoop. Make sure the paper side is facing up. Cut a piece of twill larger than you need for your patch and place in the center of the hoop.
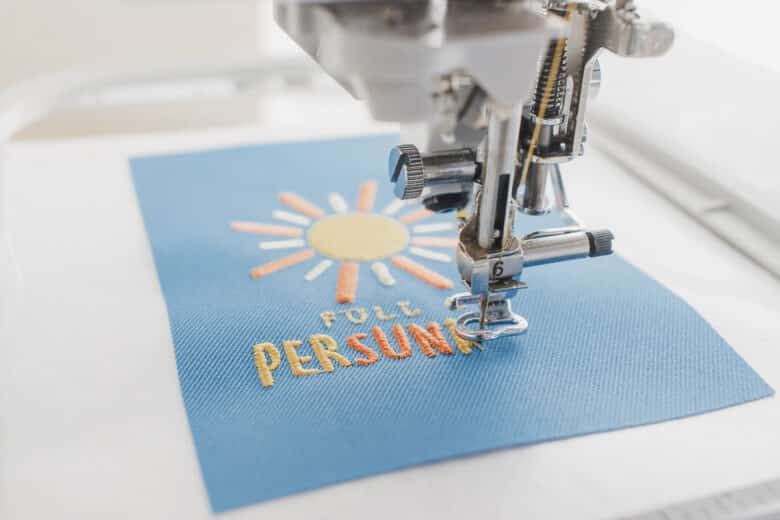
Use a design on your machine or transfer from Artspira, then import to your machine screen.
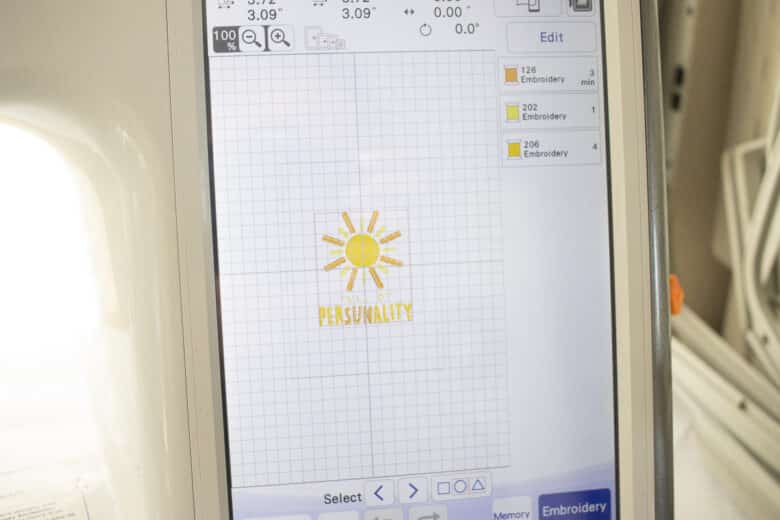
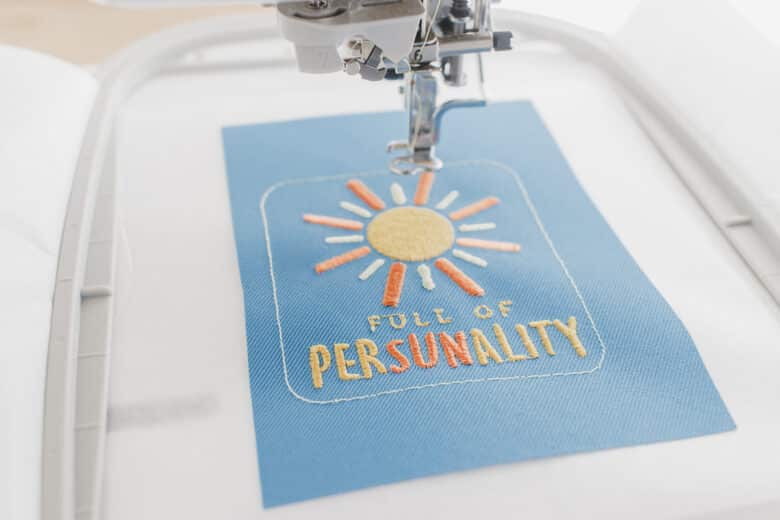
Use the square/rectangle designs built into your machine. I added one rectangle single stitch, then directly overtop I added a satin stitch rectangle. You can see the layers of colors. Make sure the rectangles are in the order I mentioned and after the design, this will give the correct order of stitching.
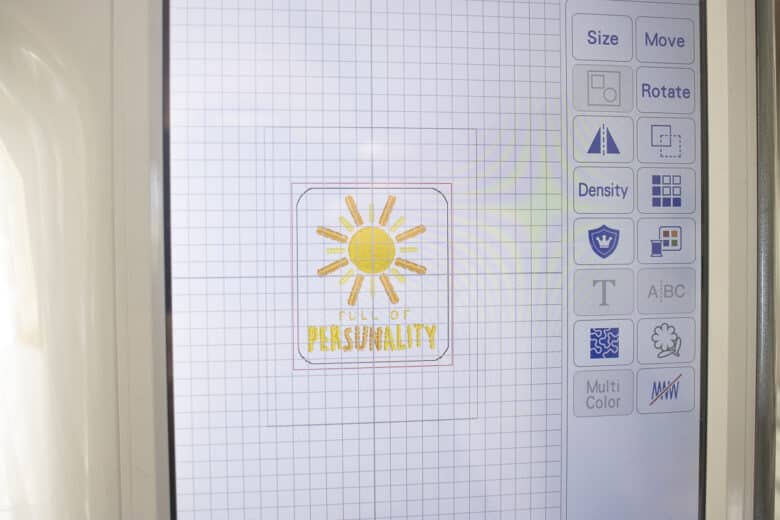
Stitch out the design. This only had three colors, so it didn’t take too long.
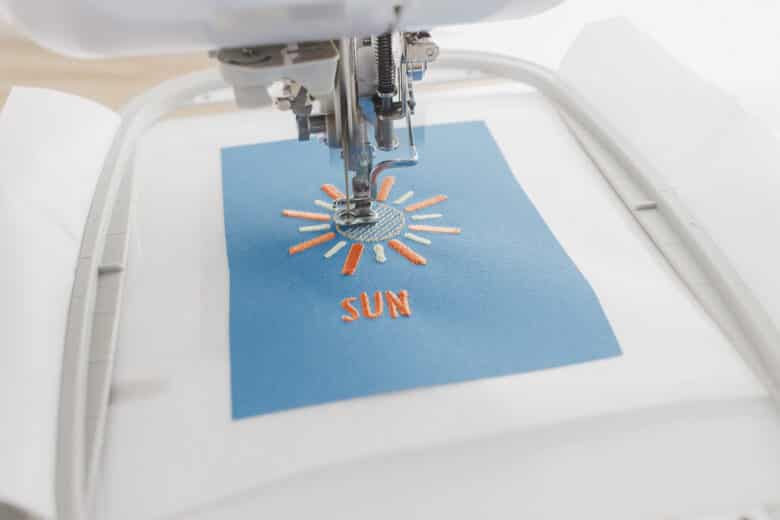
After the design stitches, the next layer will be the single stitch. After this, you will remove the hoop and trim around the single stitch rectangle.
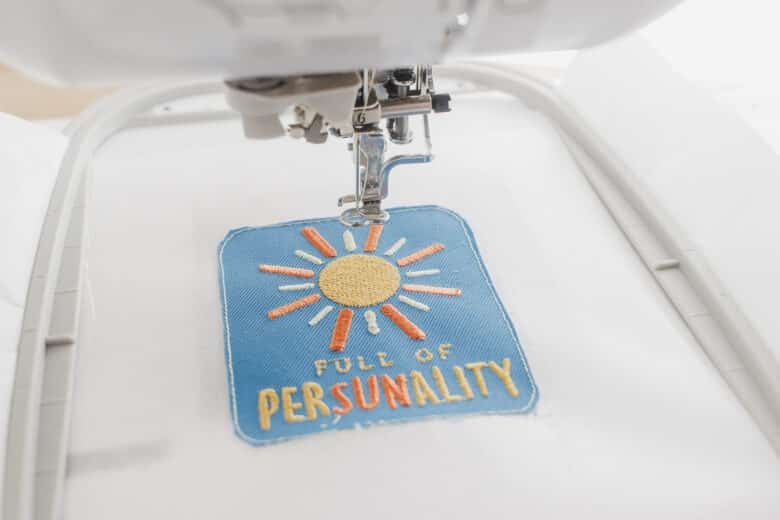
Start the final layer of stitching, which is the satin stitch and will finish the patch.
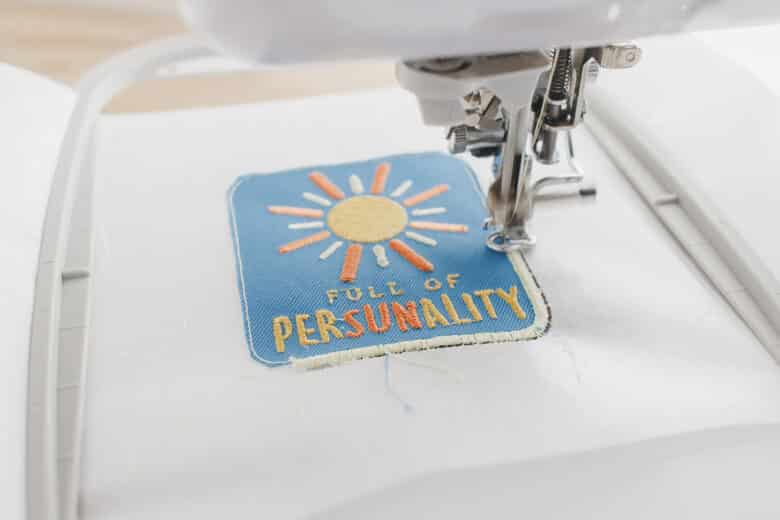
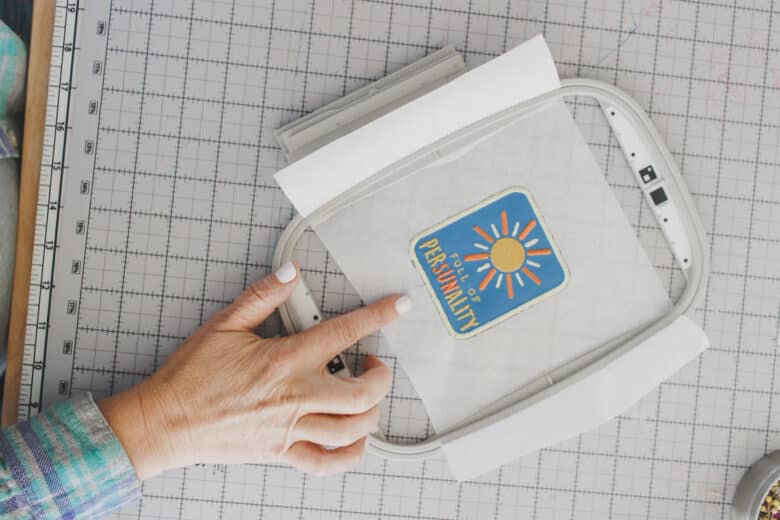
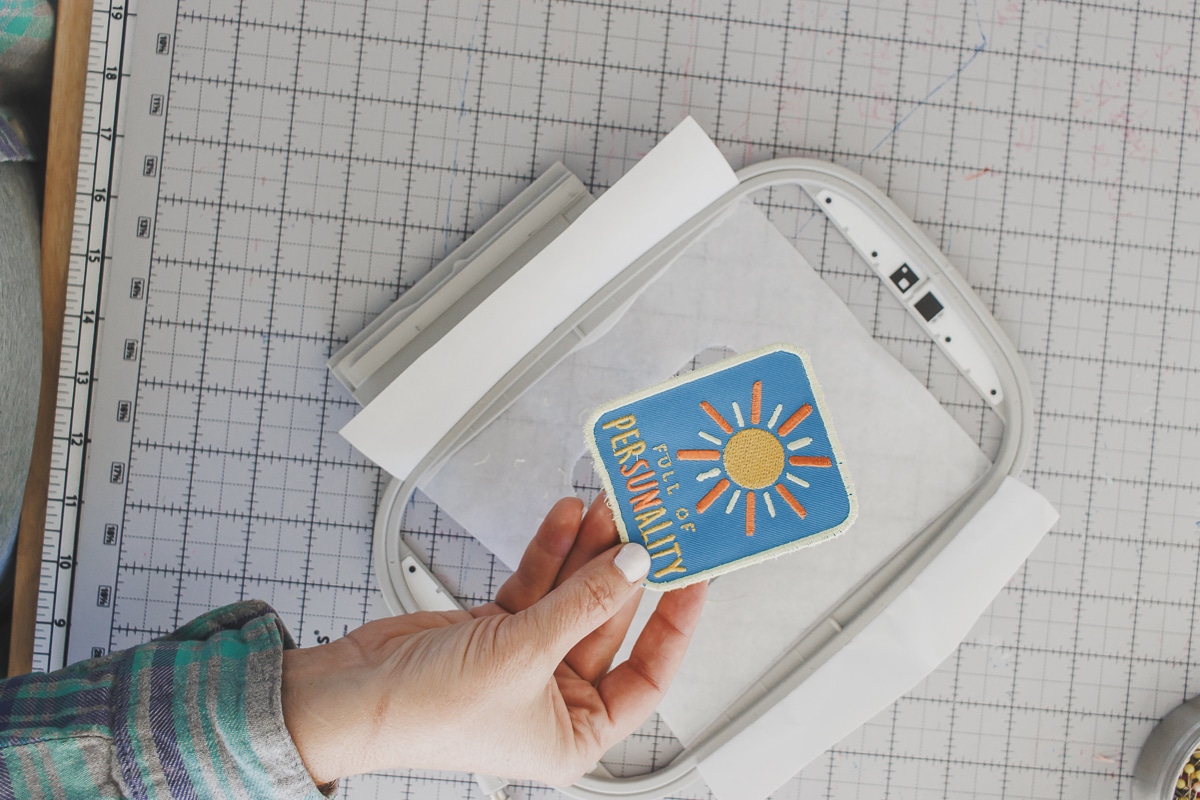
The patch should pop right out of the stabilizer as the stitching perforates the stabilizer.
How to sew a patch on a hat
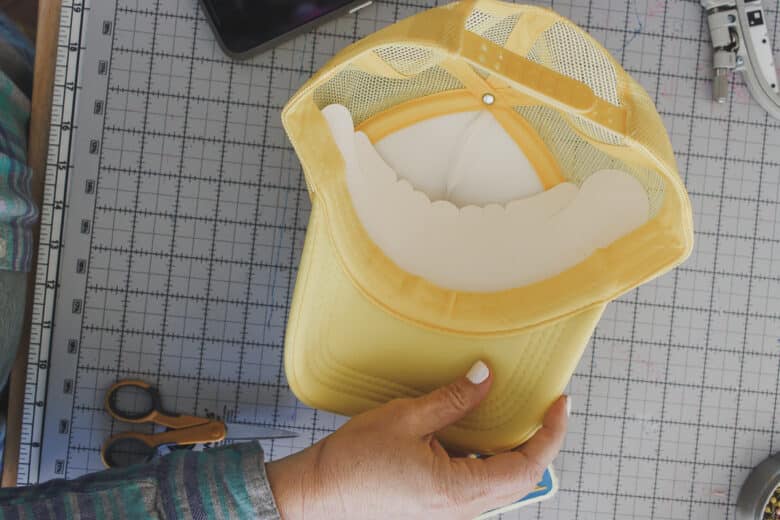
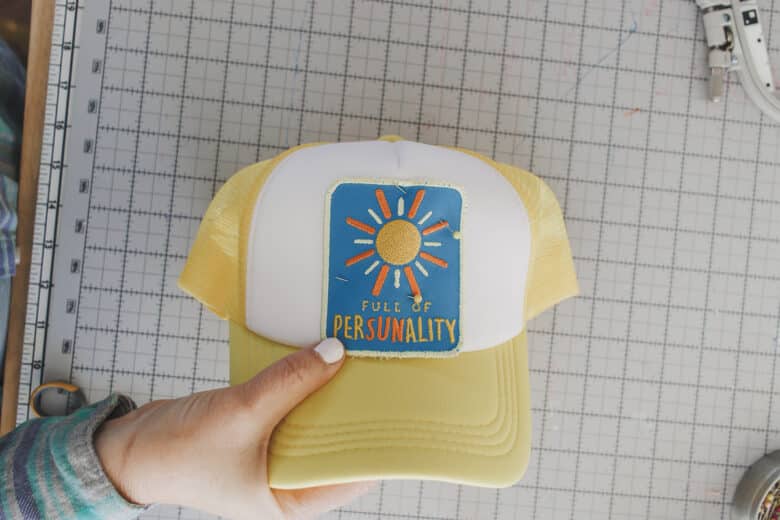
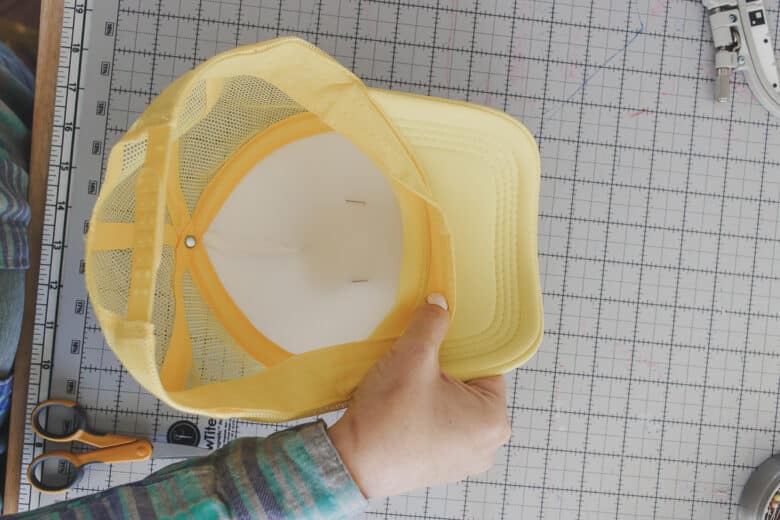
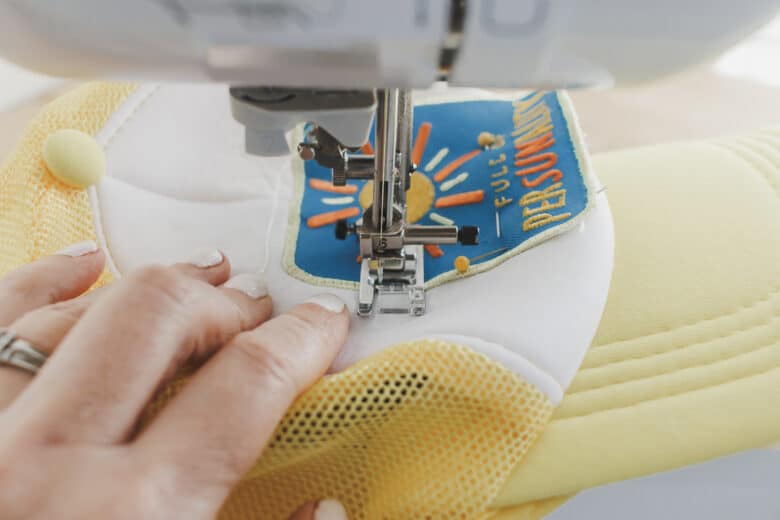
Now that you have a fun, custom patch, it’s time to sew it onto your hat. remove any packaging that will get in the way while sewing.
Pin or glue the patch in place on the hat.
While pinning and sewing, make sure to keep the hat sweatband out of the way. I kept the same thread as the patch border. This will
I kept the same thread as the patch border. This will make the stitching blend right in with the patch.
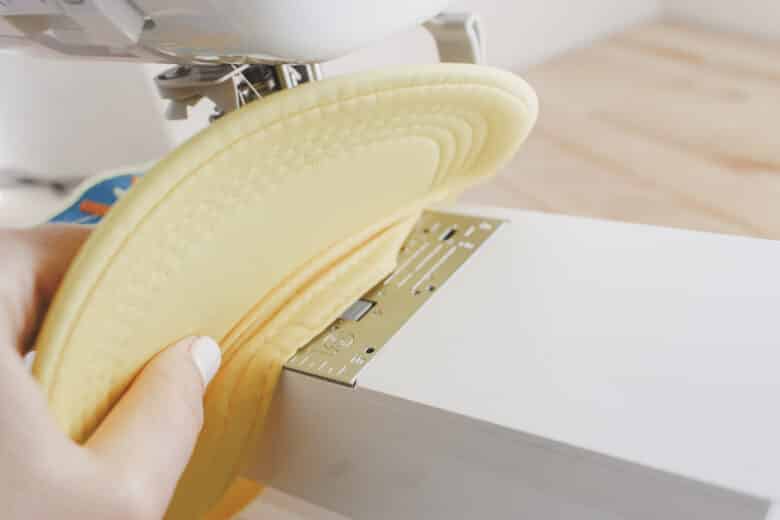
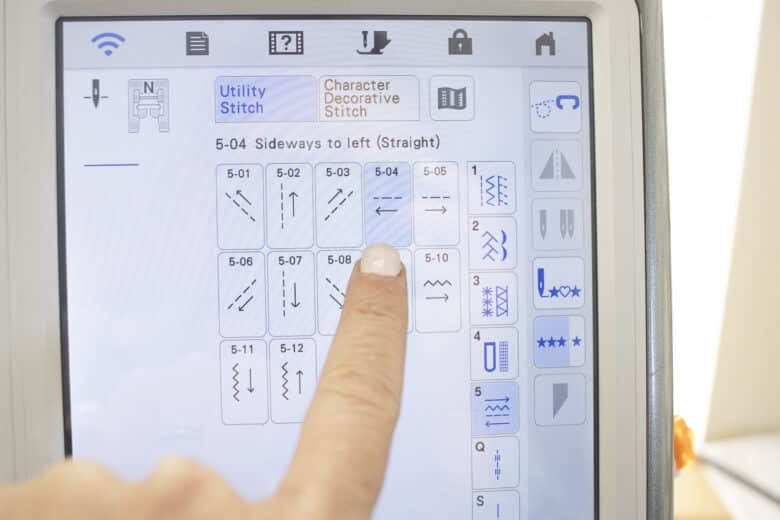
Now, here’s a tip that is SUPER helpful. If your machine has directional sewing, then you never have to rotate the hat. I started near the brim and stitched to the left, then forward, and then right.
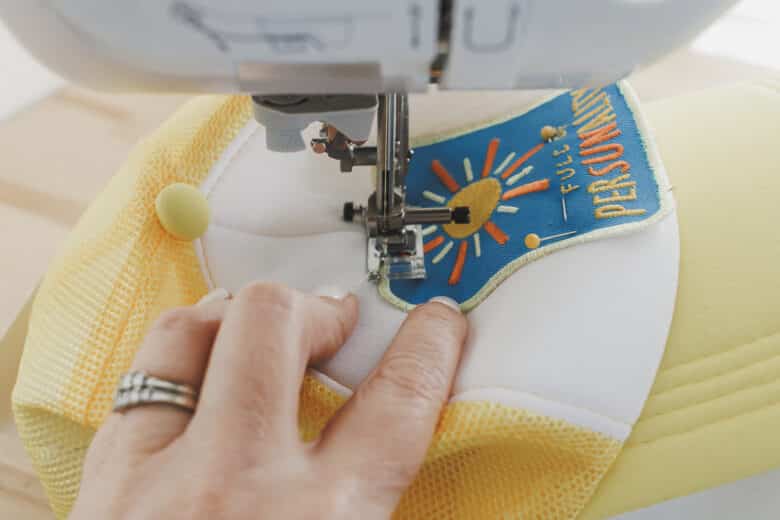
For the final side {the one hear the brim} it can be hard to sew close to the brim. I like to use my zipper foot and then also move the needle several places to the right.

Now your patch hat is finished and should look amazing.


Leave a Reply