Inside: Sew a drawstring makeup bag with this tutorial. Easy Sewing tutorial to organize your makeup in a cute round drawstring bag.
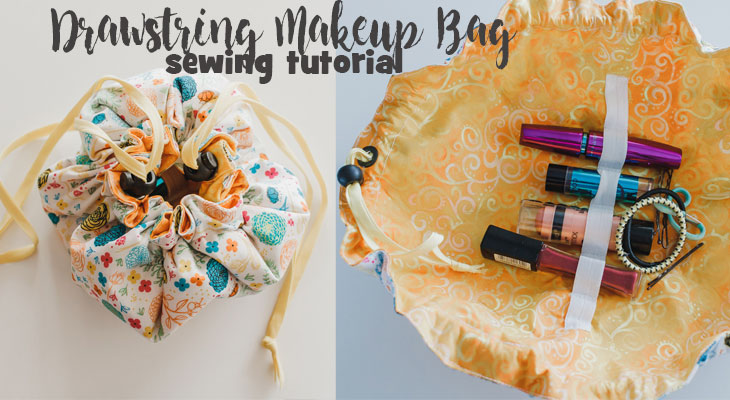
This is another one of those projects that has been brewing in my mind for months and I finally made it! This cute little round makeup bag was fun and easy to sew and today I’m going to show you how to make your own! I love finding fun fabric for projects like this drawstring makeup bag tutorial and below are a list of all the supplies you will need.
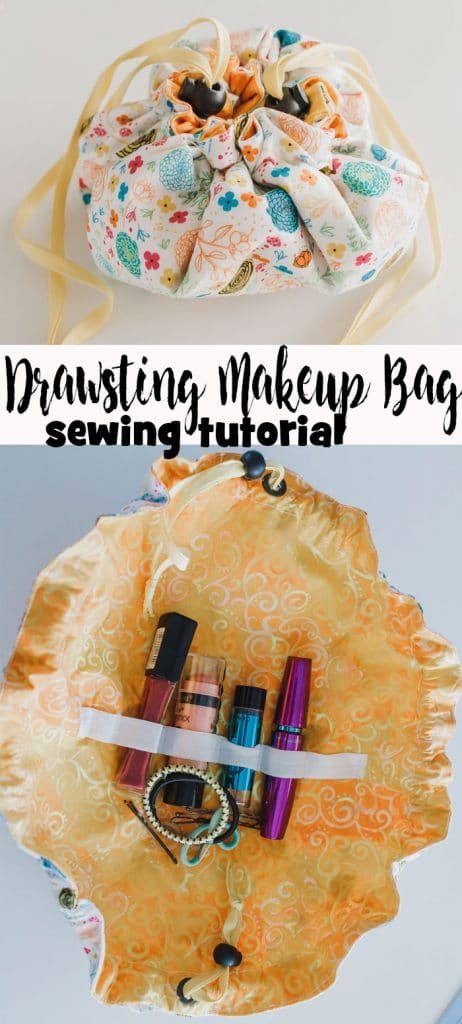
Drawstring Makeup Bag tutorial –
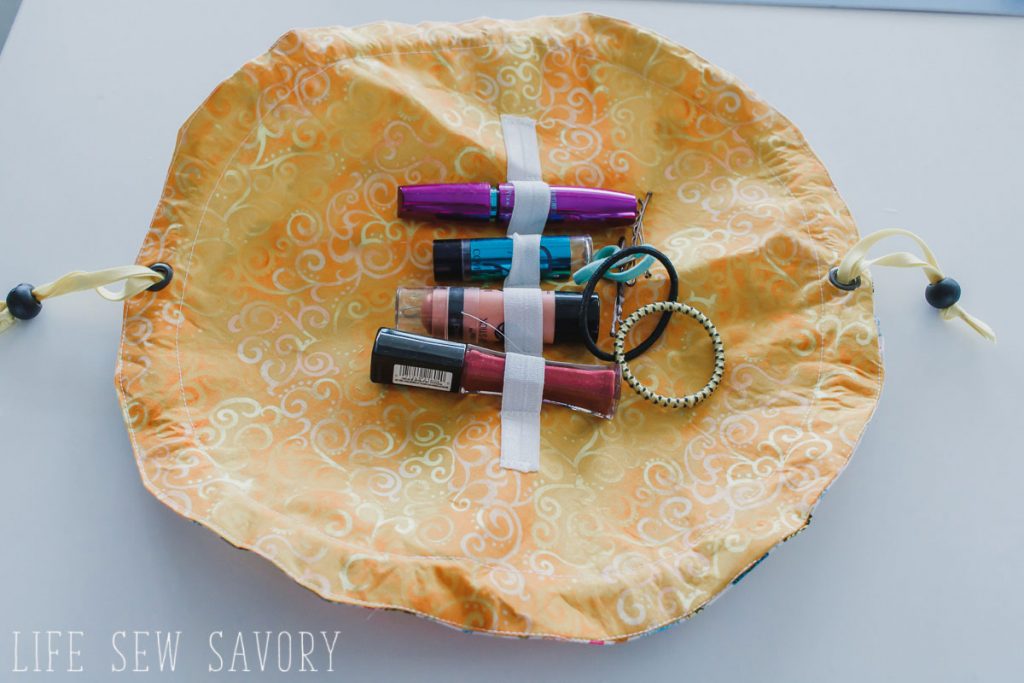
I love how this cute little bag keeps everything organized and tidy for travel. It’s really adaptable as well. I kept this one pretty simple with just one elastic organizer inside, but you could also add pockets or more elastic depending on what you are keeping inside your drawstring cosmetic bag.
You can also make these bags in any size, so use for your makeup, toys or anything else you want to round up and put away in a cute little round drawstring bag.
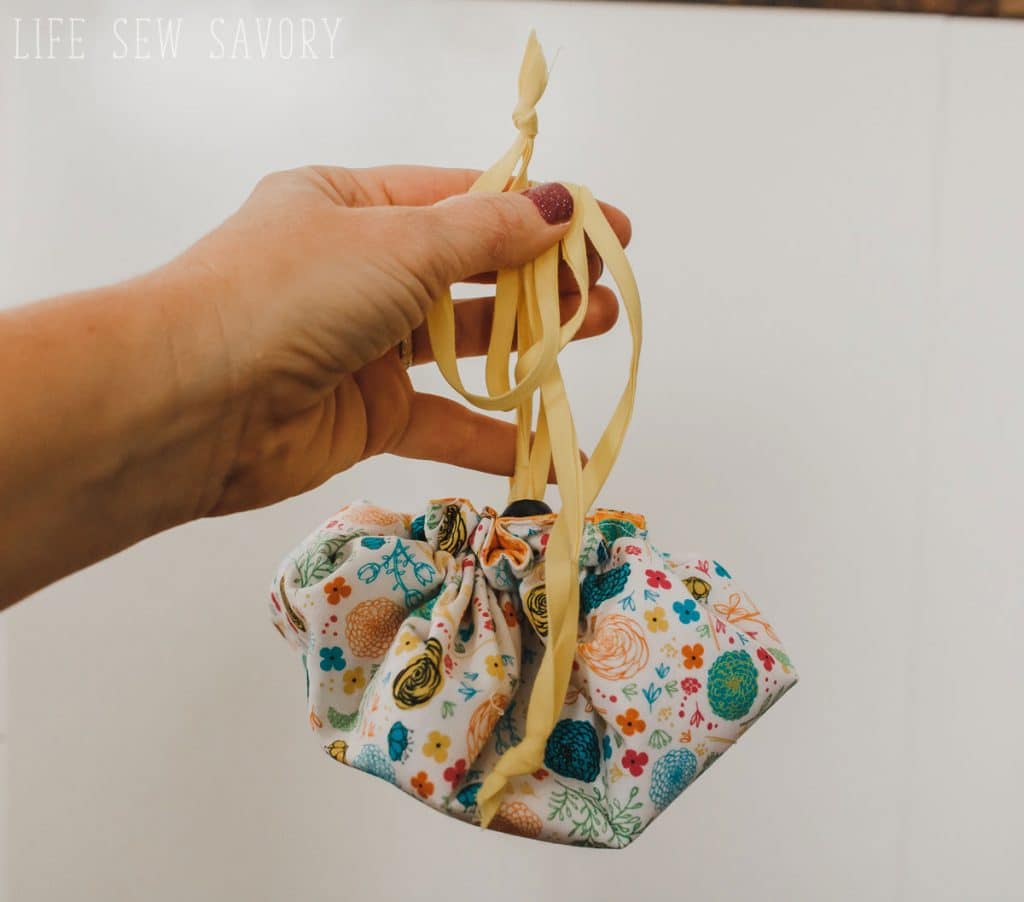
Other cute ways to store makeup –
First let’s gather the supplies. {plus what you want to organize inside}
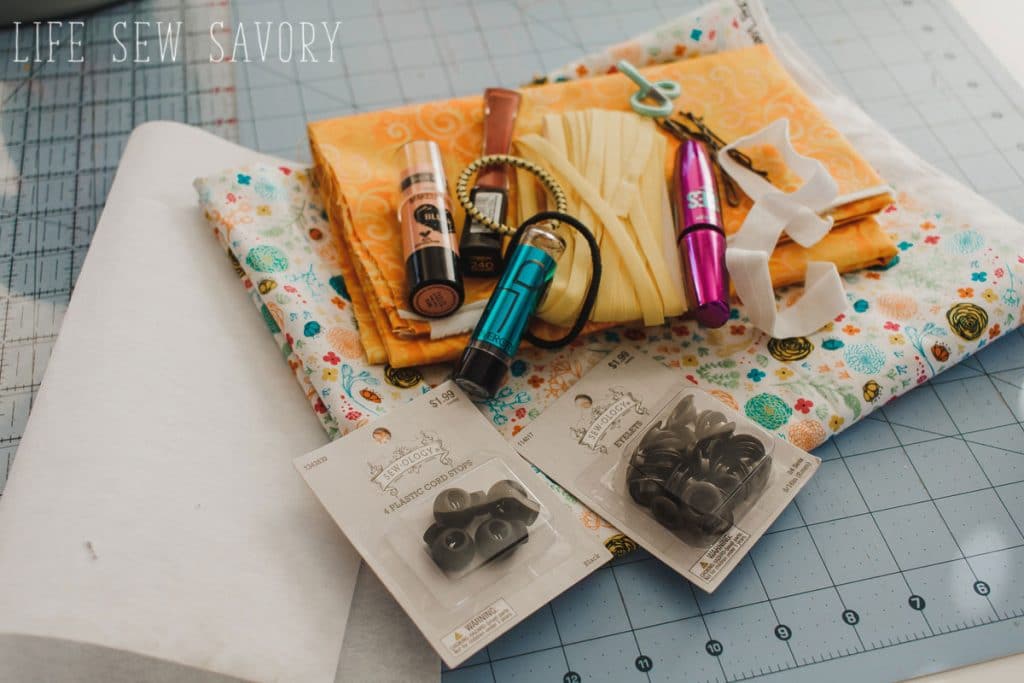
- Fabric {2 fat quarters work well.} I was given this adorable QT fabric to use on the show It’s Sew Easy {this project will be featured}
- Fusible Interfacing
- Cord Stops
- Large Eyelets
- Ribbon or Bias Tape
How to sew a drawstring makeup bag
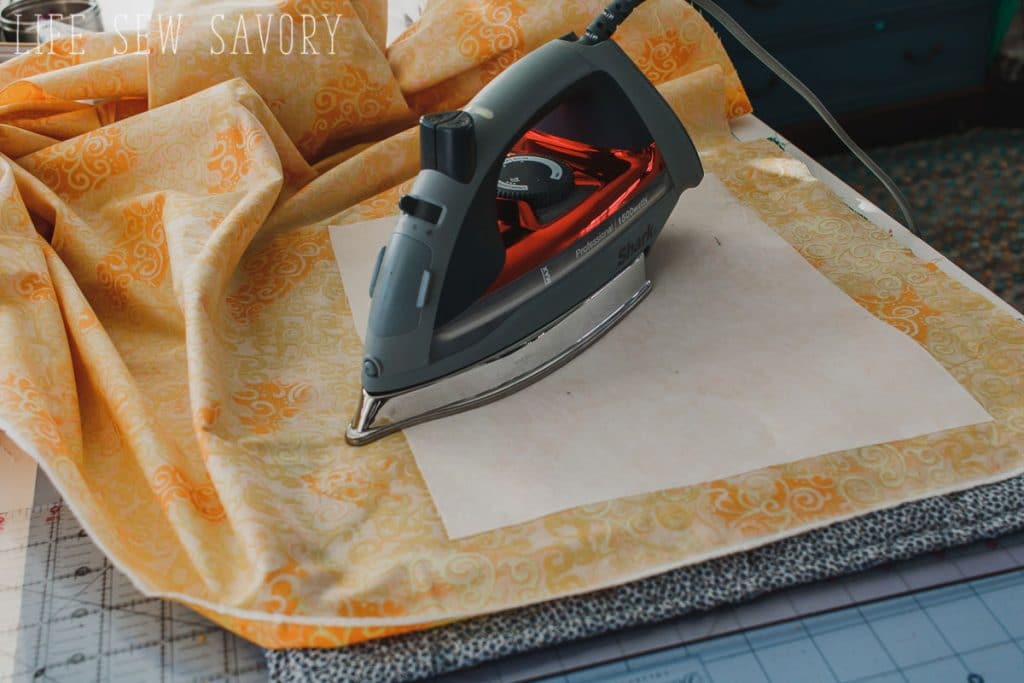
Start by fusing the interfacing to your bag lining fabric {wrong side} Leave a few inches border around the interfacing to create the circle. {like my table top ironing pad? Make one HERE}
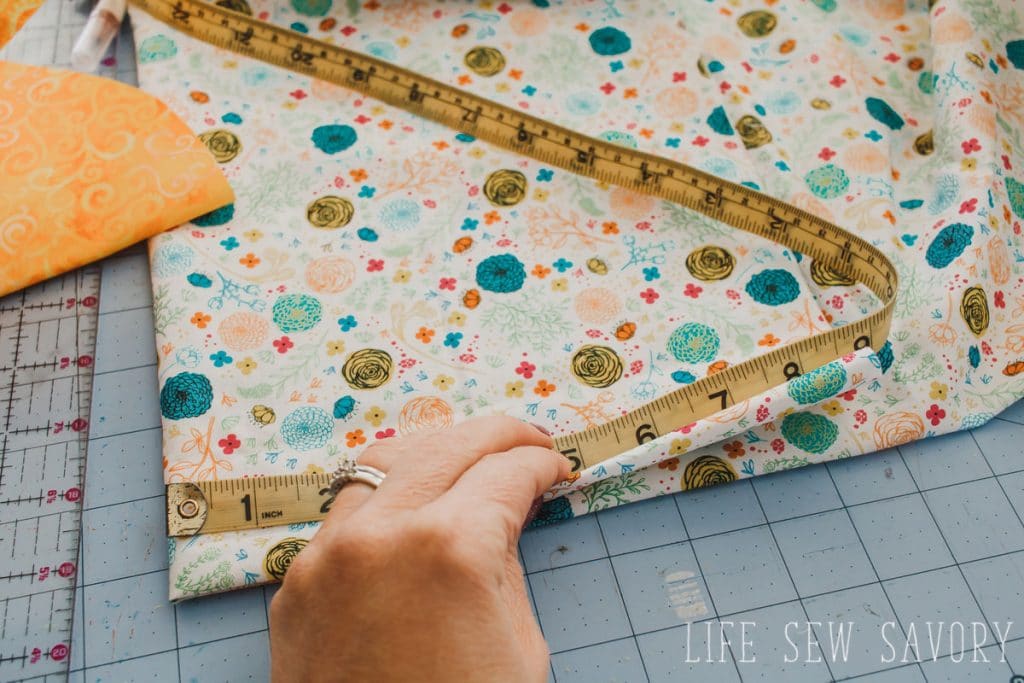
Double fold the fabric, fold up, then fold over. I make a 7″ radius from the center of this folded fabric for my bag. This is a good small size round bag. I wouldn’t go much smaller than this, but you could go way bigger depend on what you are putting inside.
Mark 7″ at all angles from the folded corner, then cut out the circle.
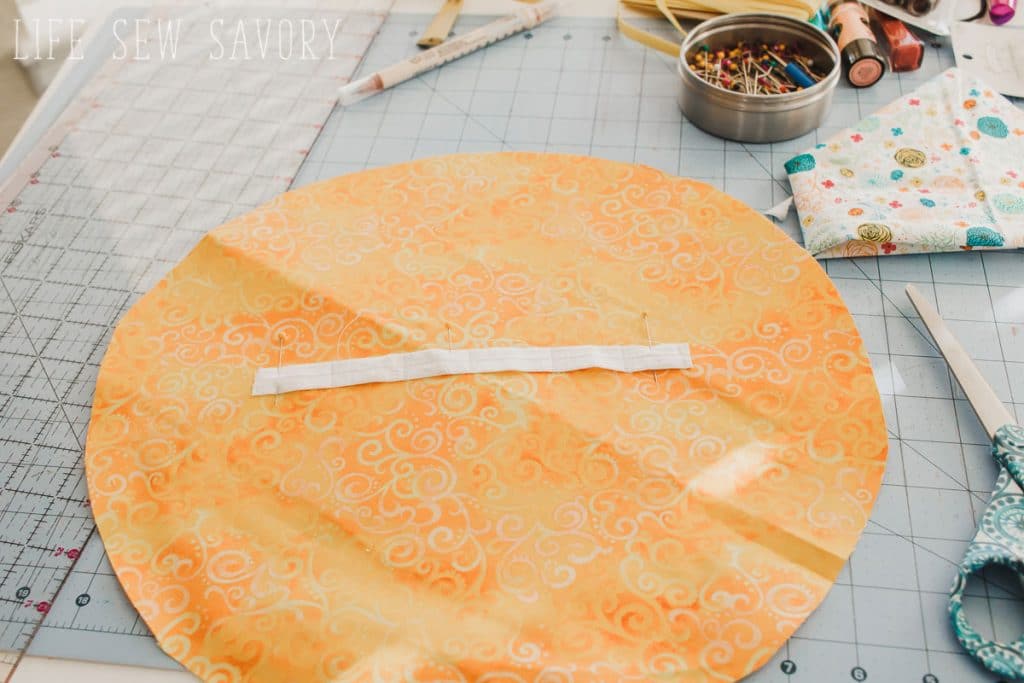
Repeat with the lining fabric. The lining has the interfacing on the back to give it a bit of structure. Before moving on add any pockets or elastic to the lining. I just added elastic sewn at every 1.5″ to hold down some of my makeup.
Place the two circles right sides together and sew around the outside of the circle with a 3/8″ seam allowance. Leave a 3″ opening to turn the pouch.
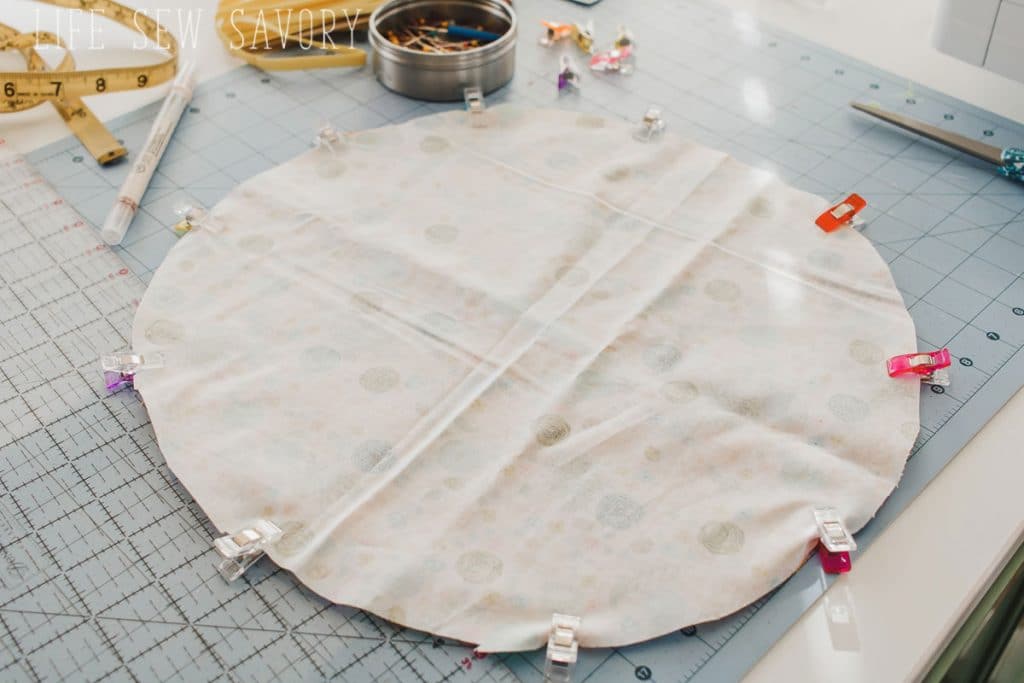
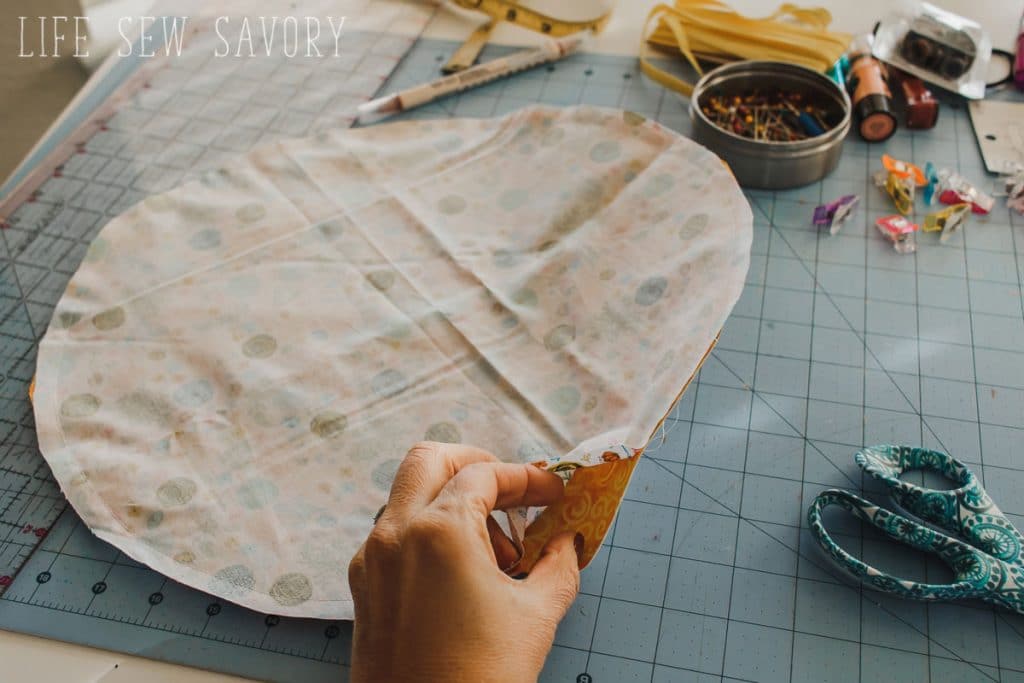
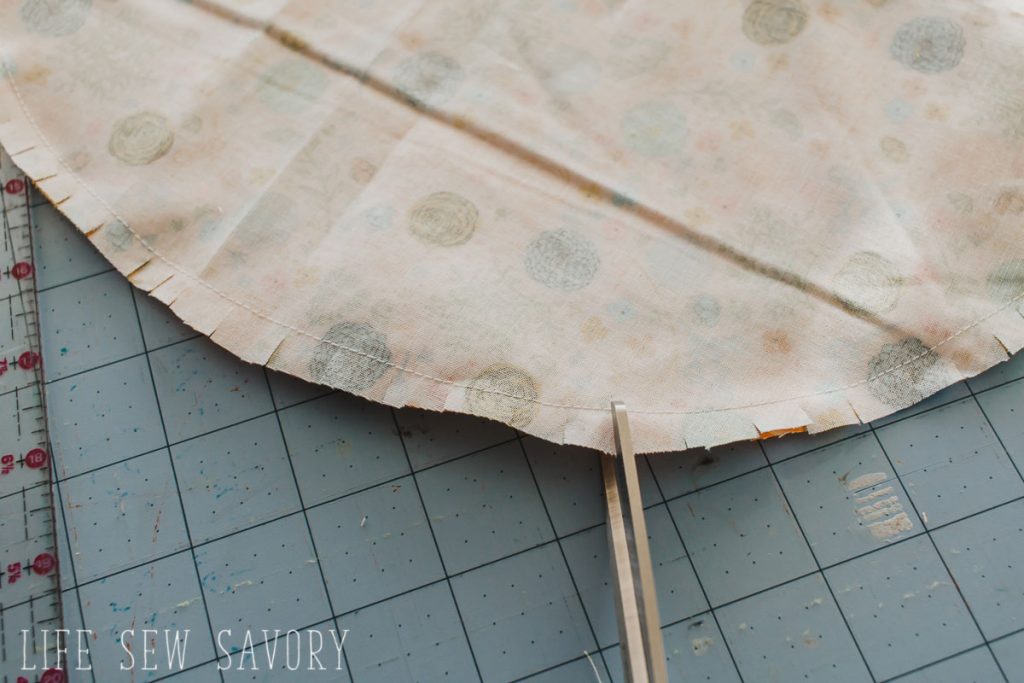
Clip around the edge of the fabric so when you turn it will lay nicely.
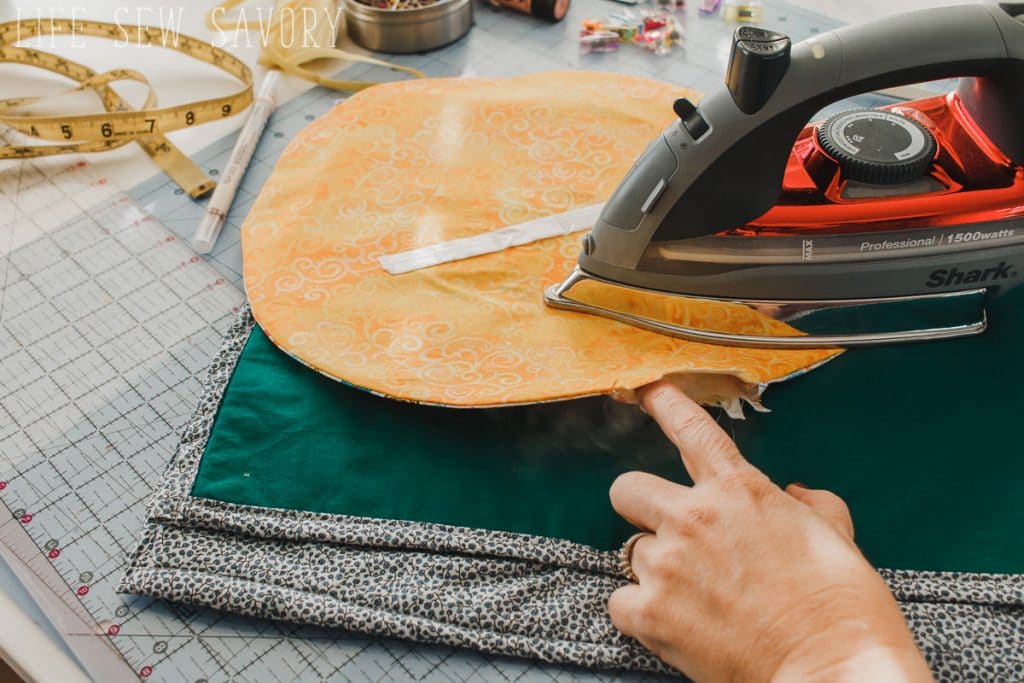
Turn the fabric right side out and press to create a nice circle.
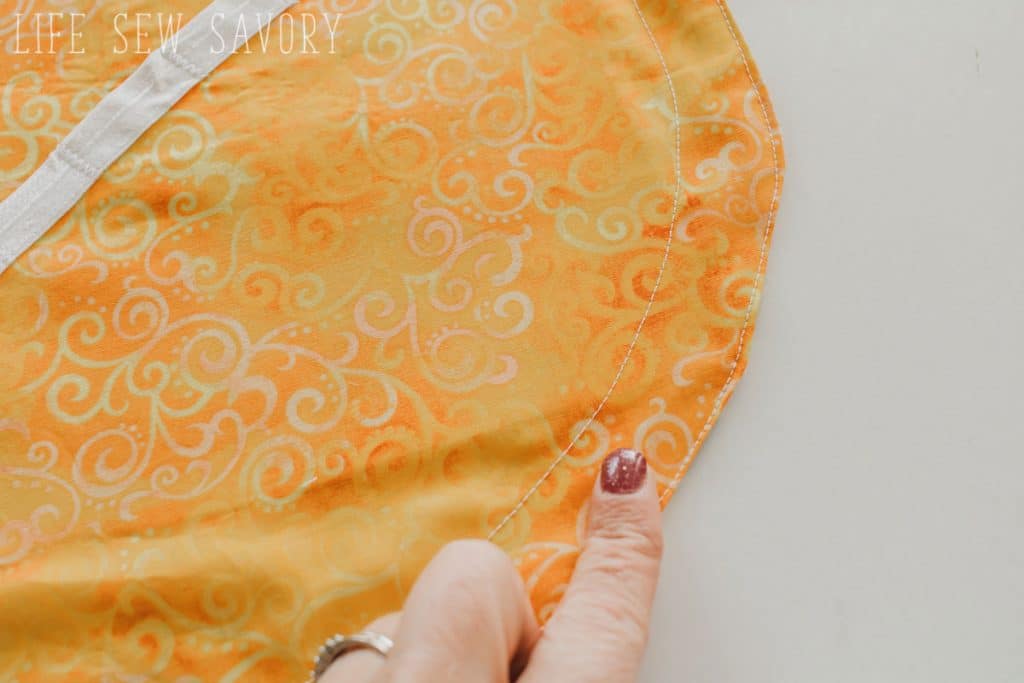
Fold in the seam allowance on the turning hole and stitch all the way around the outside of the circle very close to the edge. This closes the hole and keeps the entire perimeter nice.
Sew another row of stitches 1″ in from the outside of the circle. Sew all the way around.
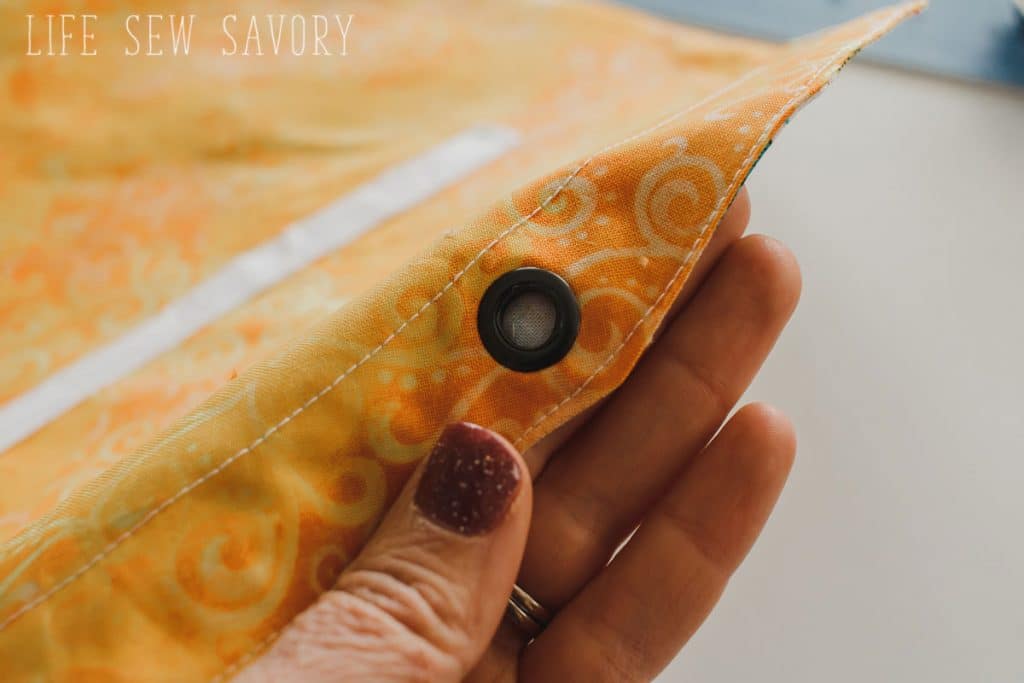
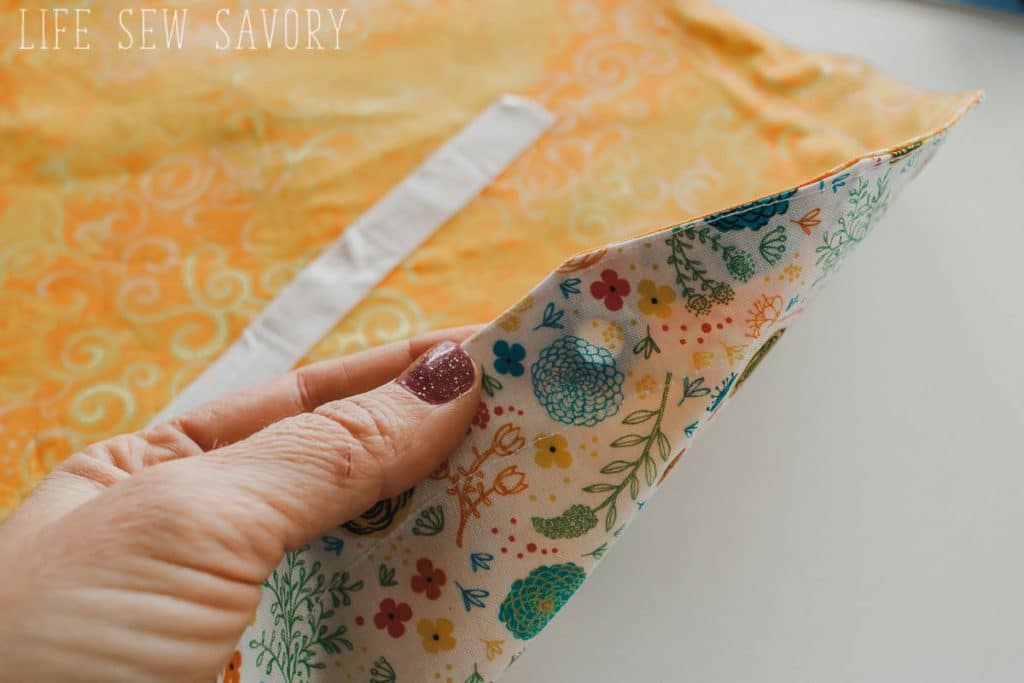
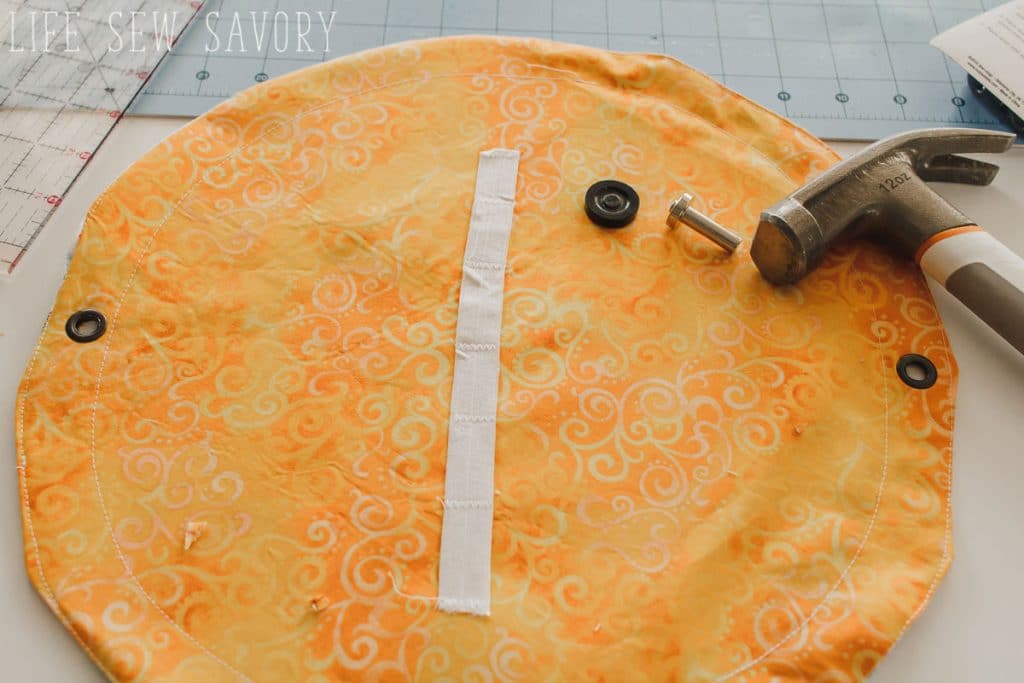
With a tiny scissors, cut a small hole in JUST THE LINING and slide one half of the eyelet inside the hole. Use a hammer to pound the eyelet pieces together and secure in place. The eyelet should only be in the lining and NOT through the outer fabric. Place another eyelet directly across the circle.
Take your ribbon or bias tape and use a safety pin to threat in one eyelet. Pull the bias tape around 1/2 the circle and come out the opposite eyelet.
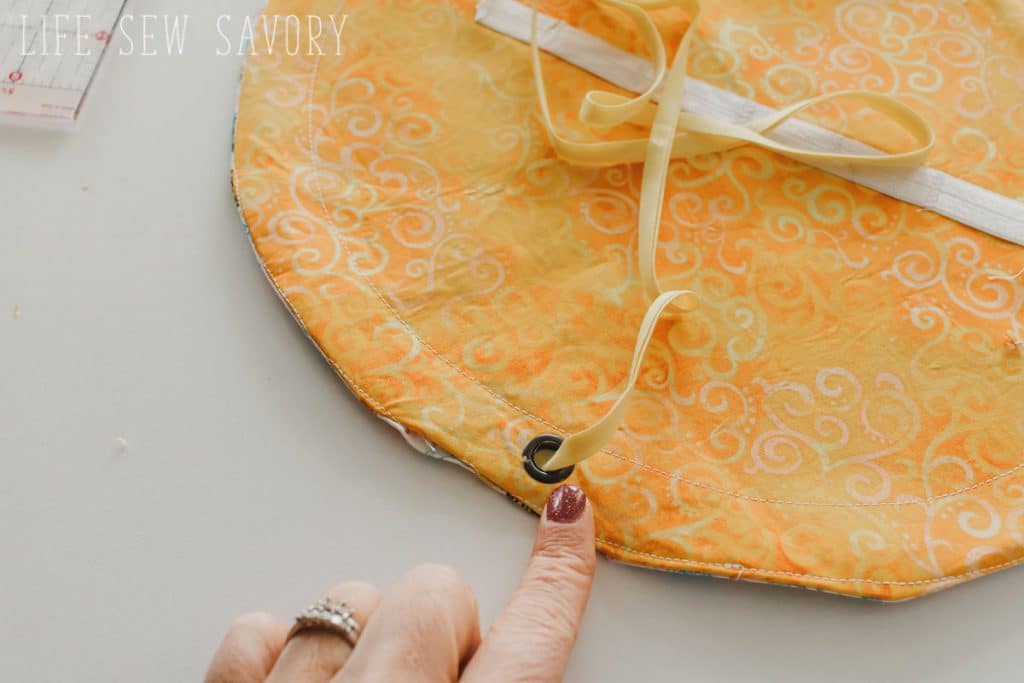
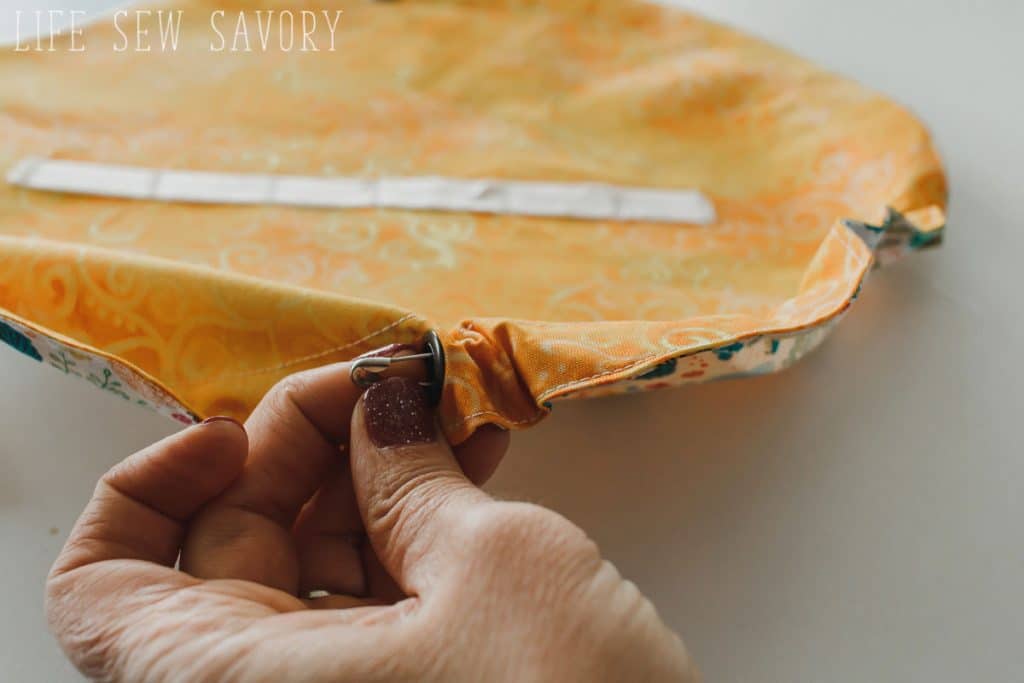
Repeat on the other side so you have two strings in each hole. Easy one covers half the circle.
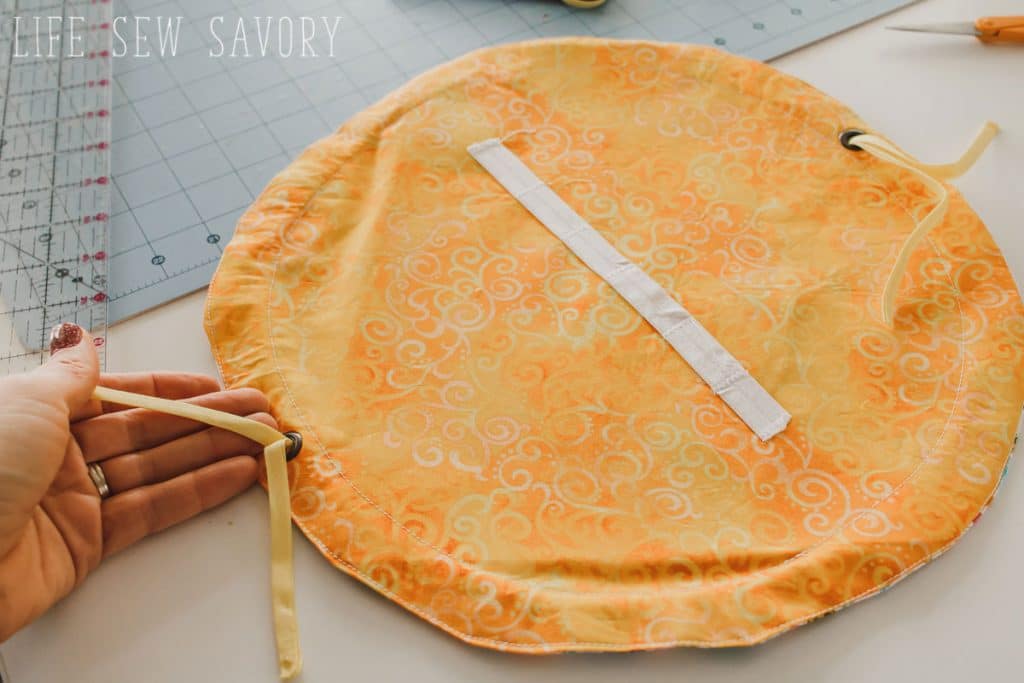
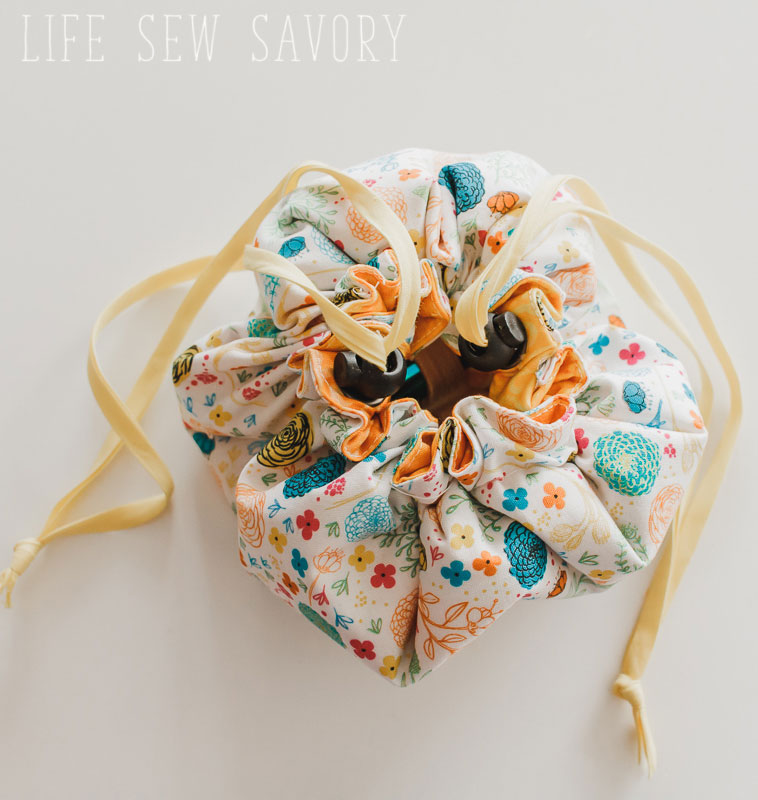
Place a cord stopper on both cords and then tie to secure.
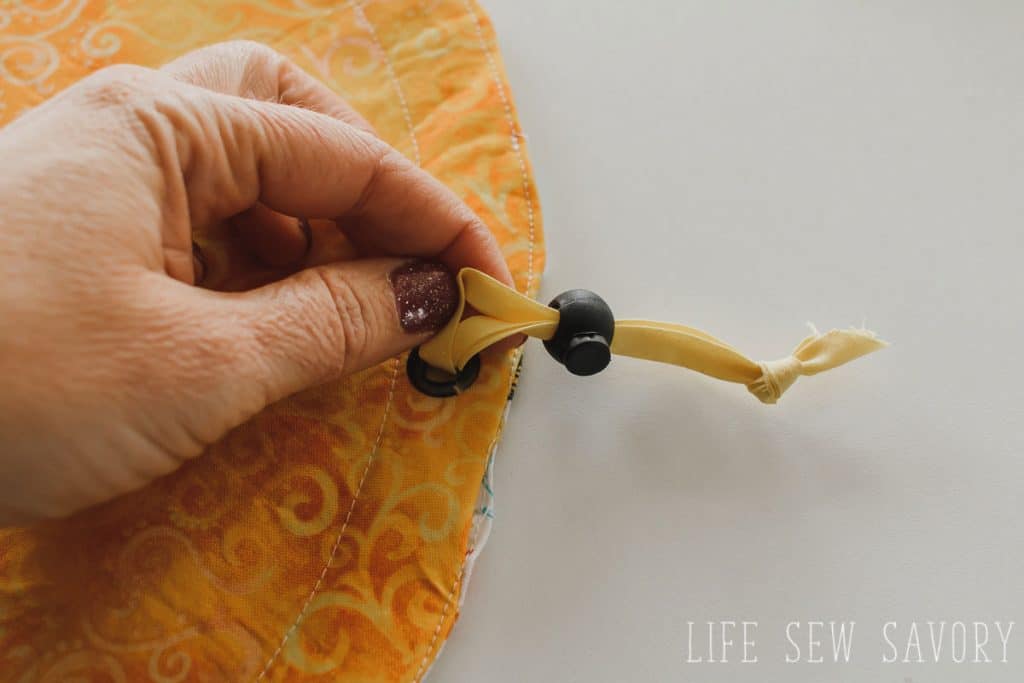
Now you are ready to fill with your makeup {or whatever you need to store} Then you can just pull the cords to cinch up and be organized and ready to go!
Other fun things to sew for travel:




Vickie Phillips says
Hi. I have now tried making 2 of these drawstring bags, which by the way are adorable. But my eyelets are not working out .. the fabric where I make the hole is tearing away from the eyelet. First time I thought I made the hole too big but second time I made it smaller, even though it was really hard to get the bottom eyelet in. I am using 1/2 inch bias tape. The tearing seems to be happening when I pull the tape through using a safety pin on the 2nd piece of bias tape.. it gets a little crowded trying to work both through the same hole. Any advice. Thank you.
Emily says
hmmmm did you place interfacing before adding the eyelet?
Vickie Phillips says
Yes, I did. I placed it as you directed. Thanks for your reply.