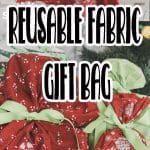
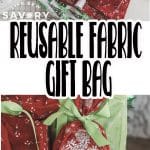
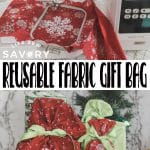
inside: Sew fabric gift bags with embroidery for holiday gift giving. Reusable cloth gift bags are perfect for Christmas gift bags or any occasion.
I love fabric projects! Holiday fabric is especially fun for me to work with and this Fabric Christmas gift bag tutorial is no exception. I’m super excited today to share this simple sewing tutorial for making fabric gift bags. The gift that keeps on giving- as they can be used and reused over and over.
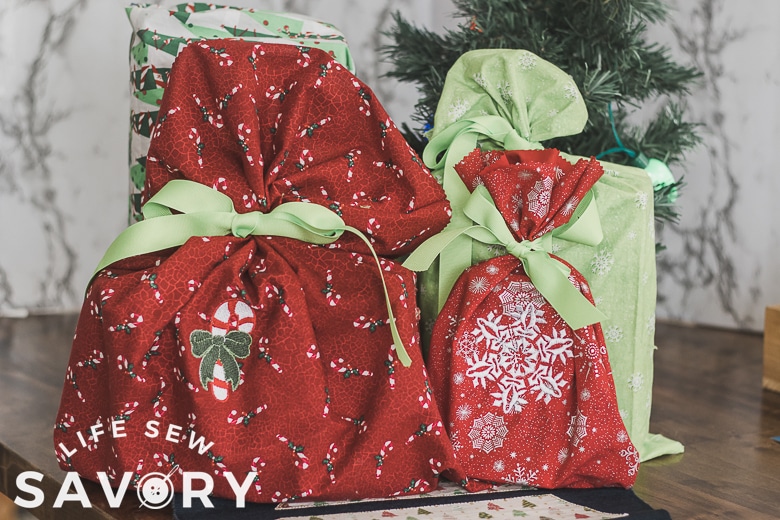
Fabric Christmas Gift Bags
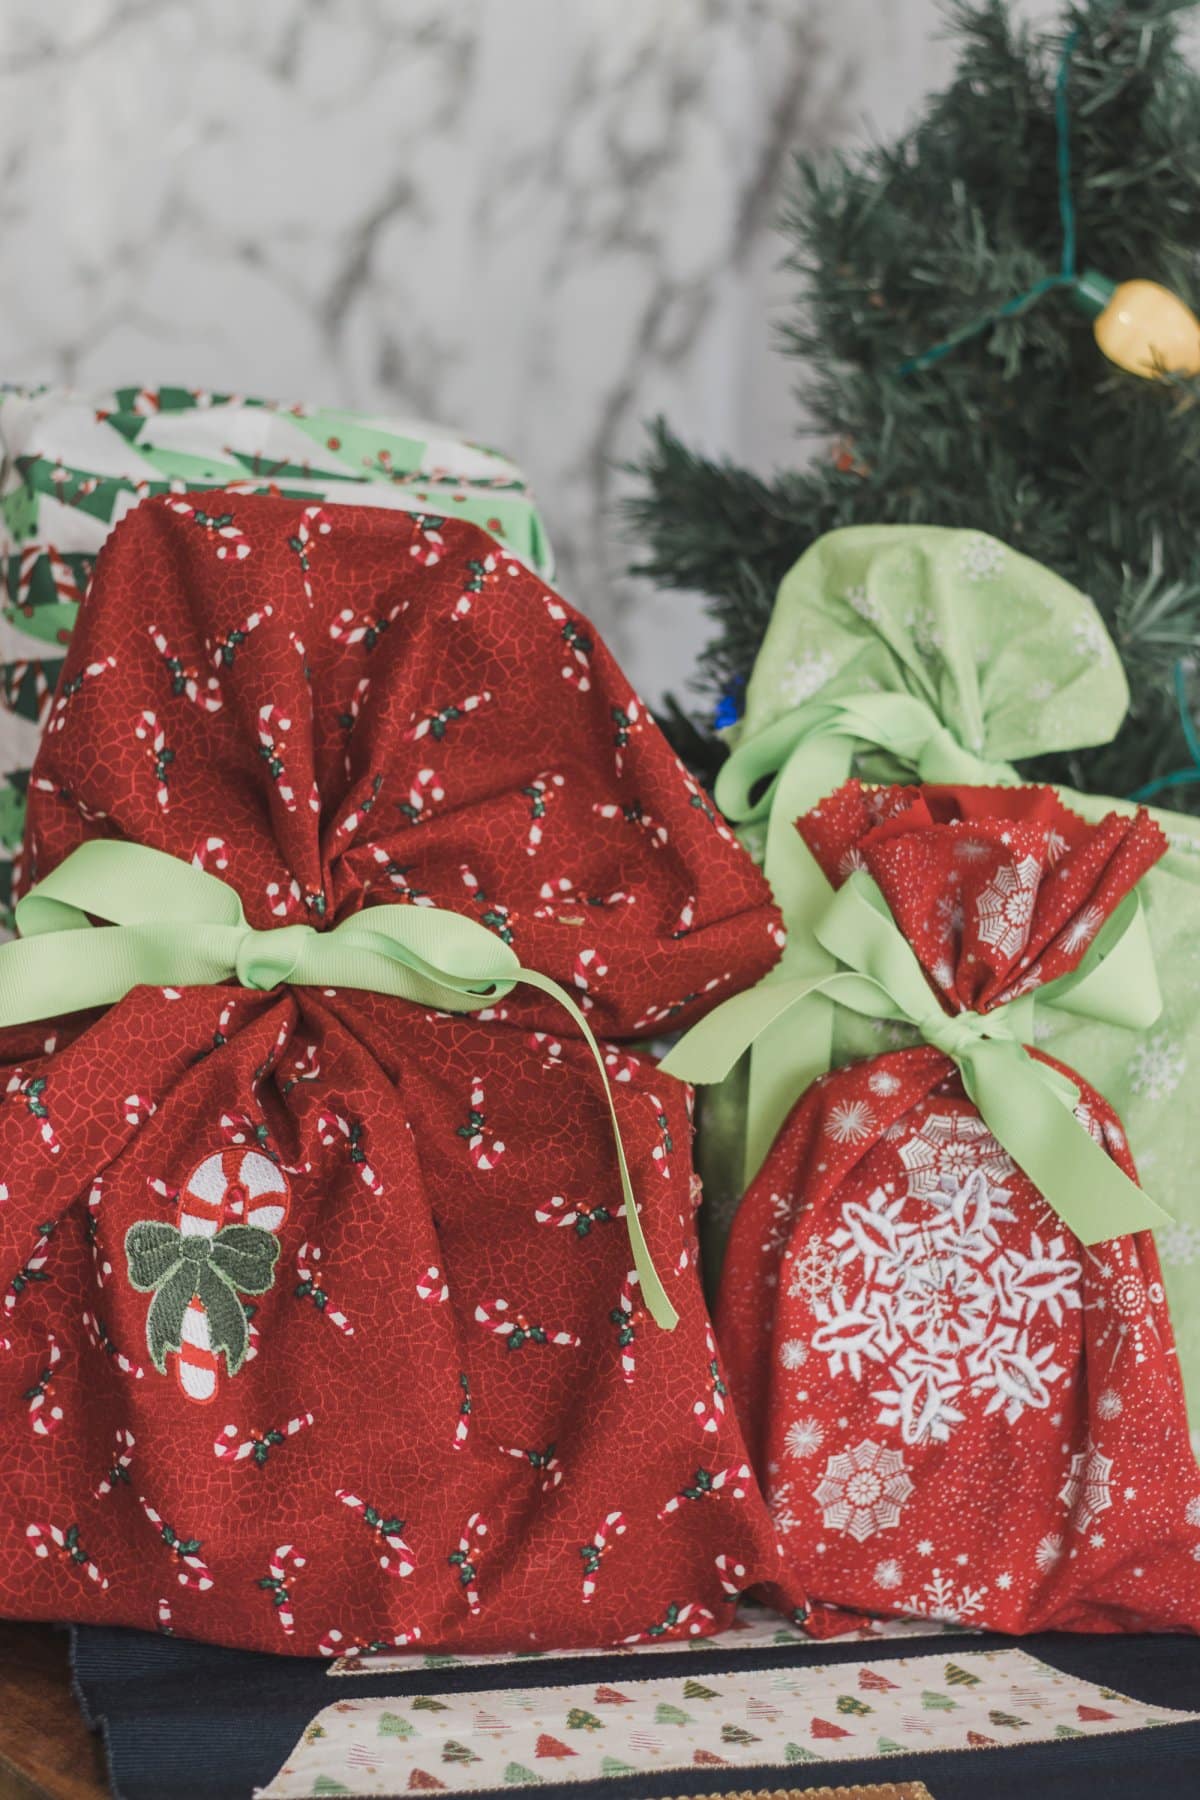
I think these cloth gift bags are just adorable! You can make them as simple or as detailed as you want. If I were making a huge batch for giving, I probably would leave off the machine embroidery, but when just making a few it adds such nice touch.
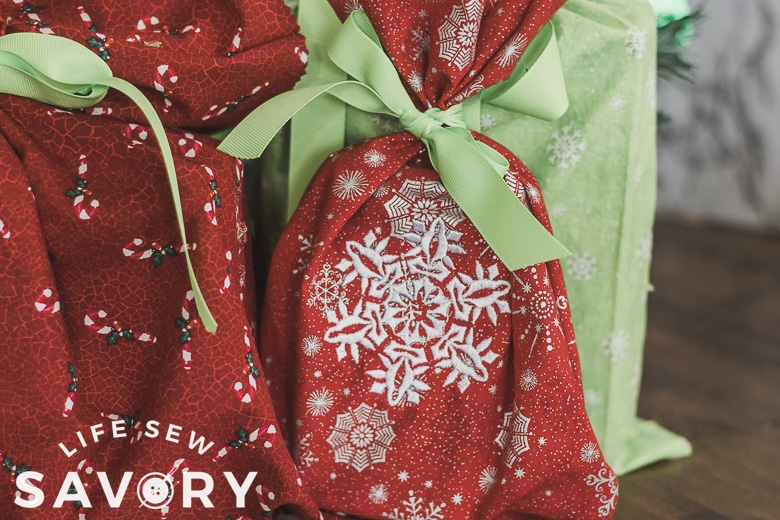
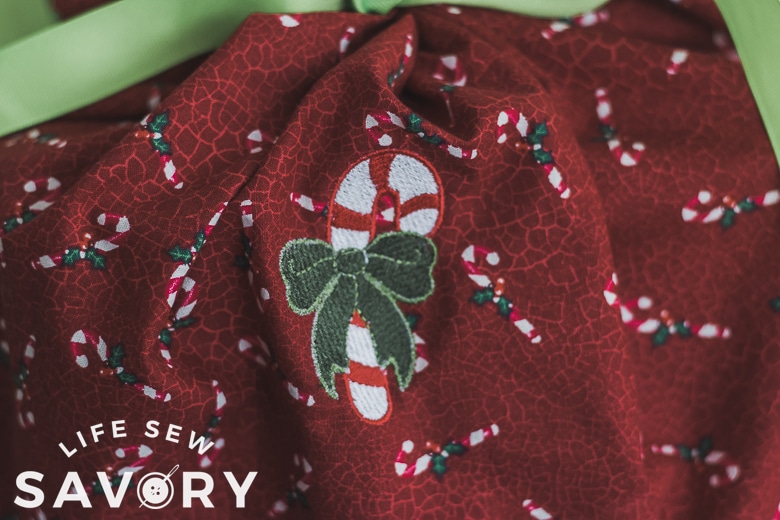
When sewing cloth gift bags you can use fabric scraps, fabric you bought on sale after a holiday, holiday table clothes from clearance or even sheets. So many fun ways to get your hands on fabric that would be perfect for this project.
Other Holiday Fabric Projects –
- Reusable fabric gift tags
- Candle Cozy
- Fall Mug cozy
- Fall Bunting
- Fabric Tassels
- Fabric and glitter ornaments
DIY fabric gift bags
In the tutorial today I’m going to show you just how easy it is to sew these gift bags and then you can get busy for the upcoming holiday season. Once you give the bag away, it’s easy for that person to reuse it for wrapping again and again. I love reusable gift bags, and these fabric bags are perfect.
These bags are also so great for odd shaped gifts that are impossible to wrap with paper. Ok! here are the supplies needed for this project. Not sure how to get started with machine embroidery? Take my into to embroidery class!
- Fabric
- Sewing/Embroidery machine
- Embroidery stabilizer
- Embroidery thread
- Ribbon for tying
- Embroidery designs
how to make a fabric gift bags
So, of course the embroider part of this project is optional, but I’m going to show you how to make fabric gift bags with embroidery and you can add or leave that part as you with.
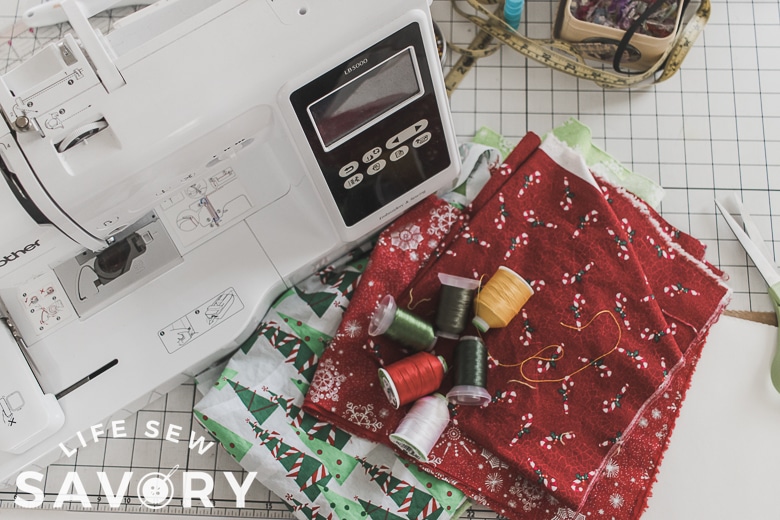
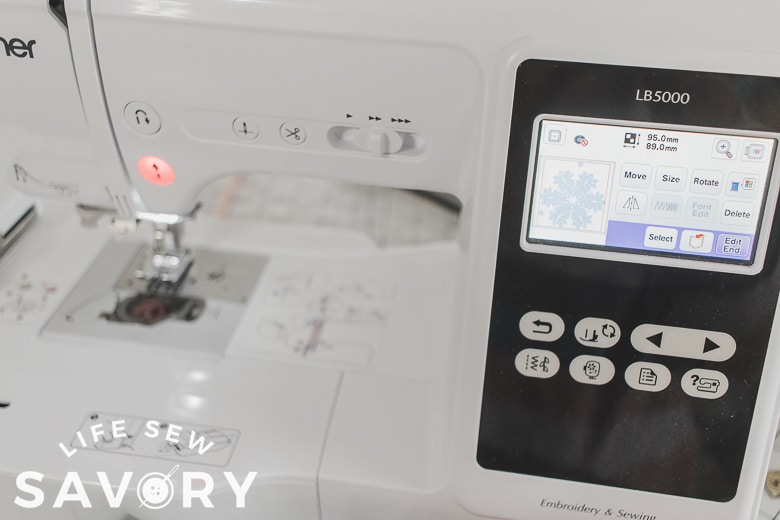
Gather your supplies. Transfer any embroidery designs you need to your machine. For this project I used some built in designs and some designs purchased from Ibroidery.
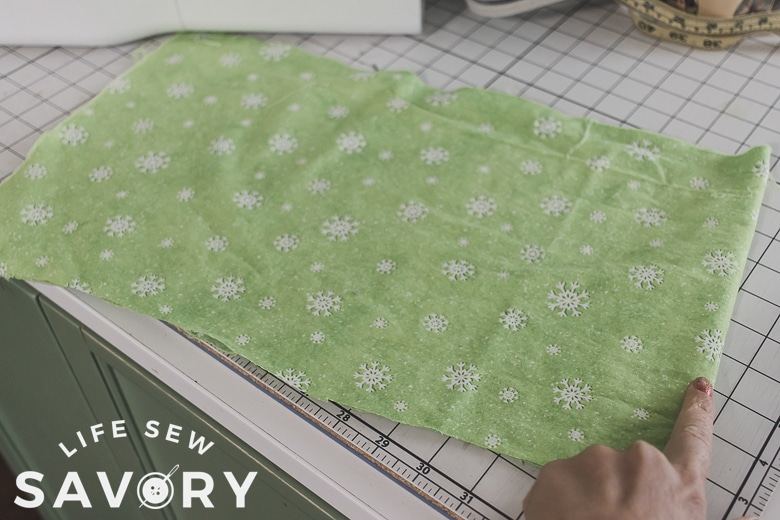
I made all my bags with the fabric folded at the bottom. If you are using smaller pieces of fabric you may need to sew three sides of the bag though to have smaller pieces. IF you have a bottom fold, fold as desired, then mark where you want the embroidery. Place the hoop in the center part of the bag front.
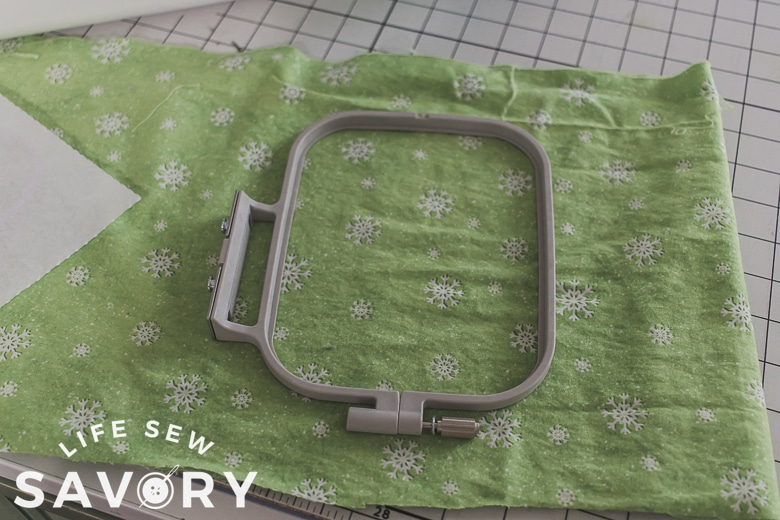
Hoppe the fabric with stabilizer and then lead into your machine. I just used a 4 x 4″ hoop for this project and it was a perfect one for the smaller hoop size.
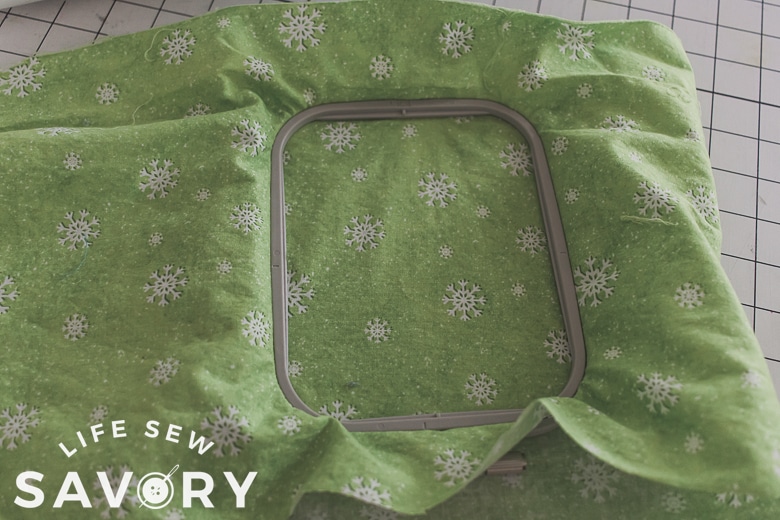
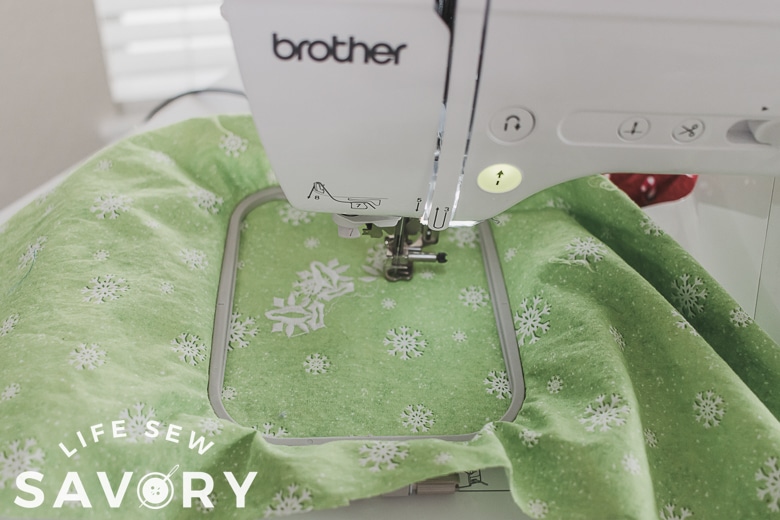
Embroidery the designed onto the cloth gift bags. You can see I really tried to pick a design that coordinated with the fabric print and I love the result. You could also just add embroidery to plain fabric as well. Or just sew the bag with no embellishment!
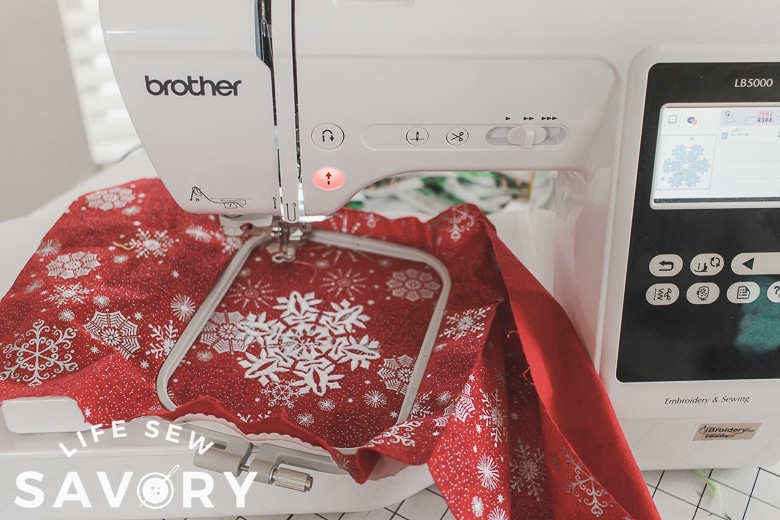
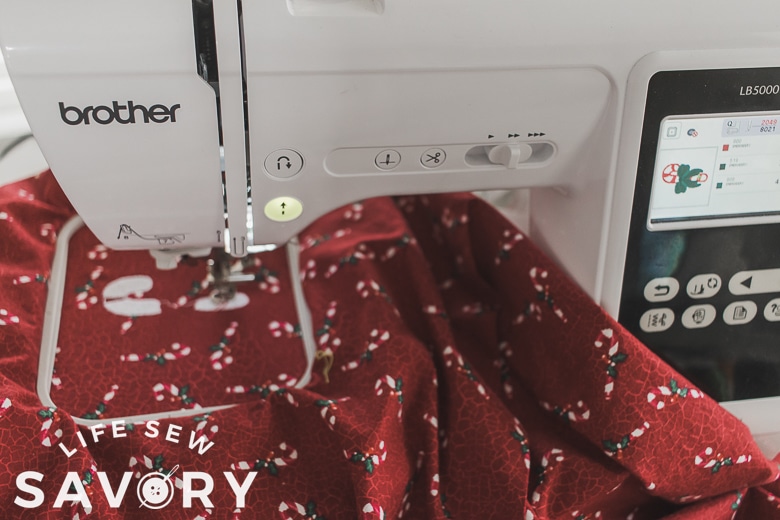
After you have added any desired embroidery, then you will finish the top edge of the bag. You can finish with a double fold over top OR just use a pinking shears to finish the top edge.
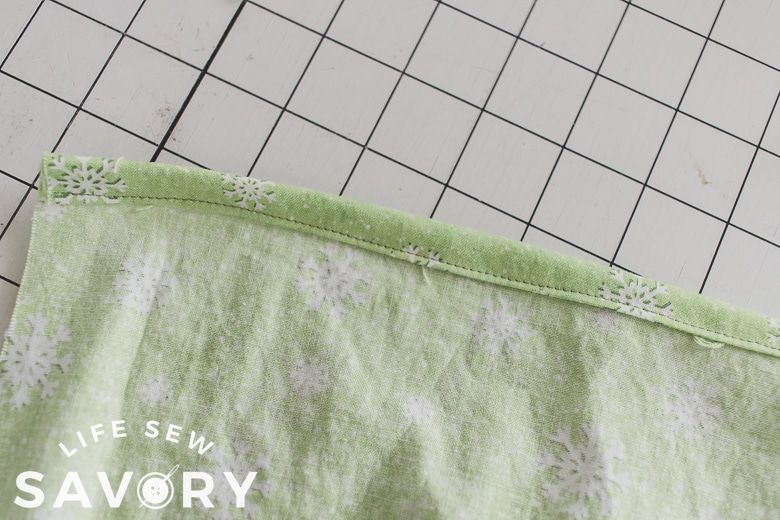
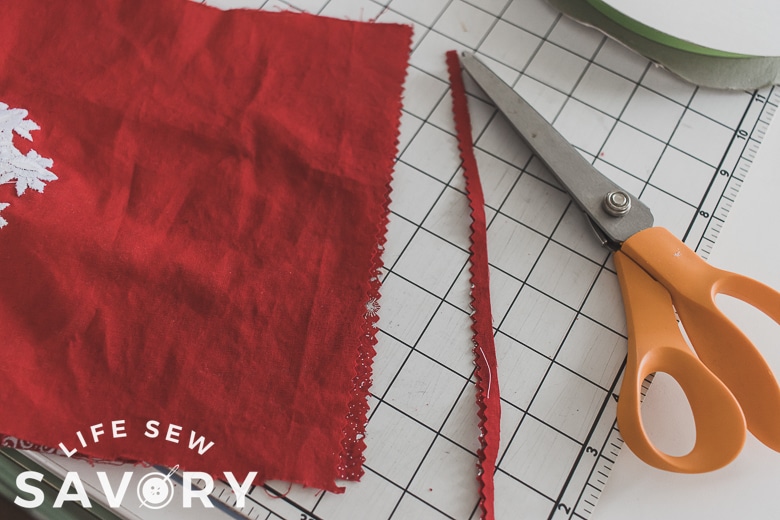
When the top edge is finished, line it up and then line up the sides and finish those with a serger or zig zag stitch. Use a stitch like this to help keep the fabric from fraying with use.
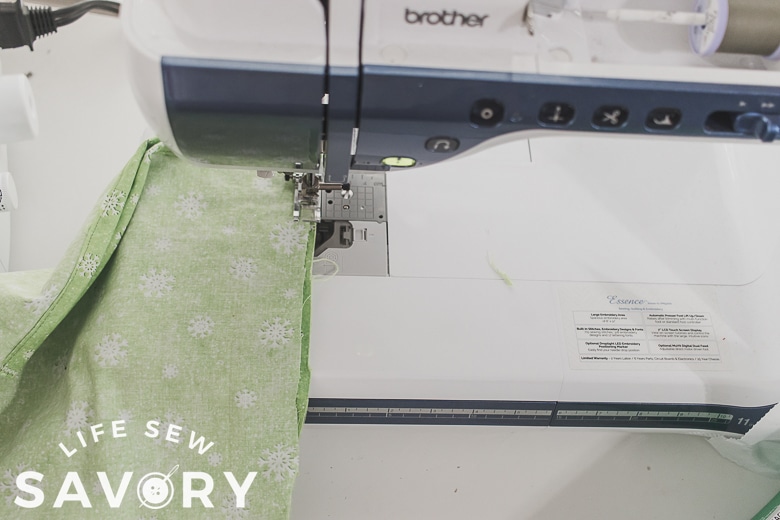
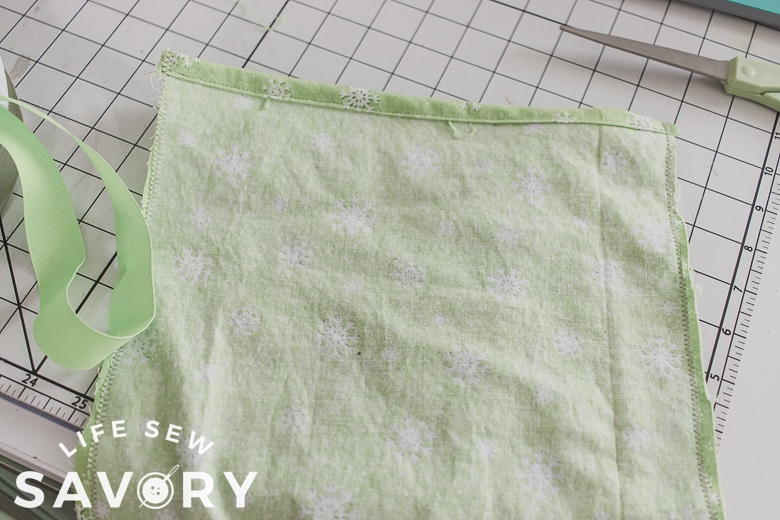
Once you have sewn the sides it’s time to turn the bag right side out and add the presents! Big or small these bags are perfect for any size gift and can be made in any size to fit your gifts. Add a present, then tie the top closed with a ribbon to finish. You will love sewing these gift bags as well as using them to give gifts this holiday season.




drift boss says
I love to make my own little things, your DIY bag is very pretty, I will make it myself and give it to my best friend.
globle says
Thank you for providing this information. I am delighted to come on this fantastic article.
dordle game says
This is a fantastic piece of writing. For a writing prompt, this is easily in my top five. The quality and inspiration of your work is just remarkable. You have my gratitude.
flagle says
This bag is so beautiful, I just bought one