inside: sew this sleeveless dress with a free sewing pattern. Perfect for spring with flutter sleeves, this free sewing pattern is a great one to sew.
It’s time again for Easter dress sewing! I never get too crazy with Easter dresses, but I have sewn a few over the years. I knew when I saw this amazing fabric, that I would be sewing an Easter dress this year. This cute sleeveless dress pattern is one of my free patterns already, with just a simple hack. Perfect for spring!
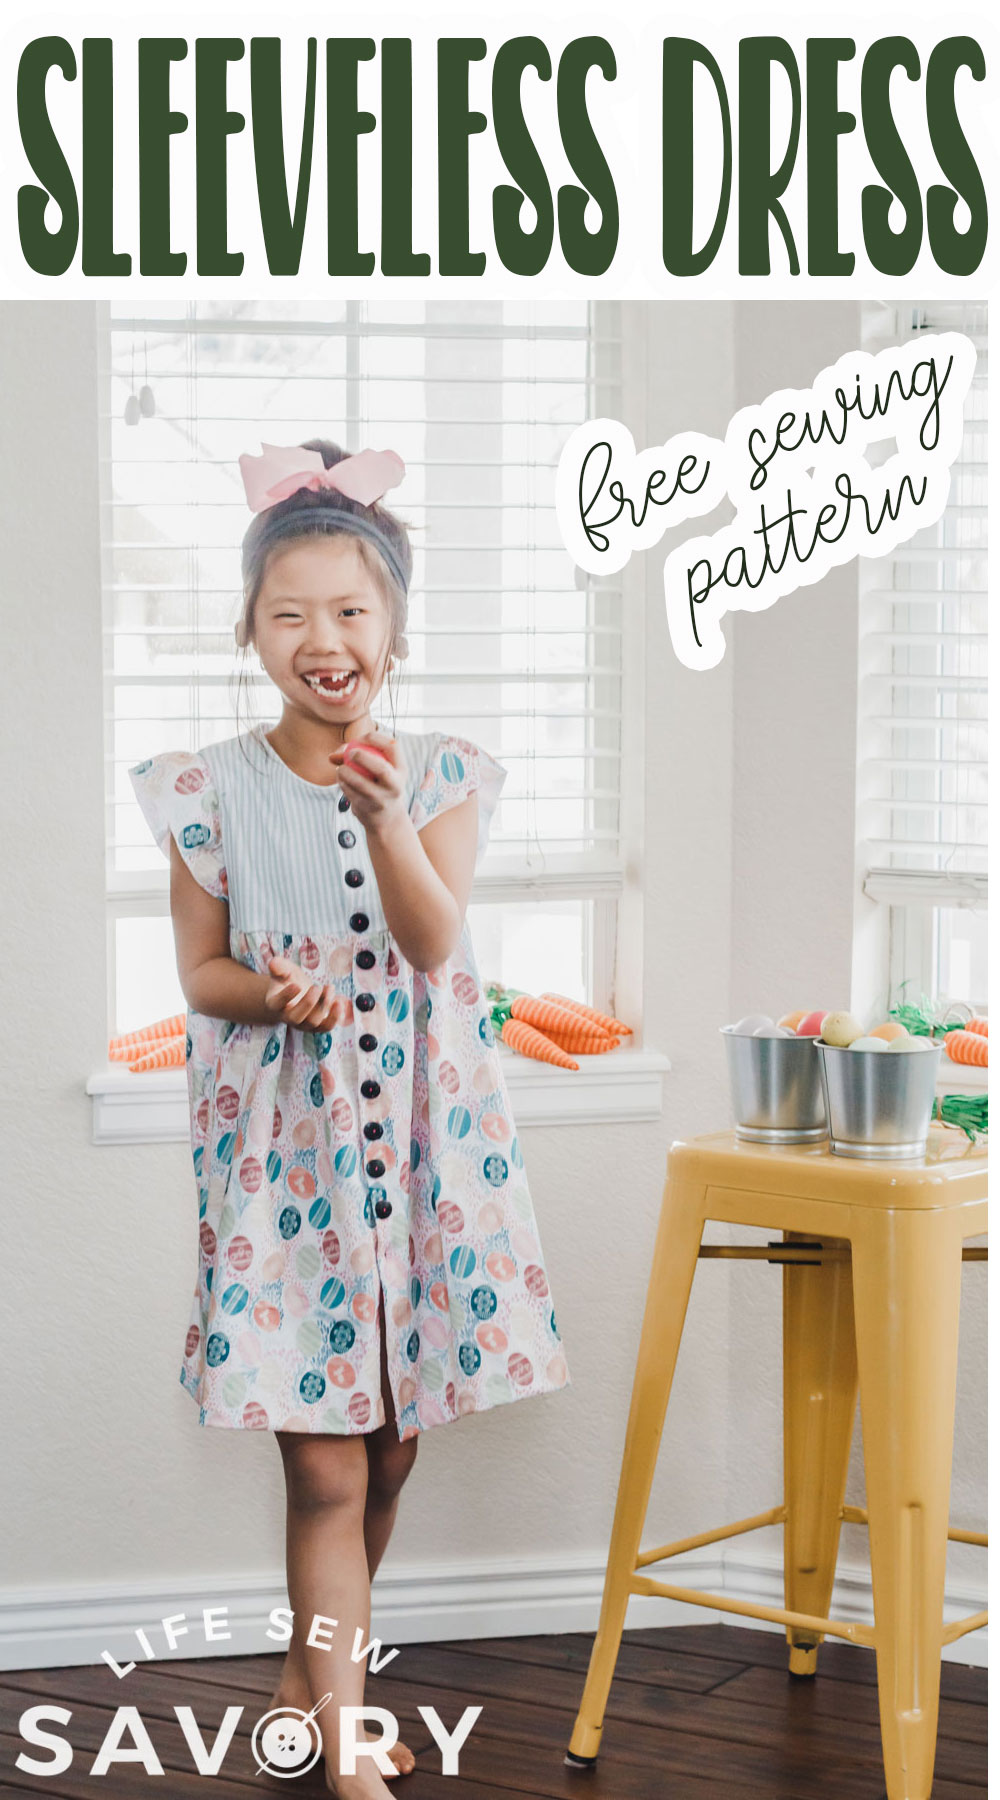
Sleeveless dress pattern free
First let’s take a look at some of the other Easter Dresses I’ve sewn in the past.
The zipper back dress was cute and I made the skirt from and IKEA table cloth {haha}
But this new dress… lovely right?? I found this fabric in the spring line from Raspberry Creek Fabrics and knew I would be sewing something fun and springy.
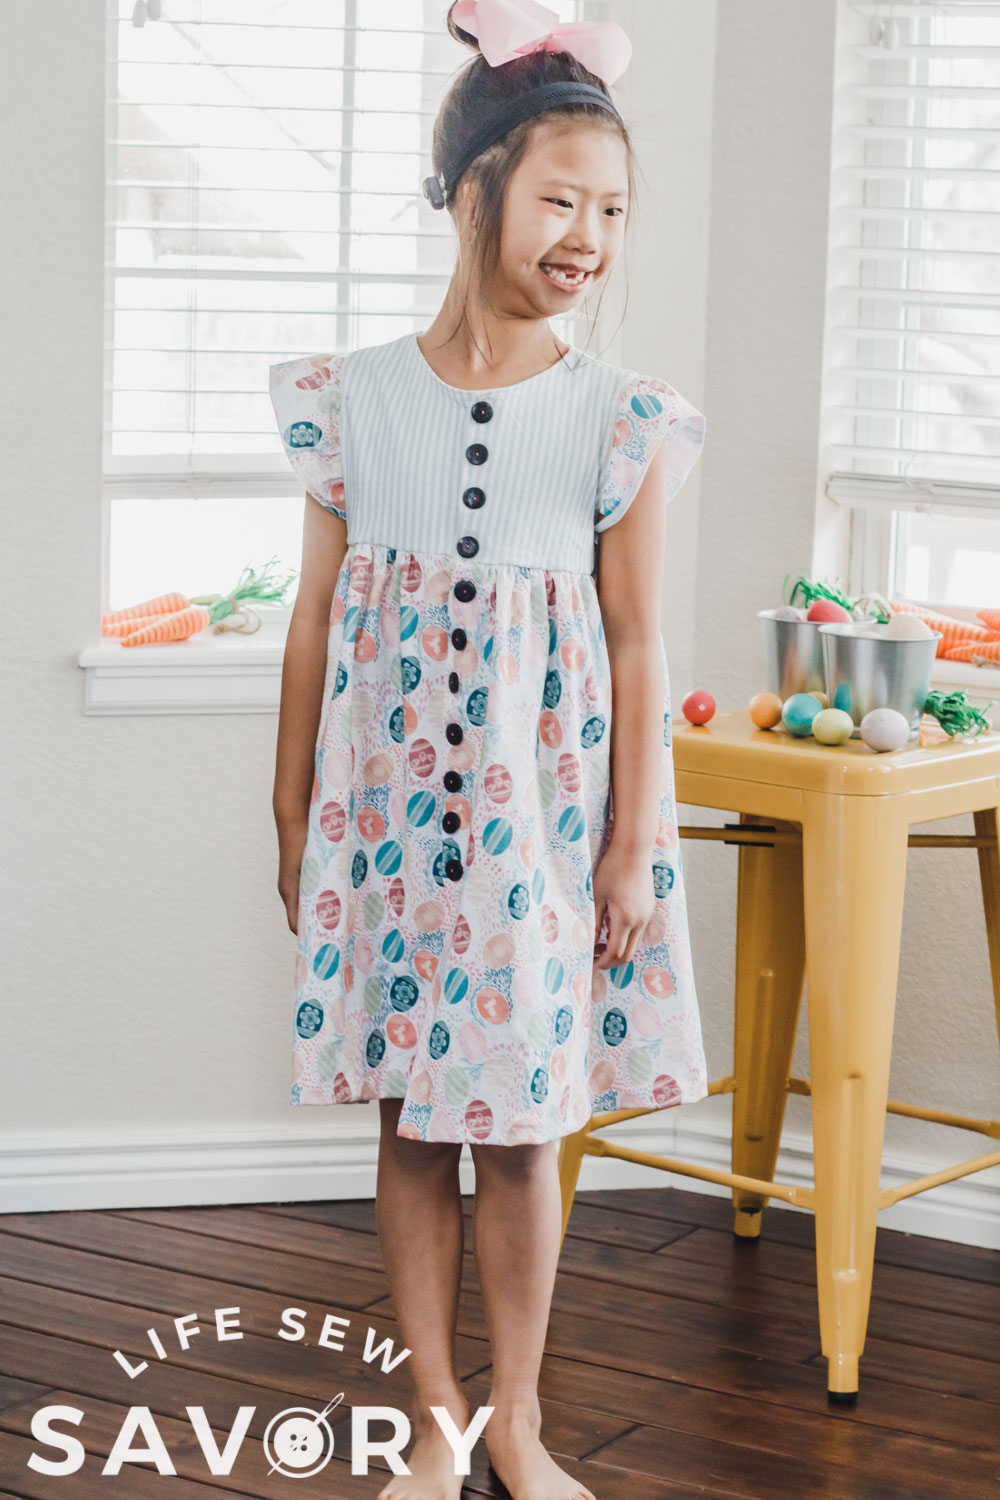
I started with the free Sweet Rose Dress and made a sleeveless version. However, it’s not fully sleeveless as I added some fun flutter cap sleeves. I’ll be showing you how to make the sleeveless dress version and add the flutter if you want.
The original sweet rose dress is for woven fabrics, but it does work ok with knits. I did use knit fabric for this sleeveless dress. Both fabrics are a 4 way stretch spandex jersey.
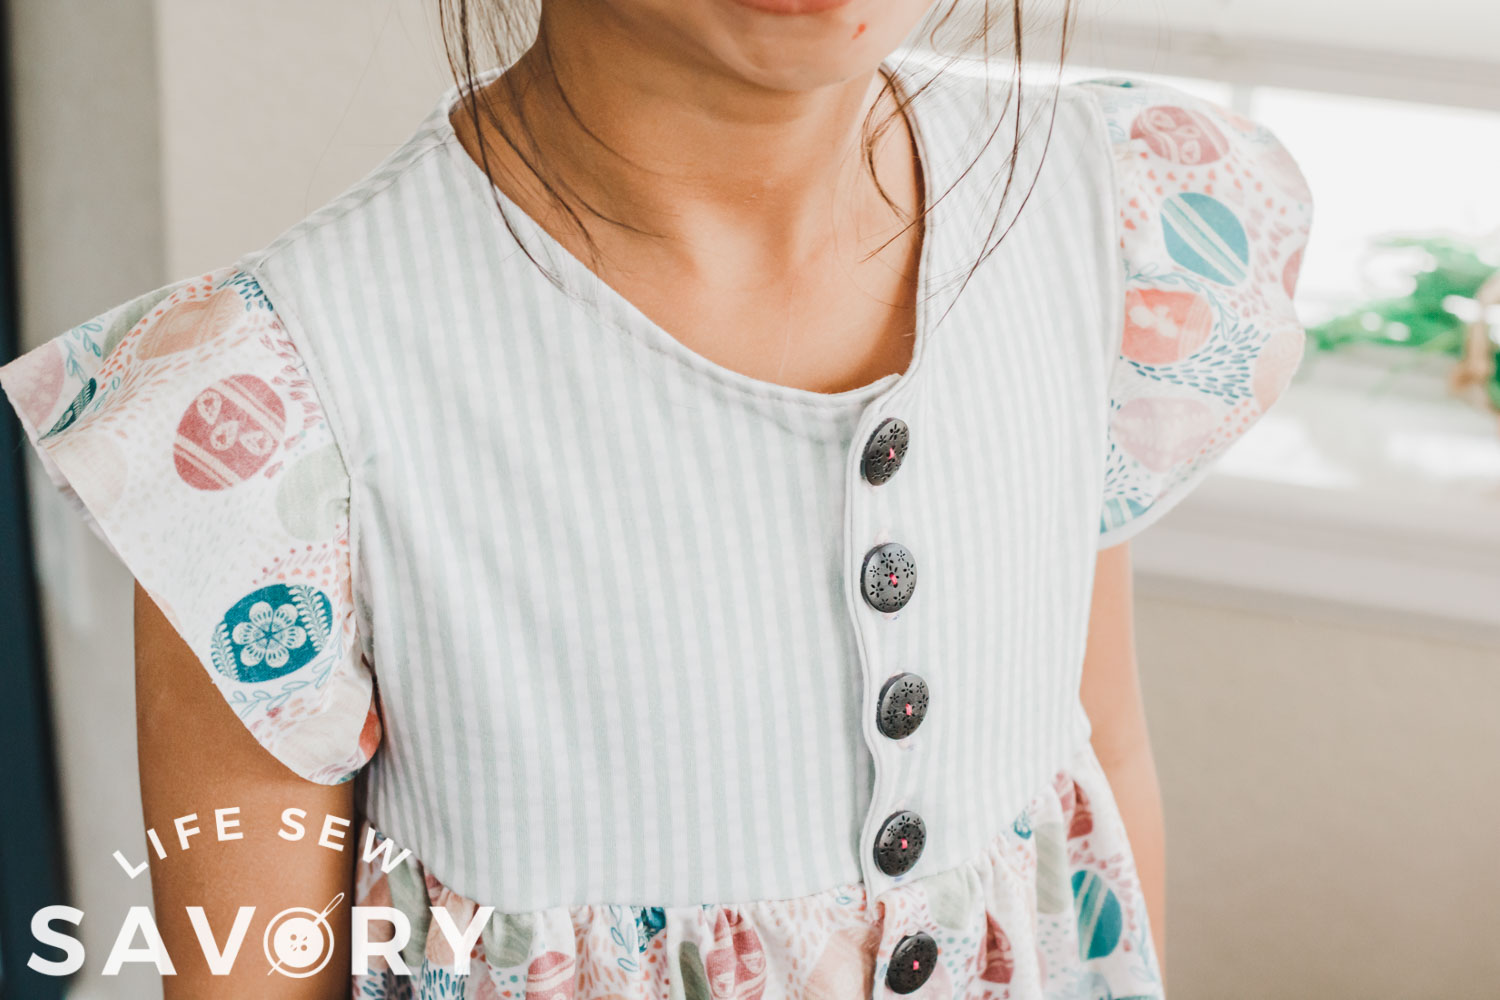
This dress has a full button down front {I’m trying really hard to love buttons!} You can find my buttonhole tutorial here. Rose loves to play hard even in dresses, so she always wears shorts under. I have a free summer shortie pattern for short leggings that are perfect for this.
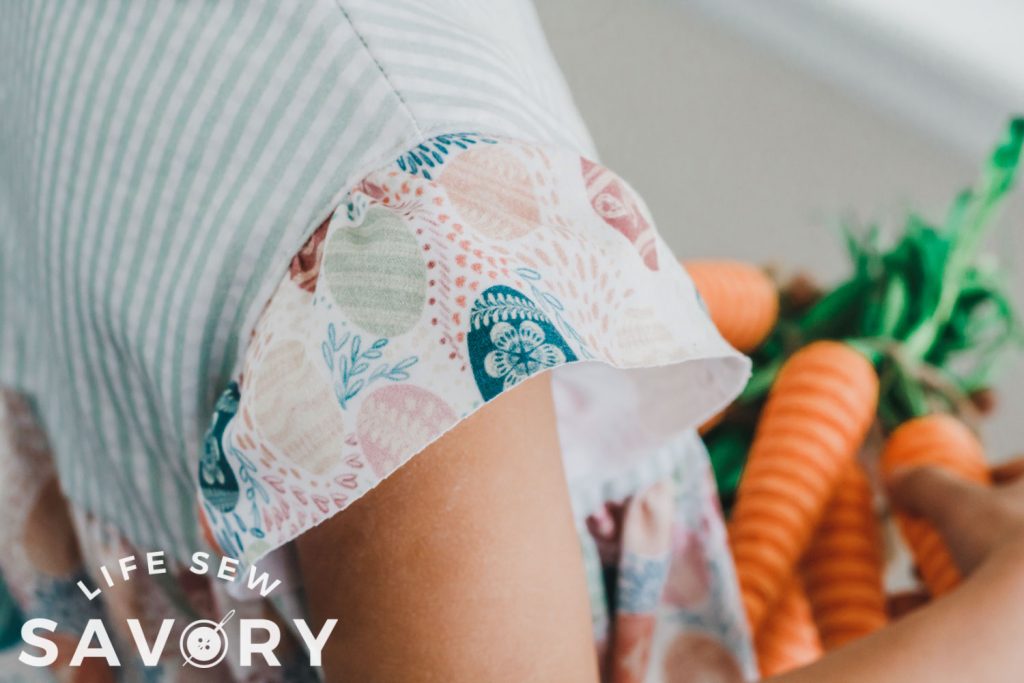
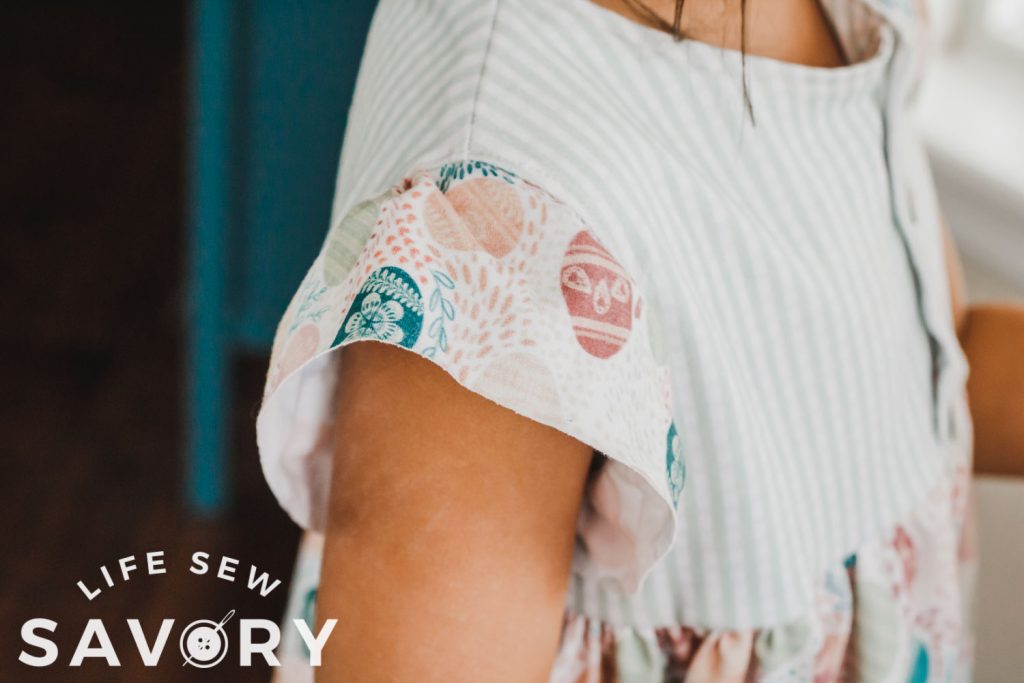
I think the cute flutter cap sleeves are the perfect addition to this dress. Sleeveless, but not really.
How to Sew a Dress-
Ok! If you don’t already have the Sweet Rose Dress in your pattern library you can add it by clicking the link below.
If you want to see the assembly guide or other details not included here – you can find the original tutorial for the dress here. Ok! Let’s get sewing!
Trace the front and back of the Sweet Rose Dress. The black lines below are the original pattern. If using knit fabric I would suggest going down one size.
The green is the changes I made to the pattern. First, I switched the back and front so the buttons were down the front. I also lowered the neckline on this piece to make it the front.
On the new back I raised the neck and brought the side in 1/4″. Because I went down a size I also added 1/2″ in length for my tall girl. Do the same on your pattern pieces to make a dress like mine.
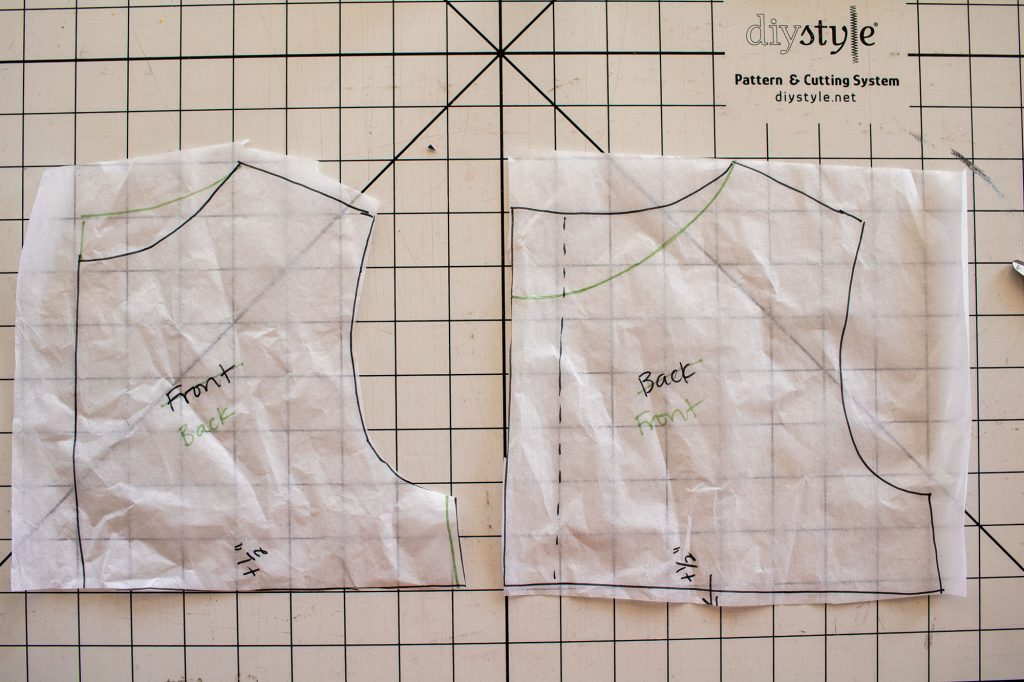
To make this sleeveless dress we will line the bodice, so that means when you cut out the front and back cut TWO backs and TWO sets of the front.
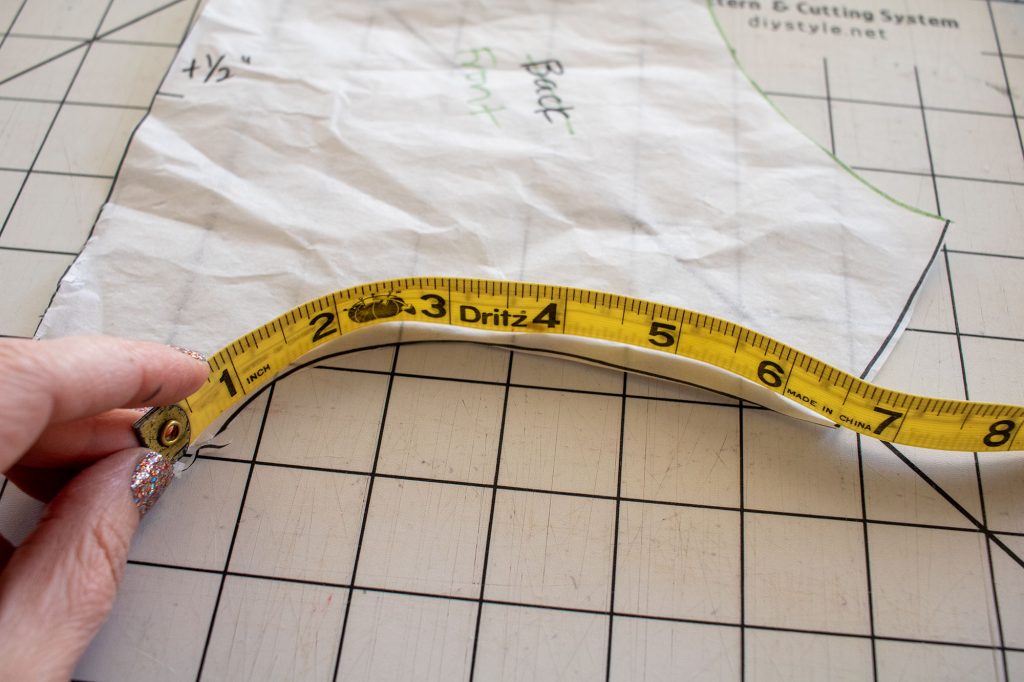
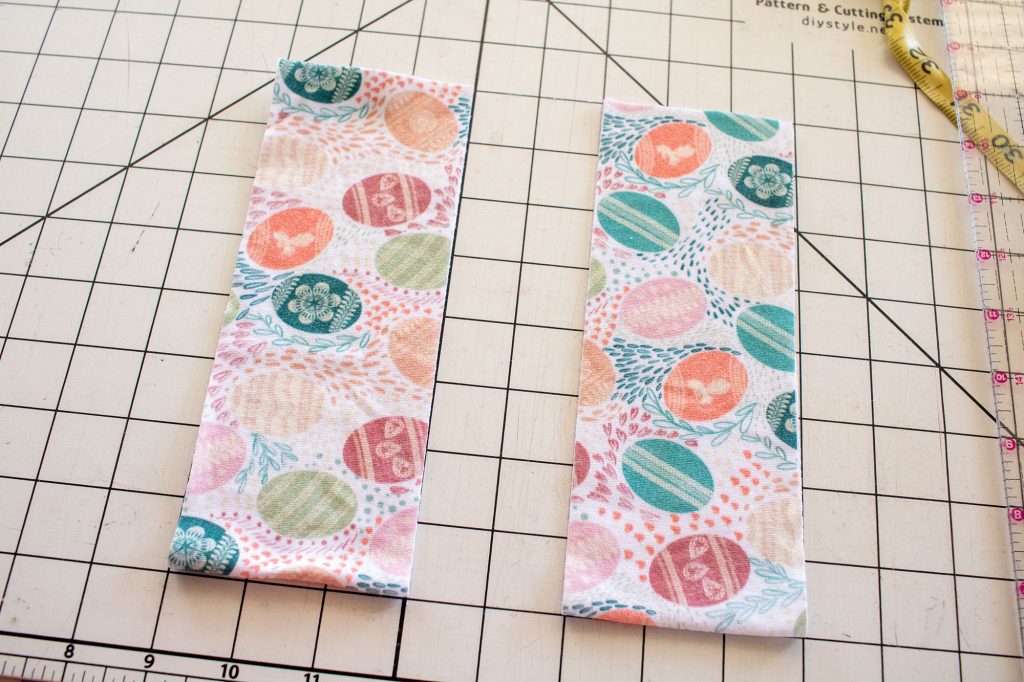
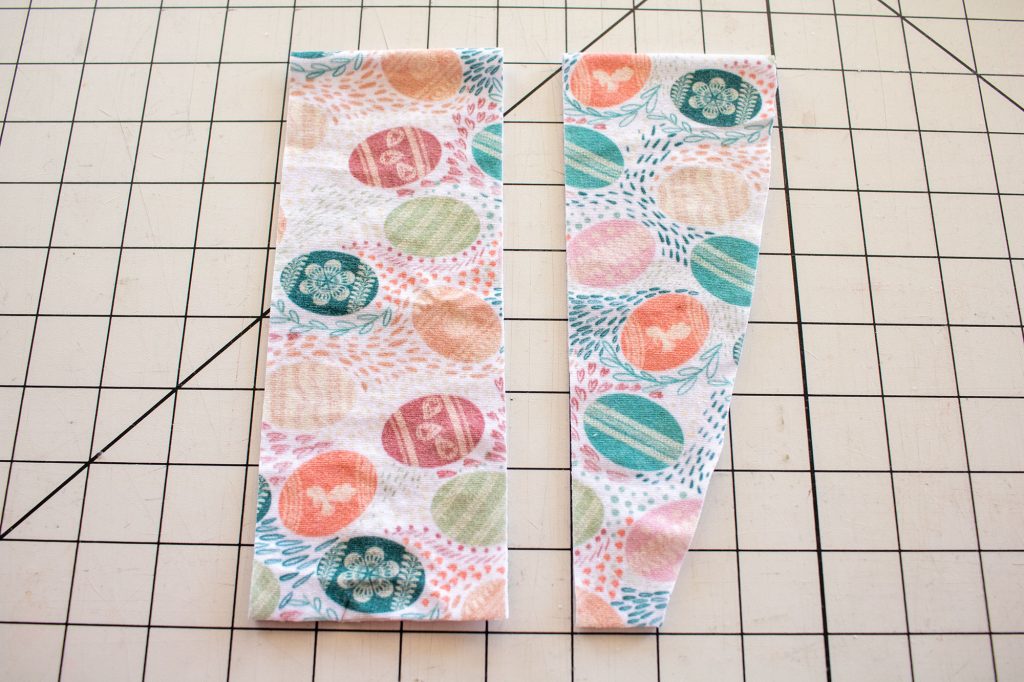
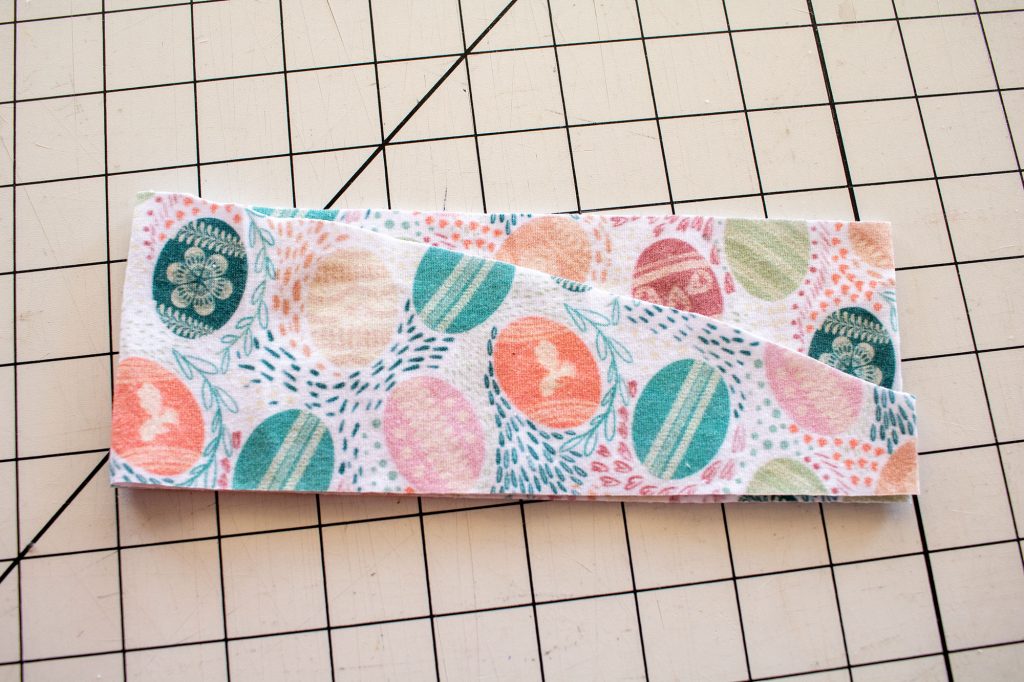
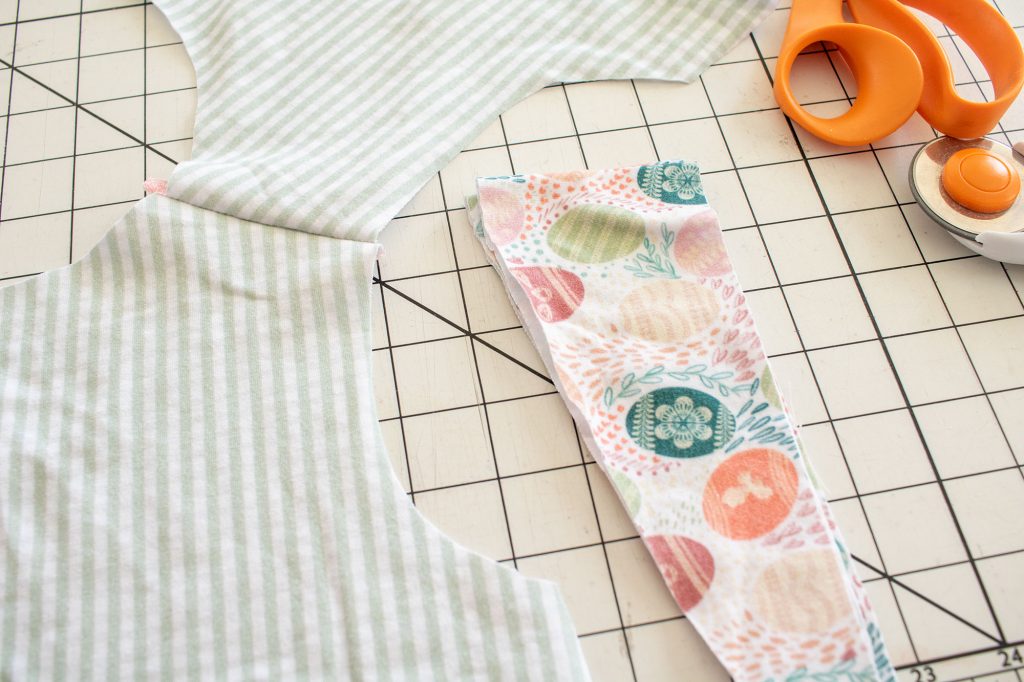
{optional} sleeve creation… measure the arm opening of the pattern and double. Cut two strips of fabric 1.5 times the length {13″ arm opening, cut fabric 19″ long} I made my sleeves 3″ wide. Create a curve on one side of the rectangle, my small side is still 1″ and then a curve back to the full 3″. Use the first as a pattern for the second sleeve.
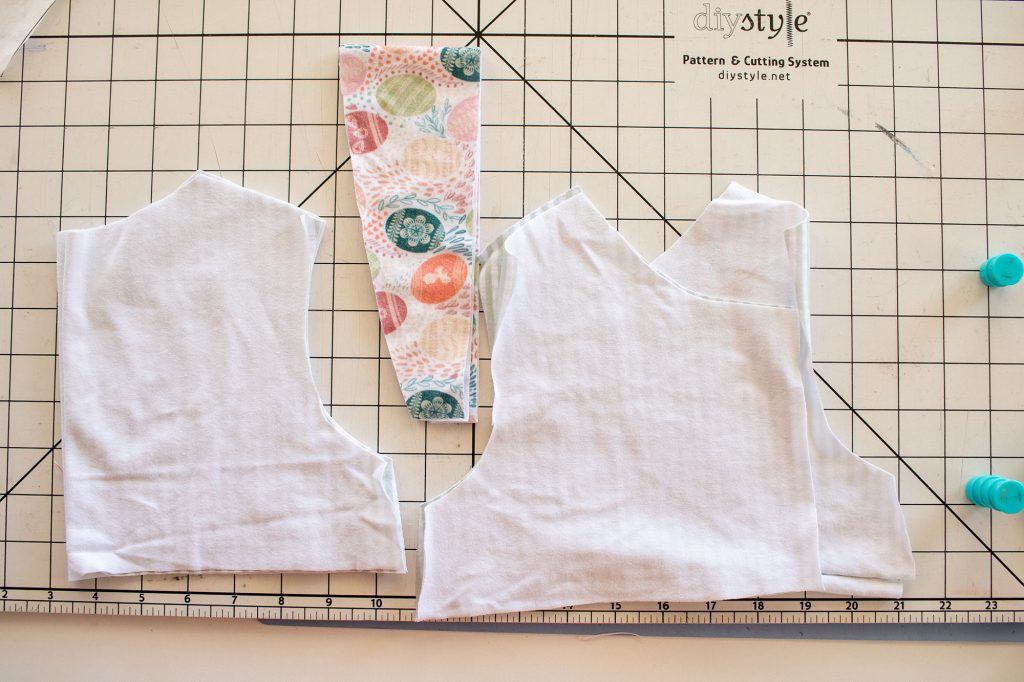
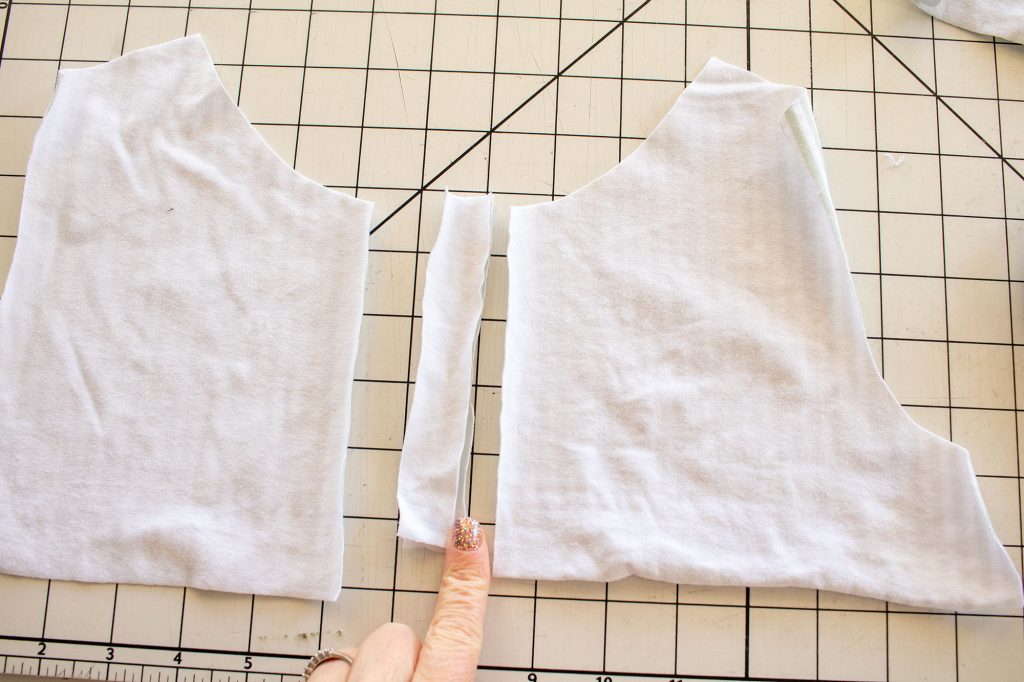
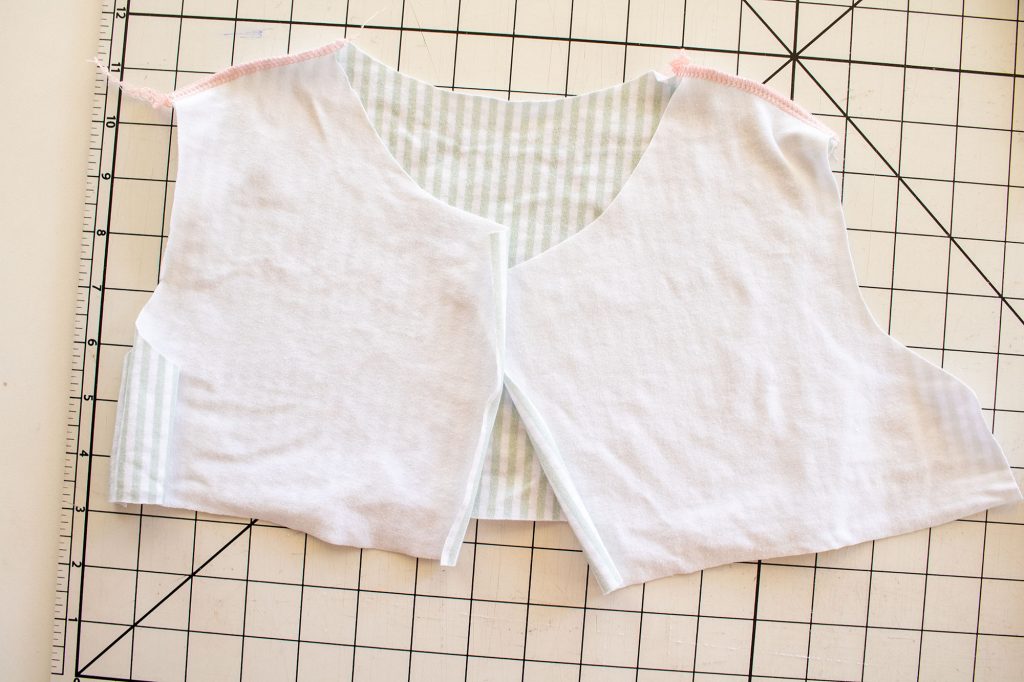
Now I have two backs, four front pieces and two sleeves. We don’t need facing width on both front sides for this version of the dress, so trim 1″ off on side of the pieces. I like to do this by laying the front facings together {all four pieces} then cutting off two of them on one side.
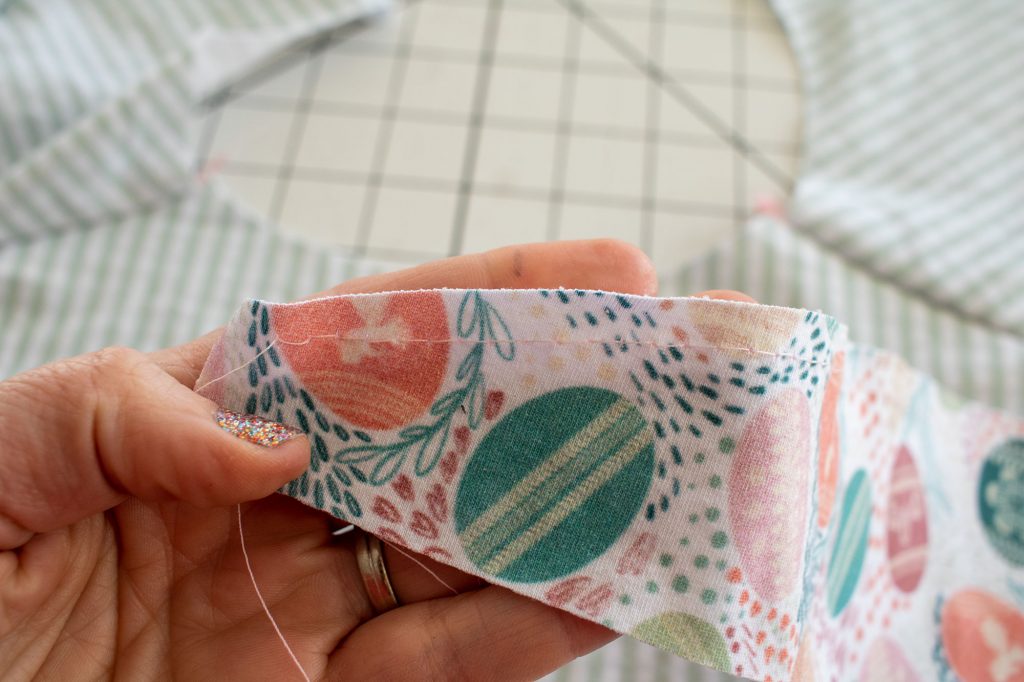
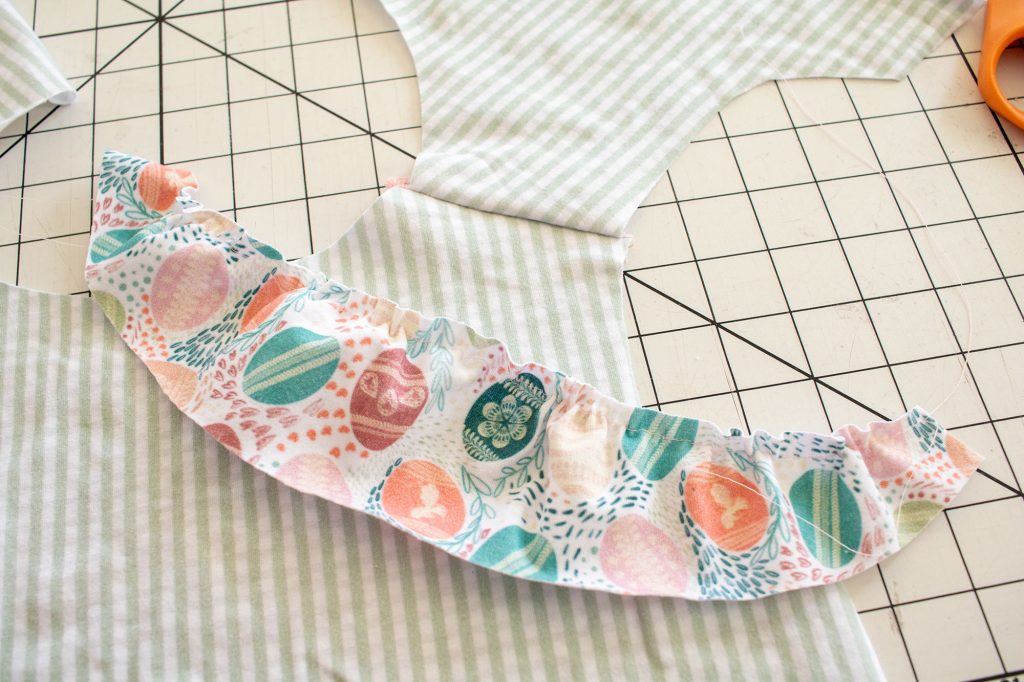
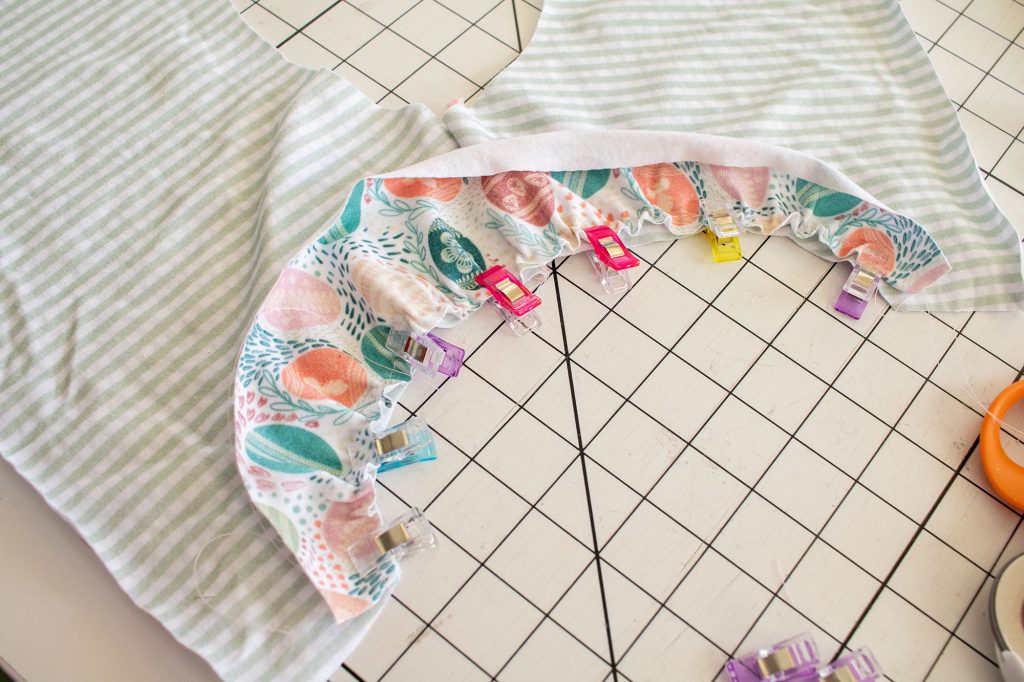
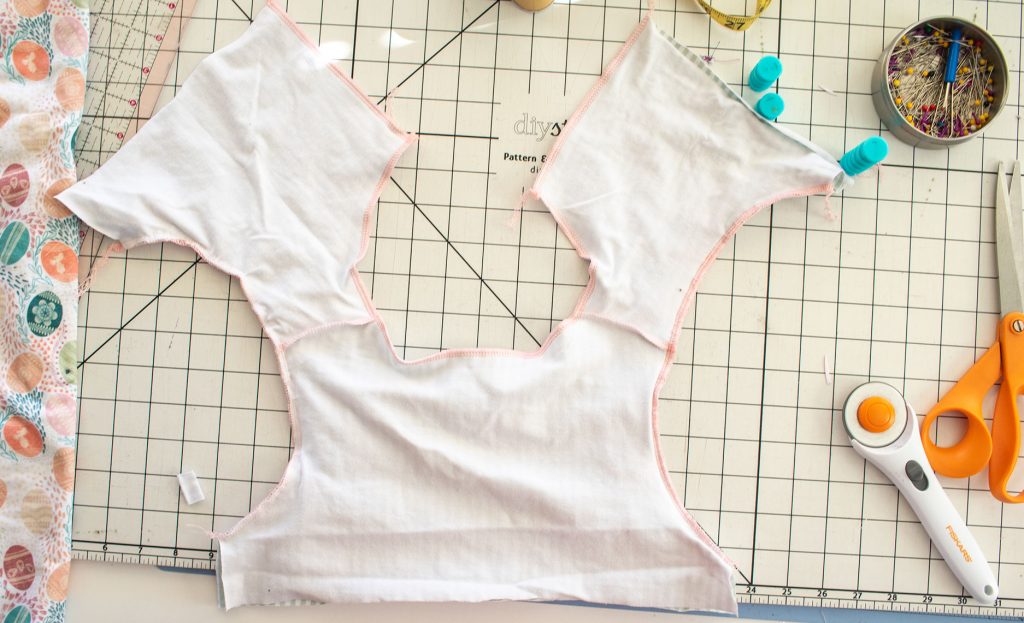
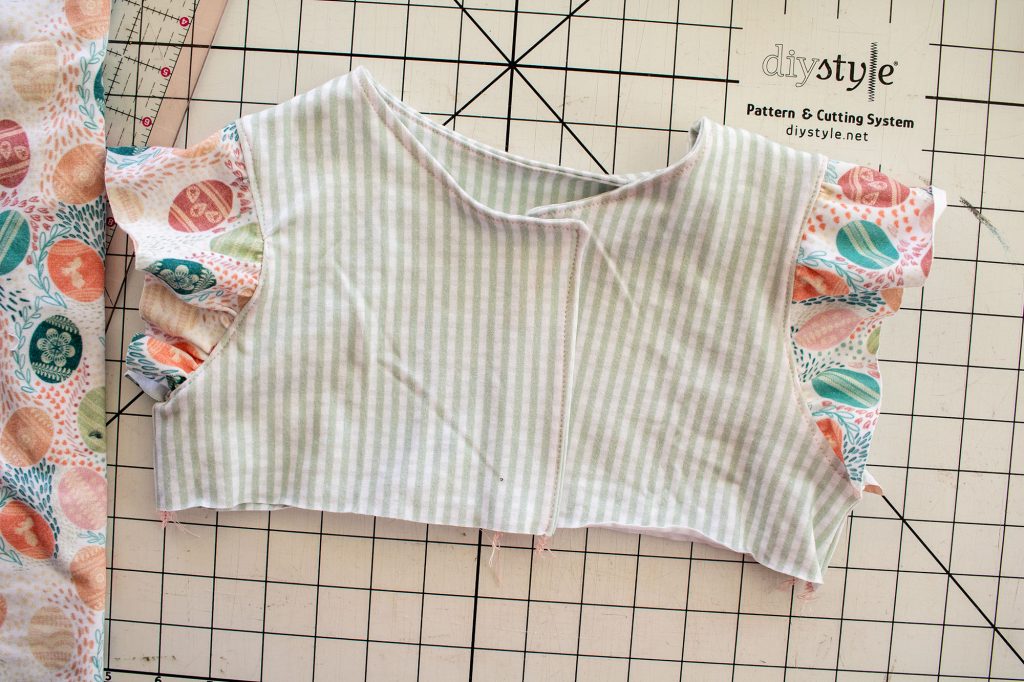
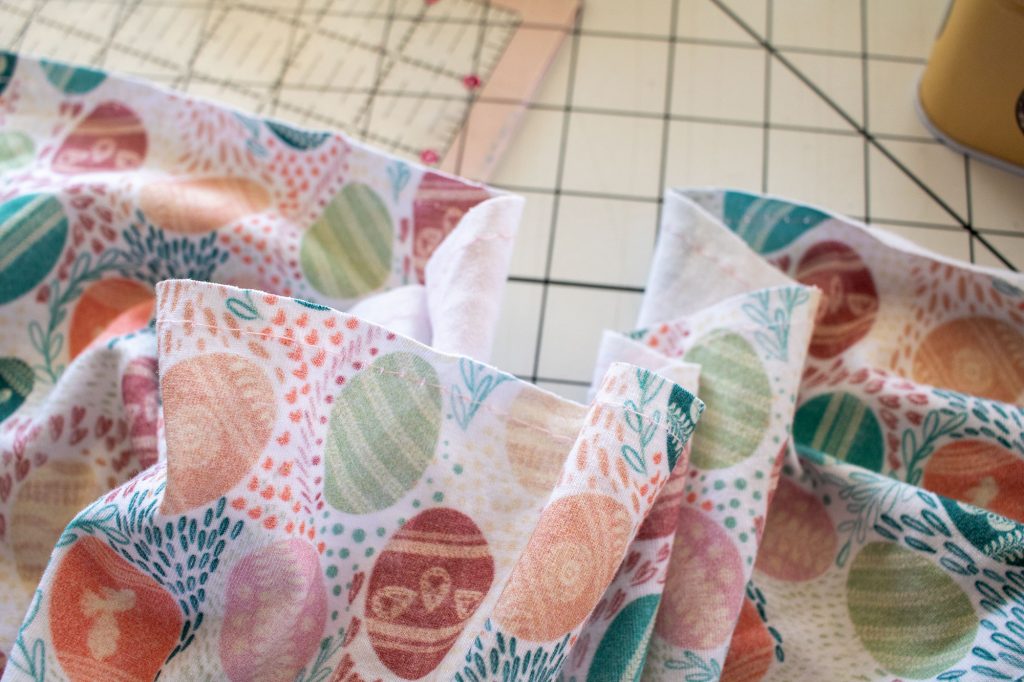
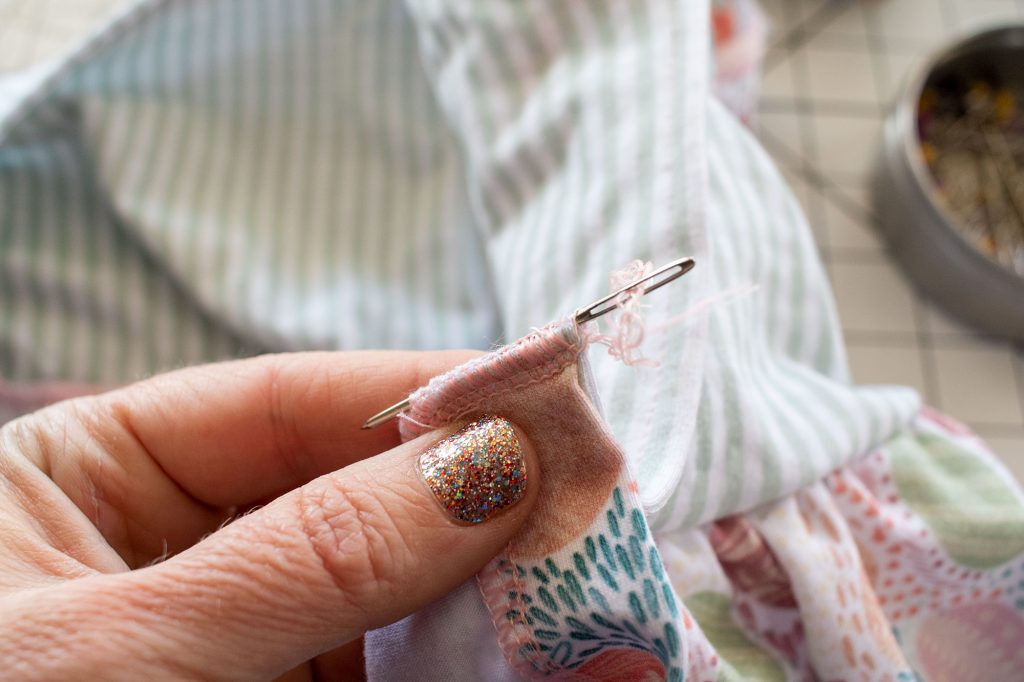
Sew the shoulder seams. {repeat for lining} Run a gathering stich on the CURVED edge of the sleeve piece. Gather to match the shoulder opening. {need help gathering? here is my tutorial}
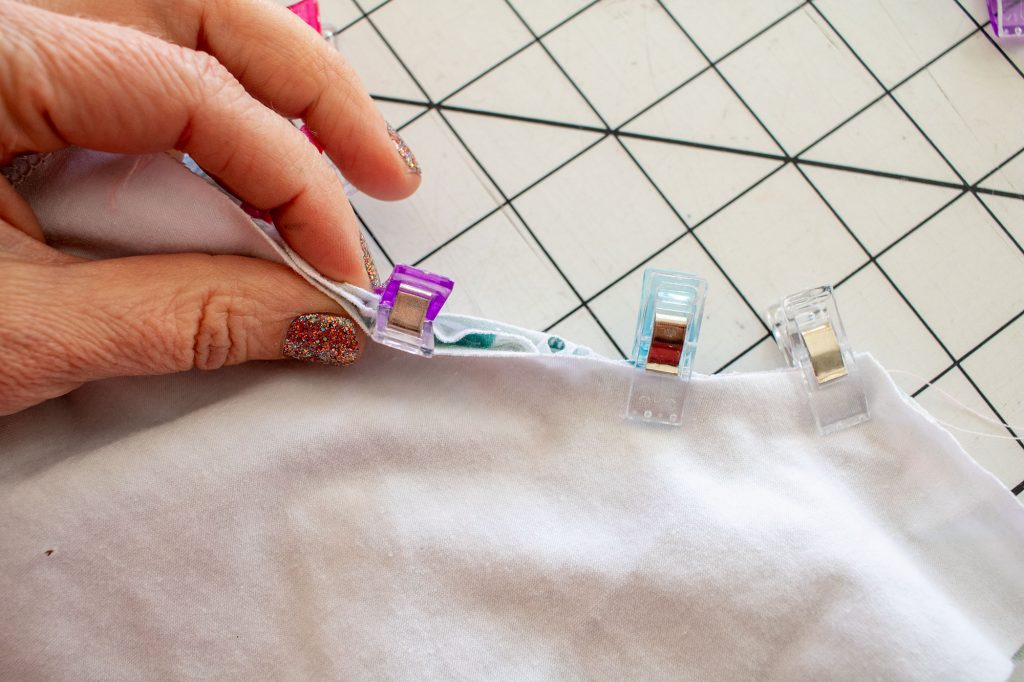
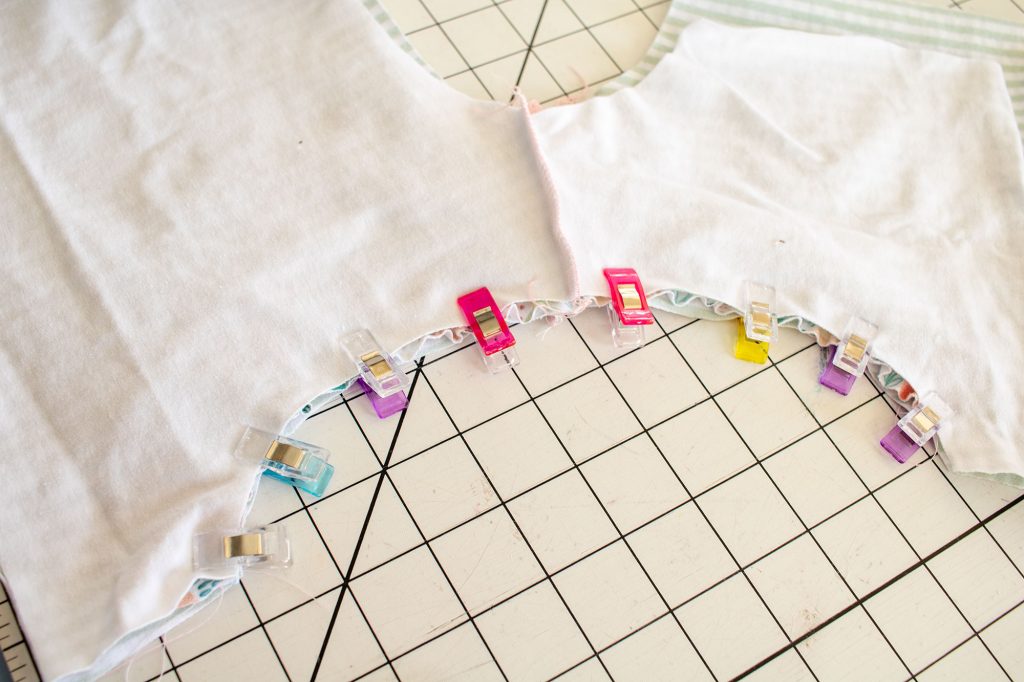
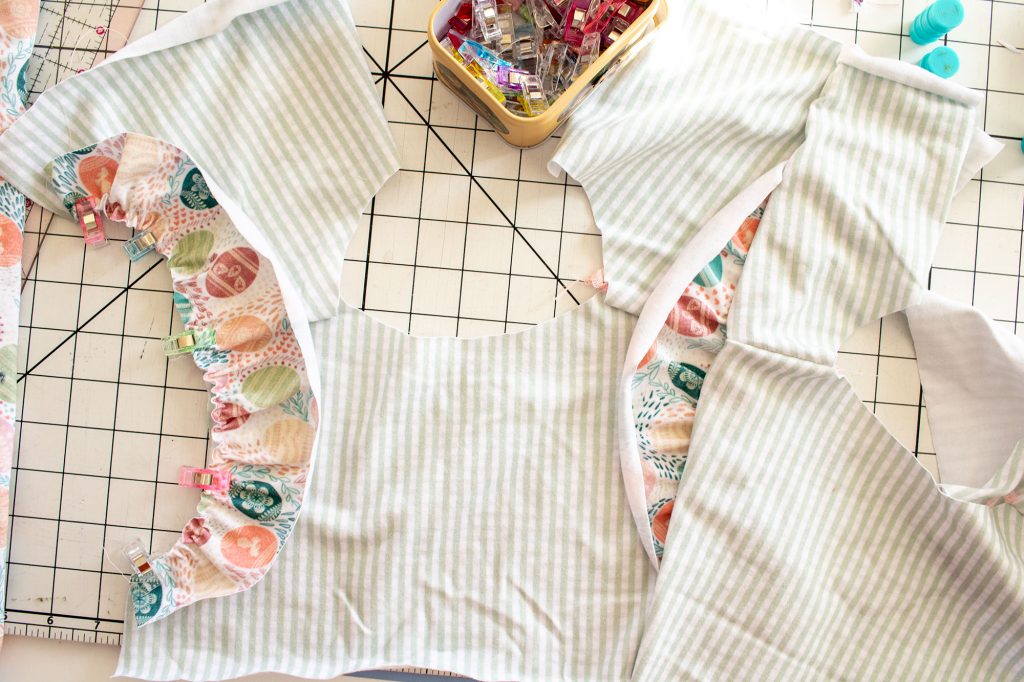
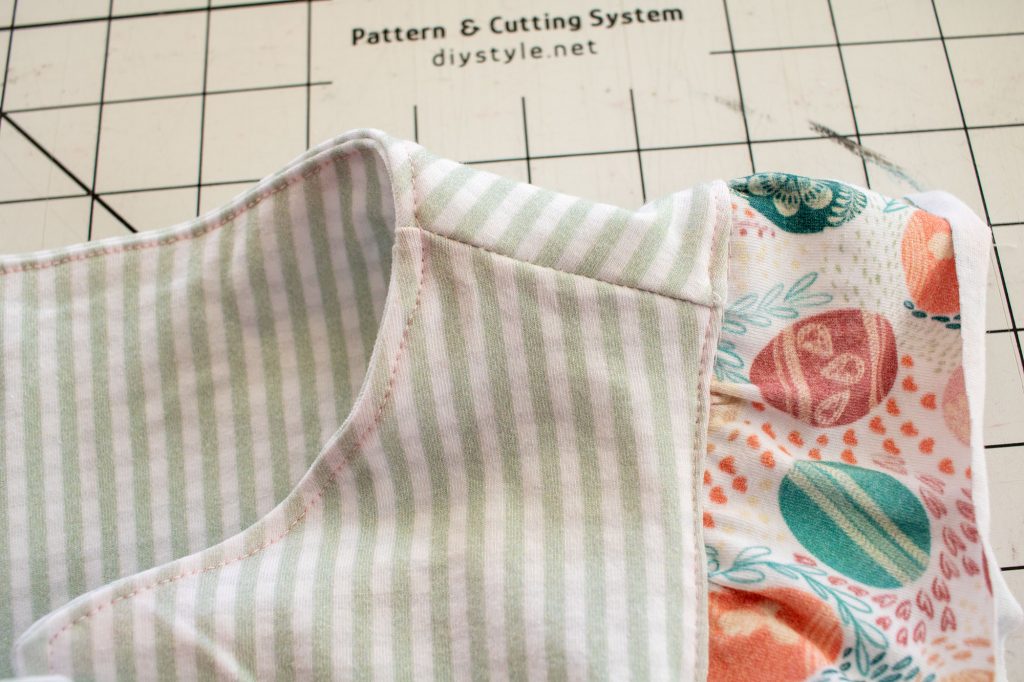
Pin sleeve to shoulder. I put both fabrics right side up while I worked. Sandwich the sleeve with the other bodice layer. Pin or clip in place. Once you have one shoulder done, repeat on the other side – make sure the sleeves are both facing up.
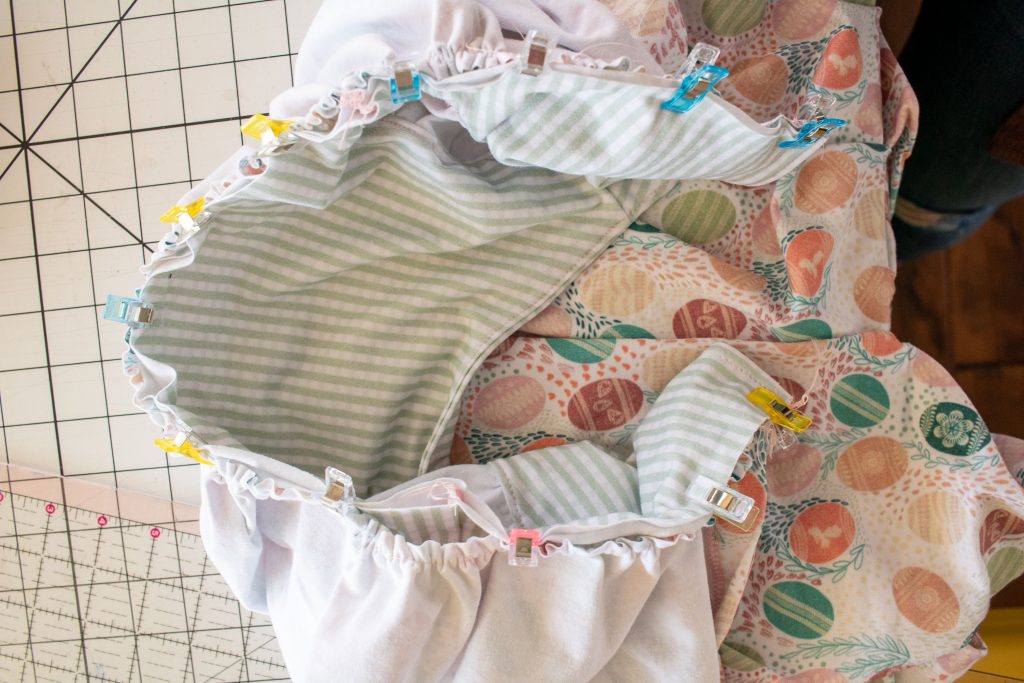
Sew the shoulders and the neckline, including the facing sides.
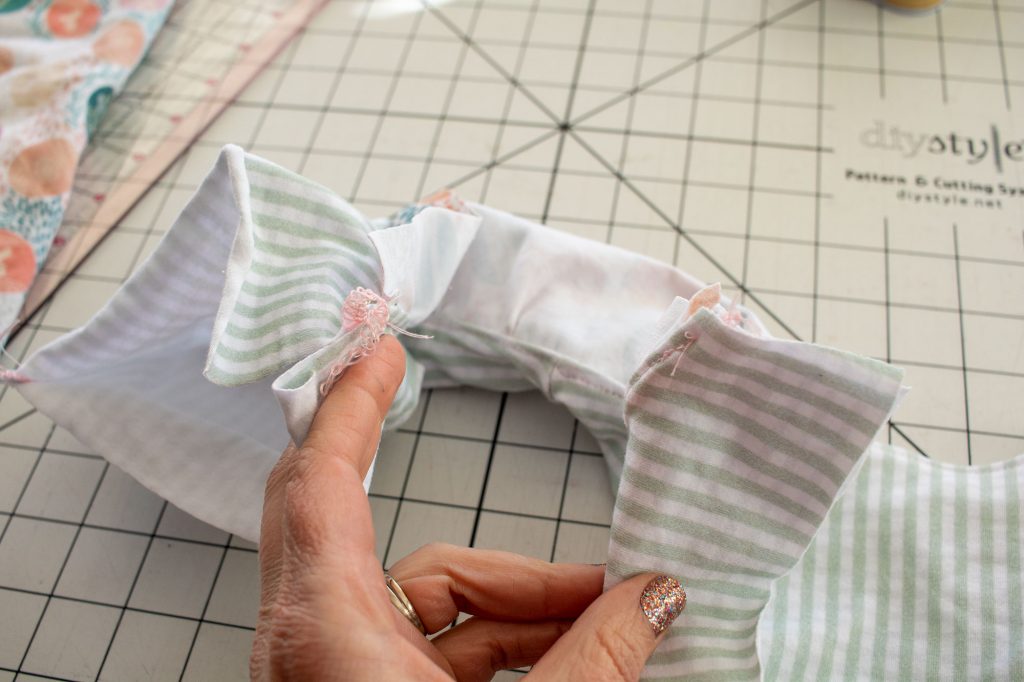
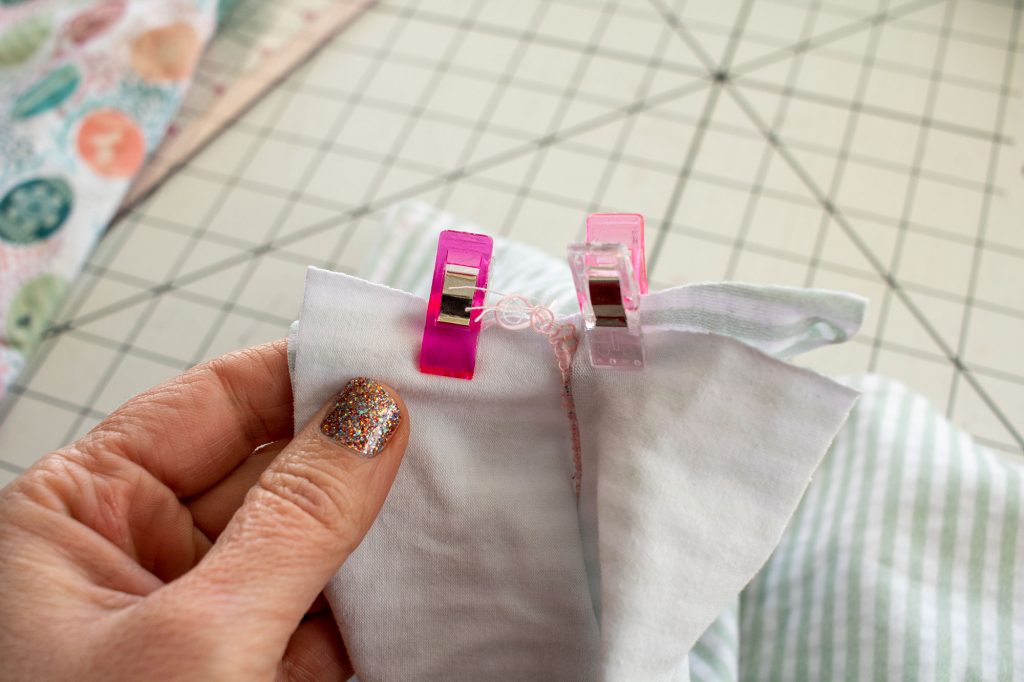
Grab the fabric under the sleeve on both sides, this is the side seam. Fold so that the right sides of the fabric are together under the sleeve. Sew to create an enclosed side seam.
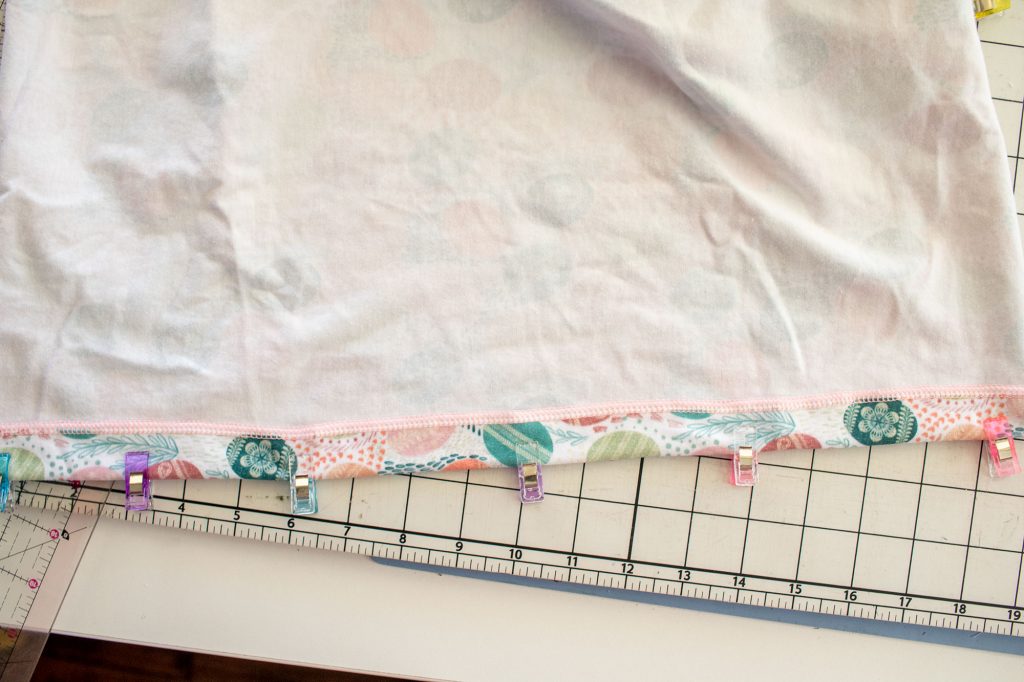
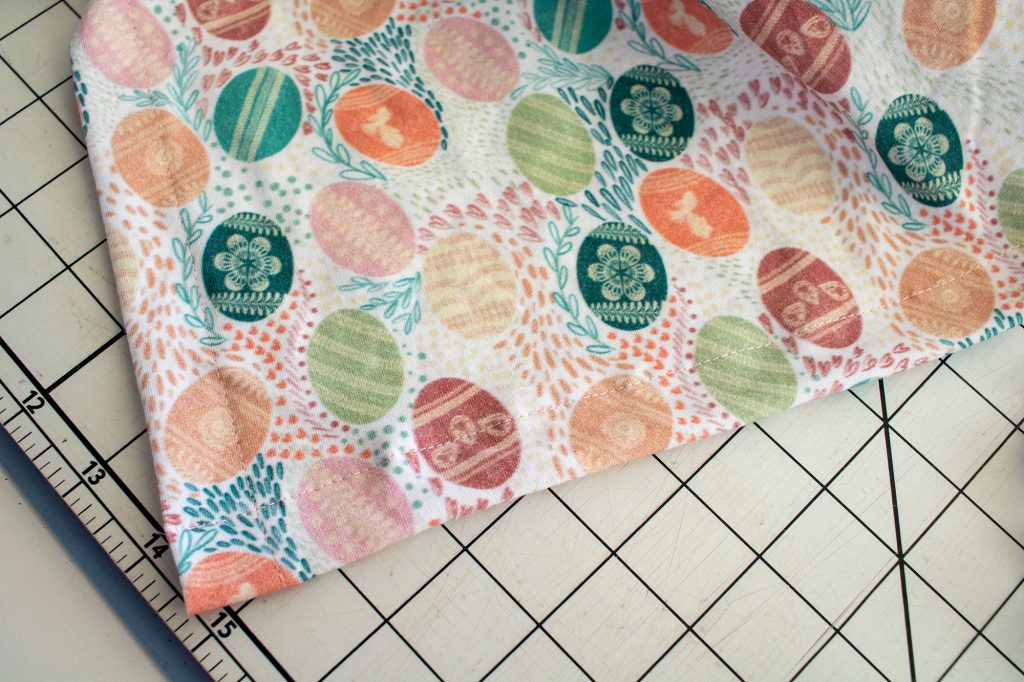
Cut a skirt…. I used ONE width of fabric 20″ long. {you can make it more full with TWO widths of fabric, but then you will have to sew a back seam too} Decide the length by checking out the original dress tutorial or measuring your child. Be sure to add 1″ for seam allowance to length. Do not sew in a circle, keep open for button front. Finish the sides that will be the front. I serged, then folded back a hem. You could also just fold back and sew, no need to finish first. {tips for hemming knits}
I also hemmed the bottom at this point.
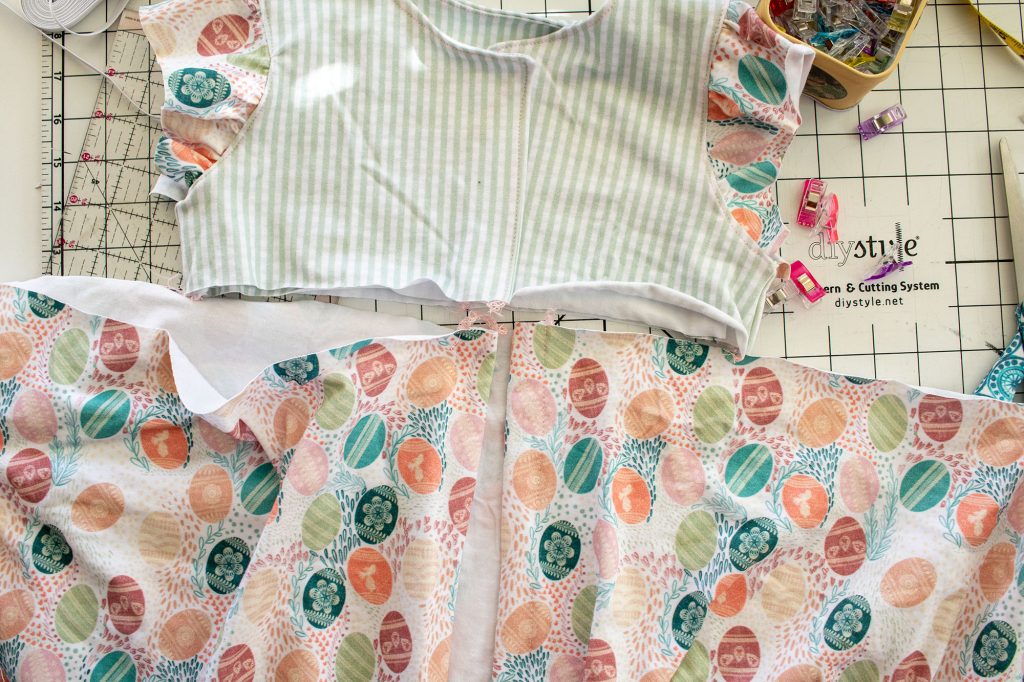
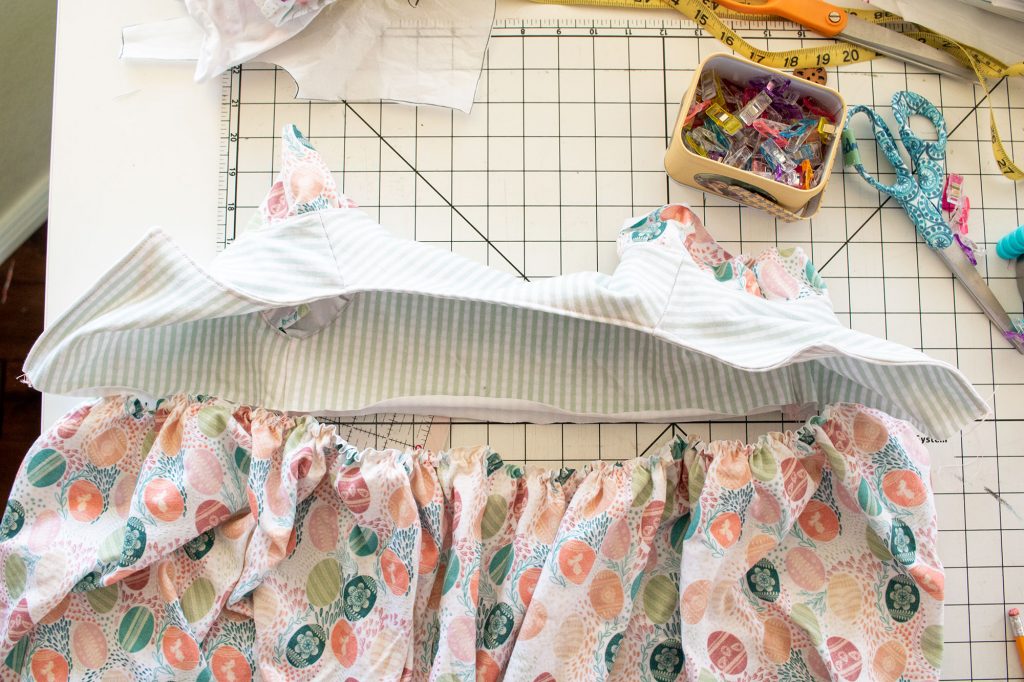
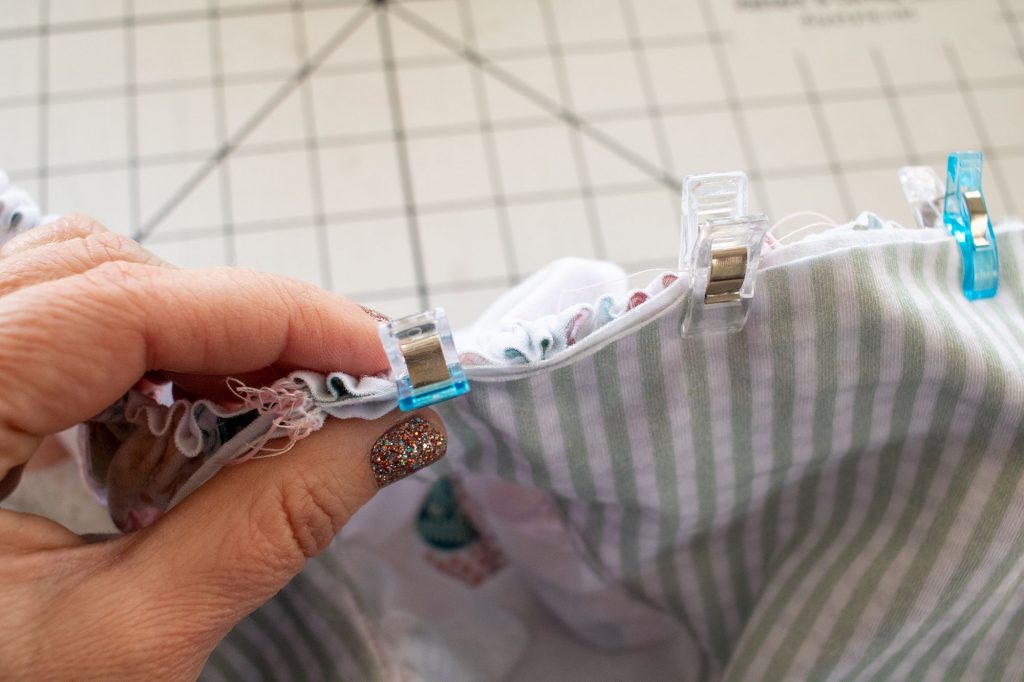
Run a gathering stitch {tips for gathering} around the raw top edge of the skit. Pull and gathering the fabric until it is the same width as the bottom of the top bodice. With right sides together, pin and fit the skirt and the top together. Sew.
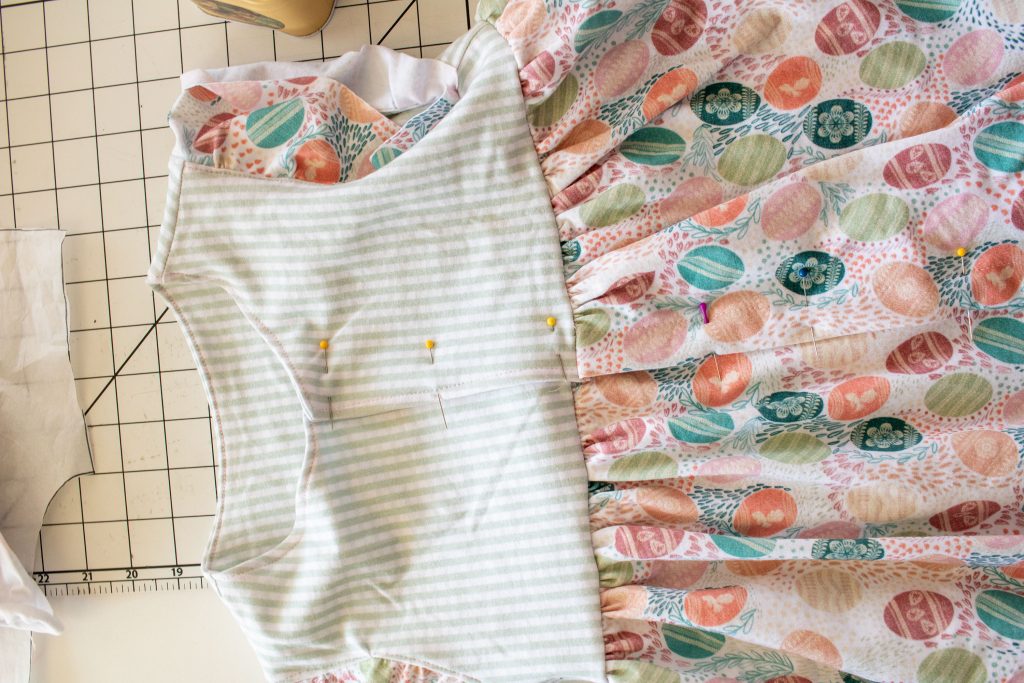
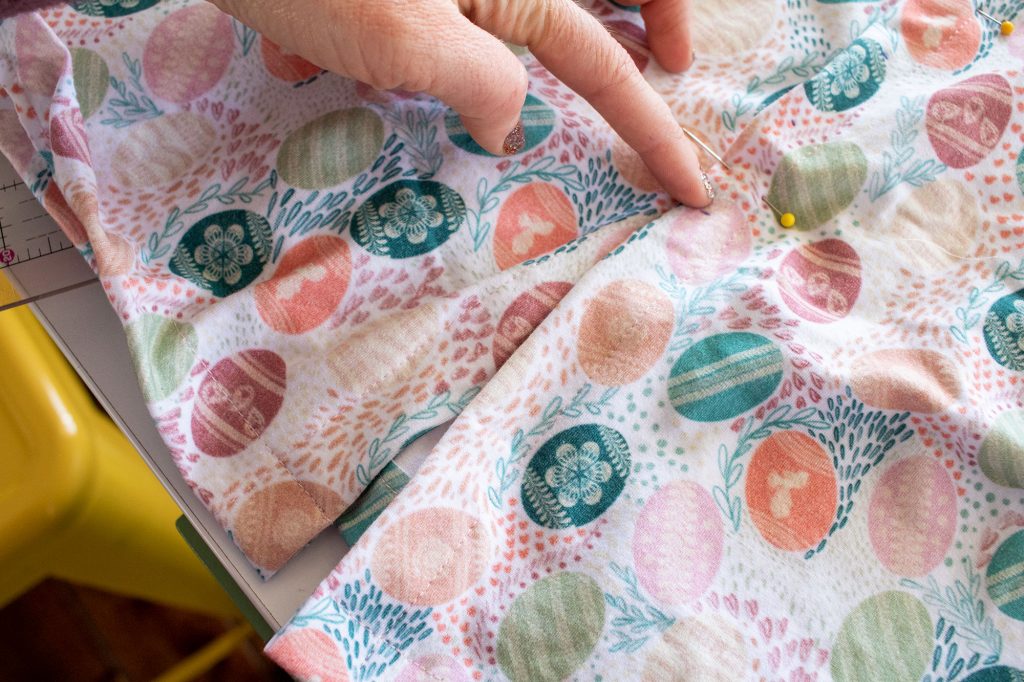
If you used a serger, make sure to finish the seam at the front where the top and bottom meet. If you used a sewing machine, fold the seam allowance over and stitch to hold in place at the front.
Pin the front overlaps together
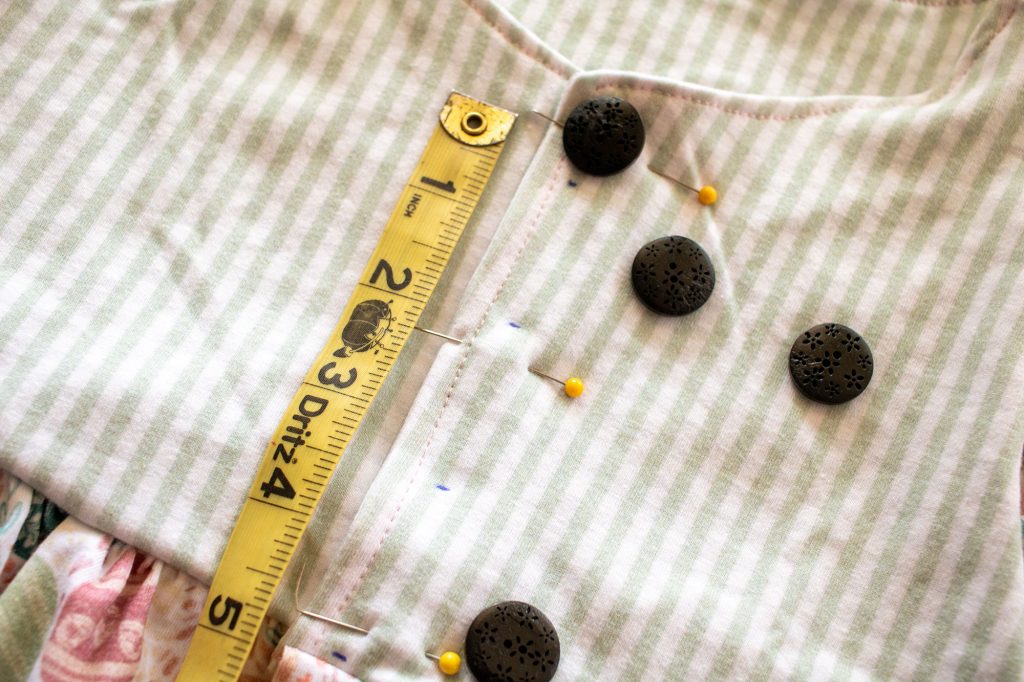
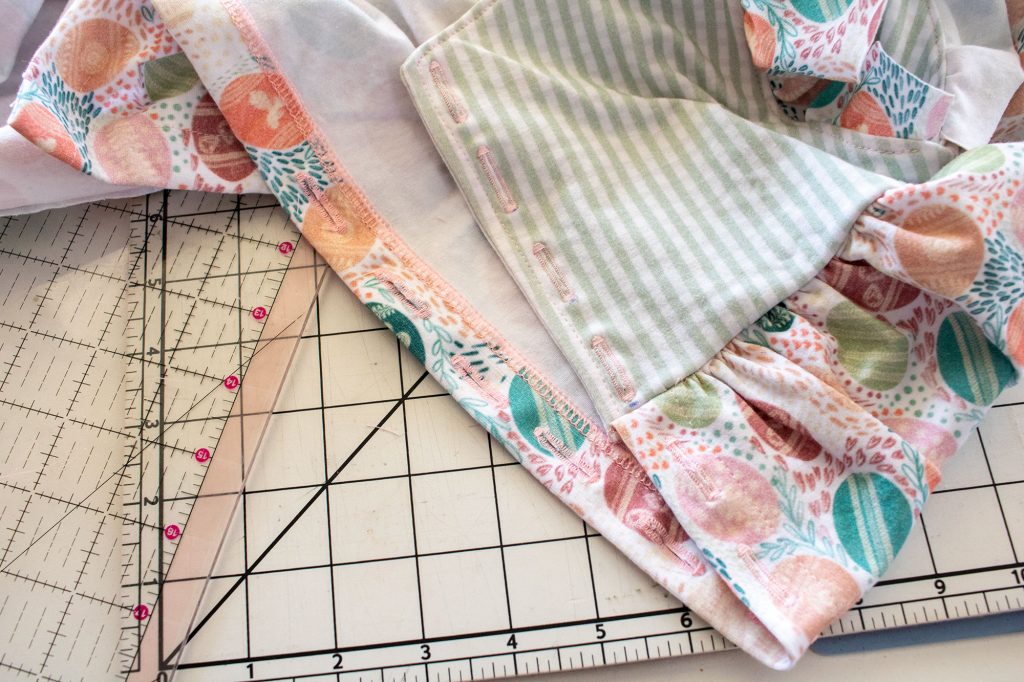
Starting right at the top with a button, measure and mark the BOTTOM of the buttons. This is where you will start the button hole since machine holes start at one end. I measured 2″ from center of button to center of button, then marked all the bottoms. Need help with your machine button holes? Here are tips.
You can also make this a faux button facing and just sew it shut. Or add snaps or other closures.
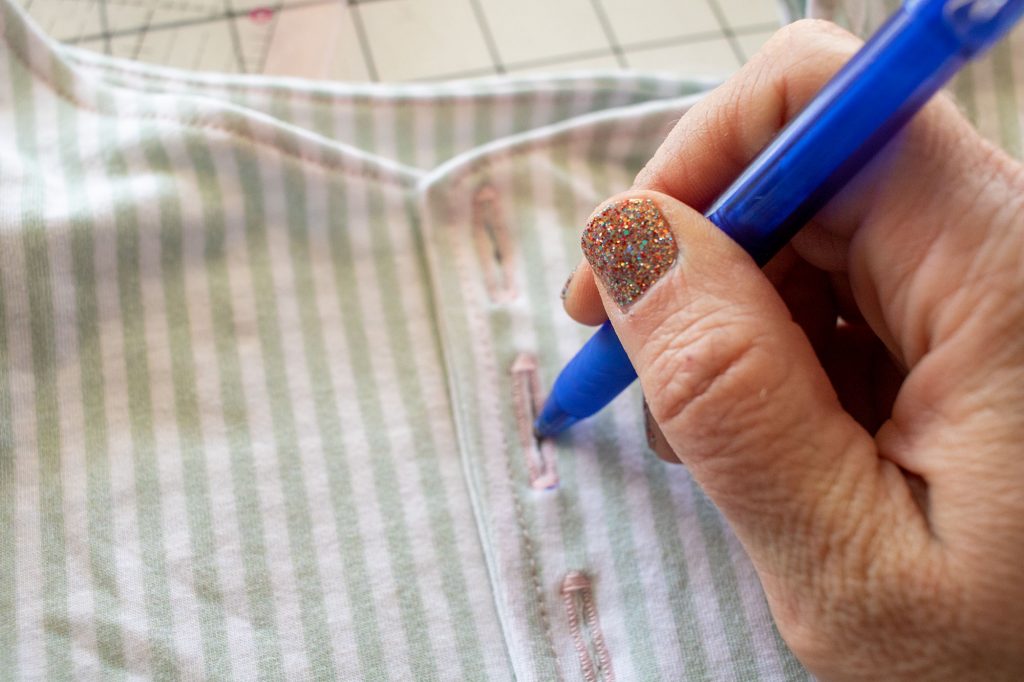
After you have sewed all the buttonholes and cut them open, I like to mark the button placement. Overlap the facings again, then mark in the center of each hole with a fabric pen.
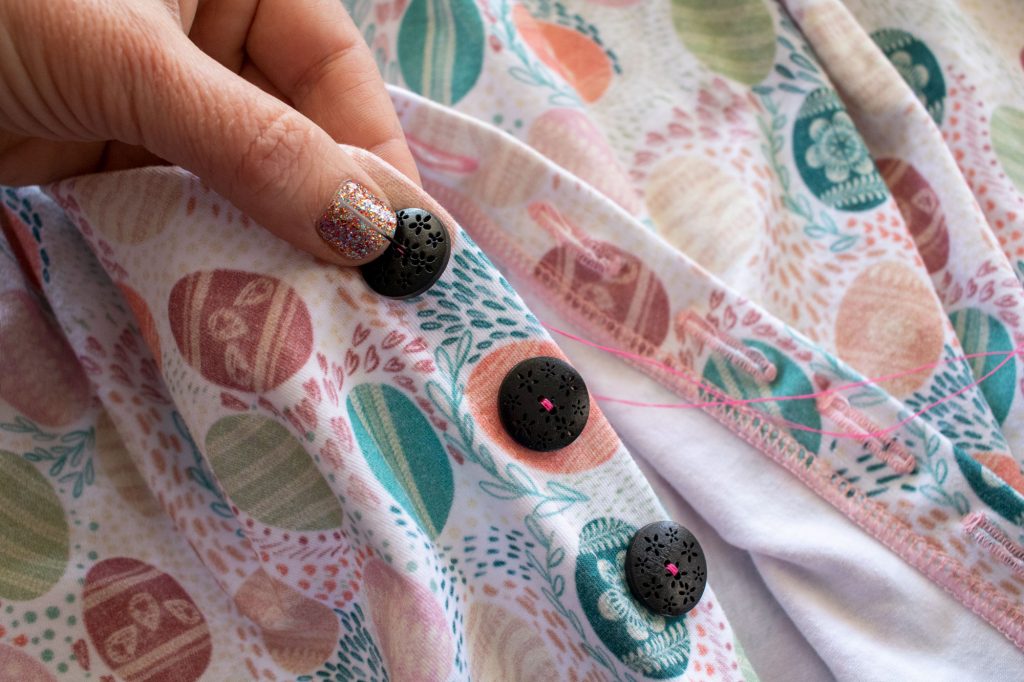
Sew each button onto the skirt right over the mark. You can see I didn’t sew buttons all the way down the skirt, but you can decide how far down you want to sew.
And now you are finished! Try on this sleeveless dress on your little one and stand back and enjoy! I hope you love this free sewing pattern as much as we do! Happy Spring!
Cute Spring Dress Free Sewing Pattern by lifesewsavory on Jumprope.









Sheila Robson says
Great variation, Emily! I’m going to try it this summer., though I might use snaps rather than buttons!
Just one point that may not be obvious to people who have not made this type of flutter sleeve before. When you create the curve, you are doing it with the 19″ rectangle folded in half so it’s 9.5″ by 3″, aren’t you? And your curve is wider at the fold than at the ends. It may seem obvious, but you haven’t actually specified this in the text, and it would be a shame if anyone didn’t realise.