inside: Download and sew this cute free shirt sewing pattern in a raglan style for women. Printable Pdf pattern and full photo tutorial. Pdf sewing patterns
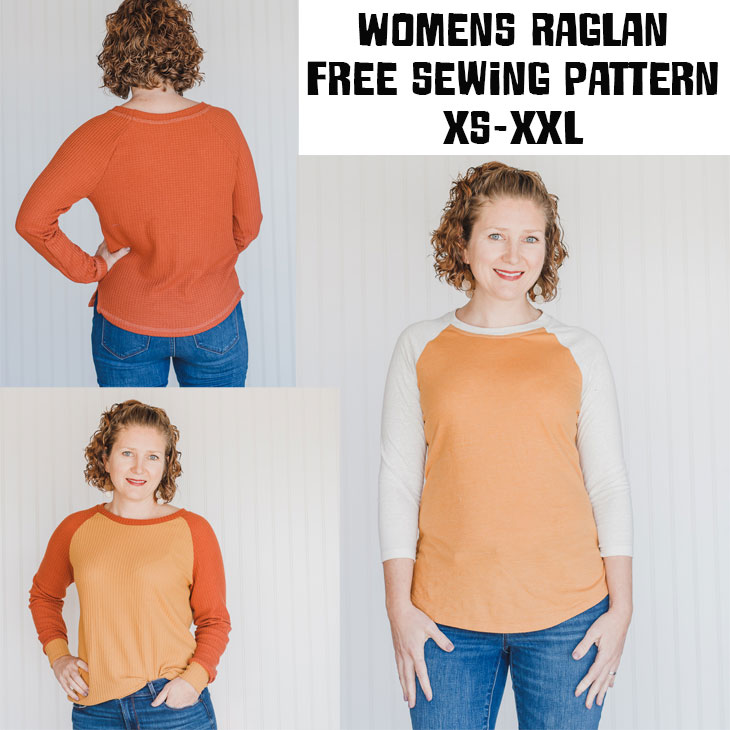
I’ve been promising a womens raglan pattern for about a year now. My Kids Raglan Pattern is downloaded thousands of time each month and now I’m so excited to have a womens version! I’ve sewn myself three new shirts in the last few days and I LOVE them all. Below I mention all the different variations used to make these shirts and how you can create the same look. Please share all your makes in the FB group here.
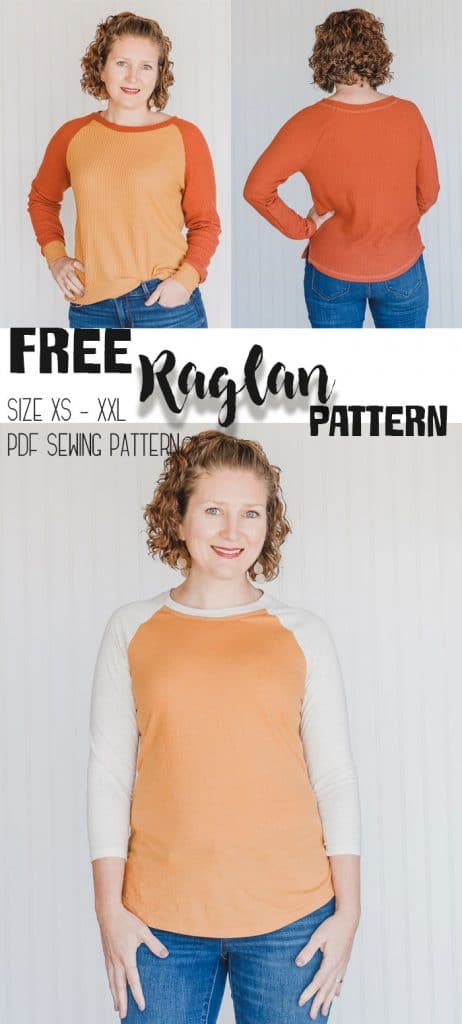
Free Shirt Sewing Pattern – Womens Raglan
I was wearing this version below at dinner and my husband noticed I had a new shirt… This one mus really be eye catching because he isn’t really one to notice these things, but he said he really like this shirt… and I DO TO! And in waffle {sign} so so good! If you haven’t tried sewing with waffle yet this fall head over to my fall fabric post and GET SOME! I’m almost out so it’s time to re-stock!
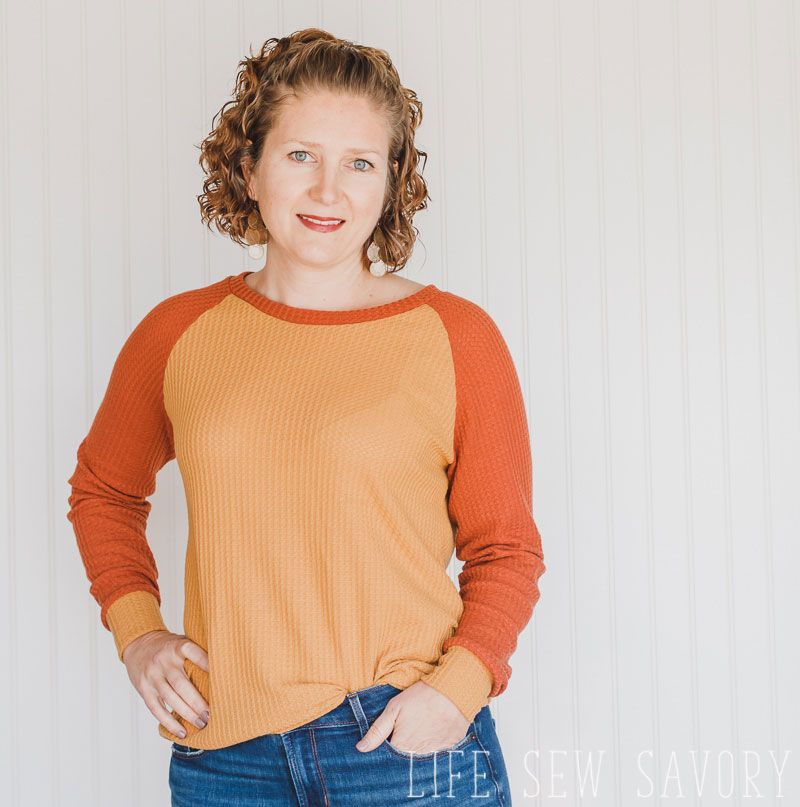
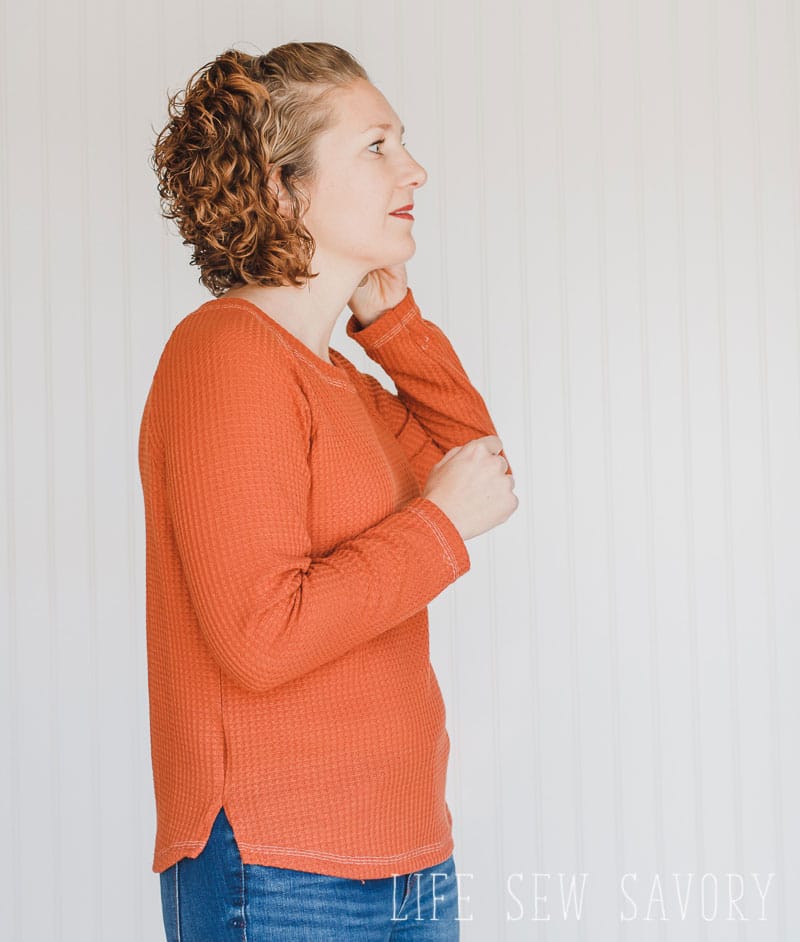
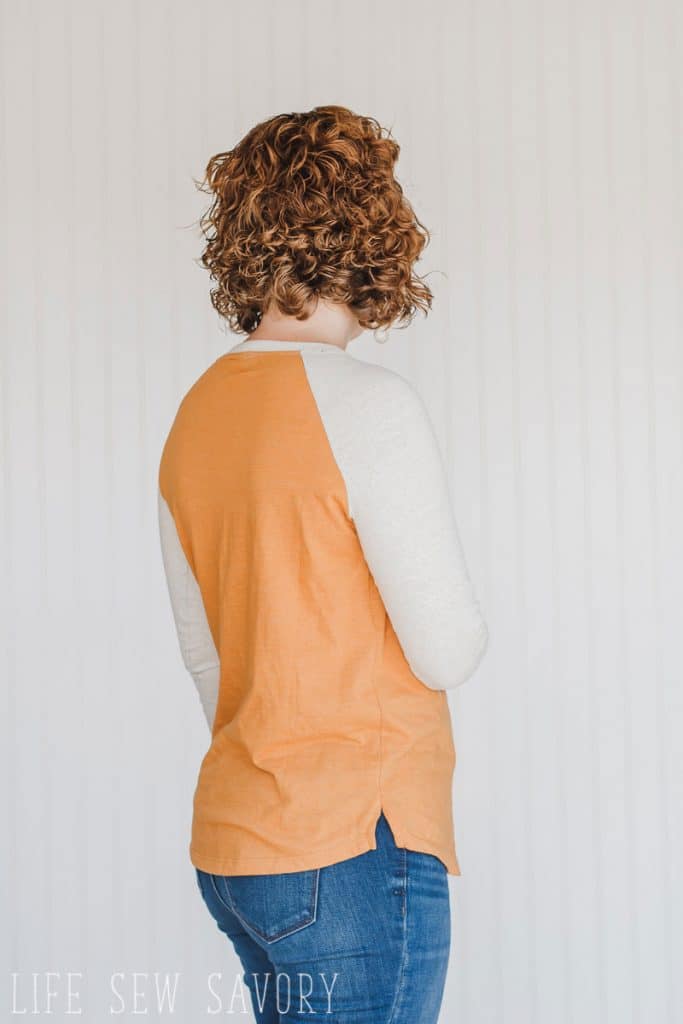
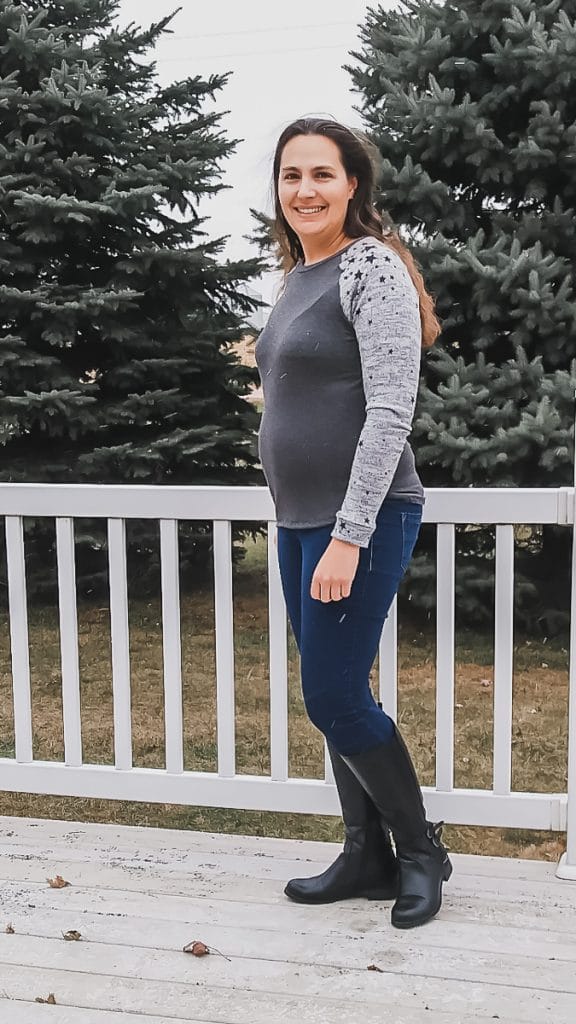
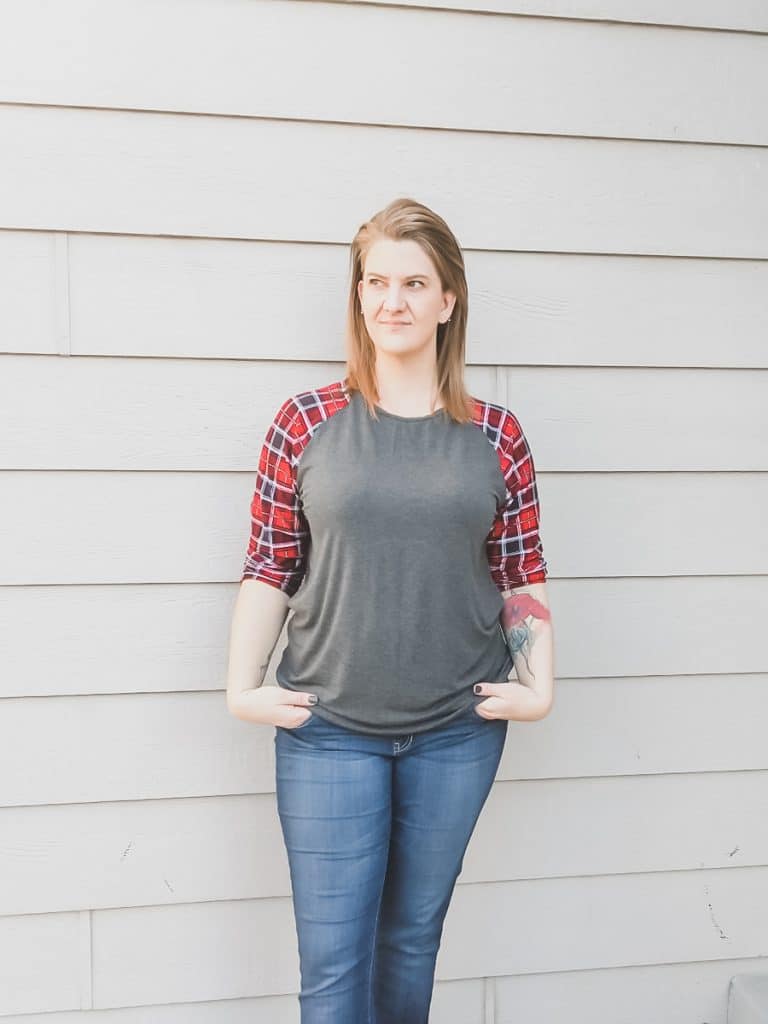
You can see that I’ve made three shirts for myself in these photos. I’ve shown two different neckline and three different sleeve finishes {3/4 length, regular, and cuff} I also have shown the shirt with and without the side slit and the yellow waffle has the straight front, not curved hem. WHEW… and I love them all.
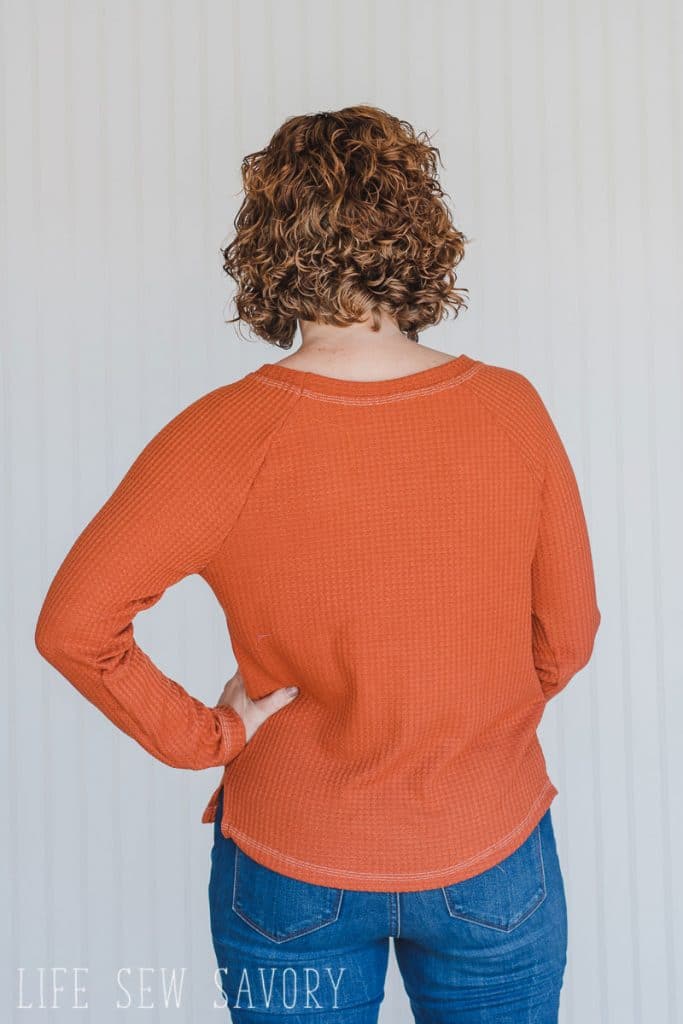
It’s amazing how much the fabric affects the fit.. when I lay this shirt below on top of the waffle version the widths seem the same, but the fit is quite different. I like them both, but just wanted to mention this fun fabric fact!
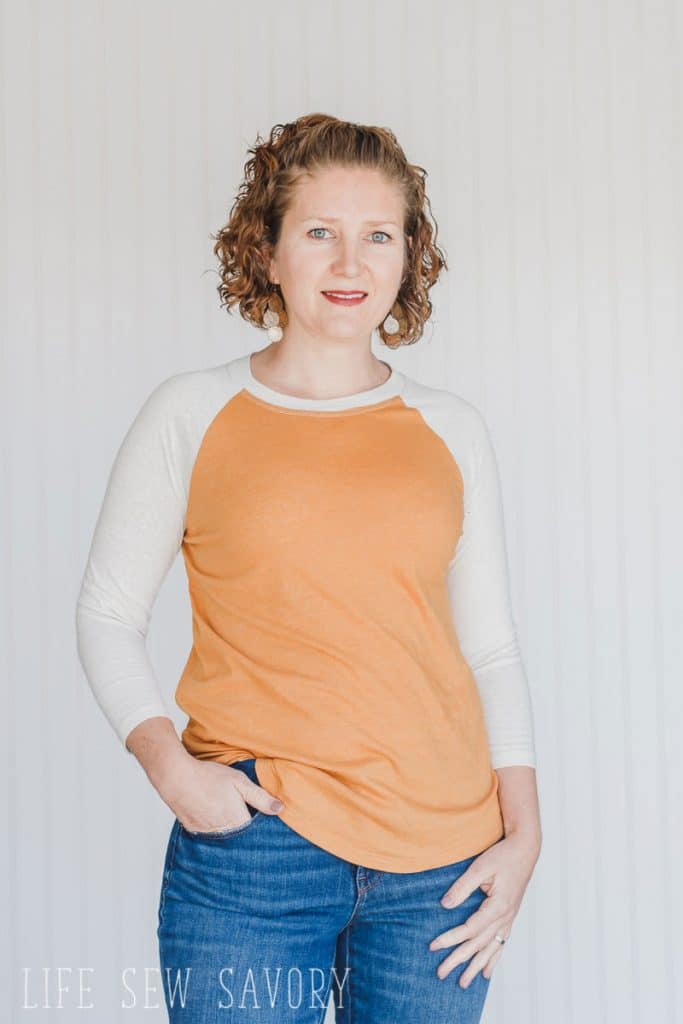
These two versions of the shirt have the side slit.. {I feel like I should call it something else, but not sure what…} Anyway, it adds a cute detail. I also have directions for a regular hem below.
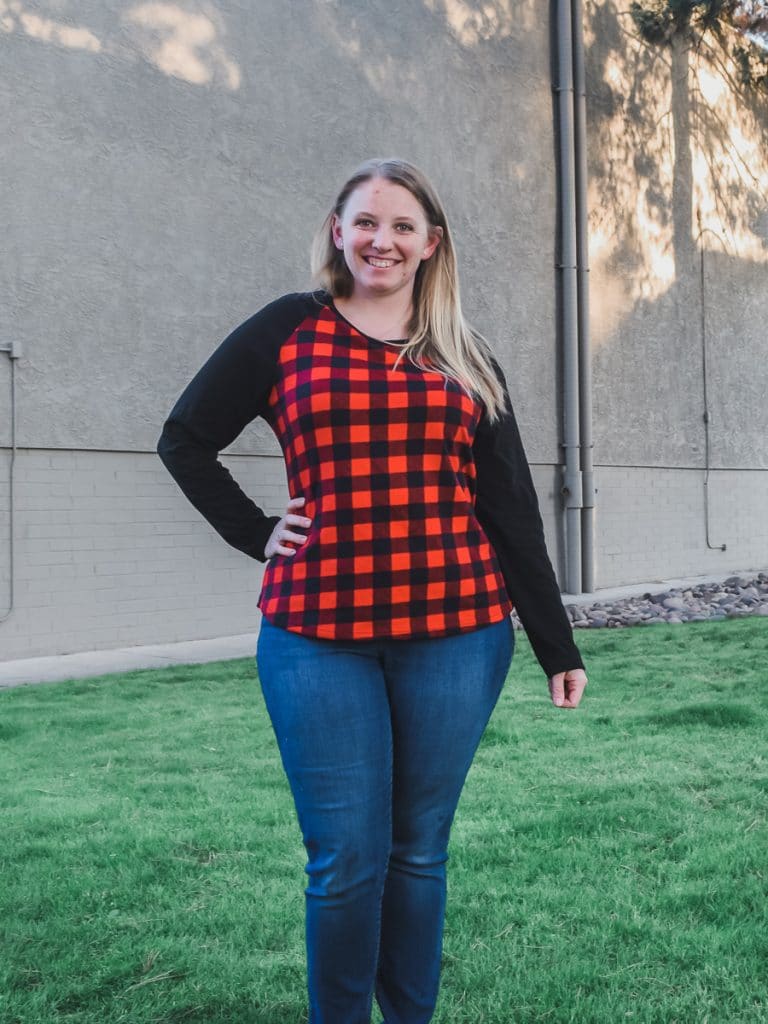
Here are some fun photos from my testers!

M in french terry 
XL top with L sleeves 
XL graded to XXL in hips
Sew a Raglan Top-
Supplies needed:
- Fabric {see my fall fabric picks here} 1-1.5yards
- Print the Free Raglan Pattern
- 1 cm or 3/8″ seam allowance included
- sew all seams with serger/overlocker or knit stretch stitch/zig zag. {using a serger and need help? Take my Serger class HERE}
- Tips for sewing/hemming knit fabric here.
I felt like I had some trouble getting the length right, and we are all such different heights! I would recommend comparing the pattern pieces to a shirt you like the length and adjusting if needed…
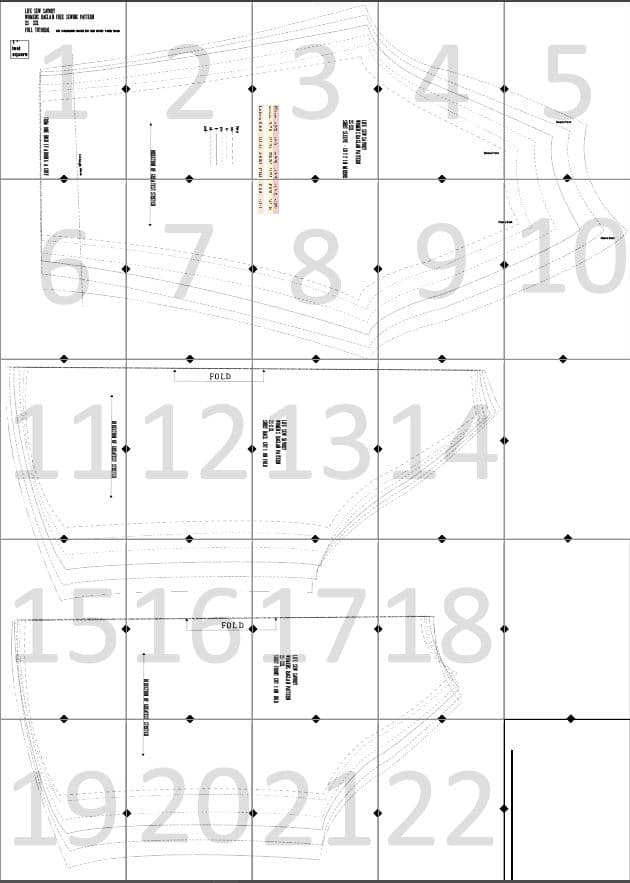
Print and trim the pattern, then assemble. Here is the layout guide to help you with assembly.
Use this size chart to determine your size. You can size up or down depending on the look you want. {I would size up for sweaters or sweatshirts} Go by your waist and adjust the bust if you are over a C cup. {depending on your proportions}
The fit is similar to old navy if you are familiar with that. If you fall in between or at the bottom of a size I would size down, unless you want it pretty loose.

Cut out the pattern pieces and neckband as directed on pattern pieces. You should have two sleeves, one front, one back and a neckband. You can also choose to add sleeve cuffs {more directions below}. You have a few sleeve options and neckline options so read below for those before you start sewing.
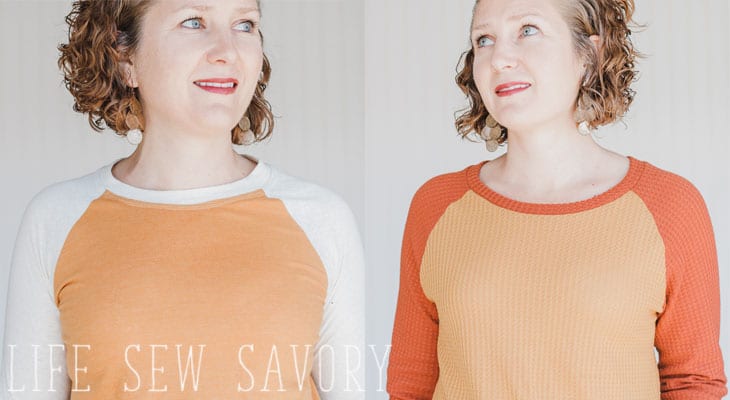
The neckline on this raglan top sewing pattern is a high crew neck, but it’s easy to lower the neckline if you want. Compare the two necklines here:
To lower the neckline you can cut 1/2″ – 3/4″ from front and sleeve pattern piece before cutting. I usually don’t trim from the back.
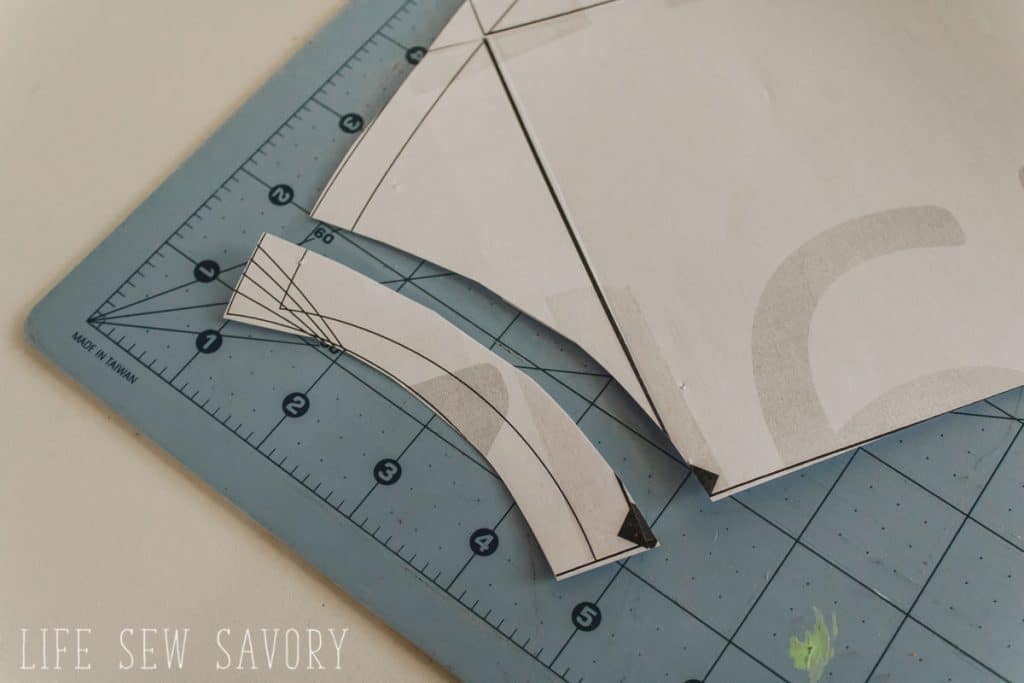
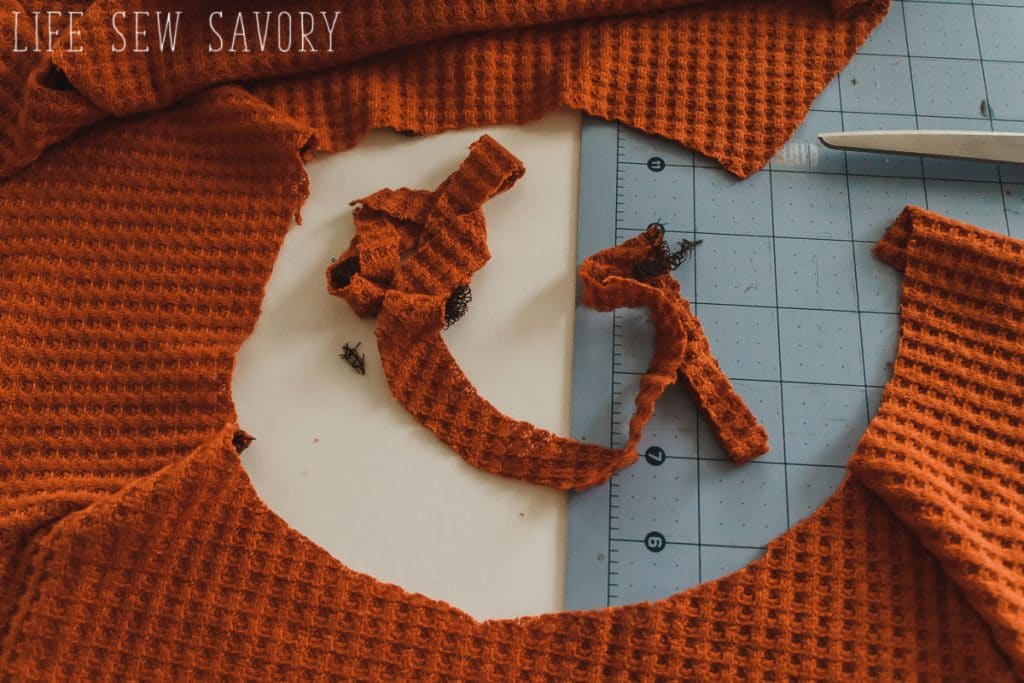
OR.. you can cut from the neckline after you have sewed the the shirt body together. After the sleeves have been sewn to the front, and the back to one sleeve, I like to trim. I cut only a tiny bit from the back and more from the sleeves and front.
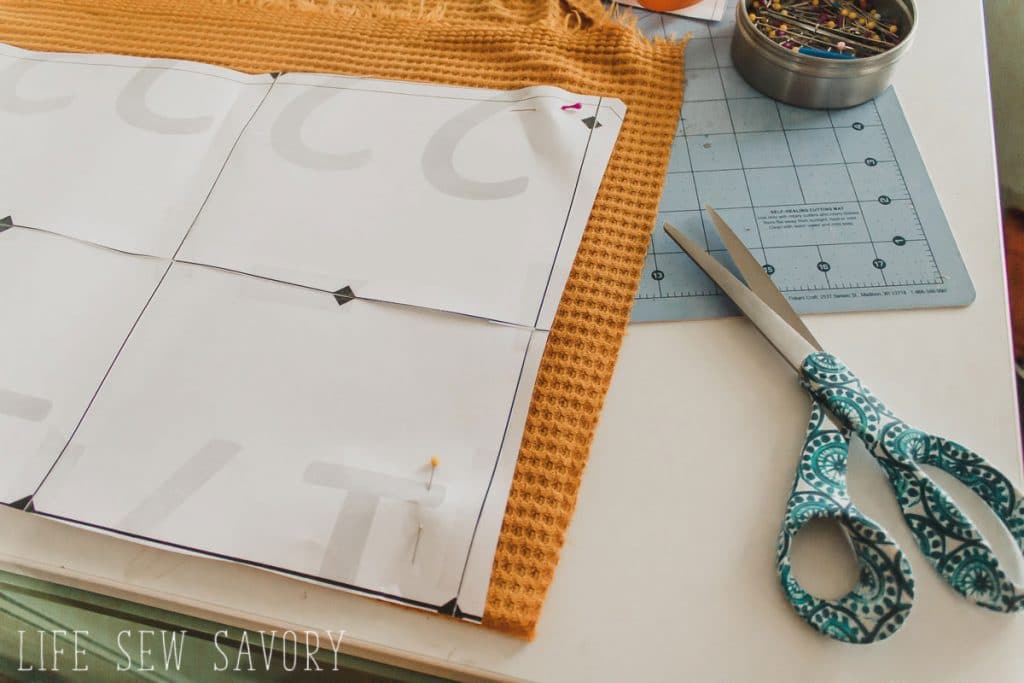
Another variation it to make a slight high-low hem. Cut the shirt front to be a straight line, rather than a curve. The side seam should stay the same length. This will make the front flat while the back will curve done.
Begin sewing by attaching the arm fronts to the shirt front. Then sew the back to one of the sleeves. You now should have all four pieces together, but open.
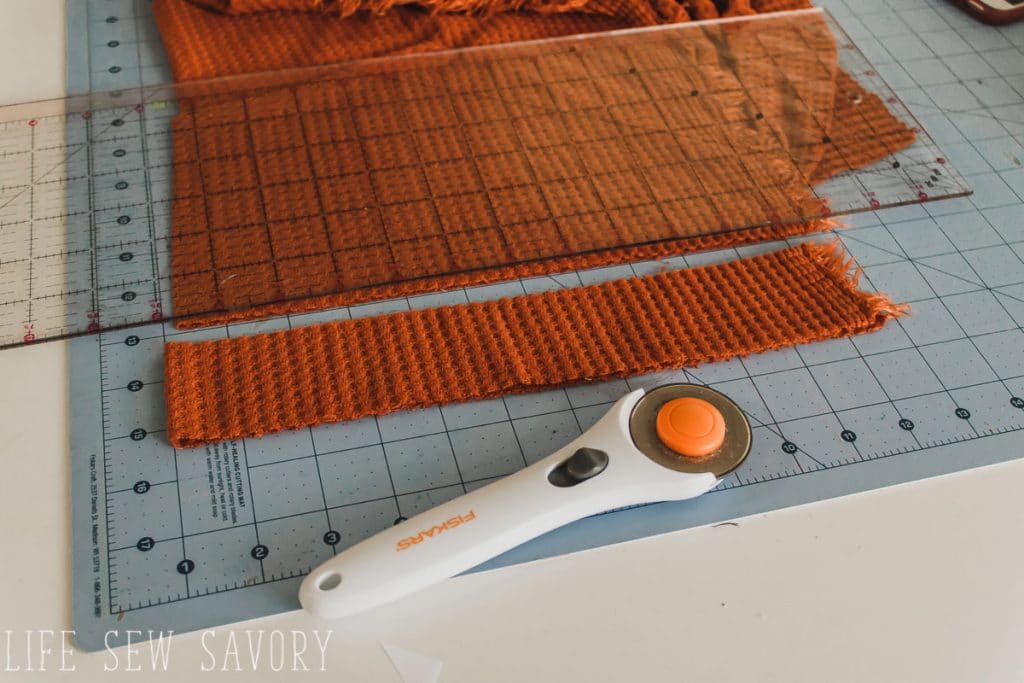
Take your neckband and fold in half with the long sides together. The right side of the fabric should be out. Measure your raglan neckline and make your band about 80-90% of this length.. ex… 20″ neck = 16 to 18″ neckband. Depending on the stretch of your fabric.
Need more help with the neck band? Here is my post all about shirt neckbands…
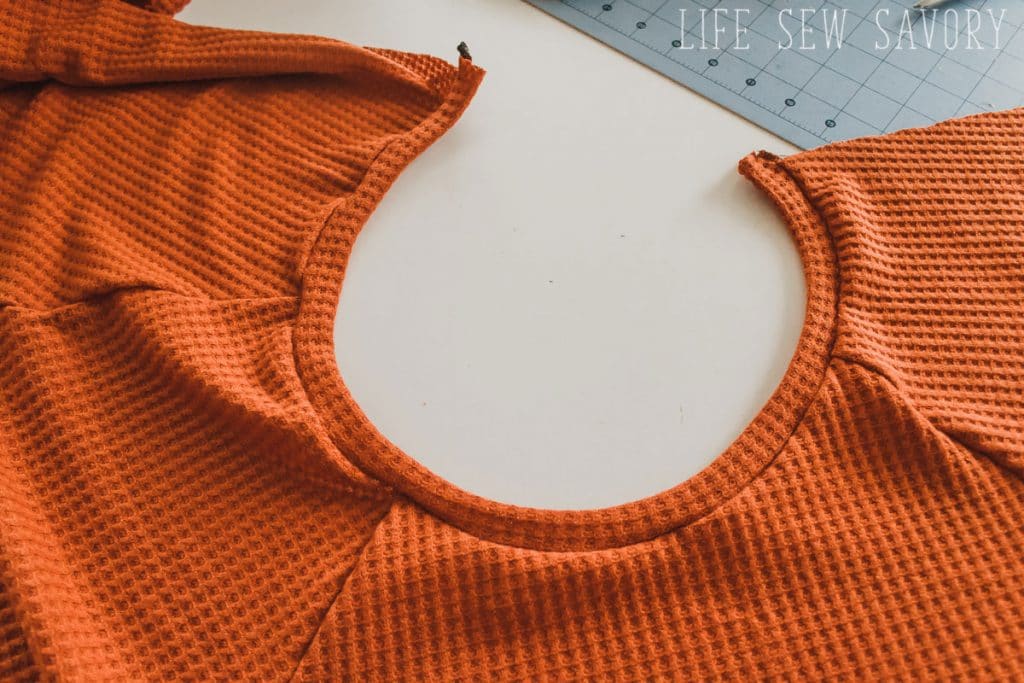
Top-stitch the neckline if desired. You can see on my shirt photos above that I did this on some, but not all. Up to you and your preference.
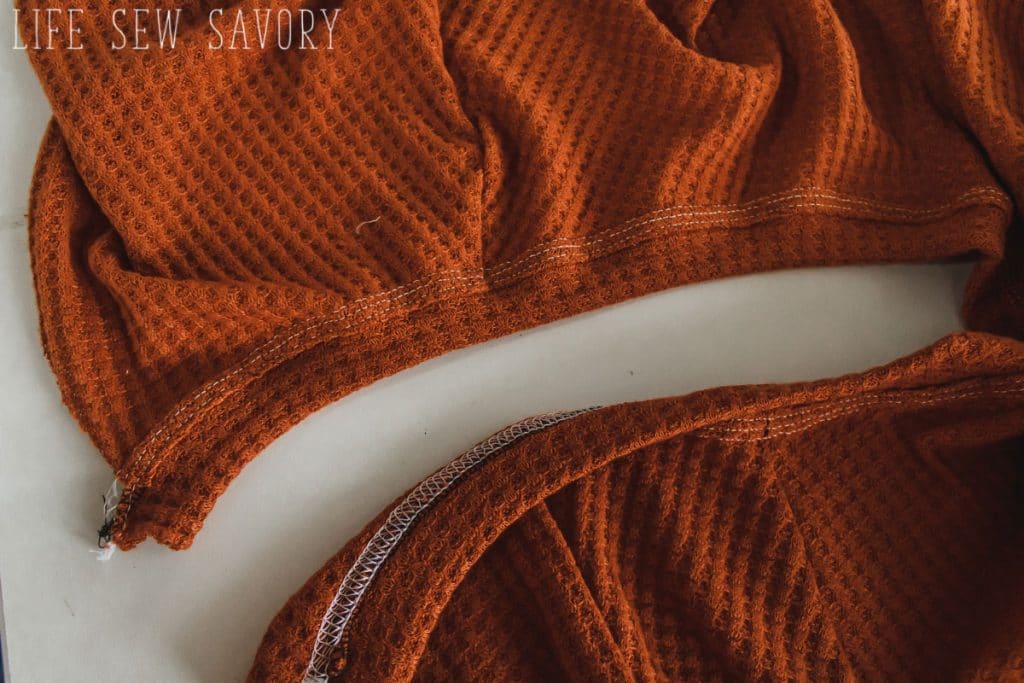
Sew up the other open shoulder seam from neckline to armpit. Now if you lay the shirt out it will actually look like a shirt, but the side seams are open.
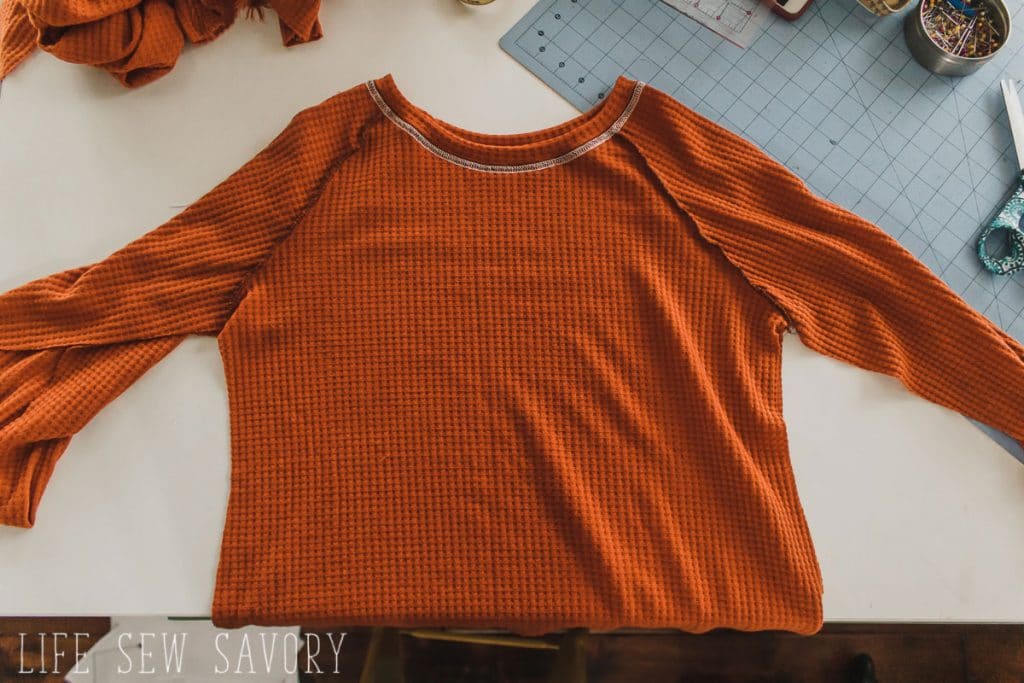
I like to finish the arm hems on the flat, so this is when I hem the sleeves. Hem or add sleeve cuffs now. Your sleeves can be full- 3/4 or with a cuff. To add a cuff remove 1″ from the full sleeve length.
Now, if you want to make a shirt with the small slits on the side we will need to hem the bottom before sewing up the sides. If you just want a regular hem – skip ahead.
Hem both the front and back of your shirt with a 3/4″ hem.
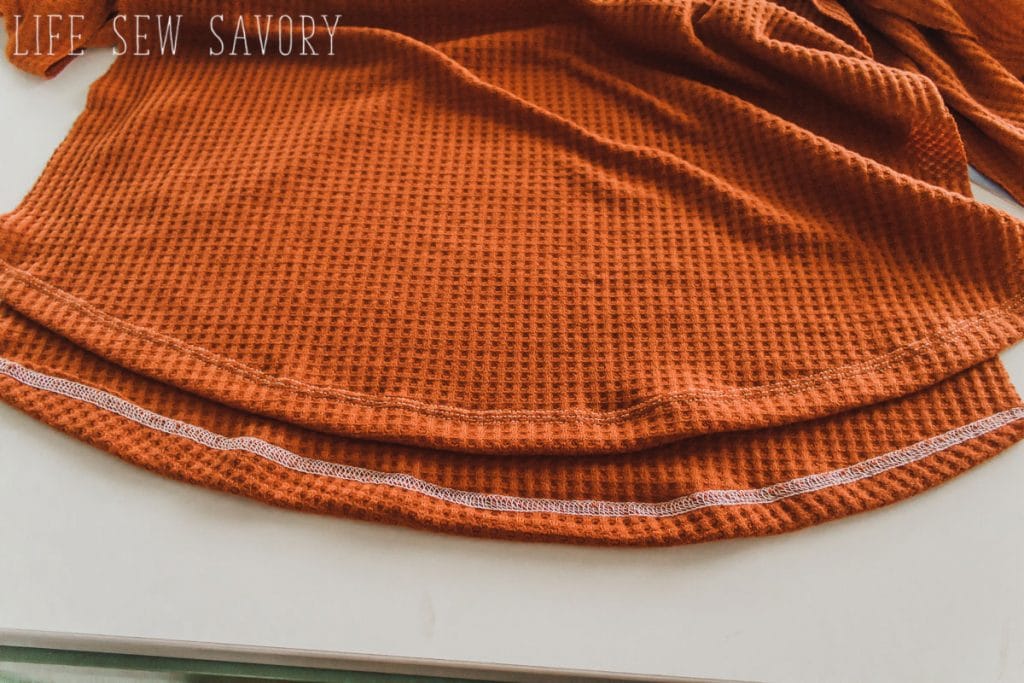
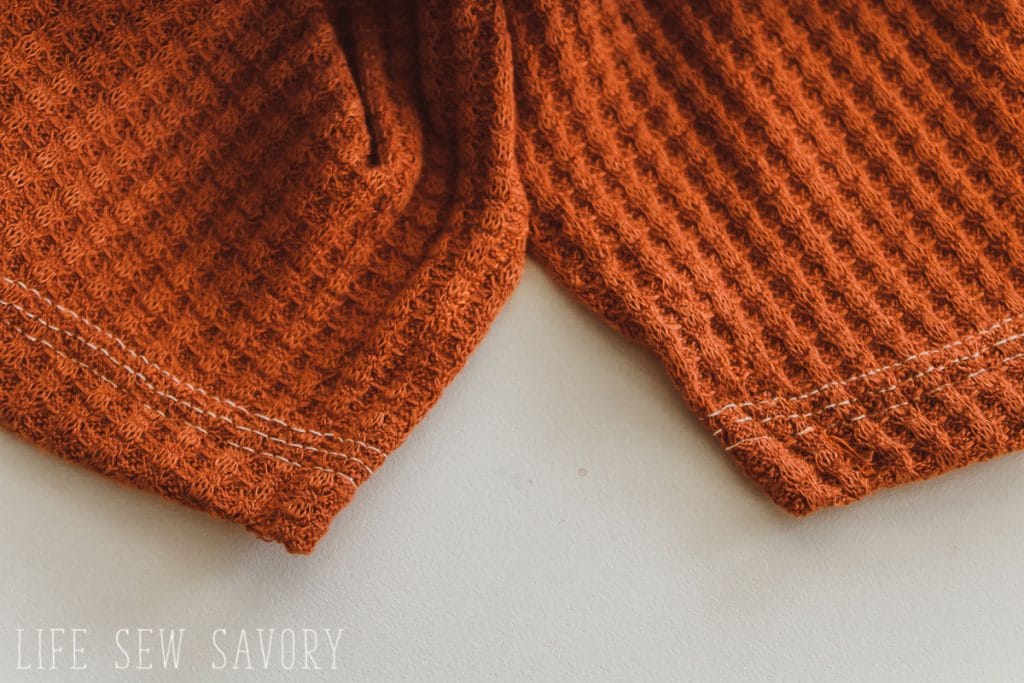
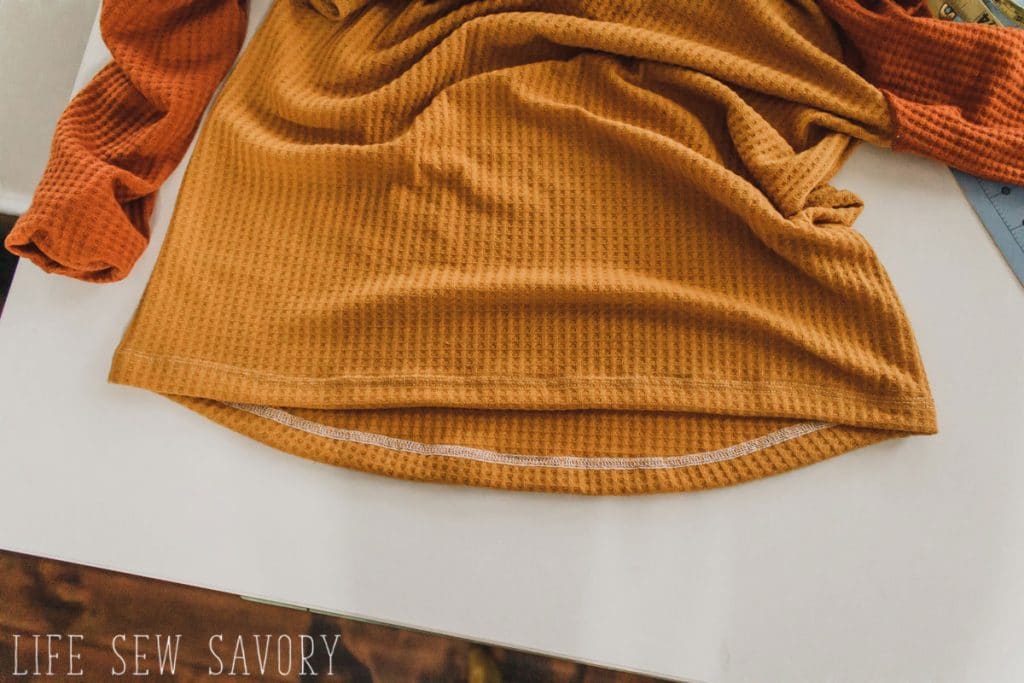
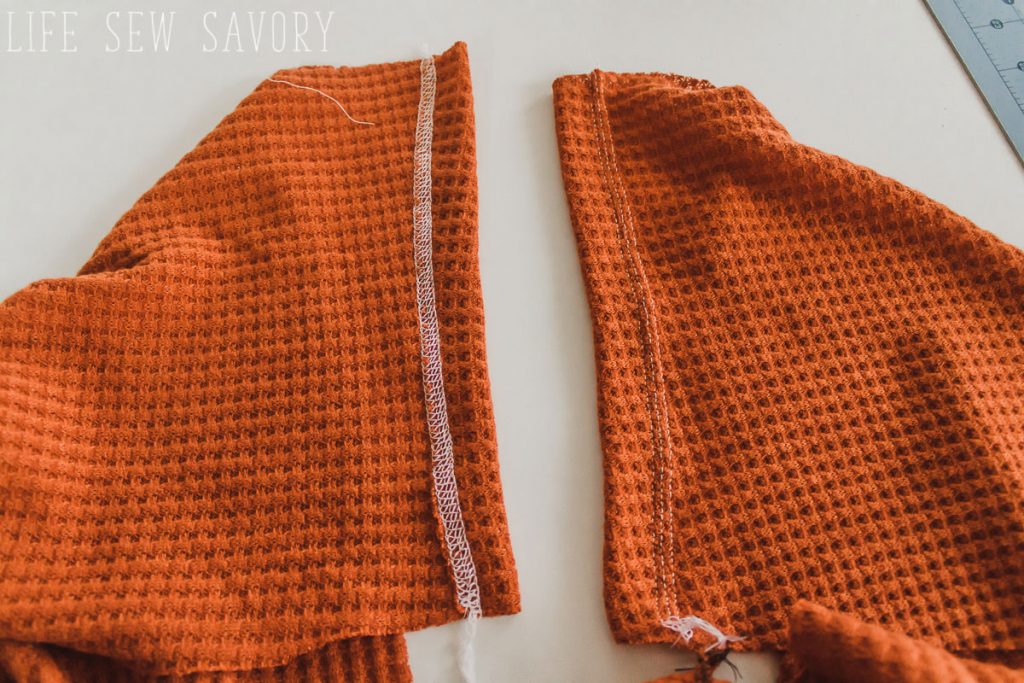
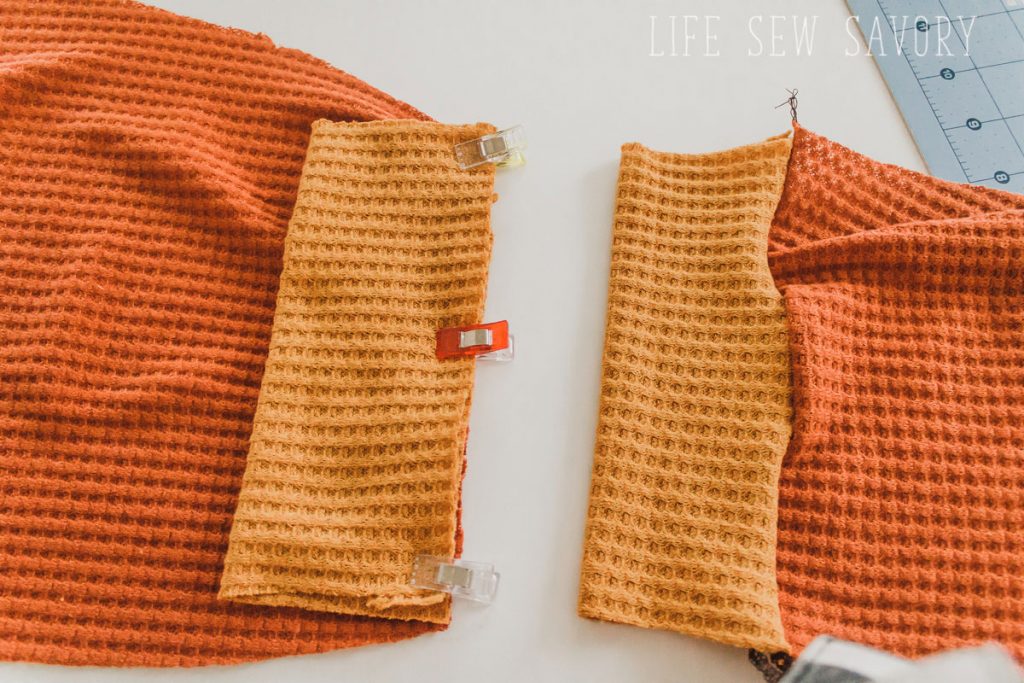
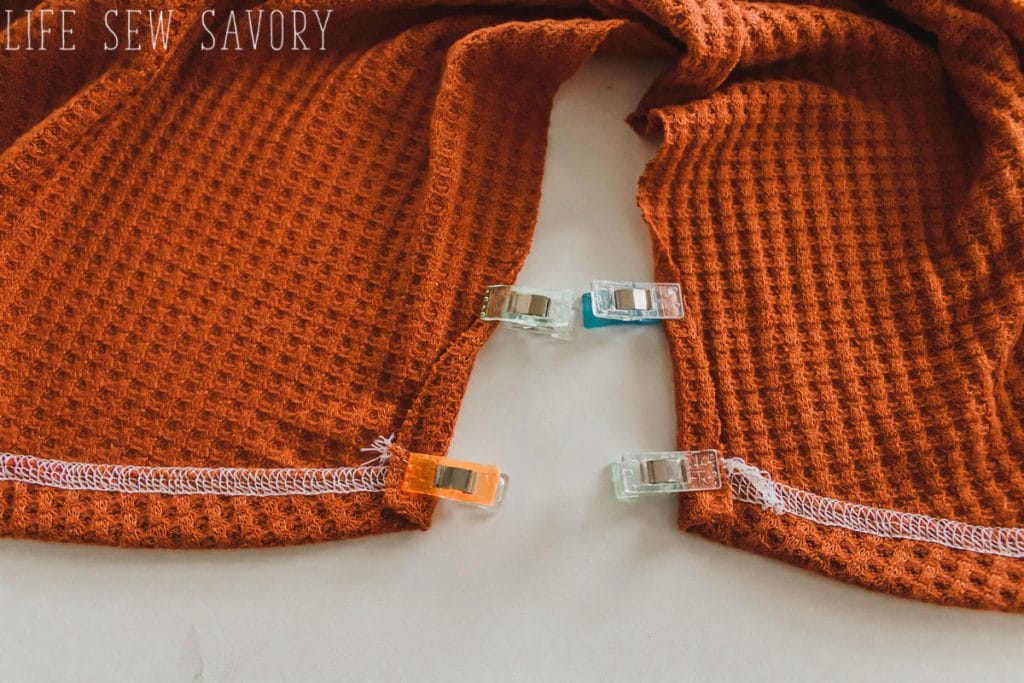
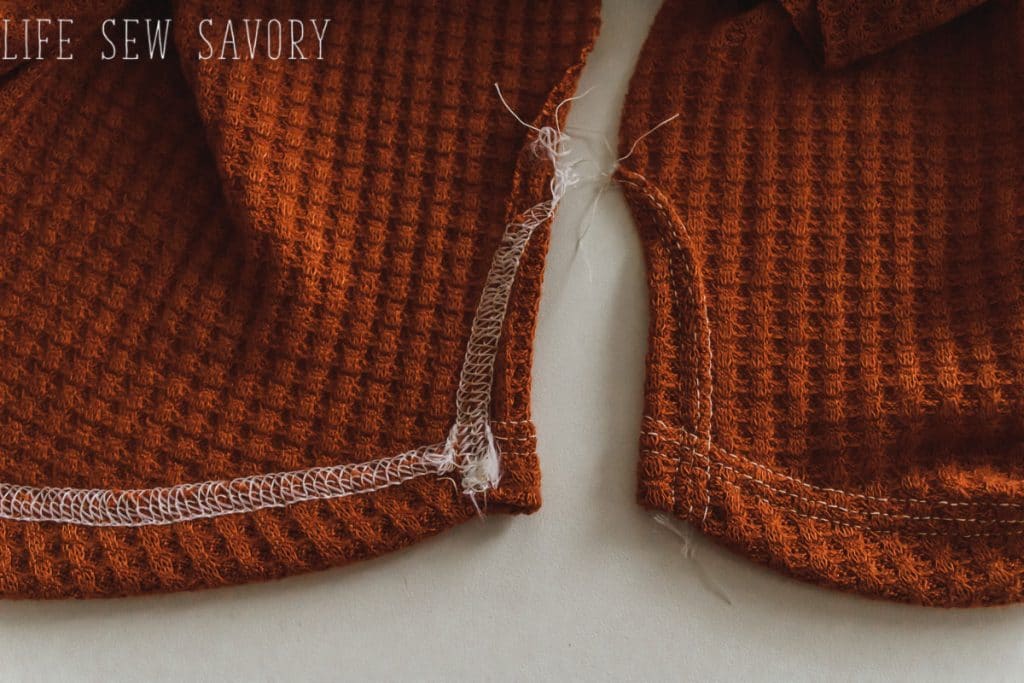
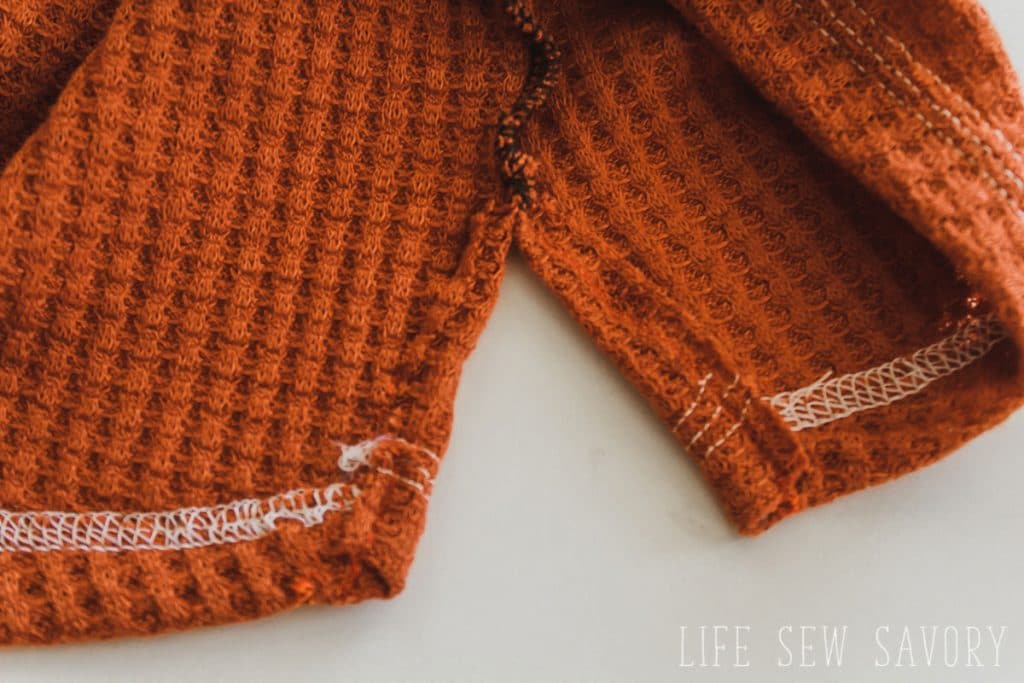
Then, turn a small seam allowance to the backside of the front of the shirt on either side of the hem. I went up about 2″. Angle the fold over so its about 1/2″ at the hem to nothing about 2″ up. {see clips below} Sew this over with a stretch stitch or coverstitch. {both shown below} THEN after you have done this to both sides of the front and back of the shirt, sew down the side seams from the sleeve hem to bottom, stop at the top of your slit sewing. {if you used a serger make sure to finish you loose thread ends.}
What it should look like from the front side. Cute right?
If you opted to skip the side styling, just hem your shirt in the round.
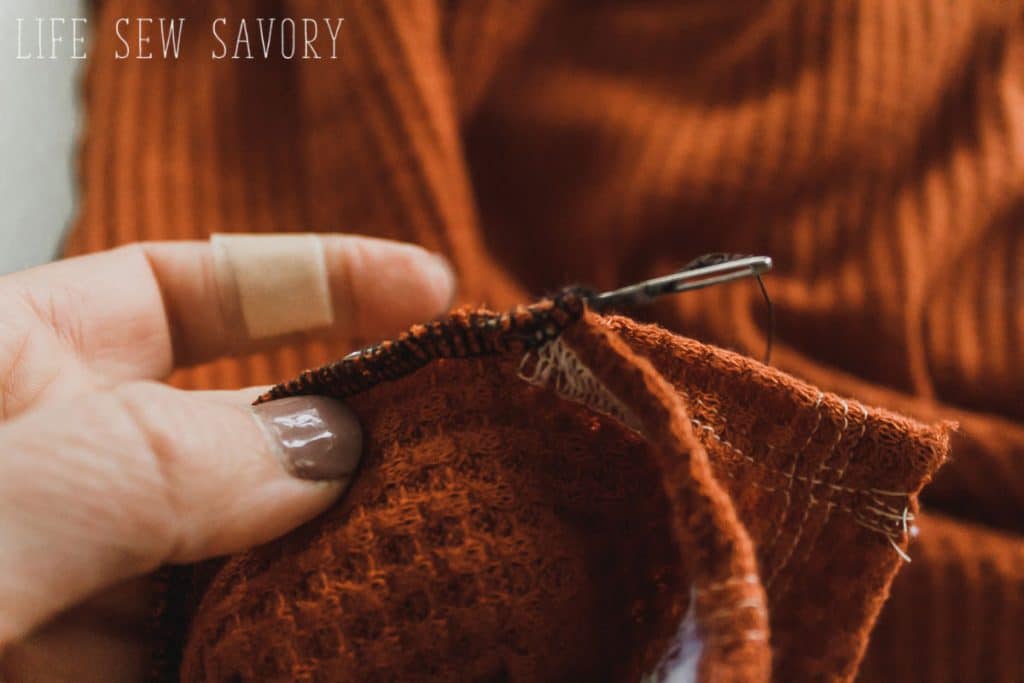
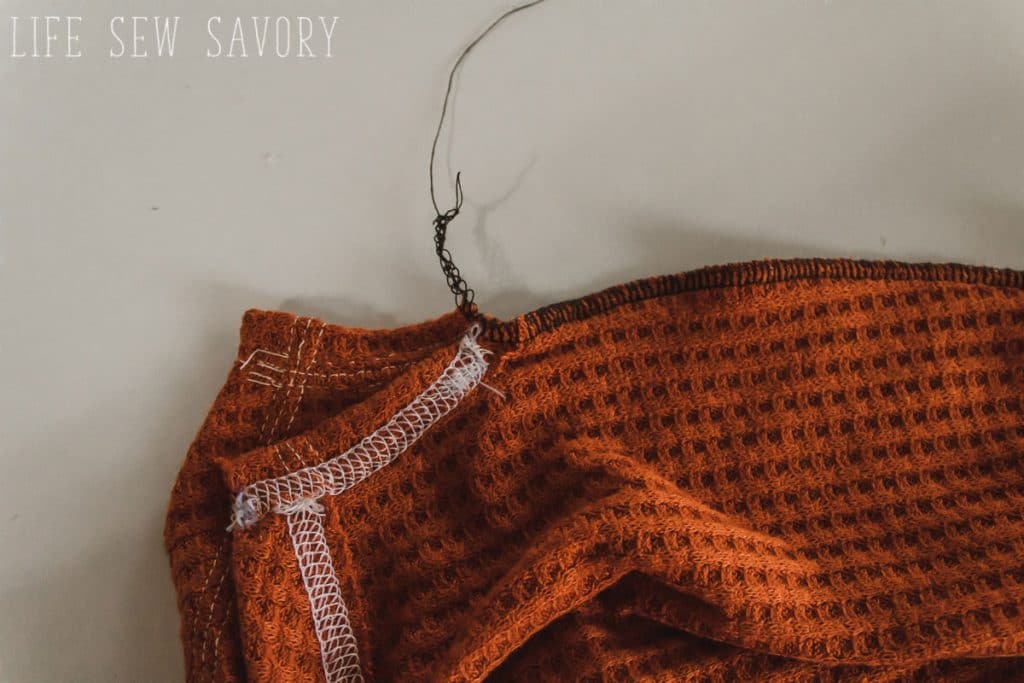
I finish all my loose serger threads by pulling the thread ends back through the stitching with a darning needle. The makes everything look neat and prevents any unraveling.
Your shirt is now finished! Don’t you love it?? Sew with a variety of fabrics for different looks. Thanks for sewing this free shirt sewing pattern, please let me know if you have any questions or comments.








Rebecca Davidson says
Good morning,
Thank you so much for sharing the tutorial for the Raglan shirt. I love it and really want to try and make one but the links are not working for me. I tried on my PC and even on my phone.
How can i get the pattern?
Emily says
it should be all good now! So sorry!
S Senn says
How can I get the Women’s raglan shirt pattern? I didn’t see a link.
Karen says
I love both the children’s and ladies raglan patterns! I made 6 of them for Christmas gifts and they were an absolute hit! I have never had so many positive comments in my life 🙂 The sizing is bang on, I was so surprised that I didn’t have to adjust the pattern at all. My dear d-i-l is quite tall so I added a couple of inches — she was so delighted — it was made out of stretchy fleece — she is always cold! I made the xs for my granddaughter and it fits her perfectly (for the moment). I had made the size 12-14 girls raglan for her a month ago and it was just a fit then. The xs fits her perfectly for this month. Thank you for your excellent patterns.
Barbara Wands says
For the extra Large size the front of the shirt is shorter than the sleeve for the front, the sleeve is over an inch longer in the front. THe back matches up ok though. What am I doing wrong?
Kimberly Bennington says
I am having the same problem as Barbara Wands. Did anyone else figure out how to correct?
Emily Thompson says
I’m sorry about this! Trim the longer side and you should be all set..
Kimberly Bennington says
Can you explain a little further? Should I take the length off of the armpit edge? Or the neck?
Tisha Adams says
I cannot seem to find the pattern piece(s) for the neck band? Is it included with the other pieces? Or is it just written instructions that I’m missing???
Karen says
There isn’t a neckband pattern piece. The neckband size is explained in the written/photo instructions. You measure the size of your neckline and then — depending on the type of fabric you have used — make a neckband from the fabric or knit (specially made for neckbands, wrist and ankle bands) that will fit your particular shirt. Depending on the stretchiness of your fabric, the neckband would be cut 80% – 90% of the size of the neck opening. The width also depends on the look you are looking for …. it could be narrow (1-1/2 in. – 2 in.) to wide (3 in. – 4 in.) There is a separate tutorial on preparing a neckband in Emily’s sewing tutorials if you need more complete instructions. I have just hit the “high points” in preparing a neckband 🙂
Kimberly Bennington says
I’m anxious to sew this up for a friend but am have the same question as Barbara Wands above. The front of the sleeve doesn’t match up to the front of the bodice piece. Can you advise? Thank you!!
Emily says
Hi! Sorry about this! Just trim the longer side to match and you will be fine! Emily
Natalie Feibish says
Any suggestions for sewing very slick fabric? I’m making a kind of rashguard for running to keep the sun off. No purchased versions can accommodate my stomach and my bust.
Karen says
Use a piece of tissue paper under the area where the seam is to be sewn. It rips off easily after you have sewn the seam. 🙂 Its a question so many of us have had! And this solution really works.
Denisse Jones says
I cut the pattern and I don’t see the neck band can someone please tell me the size for an xl?
Denisse Jones says
I found it, thank you
Jasmine says
What a great pattern! I love how the shirt looks on me, thanks for the pattern! It was such an easy sew!
Adrienne Bestland says
I would like to make this is into a nightshirt. Do I just extend straight down or flare it out a little?
Emily says
yep!!Make sure it’s wide enough at the hips, but that’s all… Emily
Rebecca Wells says
What fabric have you used for the tangerine/cream version? I can’t seem to find a mention of anything other than the waffle variation.
Emily says
those fabrics were an old navy mens shirt I cut up and reused ;o)
Lisa c says
“Hi! Sorry about this! Just trim the longer side to match and you will be fine! Emily“ is your reply to those of us using the larger sizes and finding the front of the sleeve is over an inch longer than the front pattern piece!s sleeve ‘seam’. I would like more detail please. Am I to cut over an inch from the neckline of the sleeve? Then it will make for a much wider /wonky neckline, no?
Elizabeth Williams says
I am having trouble with the shirt laying funny on my body. I’m not sure how to explain it, but the neckline is super huge and just hangs there. And the front of the shirt feels funny at the shoulders. Any help on how this could be remedied?
Thank you!
Emily says
hmmm… if you want to send a photo to lifesewsavory@gmail.com I can offer advice.. Emily
Annah says
I just love this pattern! Just made for the kidstyle and just about to make one for myself. But i would like to make one for the whole family. Cant seem to find a mens version? is there one?
Or maybe this could work as a unisex?
Love your work, and love the tutorials!
Anna says
Så fin
DENIA FREIBERG says
Thanks for the pattern. I dont know if anyone had the same problem but, after putting the pages together, some arrows would not match. If the vertical part matched, then the horizontal part wouldnt. Is it just me?
Emily says
hmmm, I not sure about this. I’m wondering if maybe it is more of a printer issue.
Reut Yuval says
I’m really excited to start working on this project, but I do have a question – the test square on my print-out came out as 1.25 inch, without me changing the proportions or anything… I should probably try printing again, right? Have any ideas why that might happen?
Manuela Berger says
Had the same problem, when printing in A4 size. Try selecting “letter size” on your printer.
carol roach says
where are the instructions only the actual patter downloaded
Manuela Berger says
Thank you for the Raglan-Shirt Pattern! I also really like your description – no prattling away, and easy to follow.
I made a nightshirt out of a very soft fabric, and it turned out lovely and comfortable, I’m going to make more of them, and I’ll definitely have a look at your other patterns. Thanks a lot!
Jessica Hancock says
Thank you for the free pattern. I would like to be able to print the instructions for this pattern however I am struggling to do so. Would you happen to have a PDF for instructions so it can be easily printed and not need the computer while sewing?
Thanks, Jess
Emily says
Hi! The way I can offer these patterns for free is by making money off having you come to my site for the instructions. Unless I offer a paid version of the pattern, there isn’t a printable option. This pattern does not have a printable version.