


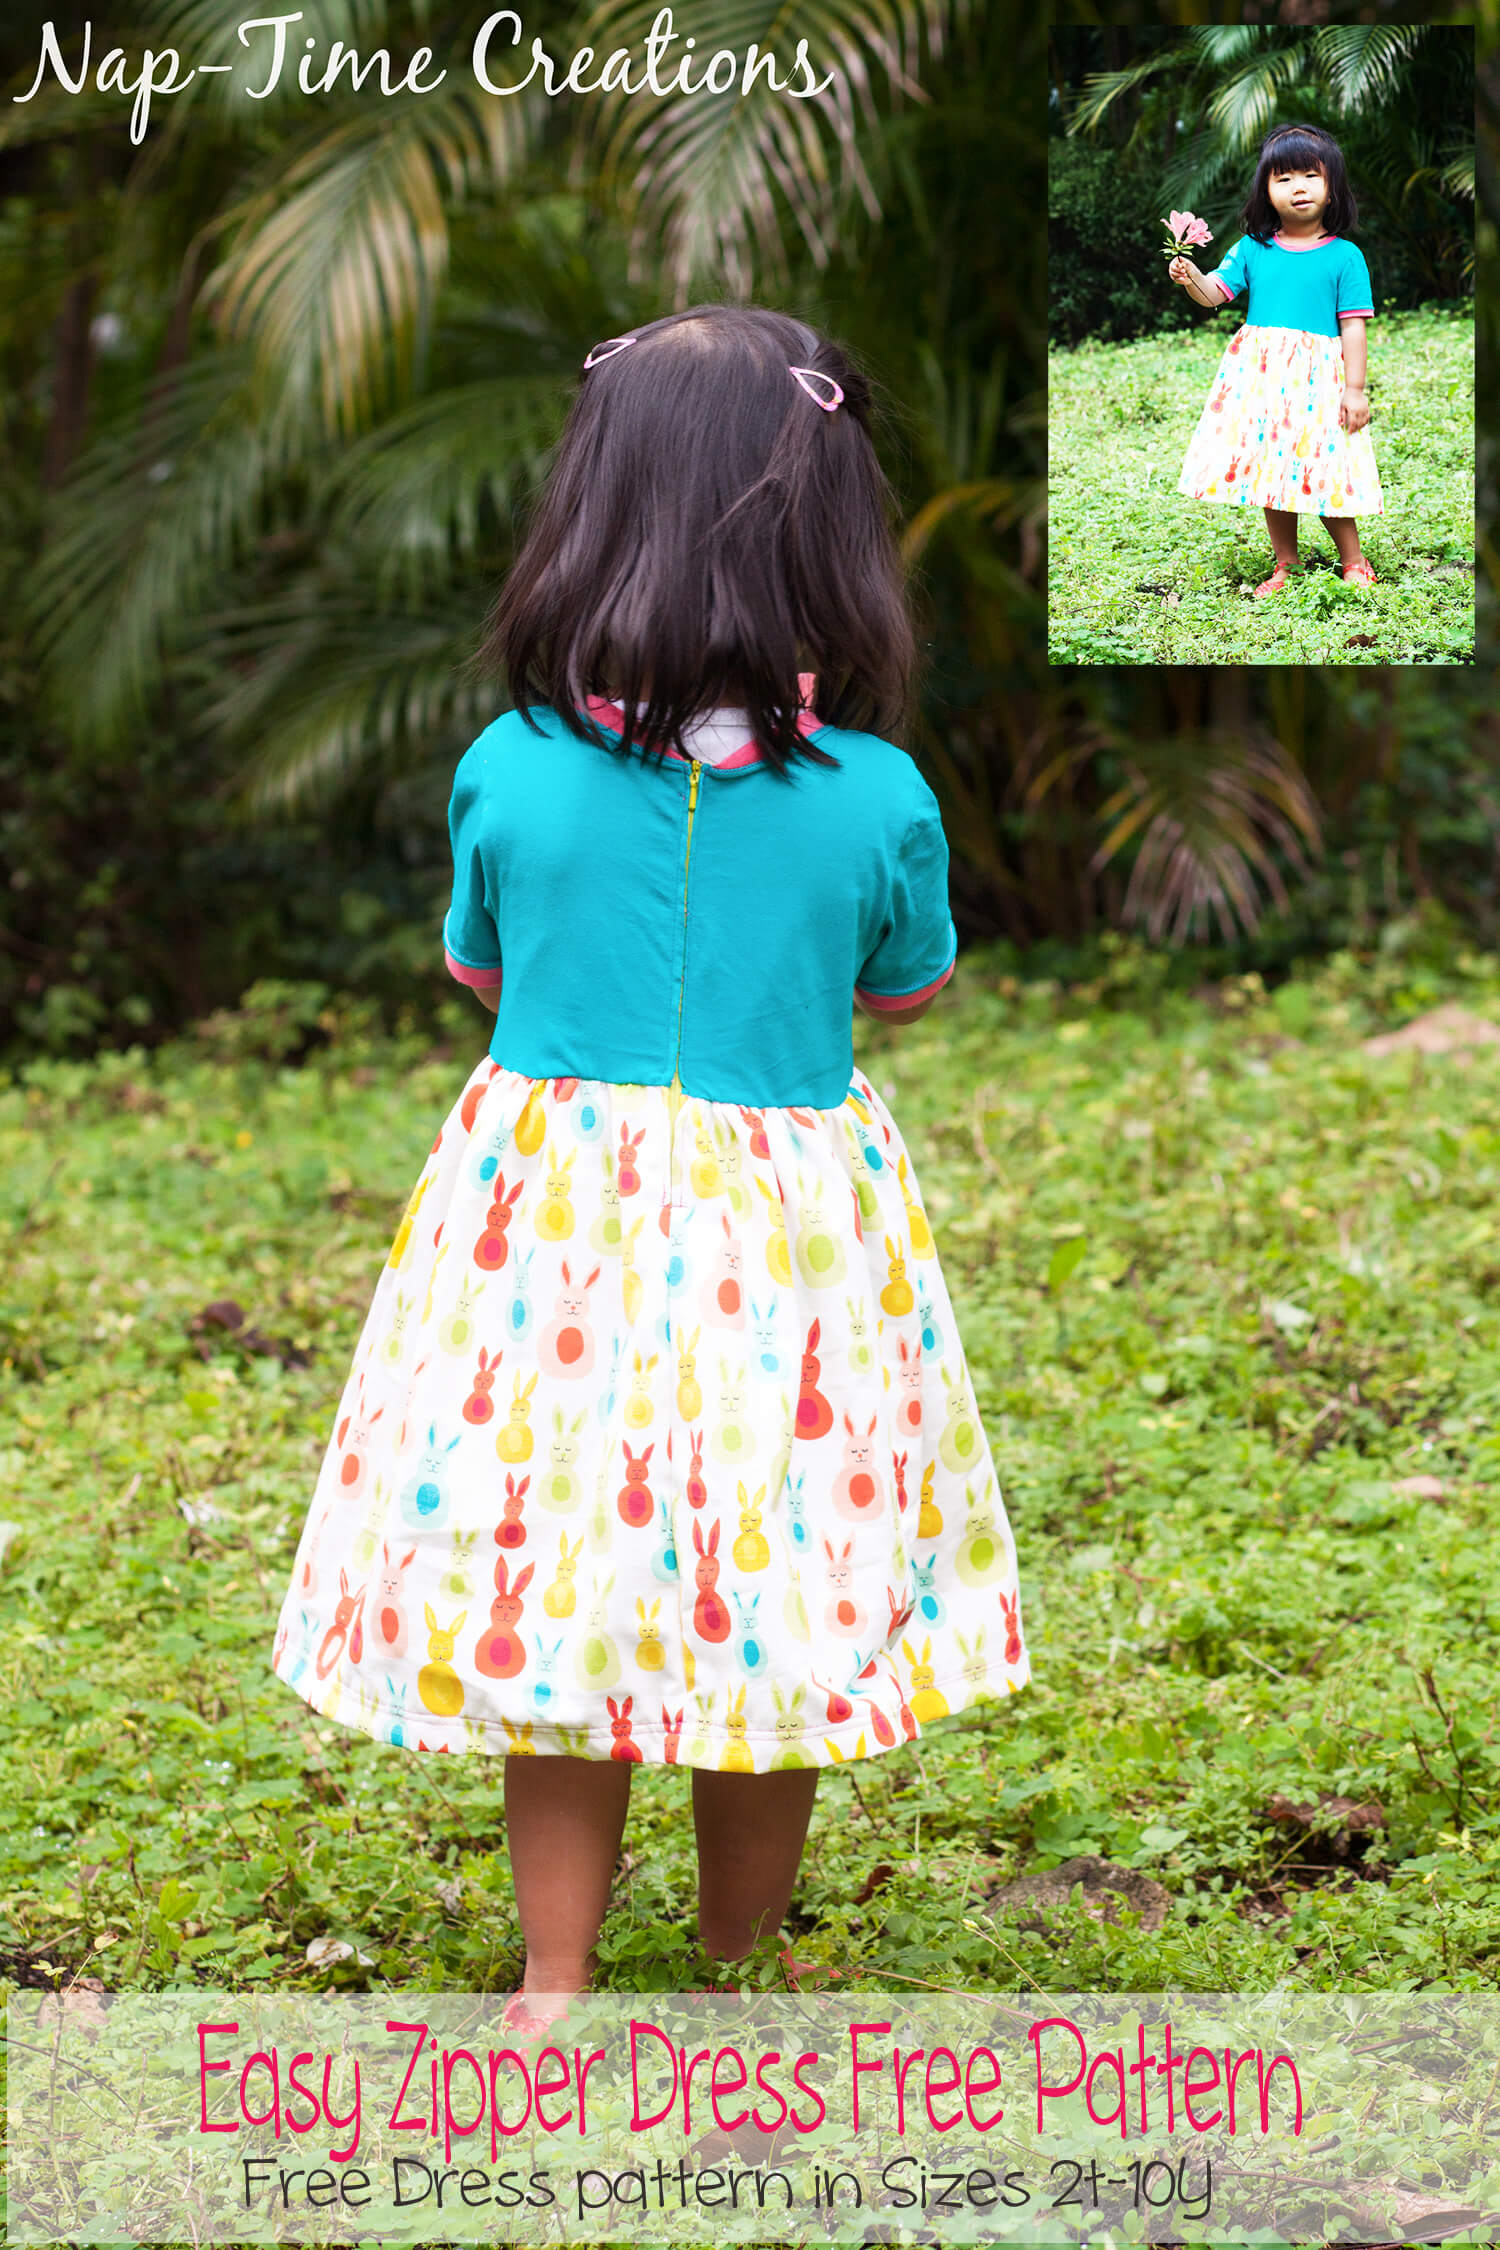
Inside: Learn how to sew an easy zipper dress with a free pattern and tutorial. This dress with a back zipper allows for the use of knit or woven fabric and a nice fitted top.
**updated 2/2025 with new tutorial and photos- originally posted 3/2016**
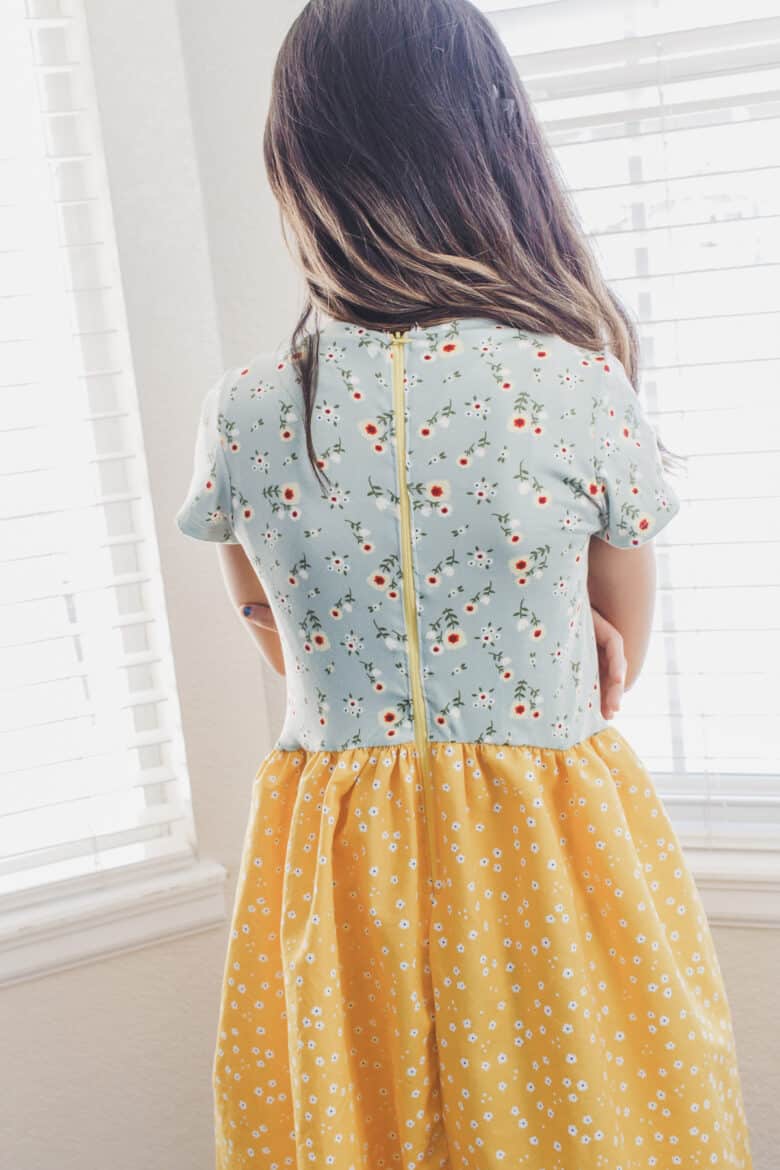
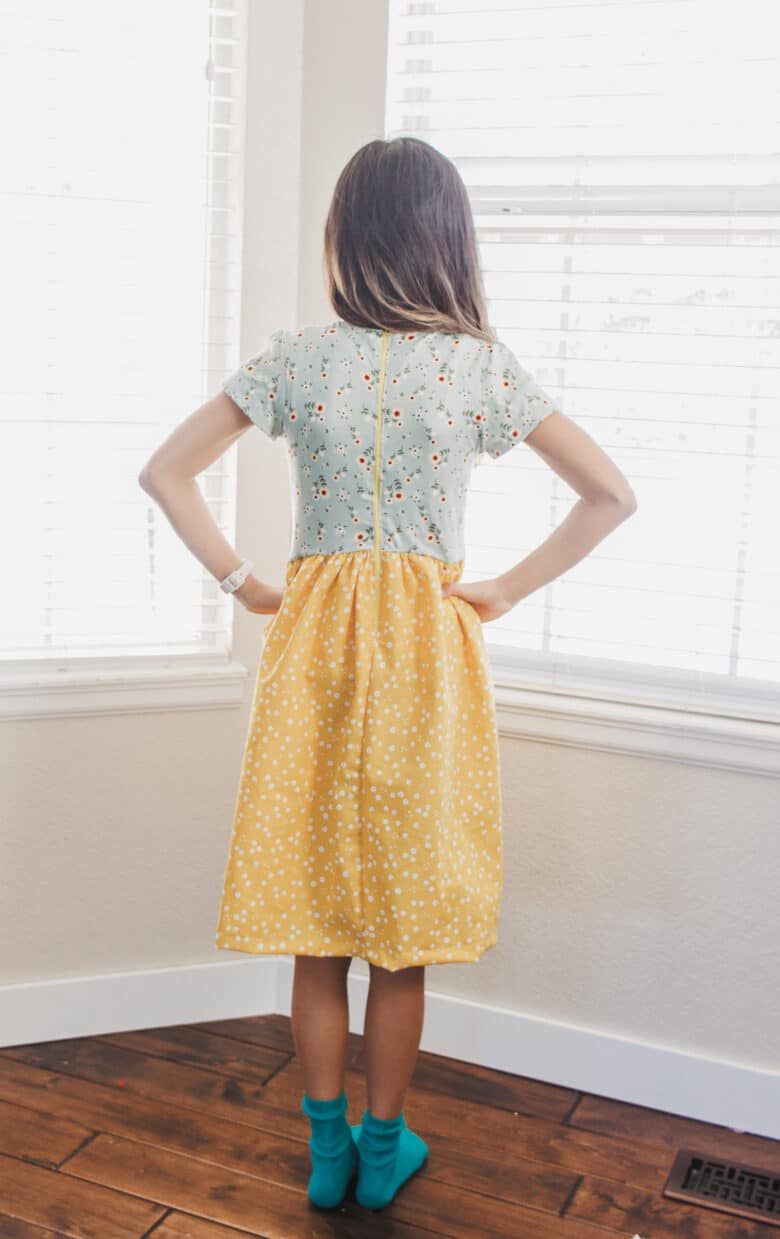
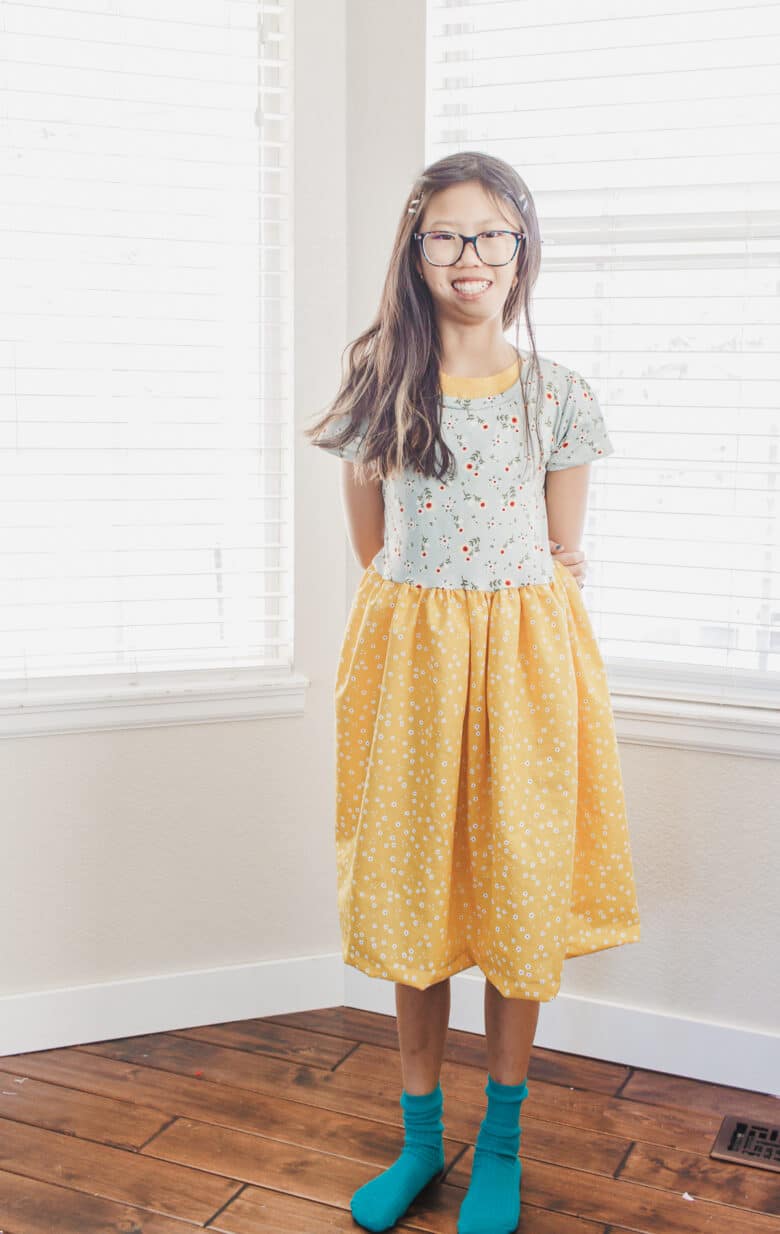
This dress is just as cute now as it was almost 9 years ago! Just in time for spring, this easy zipper dress free pattern is adorable and pretty simple to make too! Nervous about zippers? I’ll walk you through it, and I use the most basic zipper technique for this dress. This is a pattern hack based on the free t-shirt pattern for girls, and made only a short sleeve version, but you could easily make this with long sleeves. The zipper in the back helps the top stay very fitted and the skirt be able to be made form woven fabric.

Join my FB group for pattern support and other free patterns. Make sure to check out all my Free sewing patterns here.
Easy Zipper Dress
First up, here is the version I made originally. My sewing had improved a lot since this first version, and Rose has grown so so much, but the dress is just as adorable.

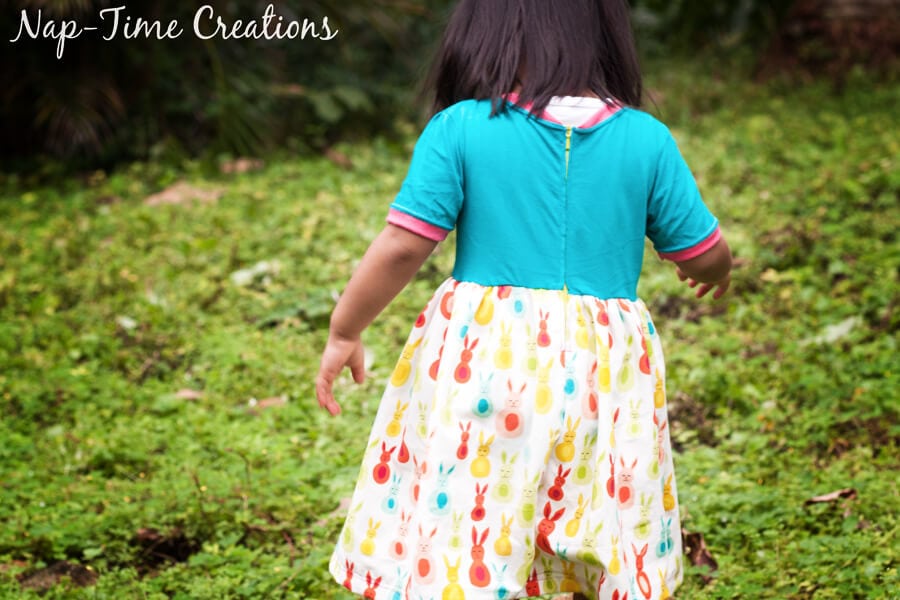
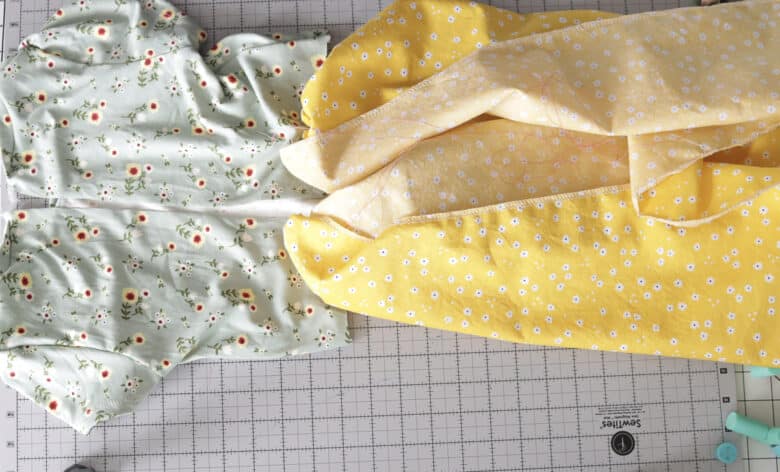
For both my original version and new version I used a knit fabric for the fitted top and woven fabric for the skirt. I would like to try with a woven top, but I don’t have a fitted shirt like top in my free pattern library to use for the top. If you have one you like you can easily use it for this pattern hack.
Other free dress patterns to sew
- Swing dress free pattern
- Sweet Rose Dress free pattern
- Circle Dress Free pattern
- Ruffle T-shirt dress
- Simple Knit Dress
- Ruffle Dress for Woven fabric
How to sew a dress with a back zipper
Okay, let’s dive right in! You can head over to MY SHOP to download and print your pattern. If you need more help sew up the shirt you can also find pattern layout guide and sewing information in the t-shirt tutorial here.
I cut my shirt pattern pattern pieces from knit fabric. If you are using a different pattern made for woven fabric you can use this tutorial to insert a zipper in the back of a woven shirt pattern as well. For my free pattern you will need to cut from knit.
The skirt can be cut from knit or woven fabric. I like the mix of the woven and knit fabric.
The neck and arm bindings can be cut from contrasting knit or the same as the shirt top. All seams are sewn with a 3/8″ seam allowance. {unless otherwise noted} You will need approx. 1/2-1 yard for knit shirt and 1-2 yards knit or woven for skirt. I used the length of 2 yards for the skirt of my new dress shown here.
Also needed is 1 – 12-14″” zipper.
Trim shirt to the length you want the top of your dress to be. I like it at the high waist. You can do low waist or empire waist as well.
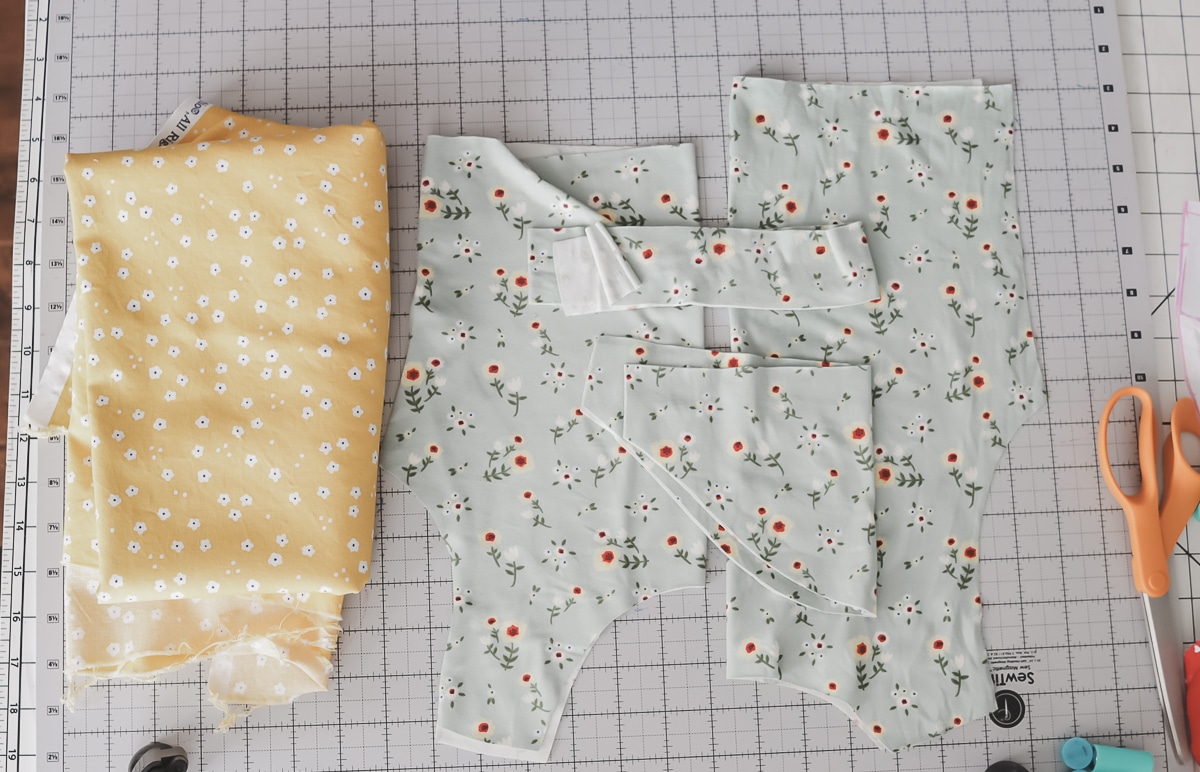
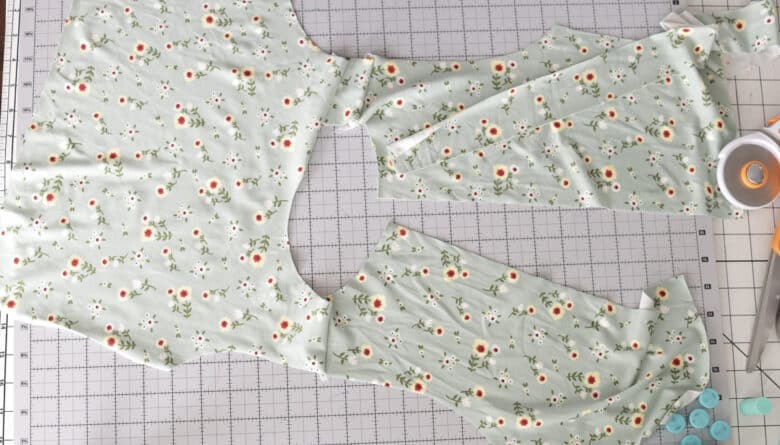
Cut out the pieces as direction on the pattern pieces. I just hemmed my sleeves, but it you want to add a bit of contrasting color you can add bindings to the bottom of the sleeves before you start sewing.
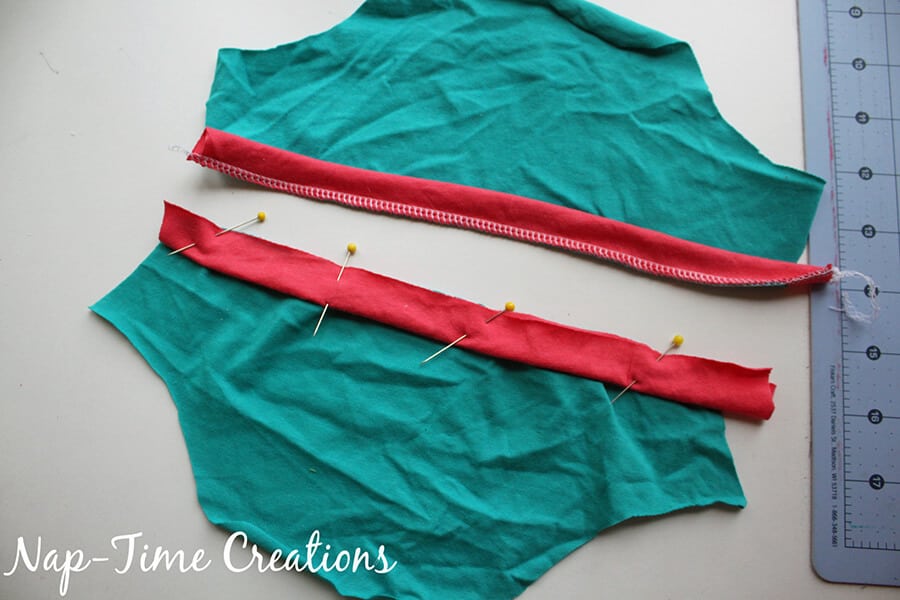
With right sides together sew the front and back together at the shoulders. The back is in two pieces.
Measure around the neckline and record the length. Subtract 20% from this length {20 – 2 = 18}. Example: cut 1.75″ width x 18″. Fold wrong sides together and round the end corners. Need more help with the neck band? Check out my neck band tutorial here.
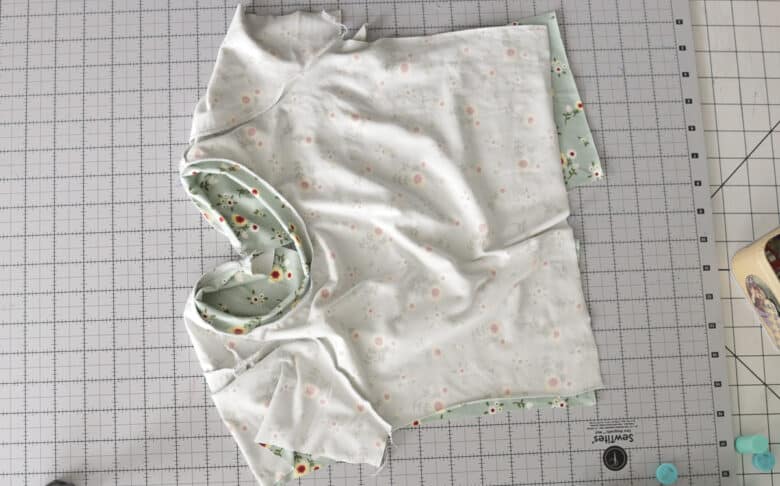
With the right side of the fabric out line up the curved edge of the neckband 1/4″ from the back edge. Pin around the neckline finishing the other side 1/4″ from the edge again. Sew the neckband to the neckline with a knit stitch on your sewing machine or serger.

Pin or clip the sleeves into the arm shoulder openings, easing in the curves. If I have too much fabric to ease in, sometime I put a small pleat by the top shoulder seam in the sleeve to use up the extra fabric. Sew the sleeves in place.
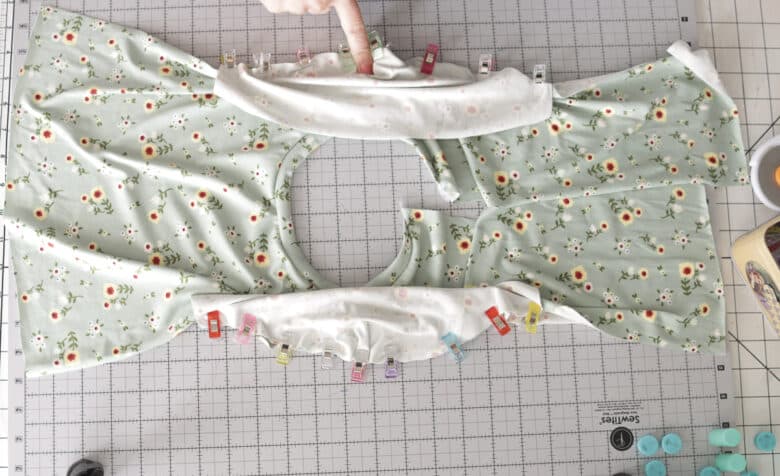
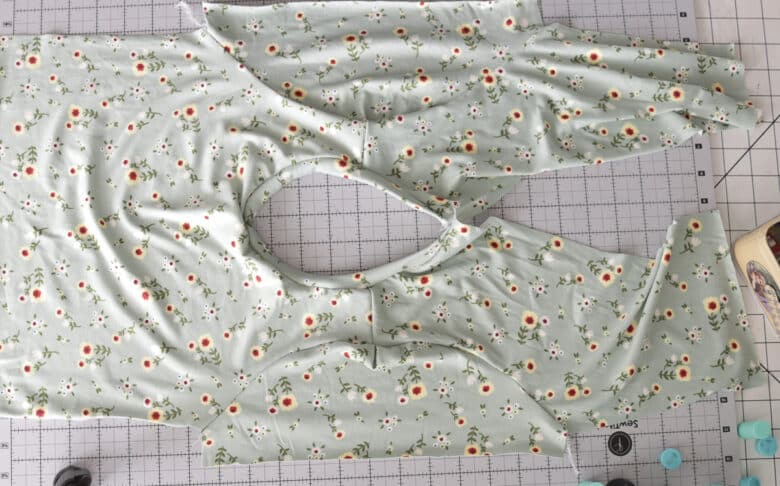
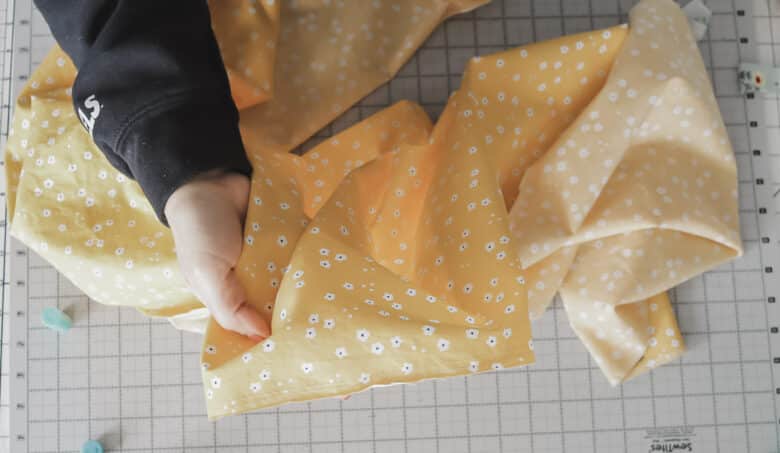
Fold the shirt right sides together and match and sew the side seams. If you are hemming your sleeves, hem them after sewing side seams. Cut a skirt. My skirt is 2 yards long and 24″ long. Your skirt should be between 1-2 yards long and however long you desire.
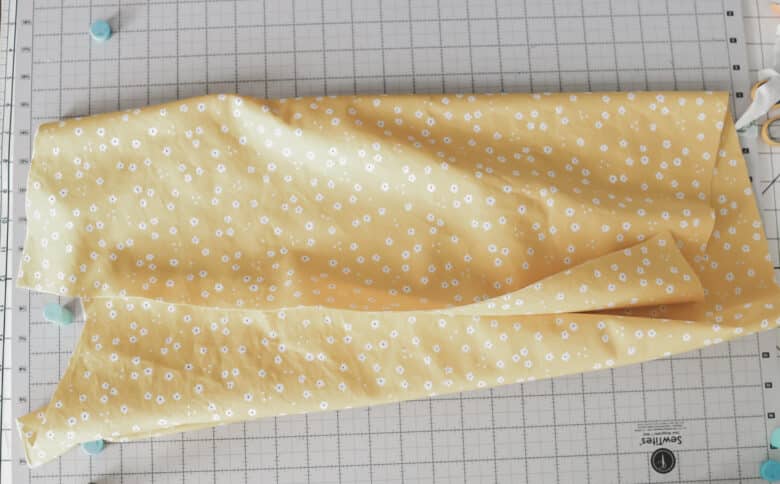
Finish the raw edges of the skirt. I serged the bottom edge and the two short edges. I sewed two gathering stitches along the top edge of skirt. Leave the back of the skirt open.
Gather the skirt to fit the width of the shirt bottom edge. If you need help with gathering you can checkout my post with tips for gathering here.
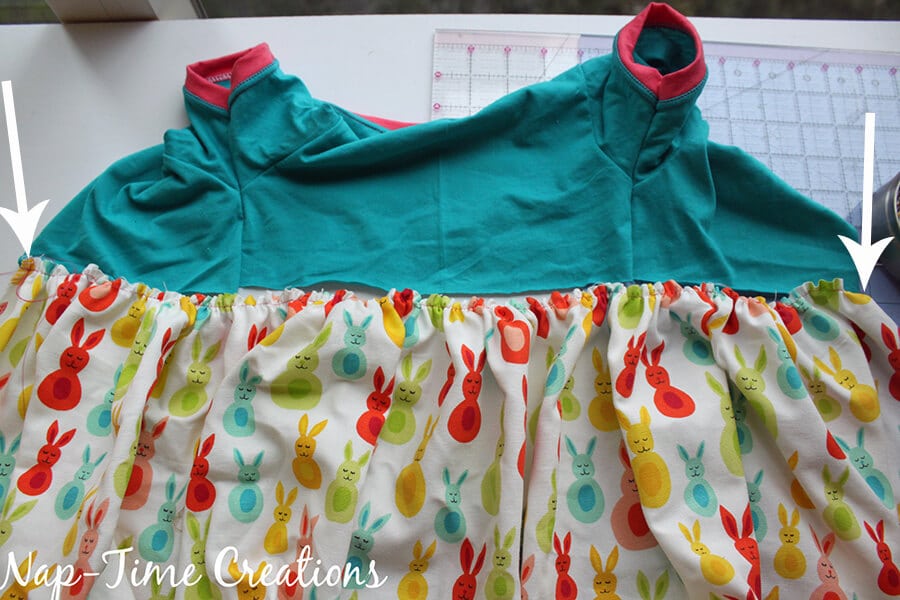
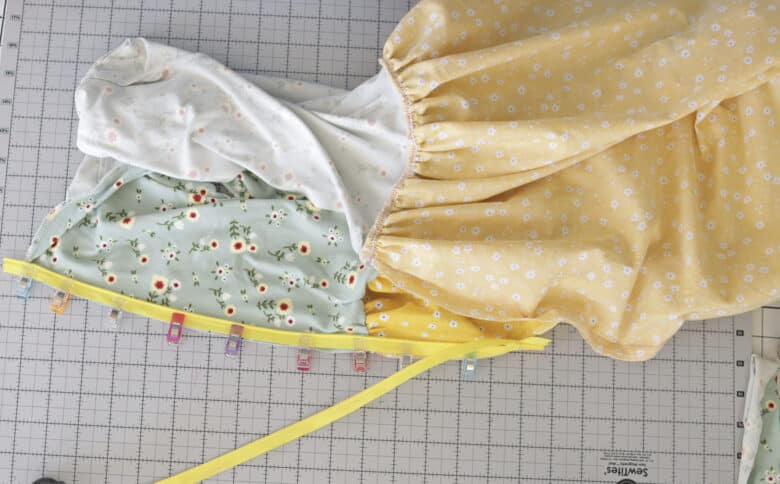
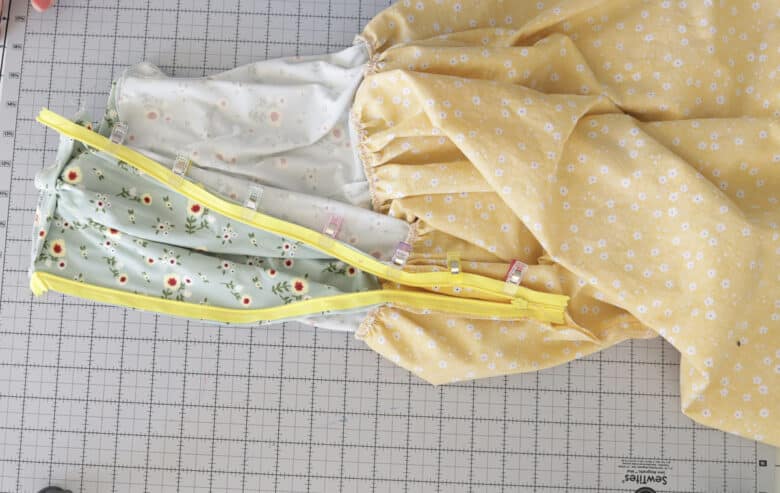
With right sides together, pin or clip the dress skirt and top together matching the back opening of the dress.

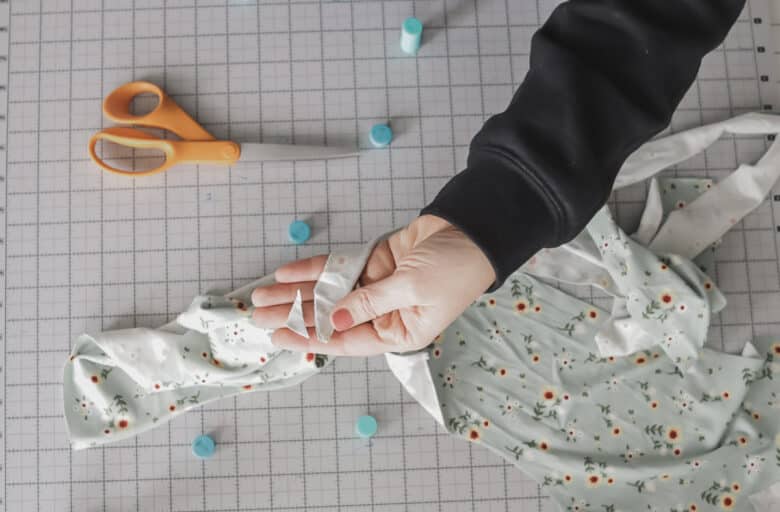
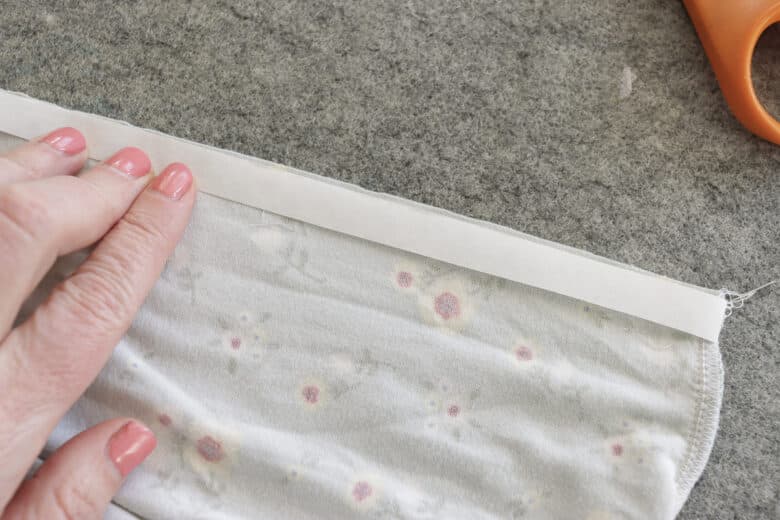
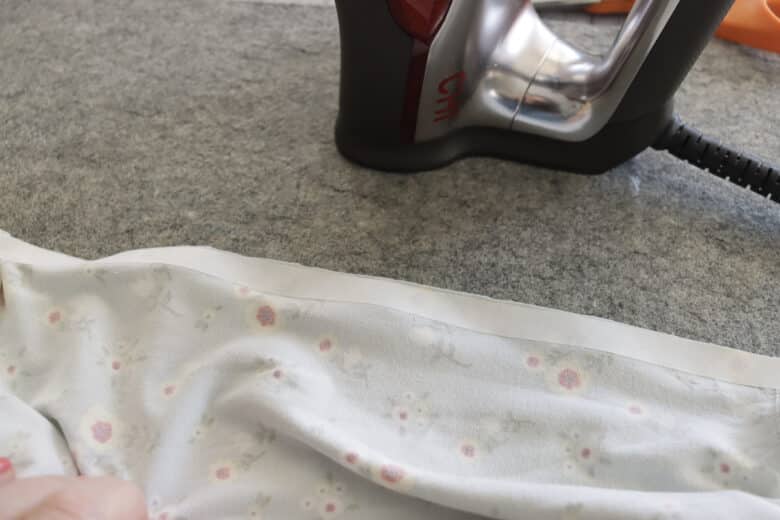
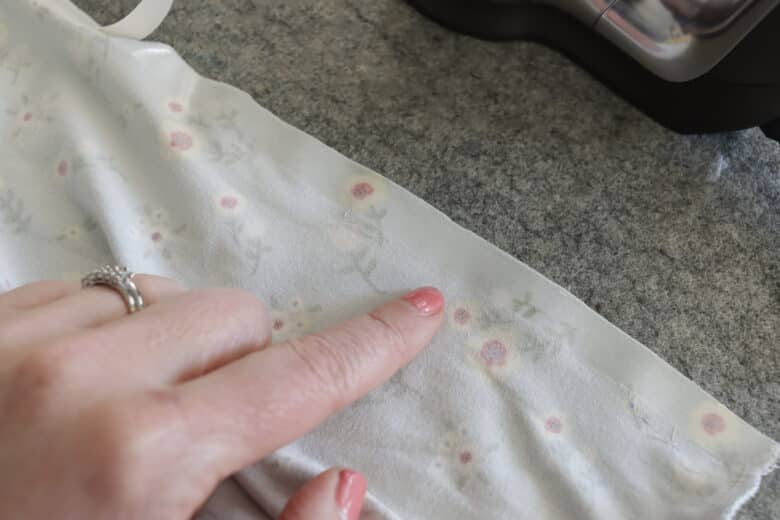
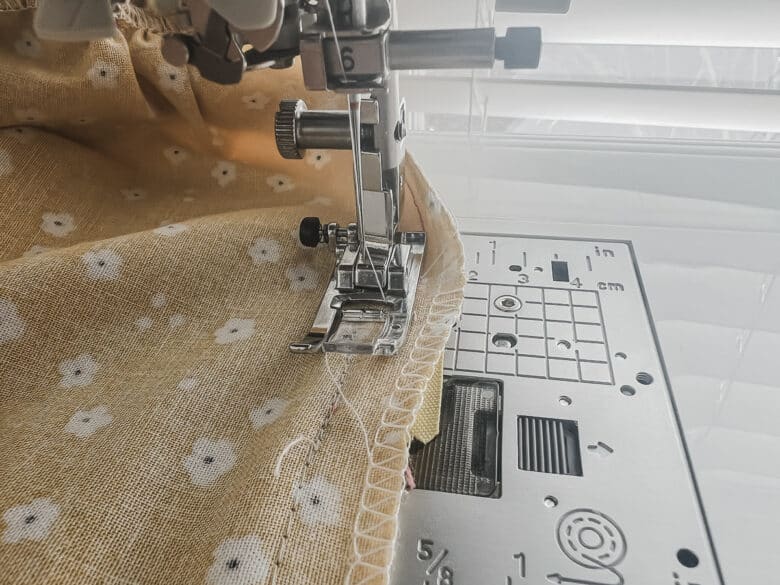
Use a fusible interfacing to stabilizer the back side of the edges where the zipper will go. This will prevent it from stretching out while sewing and help keep everything in place. My tape was wide, so I cut in half and only used half the width to iron in place here. I did not use it as a double fusible.
This should go from the top neckline of the back and just as long as the zipper. It will cross over the gathered seam of where the skirt is joined.
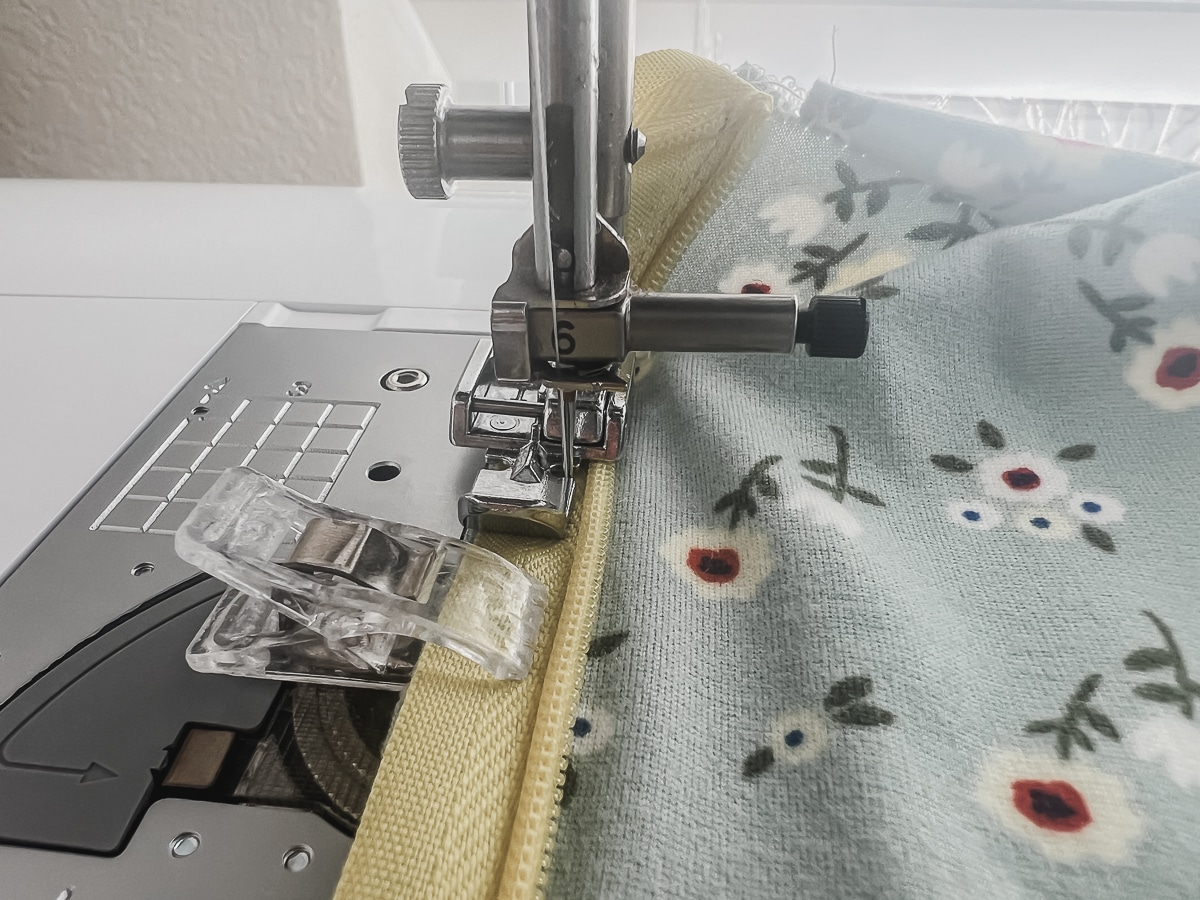
Or you can just use a fabric tape to hold the zipper in place while you clip and then sew. Open up the back of the dress. With the right side of the fabric up, lay the right side of the zipper down touching the right side of the dress. The top zipper teeth should be about 1/4″ from the top of the dress. Pin or clip down the back of the dress. The zipper teeth will be facing IN towards the dress, not towards the edge.
Fold over the extra zipper tape above the teeth as shown.
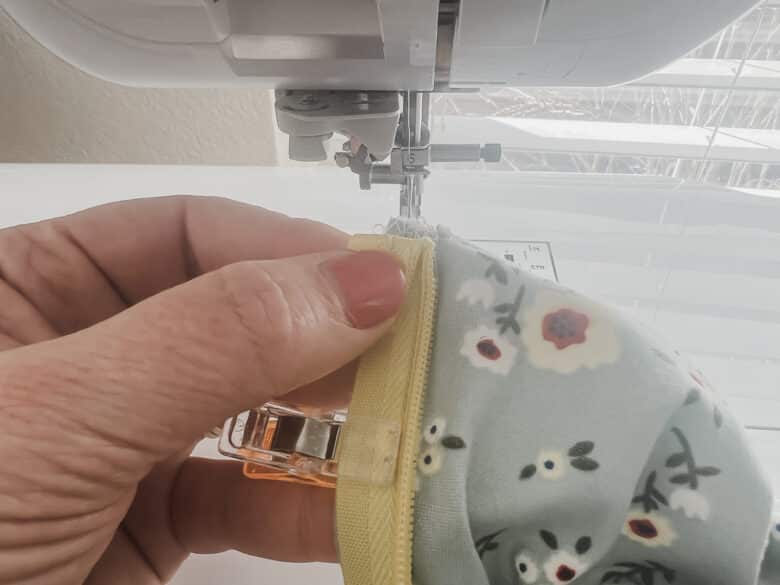
With a zipper foot, sew down the folded tape and then down the zipper. Sew close to the teeth, but not too close. I did use an invisible zipper, but I was not trying to sew it to be invisible. So you will see it a bit. Sew down to the bottom of the zipper.
TIP: never sew around the zipper pull tab. Always move it to where you aren’t sewing. If you need to move it, set the needle down, lift the presser foot, and pull the zipper pull under the foot to move back.
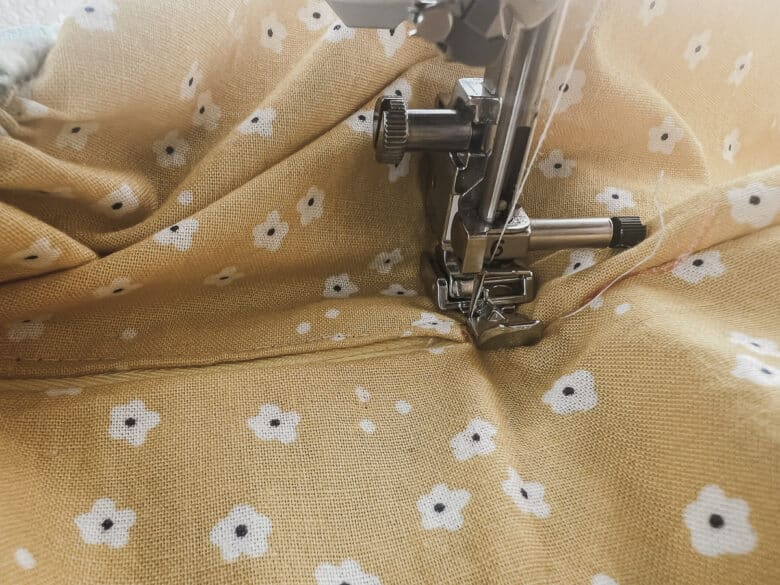
Close the zipper a bit so you can match where the skirt and top meet. With the right side of the zipper touching the right side of the fabric, start clipping the other side of the zipper in place. I started with a clip right on the gathered seam to make sure that this seam would line up when sewn.
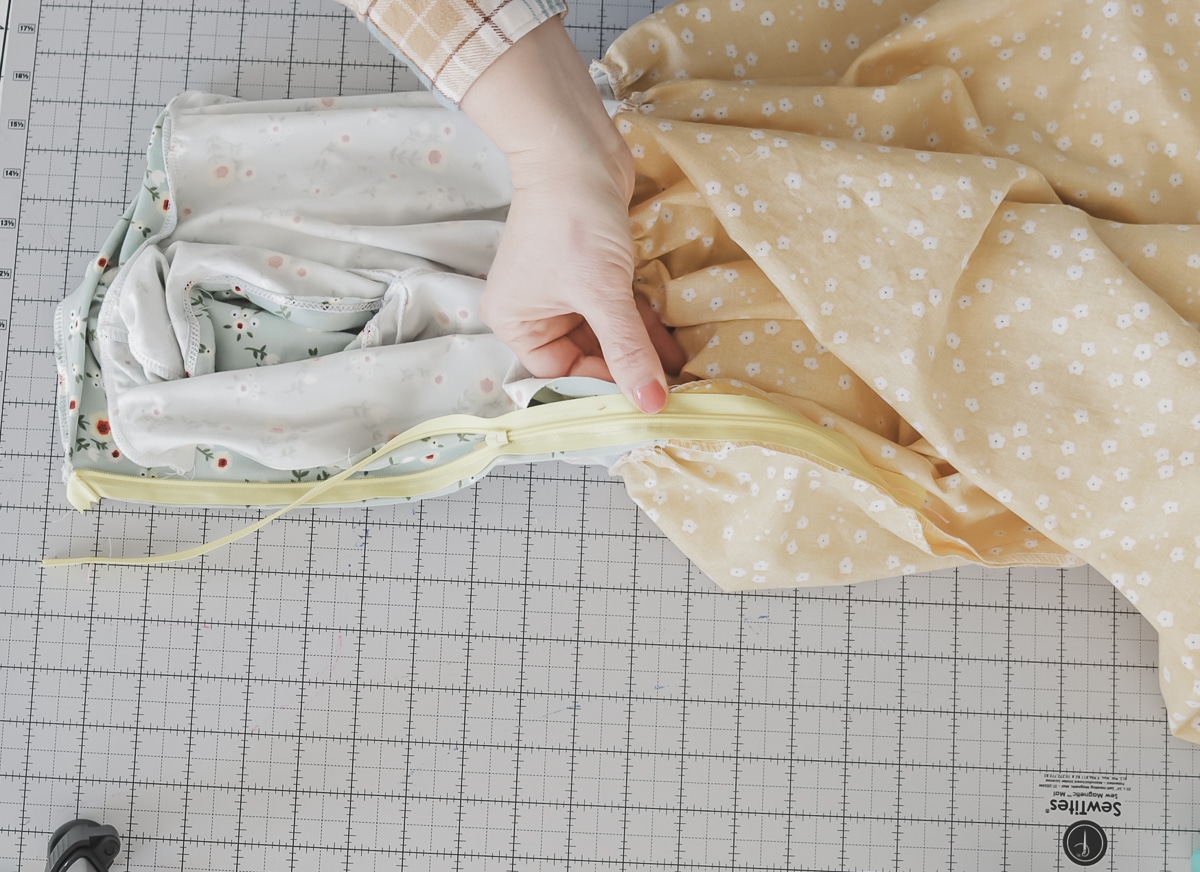
Pin or clip up to the top and down as well. Sew with a zipper foot on the other side. The teeth of the zipper should be pointing the other way this time.
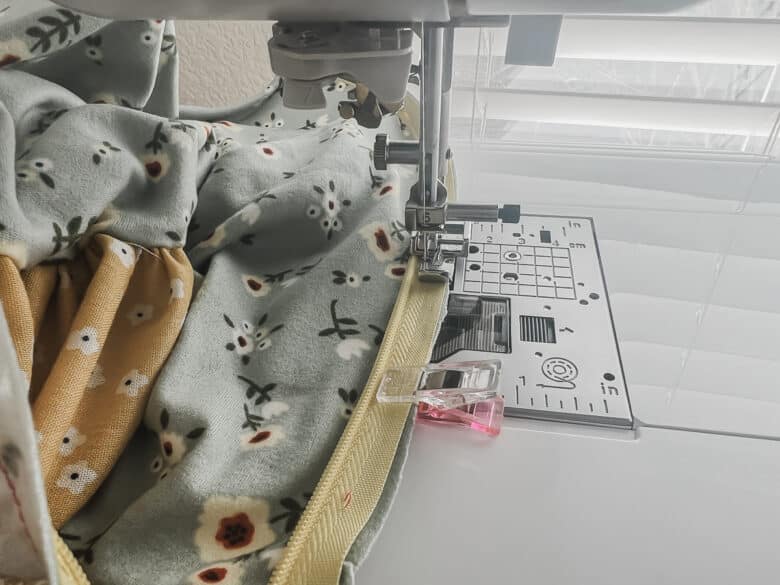
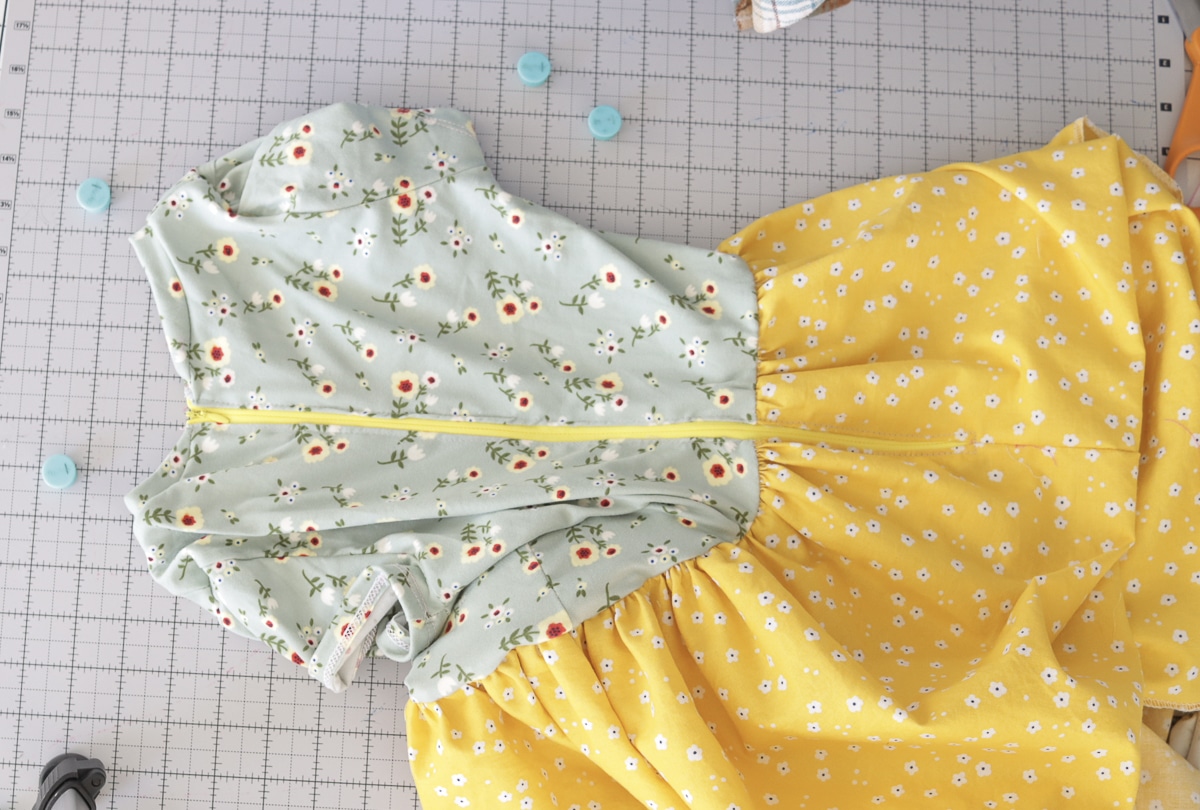
At the bottom of the zipper fold the skirt so the right sides are together and start sewing about 1″ above the bottom of the zipper. Sew down to the bottom of the skirt to sew up the back seam of the skirt. Sew across the bottom of the zipper. Zip up the zipper and fold back the seam allowance to top-stitch on both sides of the zipper as well.
The finished zipper and back side of the dress.
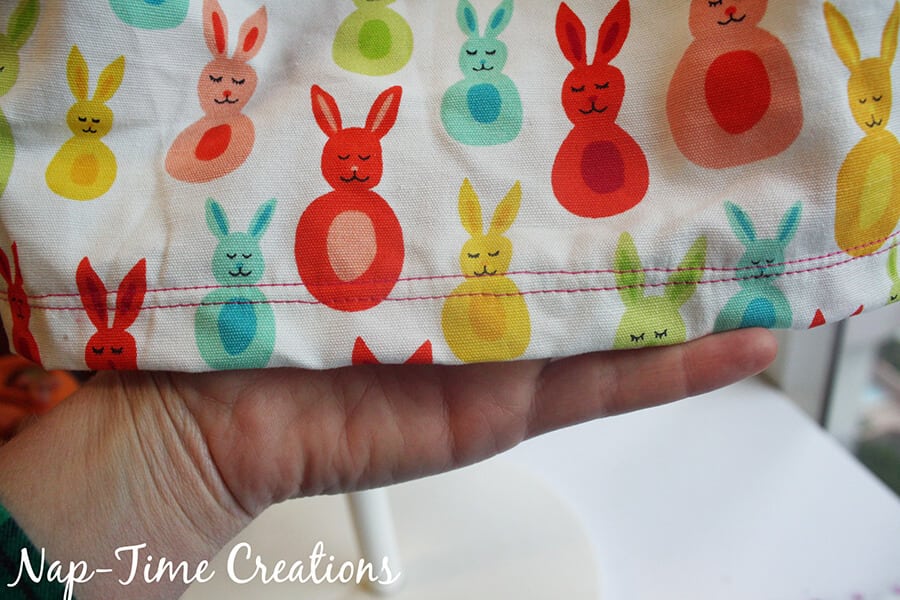
Hem the skirt to finish the dress. Enjoy!
You are done! Questions? Ask in the FB group! You can always e-mail me too! Show off your finished photos in the group! We’d love to see what you’ve made.


Anne says
Cute dress! I’ve got a Craft Gossip post scheduled for tomorrow that features your free pattern: http://sewing.craftgossip.com/?p=87178 –Anne
Desirae says
Adorable dress! Love the easter feel.
Linda says
Awwww those bunnies came out just as cute as I thought they would!!!
Maria says
Such a lovely dress on such an adorable girl! I can’t believe the skirt is made out of ikea table cloth. It’s so festive for Easter! Thanks for sharing this with us on #shinebloghop this week!
Julie says
such a sweet little dress, a lovely fit and gorgeous fabric combination.
Theresa @DearCreatives says
Thanks for sharing at the Inspiration Spotlight party. Shared
Carlee says
Now that is cute! I love the fabric you found for the bottom! Thanks so much for sharing at Throwback Thursday!
home page says
Great internet sitewebsite! It looks very good! Keep up the great work!
Dorien says
hi I love the dress. I downloaded the pattern but there is no piece for the butten of the dress. IS that normal?
greets Dorien
Dorien says
it’s oke sorry 🙂
Megan Lehmann says
I printed out this pattern, but didn’t see a layout guide. Am I missing something?
Emily says
there are no fabric layout guides for this pattern