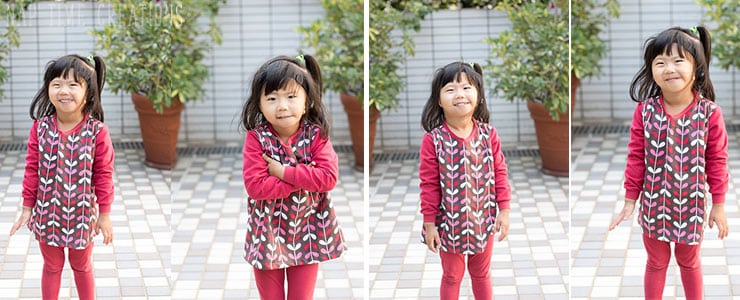
Free Pattern day!! I cannot believe how much my little one has grown. Since adopting here in 2015, it’s been a wild ride and I love looking back at old photos to see how much she’s grown. When I first shared this tunic pattern in 2015 it was just in one size, and today I’m sharing this girls gathered tunic dress free pattern in LOTS more sizes. Enjoy!! I’m sharing some photos from the original post, plus loads of new ones. Join the LIfeSewSavory Pattern Group for support. Make sure to check out all my Free sewing patterns here.
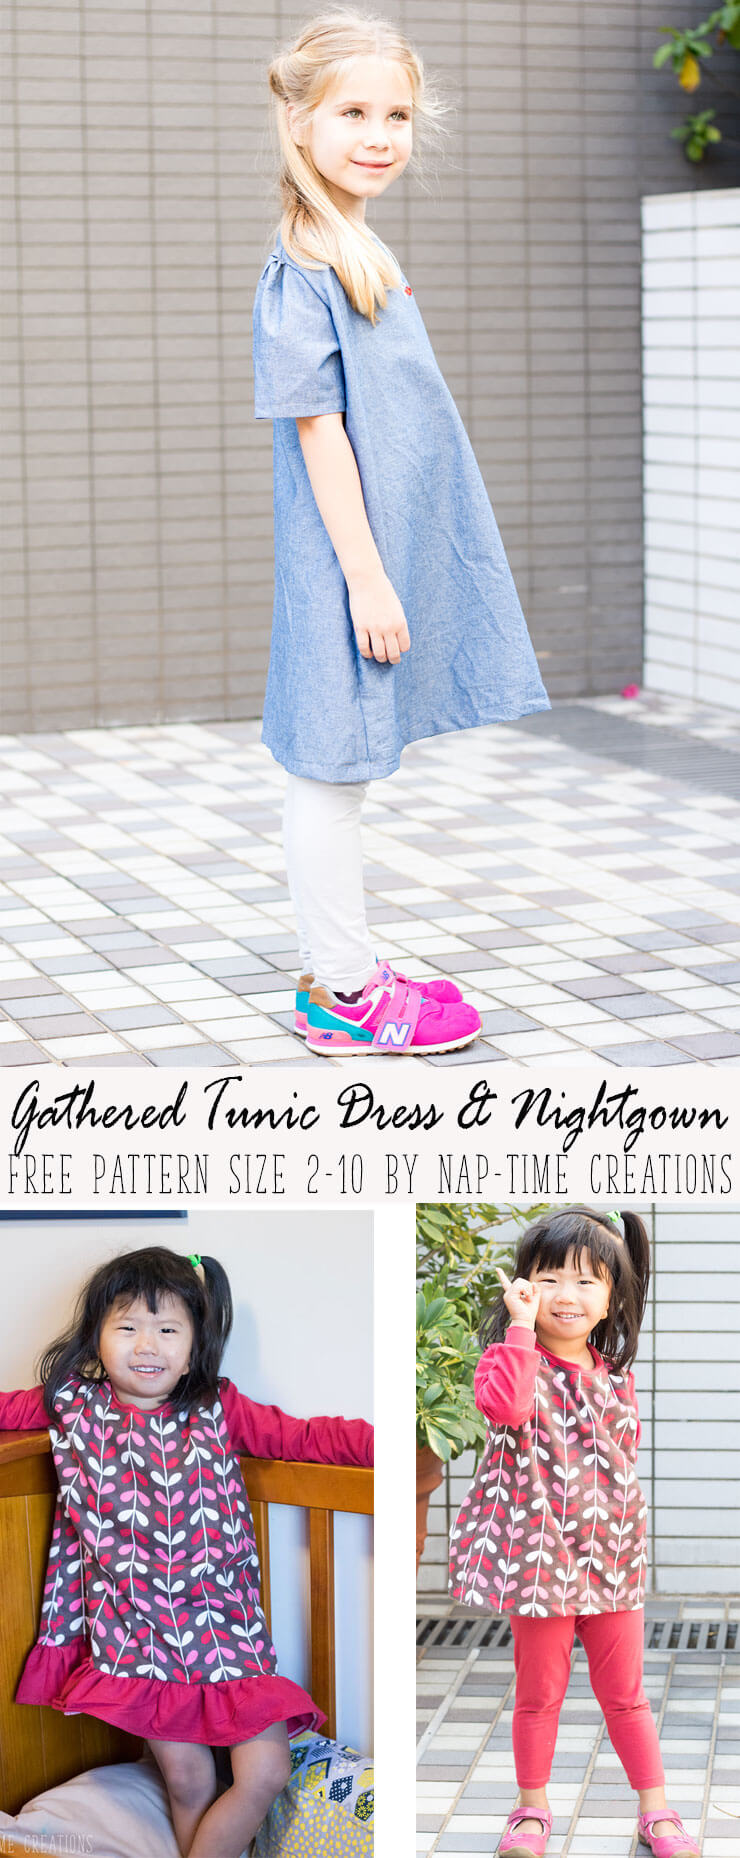
I’ll still be leaving the original post and pattern up, but with this revision today, not you can make this gathered tunic dress in so many more sizes. I’ve also added a few more options, short or long sleeve, back placket or keyhole or add a ruffle to add length and make a nightgown.
I love the simple details of this Gathered tunic dress free pattern. Scroll down for the pattern link.
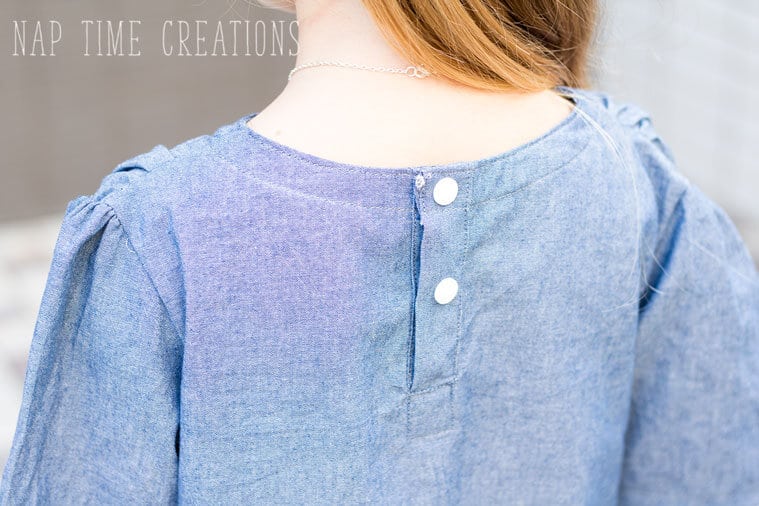
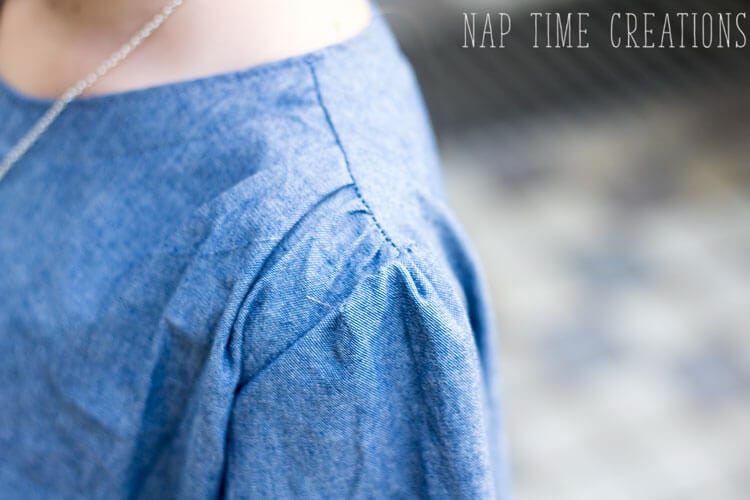
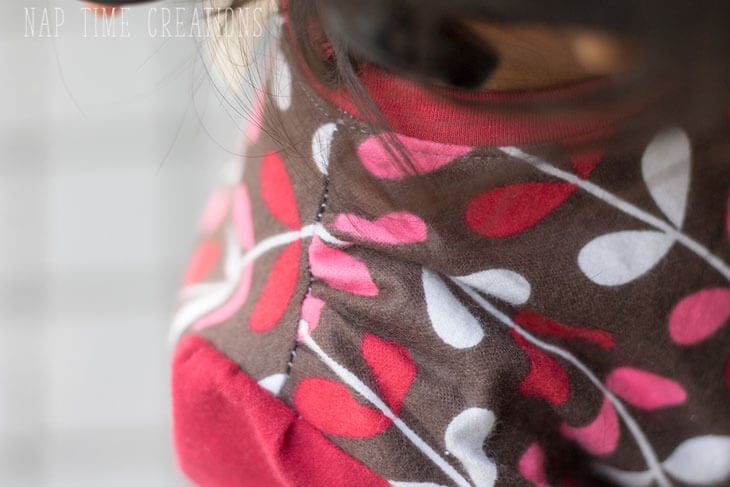
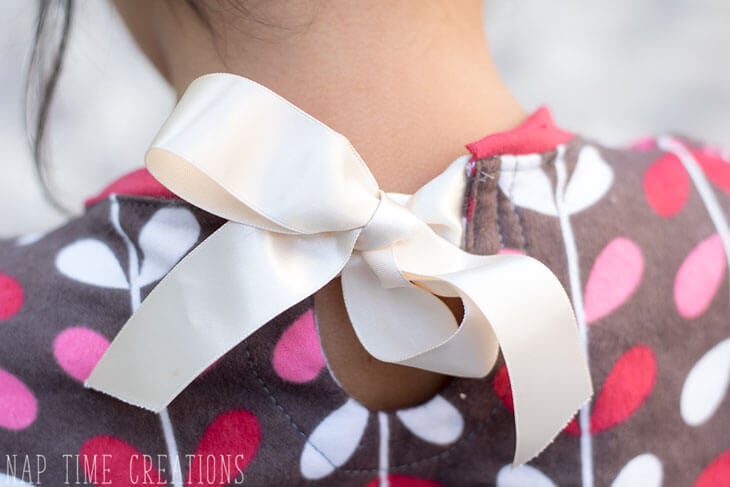
Keyhole back with ribbon tie:
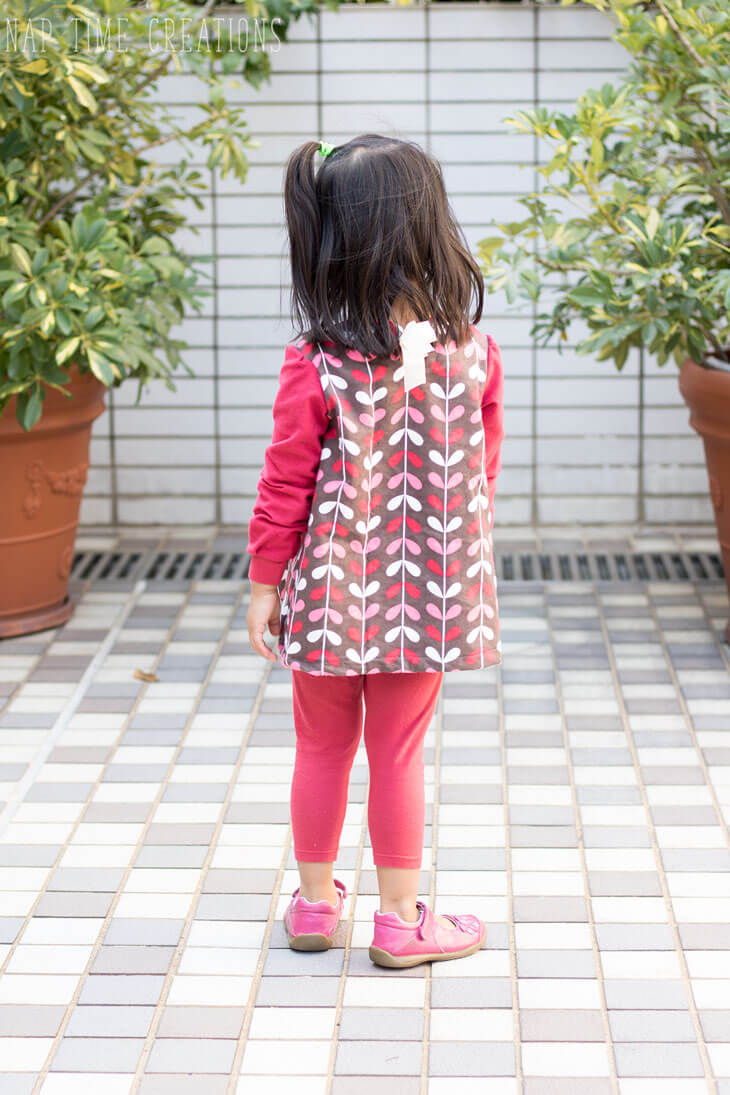
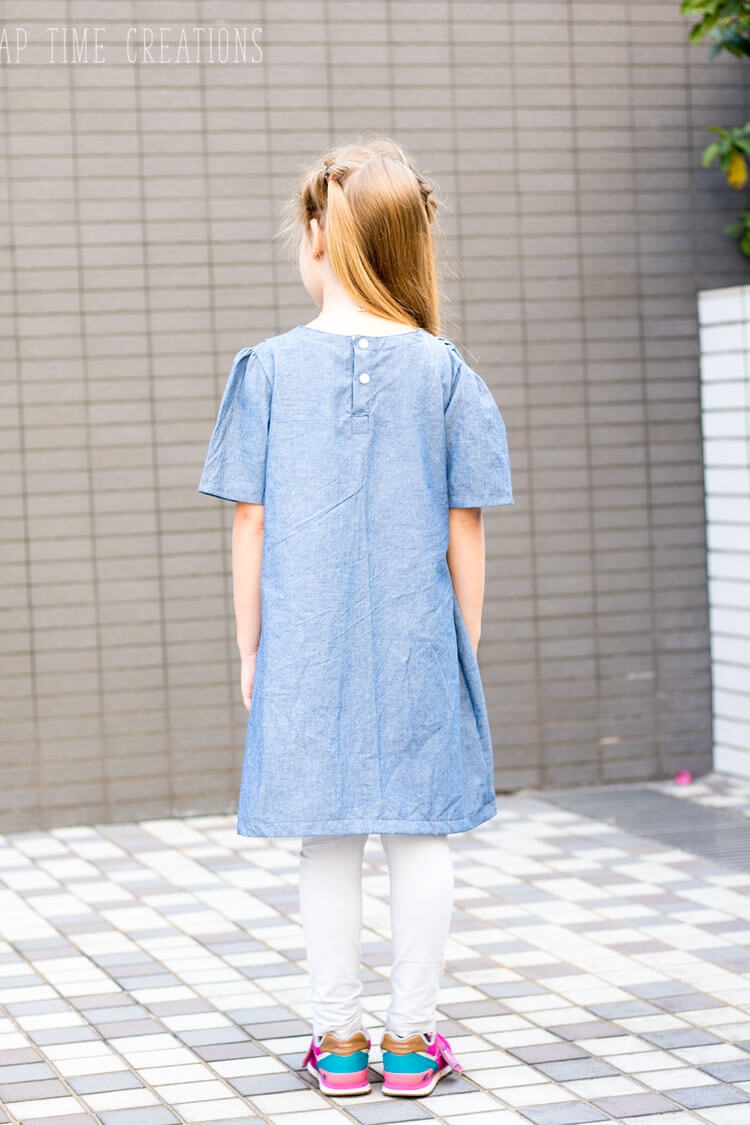
Placket back with snaps:
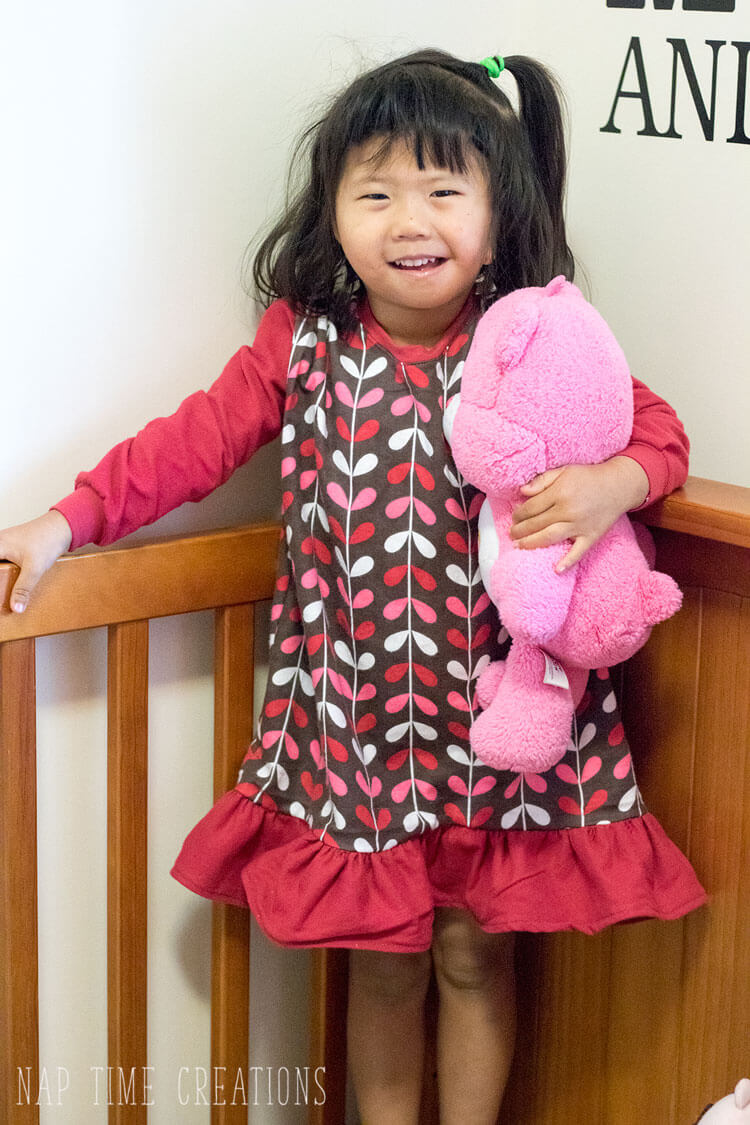
Long sleeves with knit cuffs and neck band. 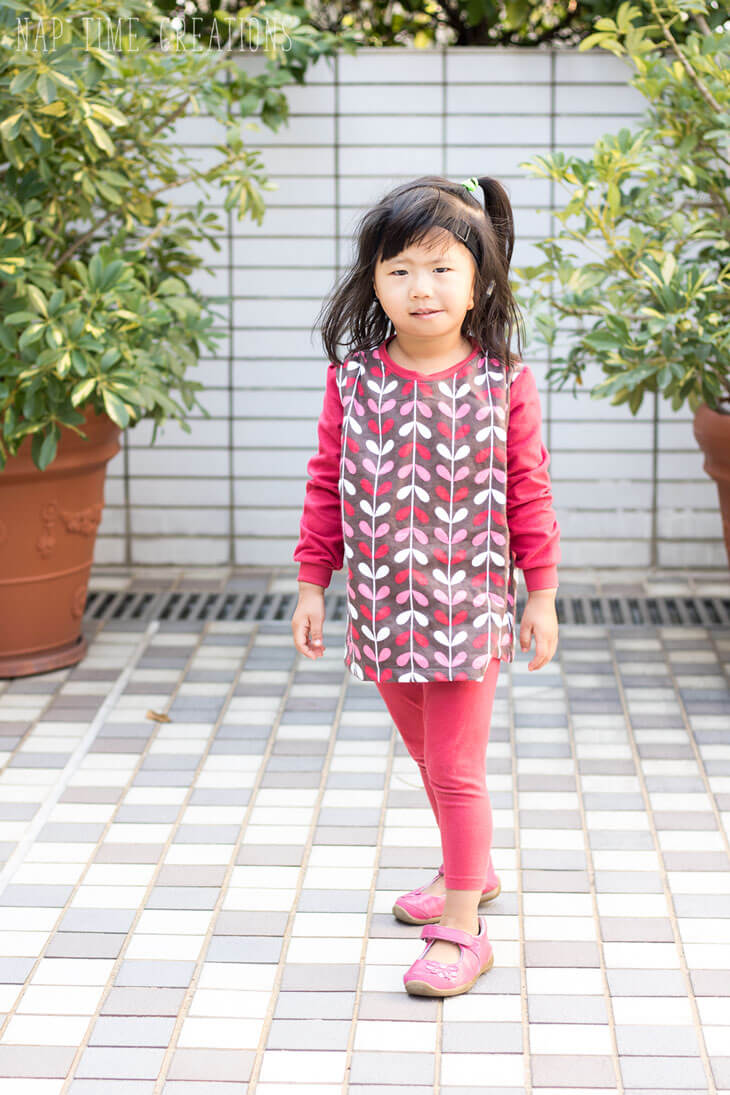
Short sleeves
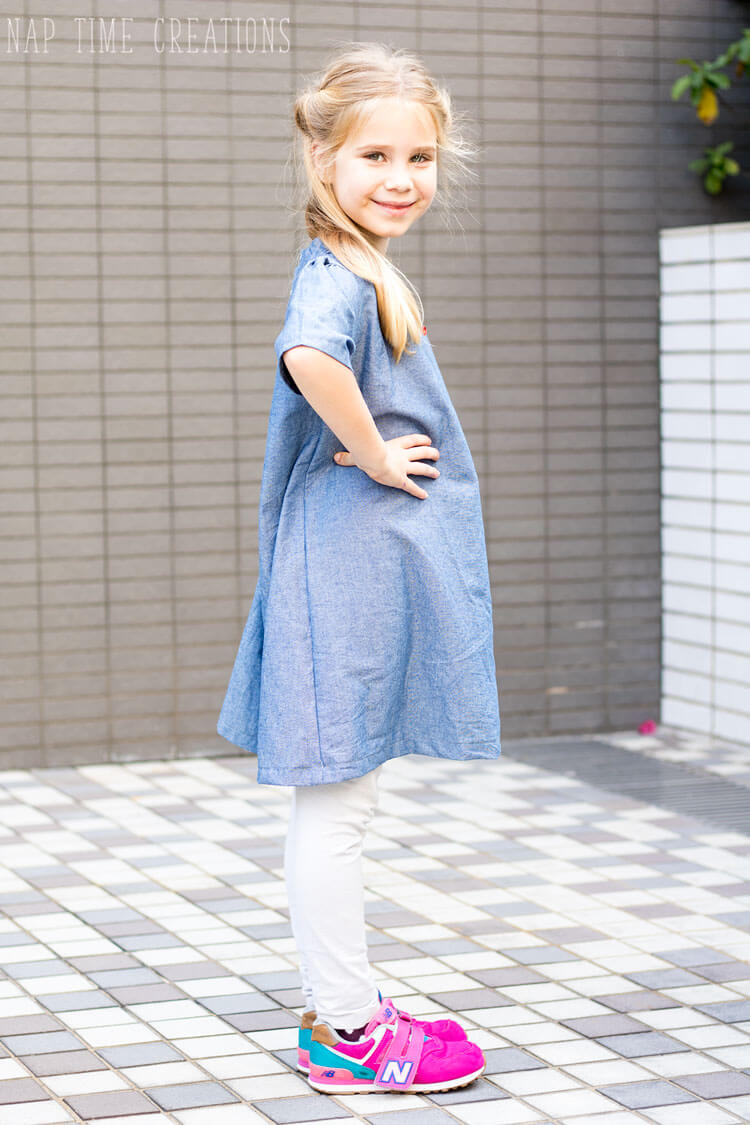
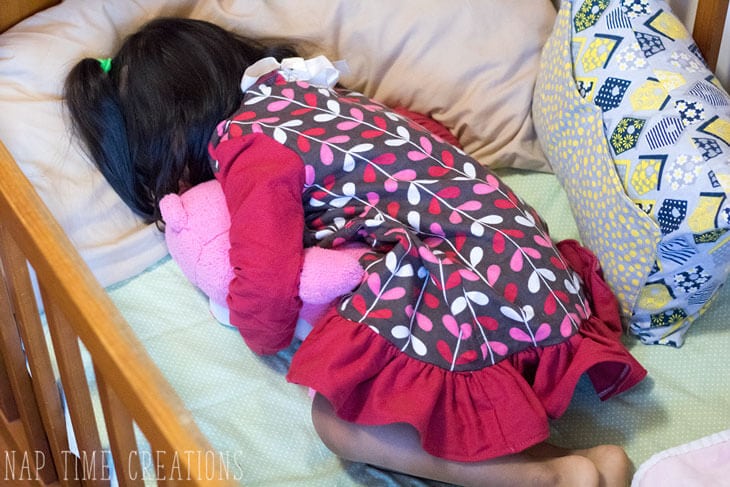
This tunic is intended hit between the knee and bum. You can add length if you want it longer, or add a ruffle to make a nightgown length.
Use this chart to decide what size to make.

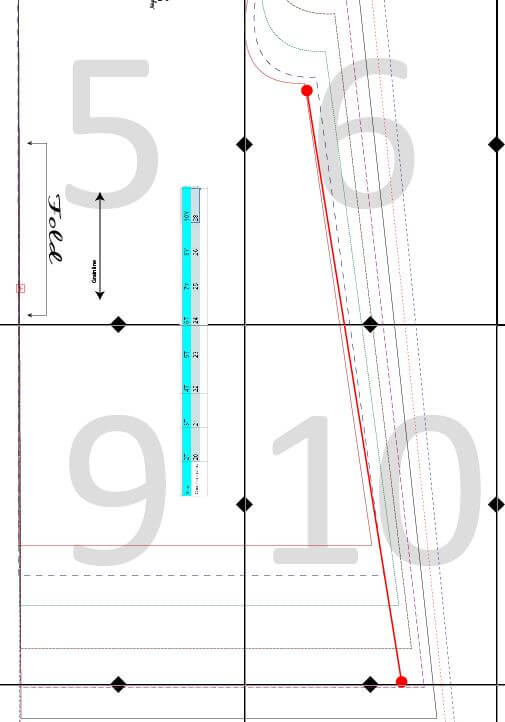
Here’s how to blend the sizes if you need to adjust for the size of you child. If you child is tall and thin… chest measurement is smaller than height.. blend like this. Measure the pattern length against your child and decide on the length to cut. I wish I had made Rose’s a size longer. She’s still narrow in the chest, but without the ruffle, it’s a bit short.. still cute, but shorter.
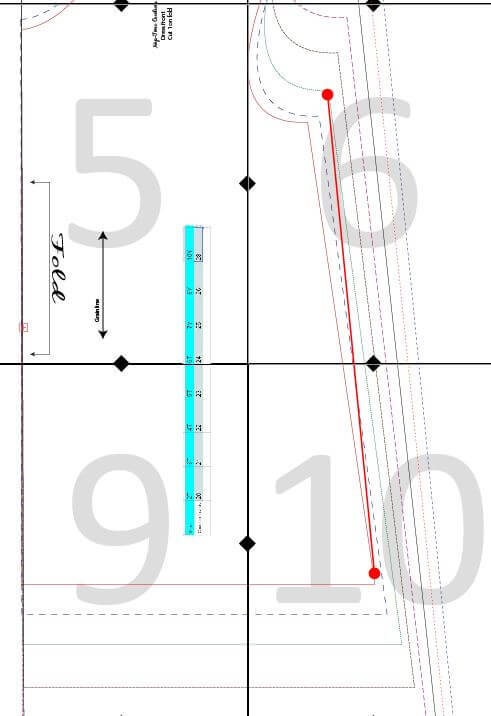
If you need to change up the other way… as in your child is wider and shorter, blend like this.
And here are some of the variations to the pattern….
The original free pattern had elastic on the end of the sleeves. You can find instructions for this version of the dress HERE.

Want to make it short sleeves? Click through to the tutorial below.
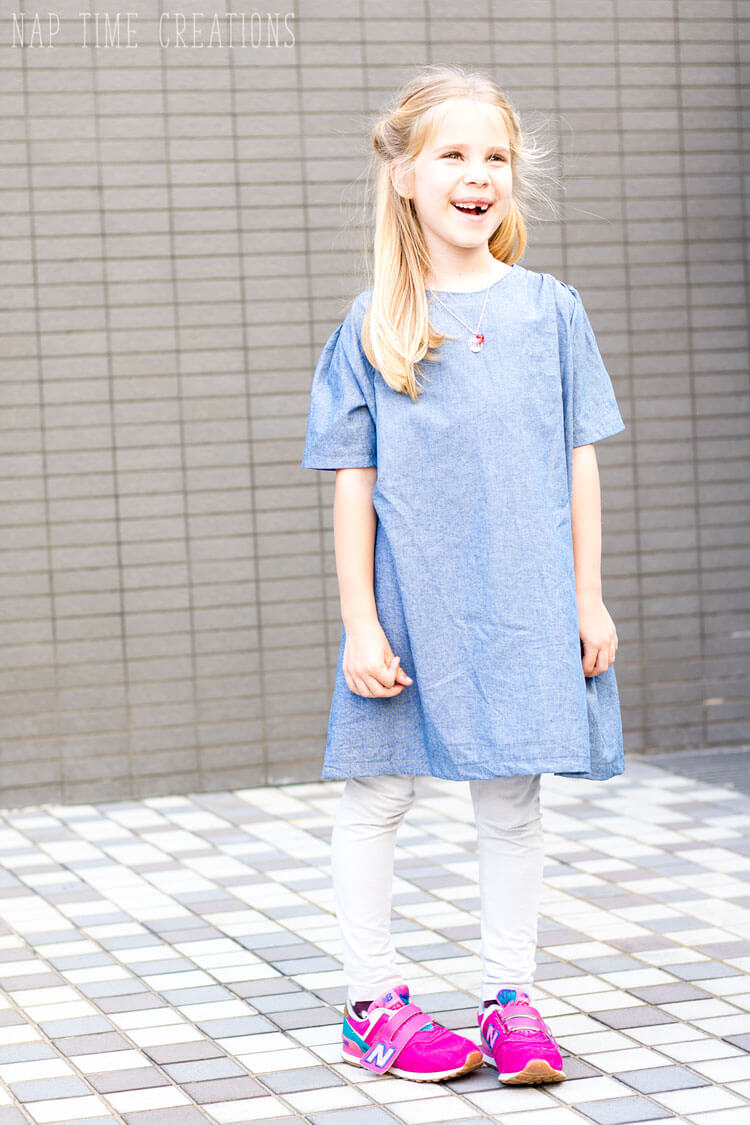
Don’t want to bother with a placket? You can just make a keyhole in the back and tie with ribbons.
Make a softer version with a knit neckband and cuffs. Find out by clicking through to the tutorial below.
The night gown version is just like any of the above versions only you don’t hem it. Make the tunic dress in flannel. Cut a 4″ ruffle that is double bottom of the dress. Gather to the size of the dress and sew with right sides together. Hem the bottom of the ruffle… CUTE!
Okay! Let’s get started!!
Here’s what it should look like when you tape it all together.
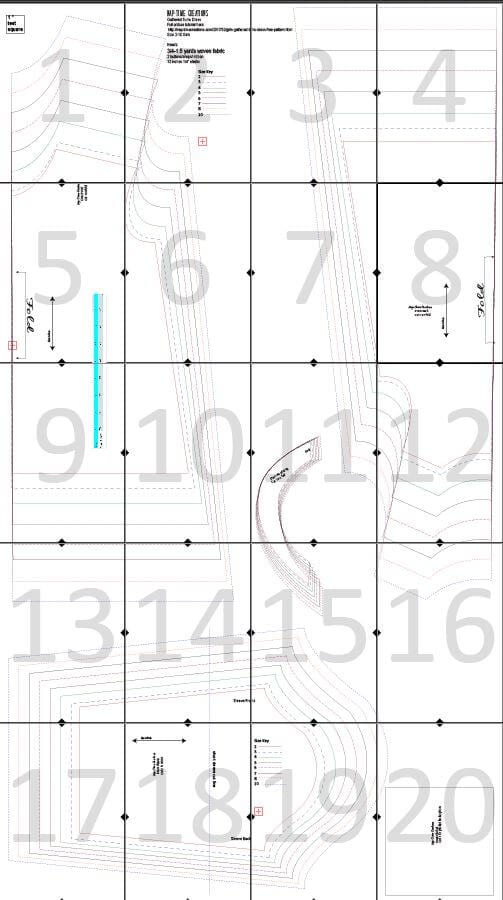
The pattern has a 3/8″ seam allowance. This pattern works with all woven {not-stretchy} fabric. You want it to have some good drape though, and not too stiff. If using flannel, use a lighter kind. This dress doesn’t fit or look great if your fabric is too thick or stiff.
Start by running a gathering stitch along the top of the FRONT shoulders. {gathering tips here}
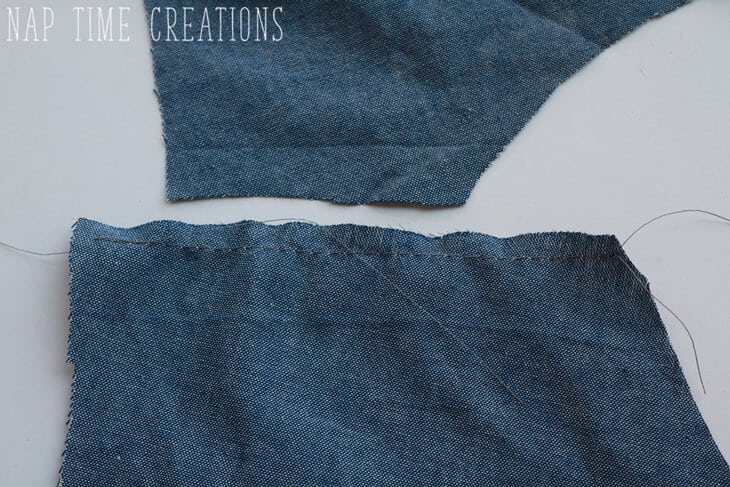
Pull the threads until the front shoulders are the same width as the back shoulders. 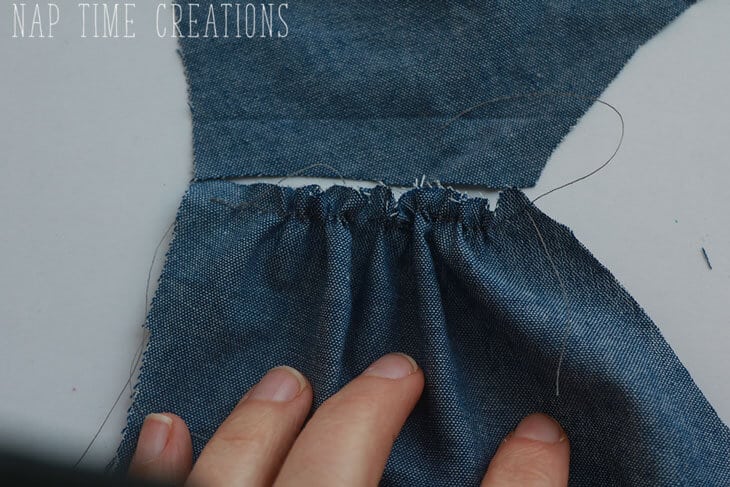
Sew shoulders together with right sides touching. 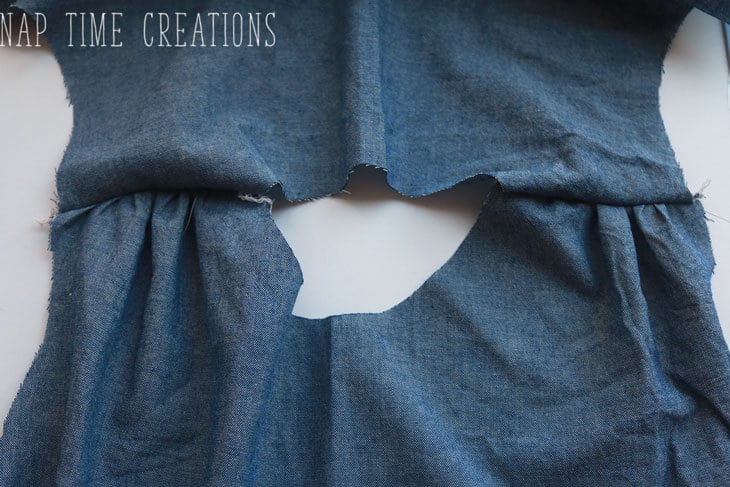
Mark the center of the back. If adding a keyhole skip down to bottom of tutorial for instructions now. 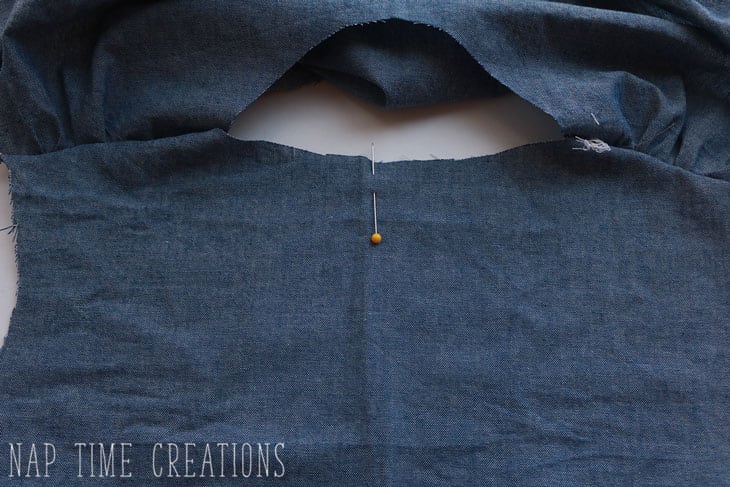
With your 6×6′ square piece add a placket to the back center. You can find the full tutorial for the placket here. If adding a knit band scroll down to bottom to find those instruction before moving on. 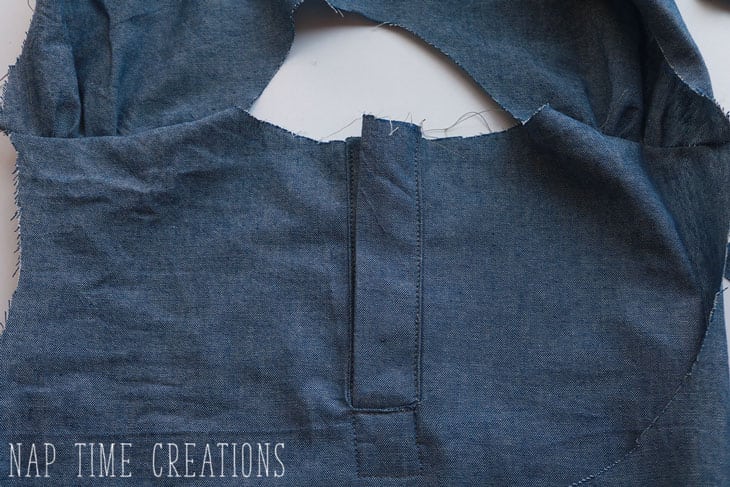
For the woven facing option, finish the outside edge of facing with a serger or zig-zag stitch. Pin with right sides together to the outside of the tunic, start my matching the front center with the center of the facing. 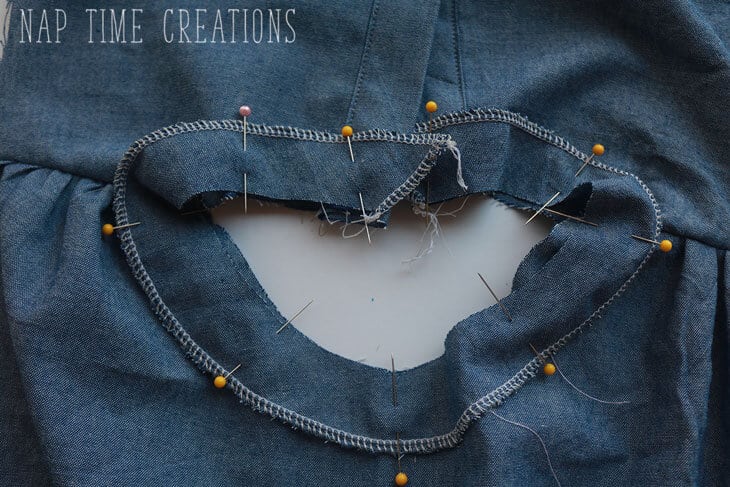
Sew around the neck with a narrow 1/4″ seam allowance. Press the facing over to the back of the tunic. Fold in the ends of the facing as shown. 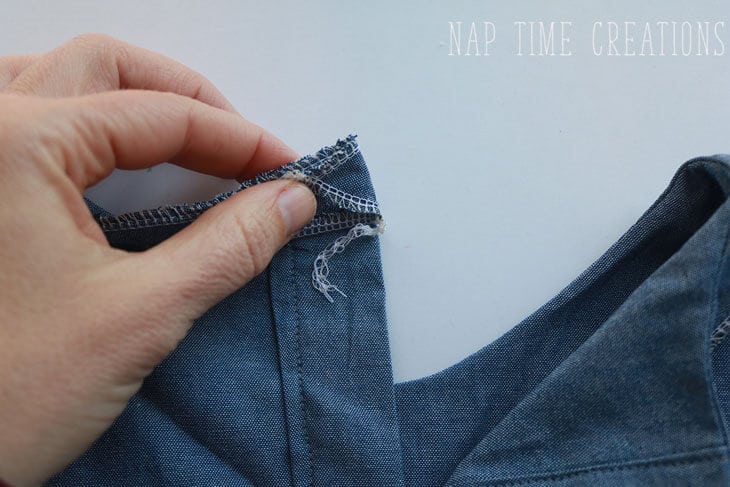
Pin around neck facing with the ends tucked in. 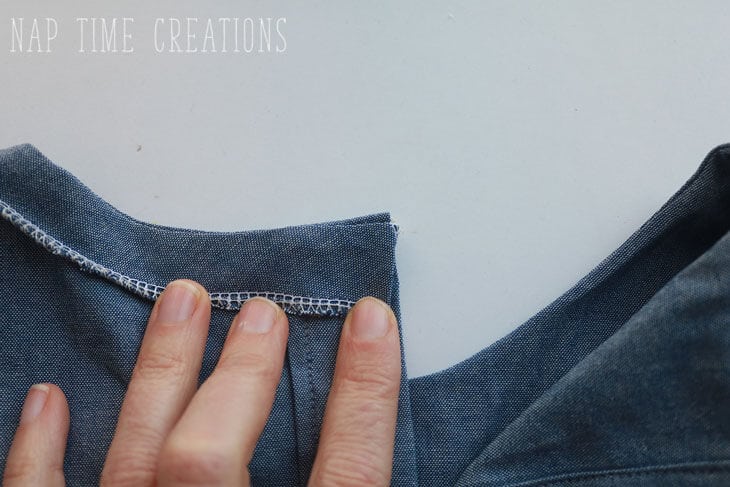
Sew 1 stitch very near the neckline and another at the edge of the facing about 3/4″. The neck should lay flat. 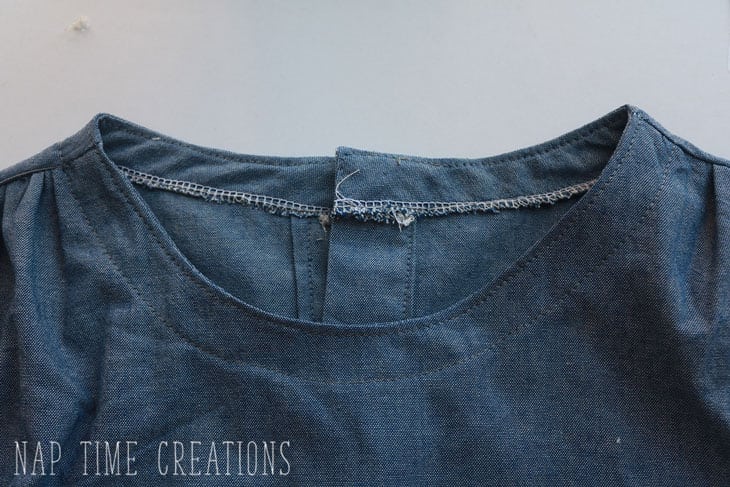
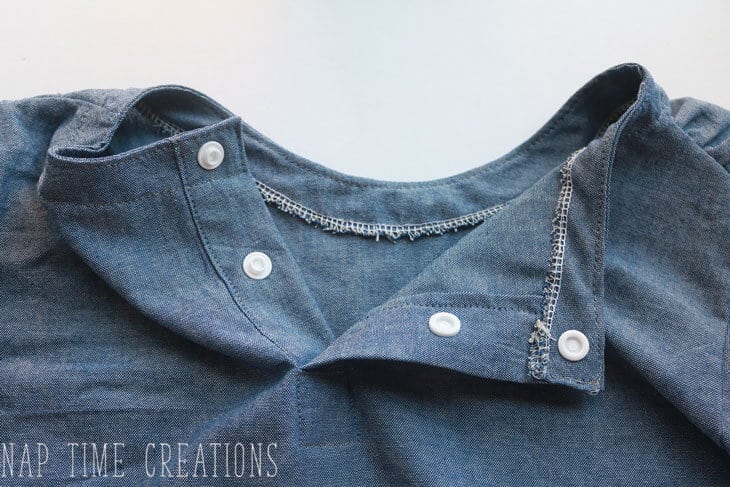
Add buttons or snaps to the back placket. 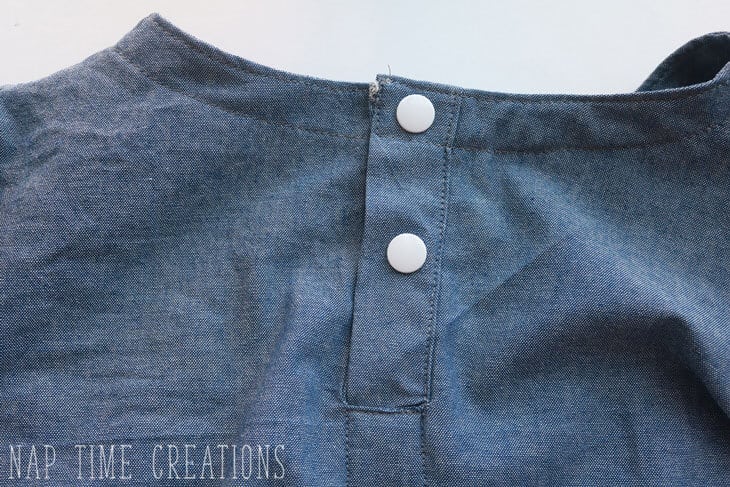
Run a gathering stitch along the middle 4″ of the top of the sleeve. 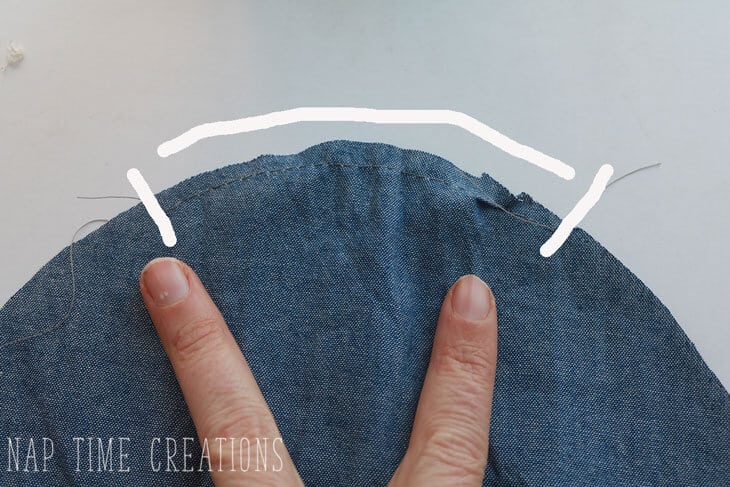
Pull to gather. 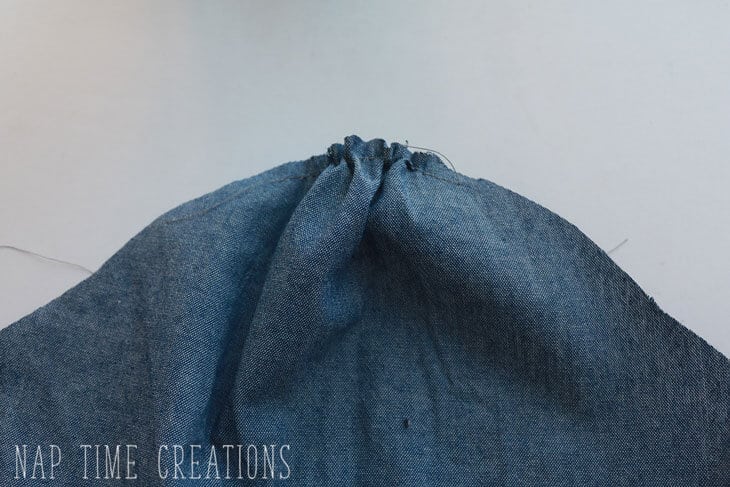
Pin to shirt and adjust gathering to fit. 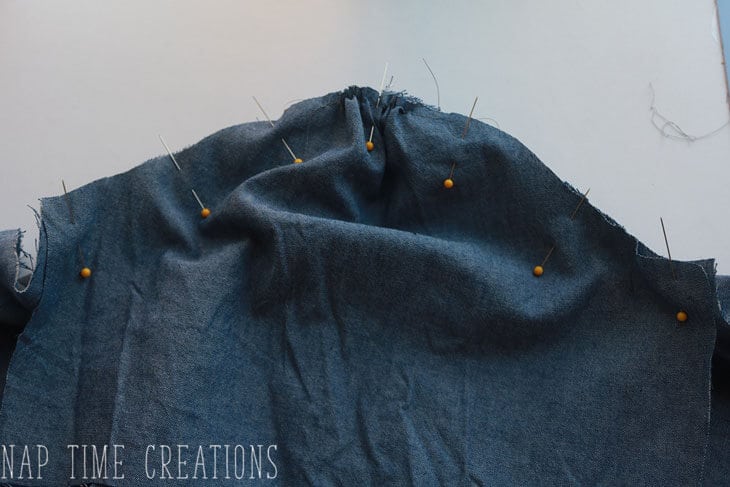
Sew sleeve to tunic top. 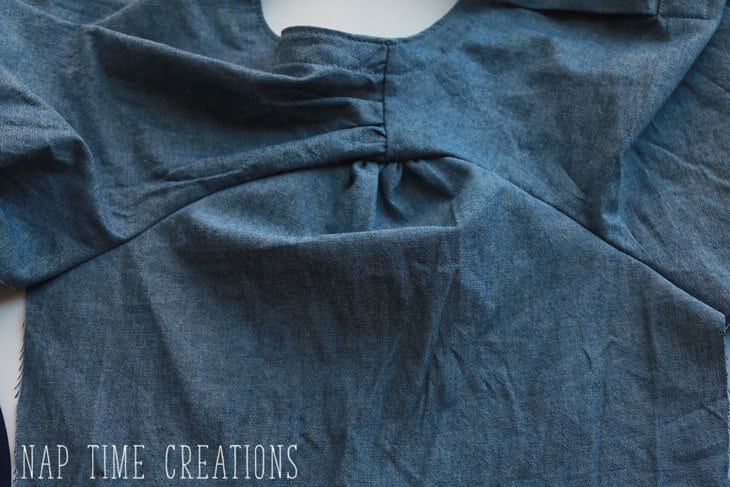
If doing elastic of cuff on long sleeves scroll down those directions now – also if using elastic to gather the end of the sleeve go to this tutorial.
Sew the side seam from end of sleeve to bottom of tunic. 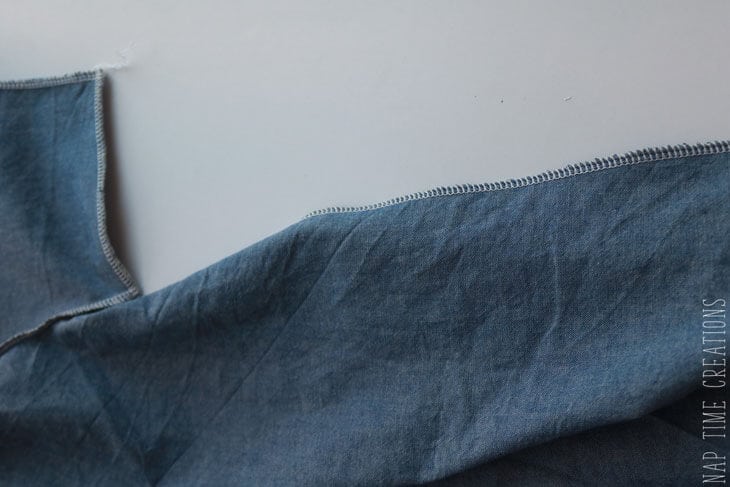
Hem the sleeve {for short option} and hem the bottom of tunic. Serge or zig-zag, then turn until .1/2″ for the sleeve and 3/4″ for the bottom hem Dont hem if going to add a ruffle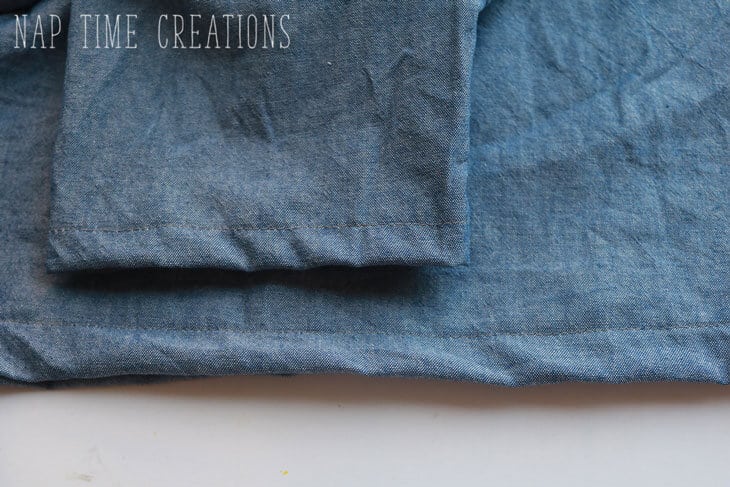
Directions for other variations:
Knit cuff option. Cut the cuff piece 2″ shorter than the width of sleeve end. Stretch across and sew.
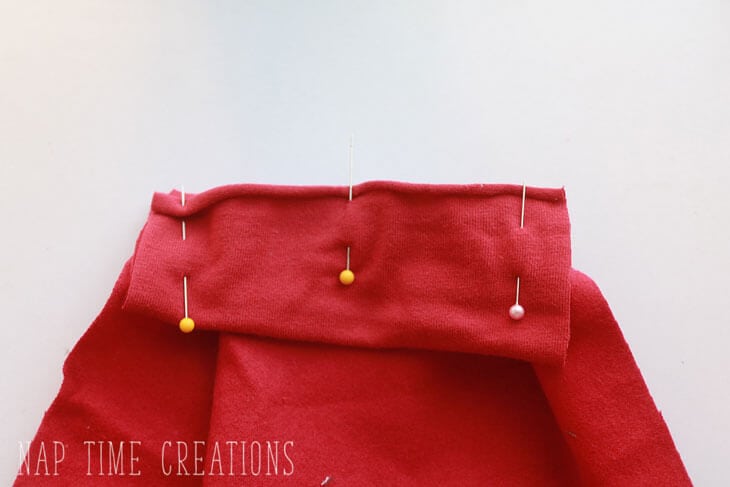
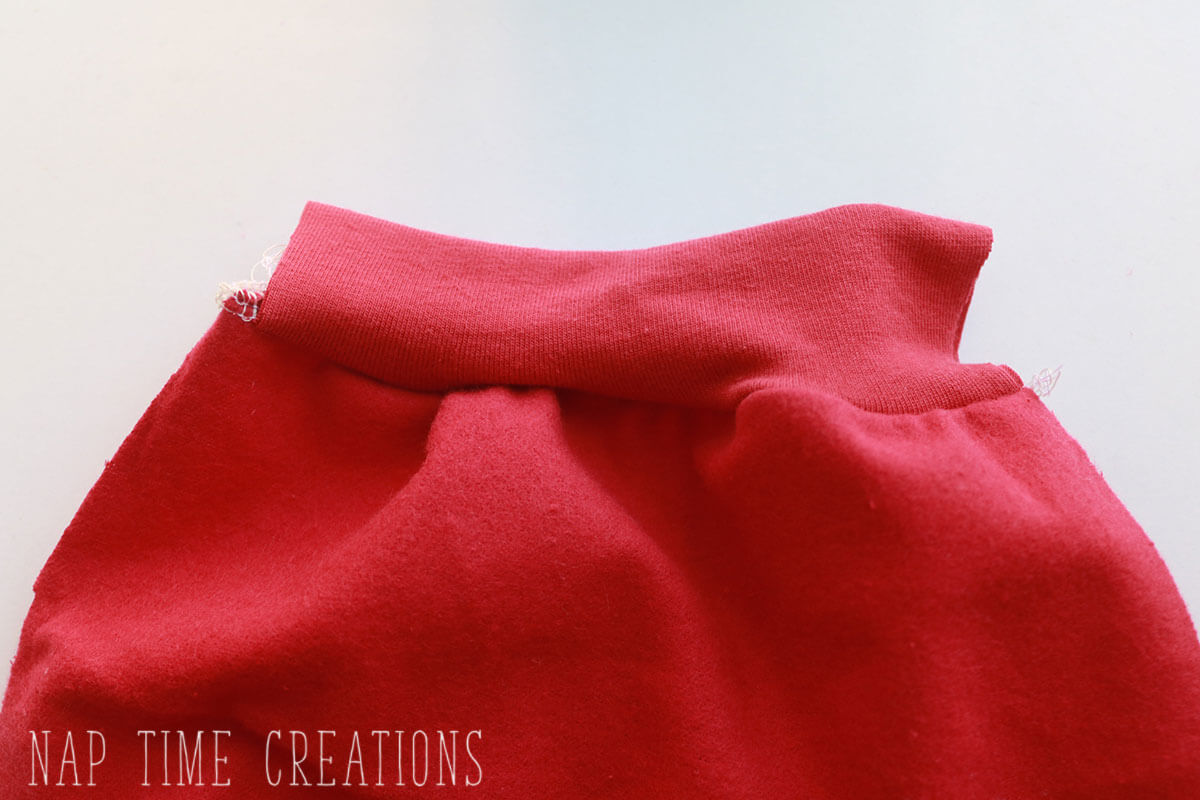
Keyhole back closure:
Cut a semi circle at back center. I cut with the back folded in half, make it about 2.5″ down and less that 1″ across at the neckline. 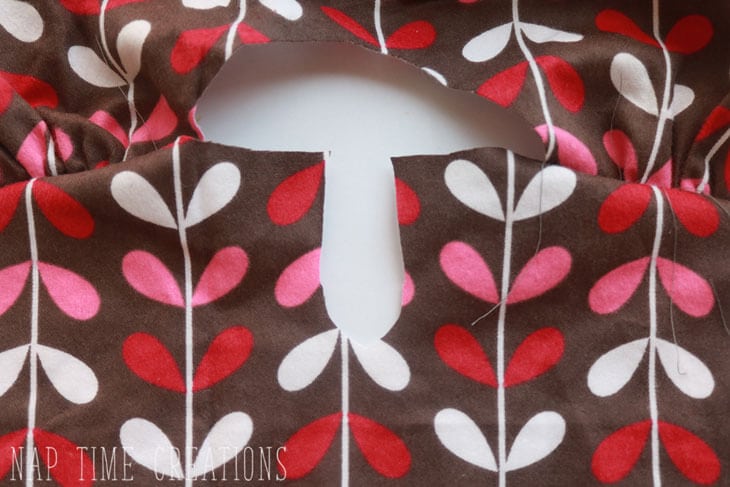
Cut a piece of your fabric 4×4″ and place right sides together. Pin around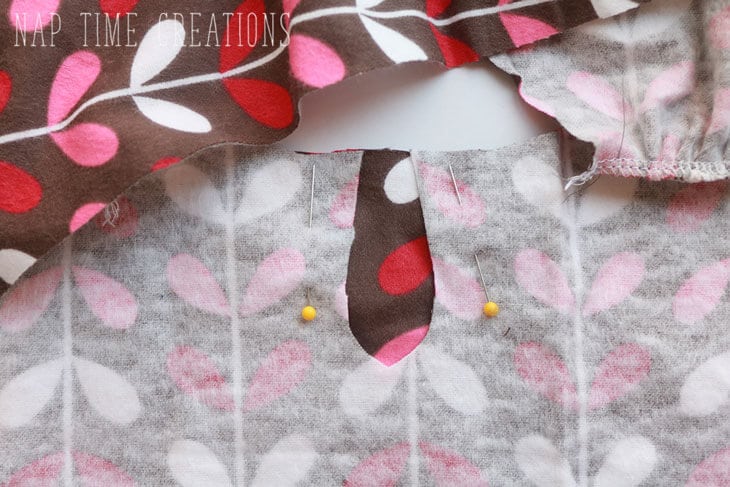
from the front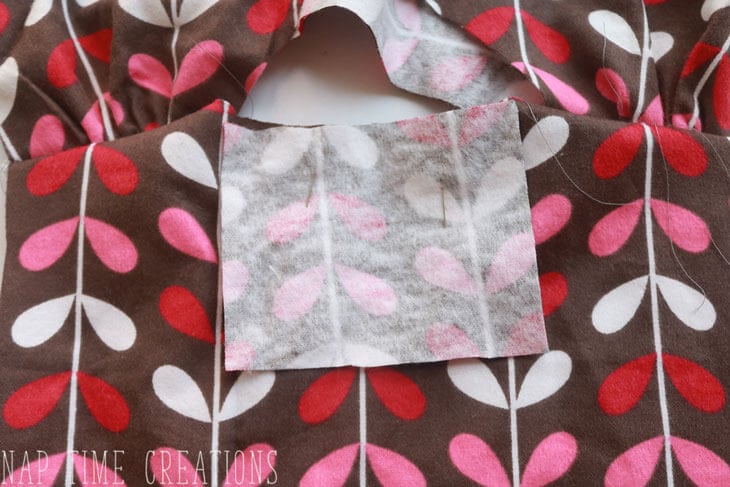
Sew on the backside close to where you cut.
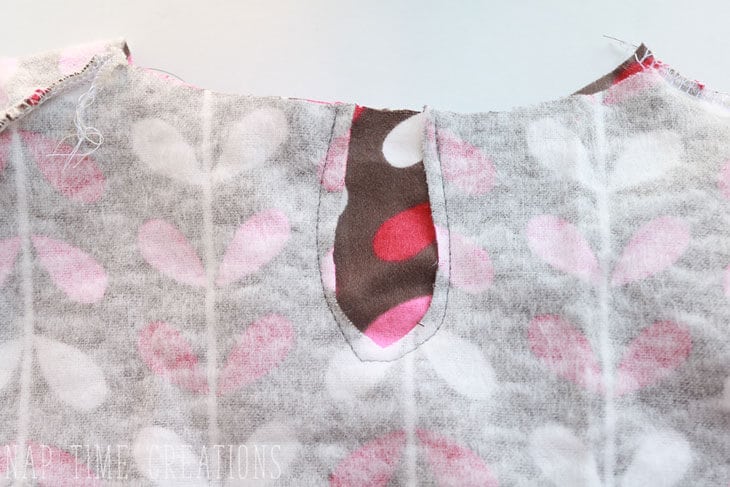
Trim a narrow seam allowance and open the hole. 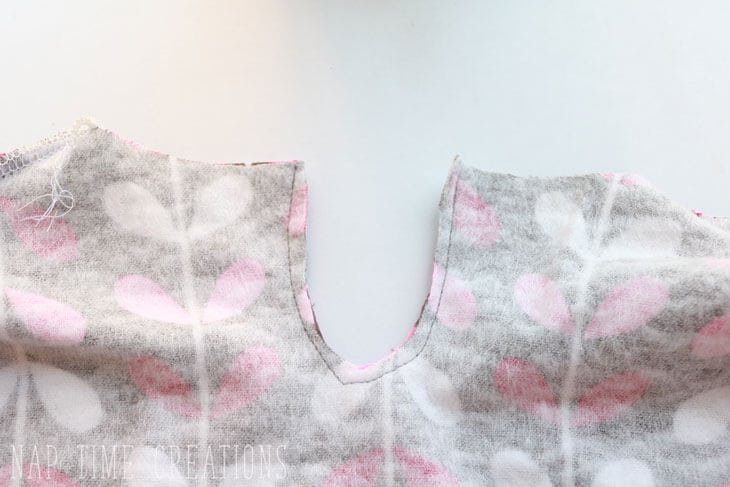
Trim the outer edge of facing to 1″ and finish outer edge with serger or zig zag stitch. 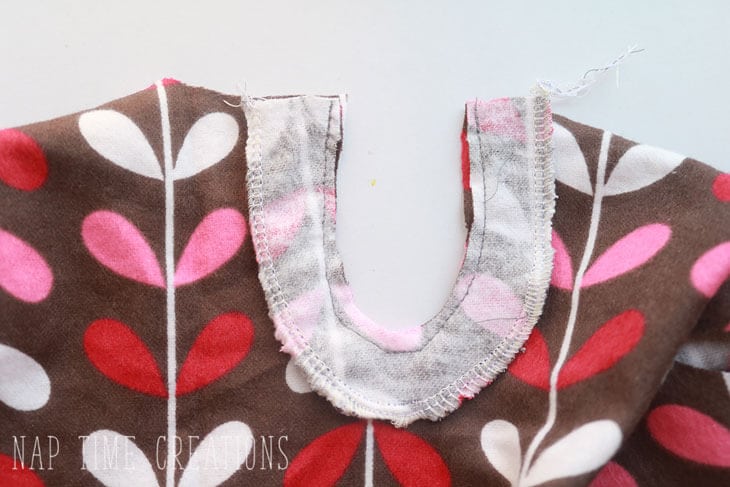
Iron to the back of the tunic.
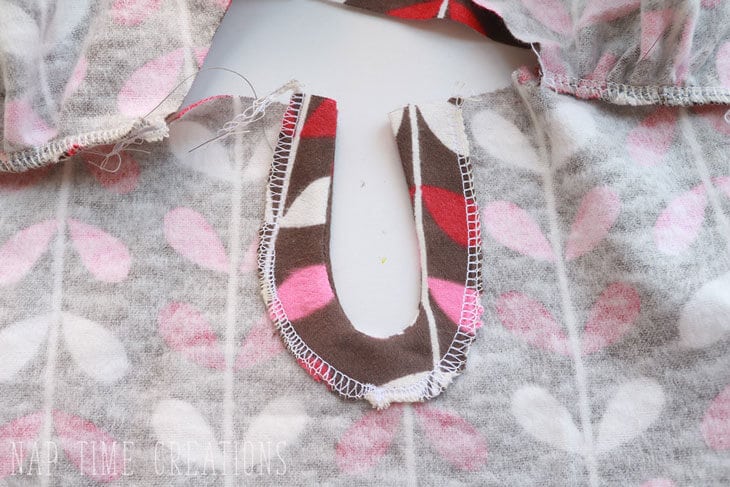
Top stitch around and edge of facing. 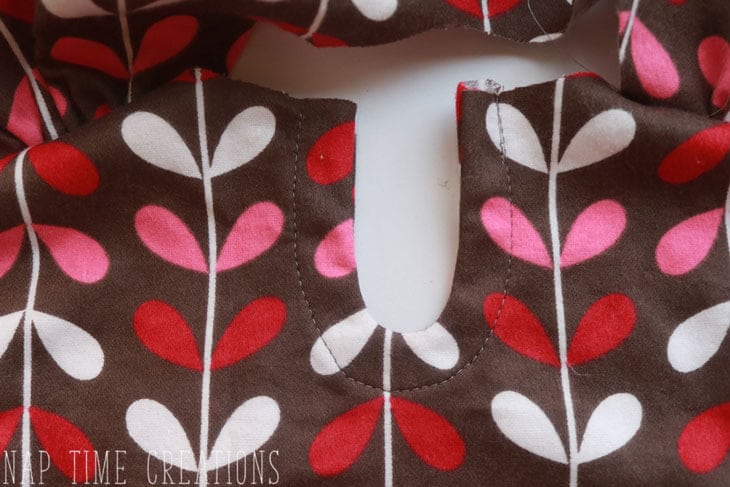
For knit neckband. Measure around neck opening. Cut the knit fabric 1.5″ wide x 90% of neck length. So if 10″ around.. cut 9″ long. {example} Round the end as shown. 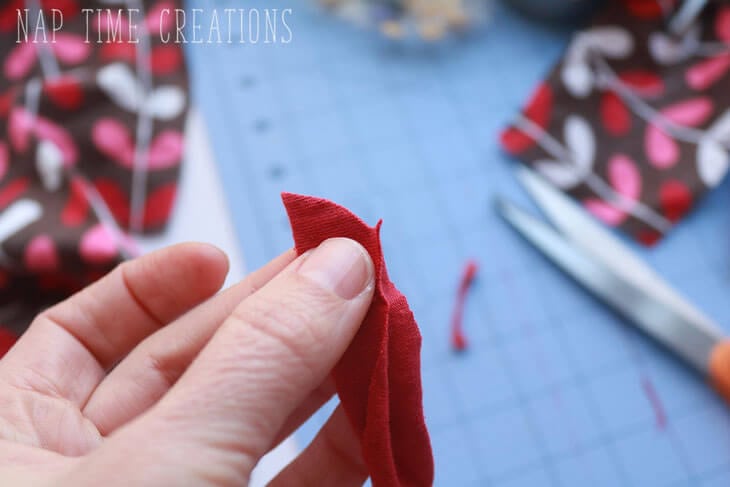
Place the curved end at placket or keyhole edge, stretch and pin around. Match the other curved end with other placket edge. 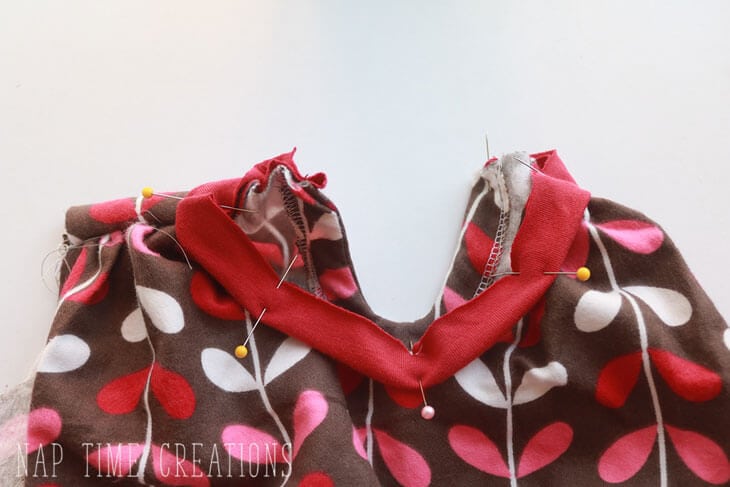
Sew and then top-stitch the seam allowance down towards shirt. Add ribbons to tie for closure.
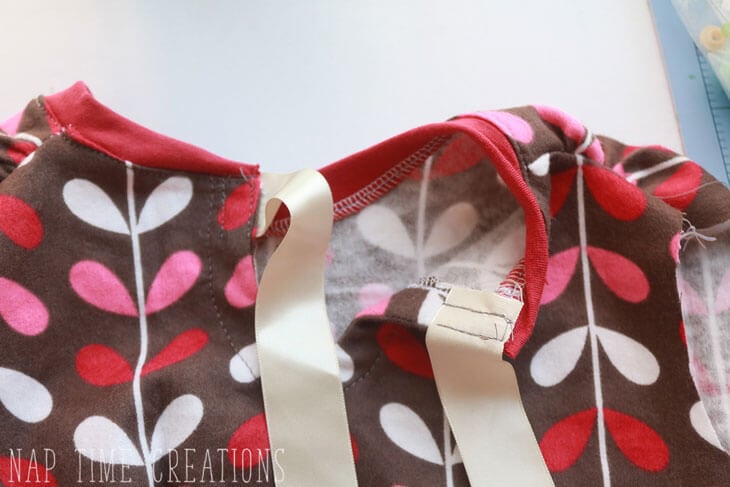
That’s it! Let me know if you have any questions..





Caitlin says
Such cute pictures!
Caitlin, Beauty & Colour
Shecki says
She’s darling, and so is the dress! My youngest two girls are from China. 🙂
Angie ~ ambient wares says
Adorable! Thanks for sharing with us at Funtastic Friday! Pinning
Nina says
Hi Emily – found you through the Favorite Things Blog Hop last week and wanted to let you know that I have featured this post on my Monday blog post “A Collection of Creativity” http://vintagemamascottage.com/2017/03/06/a-collection-of-creativity/
Also, I would like to connect with you for a couple of reasons . . . our two youngest daughters are adopted from China so I always love to connect with other moms, but the other project I’m working on is a Christian women’s magazine, RUBY. I would love to include this pattern or anything else you might want to share with our readers. If you are interested please visit the RUBY blog and check out our magazine at http://www.rubyforwomen.com Hope to catch up with you again soon! Nina @ Vintage Mama’s Cottage and RUBY magazine
Teena Ray says
This dress does not look like the Sweet Rose Dress that you said you made out of flannel that I found on Pinterest. The one I’m looking for has a bodice and a gathered skirt, long sleeves with elastic wrists. Can you point me in the right direction? Thank you!
Teena Ray says
Nevermind. I found it. Thank you, though. I just didn’t dig deep enough. This Sweet Rose Dress is so adorable!!
Christelle Storme says
so nice!