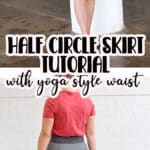
Inside: Learn how to sew a half circle skirt with yoga style waistband with this tutorial. Simple and easy, this skirt comes together in minutes. Sewing tutorial to make a half circle skirt in any size.
**Originally posted 4/2018, posted updated with more options 5/2025**
I continue my love of circle skirts with this half circle skirt tutorial. The math in this post will be the same as mentioned my other circle skirt post… where you can read all about full, paneled and half circle skirts. In this post I’m going to focus on how easy it is to add a yoga waistband to a half circle skirt… I made a few for myself, but the math will work for any size half circle skirt.
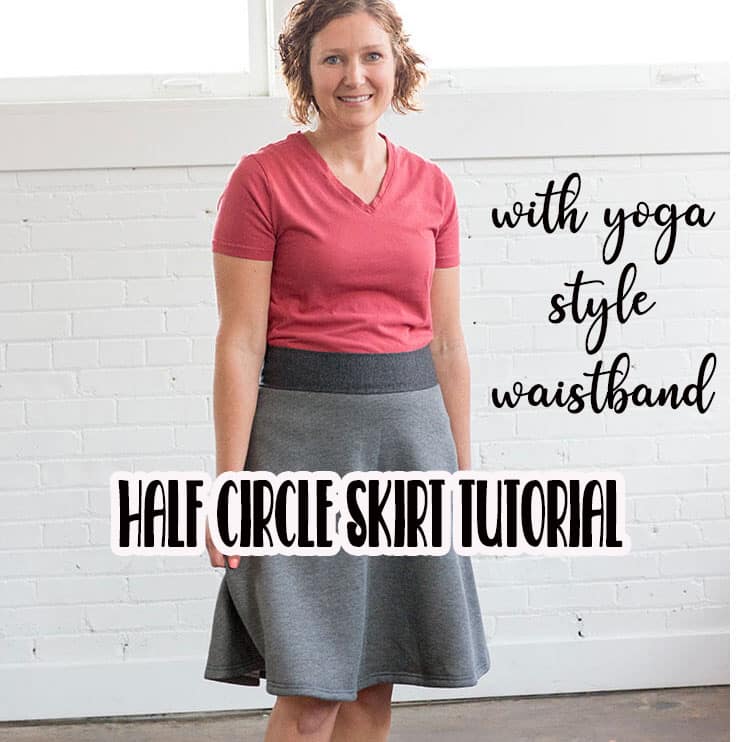
Half Circle Skirt with yoga waistband
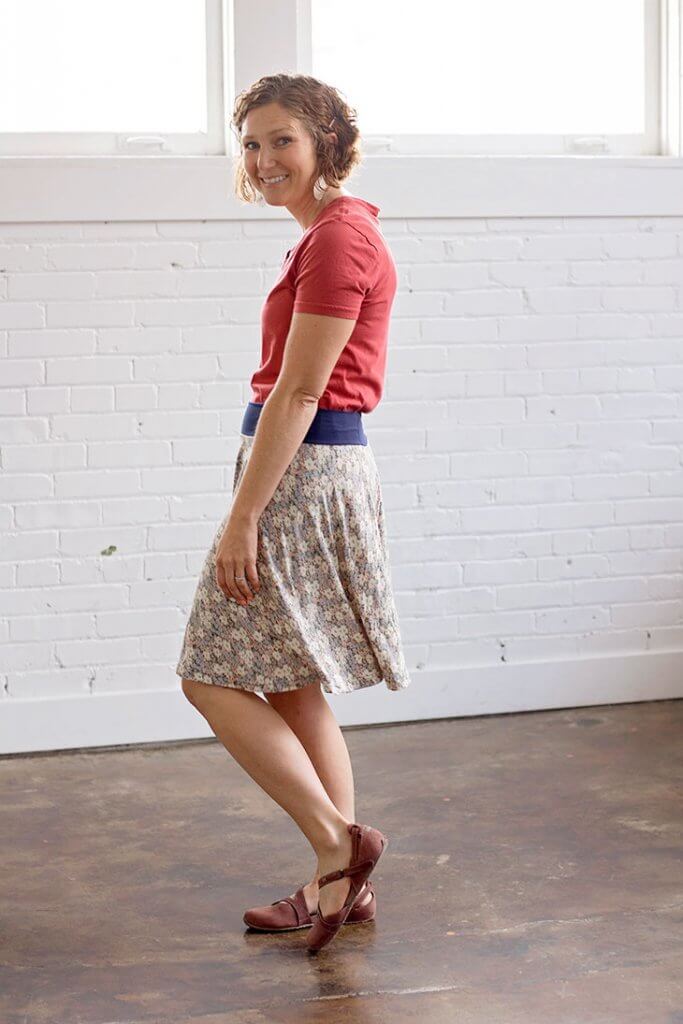
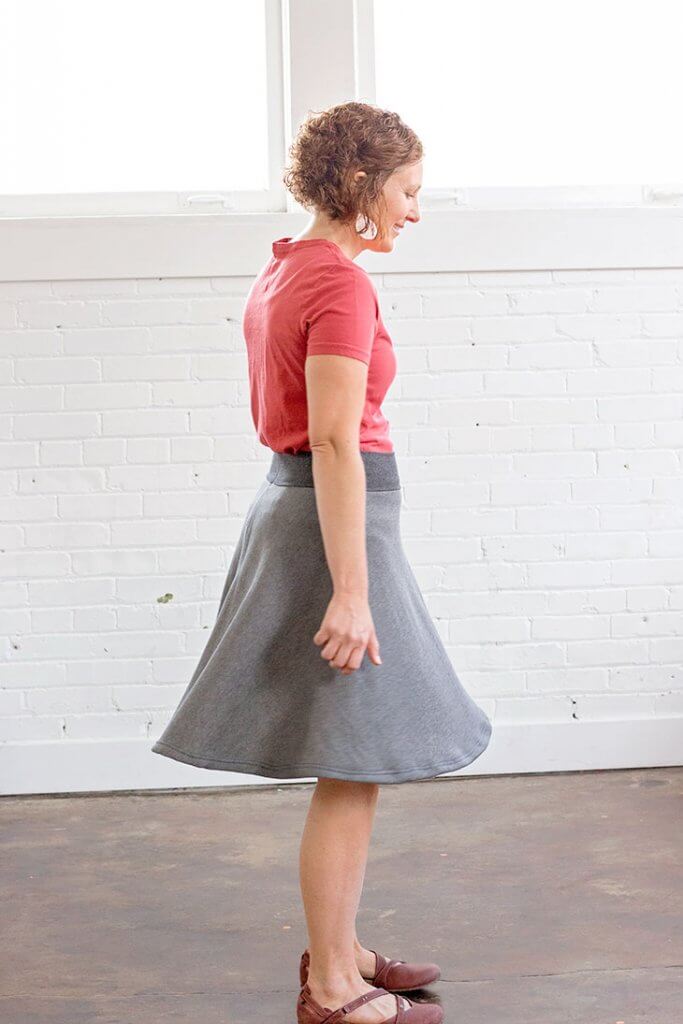
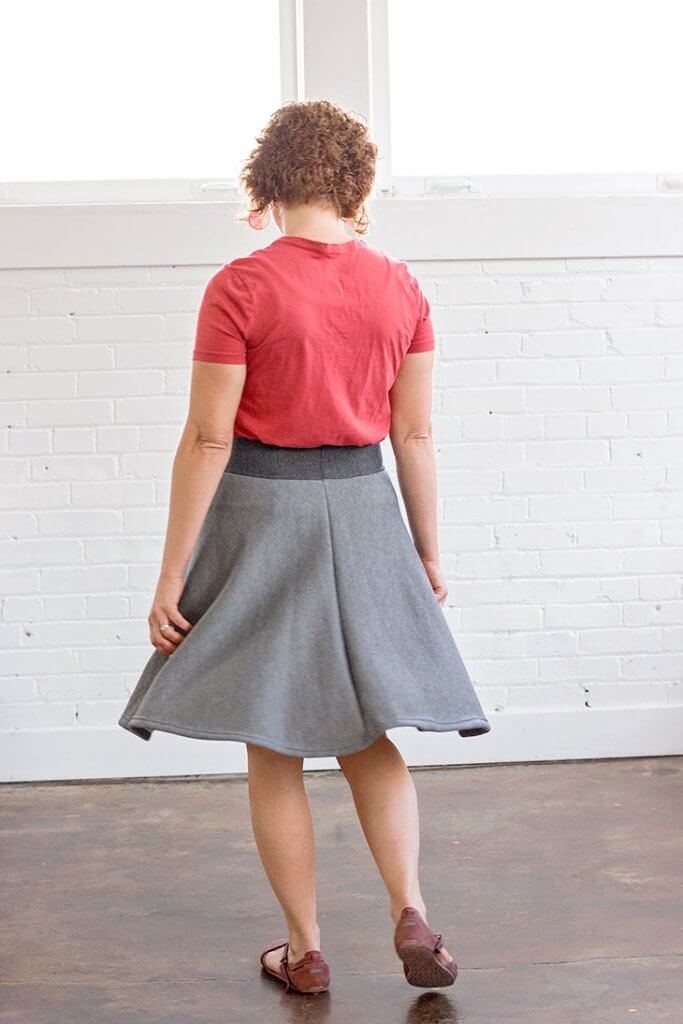
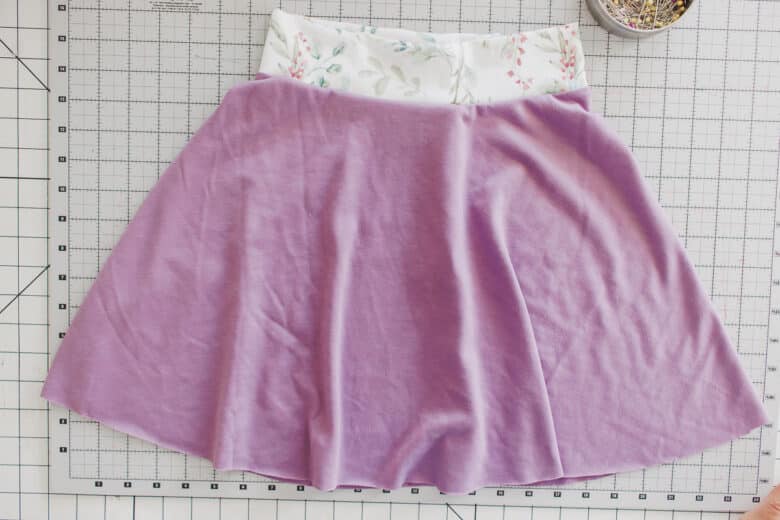
I’m seriously so in love with these two new skirts I made recently. The one from sweatshirt fleece is so cozy and comfy and the floral one is made from a t-shirt jersey and is light and airy and will get a ton of wear this summer, I’m sure. The both move so well and are so fun to wear.
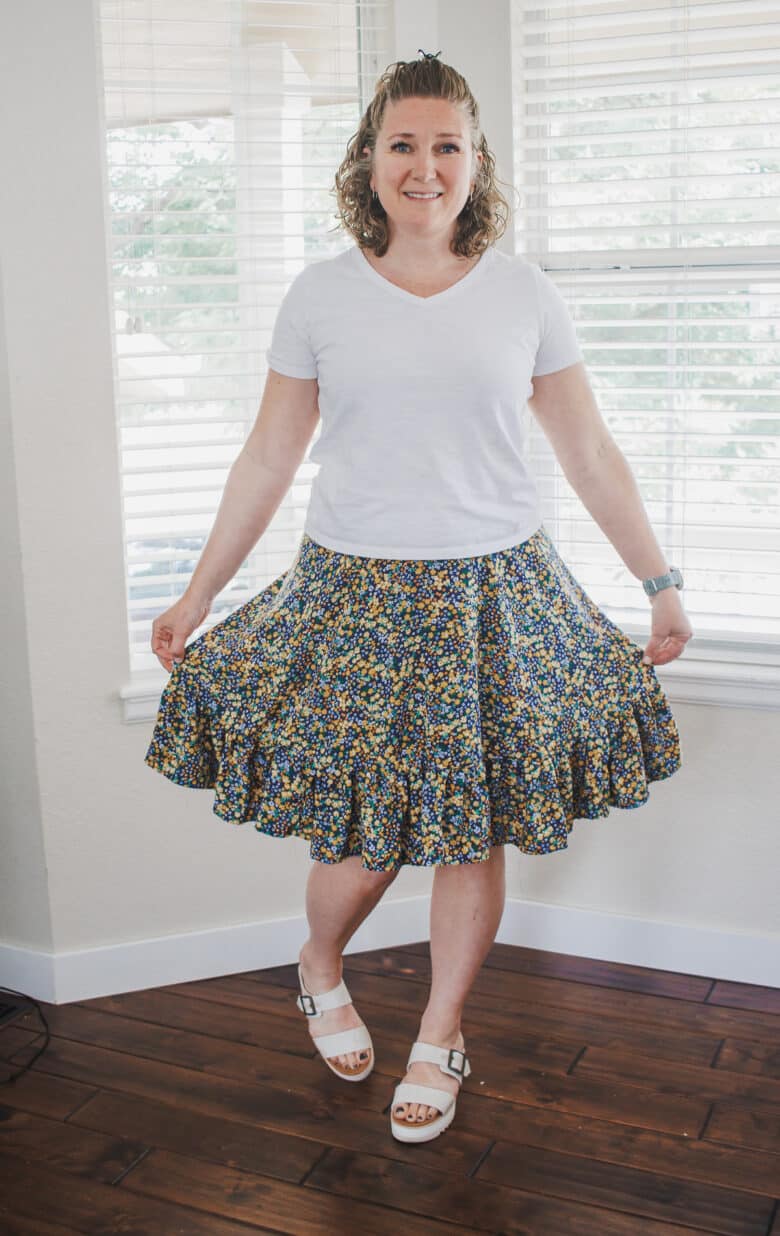
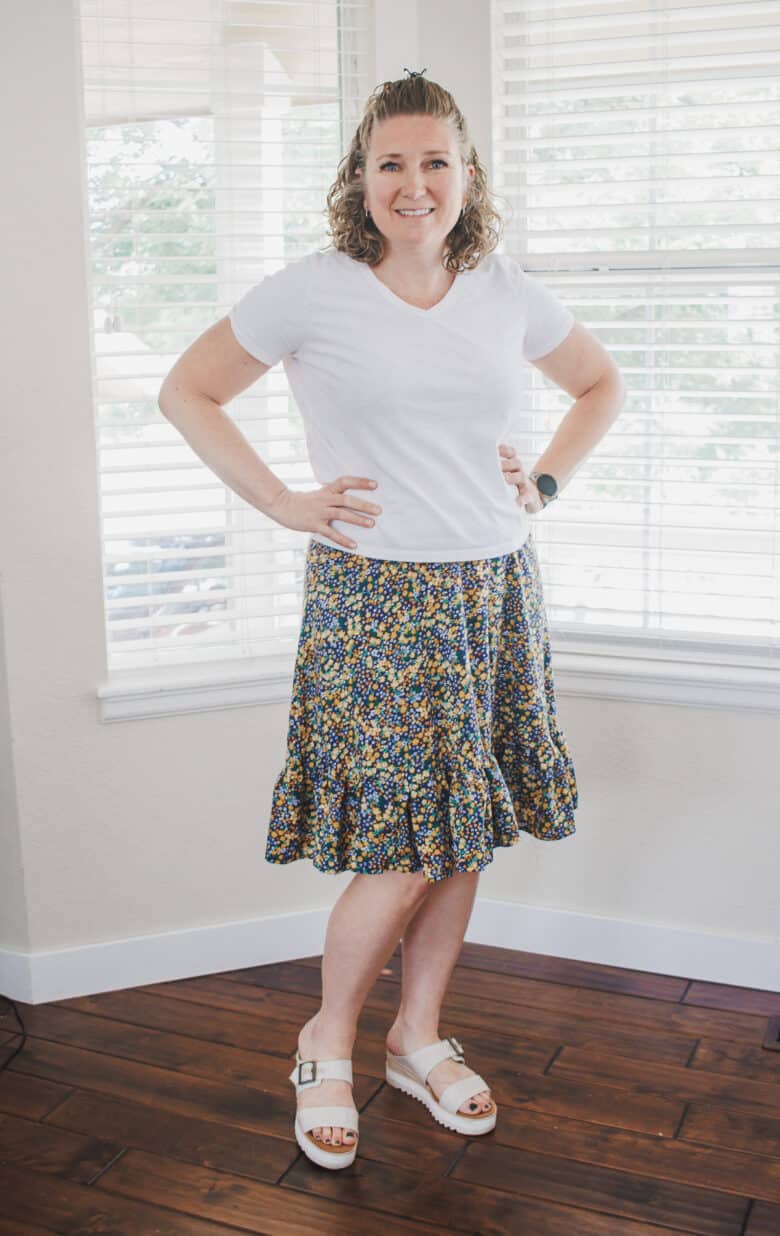
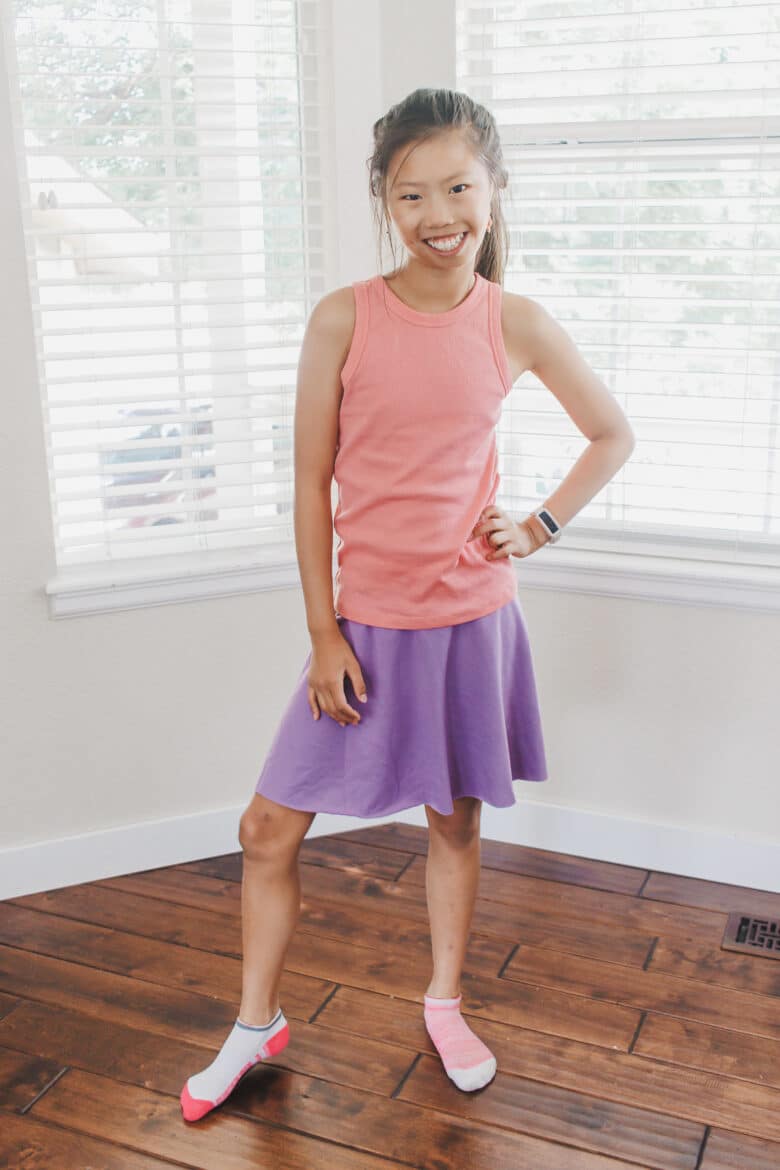
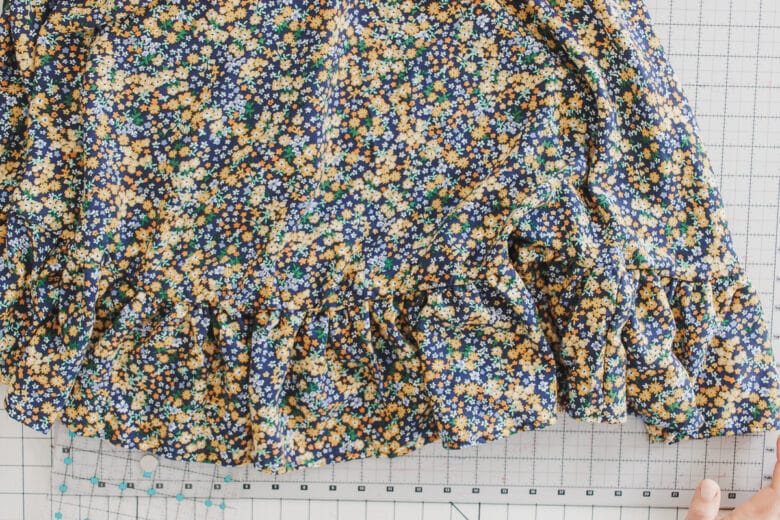
This updated version I’m showing how cute this is for kids and with an added ruffle! The ruffle version is made with woven {non-stretch} and I’ll give you the modifications to make this in the instructions below.
I had all this fleece that I didn’t sew this winter, so when I was deciding what to make my skirt from I decided it would be fun to try a sweatshirt one… I LOVE how it turned out. The yoga style waistband makes these skirt so comfortable to wear… PLUS, you customize the fit to your body shapre for a perfect fit and feel. The one with the sweatshirt fleece has a yoga fabric waistband {this fabric is very good for a snug fit and secure feeling waistband.}
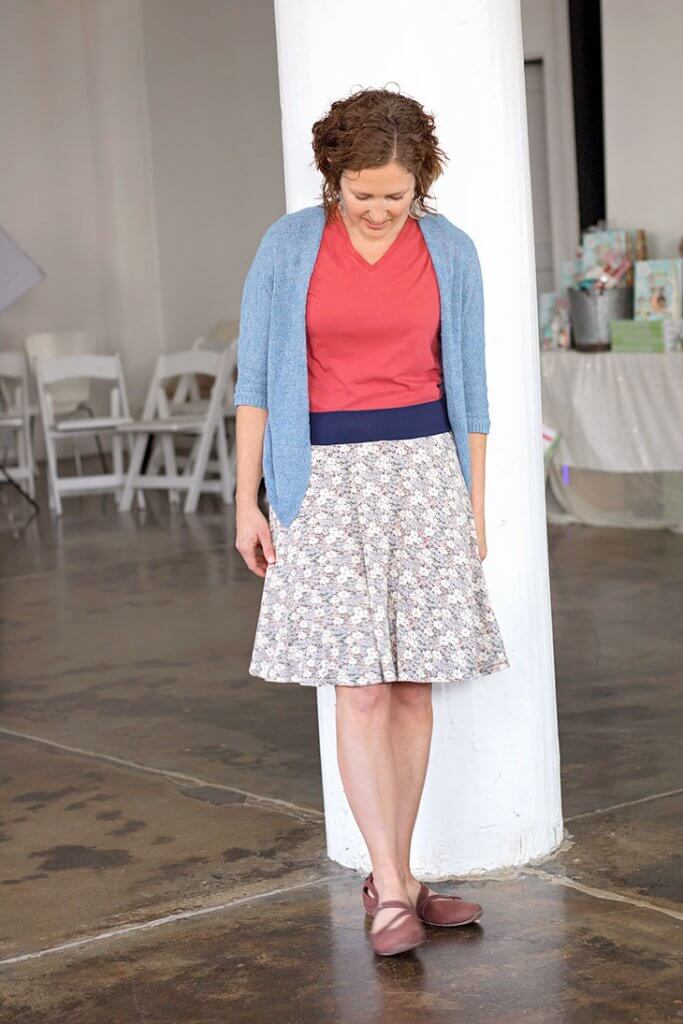
This floral skirt has jersey fabric for the skirt and double brushed poly legging fabric for the waistband. This fabric is quite a bit stretchier so I had to make it tighter to get a good fit.. The skirt is SO flowy and fun though! I already know this skirt is going to get a ton of wear this summer. You can also make this circle skirt tutorial with a flowing woven fabric for the skirt and a yoga style waistband.
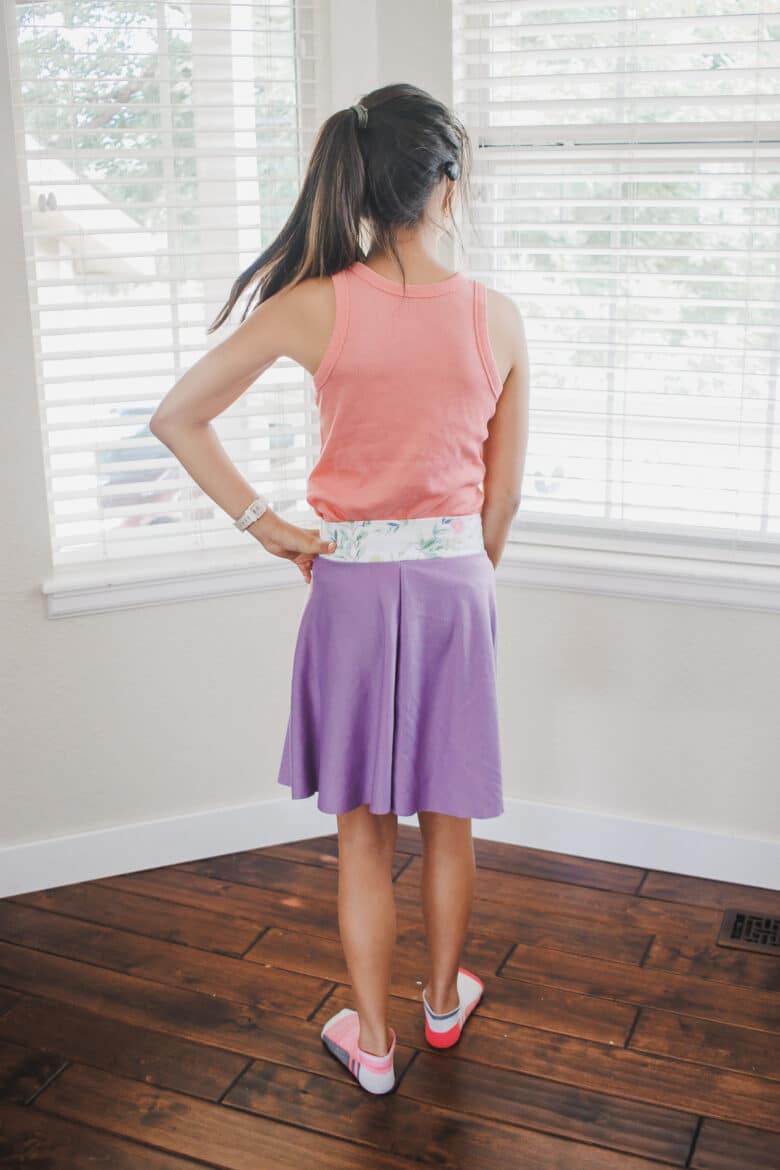
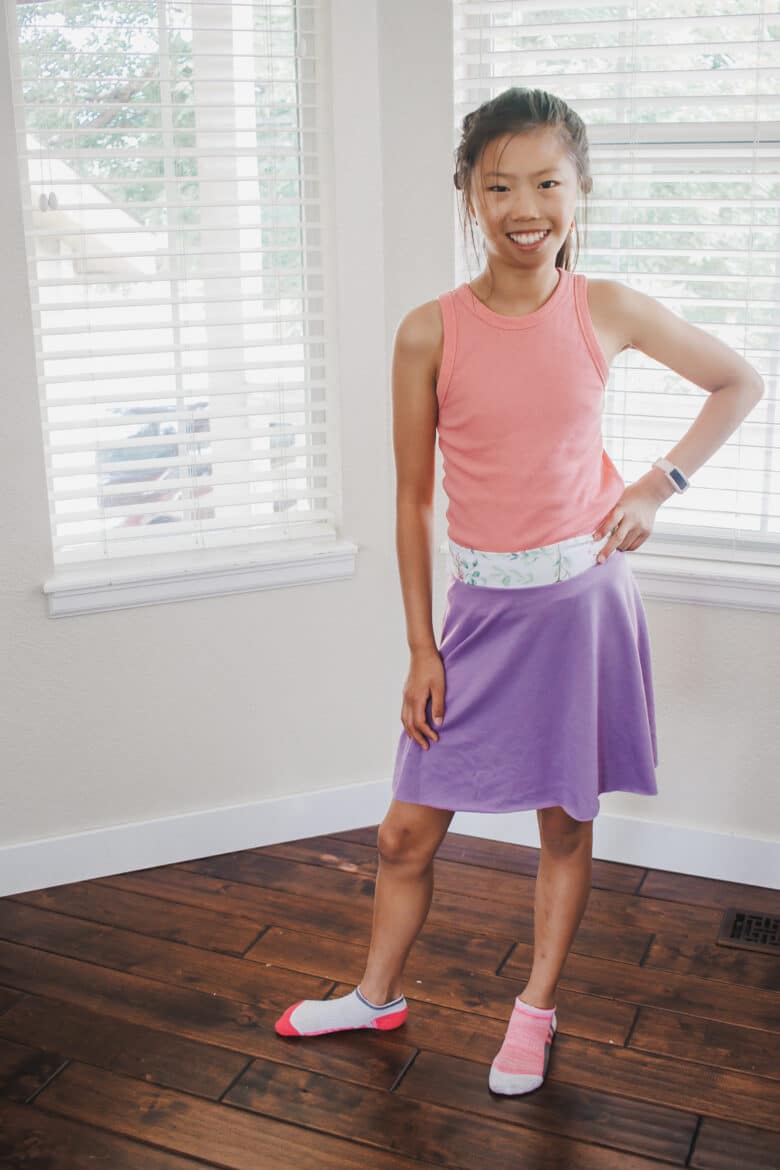
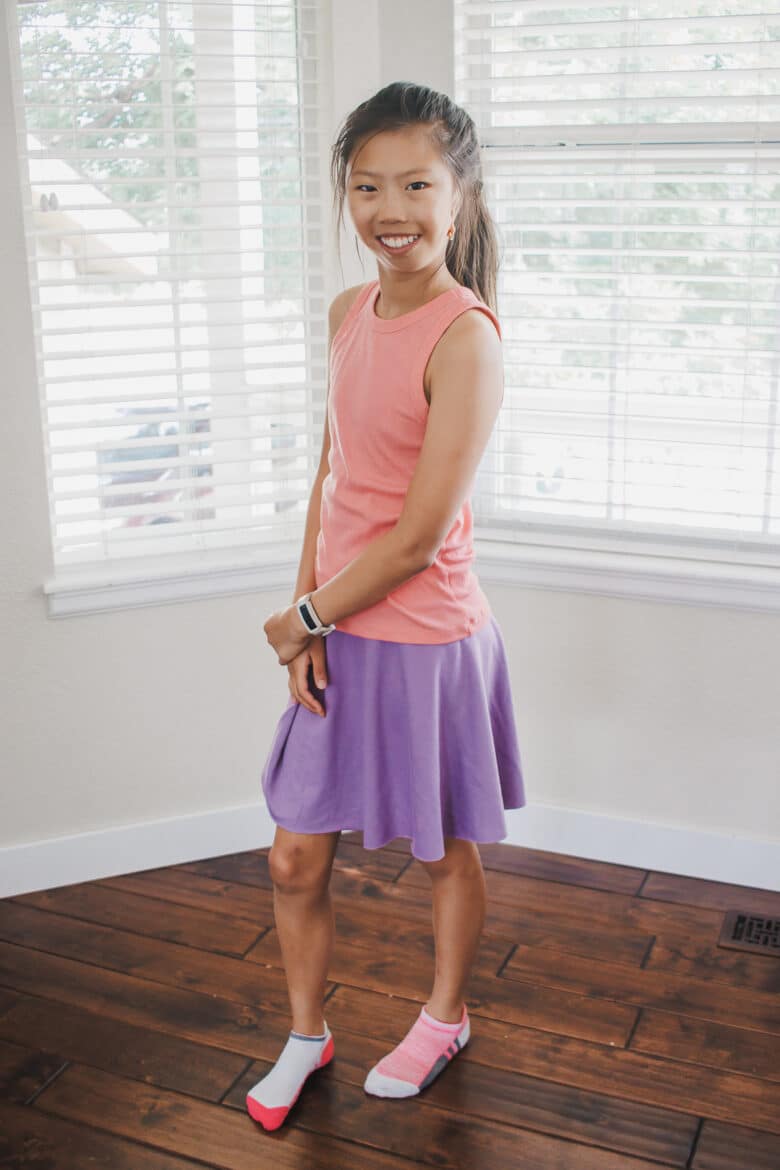
The kids version was so so quick to sew and literally was two seams as I left the bottom edge raw. More details below.
Free Skirt tutorials to sew
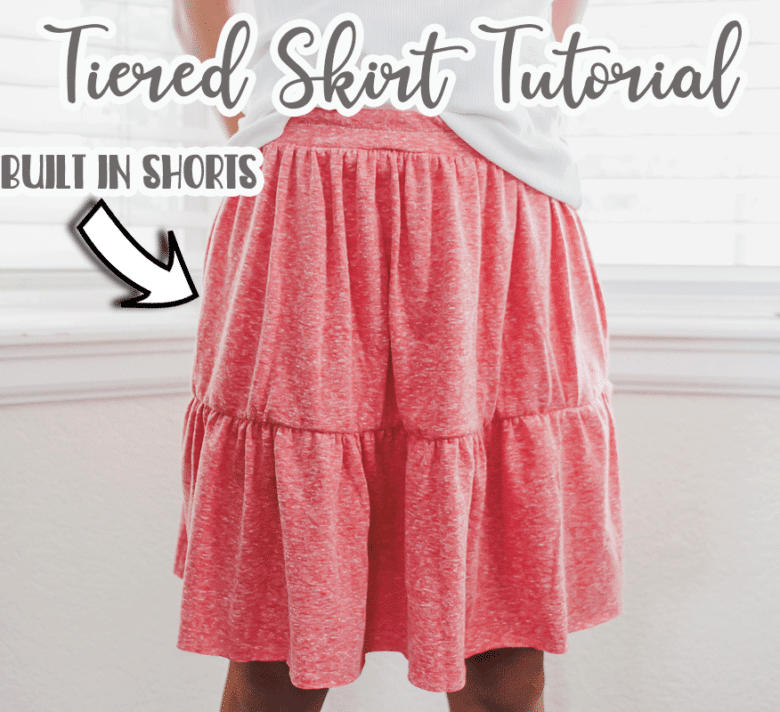
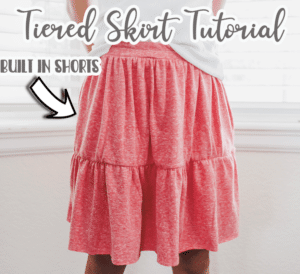
- Tiered knit skirt tutorial
- Skirt with pockets
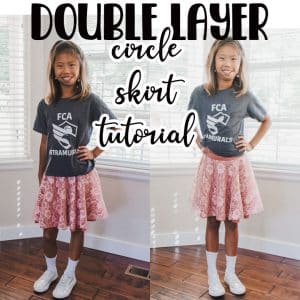
- Double layer fabric skirt
- Ruffled skirt tutorial
- Full tulle skirt
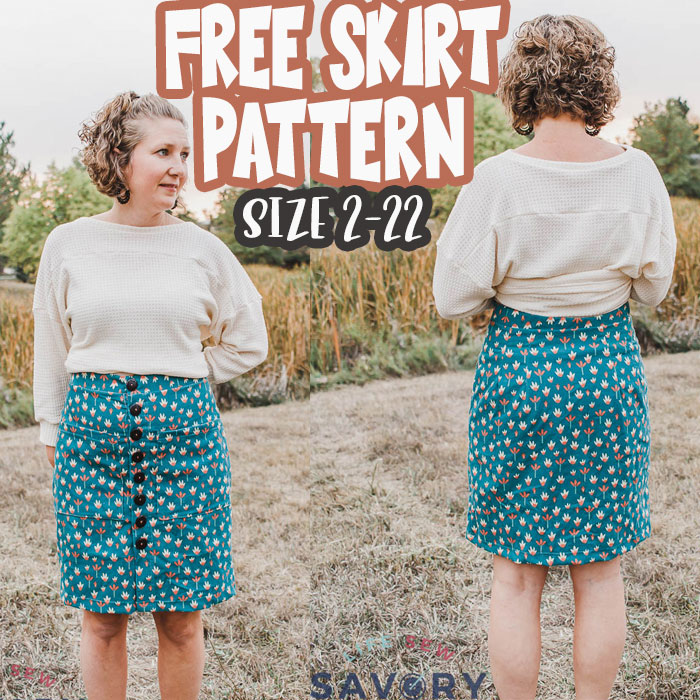
- Button down skirt free sewing pattern
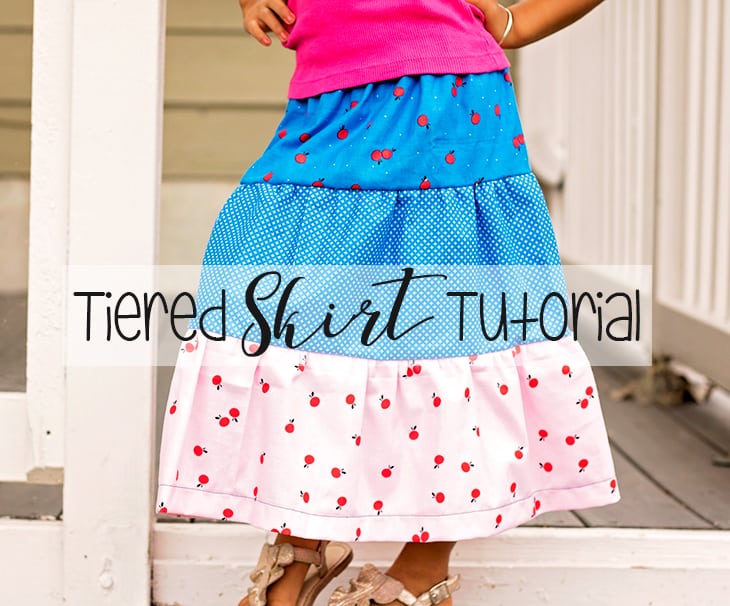
- Tiered long skirt
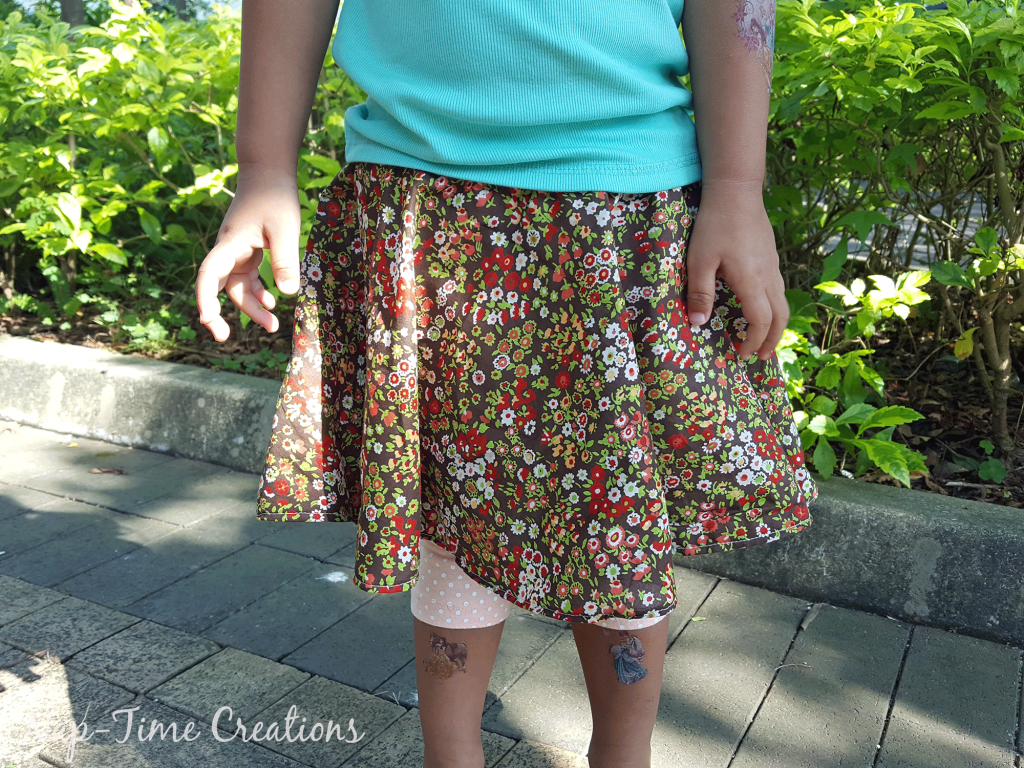
- Circle skirt tutorial
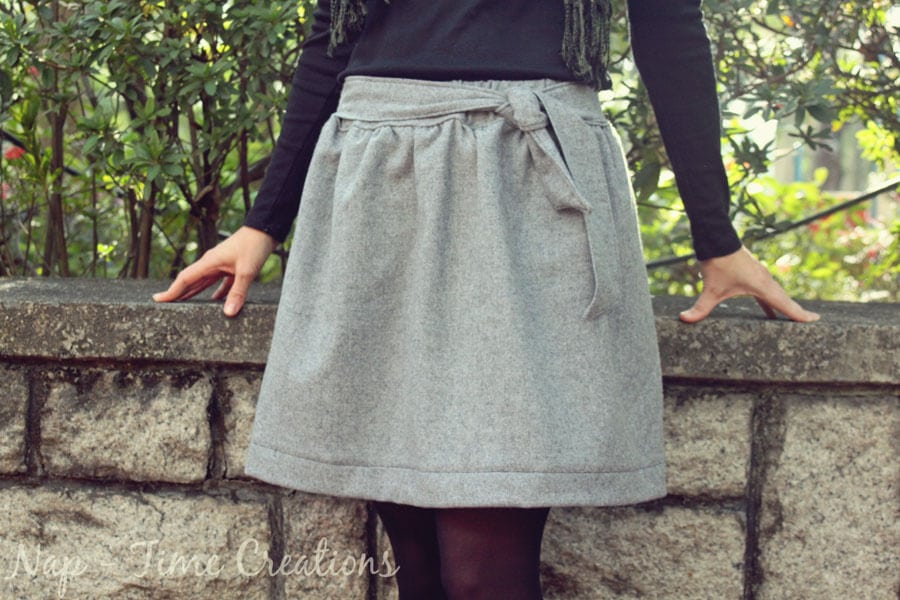
- Wool skirt tutorial
How to sew a half circle skirt tutorial
You will need fabric that is at least 60″ wide. If is not this wide you can only make a mini skirt! A yard is enough for the length. Fold your fabric in half so the selvage edges are together. Measure around your waist where you want the skirt to sit. Add 2-3″ inches to that measurement so that you can pull the skirt over your hips. Add more if your hips are a big difference from your waist {or where you measured for the skirt. Divide that number times 3.14… so for example… 28″ waist + 2″ = 30″/ 3.14 = 9.5″. Starting in the corner of your folded fabric mark this number on your fabric.
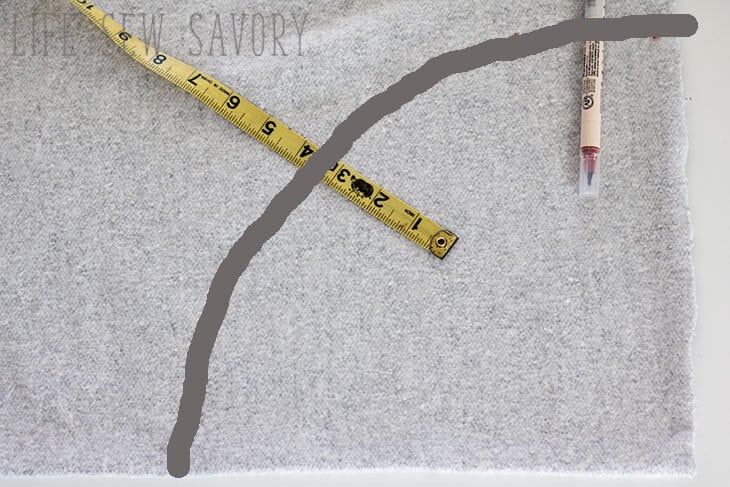
For large waist sizes you may not have enough fabric to cut the desired length of your skirt. This is why I added a ruffle to my new floral version.
Cut out this part of the skirt. The raw edges { on the right in the photo} will be the back seam of the skirt.

Measure from your waist down on you leg for skirt length. You may be limited by your fabric for this part. The wider your fabric the longer your skirt can be. From where I cut out my fabric I marked at 22″ another circle on my fabric. This was as long as I could make my skirt using this fabric. {You can always add a ruffle or second layer as shown in this post}
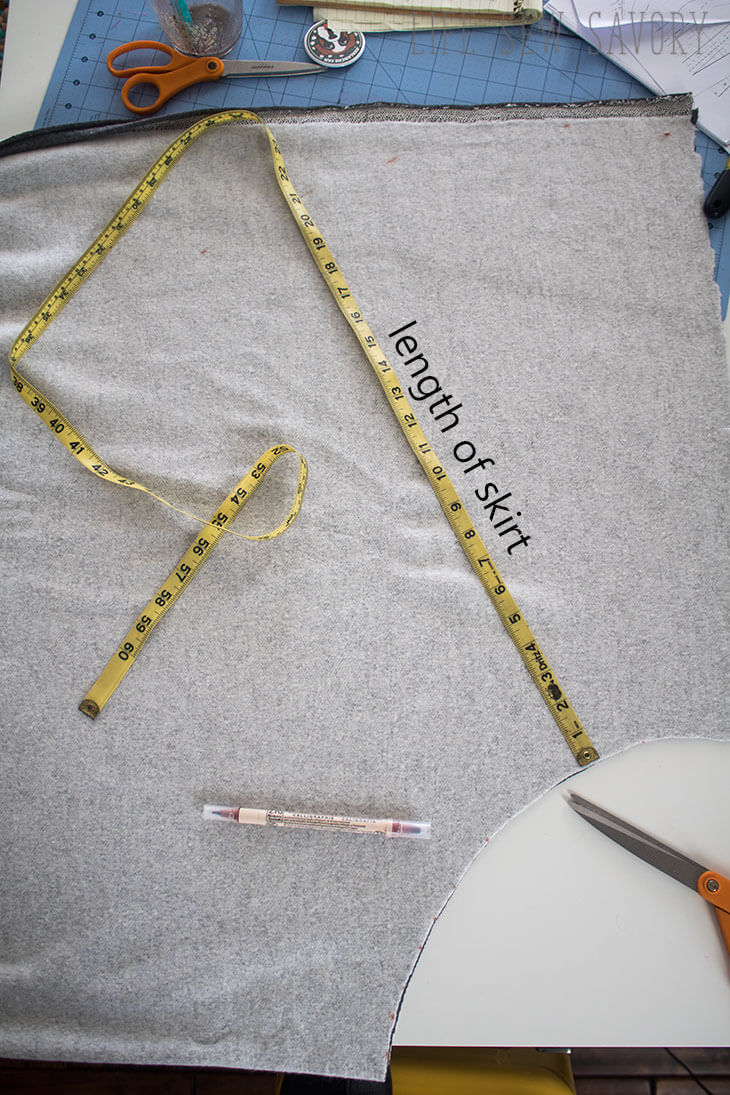
Cut this circle on the fabric.
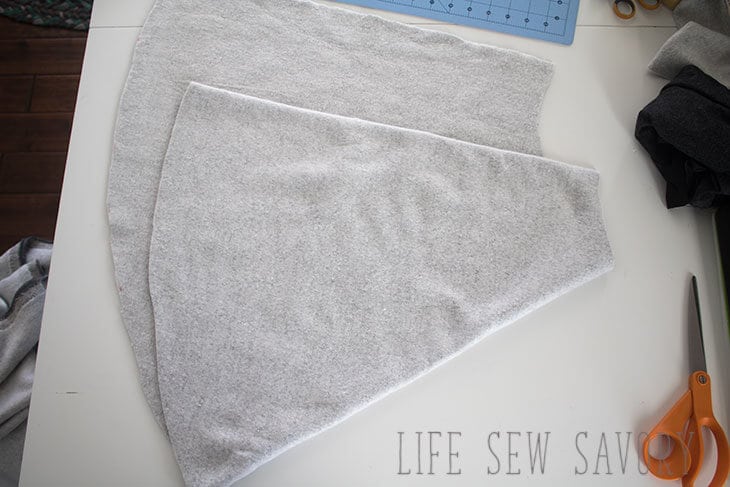
Now cut the waistband from knit. The stronger the stretch the better for the waistband. This yoga knit was great. Cut the band your waist measurement -2.5″ {so 28″ – 2.5 = 25.5″ long} and the height of your band should be 6″ for a regular band and 8″ tall for a fold over. Example: my band is 25.5″ long and 6″ tall. If you are using legging fabric or another lighter knit you may need to subtract even more from your waist for a tighter band. You can always try on to test.
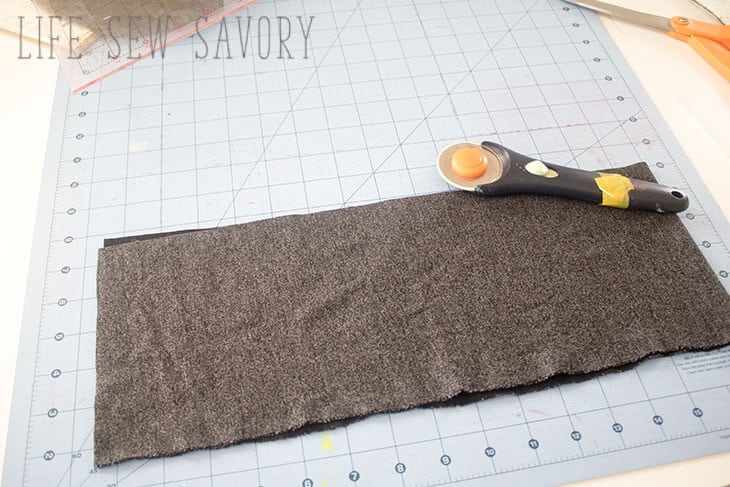
Sew up the back seam of the skirt and the short ends of the bands. Both with right sides together.

If you don’t have enough fabric to make a long piece with one back seam, cut a front and a back and sew the side seams.
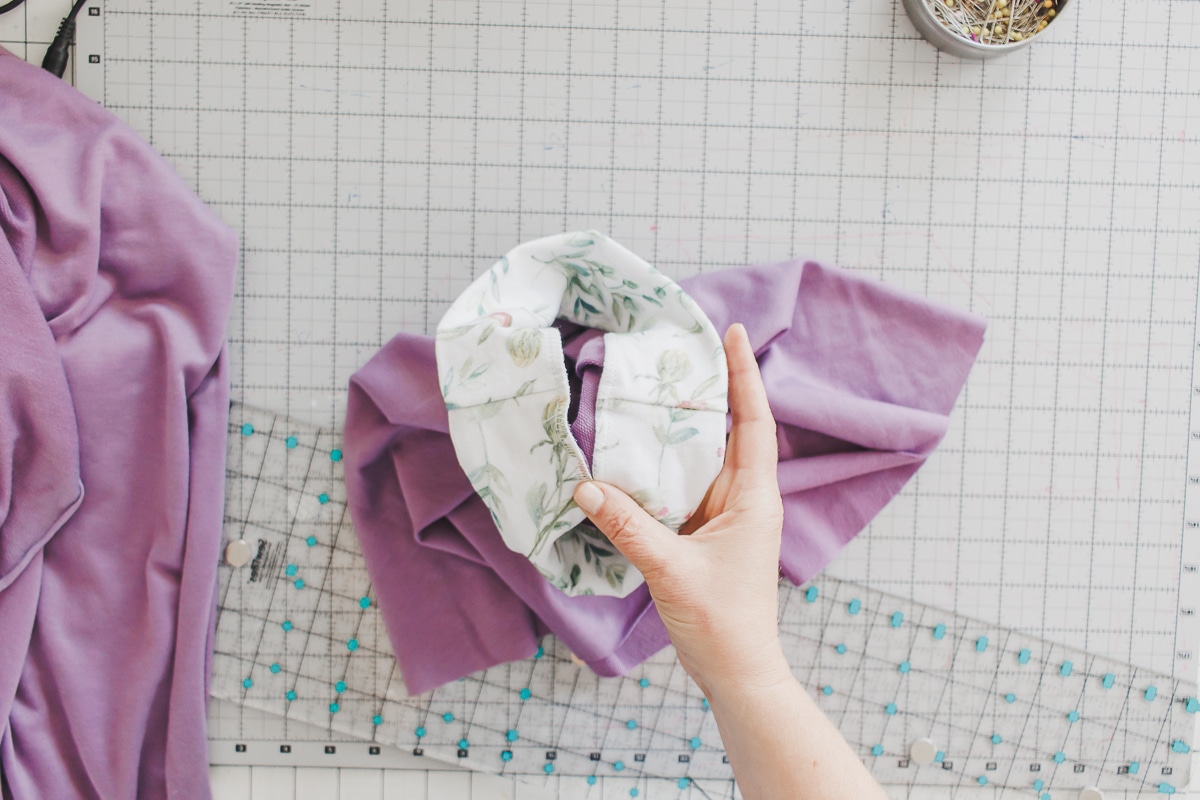
Fold the band so the long raw sides are together and the wrong side of the fabric is inside the band.

For the woven version I used my hip measurement to cut the waist opening on the skirt. The non-stretchy fabric has to go over my hips. The yoga waistband is still cut to my waist measurement. This means the waistband will have to stretch a bit more than the other versions to fit on the top of the skirt. It worked though!
Cutting for the larger hip measurement left less fabric for the length of the skirt. {this may also happen with larger waist sizes with knit fabric. This is why I added the ruffle, the skirt wasn’t long enough without.
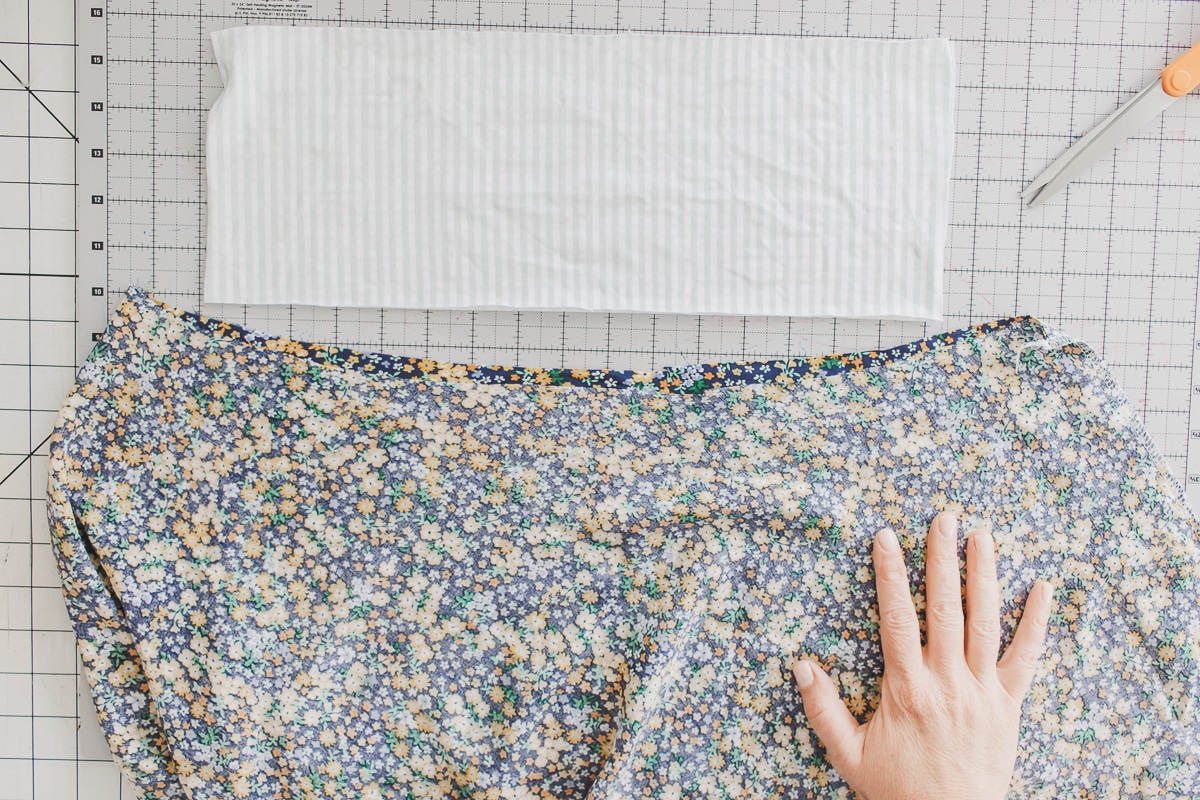
Match the back seams and stretch band to fit on skirt opening. Pin and then sew, stretching to fit as you stitch.

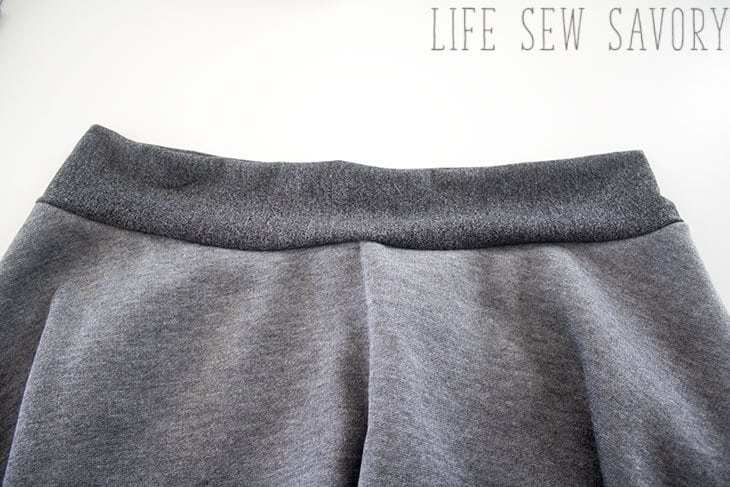
Hem with a 1/2″ hem. You did it! Such and easy skirt! After you make one or two these will be flying off your machine! For some knit fabrics you can leave it unhemmed {the purple skirt} and for woven fabrics you want to make a narrow 1/4″ hem. For my new blue floral skirt, I serged the edge, then turned under the 1/4″ serged edge and sewed the hem.
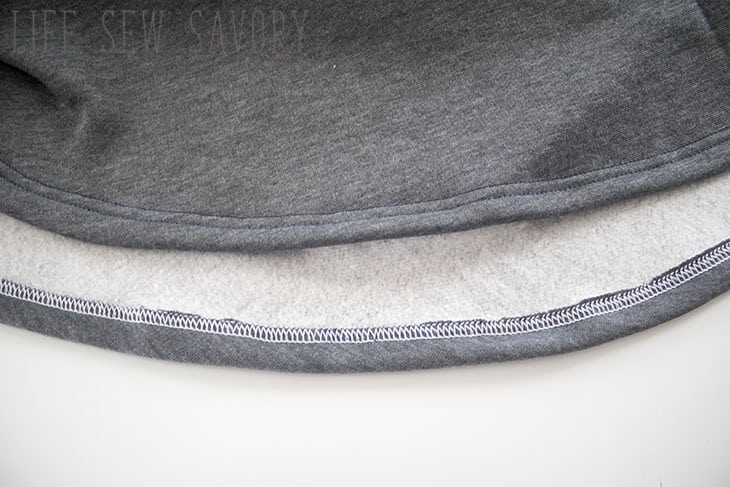
Here is my unhemmed version and ruffle bottom version as well. All so cute and easy!




Kim~madeinaday says
Very cute! I love that it has a soft waist! Thank you for sharing on Merry Monday! Hope to see ya next week!
Kim
Sheri says
Love it! Thank you for sharing at the To Grandma’s House We Go DIY, Crafts, Recipes and More link party! Pinned!
Sherry says
Great skirt! Thanks for sharing at Home Sweet Home!
Donna Blades says
I can not find the pdf women’s half circle skirt pattern.