Inside: Learn how to make a purse/bag out of a placemat in just a few easy steps. Simple DIY sewing project to create a useful placemat purse.
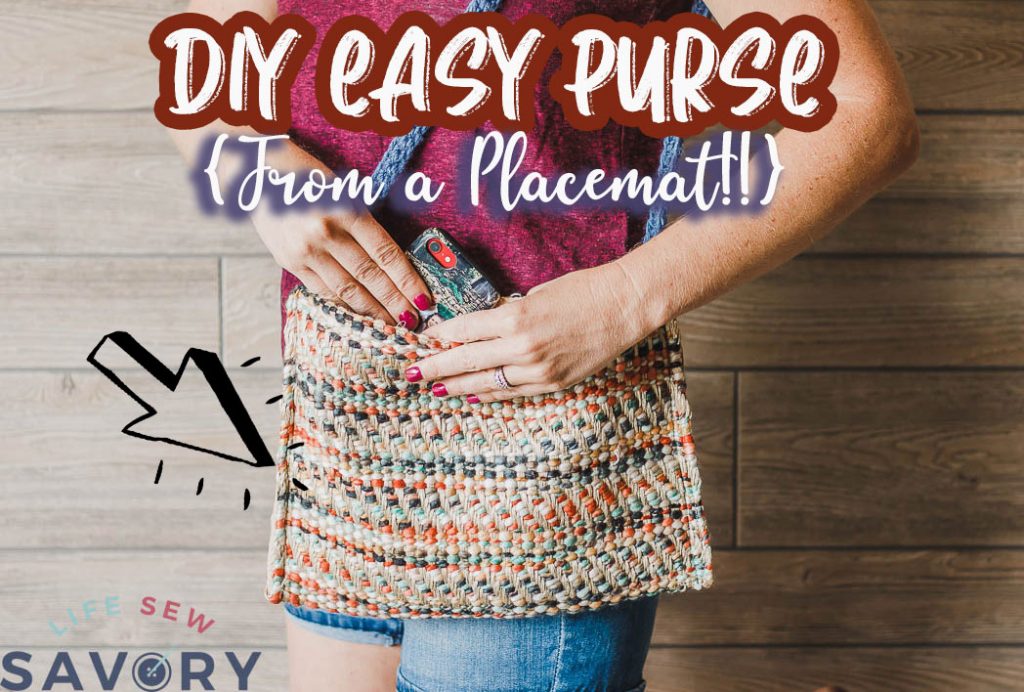
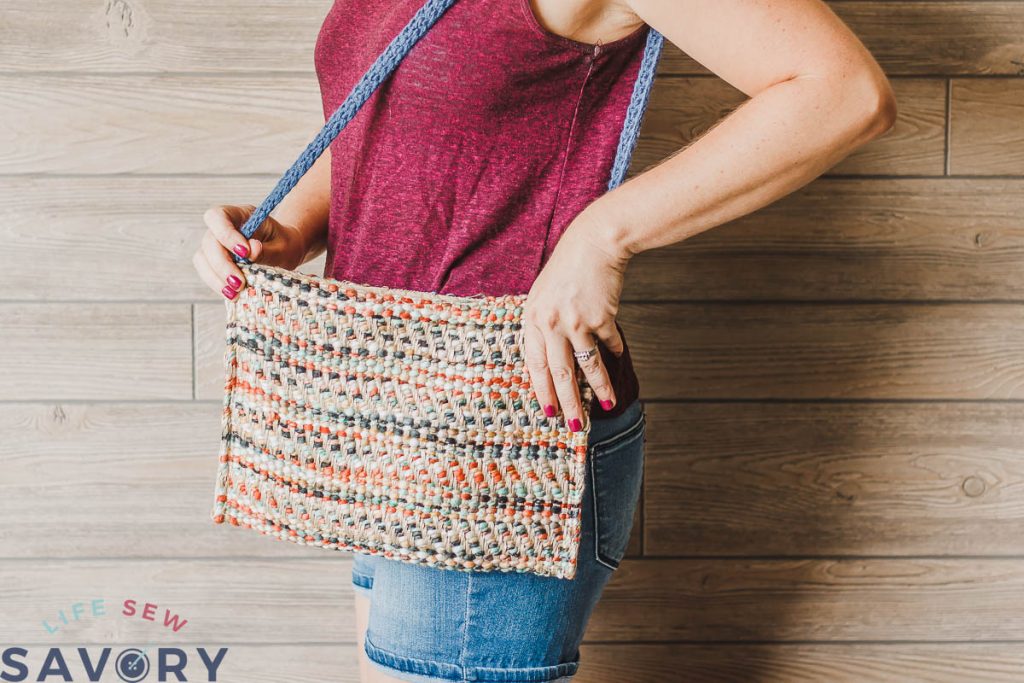
I picked up this fun placemat at hobby lobby in a seasonal clearance section. It wasn’t very much.. I think around a dollar, and I had visions of a purse made from a placemat for months. This week I sat down and sewed it up and I’m so pleased with the result. I’ve been wanting to downsize a bit from a big bag I carry and now I can!
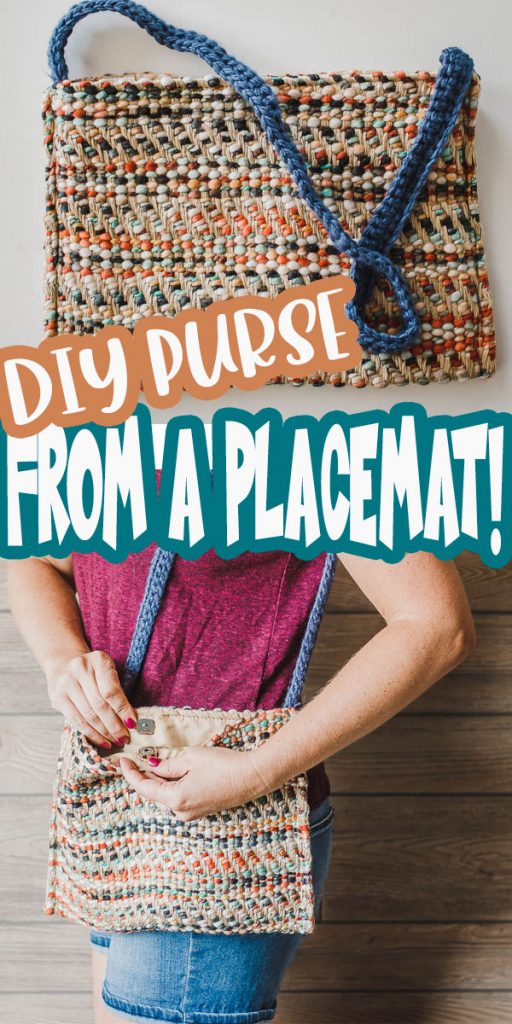
How to make a placemat purse –
The placemat that I had was so fuzzy and fun, it makes and adorable placemat bag. It’s a simple design, I didn’t add any additional pockets inside, but it would also be easy to add a few internal pockets as well.
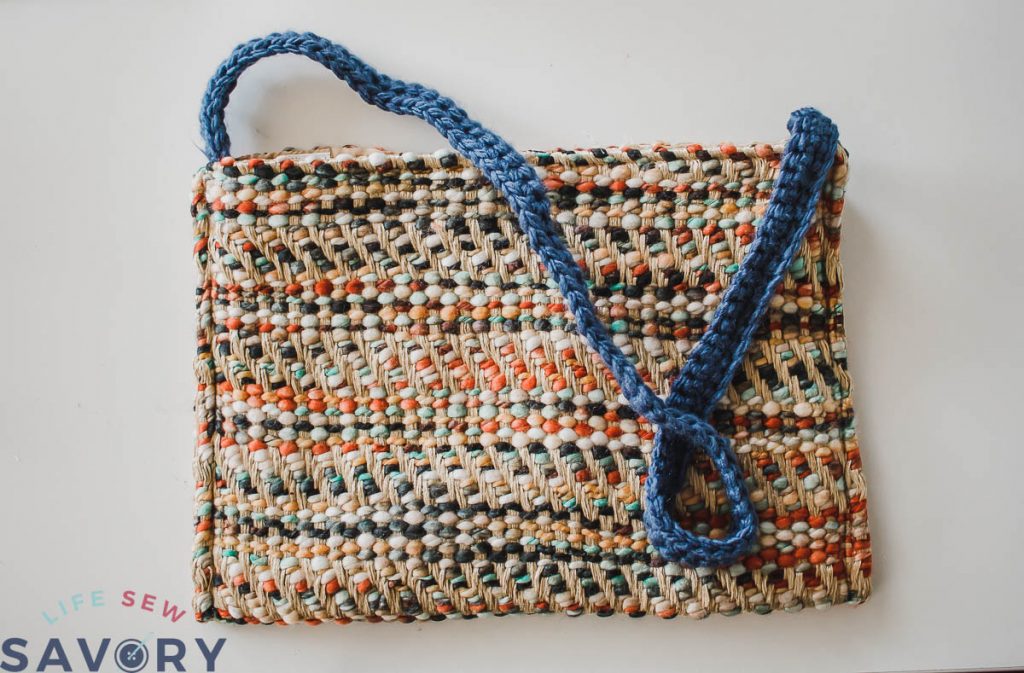
I was thinking about what kind of strap to add, when I saw this fuzzy blue yarn in my stash.. I think it works pretty well to go with the bag! I was going to make it one row wider, but then I ran out of yarn, so this is what I have {haha}
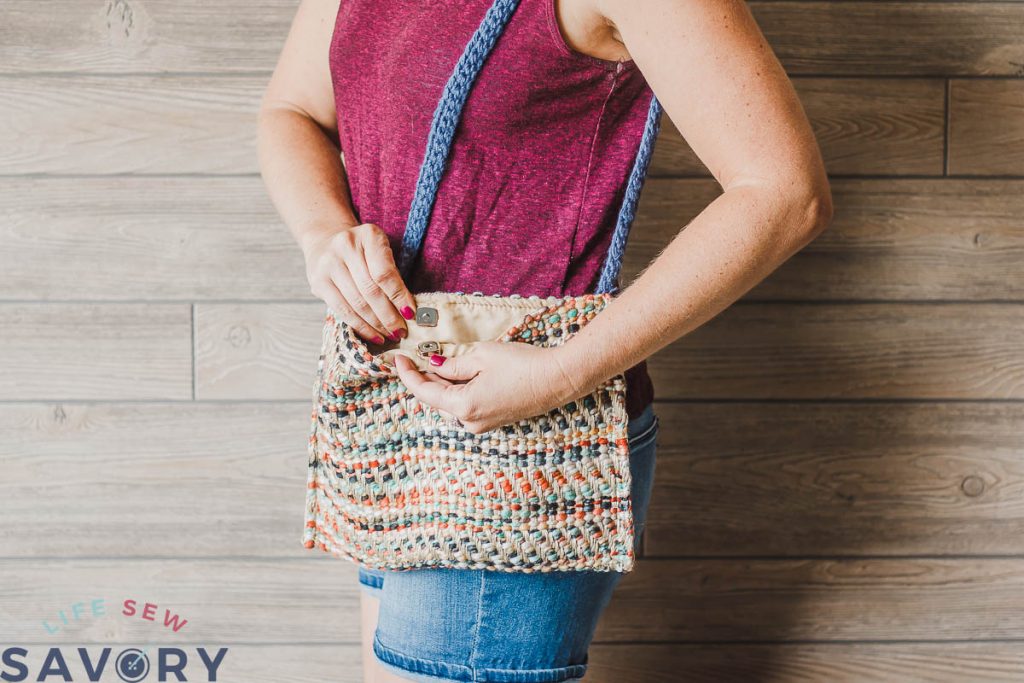
I used a simple magnetic clasp on the bag, but you could also use hook and loop or a zipper for a top closure. Okay! Let’s dive into the details of how I made this bag.
Other amazing bags to sew –
How to make a placemat bag –
Let’s first talk about the supplies.. In my case it was very simple…
- 1 placemat {look at clearance and sale items!}
- yarn scraps crocheted into a strap {details below} Youc an also use a piece of bought strapping for this.
- magnetic clasp
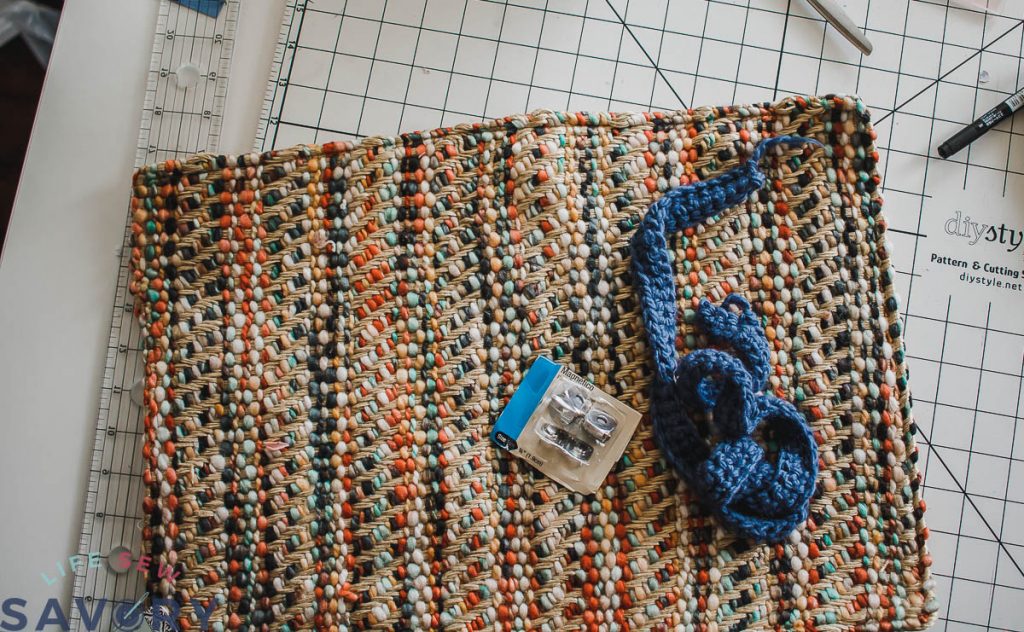
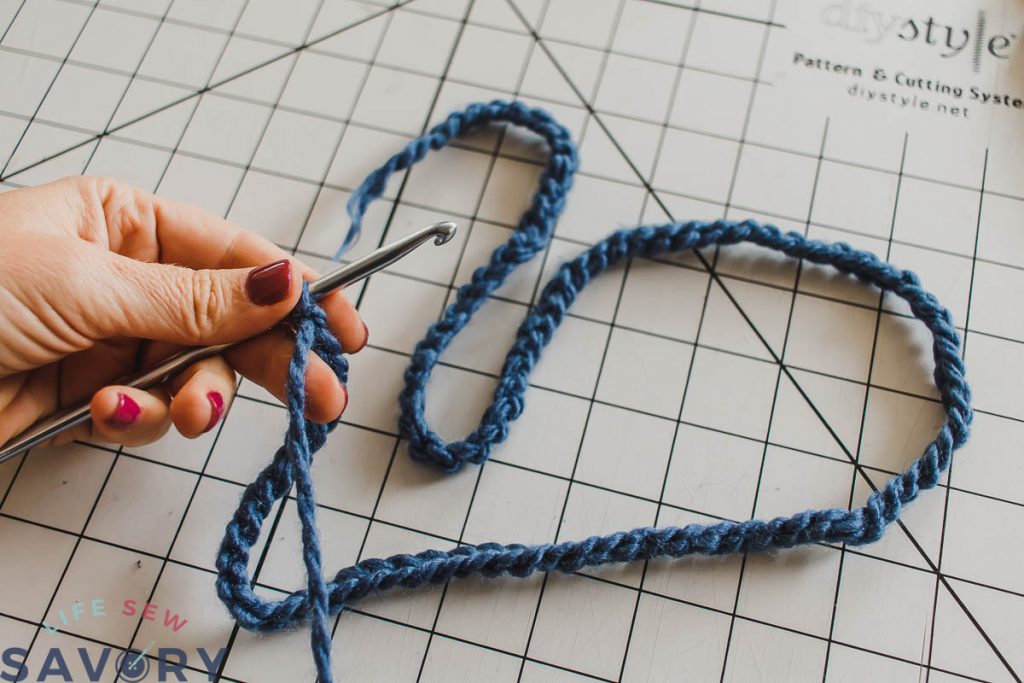
First let’s talk about the strap.. You can purchase woven strapping by the yard – and one yard is plenty. Or you can look to create one like I did. I chained stitches until it was around 26″ long.
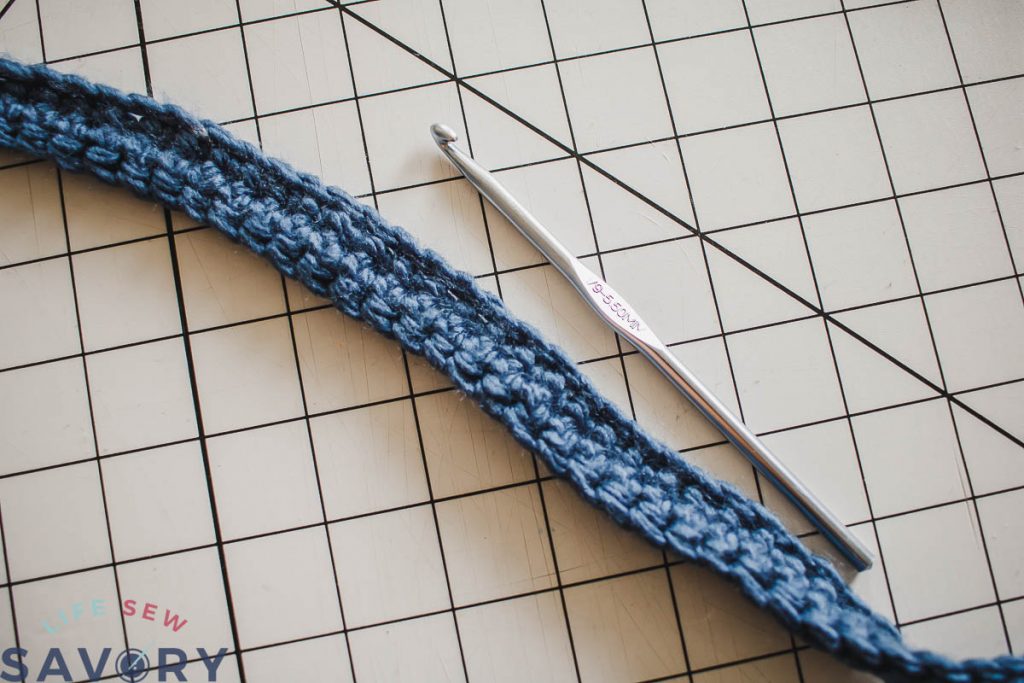
I finished the strap with two rows of double crochet. Like I said I would have made it one row thicker, but I was out of yarn.
From here you will sew up the sides of the bag. I thought I took a photo, but it seems not. I folded my placemat with the wrong sides together and sewed up the sides. I had to use a heave duty needle after breaking two others as the fibers on this placemat were really thick. I sewed about 1/2″ from the side. Depending on your placemat you may want to sew right sides together and turn or wrong sides together like I did.
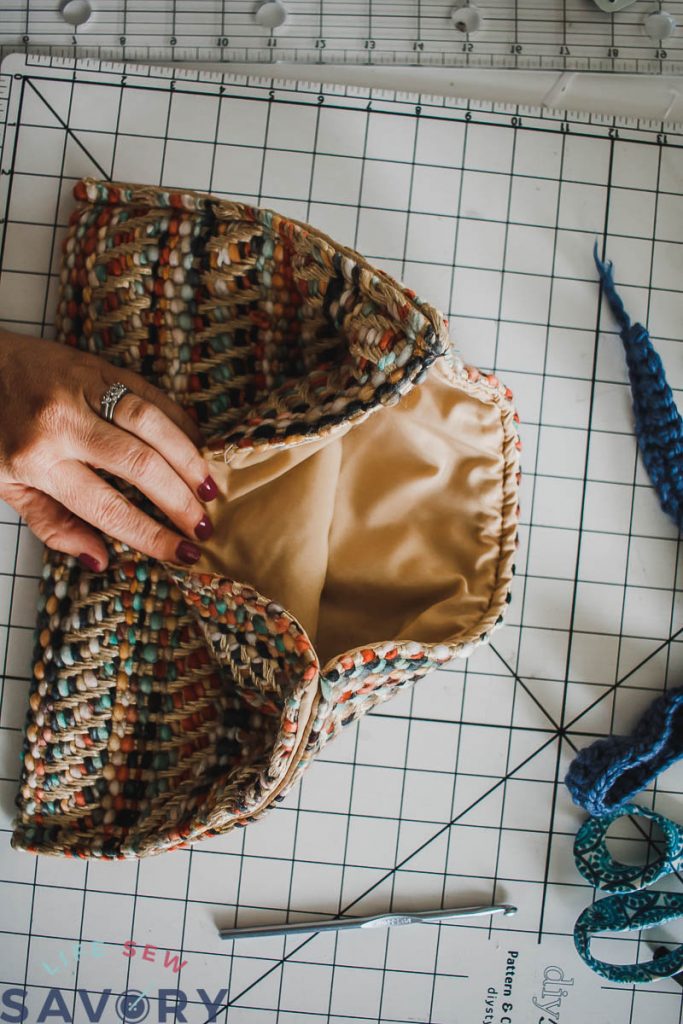
I used a hand needle and thread to sew the straps to the sides seams on either side of the bag. I stitched up and down both sides and across the top and bottom.
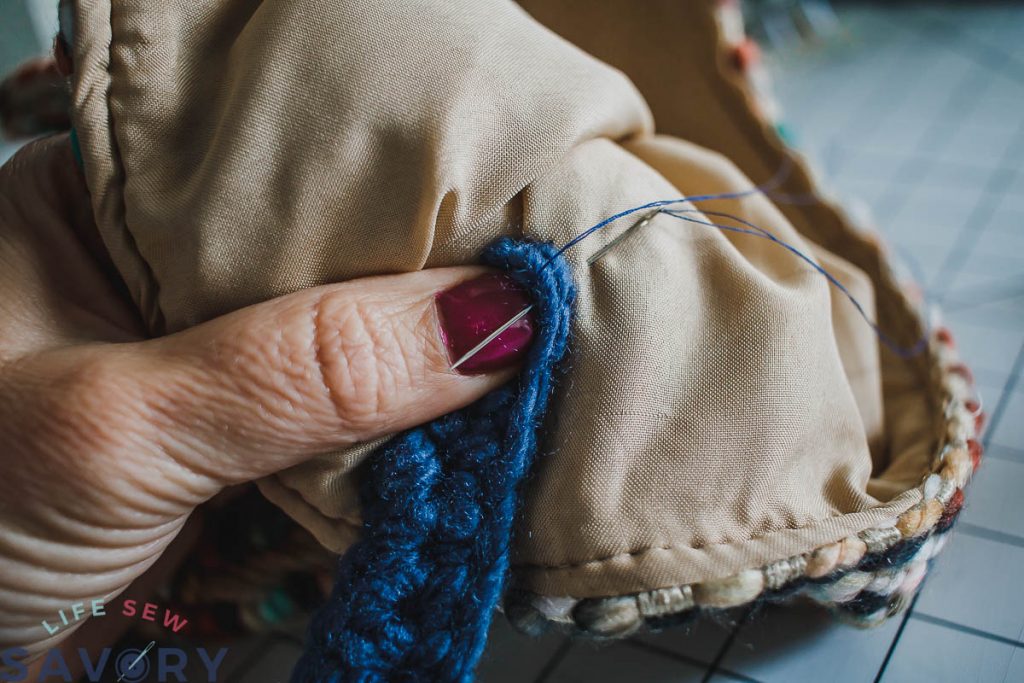
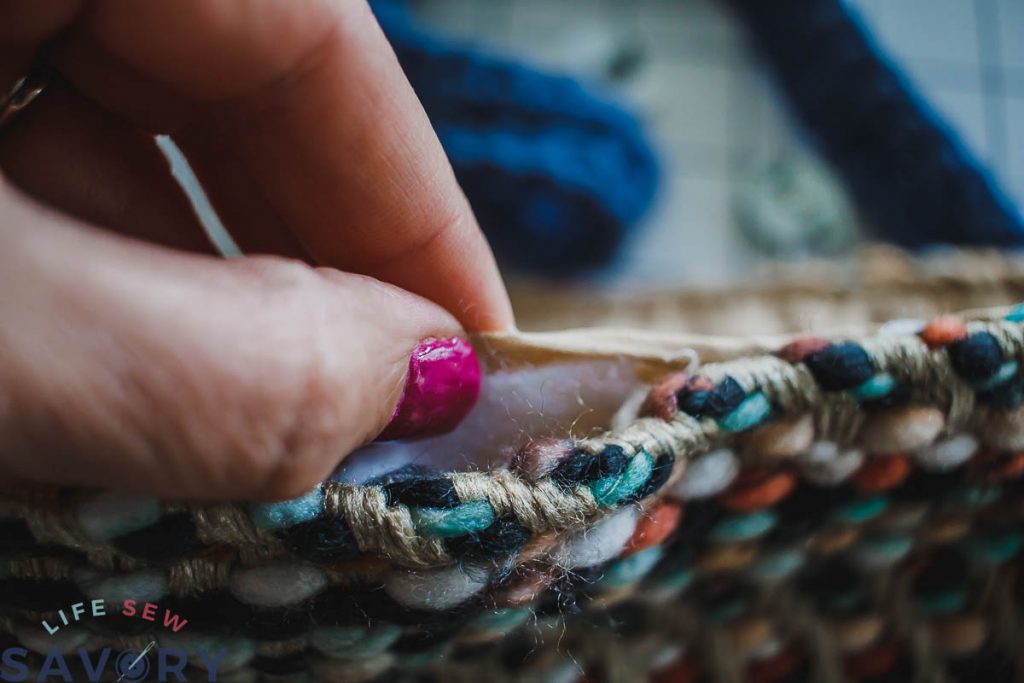
Because my placemat was lined I think adding the magnet is a good option. If your mat is unlined I think I would go with a zipper. I picked open the stitching at the top center of both sides.
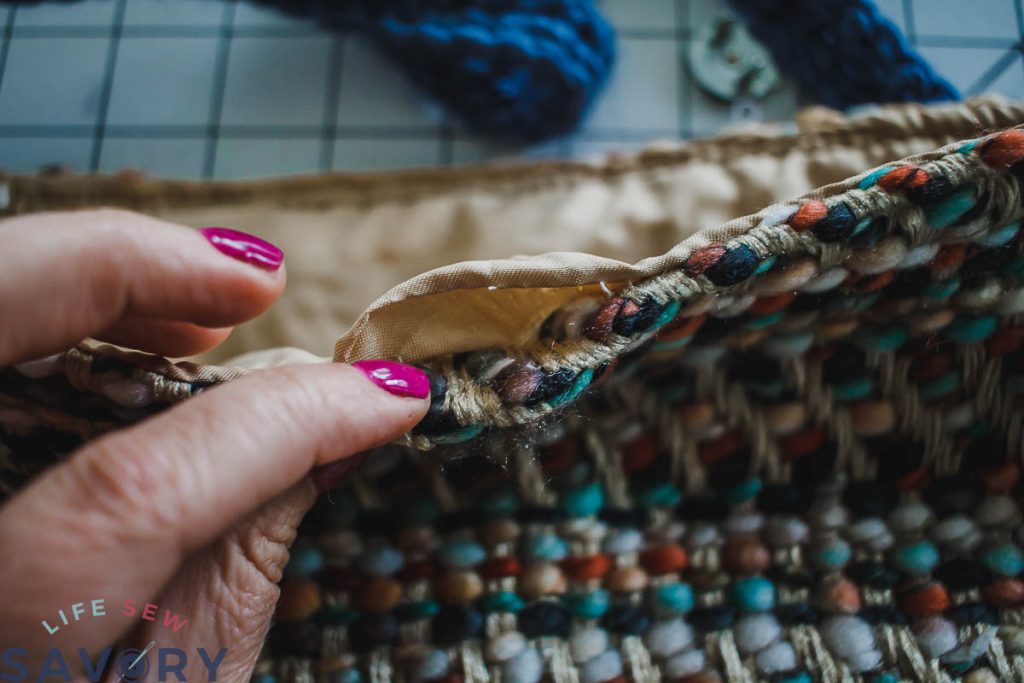
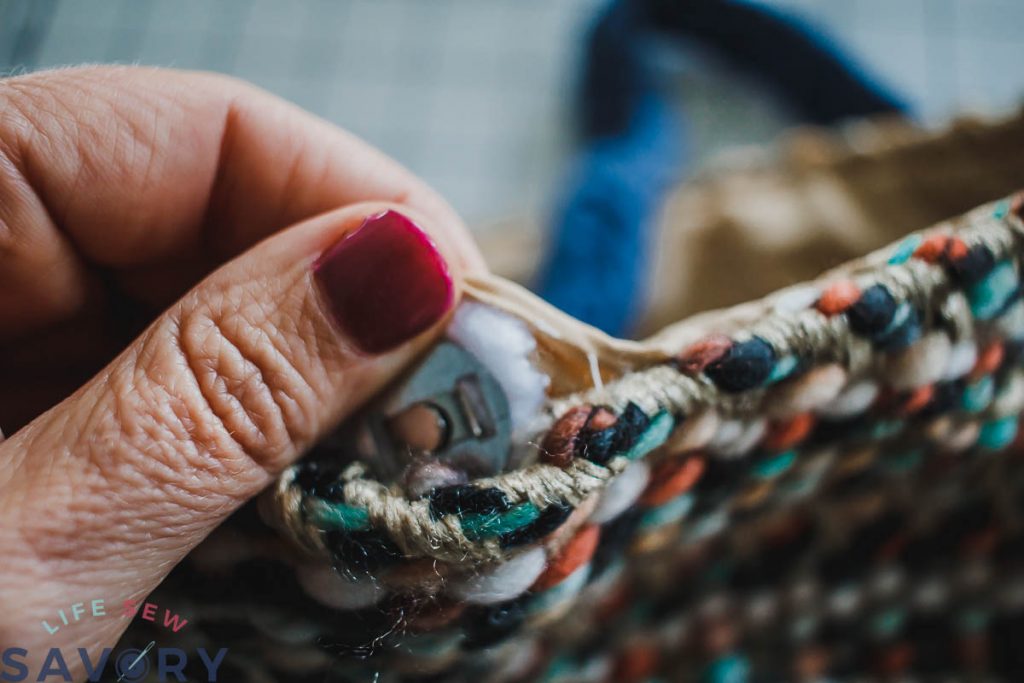
I added a layer of fleece interfacing, then cut slits in the lining and installed the magnetic clasp. I was able to fold back the prongs and they are hidden in the lining.
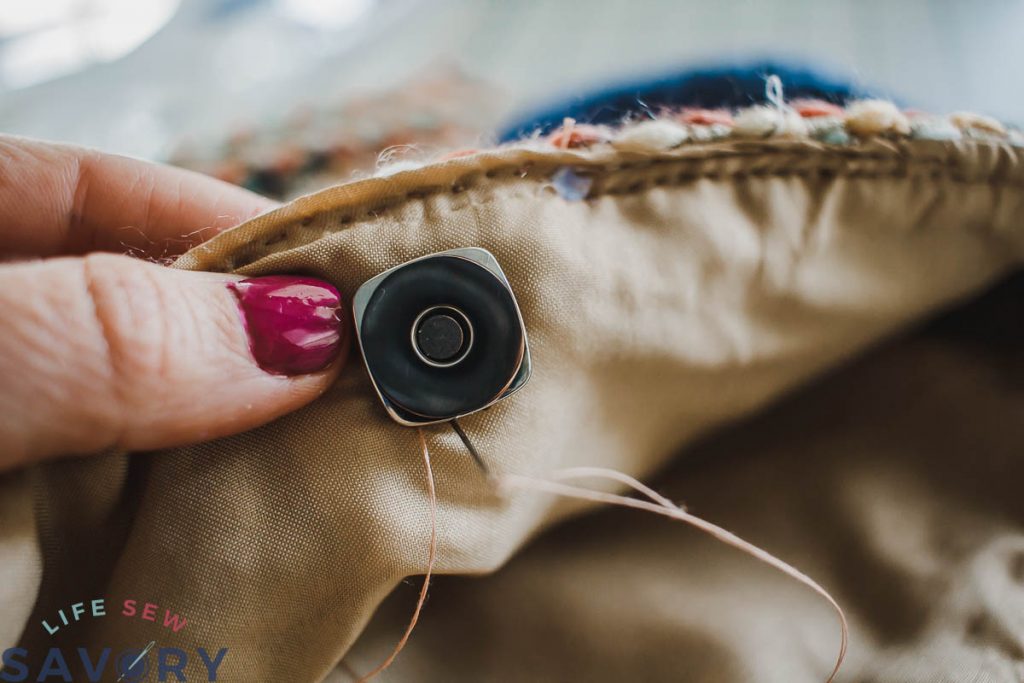
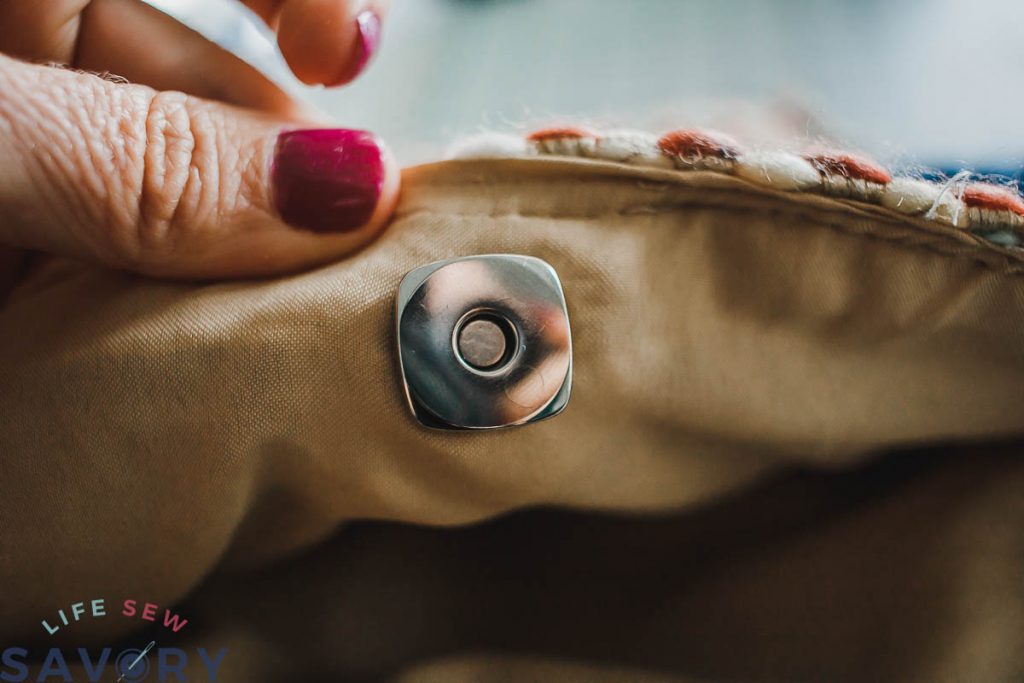
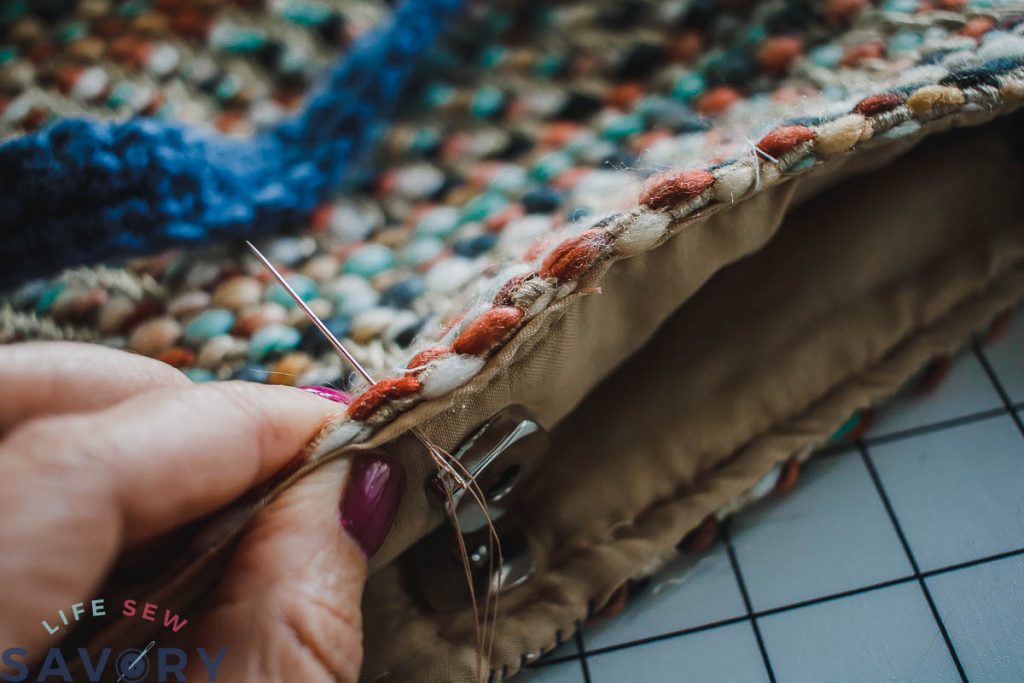
Here is the magnet on the bag lining. Repeat with the other side. Then use a needle and thread to stitch up the top that you opened before.
I then took my needle and thread and put a few stitching around the magnet. The lining was pretty thin, so I wanted to secure all the layers together. I sewed close to the magnet so you don’t really see the stitches.
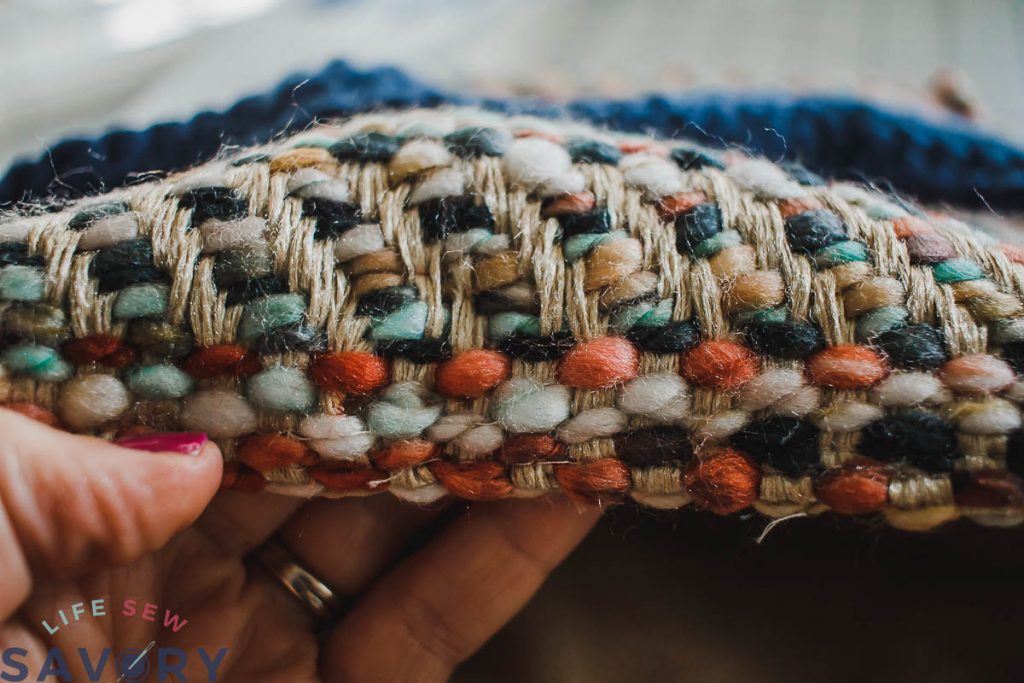
I was also lucky that you can’t see my stitches on the outside due to the placemat texture.
And that’s it! Now I need to load it all up with my essentials and I’ll be ready to go. I’m excited to have this new, smaller bag option to take out.
What have you sewn from a placemat?




Michelle McCoy says
I am in awe, I have the same exact placement. Yours turned out cute.