inside: Learn how to paint a doormat with this simple DIY doormat tutorial. Create custom doormats with paint and a stencil with this fun and easy DIY home project.
Today felt like spring around here, which made me want to do a little something to brighten up my porch. I swept off the pine needles from dragging out the Christmas tree months ago, then decided I needed a new doormat. I’ve been wanting to try a DIY painted doormat for awhile now, so I made one. The process is so simple, so I will show you how to create your own custom mat.
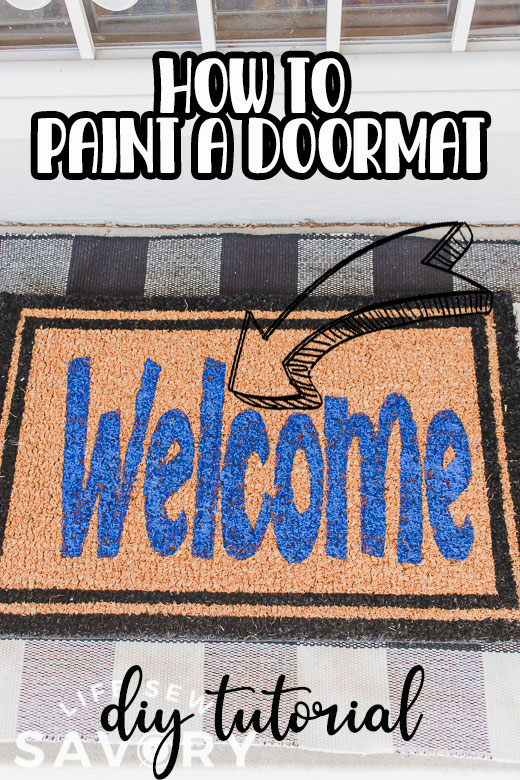
DIY Doormat
If this DIY doormat project is one you would like to try, make sure to come back on Thursday. I’ll be sharing my monthly free SVG group post and this month we are sharing doormat files. I’ve seen the designs and they are SO cute. Make sure to come back and grab some free files then.
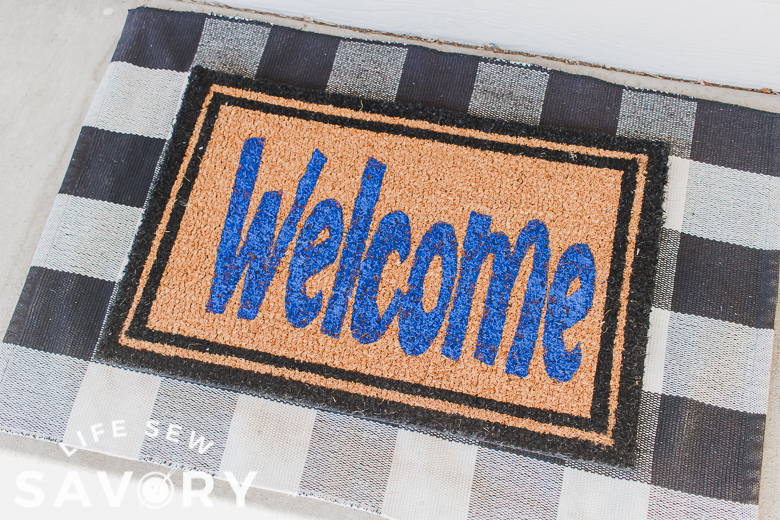
I decided to start with a simple welcome mat for my tutorial today. But I’m looking forward to trying more designs in the future. Below you will find all the supplies for creating your own diy door mat and with endless options, you can make a few.
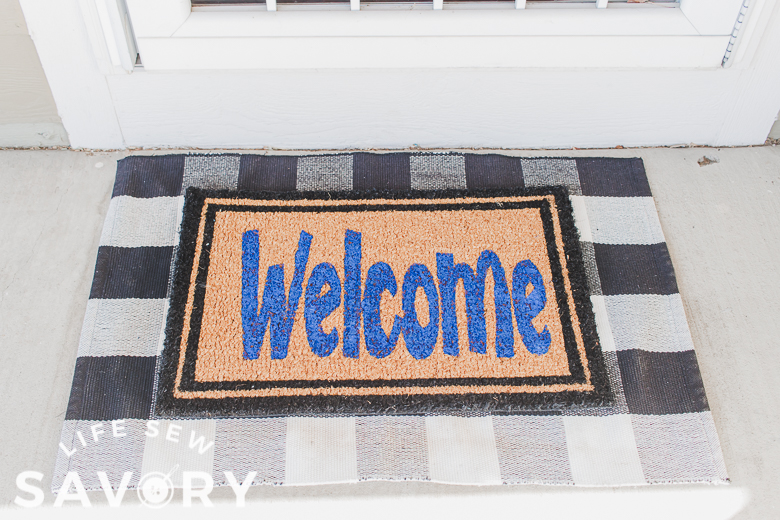
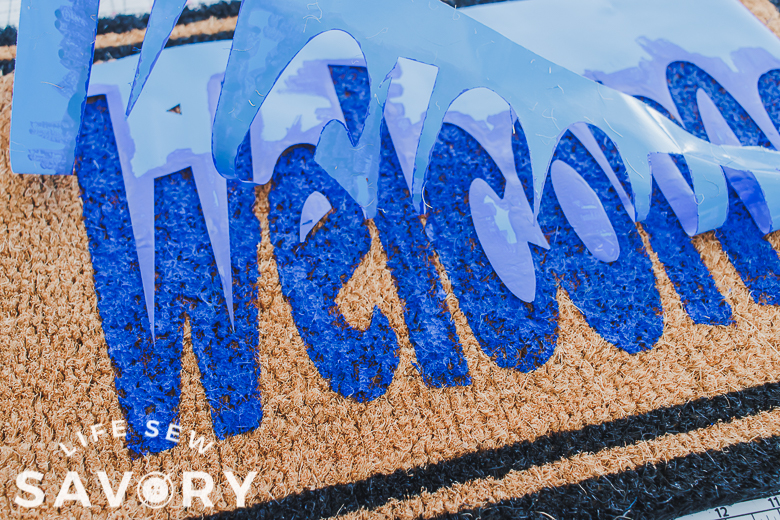
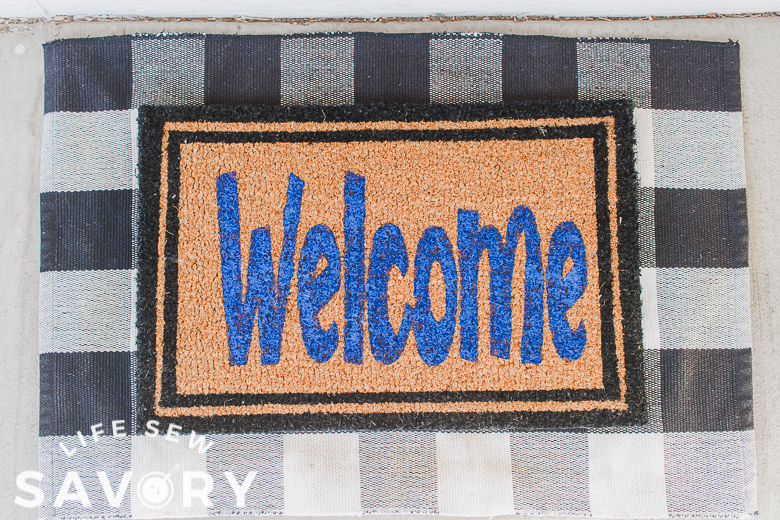
After I peeled off my stencil I noticed my off center design, so that is one thing I will want to work on for next time. I thought I had it centered when I put on the stencil, but obviously not!
Other amazing home DIY projects:
How to Paint a Doormat
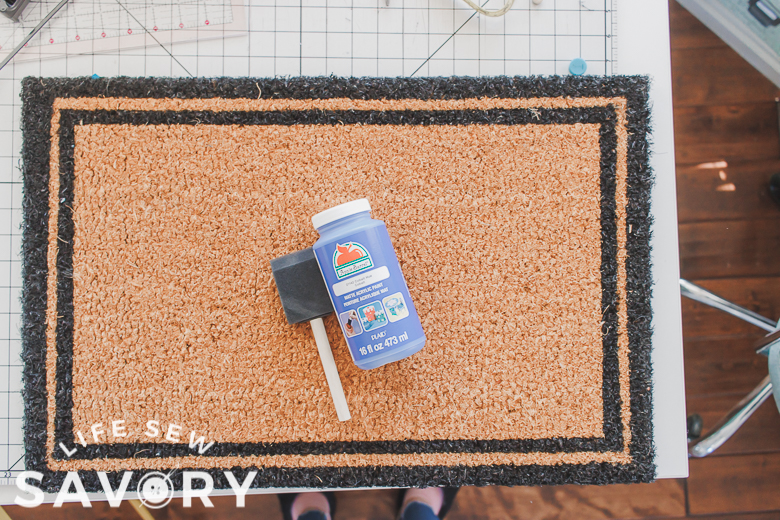
Ok, first gather your supplies. I was looking for the path of least resistance so just ordered everything from Amazon. Below are the exact items I ordered.
- DoorMat
- Acrylic Paint – the mat does soak up a lot of paint, so a small bottle of the craft paint may not be enough. This large bottle was plenty with some extra.
- Foam Brushes
- sticky craft vinyl
- Craft Cutting machine. I use the Brother ScanNCut
I just created a simple welcome sign in my Brother Canvas Workspace. You can use any cutting machine software to create a simple word. I ended up not using the exclamation mark you see on the end here. Transfer the design to you machine.
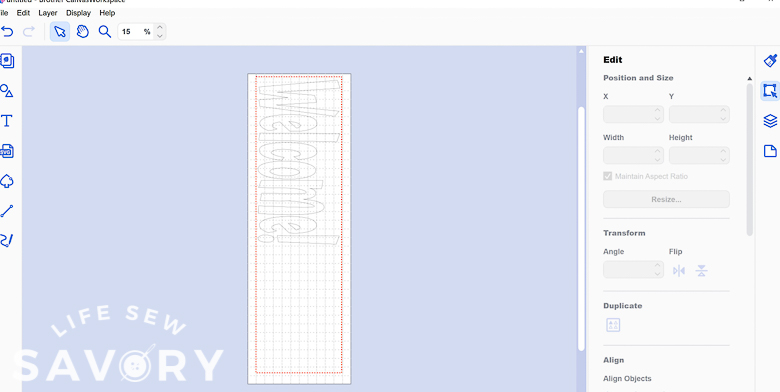
I used my roll feeder attachment to cut a longer design. Add sticky craft vinyl to roll feeder. Because you are using the vinyl for a stencil you just cut the design as seen. No need to mirror the image like when cutting heat transfer vinyl.
Want to see what heat transfer vinyl projects look like? Check out my iron on vinyl tutorial here.
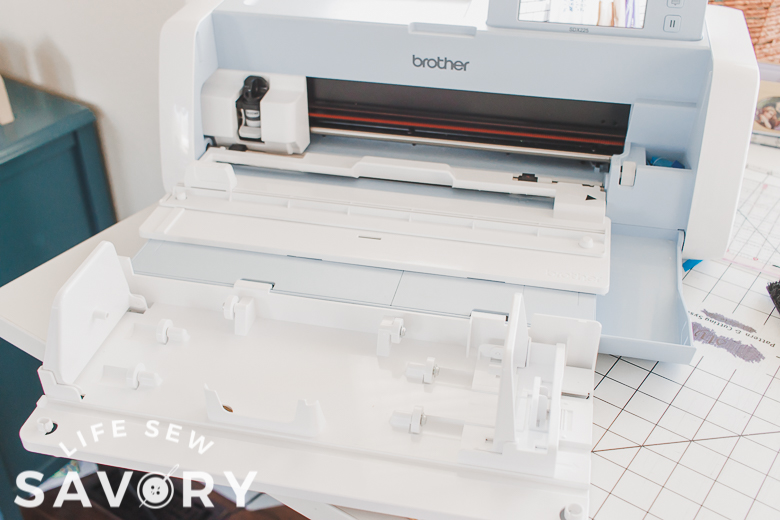
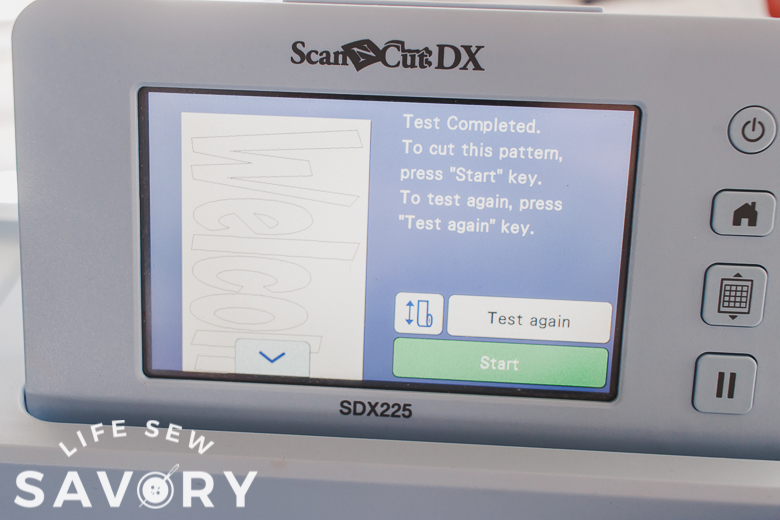
Load the roll feeder and cut your design. Need help with your roll feeder? here in my tutorial. Now usually with vinyl project I weed away the outside and keep the letters, but because I’m creating a stencil, I actually just picked out the letters and left the rest of outside.
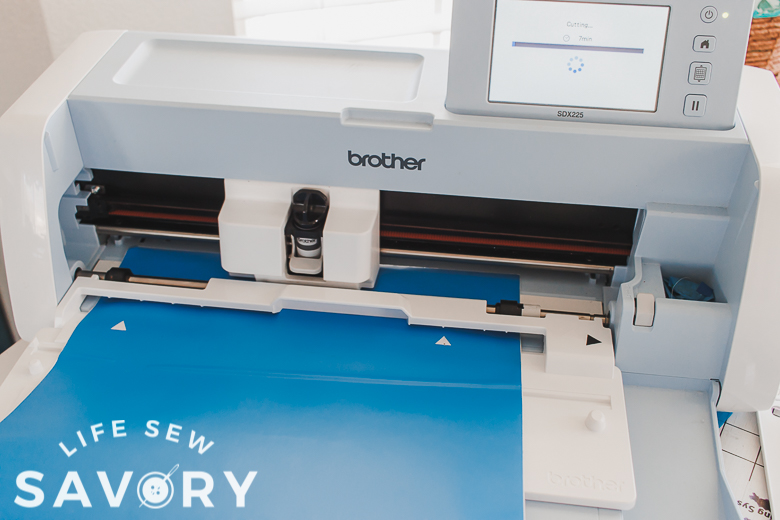

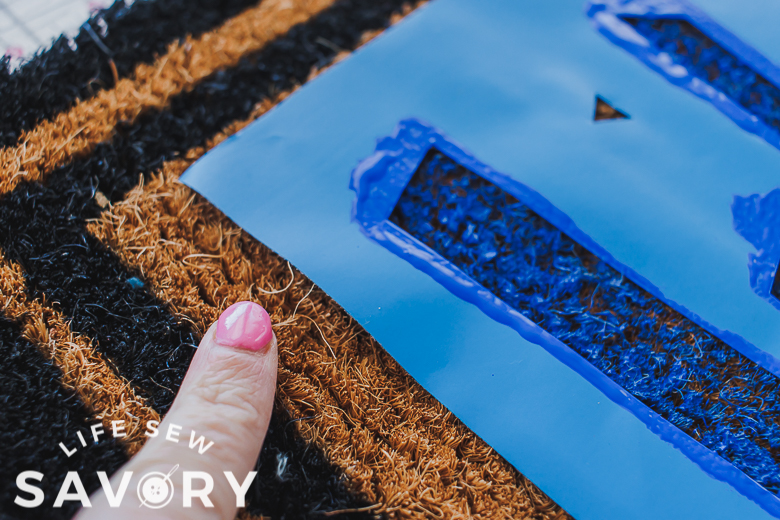
Test out the position on the mat and try to mark the placement. {obviously I didn’t do a great job with this. I think I should have taped the left corners while I peeled off the backing. Press the stencil in the mat as well as you can.
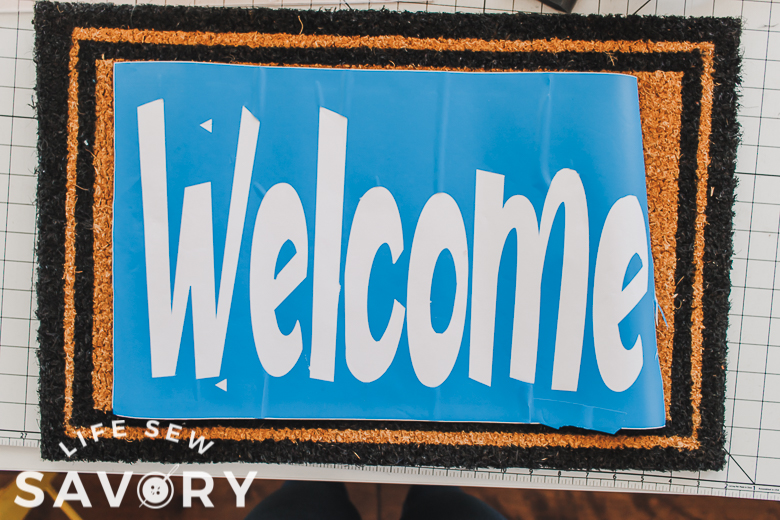
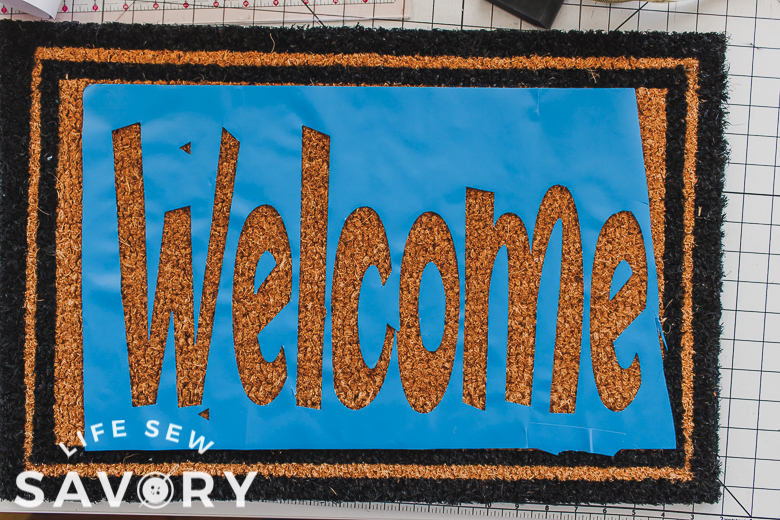
If you don’t have heat transfer vinyl or a cutting machine you can use a razor blade and freezer paper to create this same stencil. Here is my freezer paper stencil tutorial.
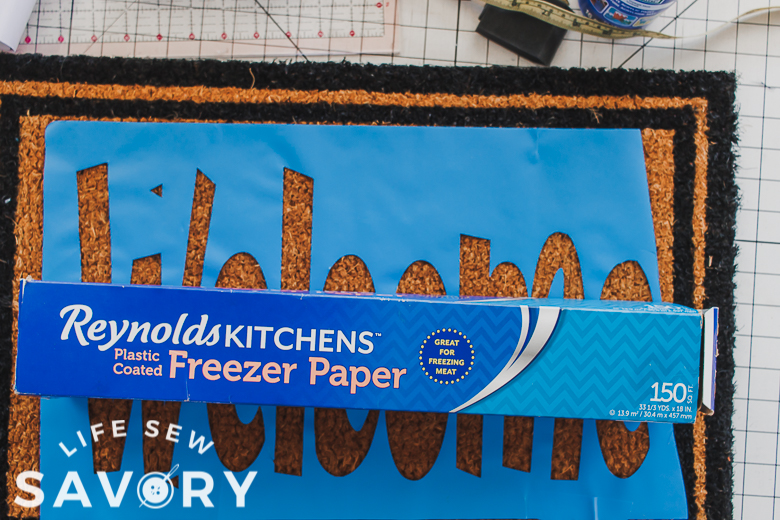
Use the foam brush and paint to paint inside the letters. Make sure to use an up and down stamping motion. Nothing side to side. You want to make sure that the paint doesn’t get under stencil. Up and down, up and down. Complete one full coat.
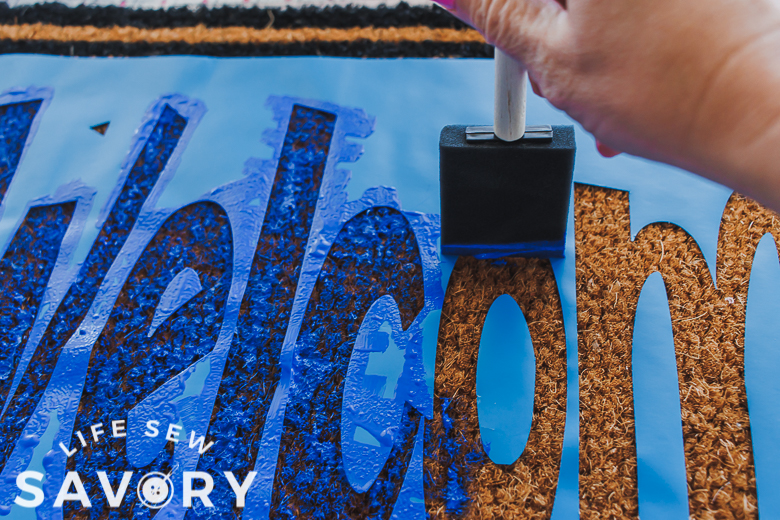
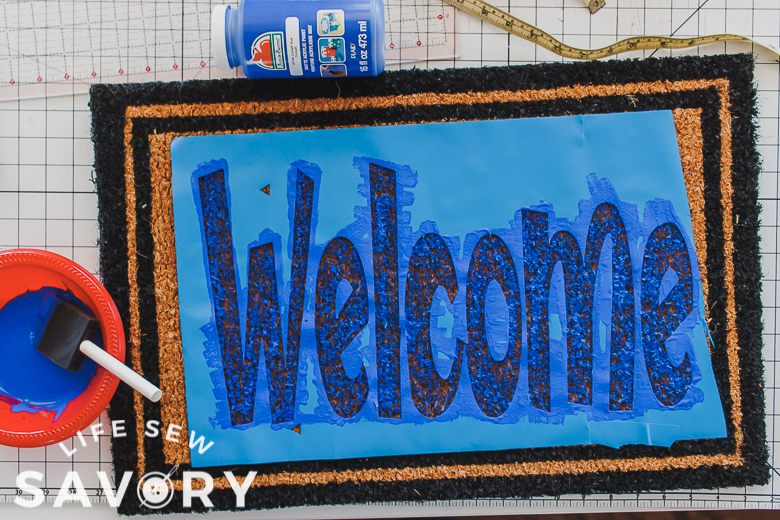
Due to the fiber of the mat, your stencil may not stick super well. This is why the brush motion very important. It stuck well enough as long as I just used the brush like a stamp. After the paint dries add a second coat of paint.

When the paint dries, peel back the stencil. Look at how cute it turned out! It’s a little off center, but the letters turned out perfectly and now it’s time to try more designs and colors. What sort of welcome mat does your front door need?




Michele says
Does the acrylic paint last?
Emily says
yes, but my mat is on the porch and not in the rain