inside: Learn how to sew a neckline. There are two main ways to finish a neckline, binding and bands. Find which way works best for you with this sewing tutorial.
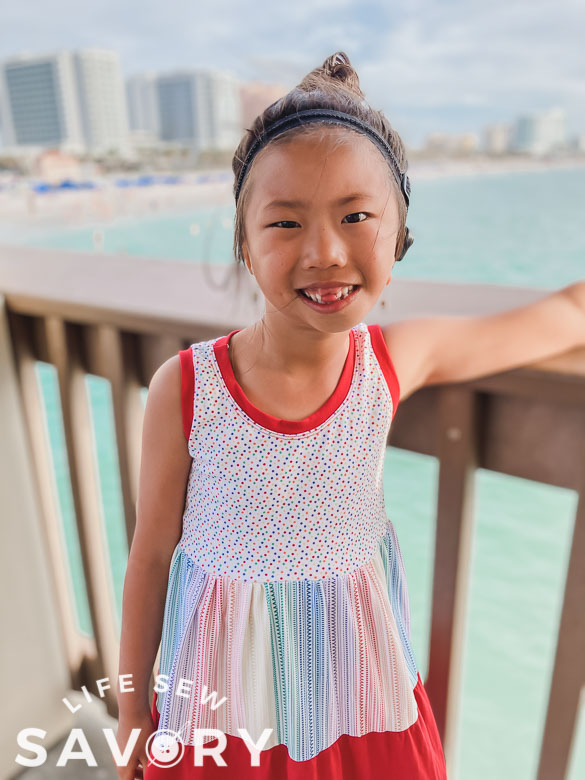
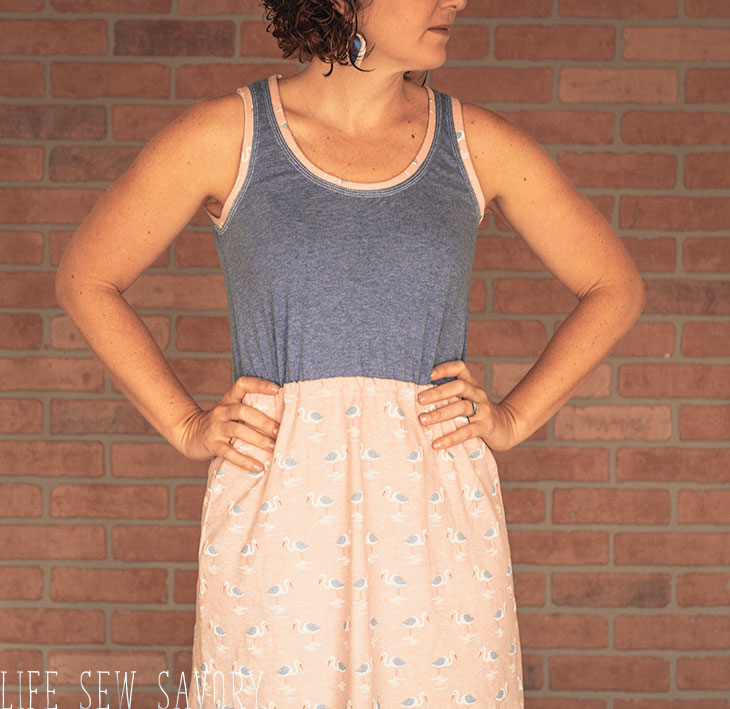
I sew a ton with knit fabrics. T-shirts, sweatshirts, tanks and dresses of all kinds all need to have the neckline and arms finished. There are two main ways to finish a neckline sewn with knit fabric; a binding or band. These methods are used for neck and arm openings when sewing knit clothing and today we will walk through both methods should you how to sew necklines.
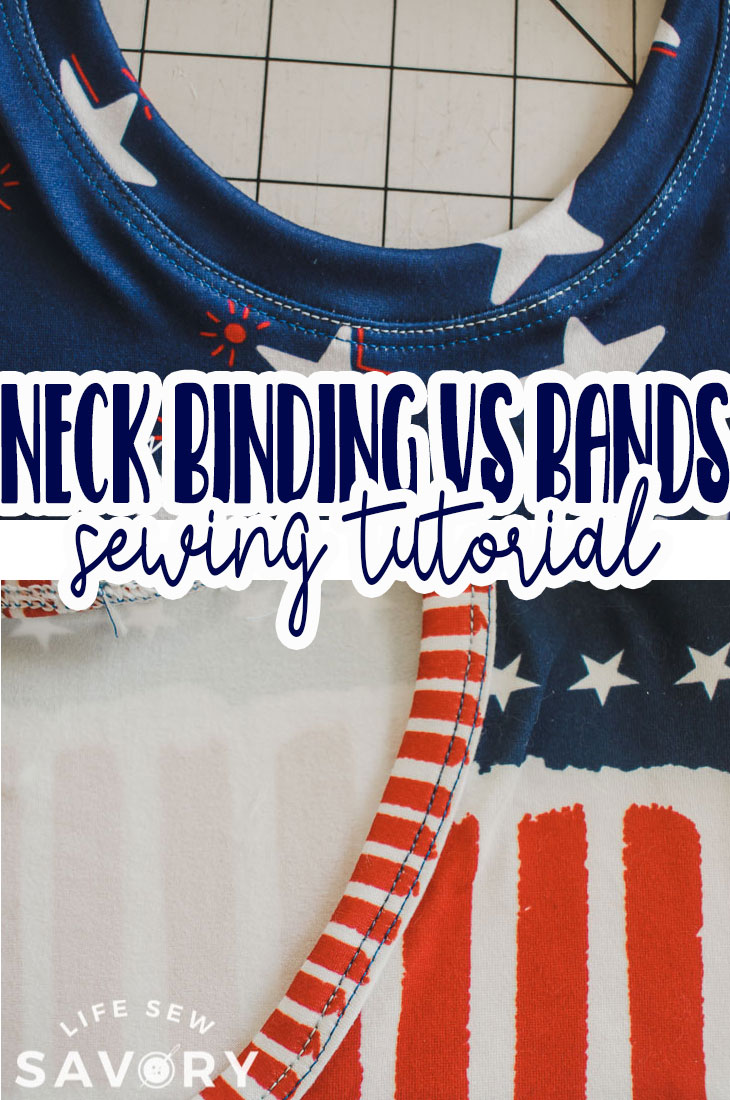
How to sew a neckline
Today I will show you the two main way to finish knit necklines. You can also add a facing or just fully line the top, but the two primary ways to finish a neckline with binding or band. Let’s take a closer look at these two neckline finishes.
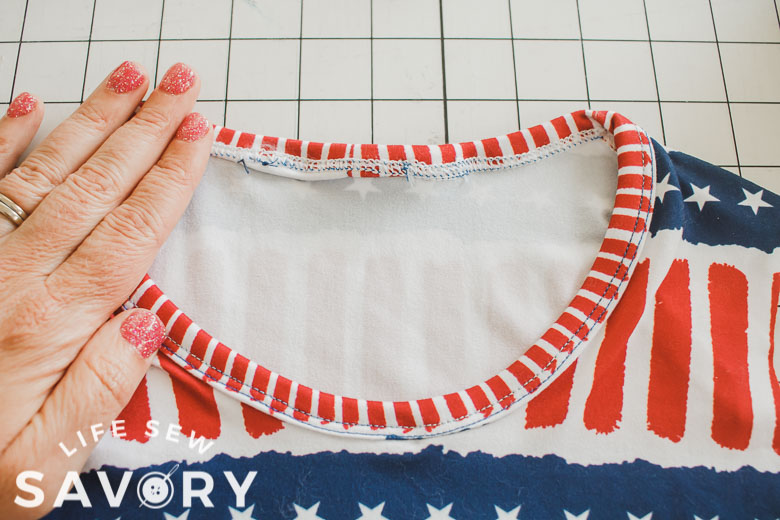
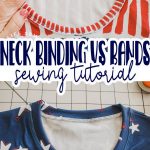
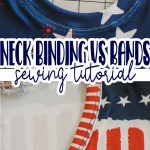
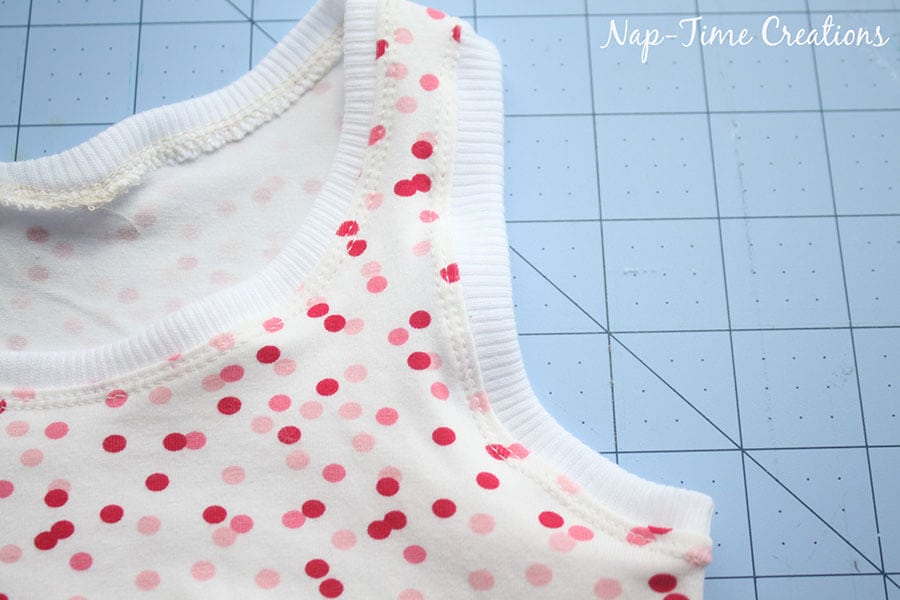
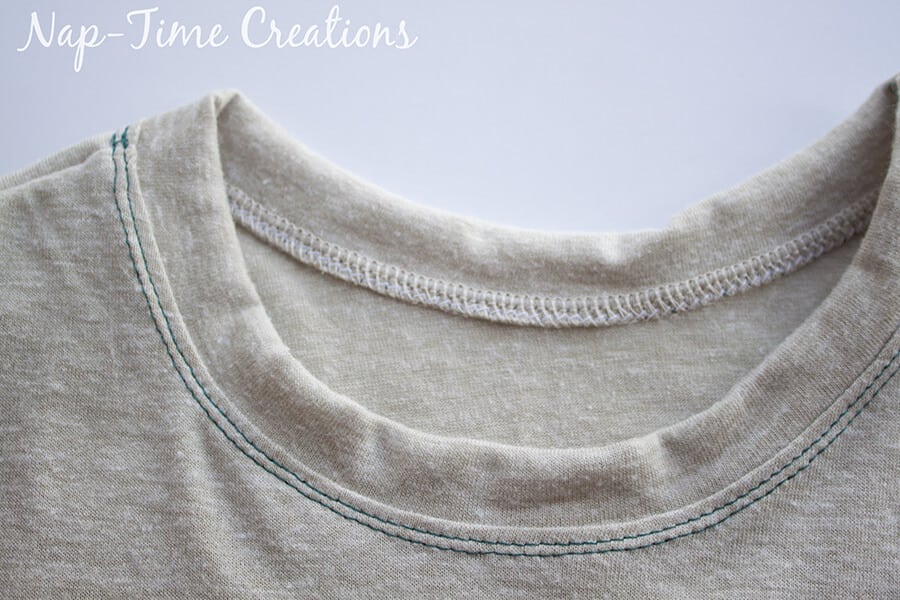
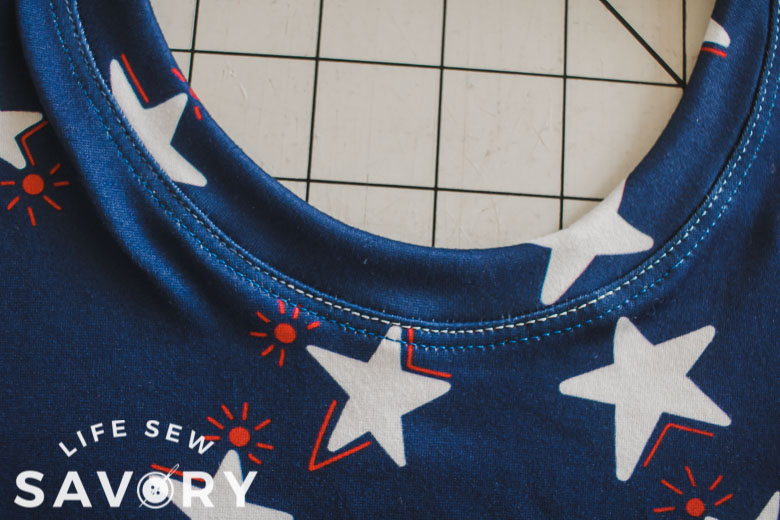
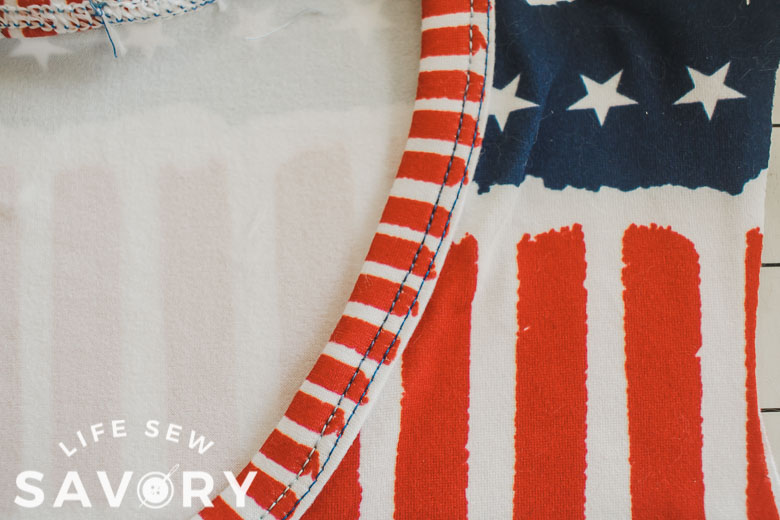
Here is my favorite finish- the neck band. I think because I have sewn this so many times, it’s fast and easy for me and thus my favorite. You can top-stitch a neck band with a twin needle, cover stitch or zig-zag. I’ve used a coverstitch machine here, but you can also achieve the same look with a twin needle. {more details on that below}
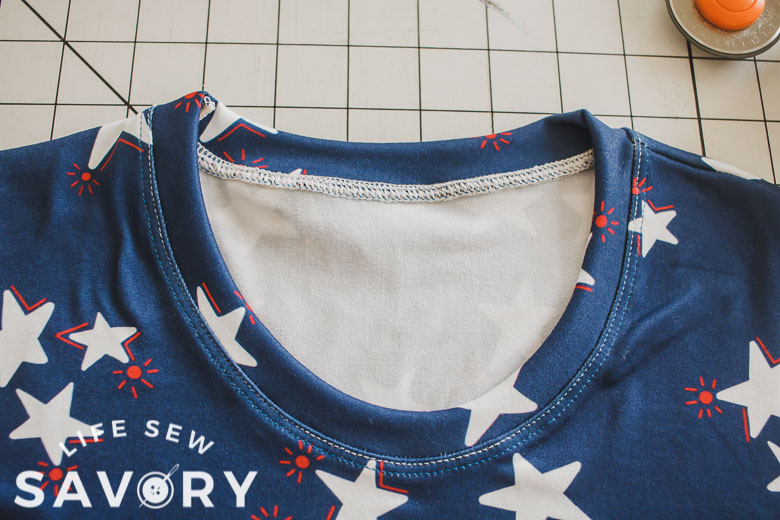
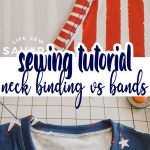
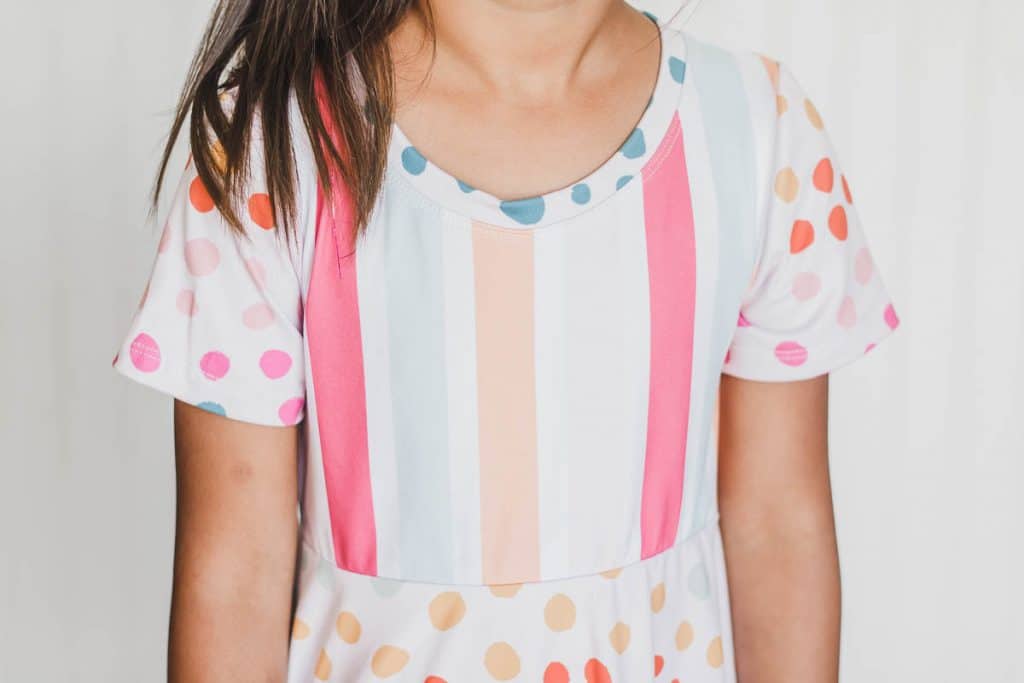
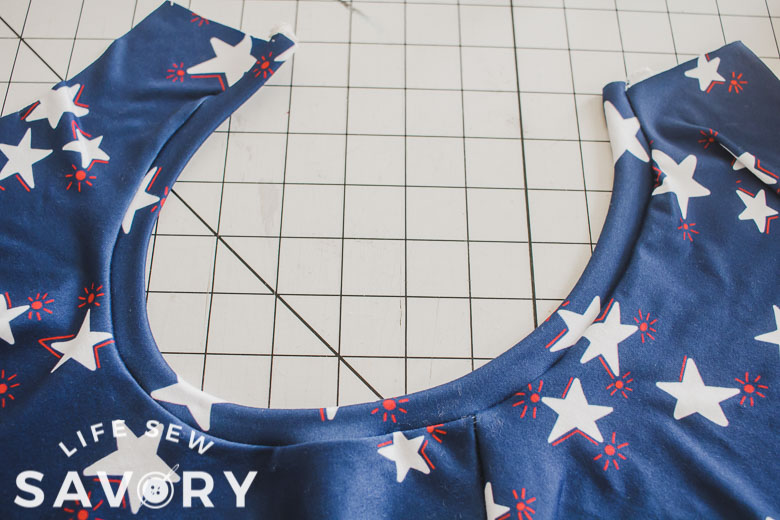
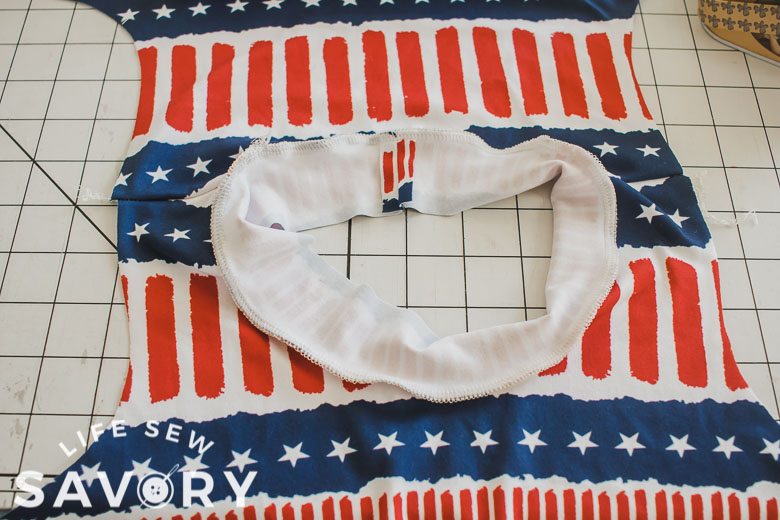
And here is a finished neckline using the binding method. I’ve recently been sewing more of these while making the Galena Dress, so I’m slowly getting faster at this method. I do really like this look of this finish, but so far am not sure the extra work is worth the effort – especially for kids clothes {haha}
I have a brief tutorial for each finishing method below, but first I wanted to give you a list of free patterns that you can use these two methods on.
patterns to use with bindings and bands:
Ok! Let’s get started with our sewing necklines tutorials. Here are a few links you may find hand.
Ways to finish a neckline –
Again, the two ways we will be covering are neck bands and binding. A neck band is a thin strip of fabric folded in half with the wrong side together. This folded band is stretched along the neckline and creates a band on the raw edge of the fabric. A neck binding is sewn without folding first and then folded and sewn again. Let’s jump into a detailed tutorial of each method.

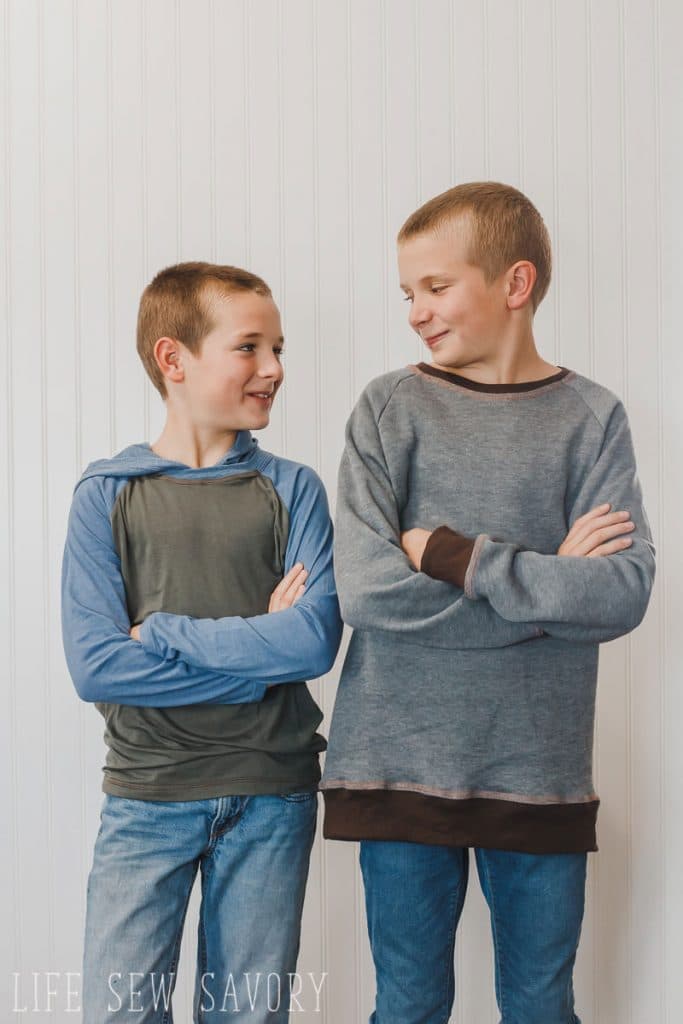
The two tops are cut out the same for both. The binding and the band are both cut 1.75″ wide, but the length is slightly different. The binding will be cut shorter than the band. I like to make my bindings about 80% of the neckline opening and a band should be closer to 85/90% of the opening. Different fabrics will need slightly different lengths.
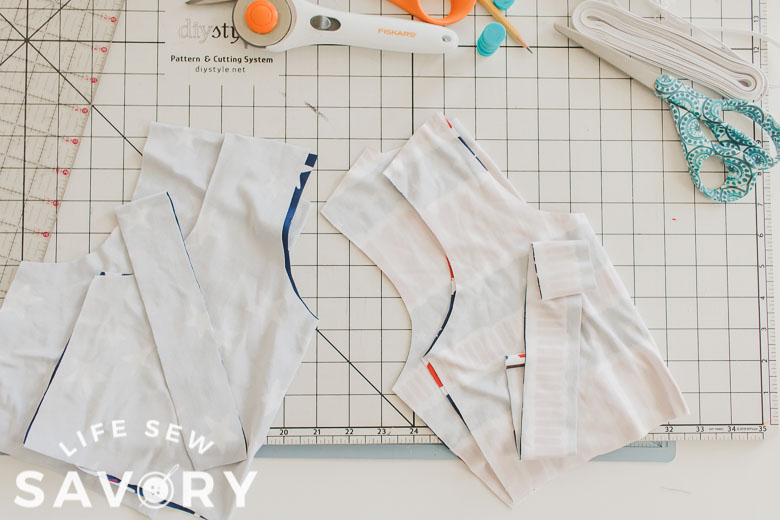
How to sew a neck band-
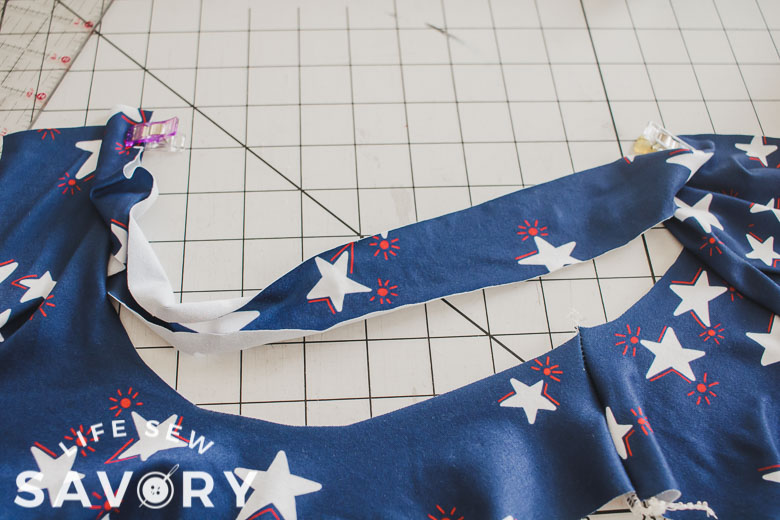
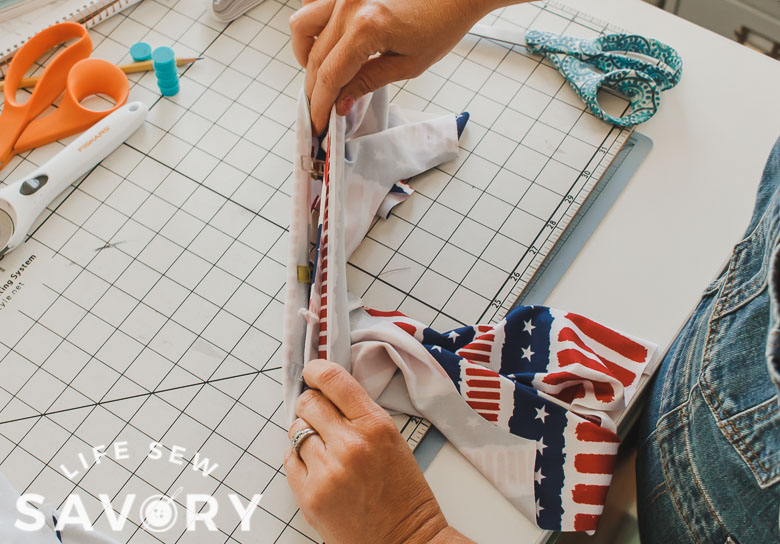
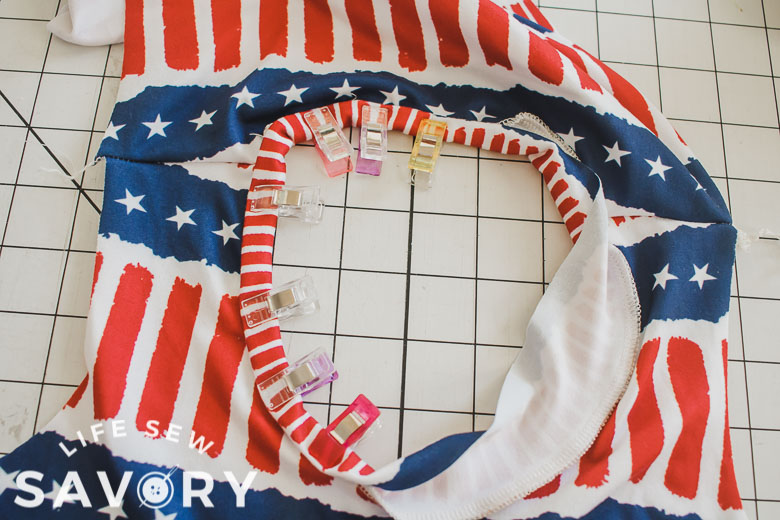
When I sew a neck band, I like to sew a single shoulder seam to begin. Then fold the long edges of the band together and clip on bother ends of the neckline.
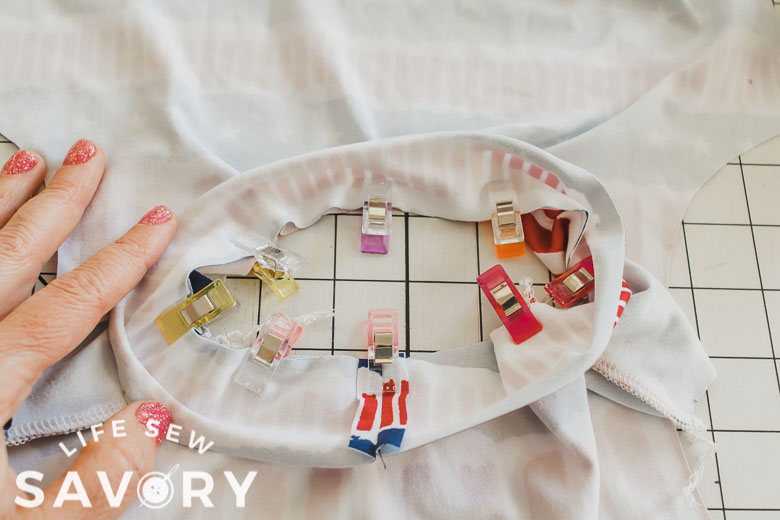
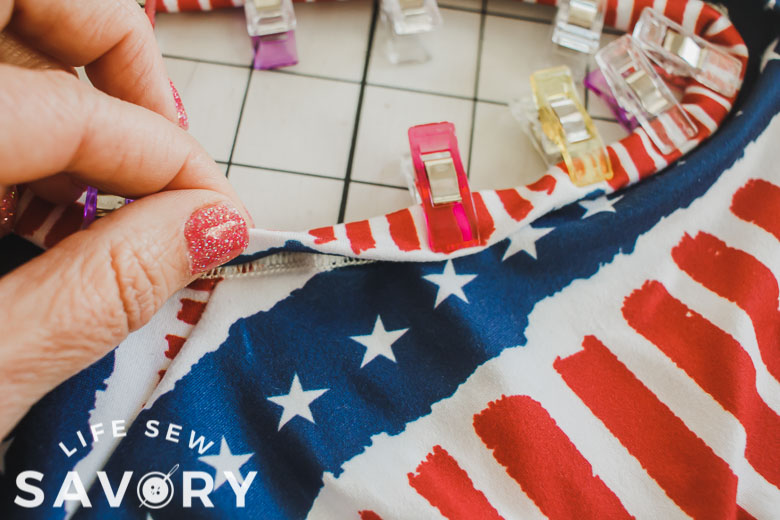
Stretch the ends and clip matching the middle of the band and the neckline. Continue stretching between clips until the whole neckline is even.
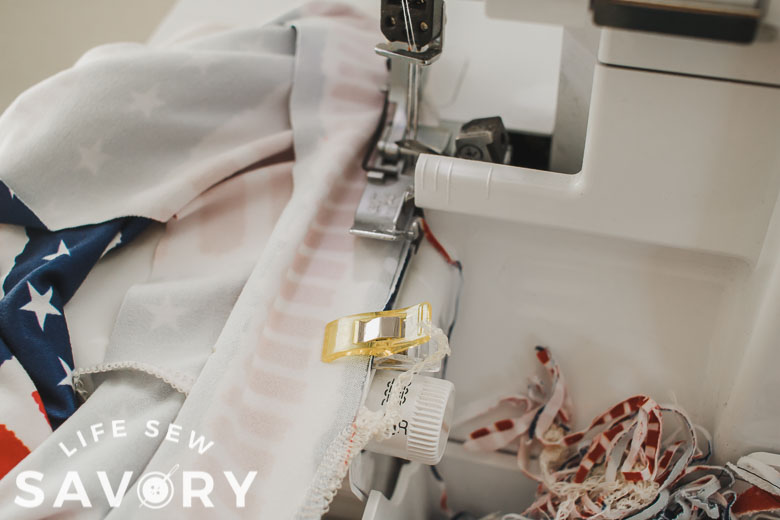
Sew the band to the neckline sewing all three layers of raw edges together. Use a serger or knit stitch to sew. Fold the seam allowance towards the shirt body. Top-stitch the seam allowance towards the shirt with a coverstitch or double needle.
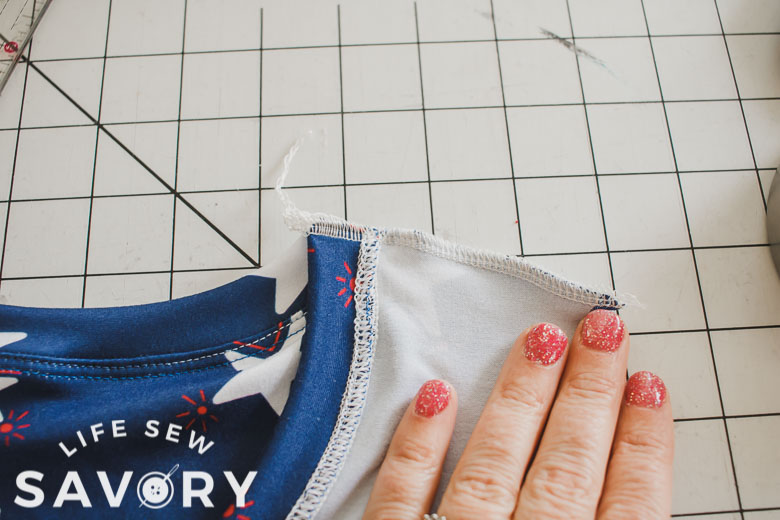
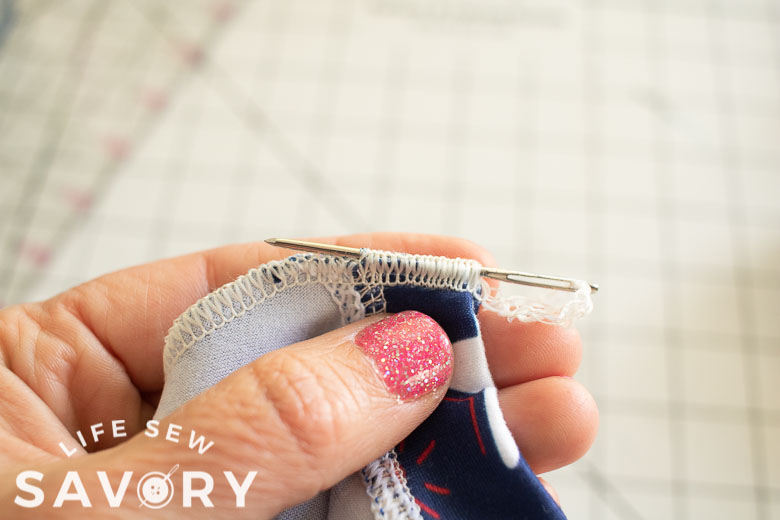
Then you can sew the other shoulder seam. Make sure to finish the raw serger edge if you used one at the neckline.
Now you can finish sewing your top and enjoy the beautiful band on your top.
How to sew a neck binding-
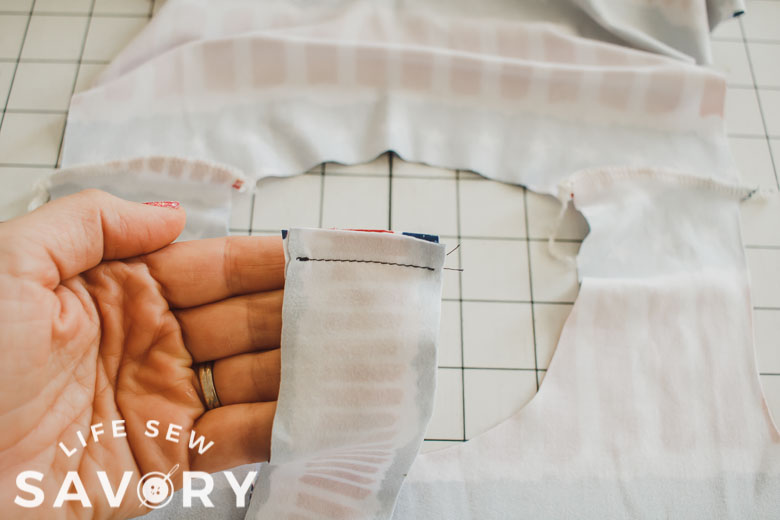
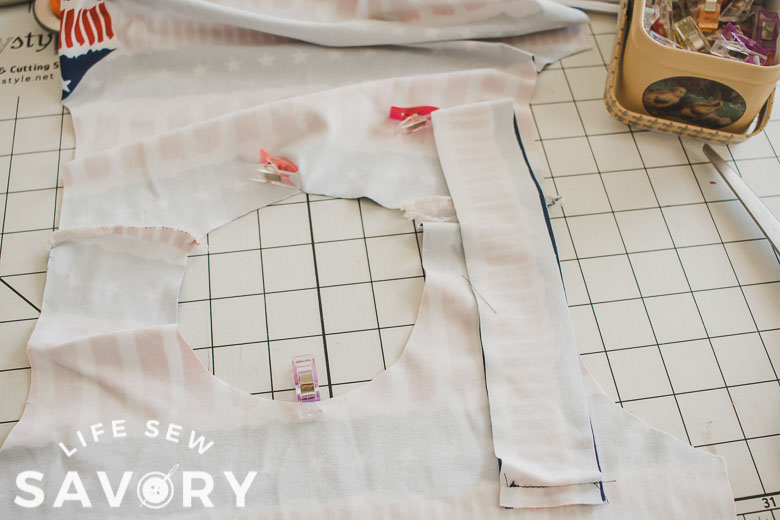
Alright, now that you can sew a neck or arm band, let’s try sewing a binding. This is also used for finished necklines and arm openings on tank tops. For this method you will sew both shoulder seams. Then sew the short ends of the neck binding together. I sew this just on my sewing machine.
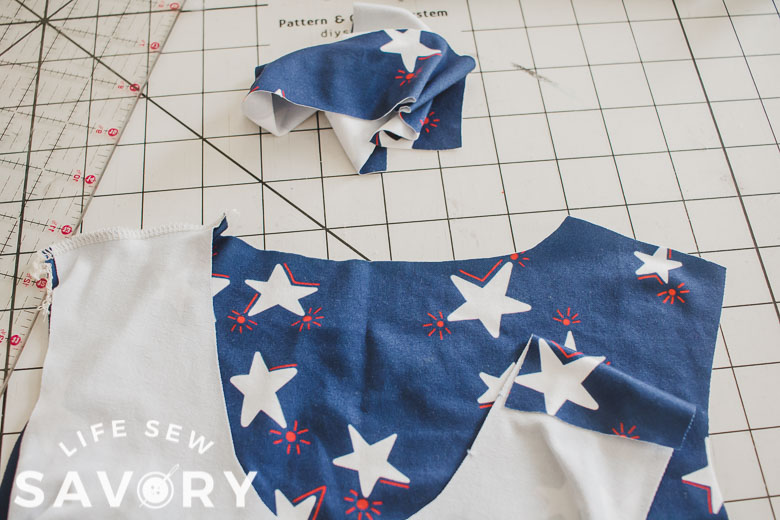
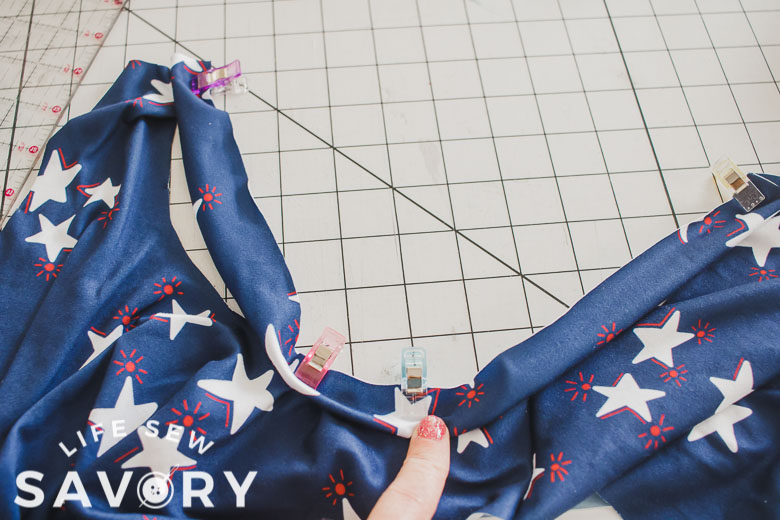
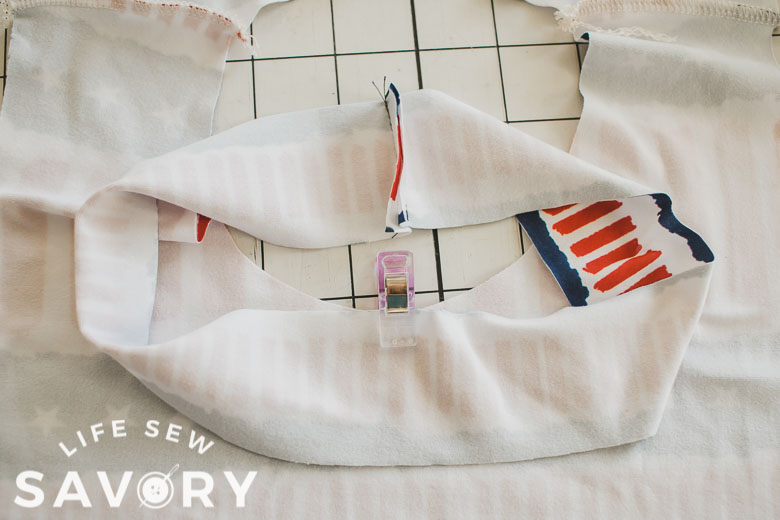
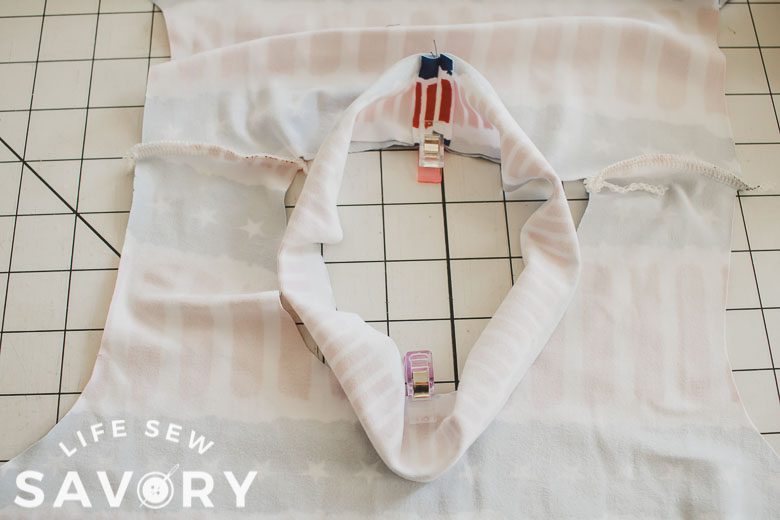
Mark the front and back center of the neckline and the binding. Match these on the binding to the top. Place the right side of the binding to the wrong side of the top as shown. I place the binding seam at the back of the neckline.
Stretch and clip between the front and back markings. Sew these two layers together with a serger or stretch stitch.
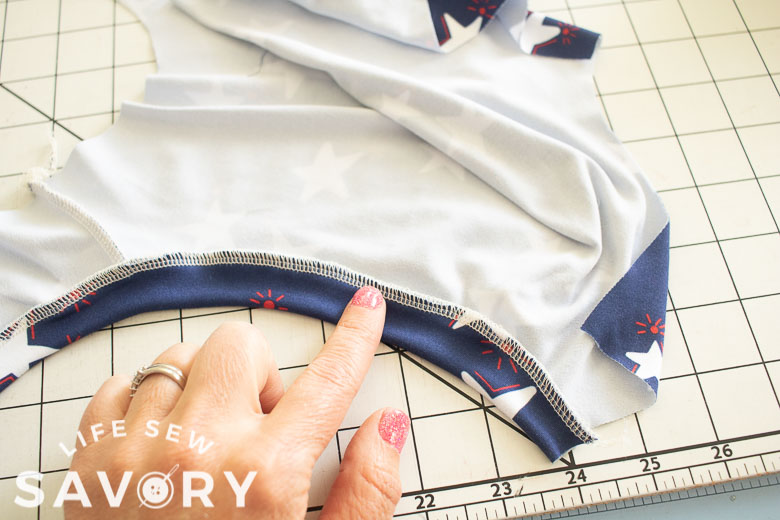
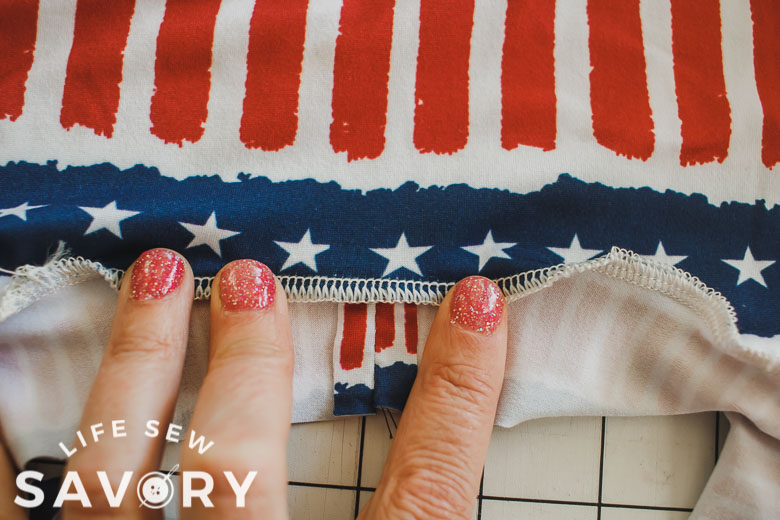
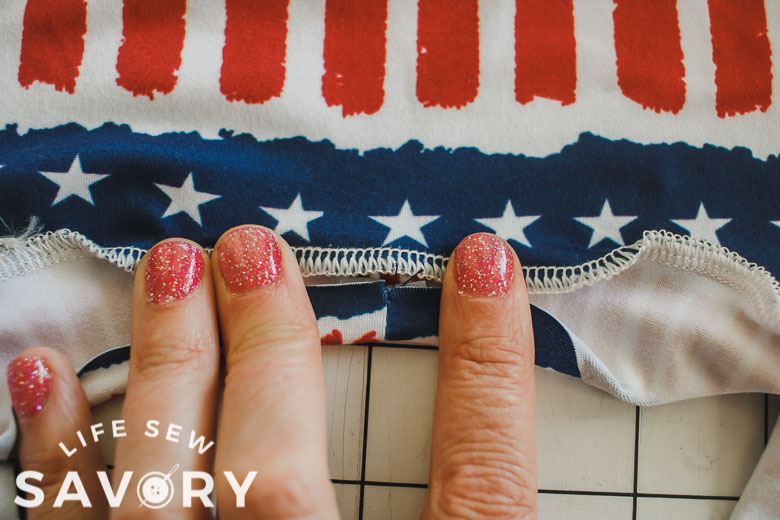
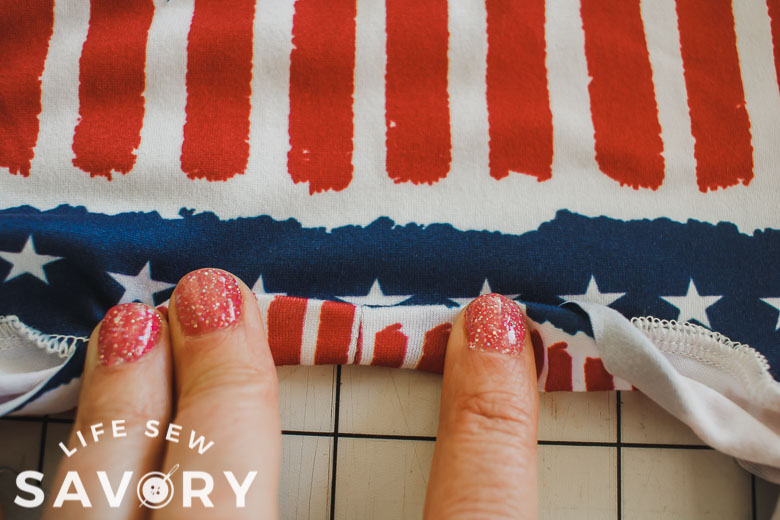
Fold the seam allowance up towards the binding. Then fold the raw edge of the binding towards this folded seam allowance.
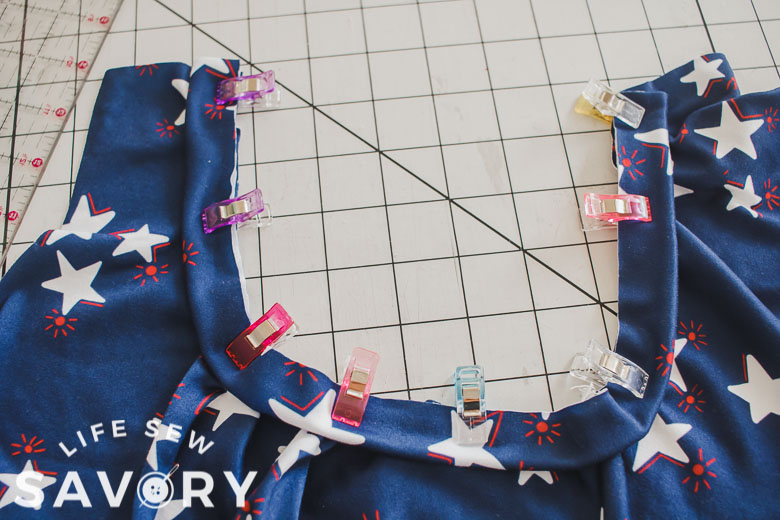
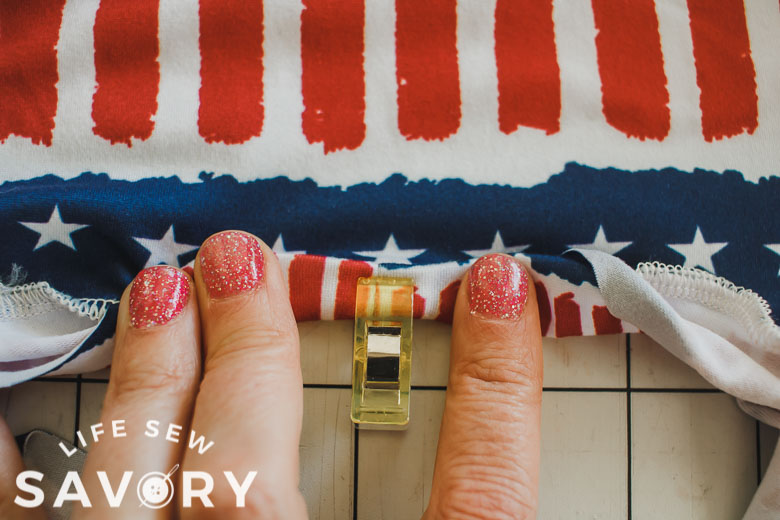
Fold once more to fully cover the seam allowance, and place a pin or a clip to hold in place. Work your way slowly around the neckline folding the same each time. I use lots of clips to hold this all in place.
Make sure the seam is fully covered by this double fold. Sew this binding with a coverstitch or double needle. Make sure to stretch the binding as you sew to avoid any wrinkles.
All finished! Now you can sew necklines like a pro for the whole family.






Brittanye Plourde says
Hello! I was super excited to try this neck band method on my 2nd run of the womens summer tank. I did this yesterday and ran into some issues. I think I know where my main issue was – I didnt topstitch before serging closed the 2nd shoulder seam.
my question is, on one shoulder you will end up with a seam thru both the binding and shirt on one shoulder (the final step after you’ve already sewn the band around the open neckline), but on the other shoulder, you’ll only have a seam on the shirt itself (the shoulder you sew thru first and add banding on top of with the other shoulder open) -is this correct?
anyways, love all your stuff! just ran into a big hiccup yesterday when making my tank. regardless I am wearing it now at work lol!
Emily says
sorry just seeing this. Yep, that’s how I do it.
antoniette says
I just found you yesterday lol…and I love your website! I’ve been sewing for many years but always felt intimidated by knit fabrics. Thank you for the simple patterns and lots of great tips and tutorials !
Are you working on a coverstitch machine tutorial? I have one and threading it is so complicated I just keep using it as a serger lol….