

inside: learn how to sew a keychain card wallet with this free pattern and tutorial. Sew a cute card holder and tiny zip pouch to keep everything you need right on your fob. Free pdf pattern and tutorial.
I’m working on carrying less and less with me. As my kids get bigger I really don’t need to carry much for them anymore, and most of the time all I need is my license and a credit card {haha} I wanted to make a little keychain card wallet free sewing pattern that I could use when I really don’t want to take much with me on the go. Today I’m sharing this keychain card wallet free sewing pattern and tutorial with you as well.
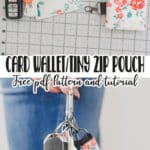
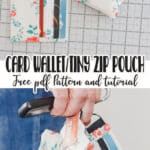
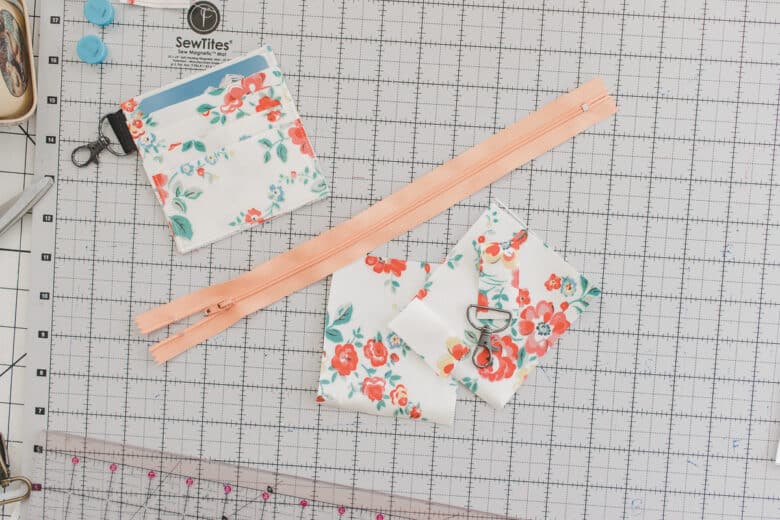
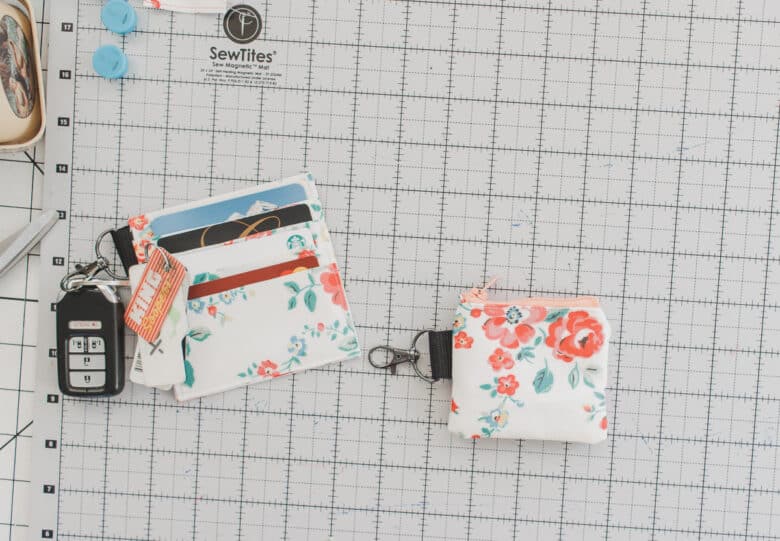
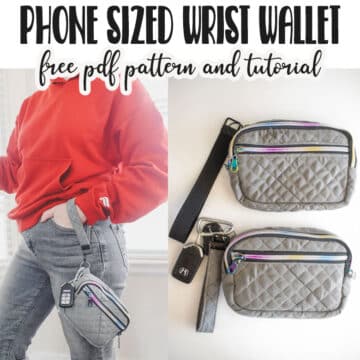
Keychain card wallet and tiny zip pouch
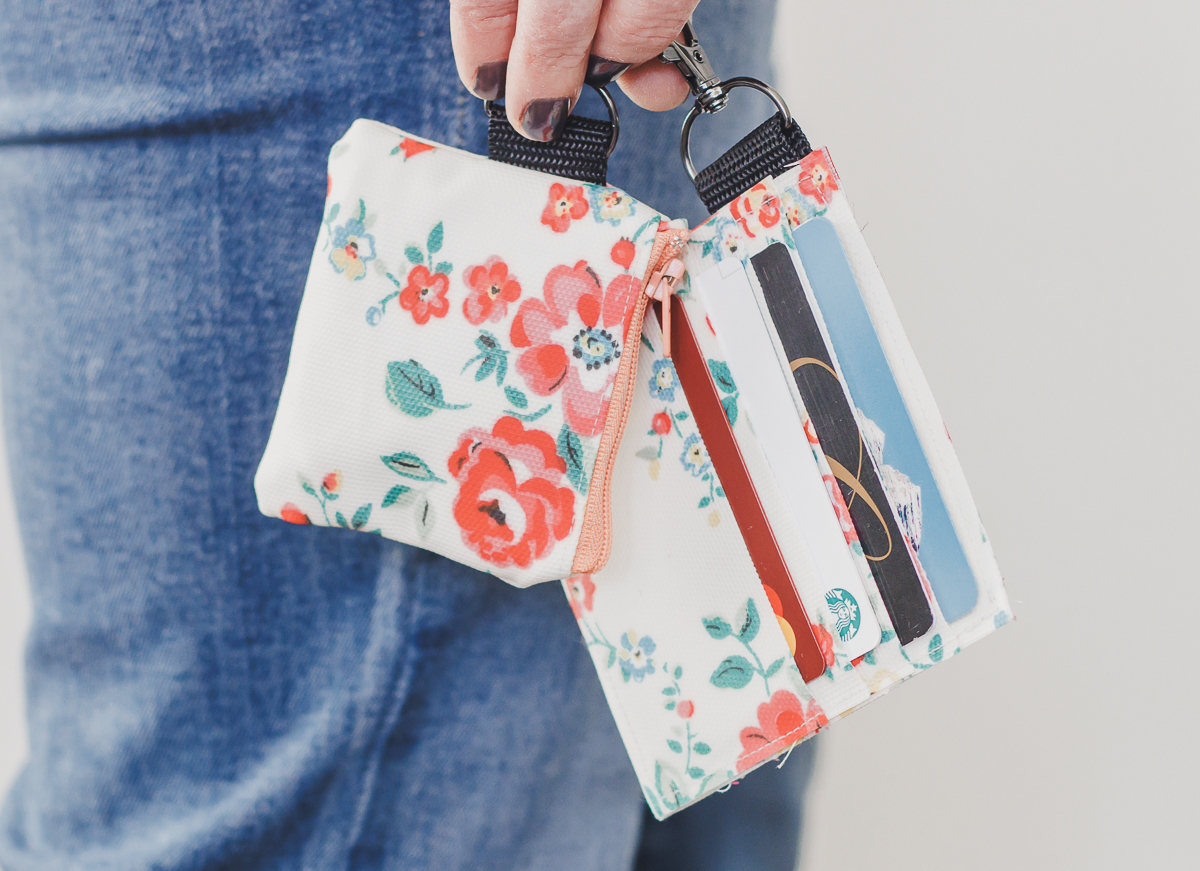
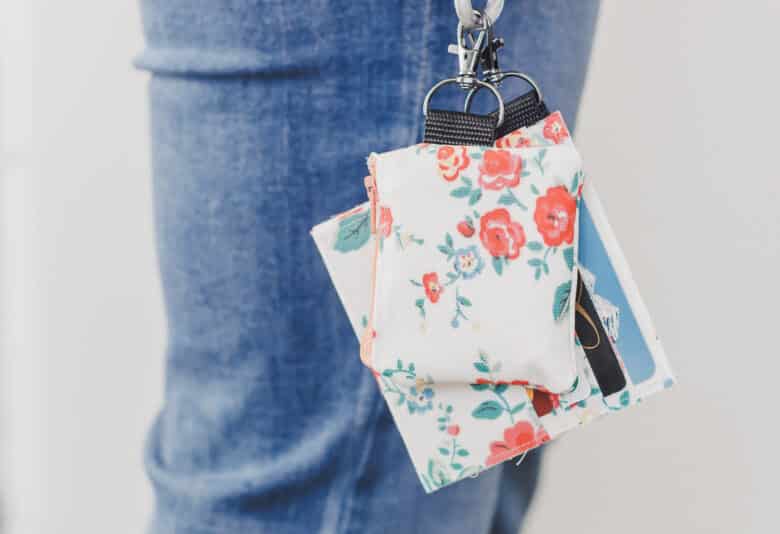
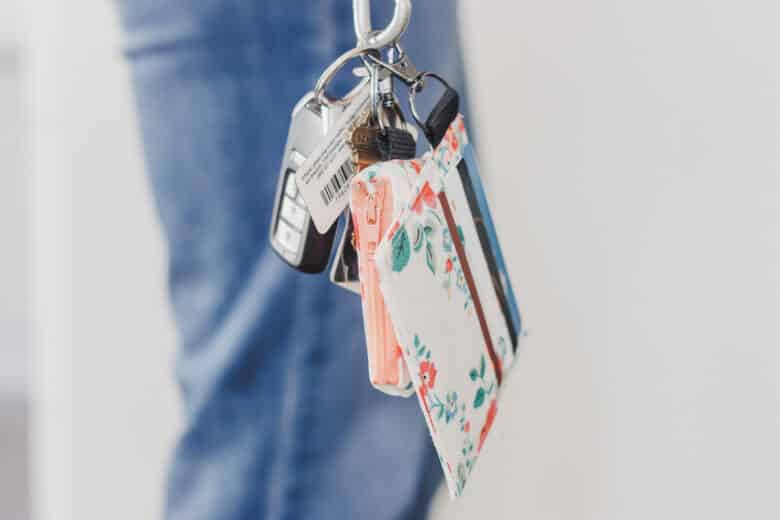
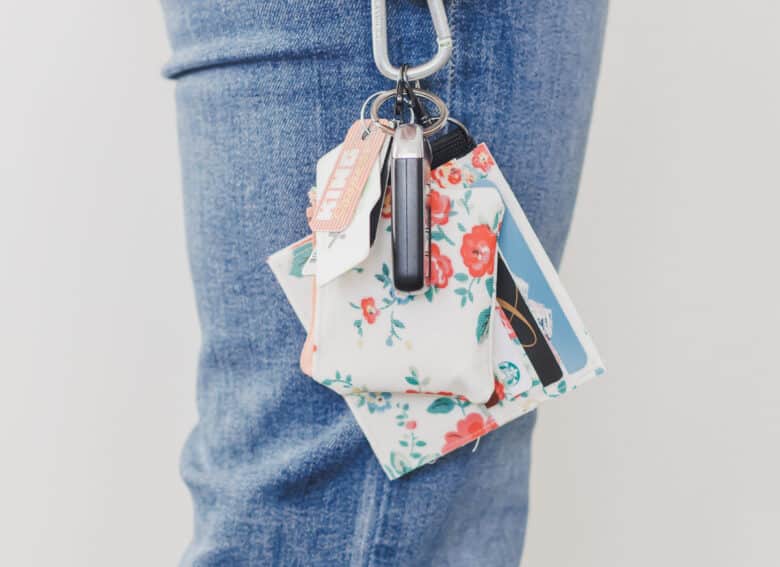
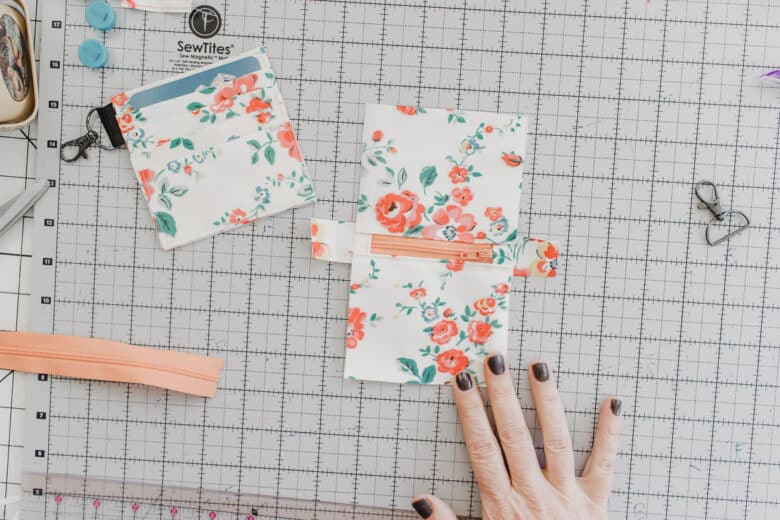
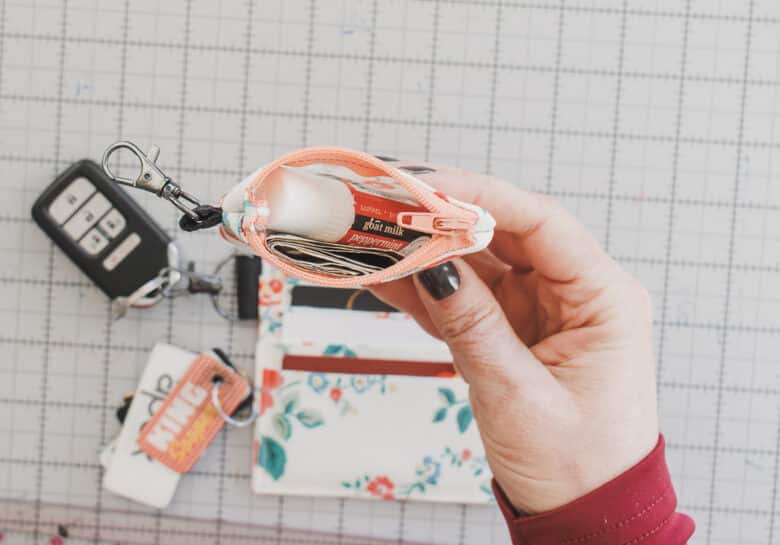
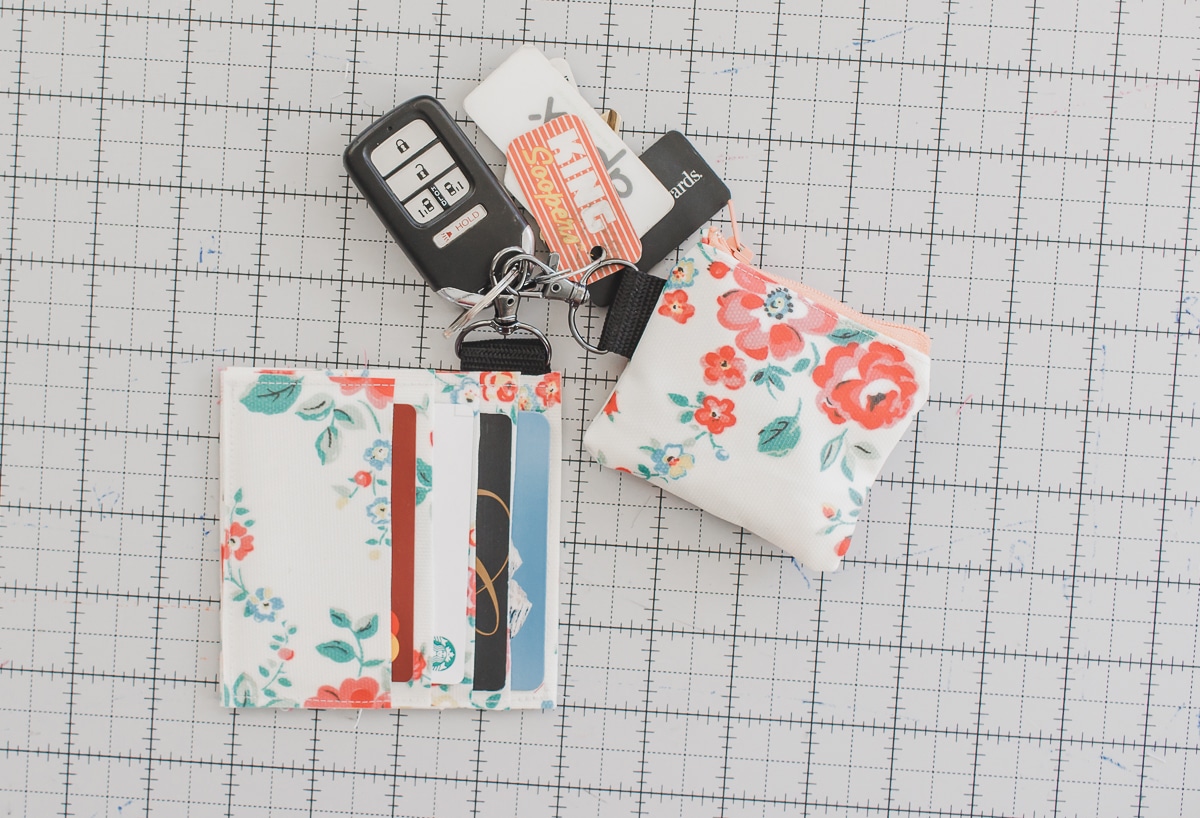
I first made just the card wallet, then decided I still wanted just a little more space, so I sewed up a tiny zip pouch that can also go on my keychain. The combination of the two is perfect for me. I can carry several cards, money if I want to, and some chapstick {the essentials} {haha}.
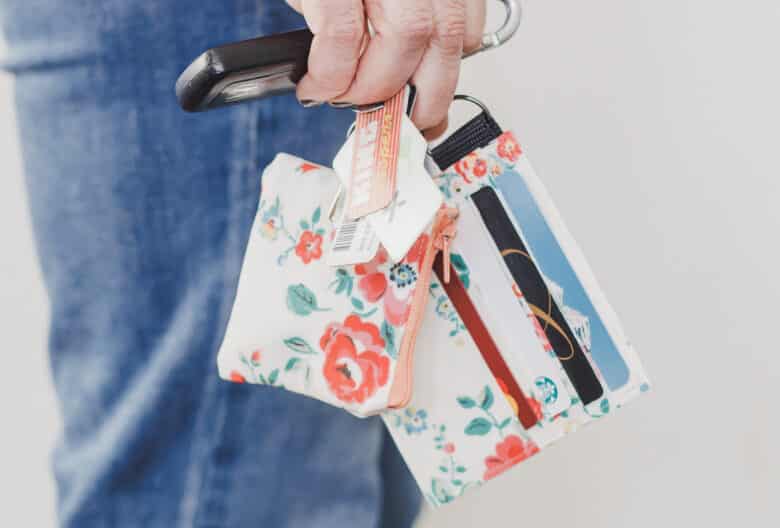
My card wallet is super simple, but I used a vinyl like fabric, so it grips the cards and they don’t slip and slid at all. I’ve designed the size to fit what seems to be the standard card in my wallet, but you could easily adjust the width if you find you need a tighter fit for your cards.
Of course you can choose to just sew one of these two parts, or both like I did. I used a vinyl fabric for mine, but I wish I had used a bit softer fabric for the zip pouch. The vinyl was very hard to turn right side out with such a tiny little pouch. I adjusted the size of the zip pouch on the printable pattern to make it slightly wider than seen here to give you a bit more fabric to work with.
Other bag patterns to sew
- Cross body Hip/shoulder bag
- Sling Bag
- Sling Backpack
- Wool Sack Purse
- Winter Purse
- Mesh Beach bag
- Convertible Bag/backpack pattern
- Small Faux leather purse pattern
- key fob wristlet
Card wallet free sewing pattern download and supplies
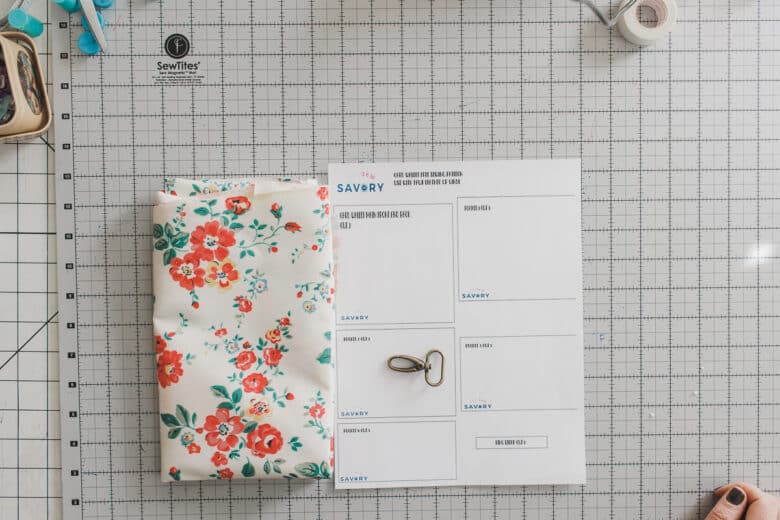
Here is what you will need to sew this cute little keychain card wallet and tiny zip pouch. Download the free printable pattern using the button below. It’s a single page and has the pattern pieces for both the card wallet and the zip pouch.
- Vinyl or Cork Fabric {fat quarter or scraps}
- Keychain hooks and rings
- Large rings {optional}
- Ribbon {or make from fabric}
- 6″ zipper {or longer one you want to shorten}
Here are the supplies needed for both of these projects. Fabric, Keychain hooks, pattern, zipper, ribbon or fabric to make a strap.
Wallet sewing tutorial
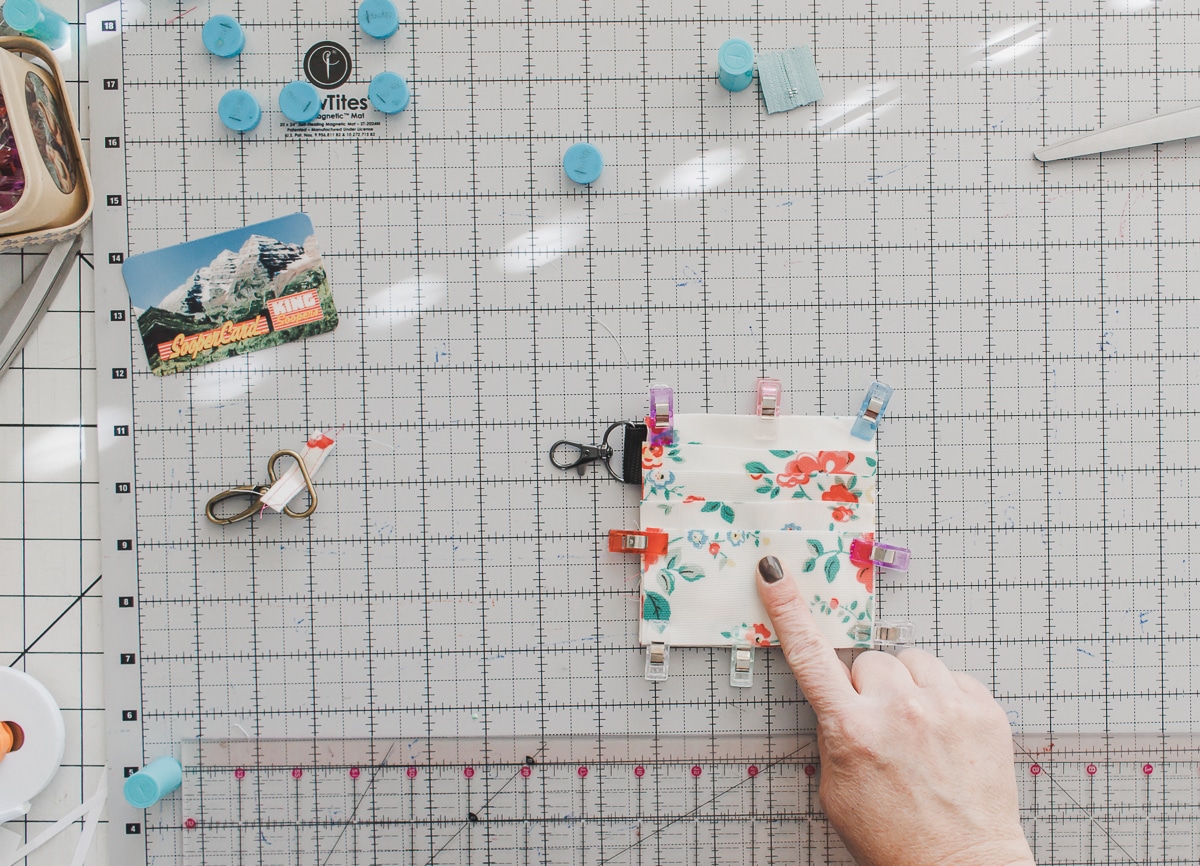
Let’s first sew the card wallet. You will need two of the main piece and then one of each pocket. Take one main piece and lay it face up. Take pocket number 1 and align the bottom edge. {the top will no line up}. Mark on the pocket 1.75″ down from the top of the pocket {NOT from the top of the main piece.
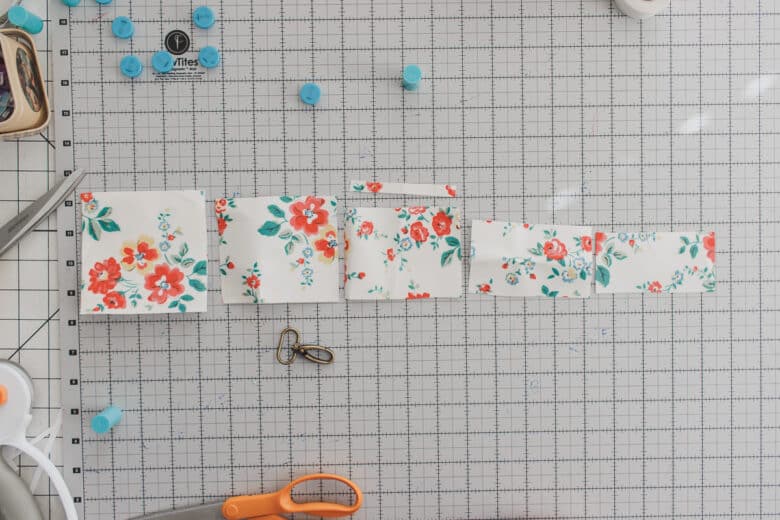
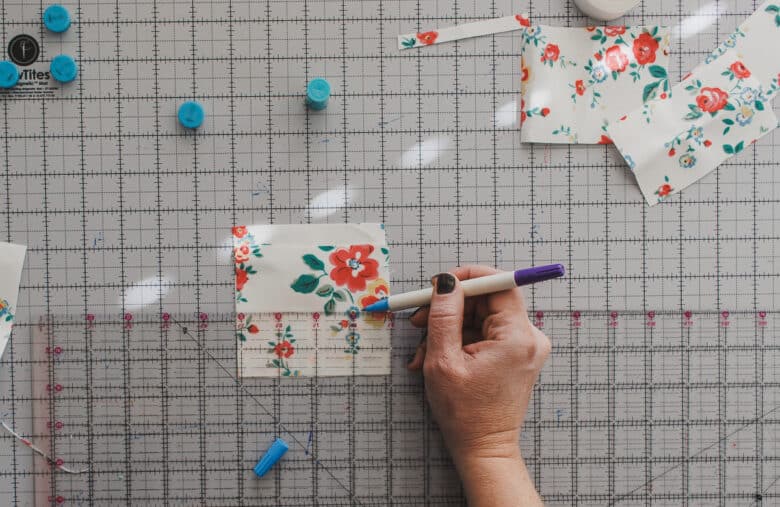
Sew on the line you marked. You will sew through two layers of fabric. Add the second pocket, lining up the bottom again. Mark down 1.75″ from the second pocket again. Sew on this line, this time through 3 layers of fabric.

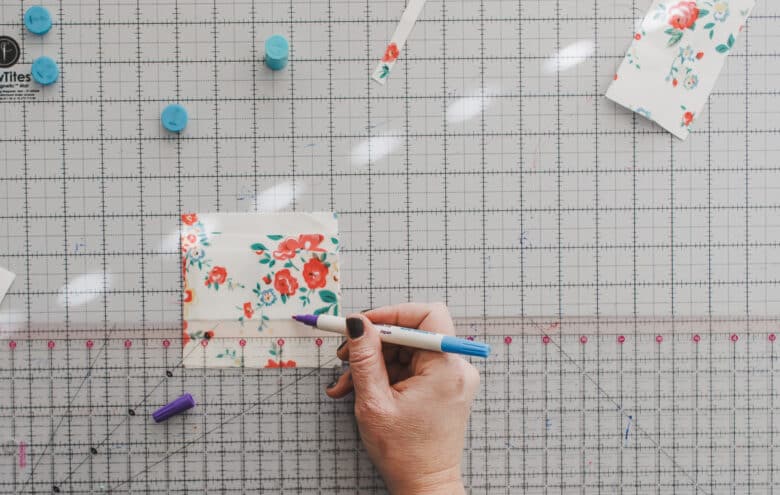
Repeat with the third pocket, mark and sew. Add the fourth pocket, this time you will not sew any bottom to the pocket. Clip around to secure the loose fabric on all sides.
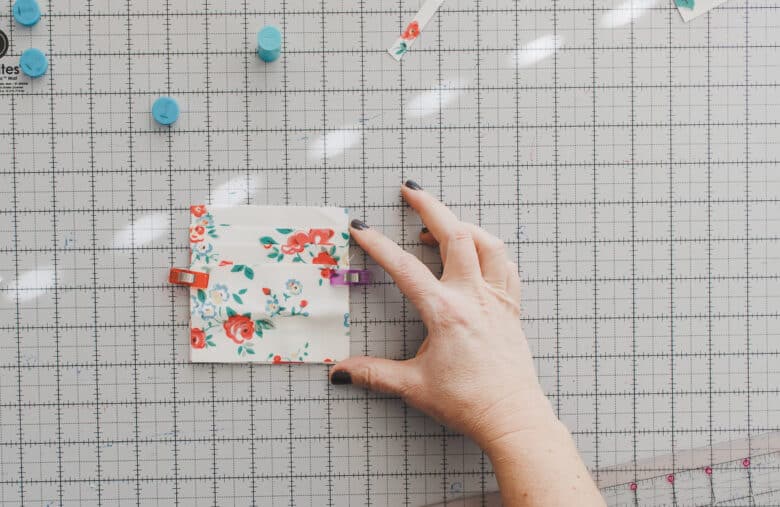

Fold the strap piece of fabric in half and stitch on either side to make a strap, or cut a piece of ribbon 1.5″ long. Place the ribbon or strap through a key chain ring or hook {whatever you are using}.
Take the second piece of the main fabric and place it on the back of the pocket side. The WRONG sides of the main pieces will be together so that the you see the right side of the fabric on both sides of this wallet. One side has the pockets and one side has just a solid single piece.
Tuck the ribbon or strap ends between these these two main pieces. Now you will sew around the entire outside of the wallet. Sew all four sides {sew over the ribbon or strap} You will sew a close 1/4″-1/8″ to the edge of the fabric. Now your card wallet is finished!
Tiny Zip pouch sewing tutorial
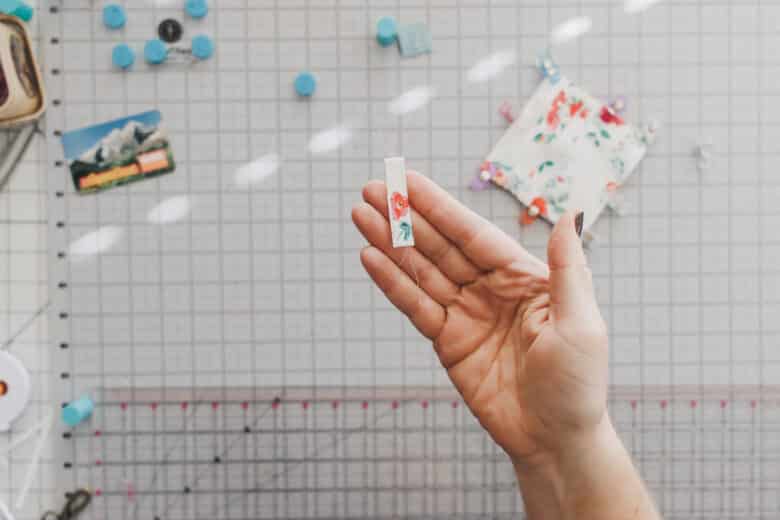
To make the zip pouch you will cut out two of the side pieces and two zipper tabs. You will also need to cut a ribbon or make a strap from fabric like above. Fold over 1/4″ to the back side of one zipper tab, place this fold right next to the zipper pull and pin or clip. Cut the zipper so that it is a bit shorter than the fabric of the pouch {should be around 1/2″ shorter on each side}. Place a second tab on the cut end of the zipper.
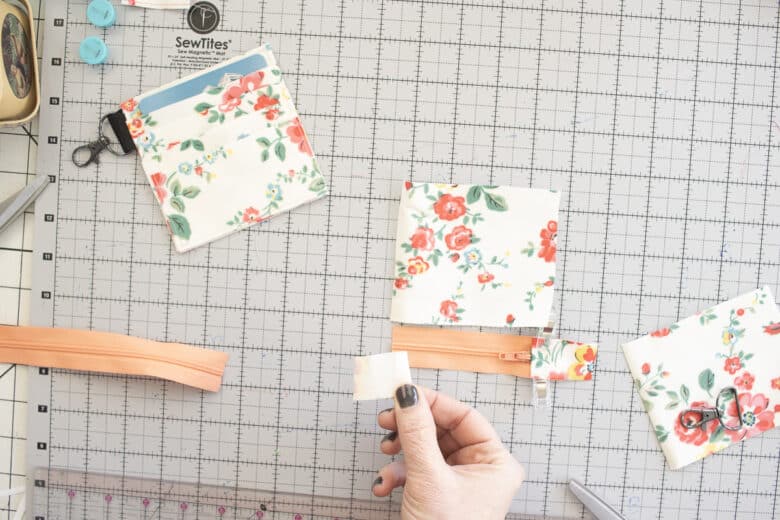
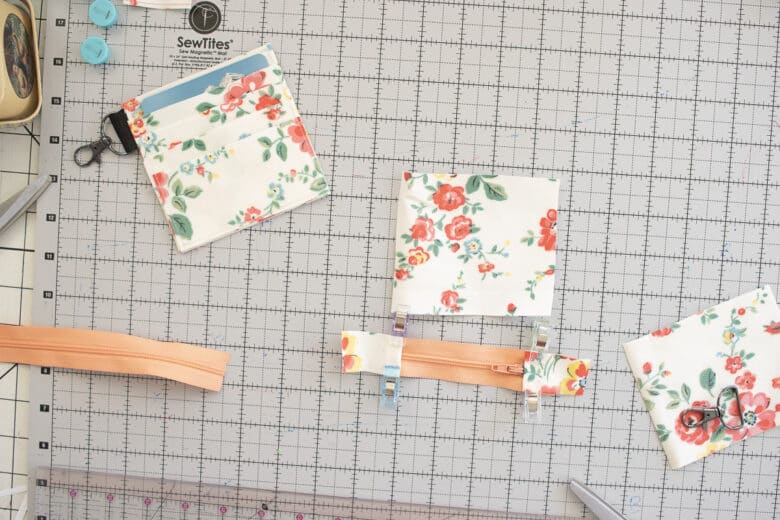
Sew the tabs to the zipper on the folded edge close to the zipper. Center the zipper on the fabric, and place the zipper right side down on the right side of the fabric.
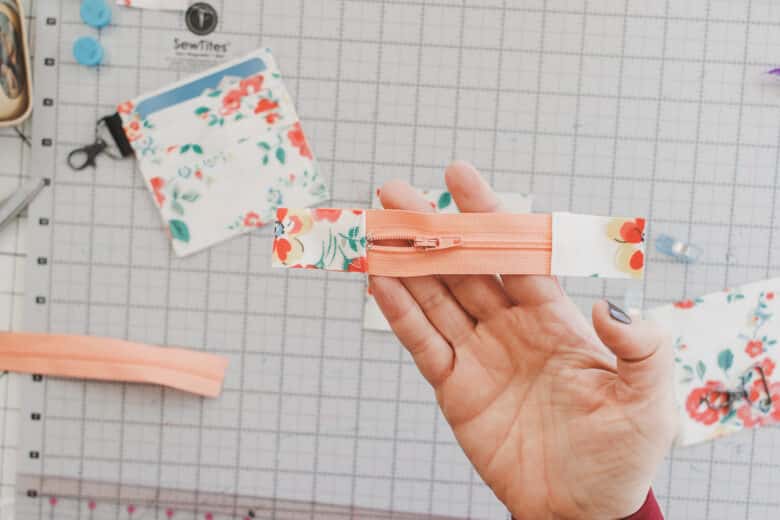
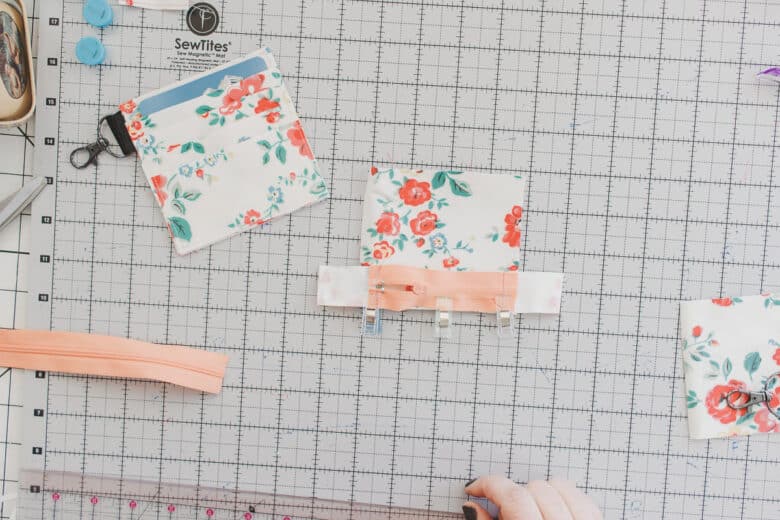
Sew on the zipper tape with a zipper foot on your sewing machine. Open up the zipper so you can see the right side of the zipper and place the second side of the pouch on top of the zipper. Again, right side of zipper to right side of fabric. Sew on the zipper tape with a zipper foot on your sewing machine.
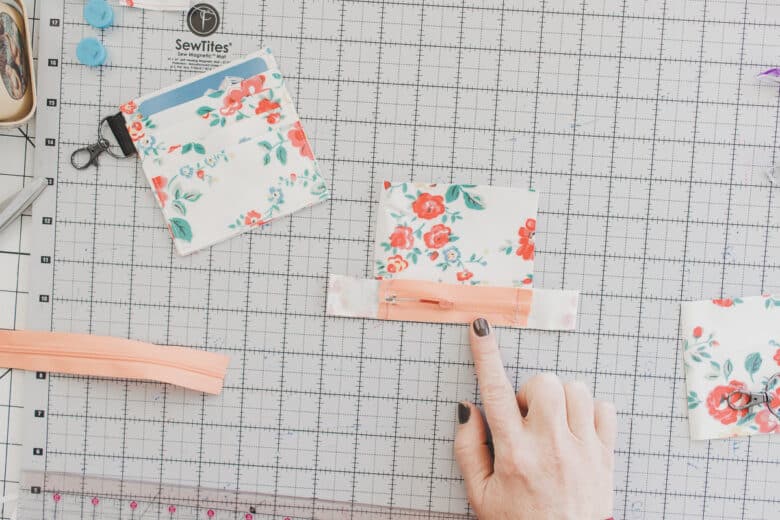
When you open up the fabric your pouch should now look like this. Top-stitch on either side of the zipper to secure the seam allowance and make the vinyl lay flat.
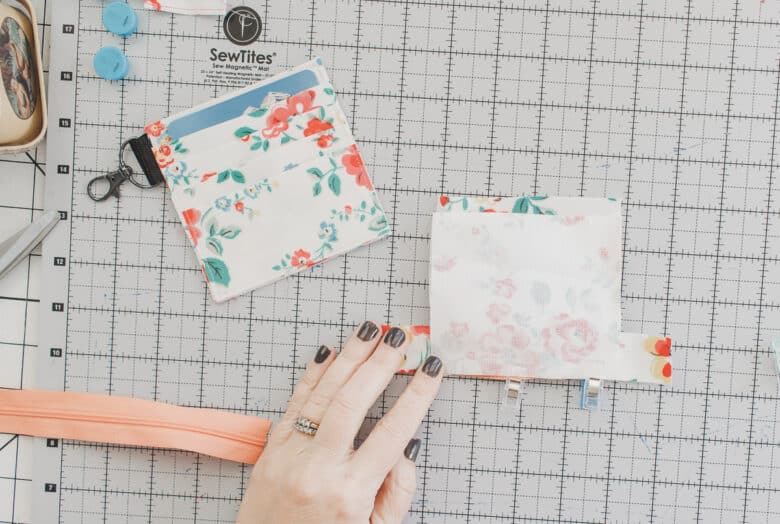
Open up the zipper {so you can turn later}. Fold the pouch in half at the zipper. Press in half at the zipper tab on the side and pin or clip to hold in place.

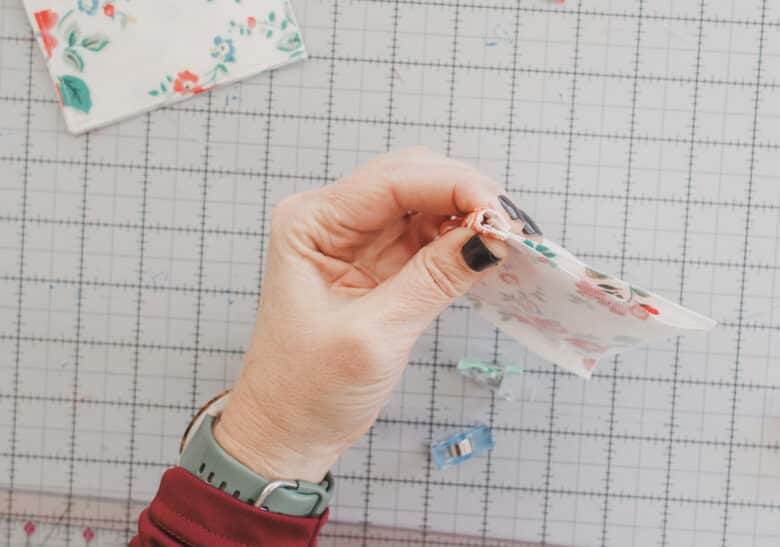
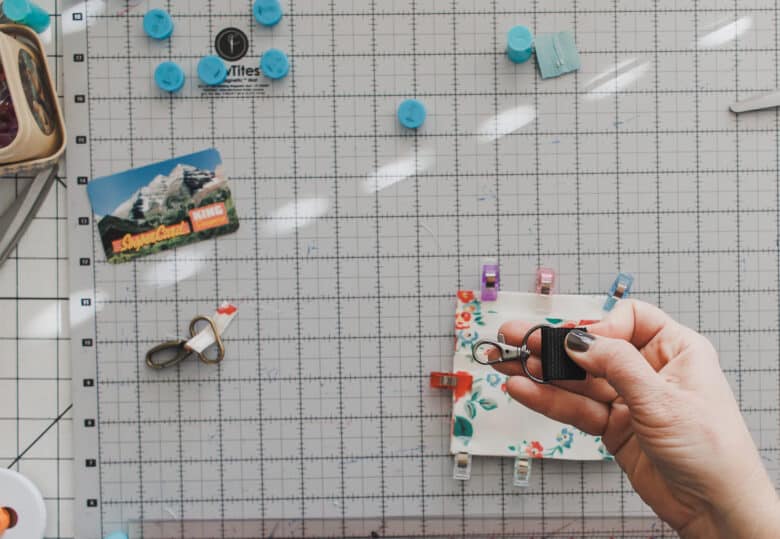
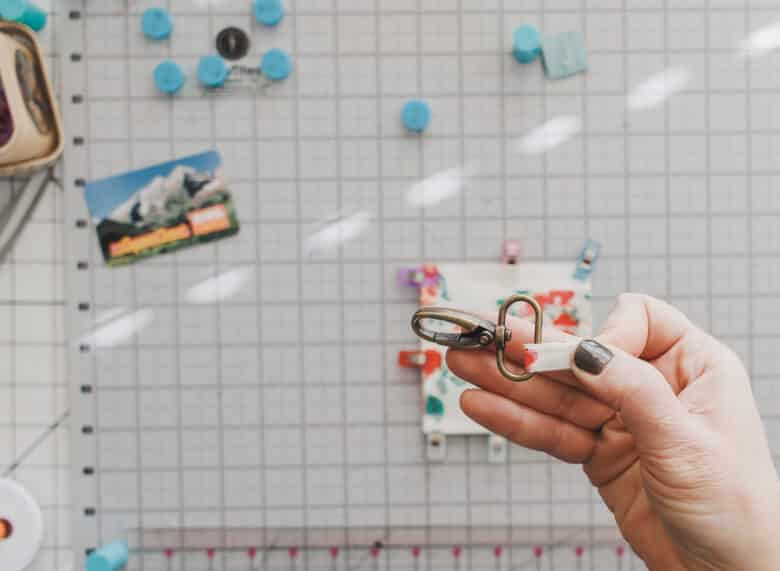
To add a clip or ring, add a strap or ribbon to a ring or clip.
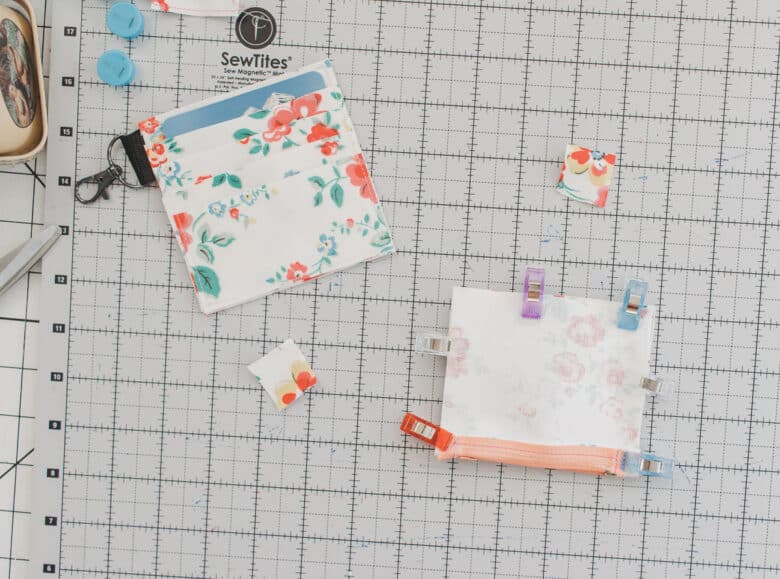
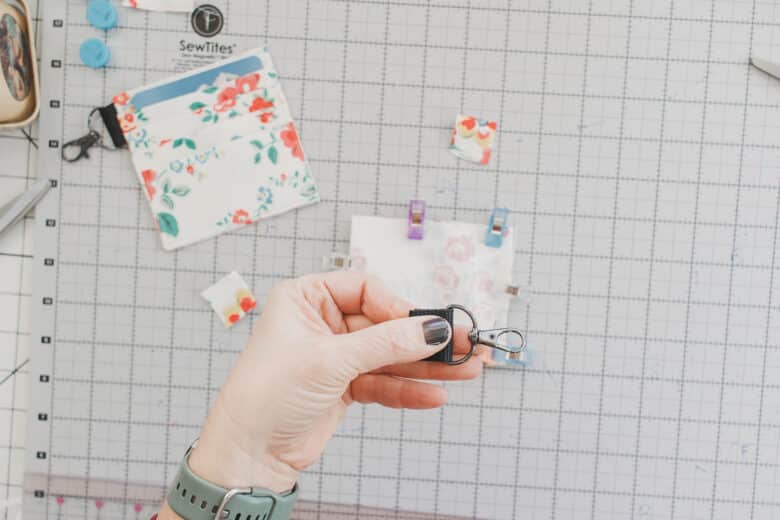
Turn the ring or clip towards the pouch and tuck it inside. The ends of the strap or ribbon will be sticking out of the edge. Pin or clip around the edge.
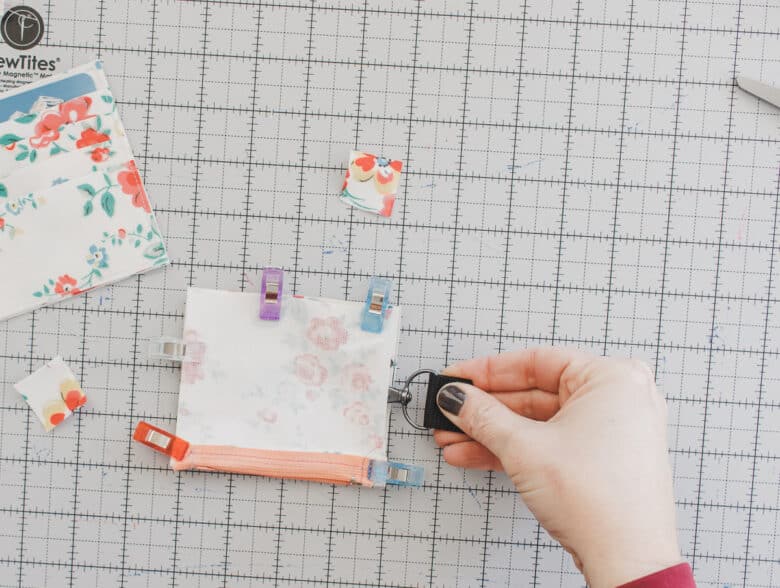
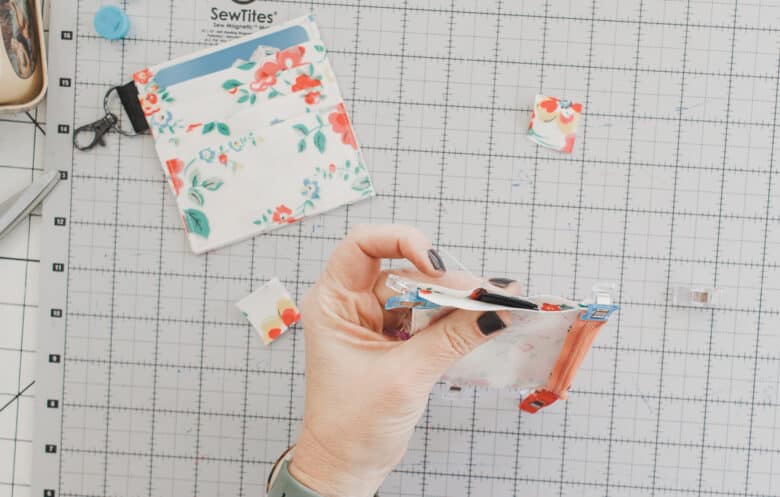
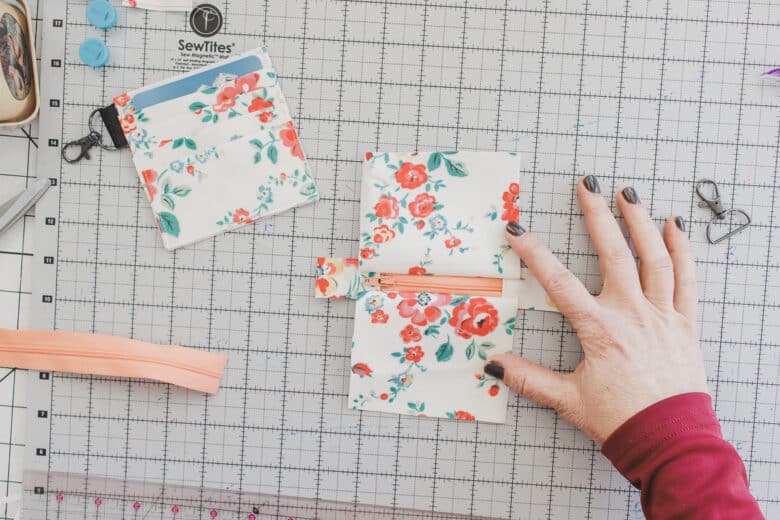
Sew around the outside of the pouch with a 1/4″ seam allowance. Clip the four corners, but do not clip through the seams.
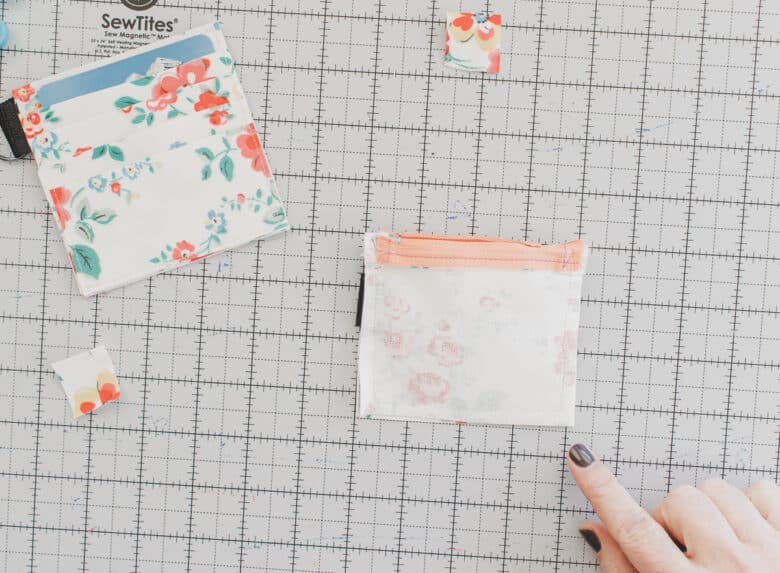
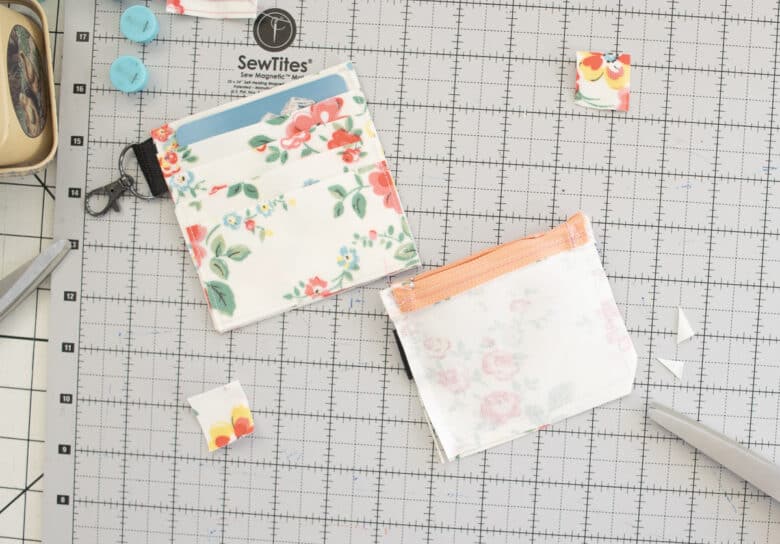
Turn the pouch right side out and fill with what you need! Some money and lip gloss and I’m ready to go! I also put several cards in my card holder and then clipped it all to my keyring with my car key.
Cute right? I love it!! I can’t wait to make more with different fabric! I have a few other fun fabrics that I want to try. Can’t wait to see what you will make with this free sewing pattern.


Spellbee Online says
This keychain card wallet pattern is a game-changer! I love how it’s designed for those times when you want to travel light. I once made a similar cardholder for a friend’s birthday, but it didn’t have the zip pouch. Now I’m inspired to try this combo. Do you think it’d be sturdy enough for daily use with a bit of reinforcement?
Strands says
This keychain card wallet is a genius idea! I love how it grows with your needs, like you did with the zip pouch. Can’t wait to try sewing it. Do you think it’d work well for coins too?
Tiles Game says
This keychain card wallet is a brilliant idea! I love how it adapts as you need less stuff. I once made a similar simple wallet for a trip. How do you think the zip pouch would hold up if you added a small coin pocket inside?
Strands says
This keychain card wallet is such a great idea! I love how it’s customizable with the added zip pouch. I’m imagining myself ditching my bulky wallet for this cute creation. I’m curious, did you have any trouble following the pattern? I’m not the most experienced sewer, but this seems doable. And how do you think it would hold up if you had to carry a few more cards than just a license and credit card?
Watermelon Game says
This keychain card wallet is a genius idea! I love how it grows with your needs, like adding the zip pouch. Can’t wait to try sewing it. Do you think it’d work well for coins too?
Flappy Bird says
This keychain card wallet pattern is a game-changer! I love how it’s so practical for when you don’t want to lug around a big wallet. I once tried making a similar cardholder but it didn’t turn out as neat. Can’t wait to try this free pattern. Do you think it would be okay to use a different type of fabric for the zip pouch, like a fun printed cotton instead of the one suggested?
Squaredle says
This keychain card wallet is a genius idea! I love how it grows with your needs, like adding the zip pouch. Can’t wait to try sewing one. Do you think it’d work well for coins too?
Dordle Game says
This keychain card wallet pattern is a game-changer! I love how it’s designed for those times when you want to travel light. I can totally relate to only needing a license and credit card on the go. Can’t wait to try this. Do you think it would be sturdy enough to hold coins too? I’m imagining using it for a quick trip to the store without having to carry a big wallet.
Tiles Game says
This keychain card wallet is a genius idea! I love how it combines a card holder and a zip pouch. It’s so handy for when you don’t want to carry a big purse. Have you tried using it for other small items?
Happy Wordle says
This keychain card wallet idea is genius! I love how it’s perfect for when you don’t want to carry much. I once made a similar simple wallet for a trip and it was so handy. Can’t wait to try this pattern. How do you think the zip pouch would hold up for coins?
Omegle says
This keychain card wallet is a genius idea! I love how it grows with your needs, like adding the zip pouch. Can’t wait to try sewing one. Do you think it’d work well for coins too?
Watermelon Game says
This keychain card wallet is a brilliant idea! I love how it adapts as your needs change. Can’t wait to try the pattern. Do you think it’d be sturdy enough for daily use with a bit of reinforcement?
Wordle Answer says
This keychain card wallet is a genius idea! I love how it simplifies things when you don’t want to carry a big purse. I once made a similar cardholder but without the zip pouch. Now I’m curious, how did you attach the zip pouch to the keychain? Any tips for getting the measurements just right?
Until Dawn 2 says
This is such a handy project! I’ve been meaning to downsize what I carry around, and this keychain card wallet seems perfect. I actually came across a discussion on minimalism on Until Dawn 2, and this fits right in with the idea of simplifying daily life. Can’t wait to try sewing one myself!